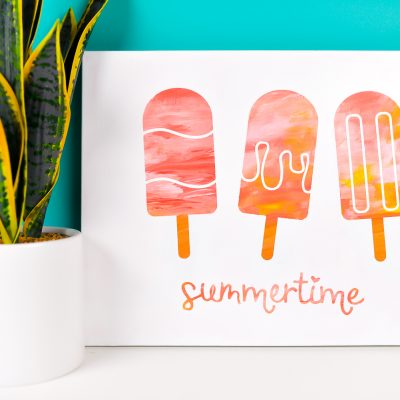
Create bright unique artwork using this hot mess canvas technique! Make this cute popsicle artwork using canvas, paint, and your Cricut or other cutting machine—the fun part is, every hot mess canvas is different!

So what is a hot mess canvas? I’ve also seen it called a Cricut canvas or vinyl canvas art. Whatever you call it, it’s a fun way to combine traditional arts and crafts (paint and canvas) with the speed and precision of a Cricut or other cutting machine! And you can make one super easily using craft supplies from my local craft store!

Hot mess canvases make great home decor pieces, as well as great gifts for Mother’s or Father’s Day, Christmas, and housewarmings. Read on to learn how I created this fun popsicle artwork, as well as ways to modify this art project for kids.

Hot Mess Canvas Supplies
- Stretched canvas
- Several colors of craft paint, including white
- Paint brush + foam brush
- Cricut Explore, Maker, or other cutting machine
- Permanent adhesive vinyl
- Weeding tool + scraper
- Transfer tape
Hot Mess Canvas Instructions
Cut & Weed Your Adhesive Vinyl
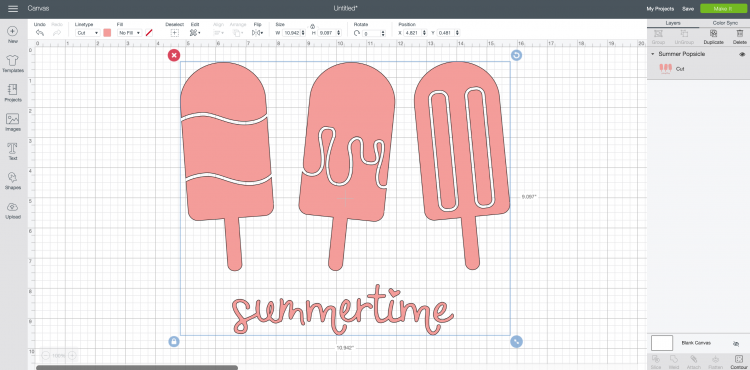
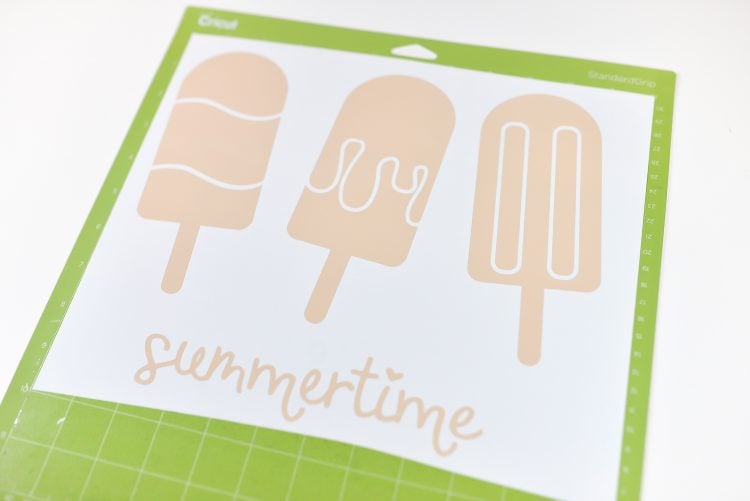
I like to start out by cutting my adhesive vinyl first. This way I can see how it’s going to fit on my canvas and that will help direct how I paint it. My canvas is 16” x 12”, so I sized my popsicles and the word “summer” to fill quite a bit of the space.

Get the Free File
Want access to this free file? Join my FREE craft library! All you need is the password to get in, which you can get by filling out the form below. The file number is: C201.
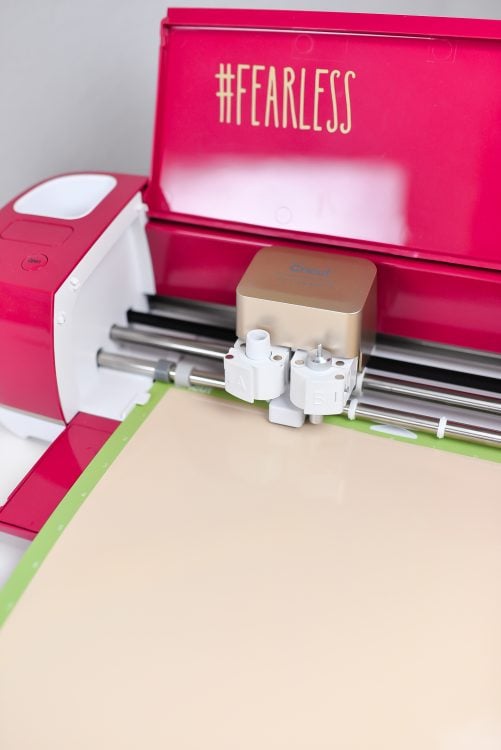
Use your Cricut or other cutting machine to cut out your vinyl. I like to use permanent vinyl instead of removable because it sticks better to the painted canvas surface.

This is a great time to use up that weird vinyl color that you feel like you’re never going to use (I swear, we all have a roll of it, right?). Since the vinyl will not be on the final project, you can use whatever you have lying around. I bought this Cricut “parchment” vinyl for a project a while back, but I can’t see myself using it anytime soon—so it’s perfect!
Once your vinyl decal is cut, weed out the negative space (see my tips and tricks for weeding adhesive vinyl). Make sure to get inside the letters and other small spaces.

Use Transfer Tape with Your Decal
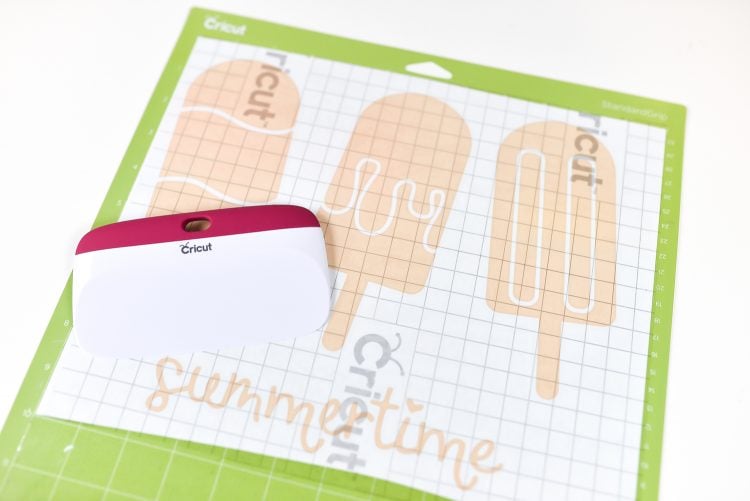
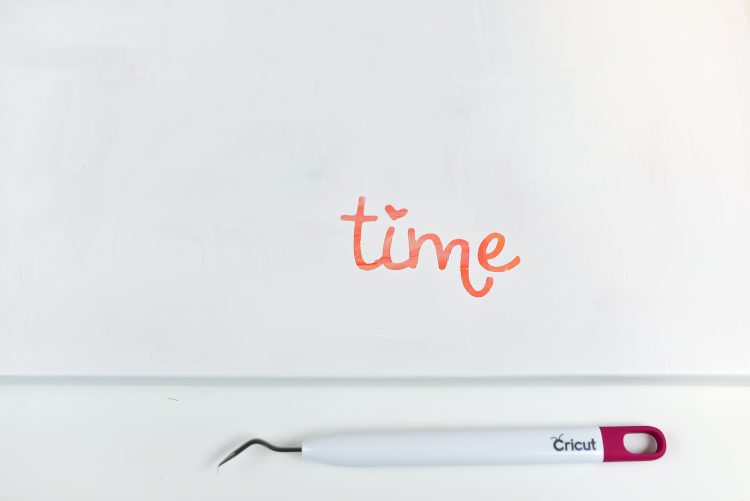
Then cut a piece of transfer tape slightly larger than your project. Peel back the white backing sheet and press the transfer tape on top of your vinyl. Use a scraper to burnish the vinyl to the transfer tape. Then peel back the backing paper from the vinyl—your vinyl should stick to the transfer tape. You can read more in my post about using transfer tape.

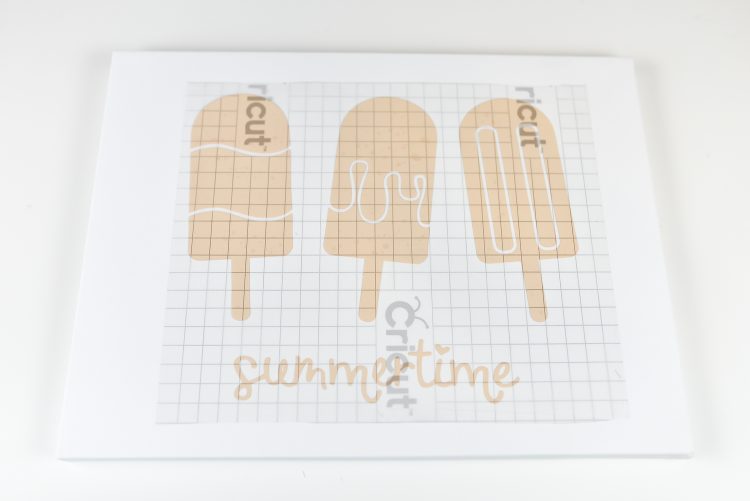
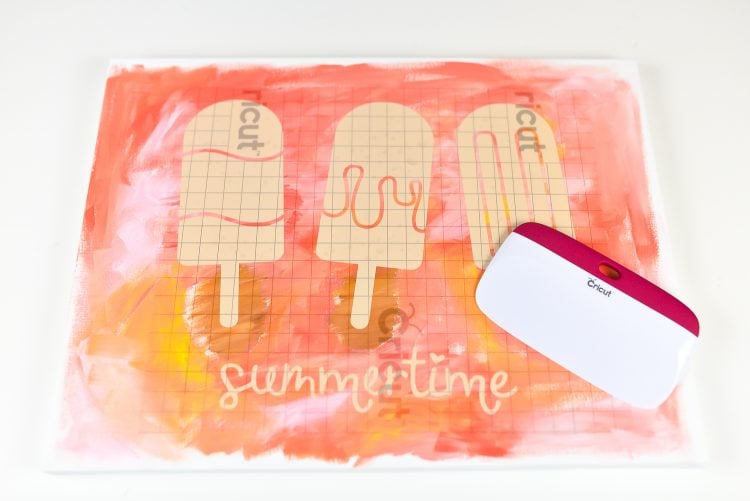
Then lightly lay your decal with the transfer tape on your canvas so you can get an idea of the layout. You don’t want it to stick, so don’t press down!

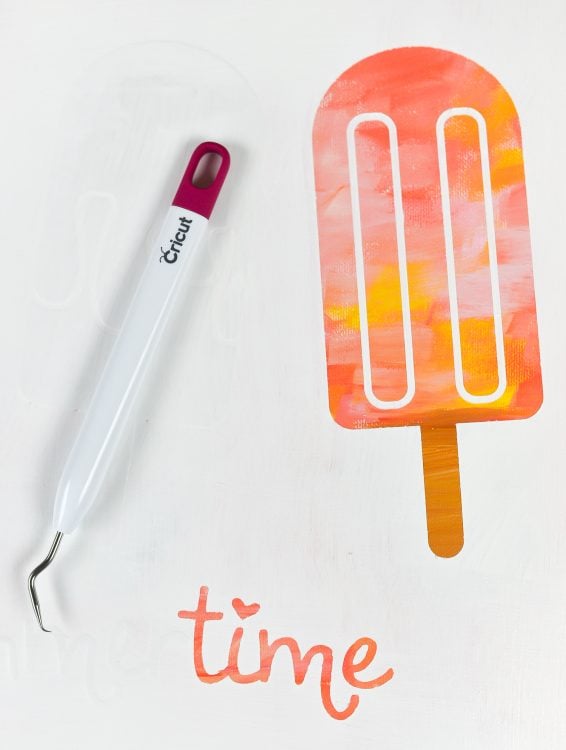
For this particular project, I wanted to make sure my popsicle “sticks” were brown, whereas the rest of my popsicles were shades of pink, orange, and yellow. So I lifted the transfer tape / decal and lightly drew around where the popsicle sticks were with a pencil, knowing to paint that part brown so the sticks would be the right color. Then set your transfer tape / vinyl aside.
Paint Your Hot Mess Canvas
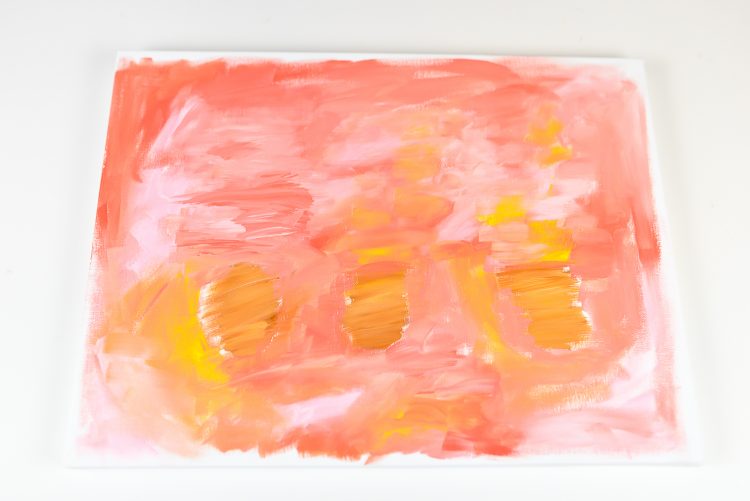
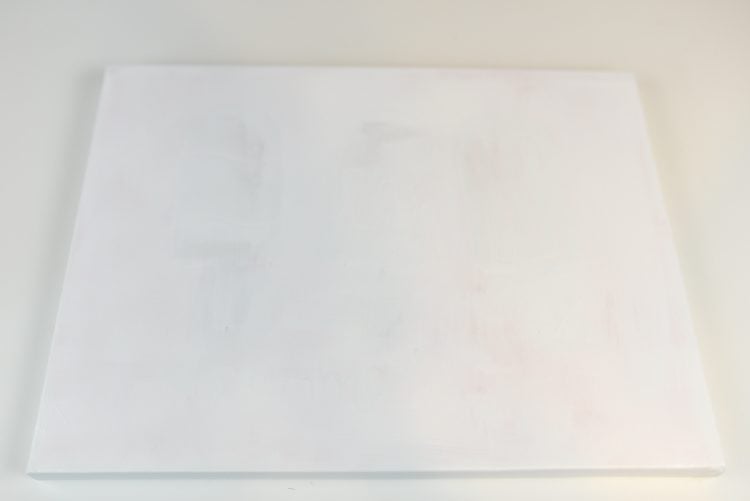
Now we get to the fun part! I don’t often work with paint these days, so it was such a delight to just go crazy on my canvas. The point here is to, well, make a hot mess. I wanted a more watercolor look, so I blended my colors a lot, but you can also do small patches of color. You can see my brown patches for the popsicle sticks.

I paid the most attention to the areas where my popsicles and word were going to go. The surrounding area will be covered in white paint, so I just lightly brushed out that direction, using it as a way to get paint off my brush so I could use a different color.
Once you’re done, make sure your paint is flat—you don’t want any places where it’s thick. You’ll want good adhesion with your vinyl in the next step, so a flat surface is key. I used a dry paint brush to brush over my final canvas to make sure the paint wasn’t too thick.
Let your paint dry, at least 24 hours if possible (this gives it time to fully cure). You don’t want any of the paint to pull up when you remove your vinyl later in the process.
Hot Mess Canvas for Kids
If you want to do this with your kids, give them a couple colors of paint and let them go crazy! Finger painting or paint brushes both work. My four-year-old boys tend to mix all the colors into one color, so after a while I realized I need to I give them one color, let it dry, give them a second, let it dry, etc.

Again, kids are even more likely to just glob paint on there, so make sure you’re dry brushing a bit to try and get that surface more flat.
Adhere Your Vinyl & Paint
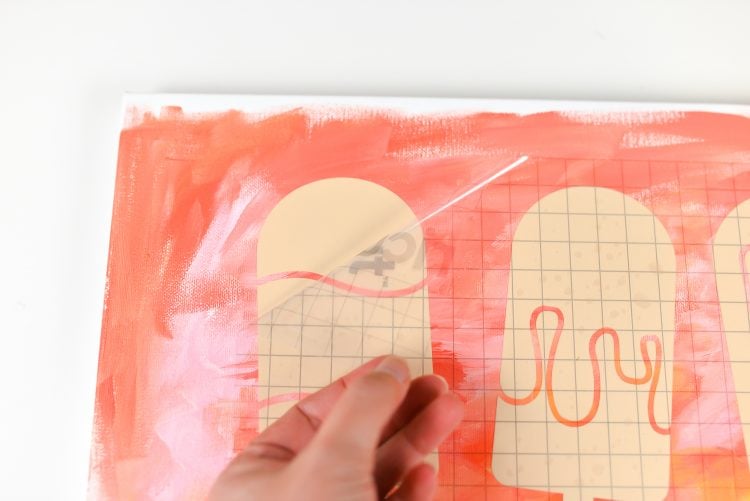
Place your decal to your stretched canvas and press to adhere. I like using my Cricut scraper from both the front and the backside of the canvas.

Then carefully remove the transfer tape. Once the transfer tape is removed, go over the decal with the scraper once more, front and back of the canvas.


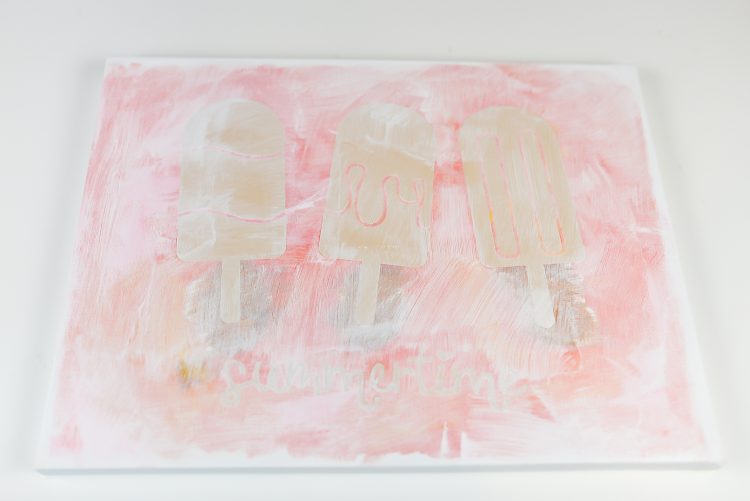
Then paint the entire canvas white, vinyl and all. I like using a foam brush for this, because it doesn’t carry as much paint as a regular paint brush. You want thin layers (2 or 3), so the paint doesn’t seep under the vinyl.


Let dry for about an hour. Try not to let it dry for too long—if the paint actually has time to cure, then you risk it peeling up when you pull up your vinyl.
Finishing Your Hot Mess Canvas
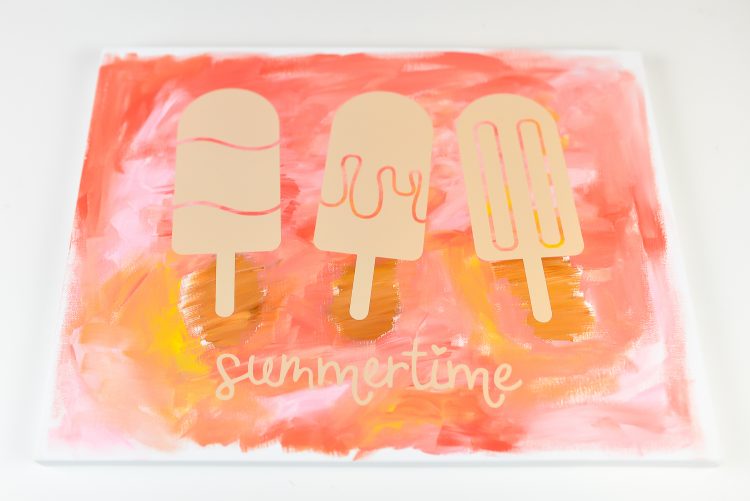
Finally, use your weeding tool to carefully get under the edge of the vinyl so you can peel it up. Underneath the vinyl you’ll see your colorful paint!


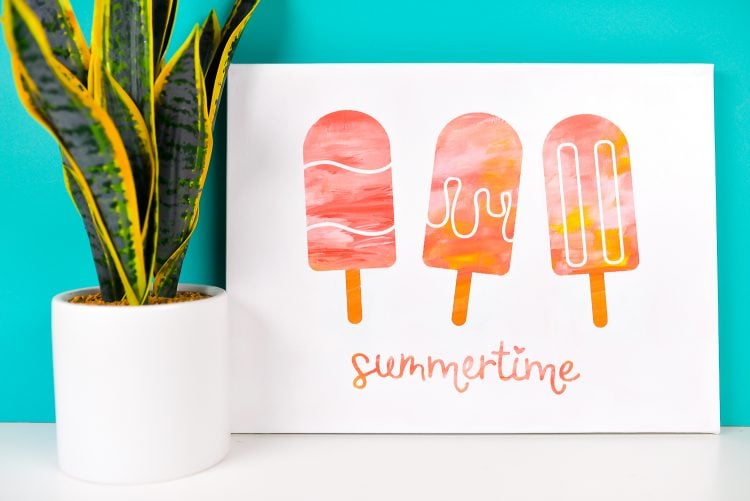
Peel off all of your vinyl and your project is done! I love how the different popsicles look in my project—because I knew vaguely where they were going to go, I was able to make them each a bit different. It’s like a popsicle sunset!


Grab yourself a canvas and some gorgeous craft paint and get ready to make a hot mess canvas of your own!

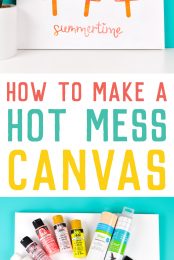
How to Make a Hot Mess Canvas
Equipment
- Cricut Maker or
Supplies
Instructions
- Cut & Weed Your Adhesive VinylStart out by cutting the adhesive vinyl first. This way you can see how it’s going to fit on the canvas and that will help direct how to paint it. This canvas is 16” x 12”, so the popsicles and the word “summer” were sized to fill quite a bit of the space.

- Use your Cricut or other cutting machine to cut out your vinyl. Prefer to use permanent vinyl instead of removable because it sticks better to the painted canvas surface.

- This is a great time to use up that weird vinyl color that you feel like you’re never going to use (we all have a roll of it, right?). Since the vinyl will not be on the final project, you can use whatever you have lying around.Once your vinyl decal is cut, weed out the negative space. Make sure to get inside the letters and other small spaces.

- Use Transfer Tape with Your DecalThen cut a piece of transfer tape slightly larger than your project. Peel back the white backing sheet and press the transfer tape on top of your vinyl. Use a scraper to burnish the vinyl to the transfer tape. Then peel back the backing paper from the vinyl—your vinyl should stick to the transfer tape. You can read more in this post about using transfer tape.

- Then lightly lay your decal with the transfer tape on your canvas so you can get an idea of the layout. You don't want it to stick, so don't press down!For this particular project, I wanted to make sure my popsicle “sticks” were brown, whereas the rest of my popsicles were shades of pink, orange, and yellow. So I lifted the transfer tape / decal and lightly drew around where the popsicle sticks were with a pencil, knowing to paint that part brown so the sticks would be the right color. Then set your transfer tape / vinyl aside.

- Paint Your Hot Mess CanvasNow we get to the fun part! The point here is to, well, make a hot mess. Wanted a more watercolor look, so the colors were blended a lot, but you can also do small patches of color. You can see the brown patches for the popsicle sticks.Paid the most attention to the areas where the popsicles and word were going to go. The surrounding area will be covered in white paint, so just lightly brushed out that direction, using it as a way to get paint off my brush so I could use a different color.Once you're done, make sure your paint is flat—you don’t want any places where it’s thick. You’ll want good adhesion with your vinyl in the next step, so a flat surface is key. Use a dry paint brush to brush over the final canvas to make sure the paint isn’t too thick.Let your paint dry, at least 24 hours if possible (this gives it time to fully cure). You don’t want any of the paint to pull up when you remove your vinyl later in the process.

- Adhere Your Vinyl & PaintPlace your decal to your stretched canvas and press to adhere. Use your Cricut scraper from both the front and the backside of the canvas.

- Then carefully remove the transfer tape. Once the transfer tape is removed, go over the decal with the scraper once more, front and back of the canvas.


- Then paint the entire canvas white, vinyl and all. Using a foam brush for this, because it doesn’t carry as much paint as a regular paint brush. You want thin layers (2 or 3), so the paint doesn’t seep under the vinyl.

- Let dry for about an hour. Try not to let it dry for too long—if the paint actually has time to cure, then you risk it peeling up when you pull up your vinyl.

- Finishing Your Hot Mess CanvasFinally, use your weeding tool to carefully get under the edge of the vinyl so you can peel it up. Underneath the vinyl you’ll see your colorful paint!


- Peel off all of your vinyl and your project is done!



Comments & Reviews
Hope Fidder says
Thank you for all of this information, I am trying to get back into “serious” crafting like when I was younger now that the kids are gone and I have some time, but tools, materials, everything has changed in the last 30+ years and I have a lot of catching up to do. And your site looks like it offers everything I need!
I got here by following a link on the tastefullyfrugal.org, which is my other new favorite place, The amount of time you have to have put in this blows my mind, and I jus wanted to say thanks!
Patricia says
Thanks for the instructions. I have been wanting to make a pineapple hot mess and now I know how. Thanks again…