How to Make a Hot Mess Canvas
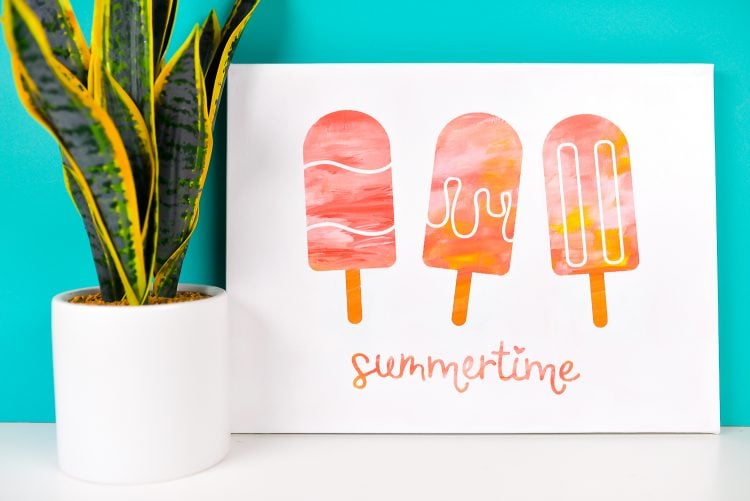
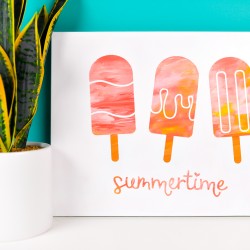
Create bright unique artwork using this hot mess canvas technique! Make this cute popsicle artwork using canvas, paint, and your Cricut or other cutting machine—the fun part is, every hot mess canvas is different!
Equipment
- Cricut Maker or
Ingredients
Instructions
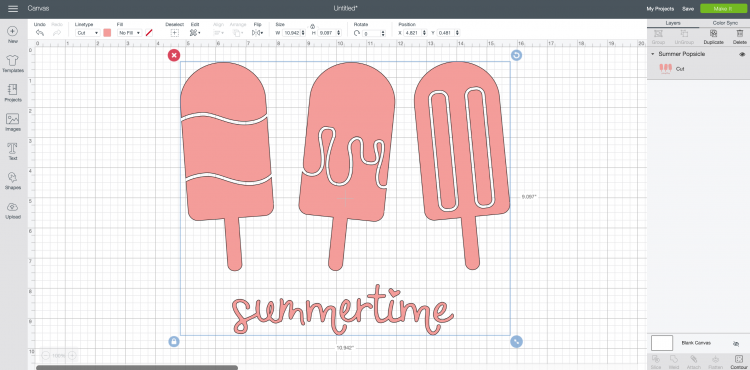
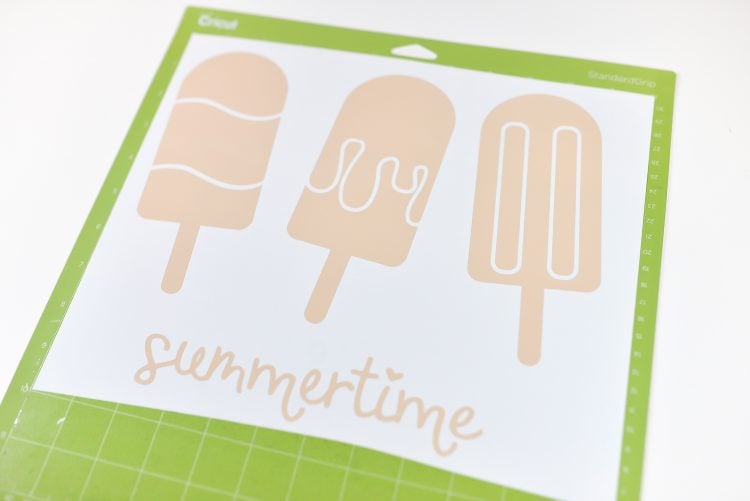
- Cut & Weed Your Adhesive VinylStart out by cutting the adhesive vinyl first. This way you can see how it’s going to fit on the canvas and that will help direct how to paint it. This canvas is 16” x 12”, so the popsicles and the word “summer” were sized to fill quite a bit of the space.
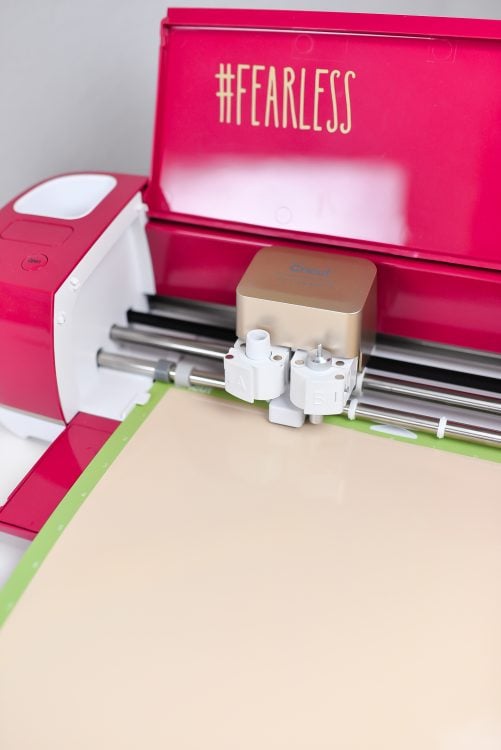
- Use your Cricut or other cutting machine to cut out your vinyl. Prefer to use permanent vinyl instead of removable because it sticks better to the painted canvas surface.
- This is a great time to use up that weird vinyl color that you feel like you’re never going to use (we all have a roll of it, right?). Since the vinyl will not be on the final project, you can use whatever you have lying around.Once your vinyl decal is cut, weed out the negative space. Make sure to get inside the letters and other small spaces.
- Use Transfer Tape with Your DecalThen cut a piece of transfer tape slightly larger than your project. Peel back the white backing sheet and press the transfer tape on top of your vinyl. Use a scraper to burnish the vinyl to the transfer tape. Then peel back the backing paper from the vinyl—your vinyl should stick to the transfer tape. You can read more in this post about using transfer tape.
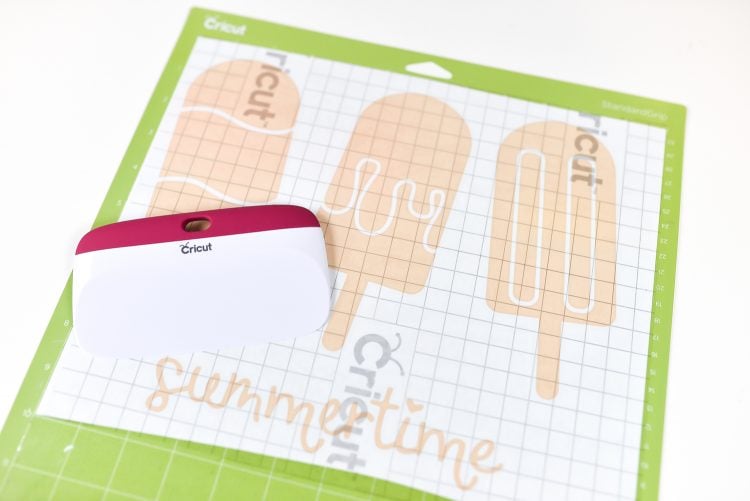
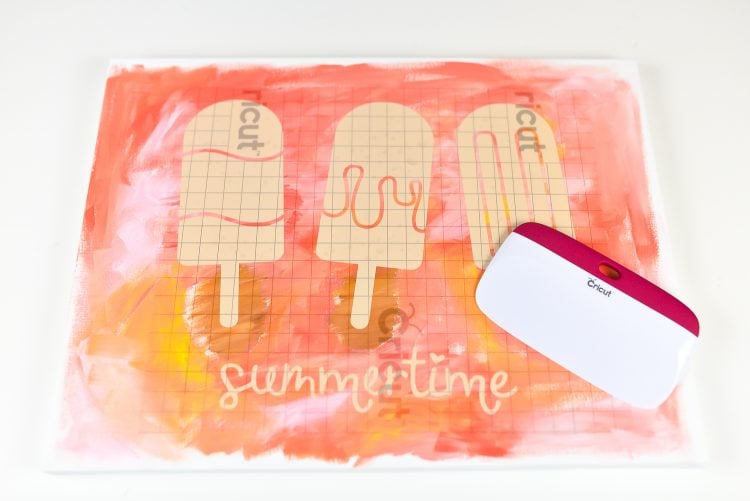
- Then lightly lay your decal with the transfer tape on your canvas so you can get an idea of the layout. You don't want it to stick, so don't press down!For this particular project, I wanted to make sure my popsicle “sticks” were brown, whereas the rest of my popsicles were shades of pink, orange, and yellow. So I lifted the transfer tape / decal and lightly drew around where the popsicle sticks were with a pencil, knowing to paint that part brown so the sticks would be the right color. Then set your transfer tape / vinyl aside.
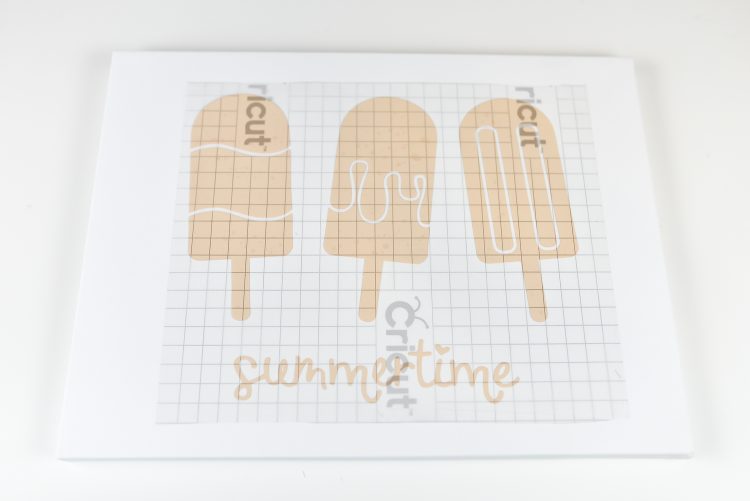
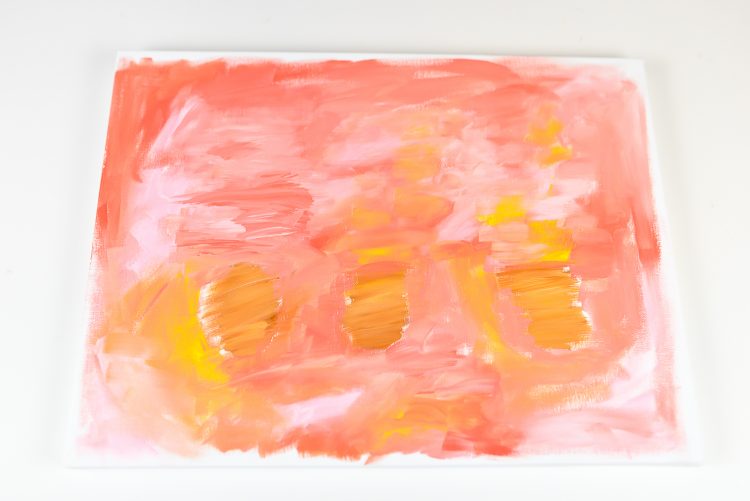
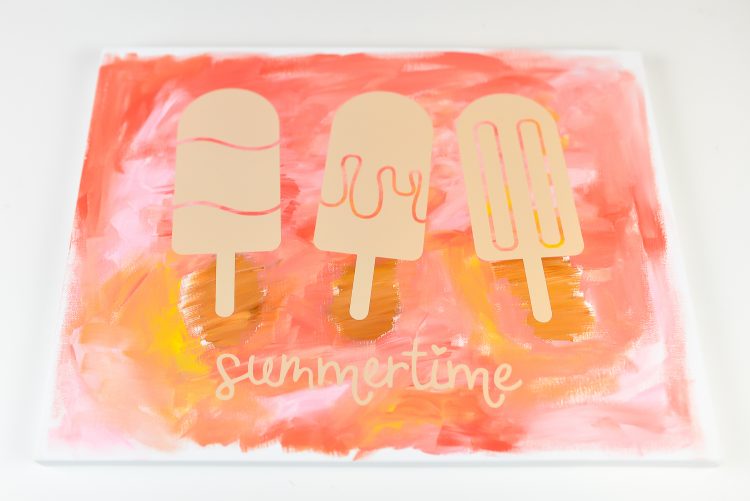
- Paint Your Hot Mess CanvasNow we get to the fun part! The point here is to, well, make a hot mess. Wanted a more watercolor look, so the colors were blended a lot, but you can also do small patches of color. You can see the brown patches for the popsicle sticks.Paid the most attention to the areas where the popsicles and word were going to go. The surrounding area will be covered in white paint, so just lightly brushed out that direction, using it as a way to get paint off my brush so I could use a different color.Once you're done, make sure your paint is flat—you don’t want any places where it’s thick. You’ll want good adhesion with your vinyl in the next step, so a flat surface is key. Use a dry paint brush to brush over the final canvas to make sure the paint isn’t too thick.Let your paint dry, at least 24 hours if possible (this gives it time to fully cure). You don’t want any of the paint to pull up when you remove your vinyl later in the process.
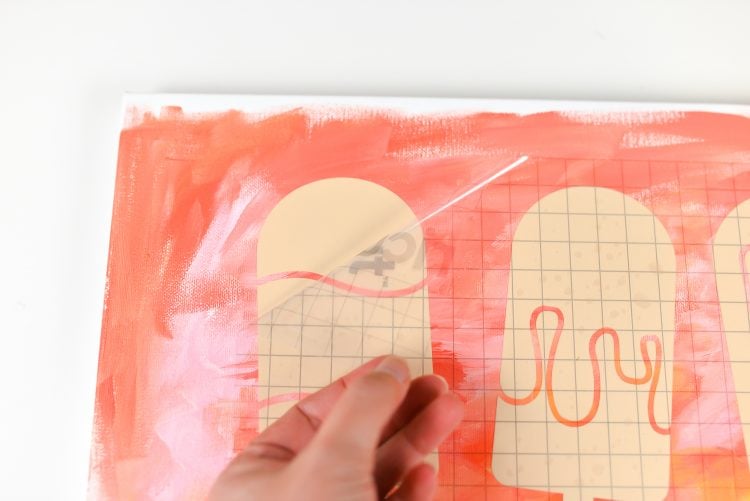
- Adhere Your Vinyl & PaintPlace your decal to your stretched canvas and press to adhere. Use your Cricut scraper from both the front and the backside of the canvas.
- Then carefully remove the transfer tape. Once the transfer tape is removed, go over the decal with the scraper once more, front and back of the canvas.
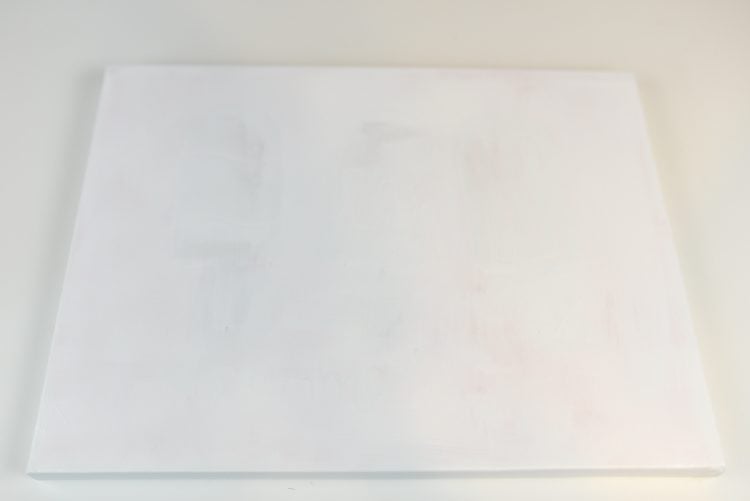
- Then paint the entire canvas white, vinyl and all. Using a foam brush for this, because it doesn’t carry as much paint as a regular paint brush. You want thin layers (2 or 3), so the paint doesn’t seep under the vinyl.

- Let dry for about an hour. Try not to let it dry for too long—if the paint actually has time to cure, then you risk it peeling up when you pull up your vinyl.
- Finishing Your Hot Mess CanvasFinally, use your weeding tool to carefully get under the edge of the vinyl so you can peel it up. Underneath the vinyl you’ll see your colorful paint!
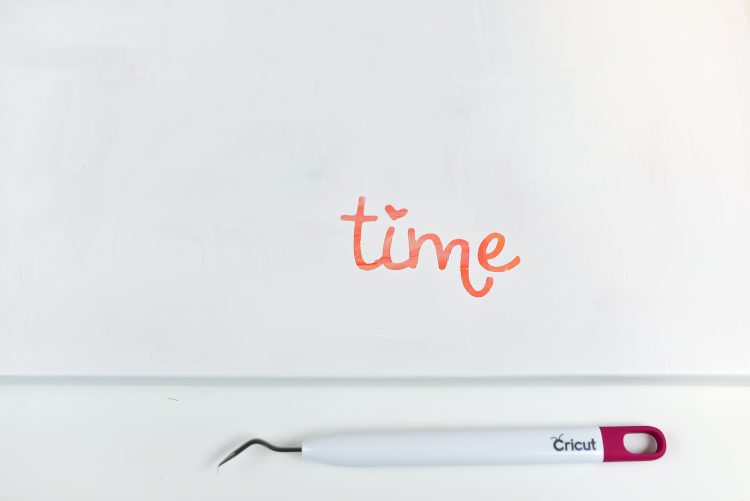
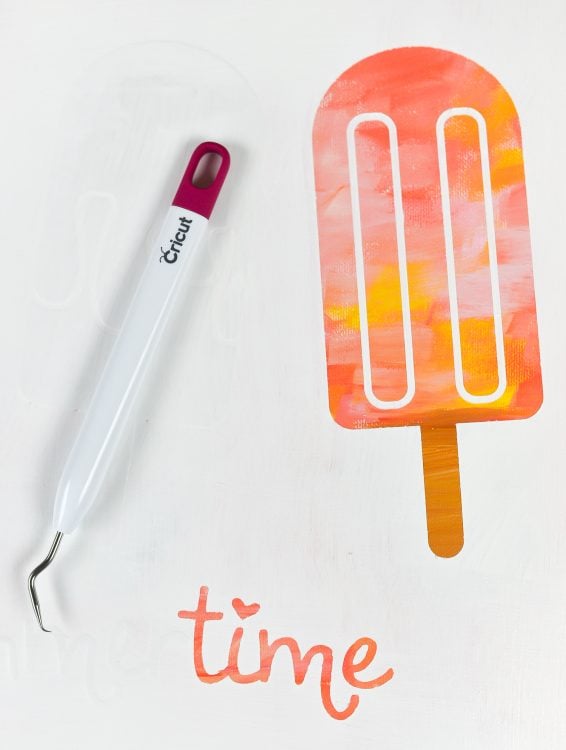
- Peel off all of your vinyl and your project is done!