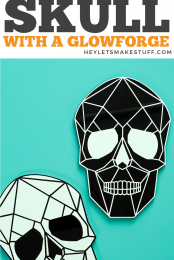
Put your Glowforge or other laser cutter to work for Halloween by making this acrylic geometric skull! This two-color skull is a fun modern piece of Halloween decor. The skull SVG file can also be cut using a Cricut or other cutting machine!
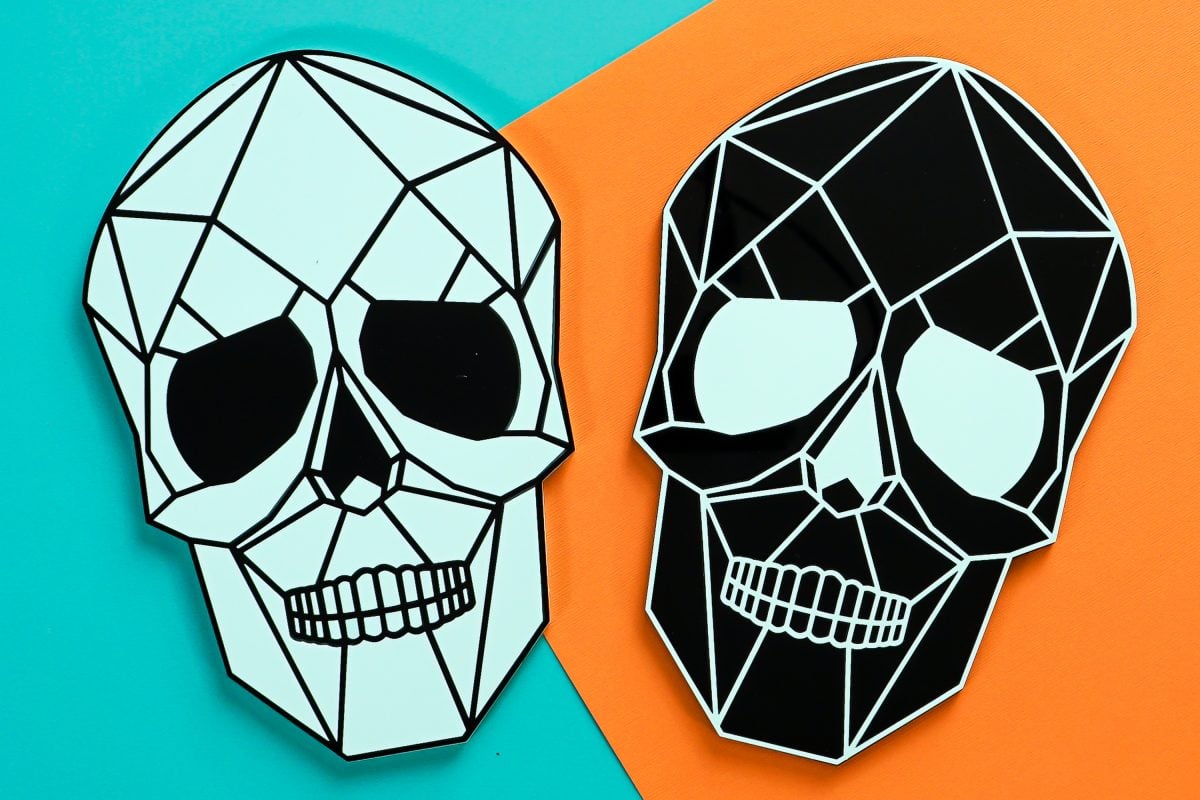
Having two young boys who scare easily, I’m always on the hunt for Halloween decorations that are more fun than spooky. I’ve made pumpkins with sprinkles, goofy monster trick or treat bags, spider web pinwheels, and so many others.
Today I’m adding these fun geometric skulls to the mix! These were cut on my Glowforge from two colors of acrylic—black and “aqua crush.” I am loving acrylic lately. Be on the lookout for more acrylic Glowforge projects coming soon!
Not sure what a Glowforge is? I wrote all about it in my Glowforge Overview: What to Know Before You Buy! You can also save up to $500 on a machine in that post!
This is one of those projects that can be a little time consuming, mostly because it’s a lot of small pieces to unmask. It’s possible to cut acrylic without masking it, but I still prefer to use the mask so I don’t risk scorching or flashbacks. It’s up to you! If you do decide to cut without the mask, I recommend doing some test cuts to make sure your settings are correct.
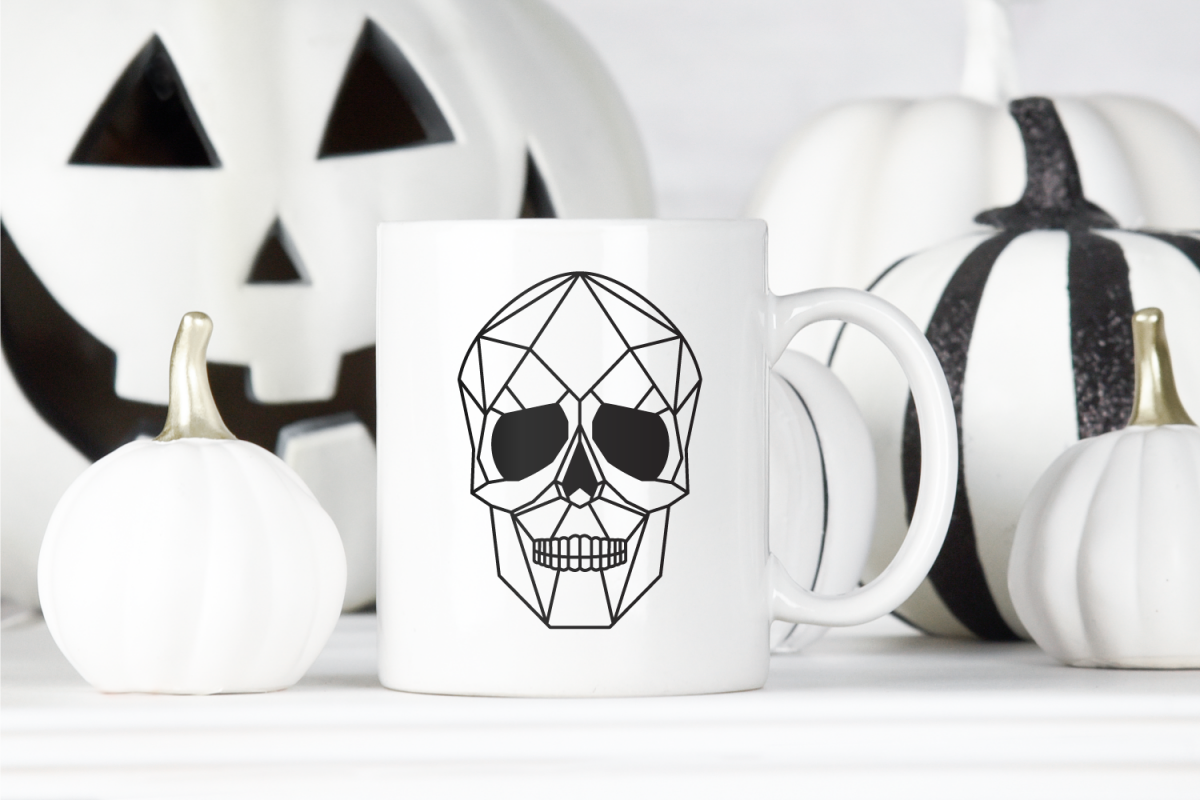
If you don’t have a Glowforge, I also have a geometric skull SVG that’s designed for your Cricut or other cutting machine! Put this on a t-shirt a sign or a mug. You can layer it with a color behind or just use the “frame” of the skull by itself.
Geometric Skull Supplies
- Glowforge or other laser cutting machine
- Two colors of acrylic (see note below)
- E6000 or other acrylic-friendly glue
- HangTak (optional, for hanging)
- Skull SVG
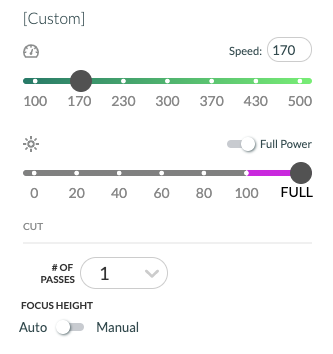
Acrylic Note: I used black acrylic from iMaterials and “aqua crush” acrylic from MODFYbuild, both on Etsy. Both of them shipped quickly and cut beautifully when set to a speed of 170 and full power. I particularly like the aqua acrylic because it is shiny on one side and matte on the other. I loved how the matte blue paired with the shiny black.
For this project, I cut the same file from the two colors of acrylic and then switched the interior pieces to create two skulls. You could also, for example, cut this out of one piece of wood or draft board and paint the interior pieces. Or cut the background and the skull frame in two different colors and forgo the interior pieces altogether. Lots of ways to modify this one to work with your materials.
Geometric Skull Instructions
Upload and Cut Your Skull Pieces
Start by uploading the Skull SVG to the Glowforge app. You can rotate skull and nest it next to the background piece to use less material. I don’t recommend cutting this smaller than 9″ tall—the smallest teeth pieces are really tiny!
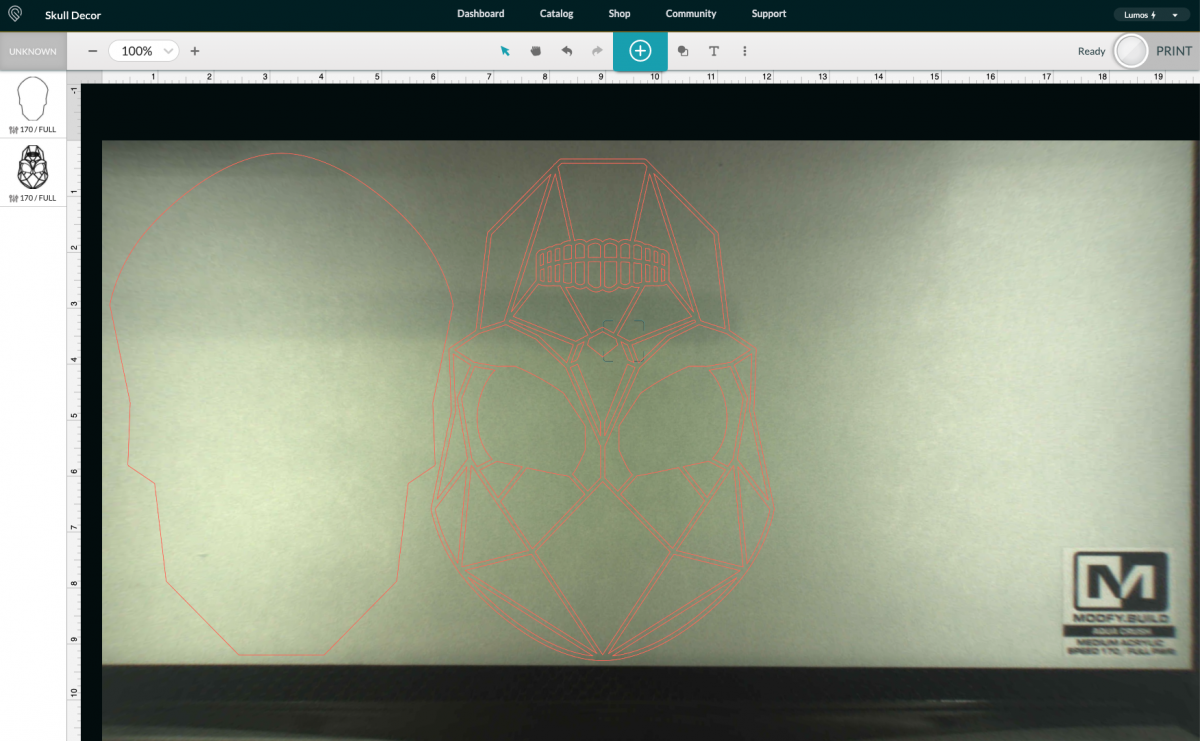
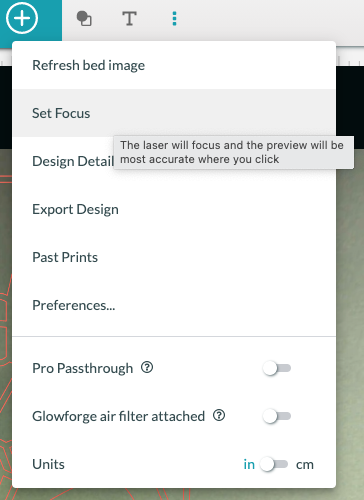
Before you cut, go to the three-dot menu and click “set focus” and then click the middle of your skull. This will help the camera be more accurate and ensure you won’t hit the edge of your material. A big thanks to my friend Heidi at Happiness is Homemade for that tip! If needed, move your pieces so they will cut on the material.
Finally, set each layer to cut. I used the recommended setting from MODFYbuild: 170 speed and full power. This cut both brands of acrylic perfectly.
Then click Print in the top left and follow the prompts to cut your acrylic! To remove your skulls from the machine without losing your tiny pieces, place a piece of masking tape over the pieces and carefully lift everything up in one go. If you lose a piece, check the crumb tray!
Then repeat with the other color, if you’re using two colors of acrylic.
Assemble the Geometric Skulls
If your acrylic was masked, peel off all of the masking tape from both sides. I found my tweezers were helpful for some of the smallest pieces. Not gonna lie, this was a tedious process, but it went pretty quick while I was listening to an audiobook.
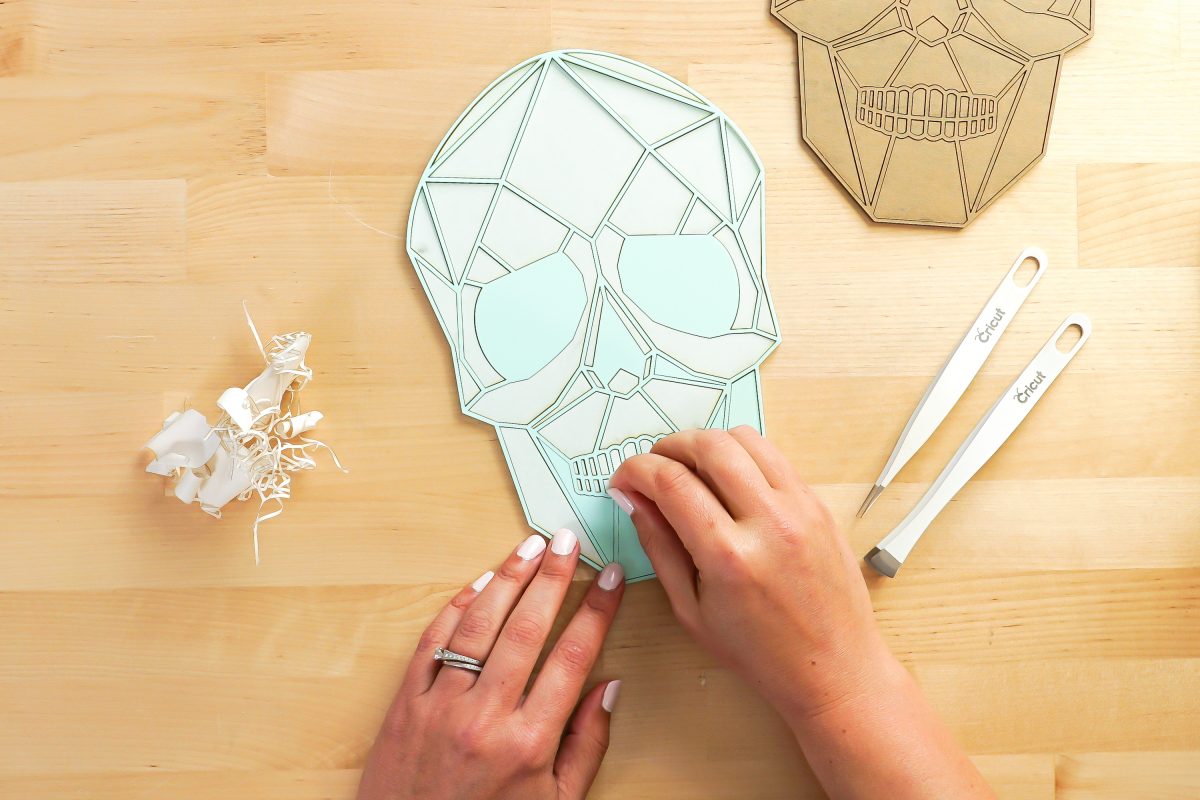
Once you have all of your pieces unmasked, pull the “frame” of the skull off and place it on the opposite backing piece. I like using E6000 glue for opaque acrylic—it sticks really nicely and because the acrylic isn’t clear, you can be as messy as you want and you won’t see it. Try not to bend or stretch the frame in any way—you want your pieces to fit like a puzzle within it.
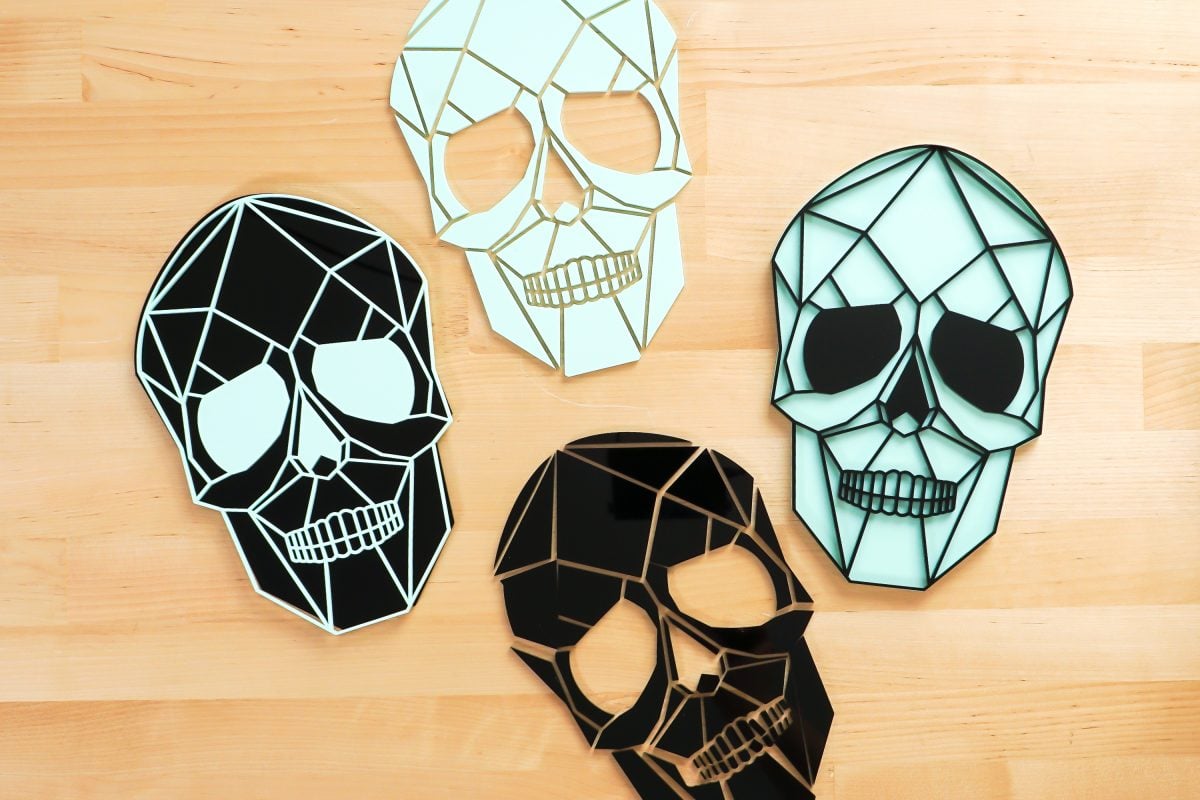
Then simply glue all of the pieces of the opposite color inside the frame! I had a few that were a bit of a tough fit, but with a little force they snapped into place.
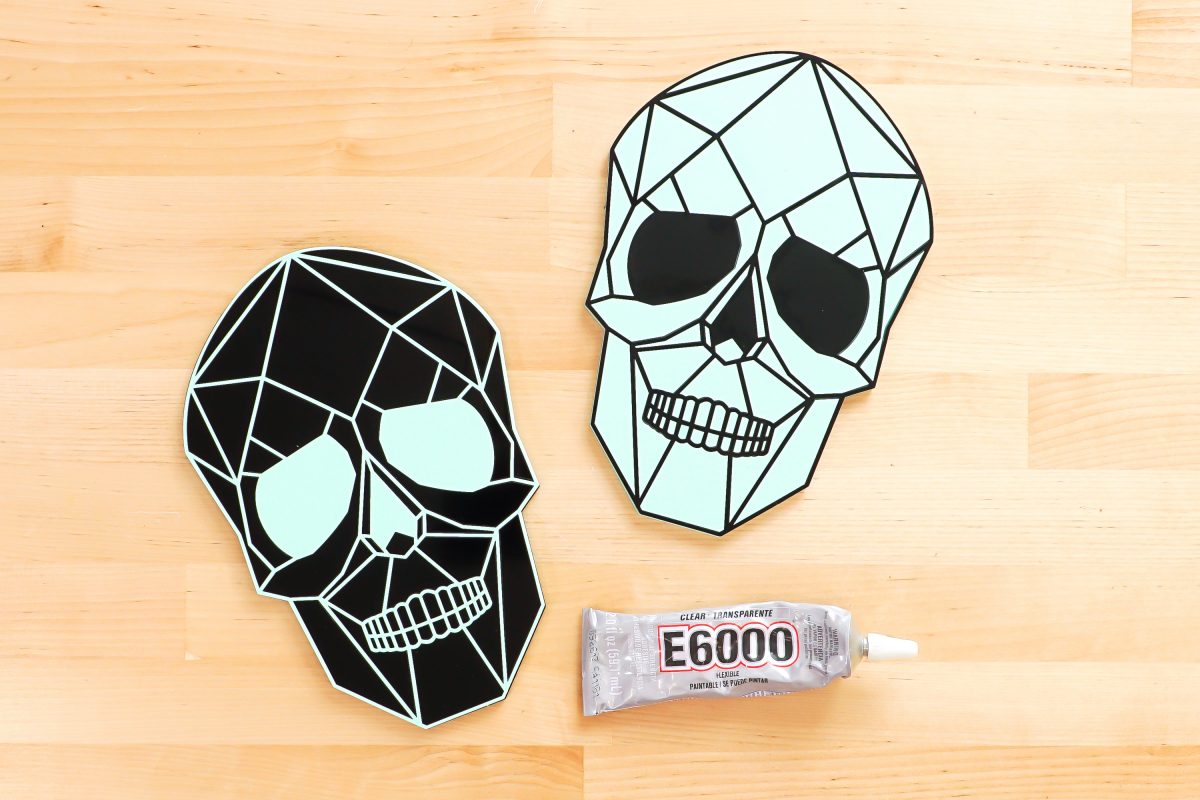
If your glue makes a bit of a mess on the face of your skulls, I found that a combo of Goo Gone + a Mr. Clean Magic Eraser cleans it right up.
Then you’re done! If you’d like to hang these, a bit of HangTak is a great solution. You could also E6000 a ribbon or tab hanger to the back.
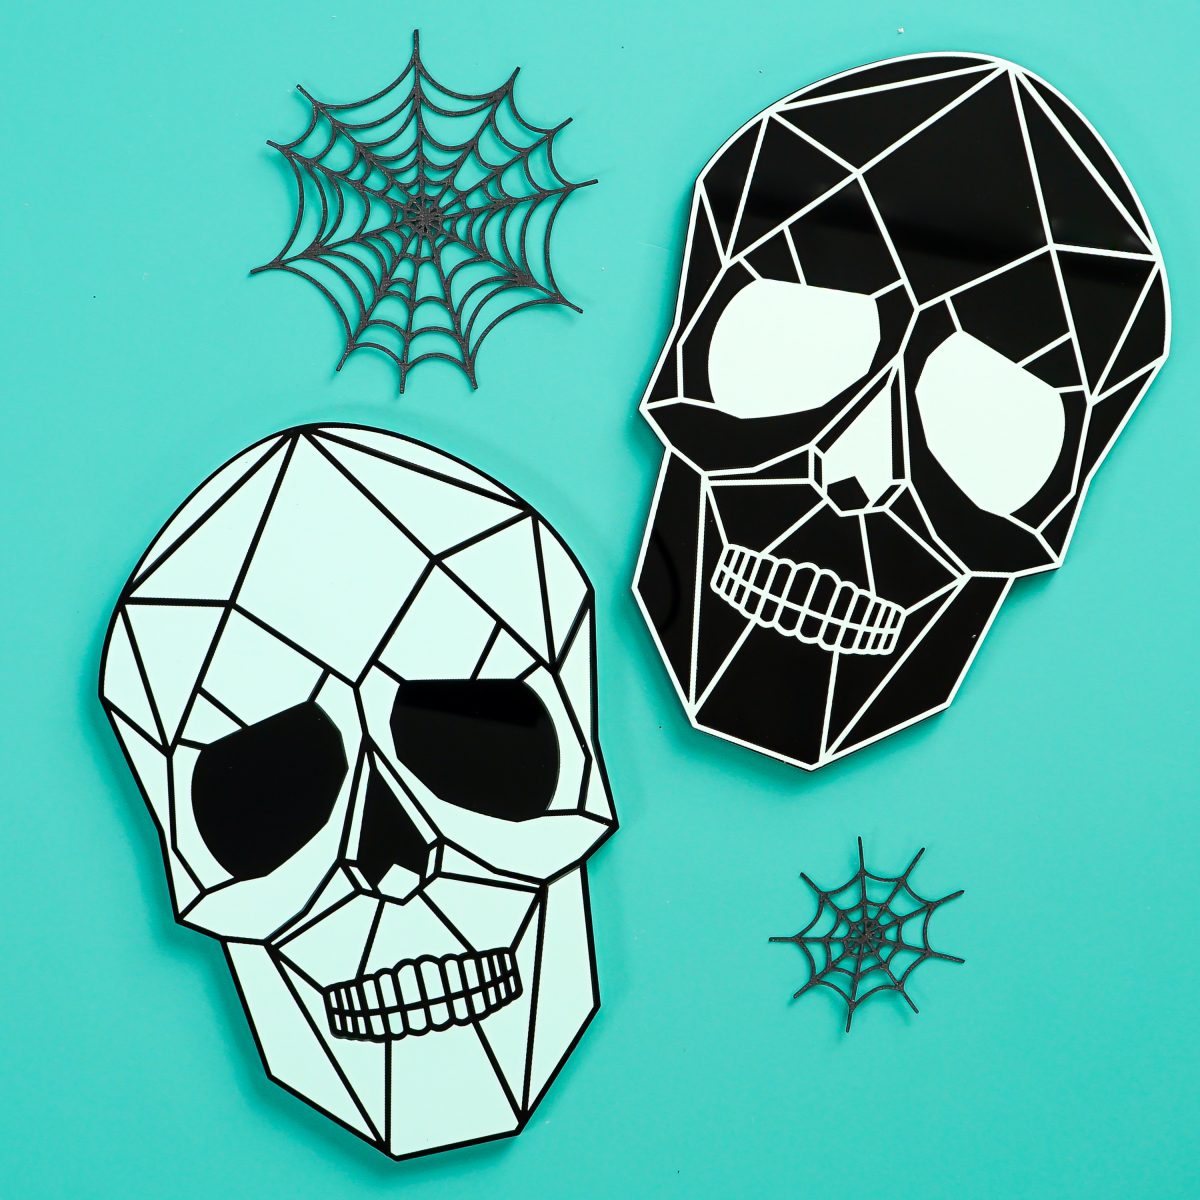
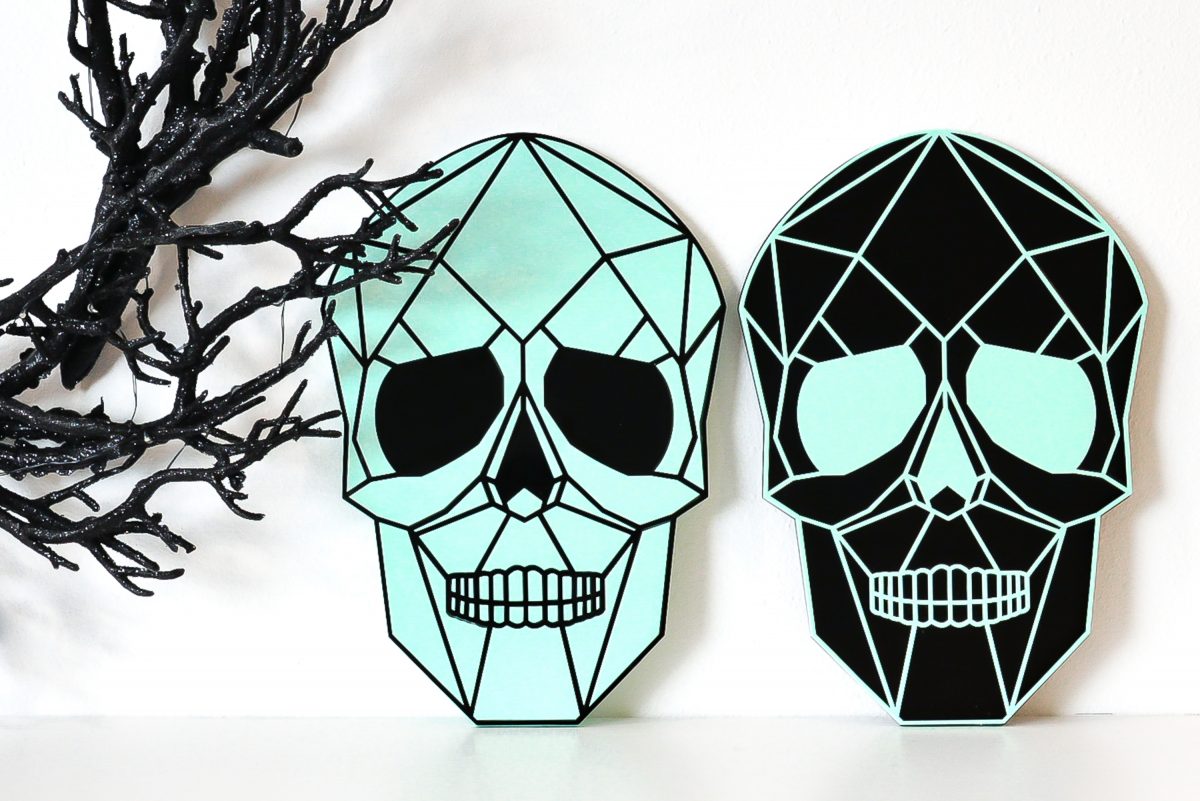
I just love how these turned out—I want to cut them in a bunch of fun color and make the world’s coolest army of geometric skulls!


Leave A Reply!