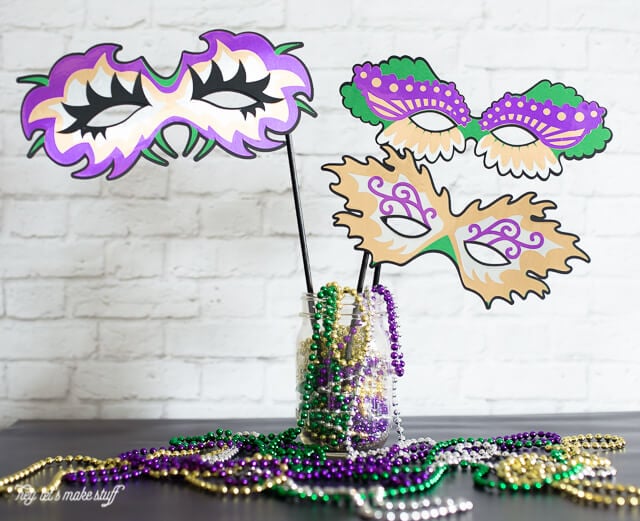
These Mardi Gras masks are perfect for a Fat Tuesday party — either as part of a costume or as photo booth props. They even work as decorations because you can cut them any size you’d like on your Cricut.
Easter’s early this year, which means that Mardi Gras is too! Get ready to party down Bourbon Street on February 9 by making these fun and easy masks with your Cricut Explore. They’re perfect for a Fat Tuesday party, either as part of your ensemble or as photo booth props. They make great decor as well, since you can cut them at any size you want!
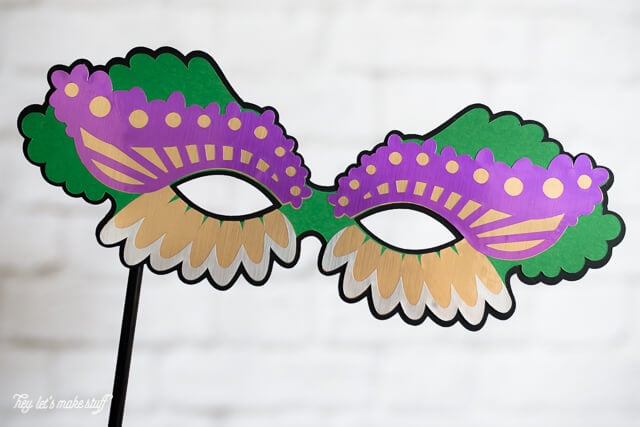
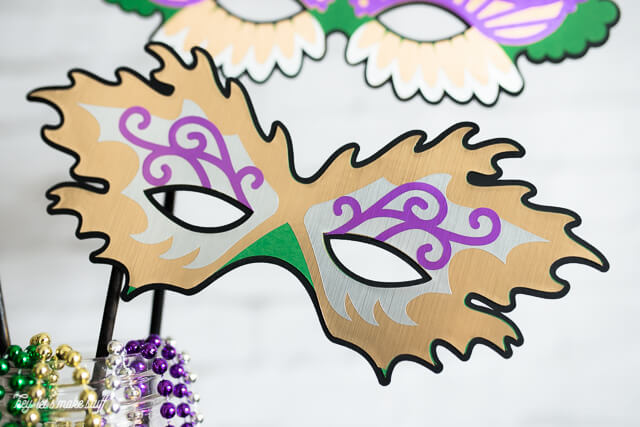
I’ve never used Cricut’s adhesive foil before, but it’s definitely one I’m going to keep coming back to! It’s one of my favorite materials that I’ve worked with so far. They have almost a stainless steel quality about them — a little like they’ve been brushed. I had purple, gold, and silver, and I added black and green card stock to make the masks sturdier and round out the Mardi Gras color palette.
Stop pulling your hair out and start creating confidently with your Cricut! Finally understand how to use your Cricut with my Learn Your Cricut eBooks!
Supplies + Tools
Cricut Explore + cutting mat
Cricut Adhesive Foil in purple, gold, and silver
Black card stock
Green card stock
Wooden dowels
Black spray paint
Spray adhesive
Mini duct tape (or another strong adhesive or glue)
Instructions
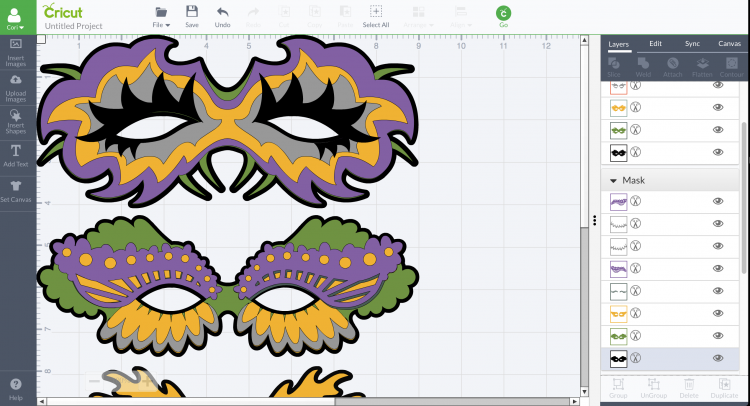
To make these, I used three masks from the Cricut Design Space. I searched for Mardi Gras Mask and if you scroll down a bit you’ll see the three I chose. I think they are technically not Mardi Gras masks, but I changed up the colors and they scream Mardi Gras now!
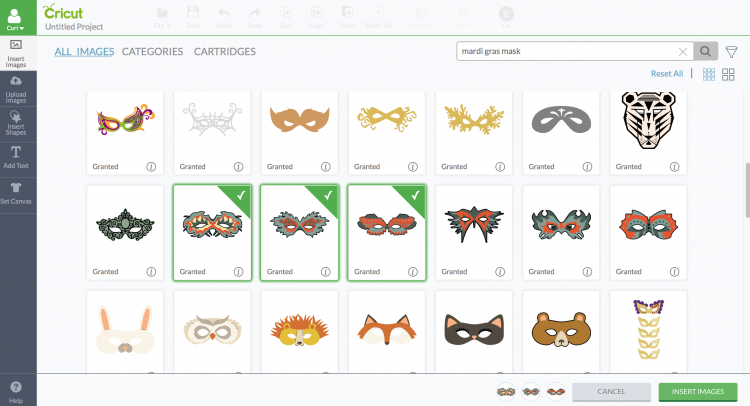
Insert the three masks into the Design Space. They import in around 5″ wide, but I expanded them to make them 9″ wide, which seems to be the right size for a mask an adult would wear. You could also make them a full 12″ wide for big decorations.
Using the scissor icons next to each individual element in the masks, change the colors to make them Mardi Gras. I used yellow to represent the gold foil and gray to represent the silver foil. You’re also telling the Cricut which layers to cut together to save time and material (so, for example, all the purple layers will be cut at the same time in purple adhesive foil).
Then click the green Go! at the top of the screen. You’ll cut each layer individually and remove them from your cutting mat. And then it’s time to assemble them!
The foil is a little delicate to work with — just be careful when you’re peeling it off the backing paper not to tear it. Many people use transfer tape when using adhesive foil, but I just peeled it off and carefully lined it up and placed it on the green paper backing, and then layered the other foils on top of that. To adhere the paper layers, I used a bit of spray adhesive.
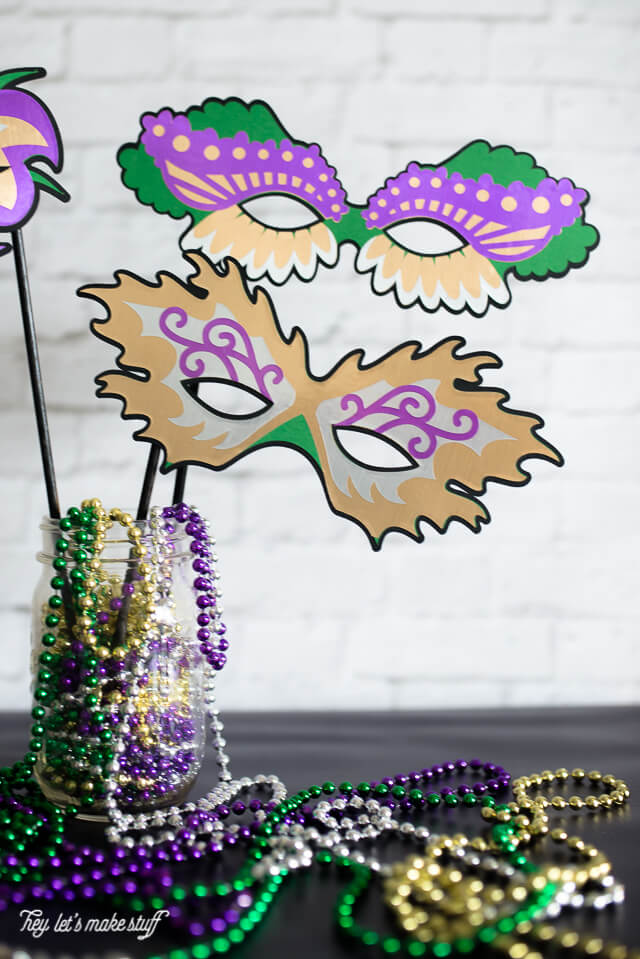
Spray paint some wooden dowels black, and use the mini duct tape to adhere them to the back of each mask, off centered so you can hold them. Obviously you can skip this step if you’re using them for decor and not props.




Comments & Reviews
Brian says
Looks like you could put this together in just a couple minutes! I love how they came out. Thanks for sharing!
Rebecca says
I love these! Way more fun than picking them up at the store!