Use your Cricut Maker to cut and mark sewing patterns! Then sew this handy fabric tablet case for your iPad, Kindle, or other tablet — with an easy wrap-around zipper and exterior pocket for your earbuds or other accessories.
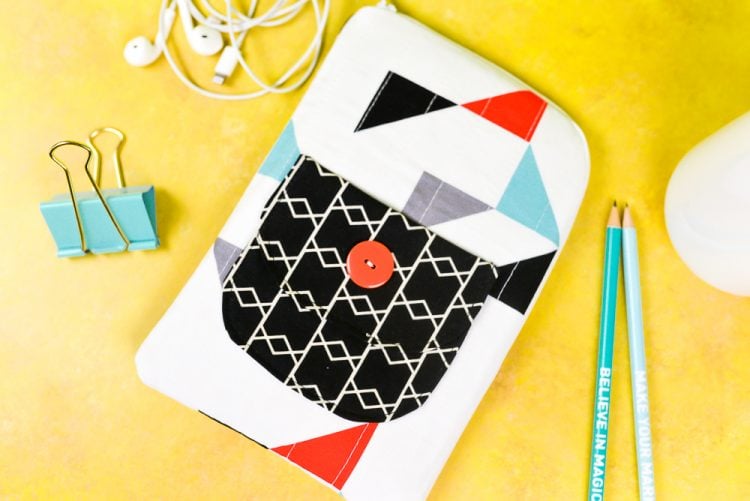
I am one of those people. A phone-dropper. A tablet-dropper. A, well, everything-dropper. So I’ve come to rely on cases for my different tech. And why use a boring store-bought case when I could make one myself and get to play around with the new Cricut Maker’s ability to cut fabric! To put this together, I used a selection of Cricut Fabrics.
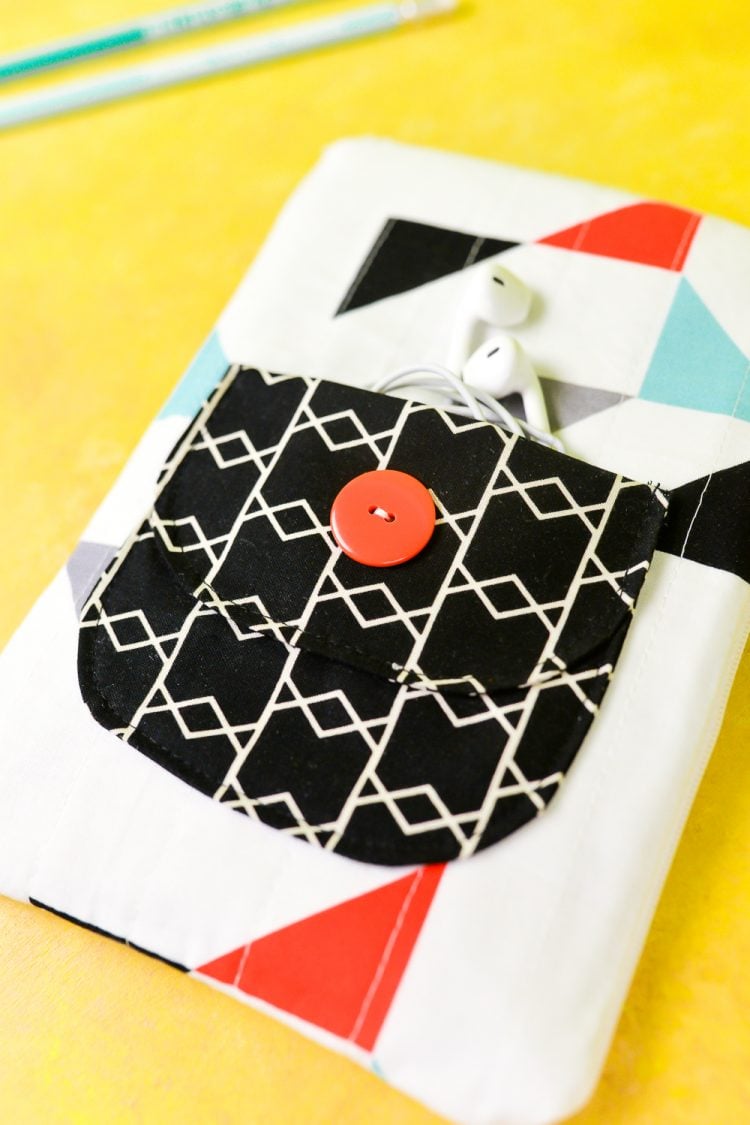
This project is one of the 50 free projects that comes with Cricut Access when you buy a Cricut Maker. Nearly 50 other bloggers and I decided to make them all so that you could get a great visual of what it’s like to make each project. The other day, I made an easy customized leather luggage tag and today I’m tackling this tablet case.
Quilted Fabric Tablet Case
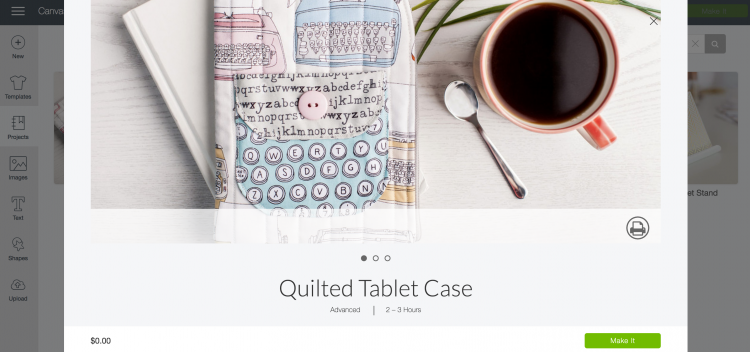
Start by printing out all of your instructions — you can do this from the Make It Now screen, right below the main project photo. I find having the printed instructions to refer to was really helpful!
Cutting out fabric on the Cricut Maker is awesome. I have a whole post on how to cut fabric on the Cricut Maker, and this was no different. Following the printed directions, I cut the fabric for the batting (I used fusible fleece), the front and lining fabrics, and the pocket fabrics. I also needed a zipper, single-fold bias tape, and a cute button.
I’m not going to go into how to sew this together since all of the instructions are within the project. I had one issue with the pattern that I thought I’d elaborate here. I’ve been in touch with the Cricut team, so hopefully it’ll be updated soon!
The issue I had was that if you are using fusible fleece or Heat N Bond for the interfacing, it never tells you to actually quilt your project (it does if you make a traditional quilt sandwich). I did figure out they missed that step, but I just quilted my top piece of my fabric to the batting, forgetting to put the interior backing piece on (I blame years of quilt-as-you-go for this). It was an easy fix — I just used a little fusible web to adhere the pieces together (you’ll see no quilting lines in the interior of my case!). So just remember that no matter the interfacing you use, make sure to make the complete quilt sandwich — exterior, batting, interior — and quilt it all together.
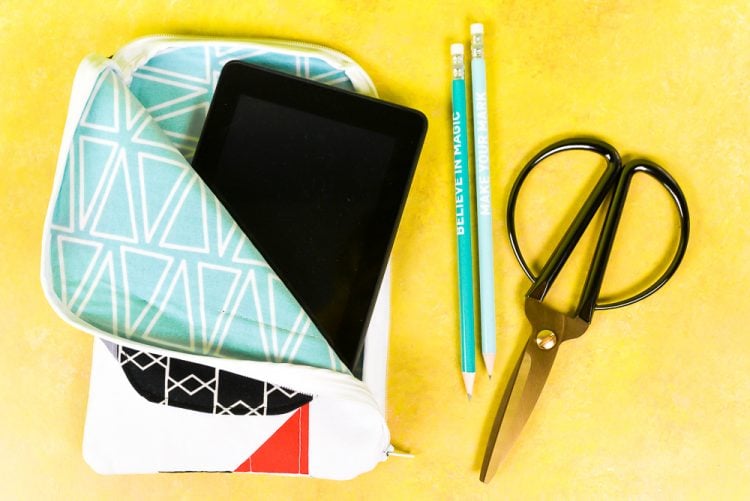
One new technique I learned doing this project is how to use bias tape to finish raw edges inside my case. I don’t sew a lot of projects like this, so it was a new technique to me. I thought it created a really clean interior of the case and I’m definitely going to use this technique in future projects I make!
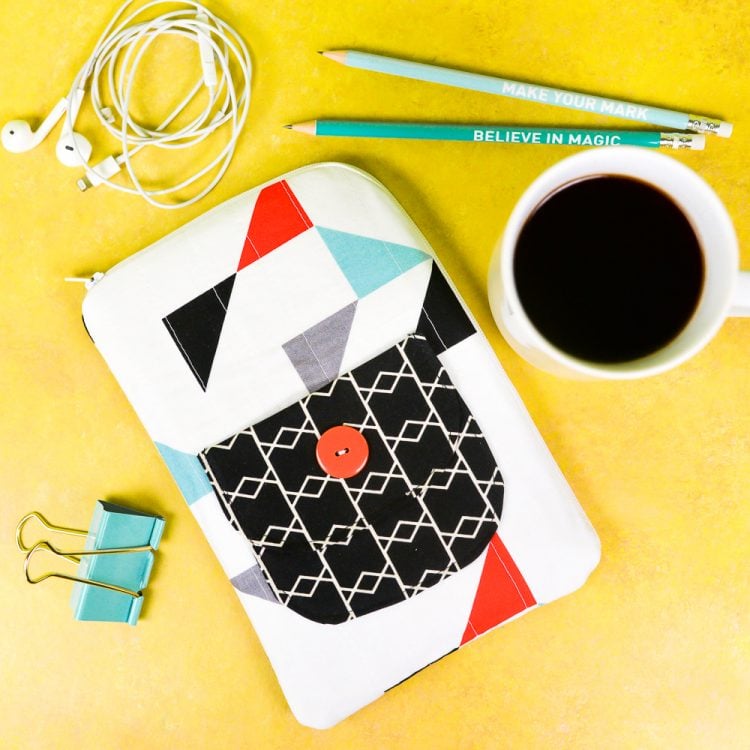
My favorite thing about this project was how neatly it all came together because my pieces of fabric and fusible fleece were cut absolutely perfectly. It really does make a difference in your sewing if your starting pieces are the exact size you need them to be!


Comments & Reviews
Cathryn says
I have two makers, love this project but it has no customize option and my tablet is 10.5 inches so any suggestions?!?
Cori George says
It stinks, but there’s really no workaround. The projects are the size they are and there’s no way to adjust the sewing patterns. I know it’s something they’re working on, but for now, it’s just what it is. Sorry!!
lucie scalia says
would love to win this cricut maker to make my sewing so much easier. Already own a cricut explore air but this maker is exceptional!
Cori George says
It is seriously something! Good luck!
Sydney @ Tastefully Frugal says
This is such a cute project! I’ve found I’ve been taking my kindle to carpool with me more often since I have to wait awhile sometimes…I usually just throw it in the diaper bag but I think this would be a much better holder!
Cori George says
Thank you Sydney!
Diane C says
Thank you for the chance to win the new Cricut Maker.
Elaine says
Thank you for giving me a chance to win! The Cricut Maker looks to be a fabulous machine.