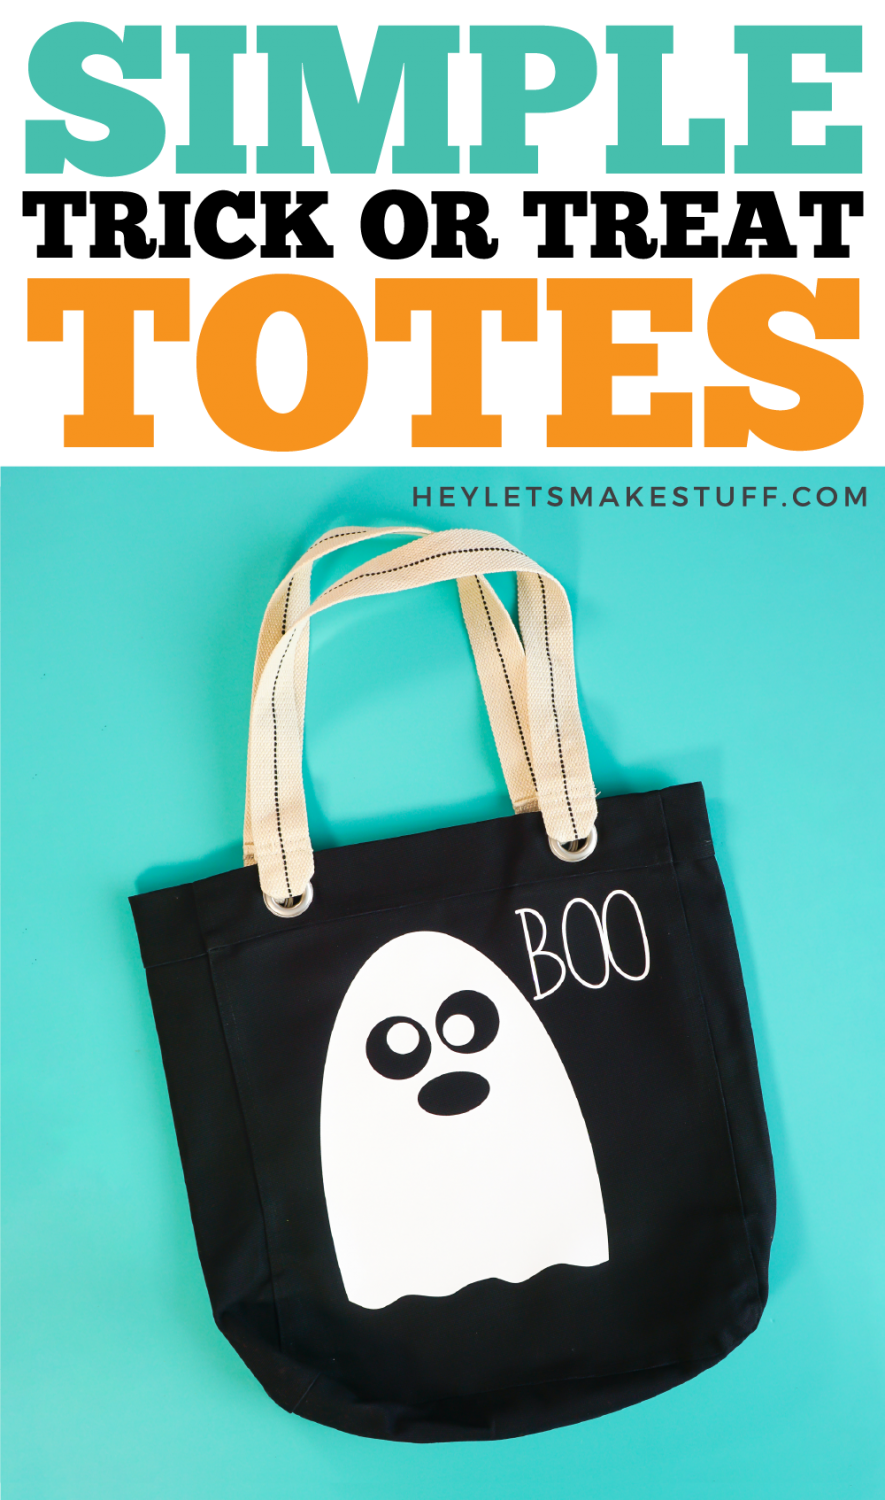
Trick or Treat! It’s that time of year—kids are heading out into the neighborhood in search of candy for Halloween! Send them off in style with these DIY Trick or Treat bags made using your Cricut Maker or Explore! Six fun SVG designs to choose from.
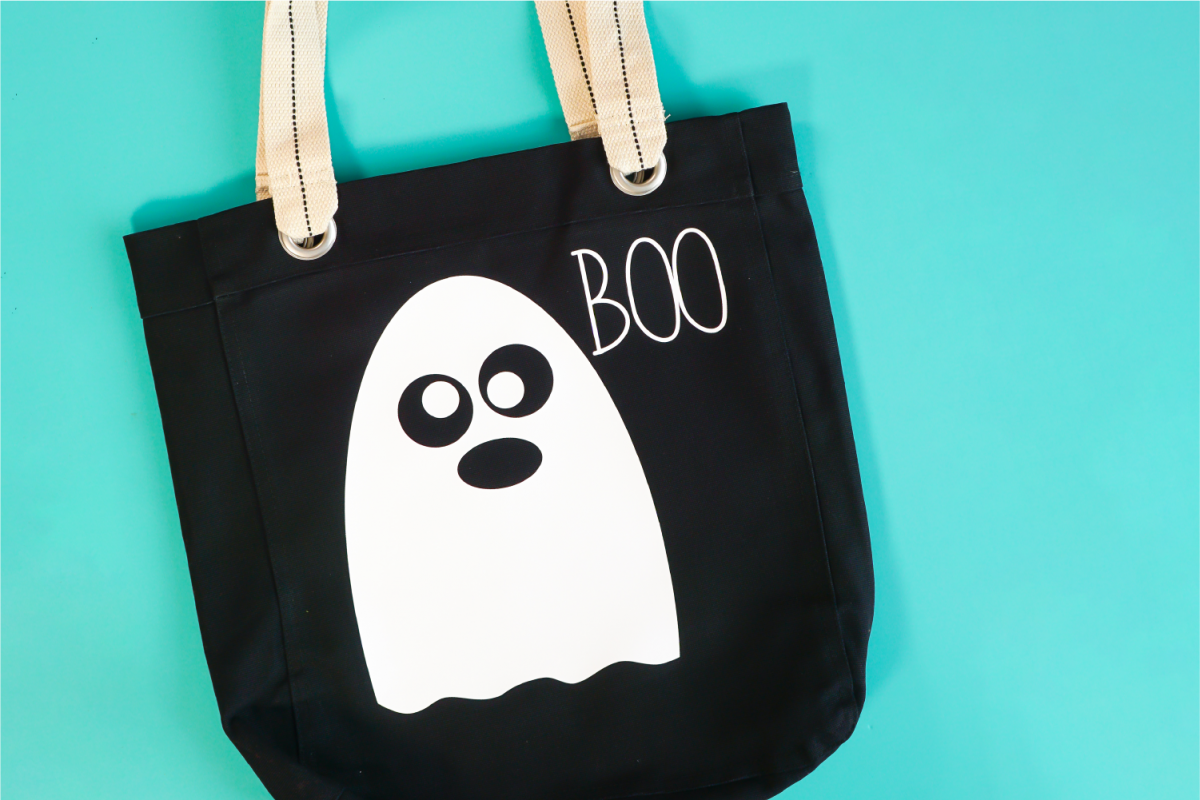
I’m really excited about this project today! These DIY trick-or-treat bags are a collaboration with Angie from the Country Chic Cottage. Angie is one of my absolute best blogging friends and we’ve been trying to figure out how to do more collaborations since we really do enjoy working with each other so much—and we know there’s a lot of crossover between our audiences!
So today we’ve teamed up to share how to make the cutestDIY trick-or-treat bags! Of course we’re using our Cricut machines, since that’s such a big part of both of our blogs. If you haven’t checked out the Country Chic Cottage before, you’ll find tons of helpful Cricut tutorials, as well as sublimation tutorials and tons of easy crafts. Her YouTube channel is also incredibly helpful if you like learning via video.
We’ve partnered with Heat Transfer Warehouse for this post—grab all the supplies you need to make this project in a bundle! They also have a HUGE selection of materials and blanks. The canvas bags we used are super high quality—your kids will be able to use the trick-or-treat bags for years to come!

Angie and I joined together to create a video tutorial for these bags. Check it out here!
If you prefer written directions, read on!
Supplies for DIY Trick or Treat Bags
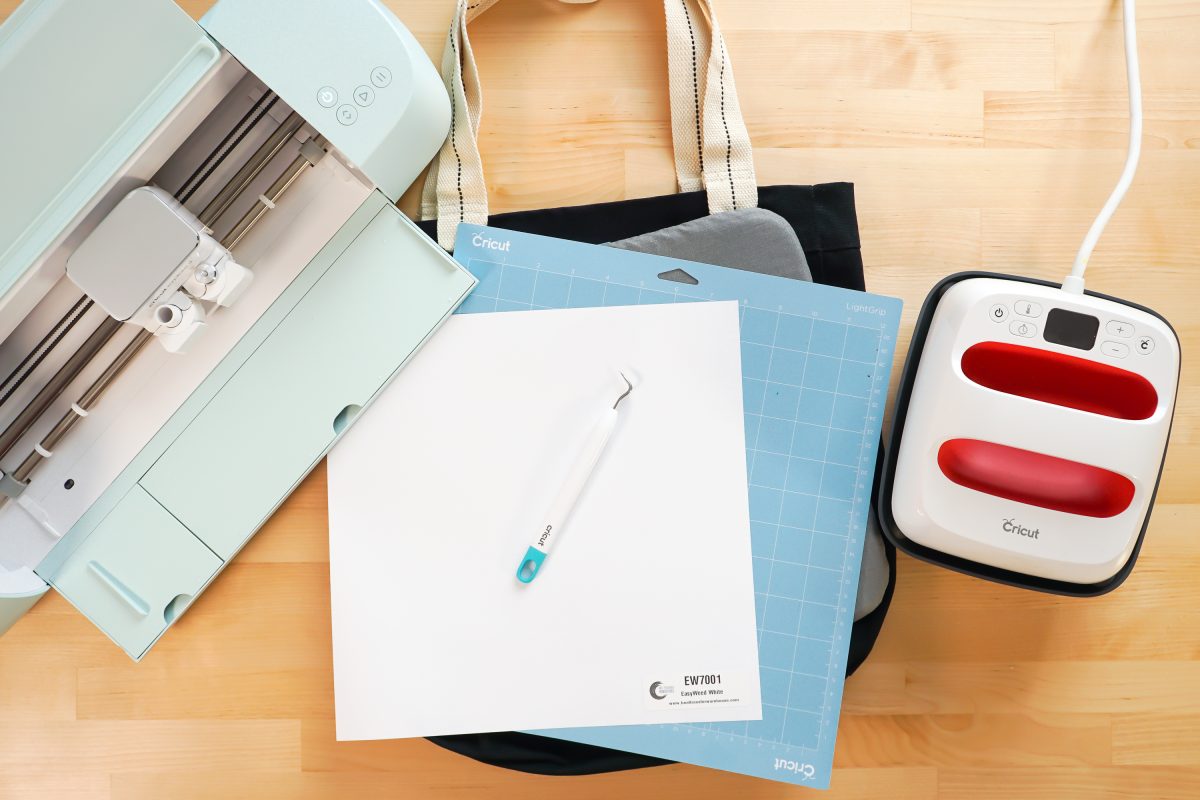
- Cricut Maker 3, Cricut Explore 3, Cricut Maker, or Cricut Explore
- Blue LightGrip or Green StandardGrip mat
- Iron on vinyl
- Weeding tool
- Cricut EasyPress, Cricut EasyPress Mini, or household iron
- Pressing mat or EasyPress mat
- Canvas Tote Bags
- Trick or Treat Bag SVG Files
How to Make DIY Trick or Treat Bags
Set Up the File in Design Space
To start, upload the file to Cricut Design Space (see Uploading SVG Files to Cricut Design Space if you need help).
There are six projects for you to choose from. For this post, I’m making the ghost. If you want to make one of the designs with multiple colors, read more about How to Layer Iron On Vinyl.
If needed, select the layers and click Attach so they cut together. Resize the image to fit on your bag. That’s it!
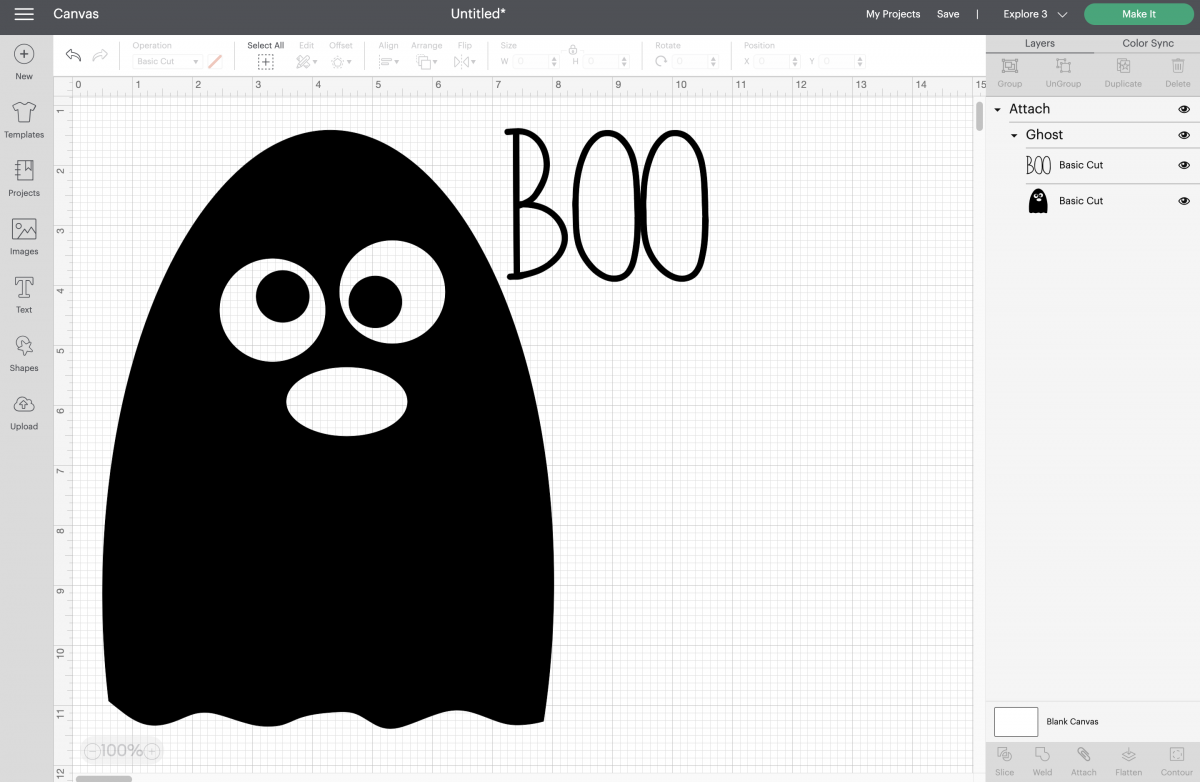
Click Make It in the Upper Right.
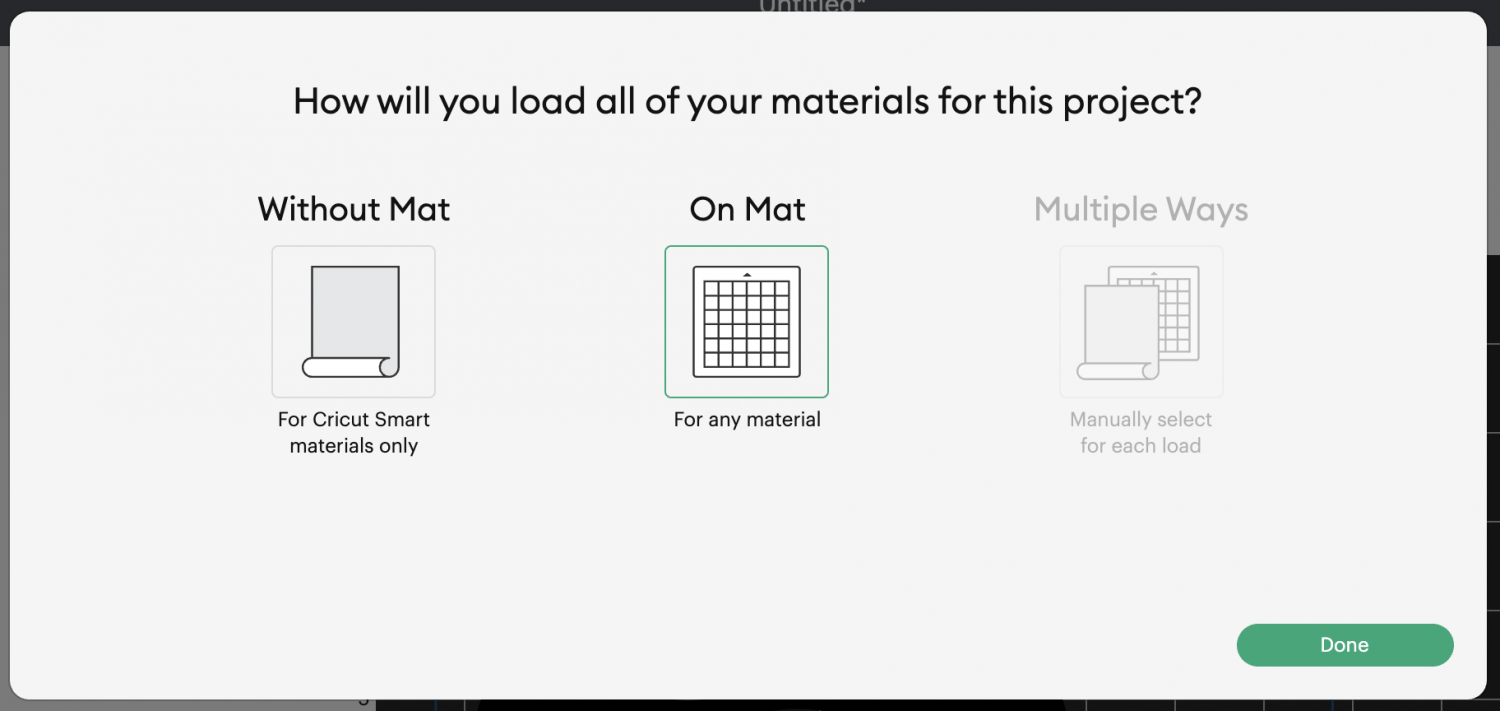
If you have a newer Cricut Maker 3 or Cricut Explore 3, you’ll see a window asking how you want to load your material. I am cutting mine using Siser EasyWeed, so I chose On Mat. If you are cutting with Cricut Smart Iron On, you can choose Without Mat. If you have an older machine, you won’t see this screen.
In the Prepare Screen, click the “mirror” slider. This will ensure that the image faces the correct direction when ironed onto the bag.
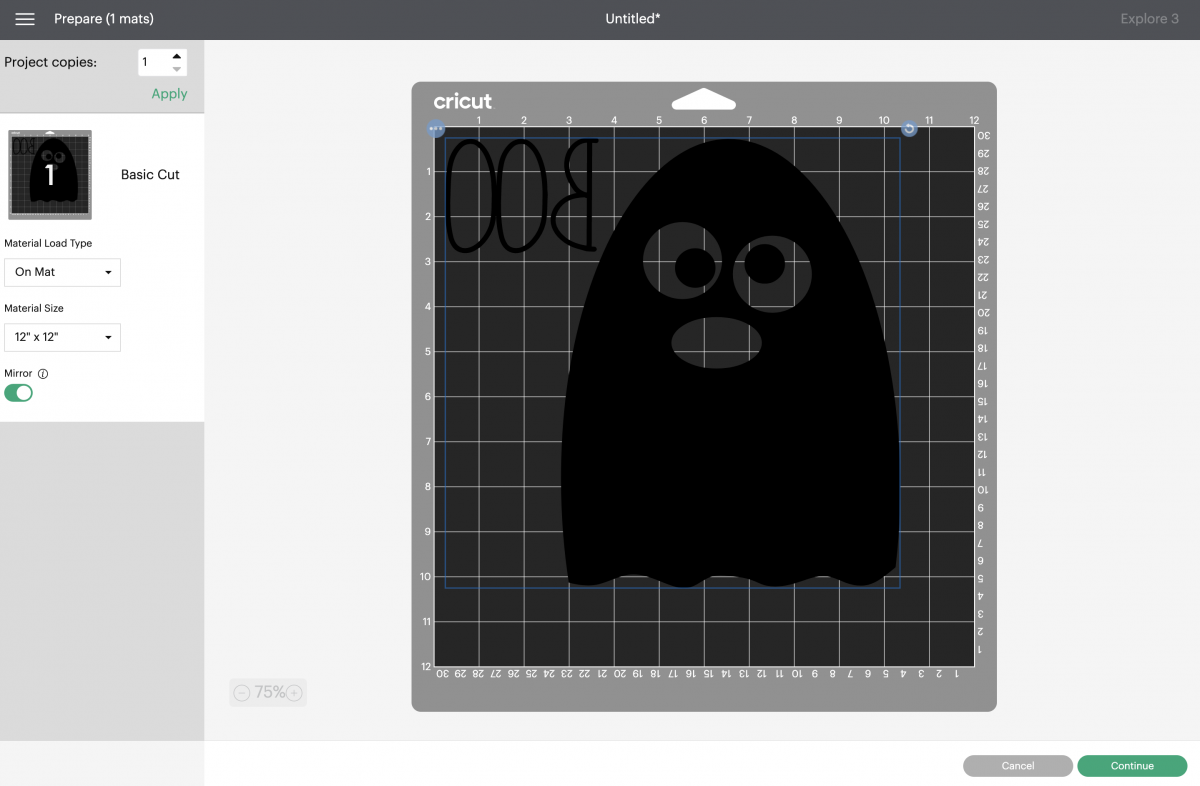
Then click continue.
Cut Your Iron On Vinyl
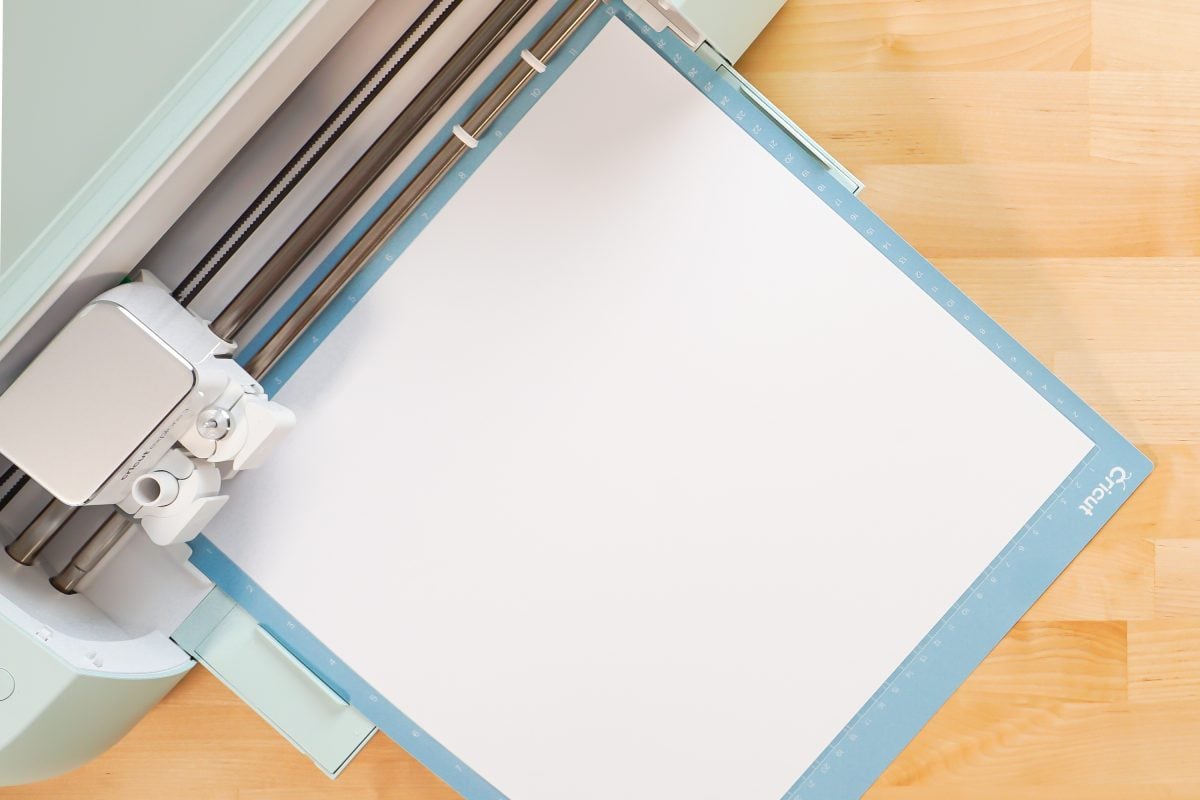
On the Make Screen, you’ll set your material to iron on. Make sure you have your fine point blade in your machine, insert your mat, and your Cricut will cut your project!
Weed Your Iron On Vinyl
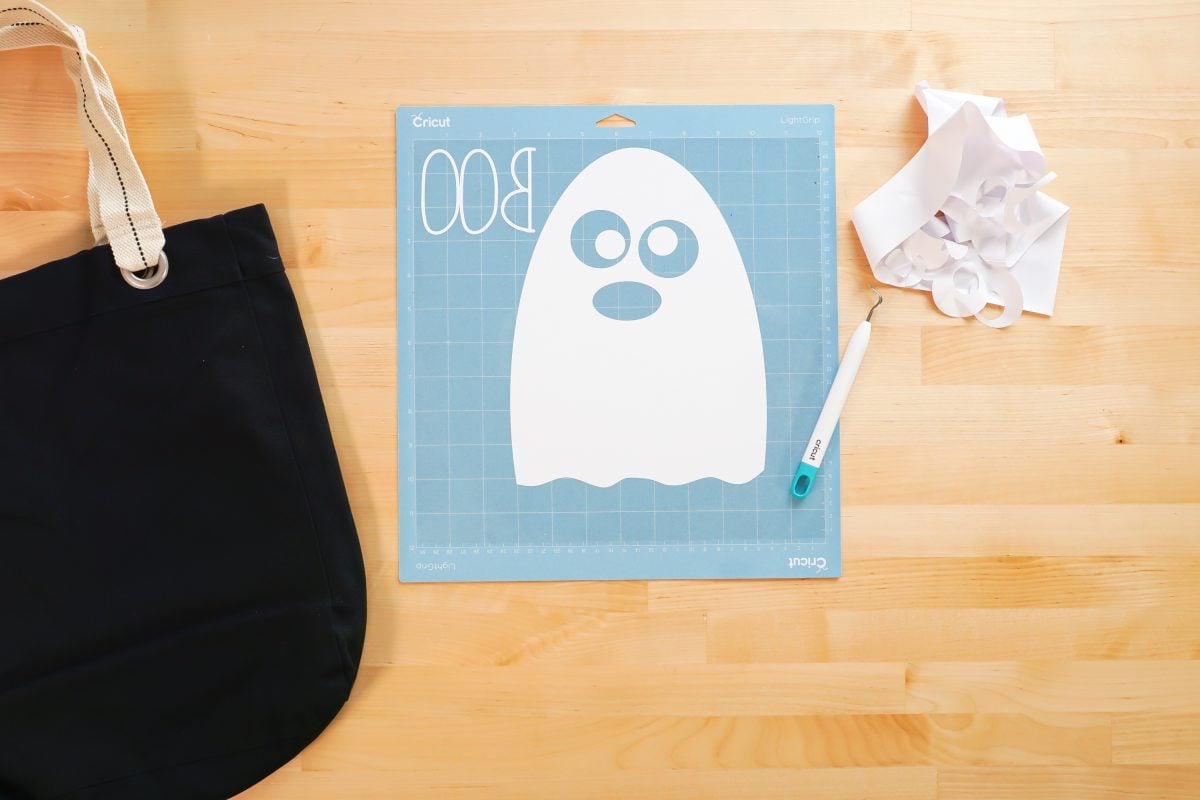
Next we’re going to “weed” the negative space from around our image. I have an extensive post about Weeding Iron On Vinyl, which you’ll want to read—tons of tips and tricks to making it easier.
Adhere Your Iron On Vinyl
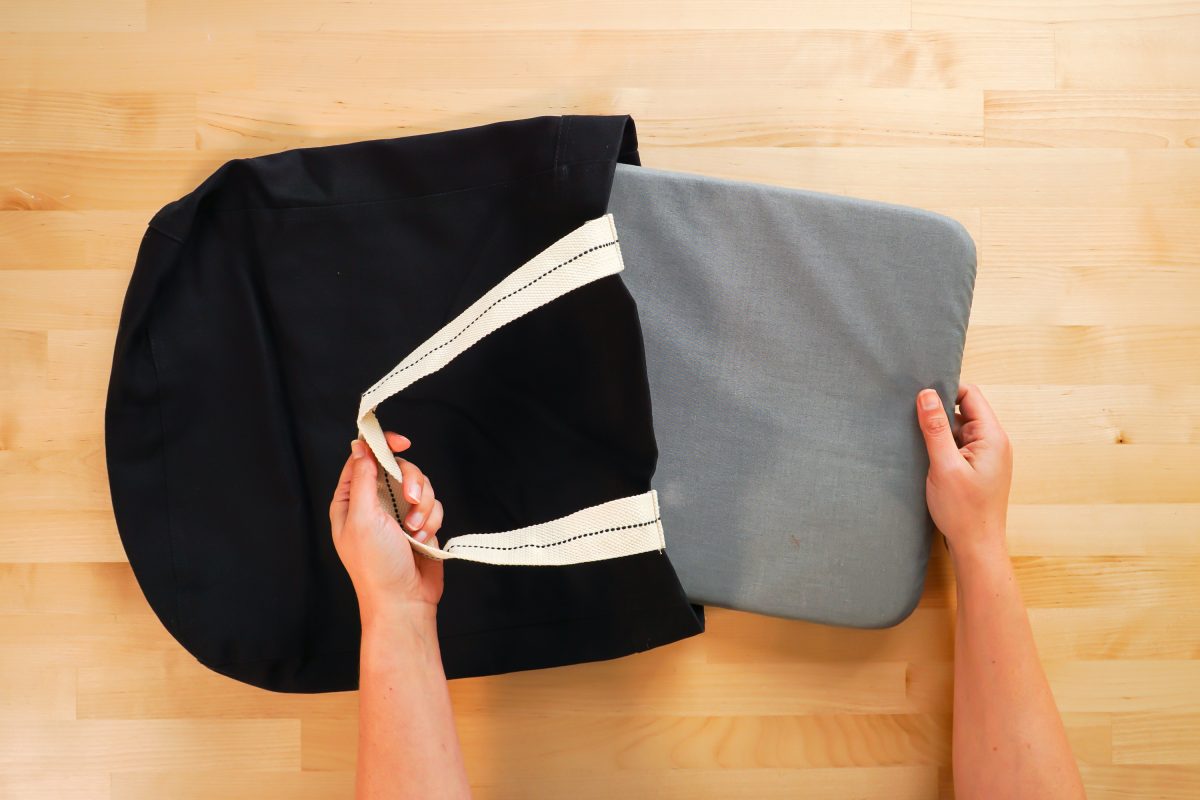
Now we are going to adhere our iron on vinyl to the bag. Start by placing your pressing mat inside your bag.
Place your image onto the bag, centering it.
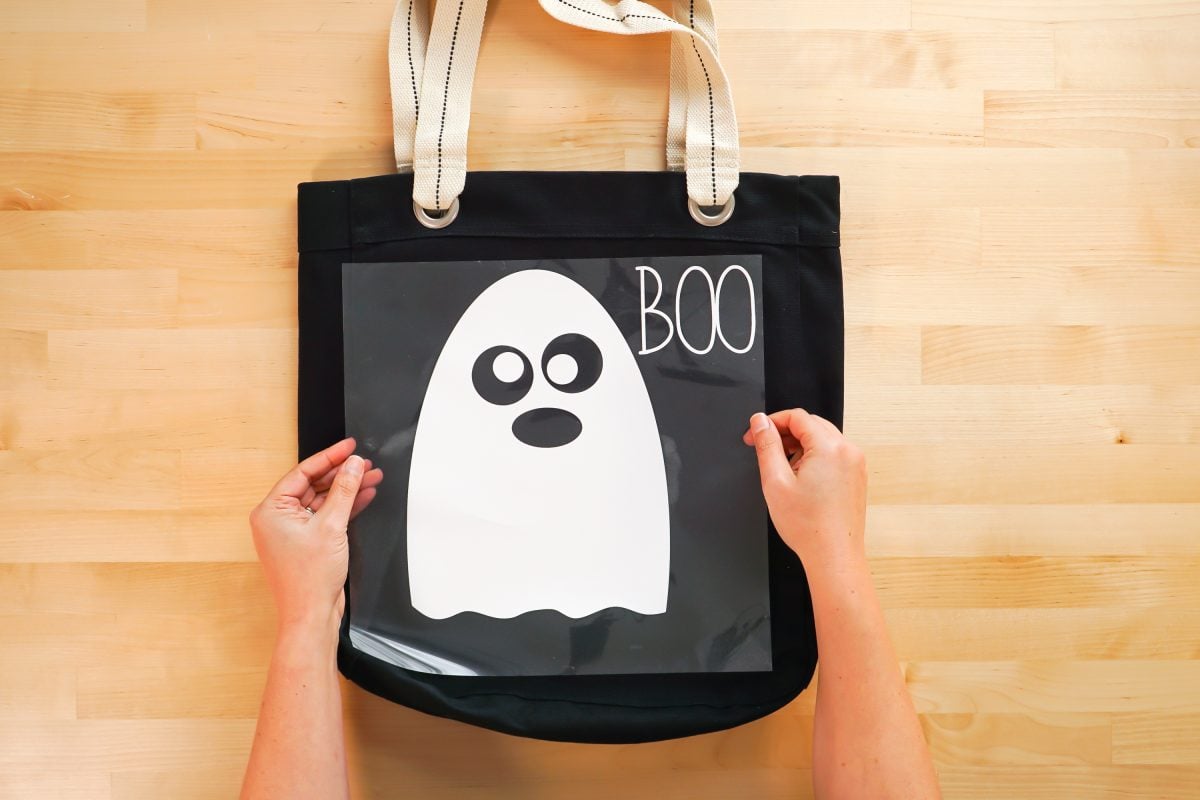
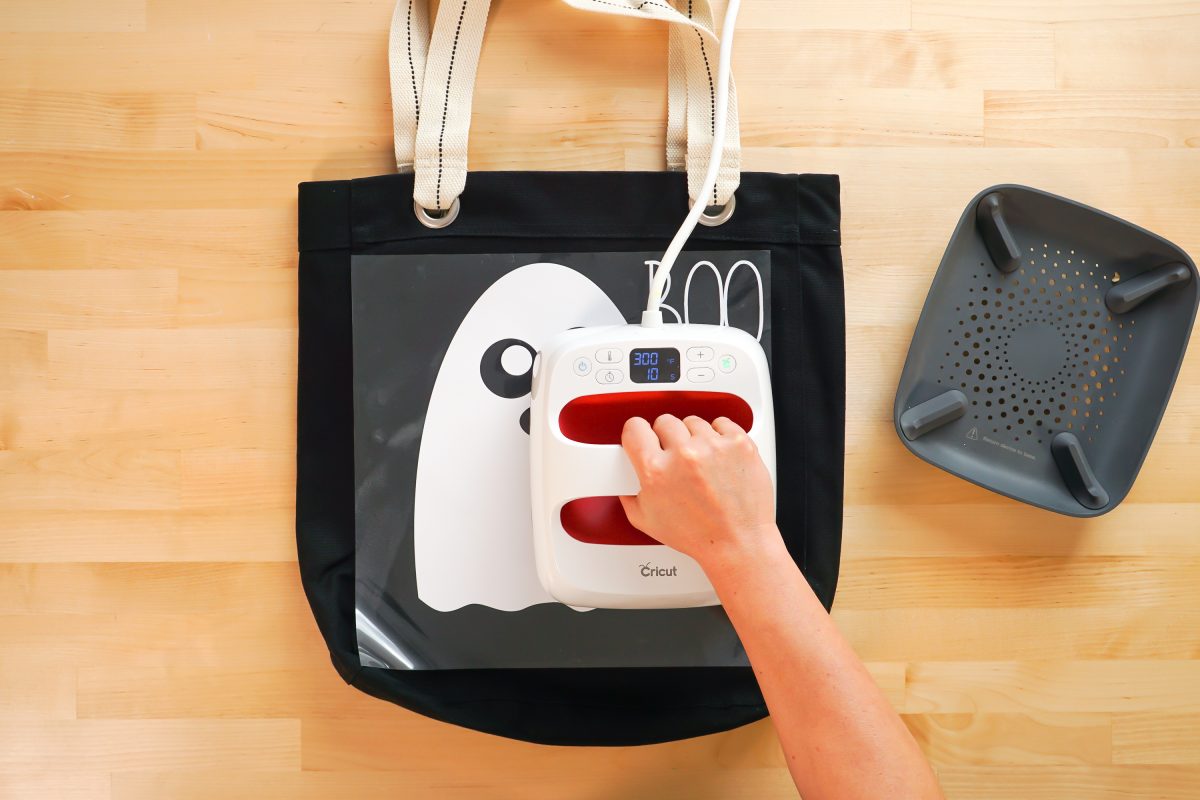
Use your EasyPress or iron to adhere the iron on vinyl to the bag. Learn more about Using Iron On Vinyl.
Carefully peel back the carrier sheet, making sure the iron on vinyl is adhered.
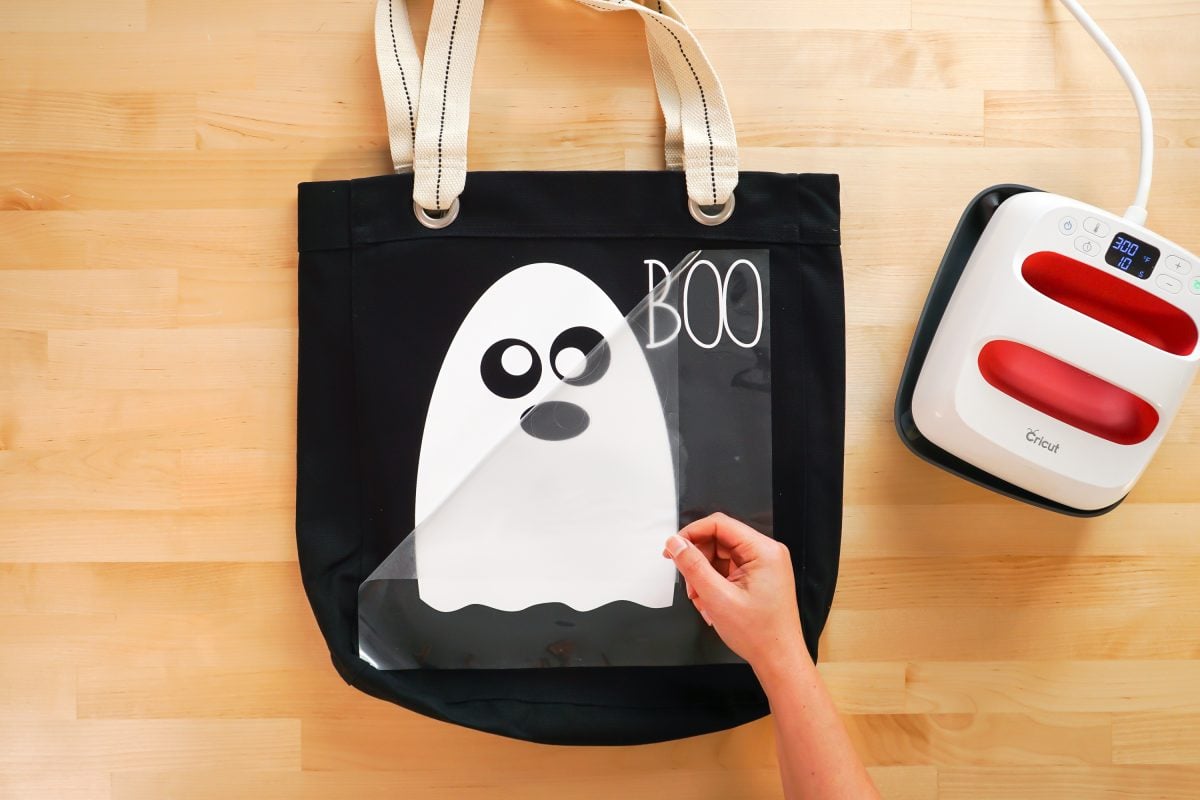
Cover with a piece of cotton or a pressing sheet and press for another 15 seconds. Then press from the back for an additional 15 seconds. This will ensure your image is well-adhered to the bag.
If you have more layers, continue to apply them in the same manner. Read my post How to Layer Iron On Vinyl for more tips and tricks!
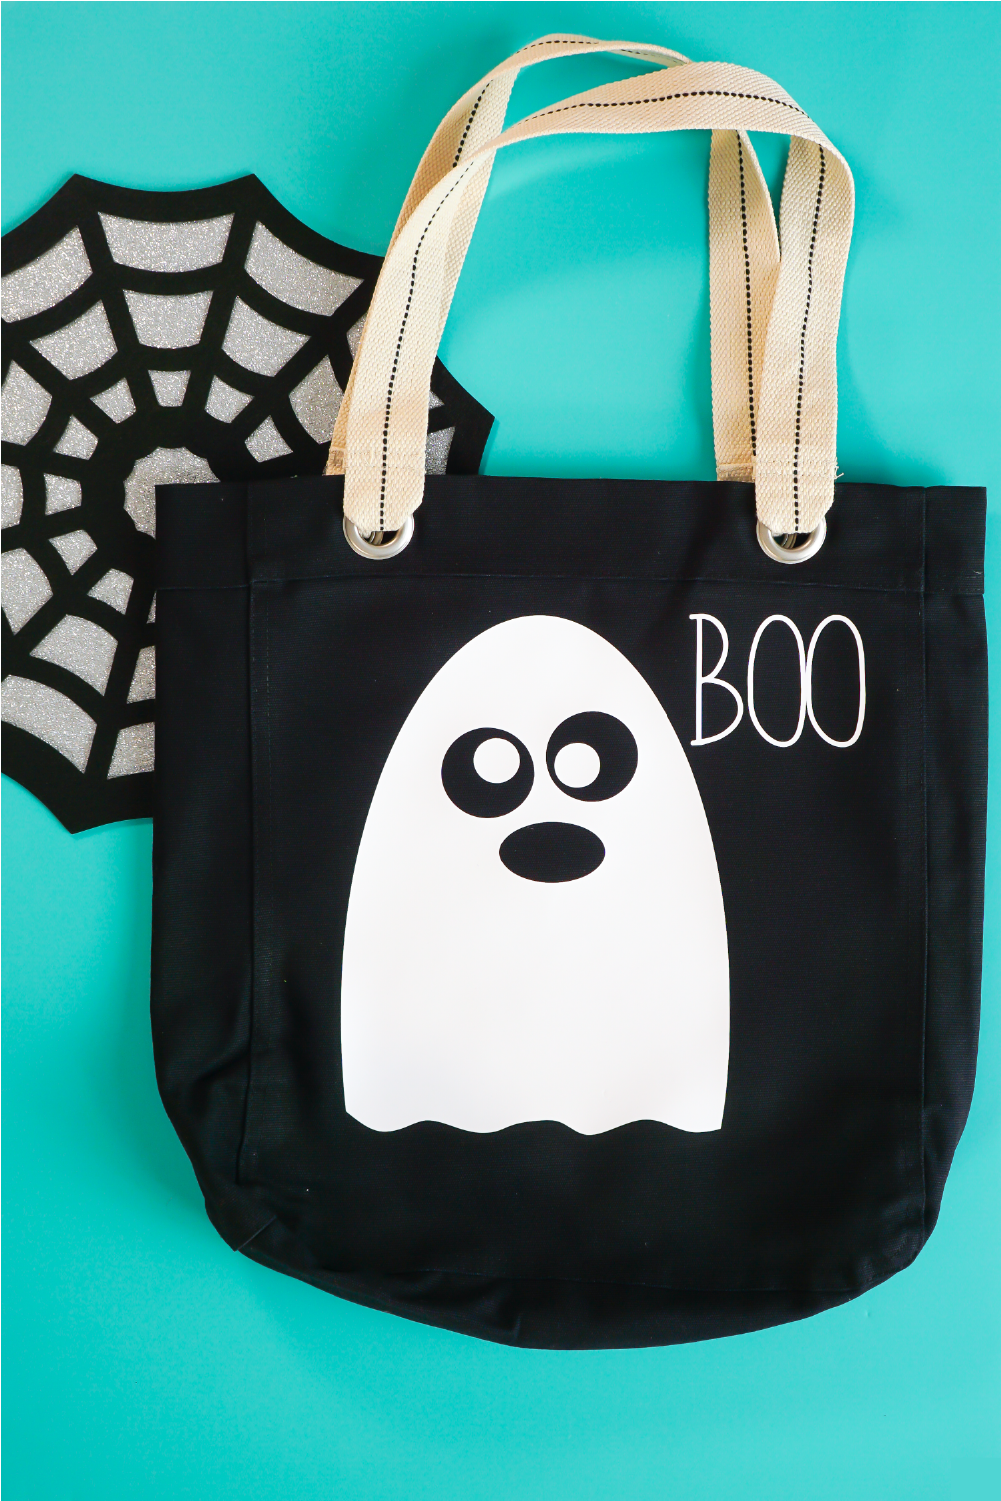
And that’s it! You have the cutest DIY trick or treat bag for all of your little ghosties to carry this Halloween on their neighborhood hunt for candy!





Leave A Reply!