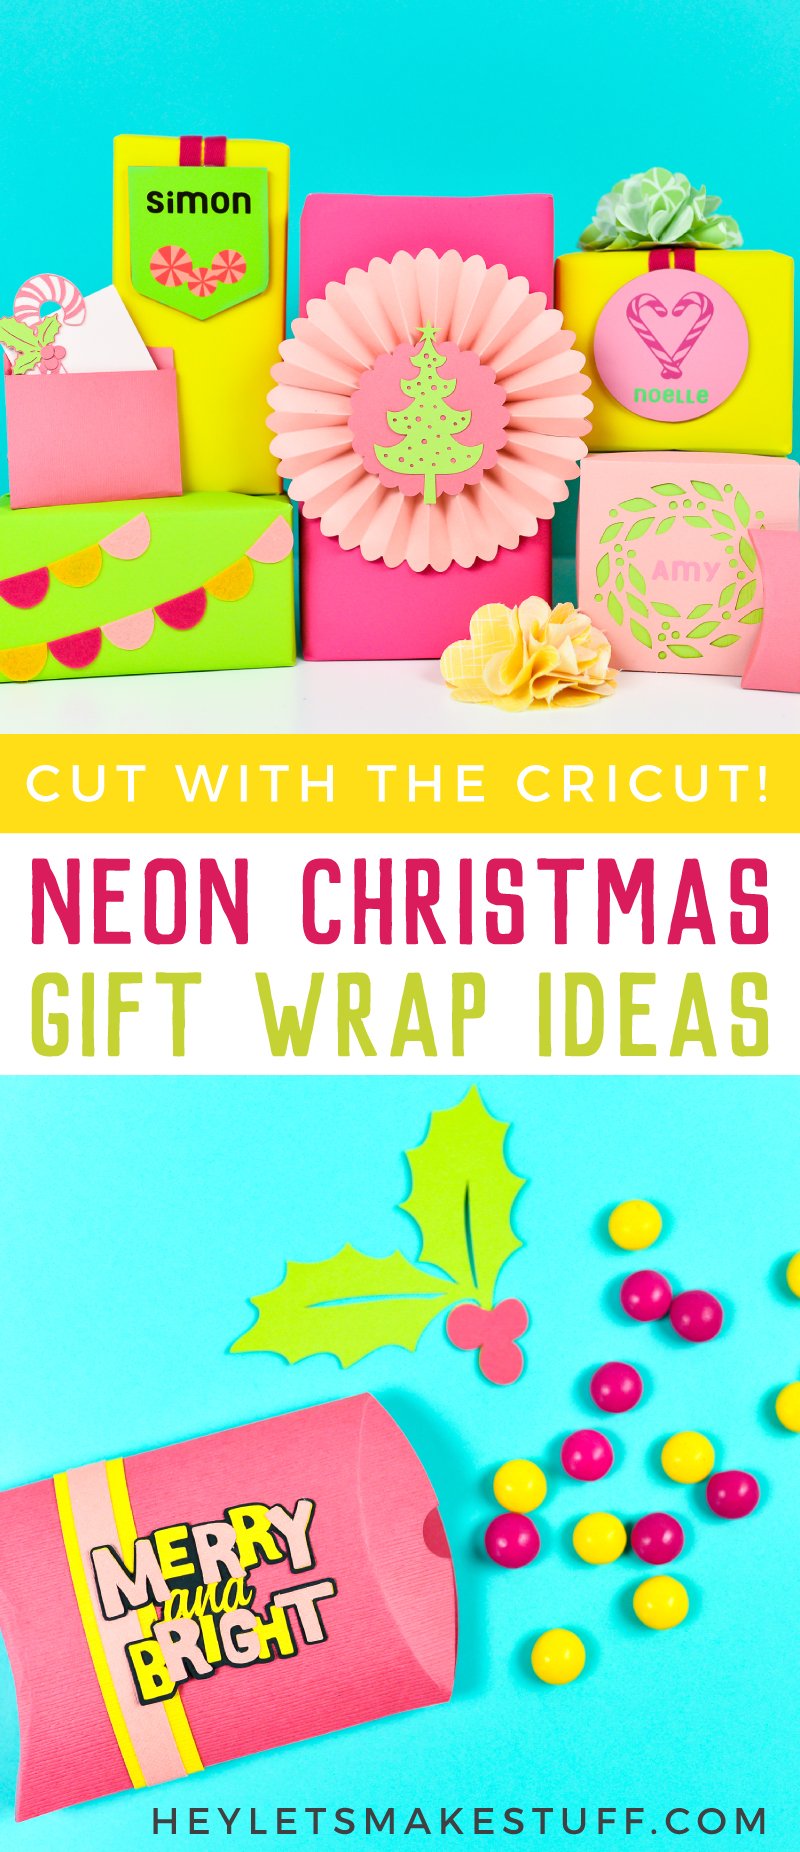
Take your wrapping game to the next level with these neon DIY gift wrap ideas, made using a variety of materials cut on the Cricut Maker! These festive gift wrap ideas are perfect for personalizing everything under the Christmas tree.
This post is sponsored by Cricut.
I’ve always loved the presentation that comes with Christmas gifts. Our family doesn’t give a ton of presents, so that allows me to spend more time wrapping and decorating each gift under our tree. I also love creating a theme each year—one year it was black, white, and red and a boatload of buffalo plaid, another it was all gold and silver and other metallics. This year, I decided on a bright and happy modern Christmas color palette of nearly neon pink, green, and yellow. It’s not traditional, but man, I love it!
I’m also breaking out my Cricut Maker to create these unique Christmas gift wrap decorations using some of the fun materials that can be made using the tools that only work the Cricut Maker! We’ll be using the Knife Blade, Rotary Blade (comes with the Maker), and single Scoring Wheel to make these festive projects.
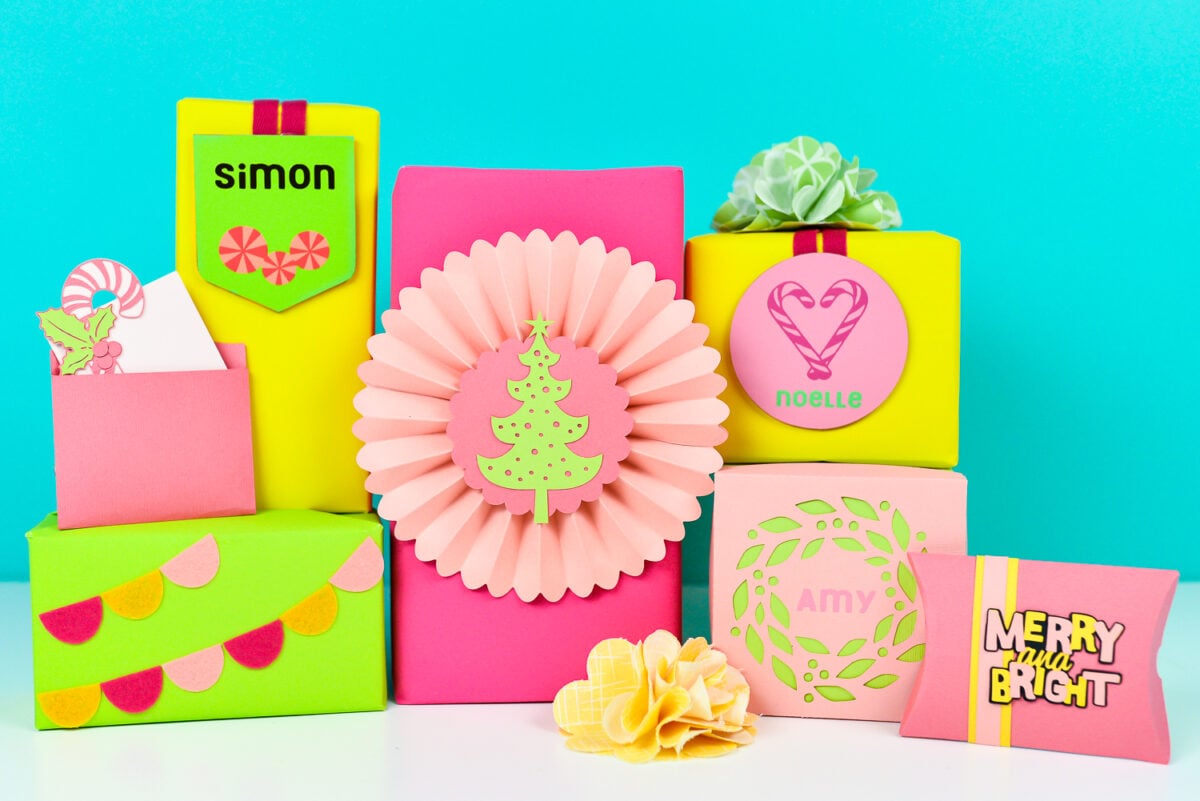
Here’s what we’re going to make:
- Chipboard and iron on vinyl gift tags that double as ornaments
- Layered cardstock rosettes
- Cardstock box with iron on vinyl
- Layered cardstock mini card with envelope
- Cardstock pillow box
- Tiny felt pennants
- Fabric flowers
Here are the materials we’re going to need:
- Cricut Chipboard
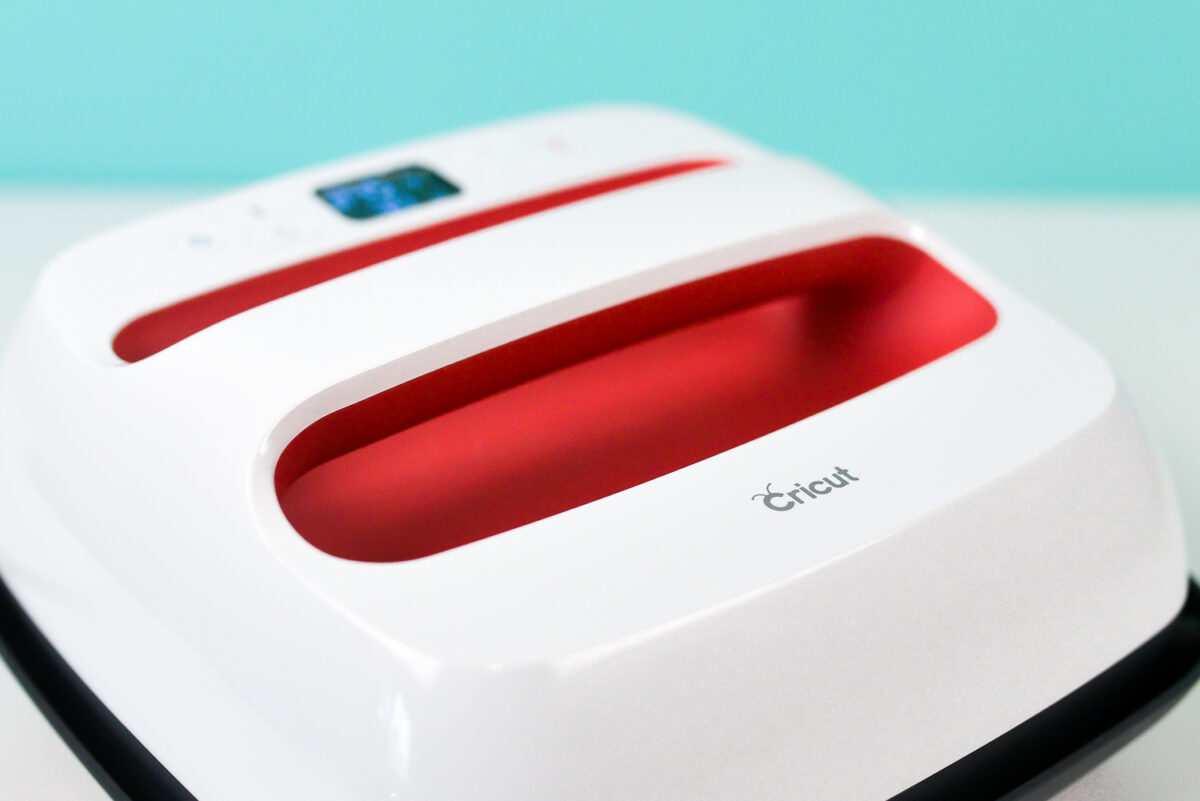
- Cricut Everyday Iron On Vinyl (I’m using my Cricut EasyPress 2 as well)
- Cardstock in a variety of bright colors
- Fabric in a variety of bright colors
- Cricut Felt
- Ribbon
- Hot glue gun
All of these files can be found within Cricut Design Space—just click here to access the canvas with everything you’re going to need! Because there are so many projects in this file, I found it easiest to use the “eye” icons in the Layers Panel to hide all but the one project I was working on at each time.
Chipboard and Iron On Vinyl Tags with the Knife Blade
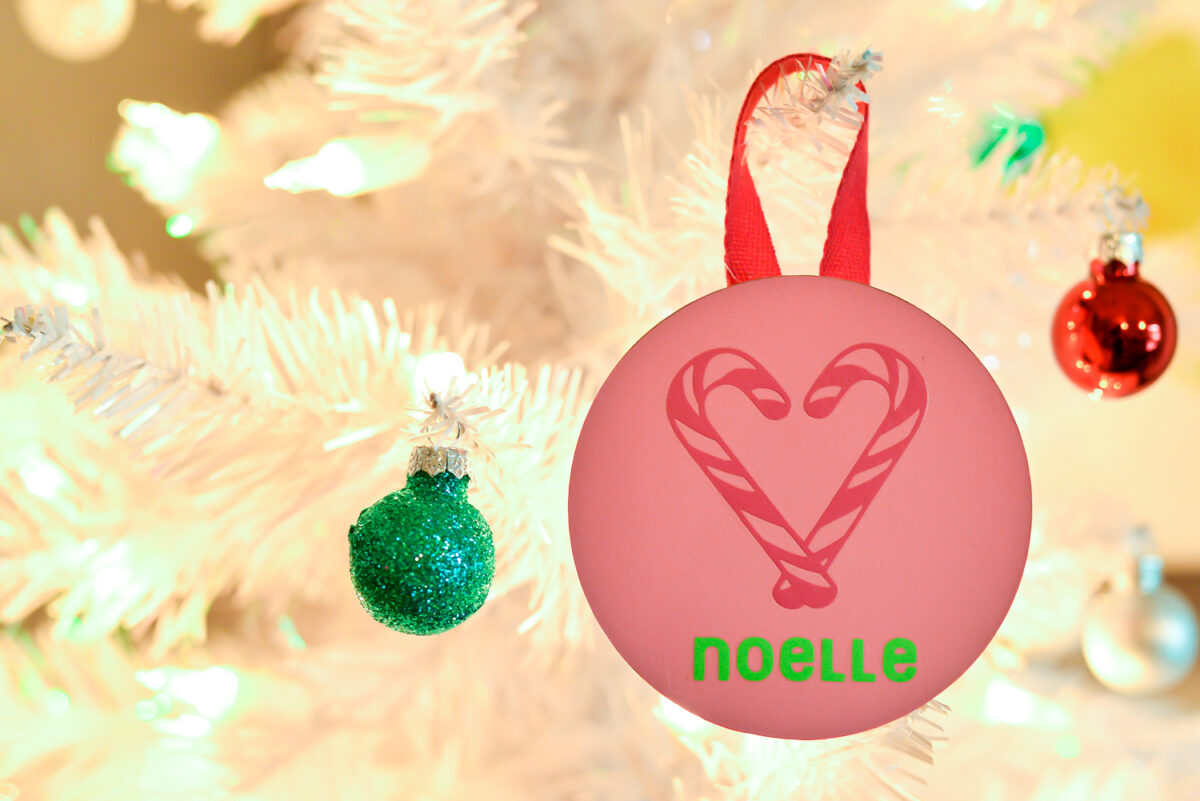
Let’s start with these cute gift tags and a chance to use the Cricut Knife Blade. These also double as ornaments, which is fun! My boys have slightly uncommon names (Sebastian and Callum) so finding pre-made ornaments for them is tough. Doing a project like this is the perfect solution!
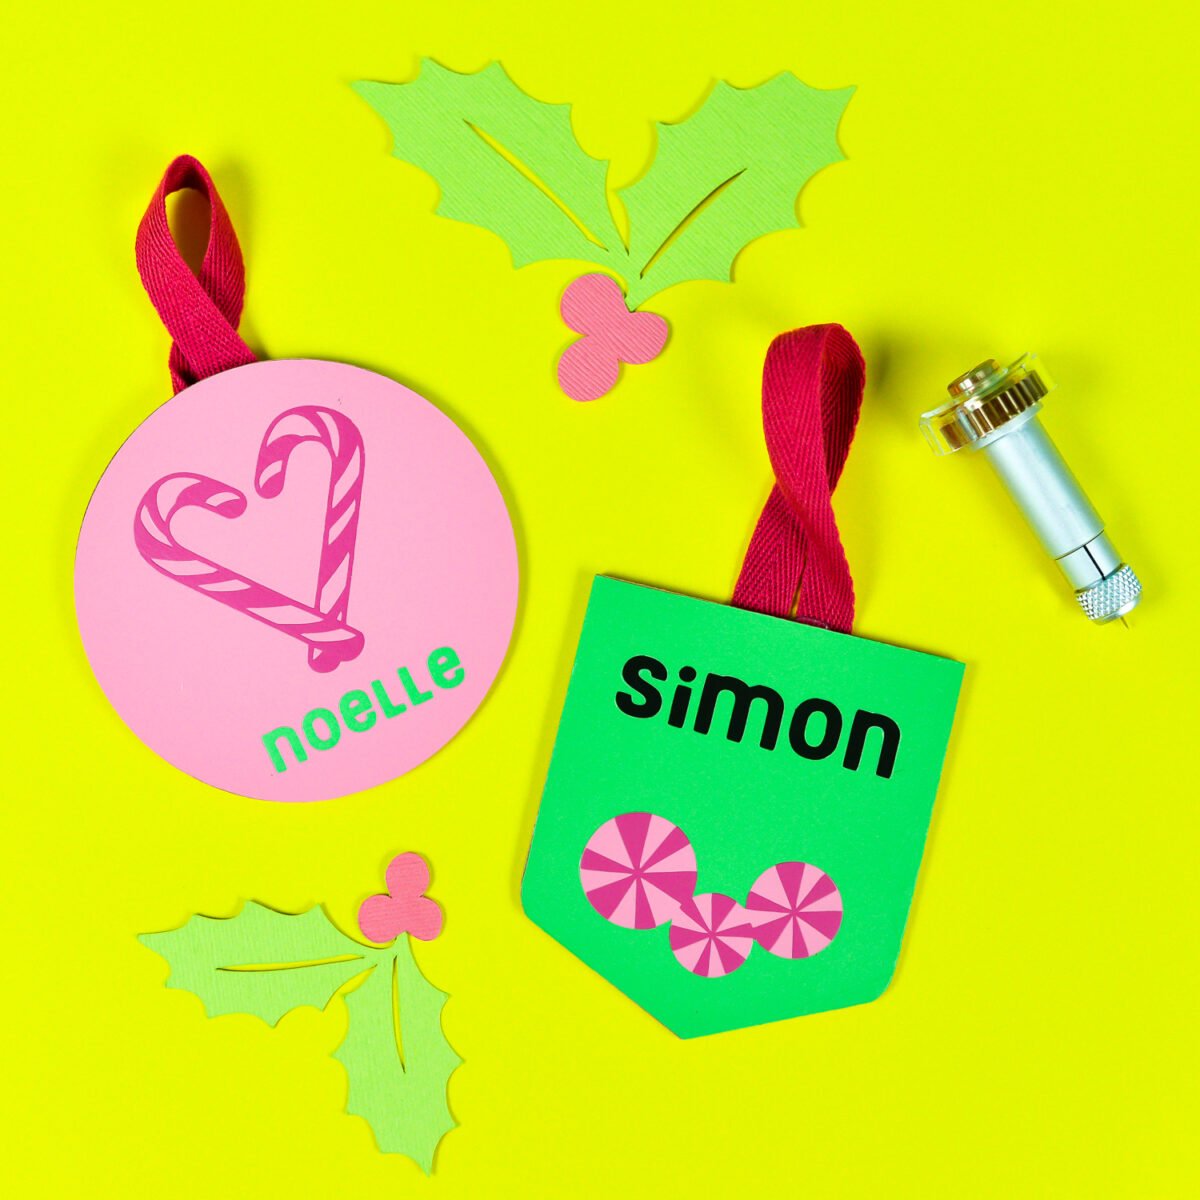
Chipboard isn’t exactly the most exciting color. The brown is cute for a more rustic look during the holidays, but I wanted to create something more fun for this bright series of gift wrapping ideas. Enter iron on vinyl! It’s the perfect medium for using on Cricut chipboard.
When you open this file in Cricut Design Space, you can rework it however you’d like! Unless you fortuitously have a gifts to give to a Noelle and Simon, you’ll want to change the name. You can also search within the Cricut Image Library for other holiday icons if you’d like something different than the candy!
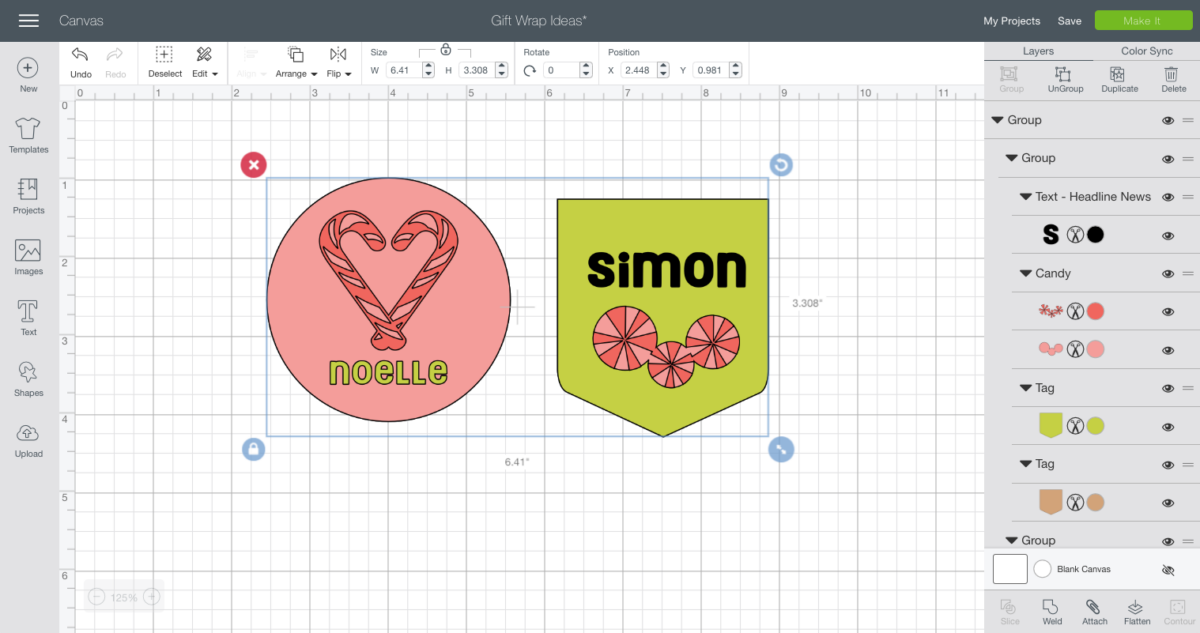
Behind the colored shapes in the file is an identical brown shape. Cut the brown shape in Cricut Chipboard using the Cricut Knife Blade (learn more about cutting chipboard) and all of the other layers in iron on vinyl (making sure to mirror your image before cutting!). To adhere the iron on vinyl to your chipboard, set your Cricut EasyPress 2 to 300° and 20 seconds.
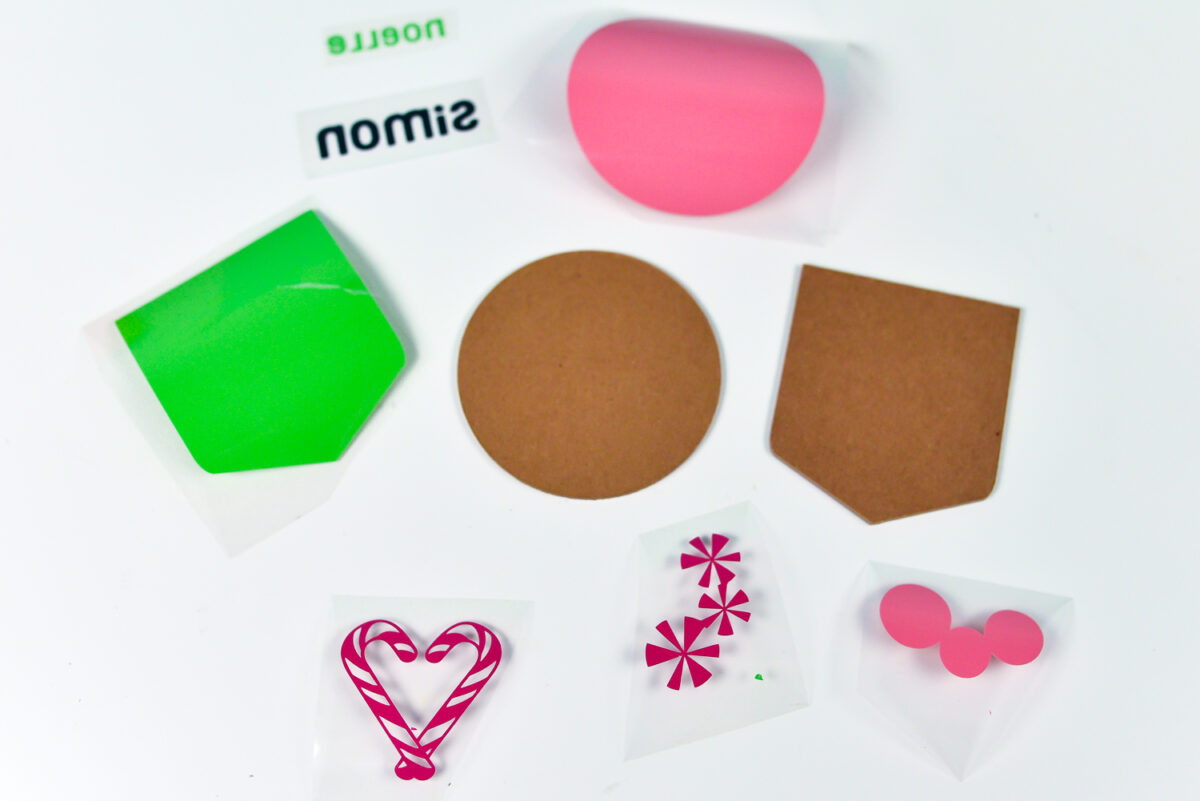
I like using a piece of fabric between the plate of my EasyPress and the vinyl, particularly since we’re laying vinyl. Press the main shape to the chipboard, let cool a bit, and remove the plastic. Then press the other shapes on top, making sure to use that piece of fabric as a pressing cloth so you’re not putting putting the plate of your iron directly on the already-adhered vinyl. If you find that your chipboard starts to curve from the heat, set it under something heavy while it cools (I use my not-plugged-in large EasyPress 2).
Add a ribbon to the back using hot glue. After the gifts are opened hang on the tree—and then save for using again next year!
Layered Rosettes with the Scoring Wheel
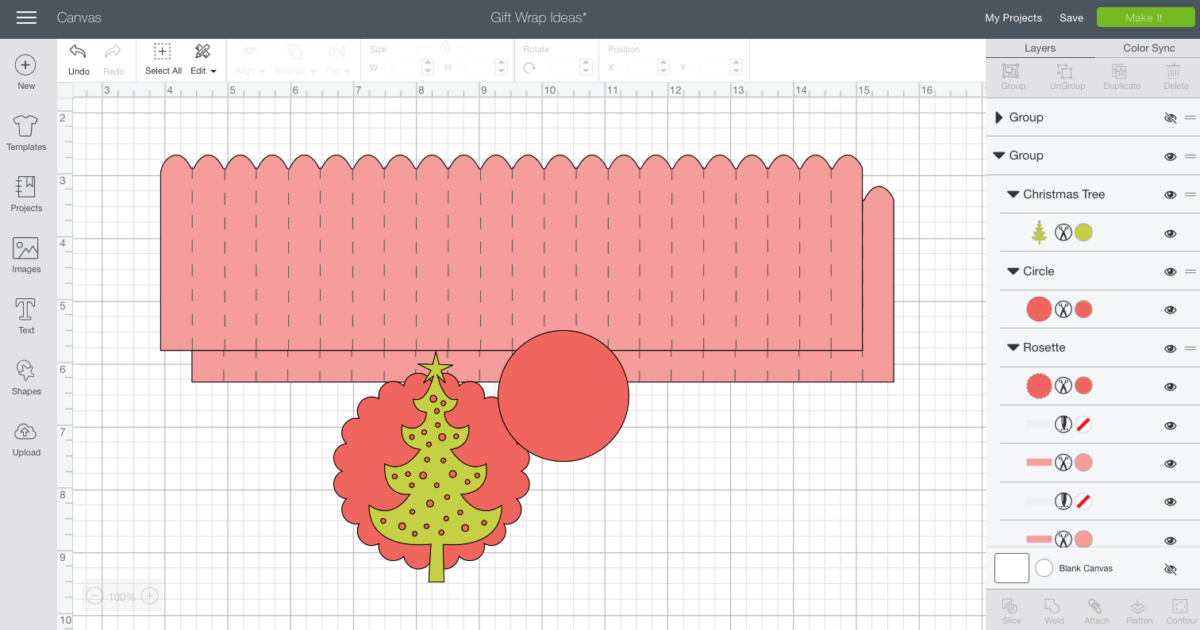
I love making cardstock rosettes—you can check out my in-depth post on how to make them here. One thing that you can do if you’re not finding that “perfect” rosette is to layer a regular Design Space image on top of the simple rosettes in Design Space. In this instance, I found a simple rosette and used a star and a tree to make them Christmassy! Here’s how to do it.
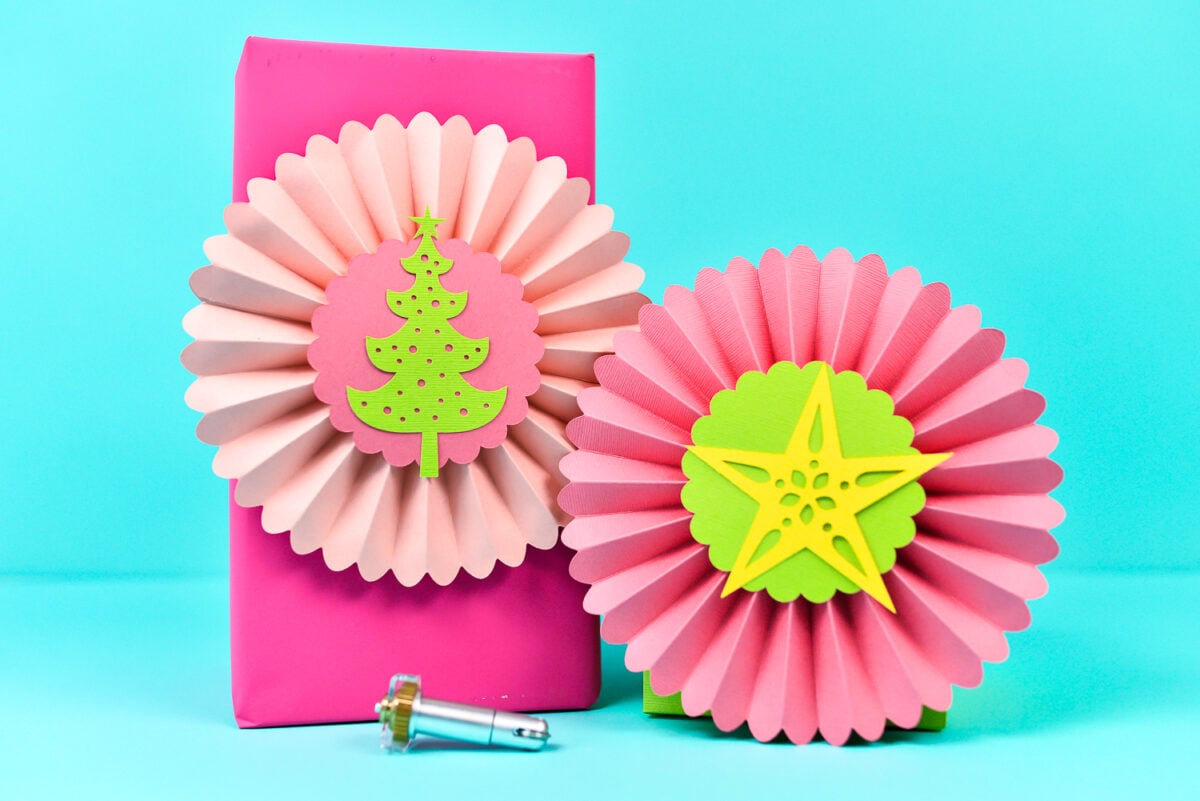
Start by cutting out your pieces on your Maker. Each rosette is grouped in my Design Space file—feel free to modify as desired.
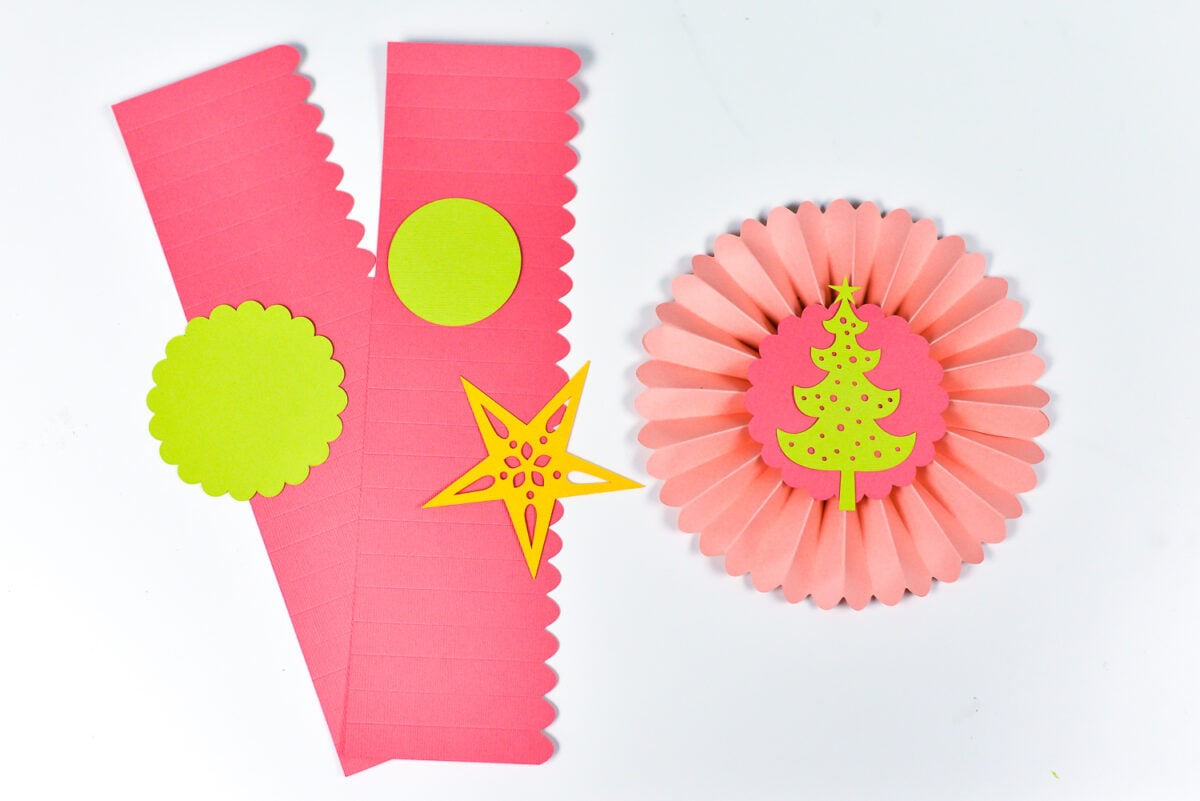
The single Scoring Wheel (marked 01) is amazing on cardstock and make folding the rosette a breeze. We’re going to turn the pieces on the left into a cute Christmas rosette like the one on the right!
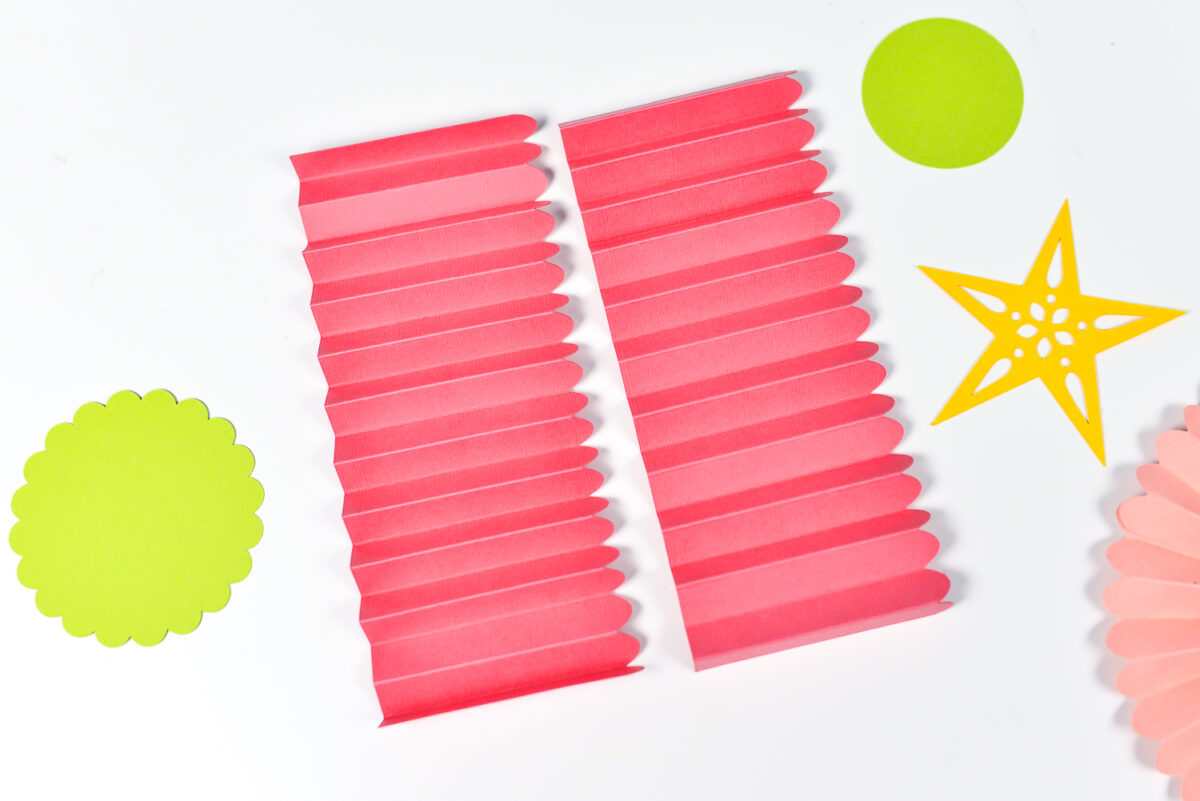
Start by folding your “accordion” pieces. Make sure one starts with a “valley” and the other with a “mountain.”
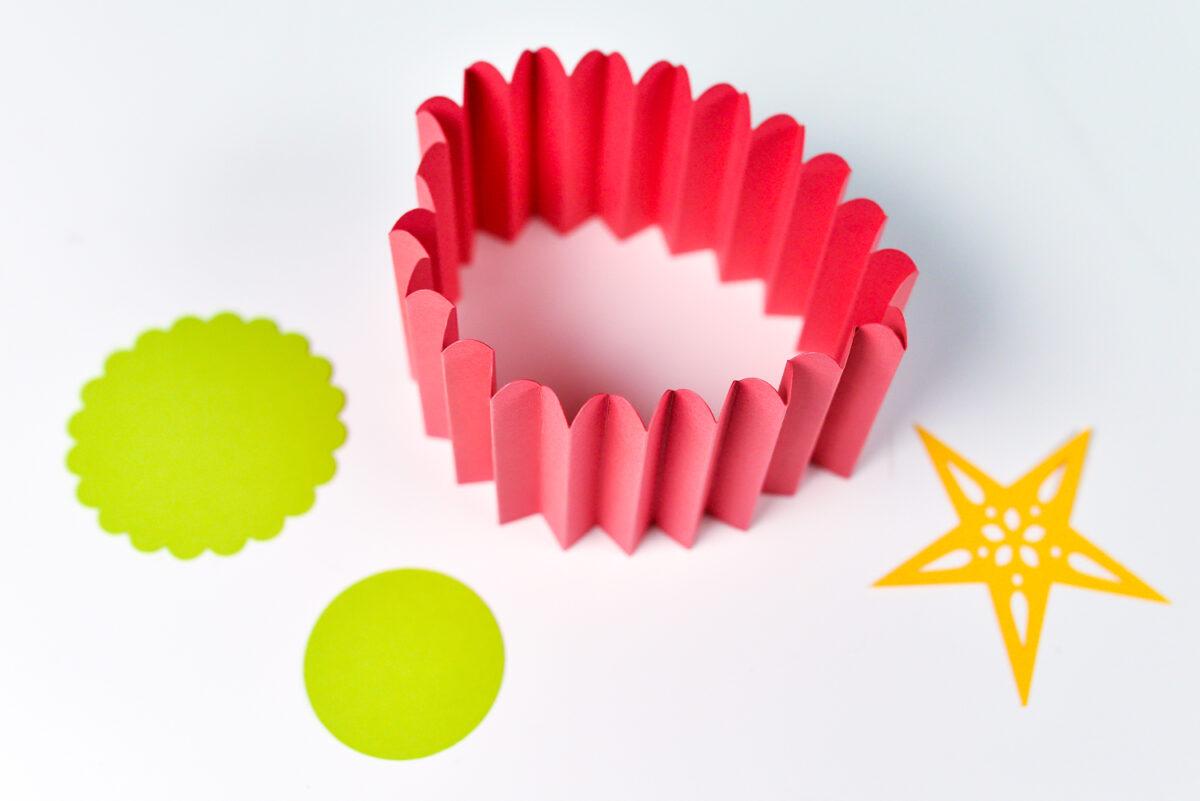
Then hot glue the two ends together to form a tube.
Then gather the tube in your hands like a cone, and flatten to create the rosette.
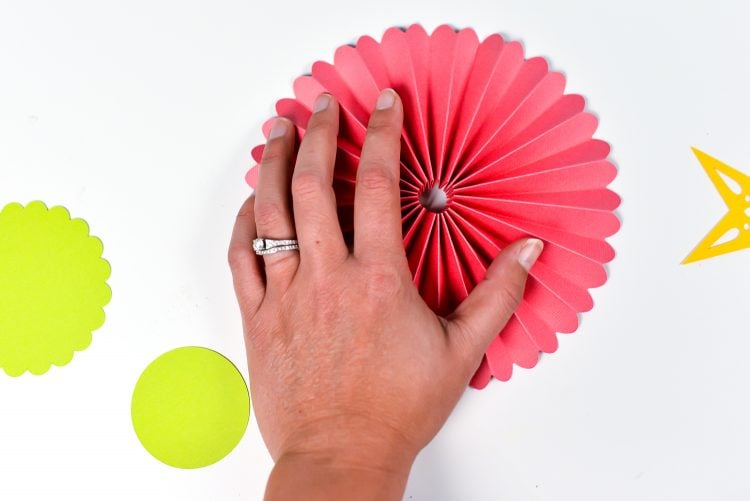
This part is hard to photograph because you need two hands! Use hot glue to glue the small circle to the BACK of your rosette. Don’t let go though…it will pop if you do (through the magic of photography, I have already completed this rosette’s front and then flipped it back over for the photo. But trust me…don’t let go if you only have the back circle on!).
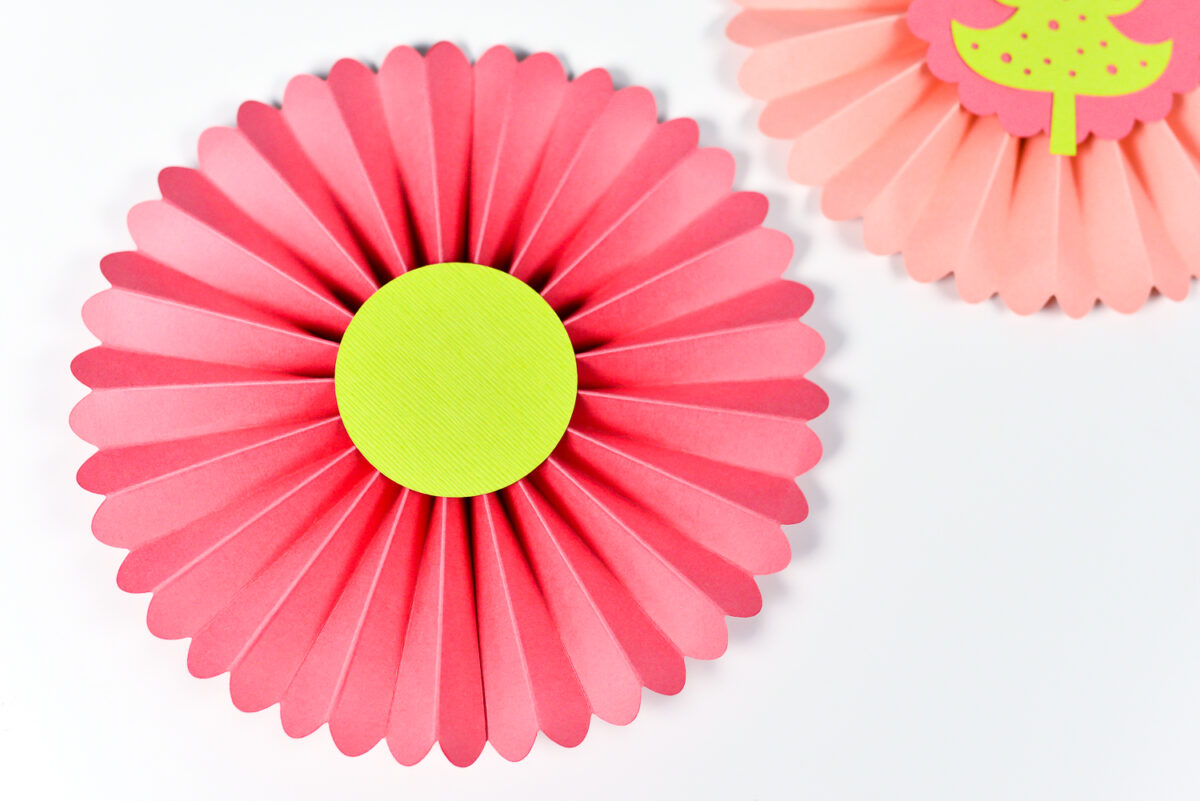
Then carefully flip over and glue the front decorative circle and star to create your rosette!

Other Cardstock Gift Wrap Ideas with the Scoring Wheel
Let’s take a look at three more small projects with that Scoring Wheel—an actual gift box with a layered lid, a pillow box, and a small card holder. All three of these project are designed from images I modified from files already in Design Space. Modify further or cut as designed!
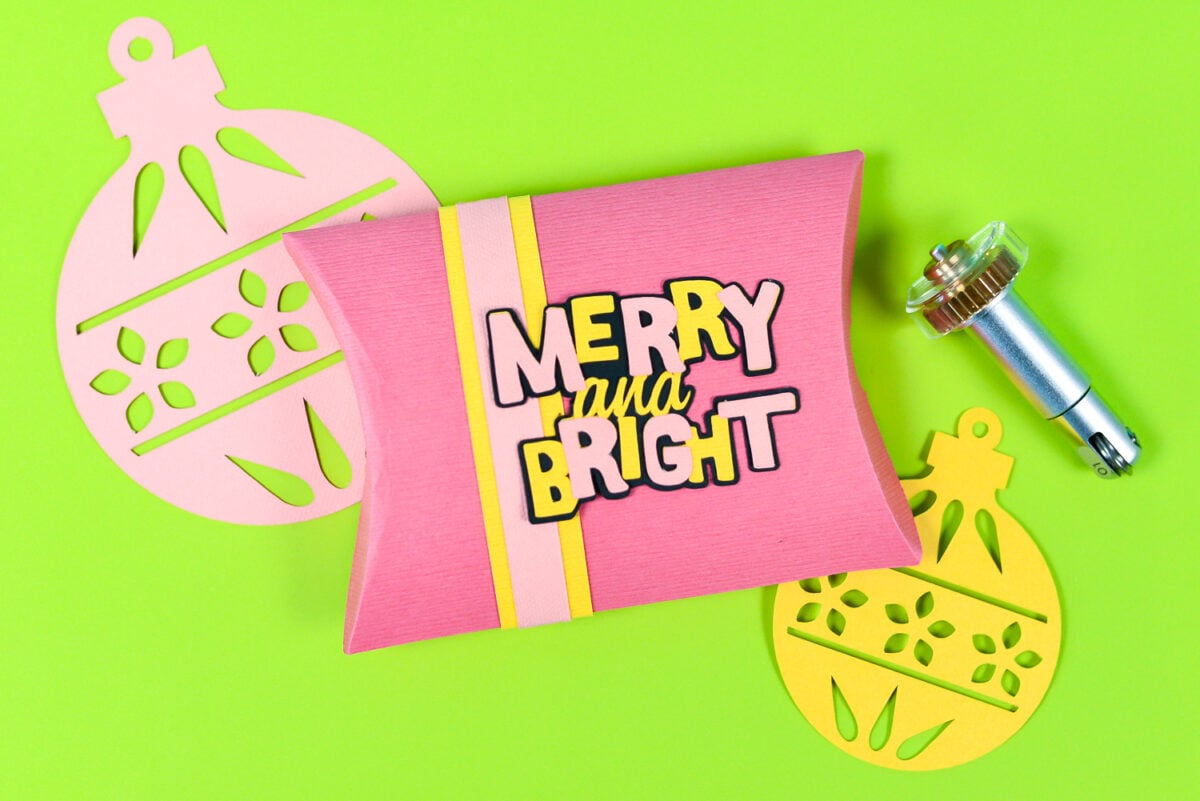
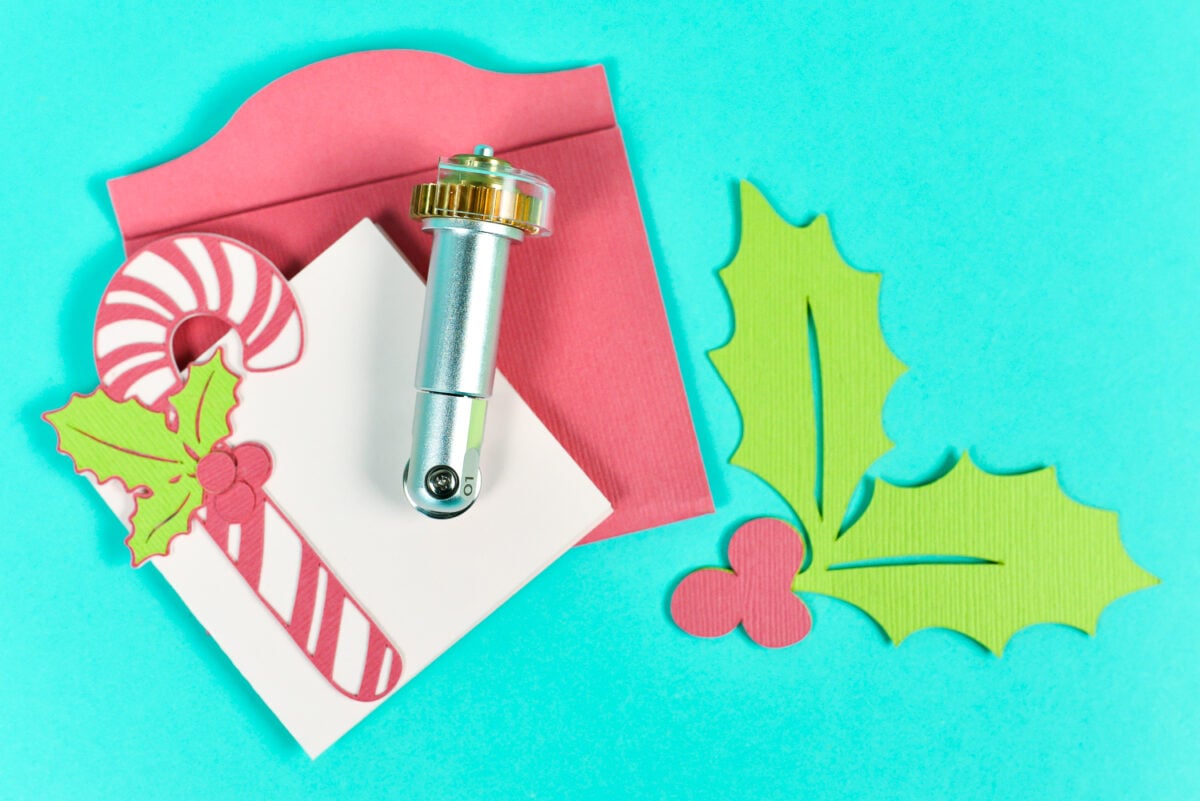
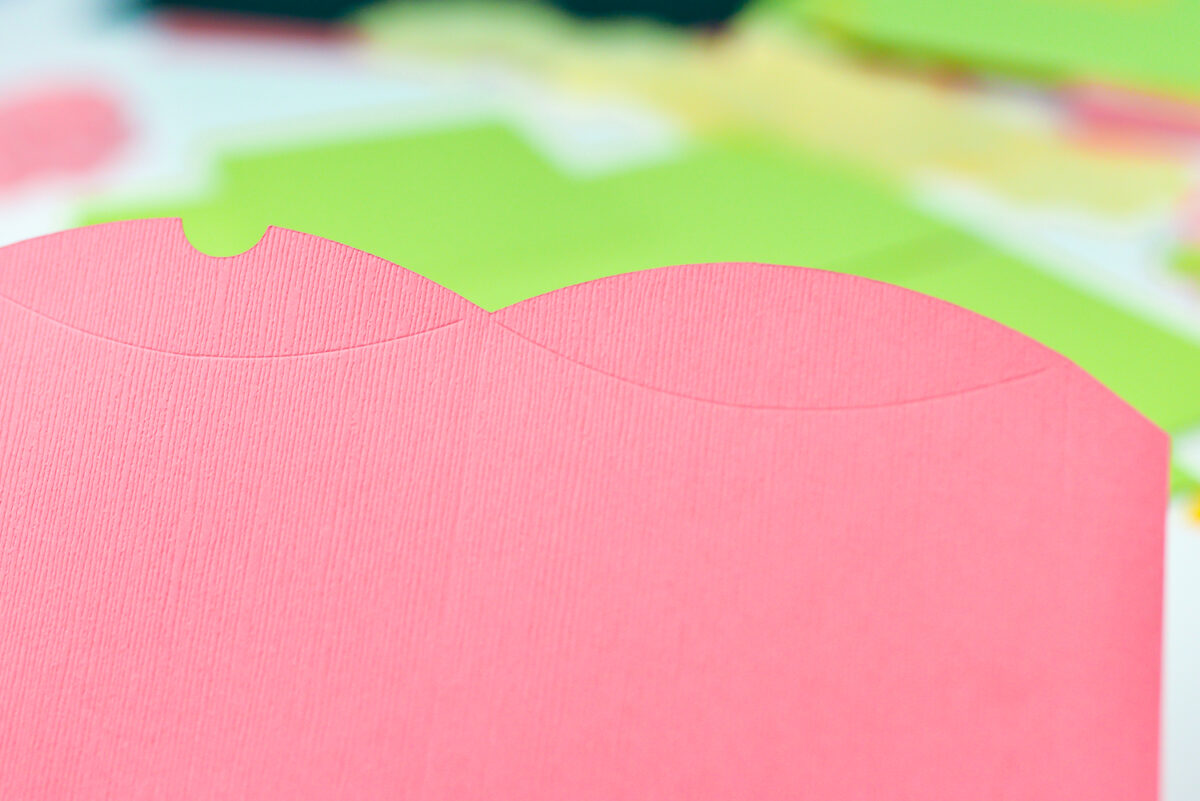
I wrote all about why I like the Scoring Wheel more than the Scoring Stylus in a previous post, but suffice it to say I am amazed at how much better, more even, and more deep my score lines are using the Scoring Wheel. Take a look at this pillow box—those score lines are great!
Layered Cardstock Gift Box
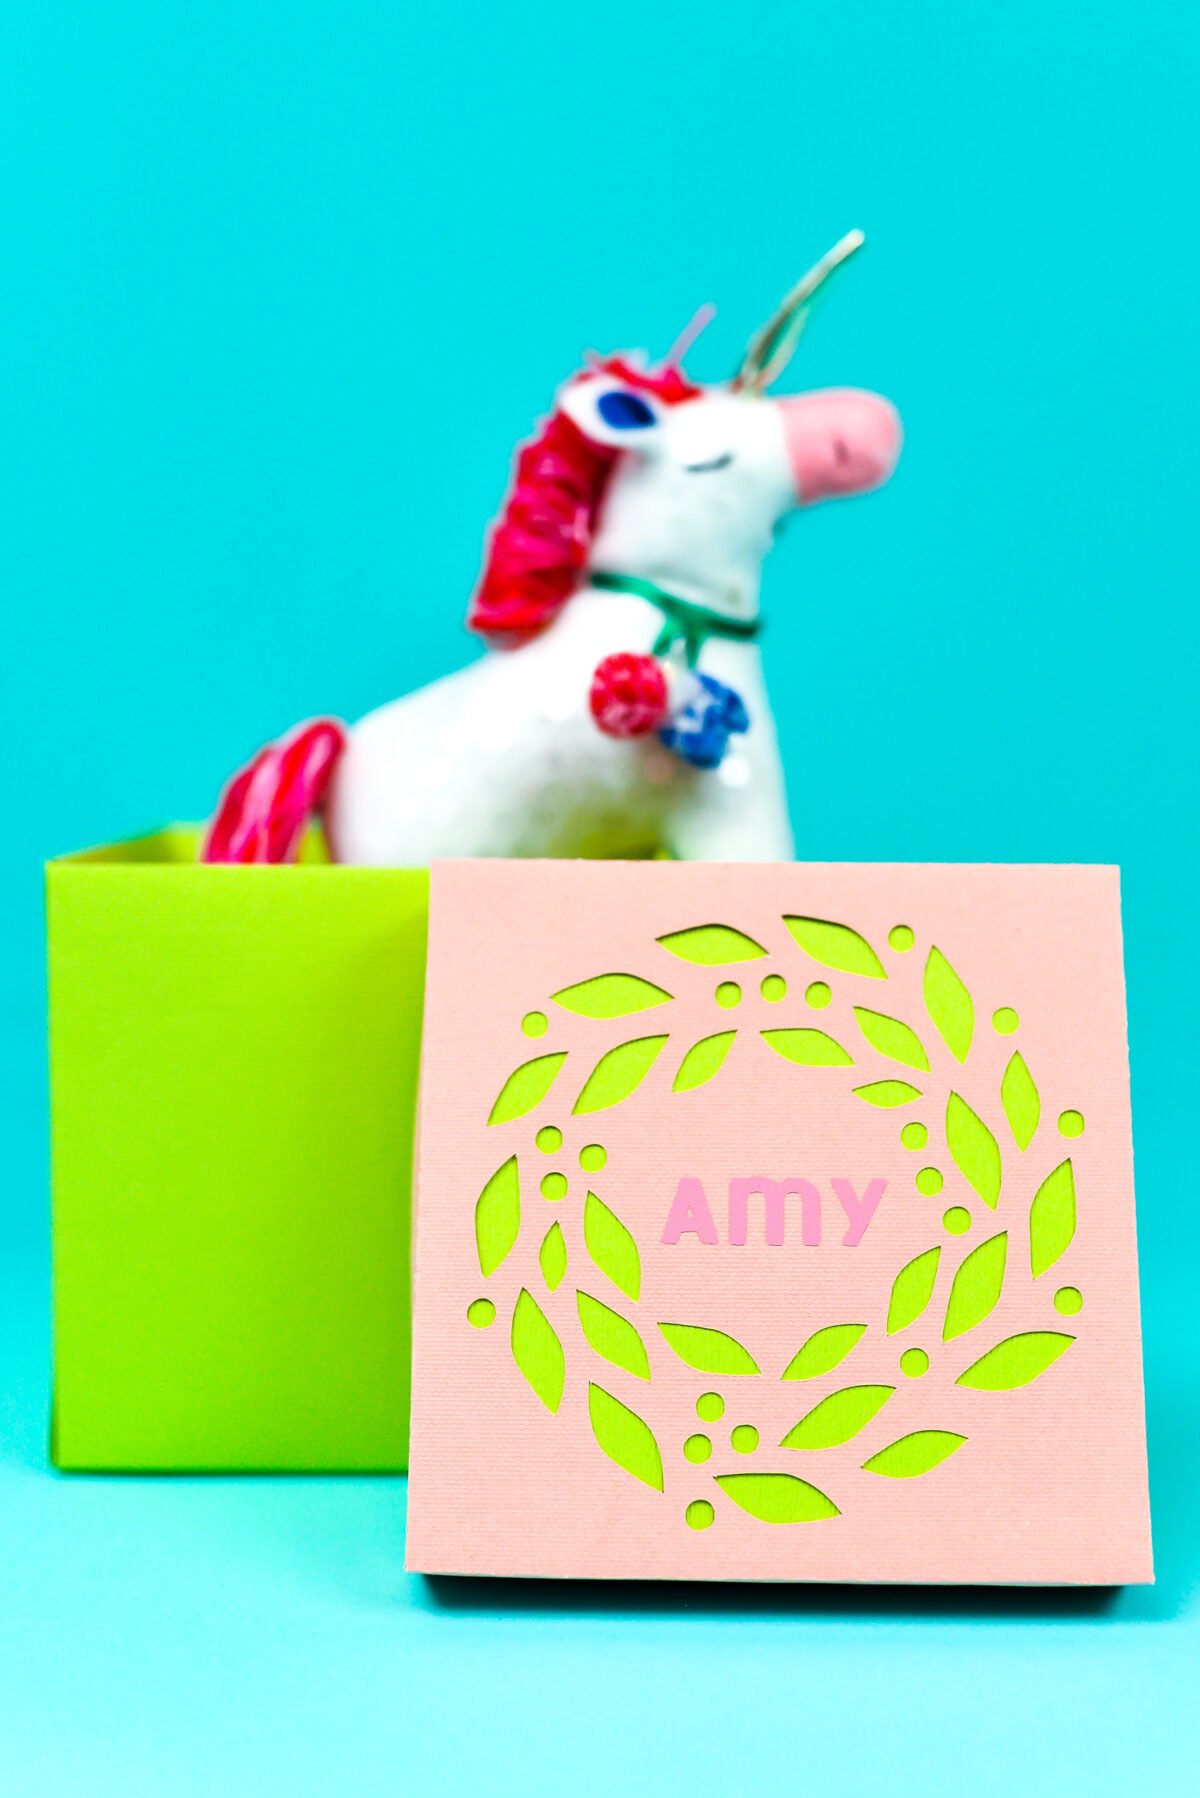
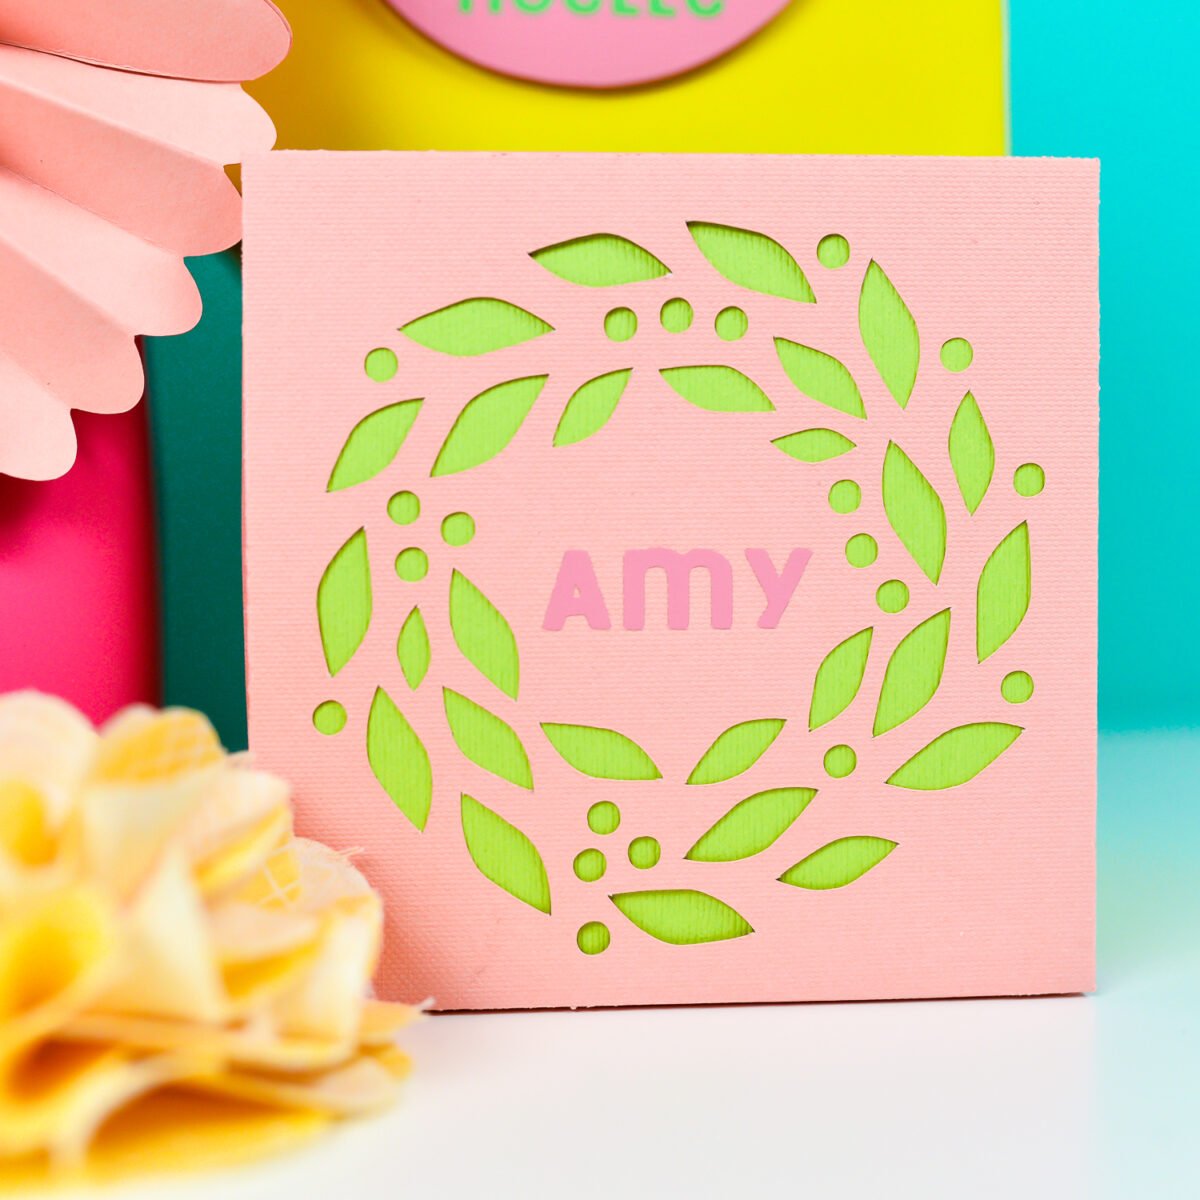
Cut out all your pieces, making sure to change the name (unless of course, your friend Amy is getting this cute box!). Make sure to hit “mirror” for the iron on vinyl layer.
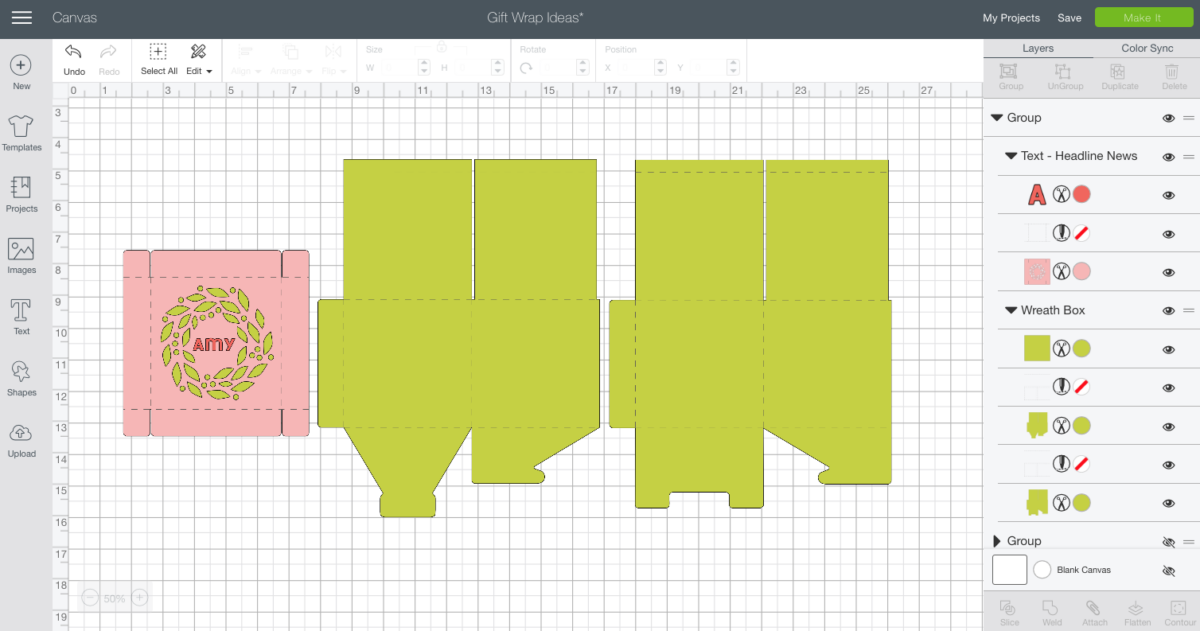
Weed your vinyl. Need weeding tips? I got those!
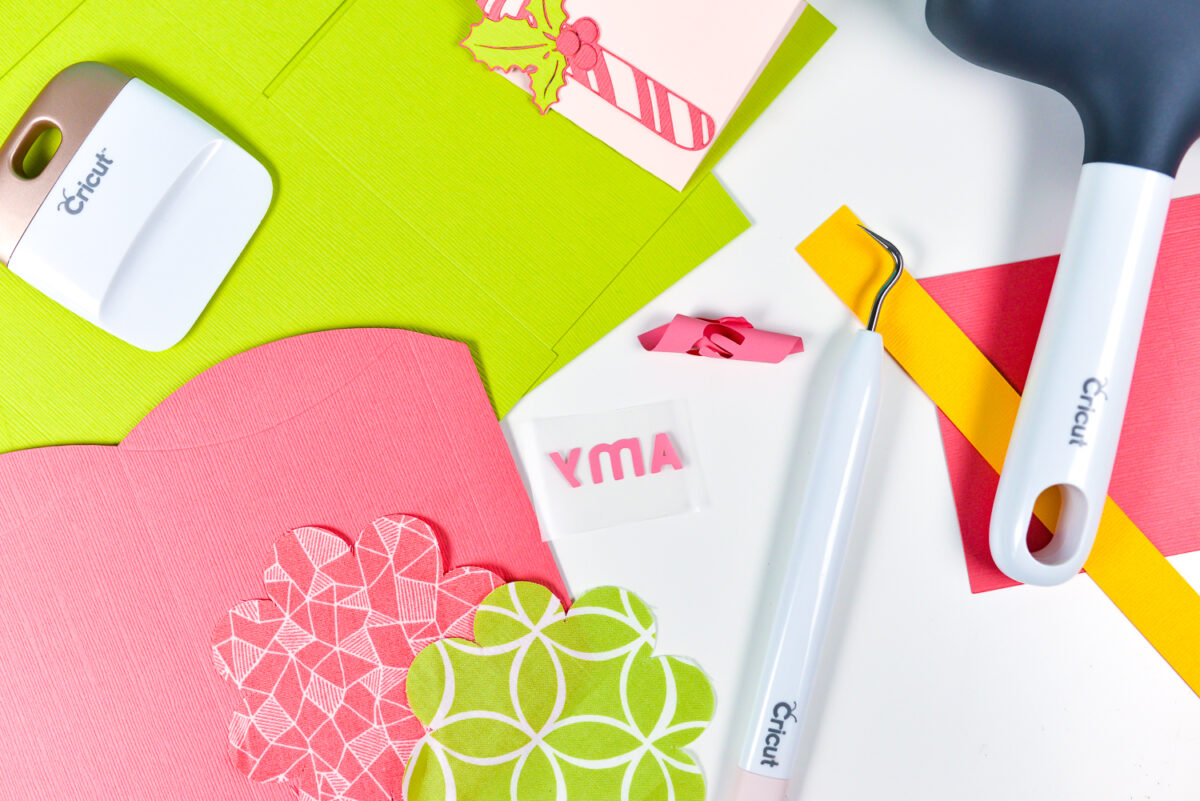
Once you have all of your pieces cut out and weeded, you may be looking at them wondering how in the world you’re going to take this 2D cardstock and turn it into a 3D box! Thankfully, it’s pretty easy.
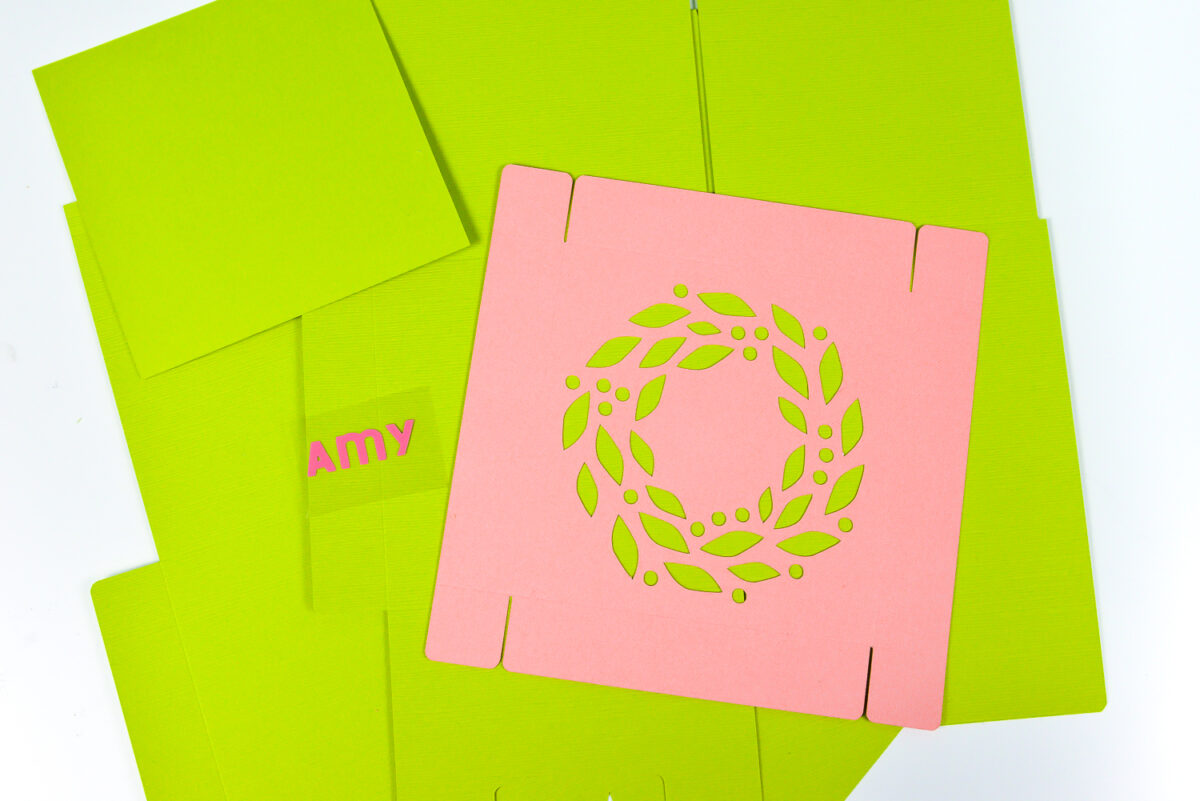
Before you do any folding, iron on the name to the lid of the box. I used my EasyPress set at 300° for 20 seconds and let it cool a bit before peeling.
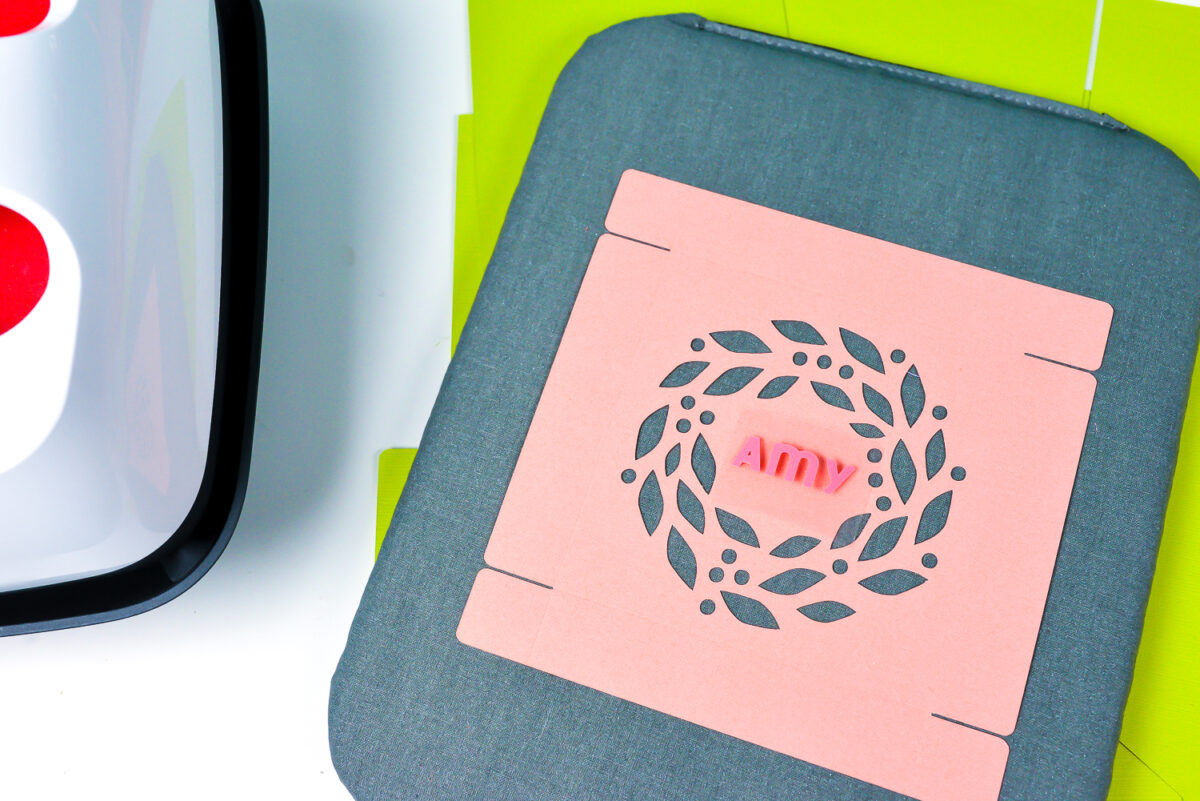
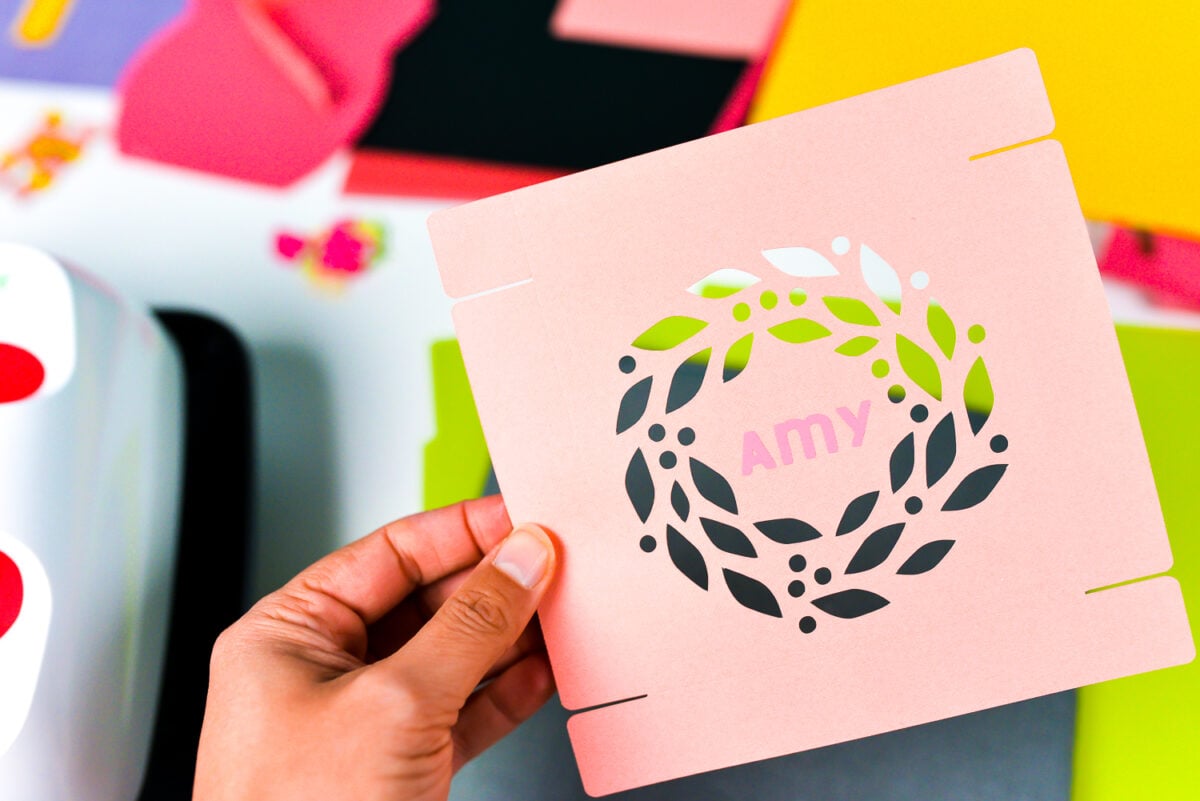
Then you’ll fold the lid. Fold all of the score lines to create the lid shape. Those tabs get glued to the side pieces to create the lid shape. Use a bit of glue to adhere the green square you cut out inside of the lid so that when you flip it over, the green wreath shows through.
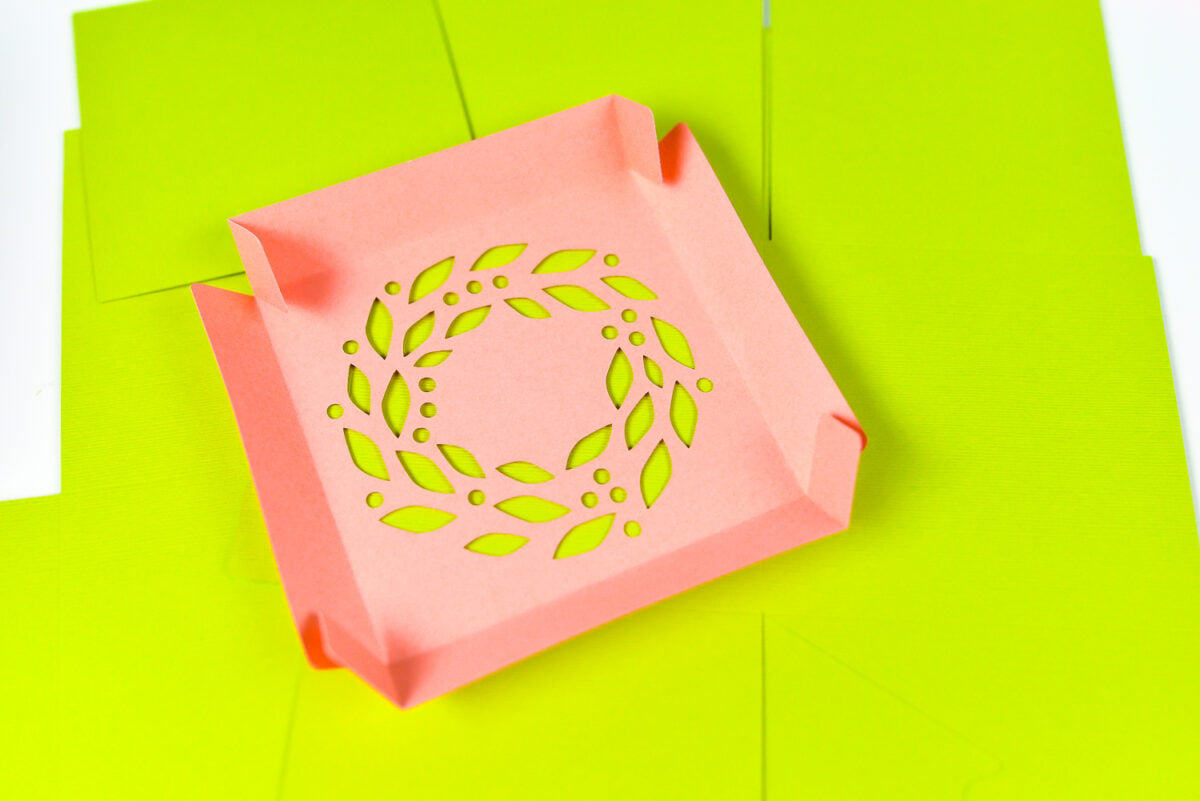
To make the box, start by folding along all of the score lines on the green pieces.
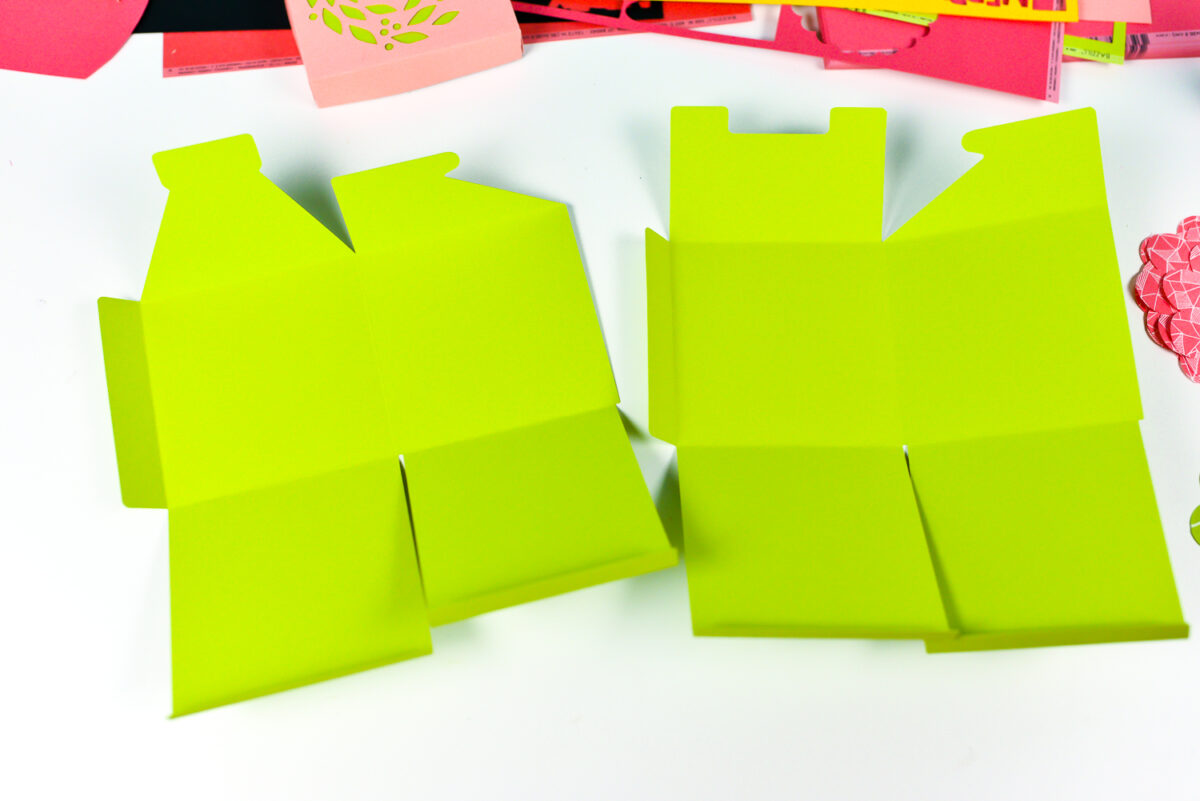
Then connect two separate pieces by gluing the tab on one piece to the other using hot glue.
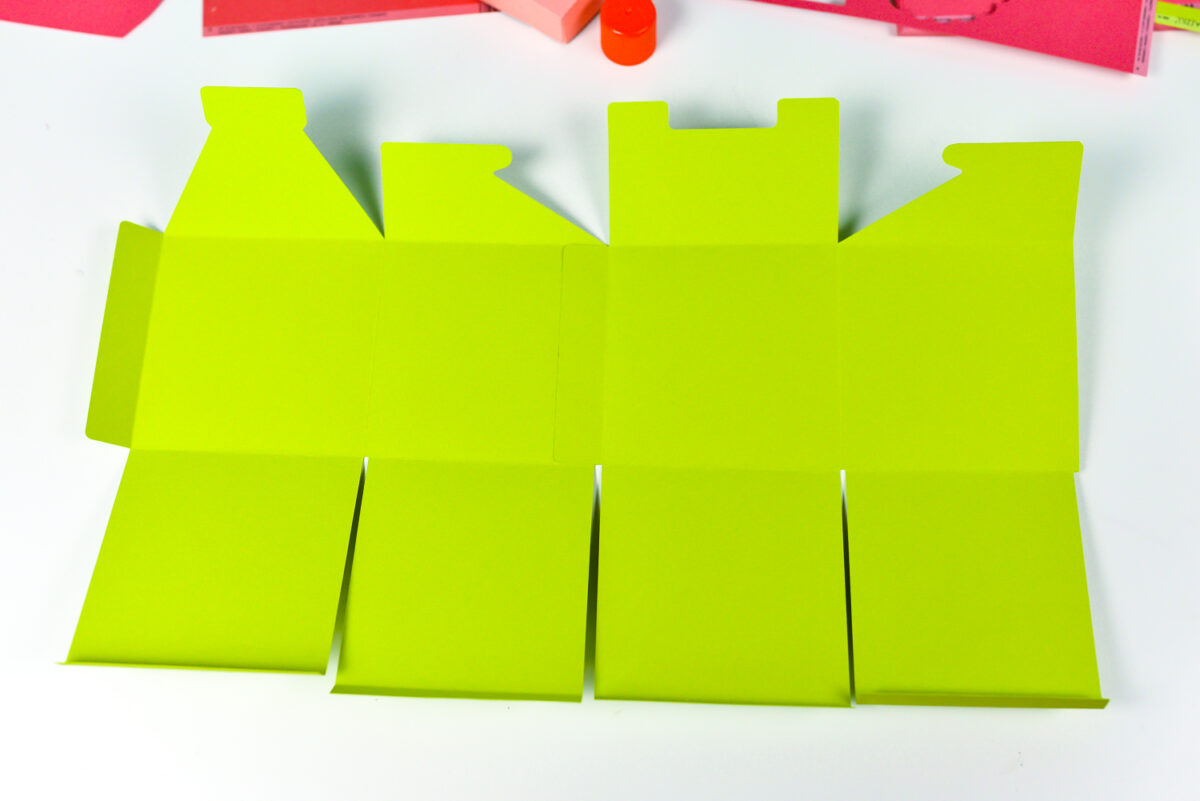
Then fold the box into a square tube and glue the flap on the left to the edge on the right.
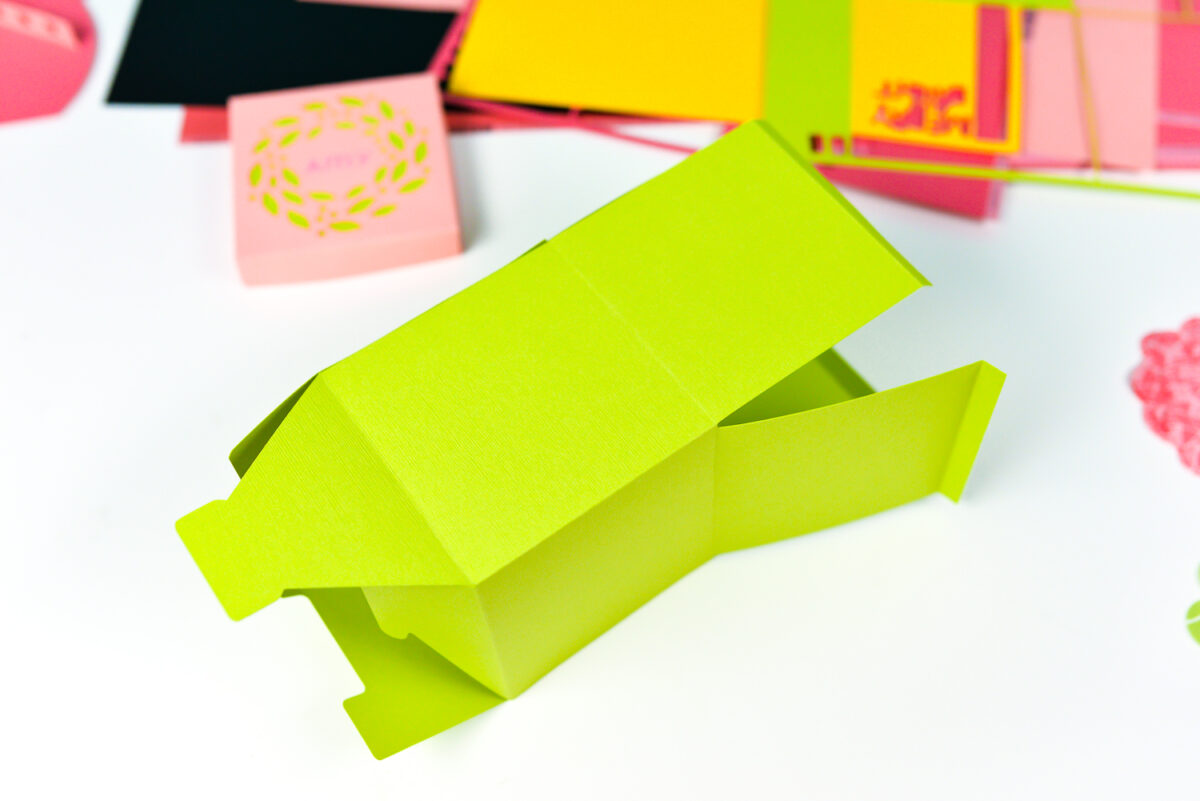
Then fold the bottom pieces (on the left in this photo) together. I can’t describe how to do it very well, but they sort of just…fall into place. Here is what the bottom of the box should look like.
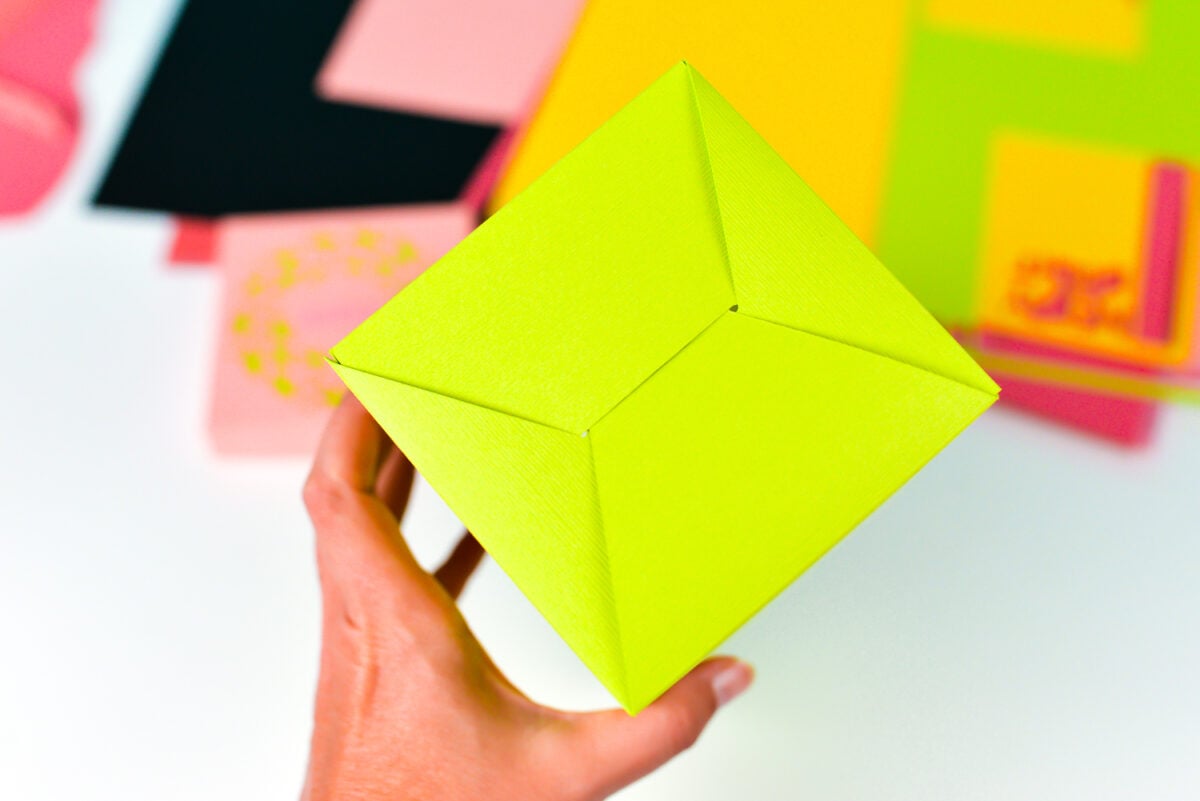
Then fold the large flaps into the inside of the box—this creates a “double wall” and makes the box stronger. Add the lid and you’re done!

Candy Cane Card
This one is super easy! Cut out all the pieces from Cricut Design Space. I’m always wowed by how delicate the cutter can be—that dark pink candy cane piece has some very thin parts!
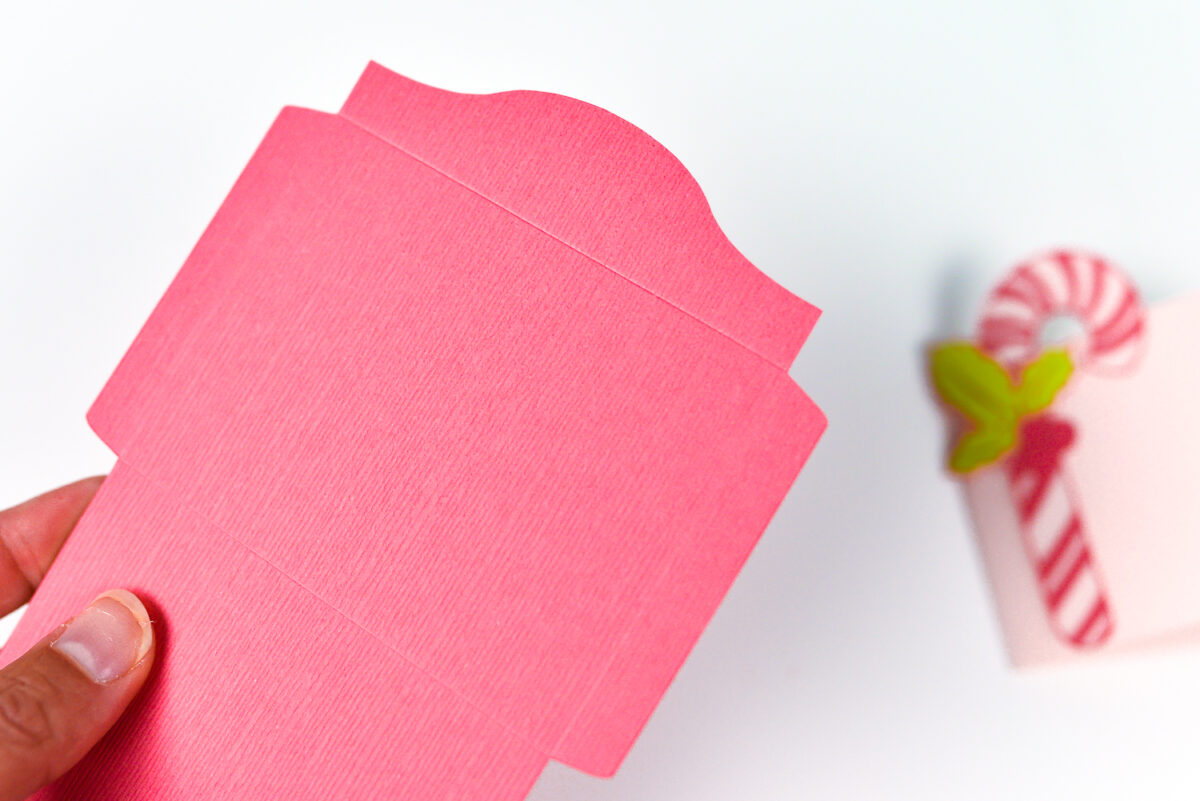
Again, amazing score lines from that Scoring Wheel!
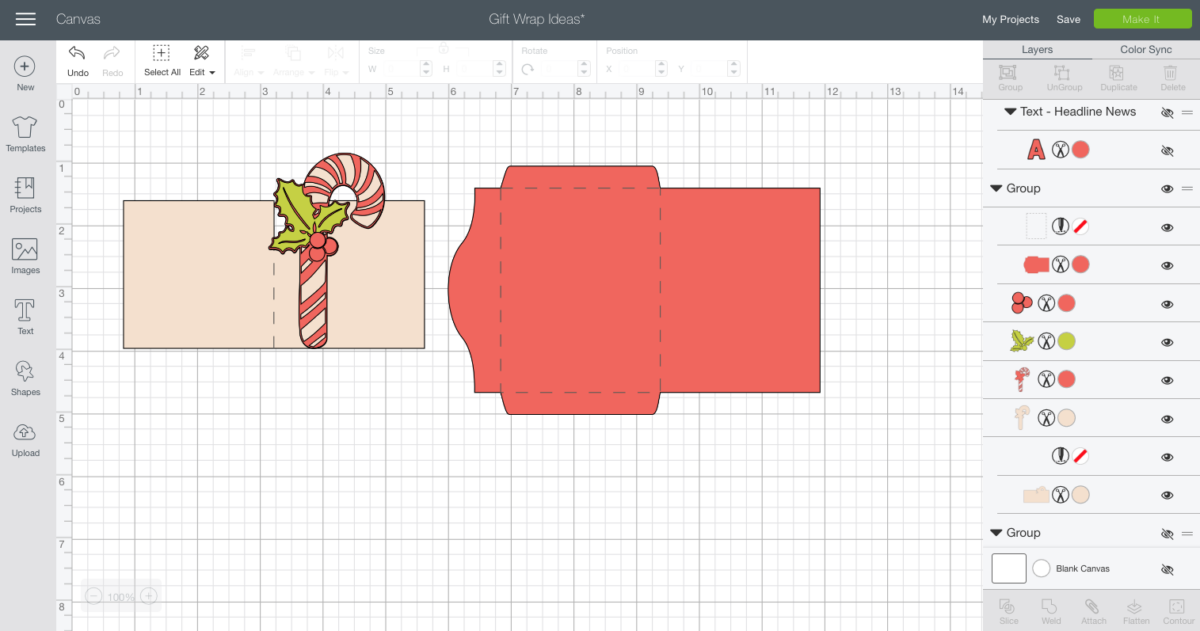
Layer all the pieces together as shown in Cricut Design Space for the candy cane card, and fold the envelope and glue the flaps. I like using hot glue for the assembly of actual envelopes and pillow boxes, but for layering cardstock, I often use spray adhesive or my Xyron Creative Station (which is basically a sticker maker).

Merry & Bright Pillow Box
Cut out all of the pieces for this pillow box. I really like the “Winter Frolic” cartridge on Design Space—search for it in Images to see some of the other fun sayings you could put on this box!
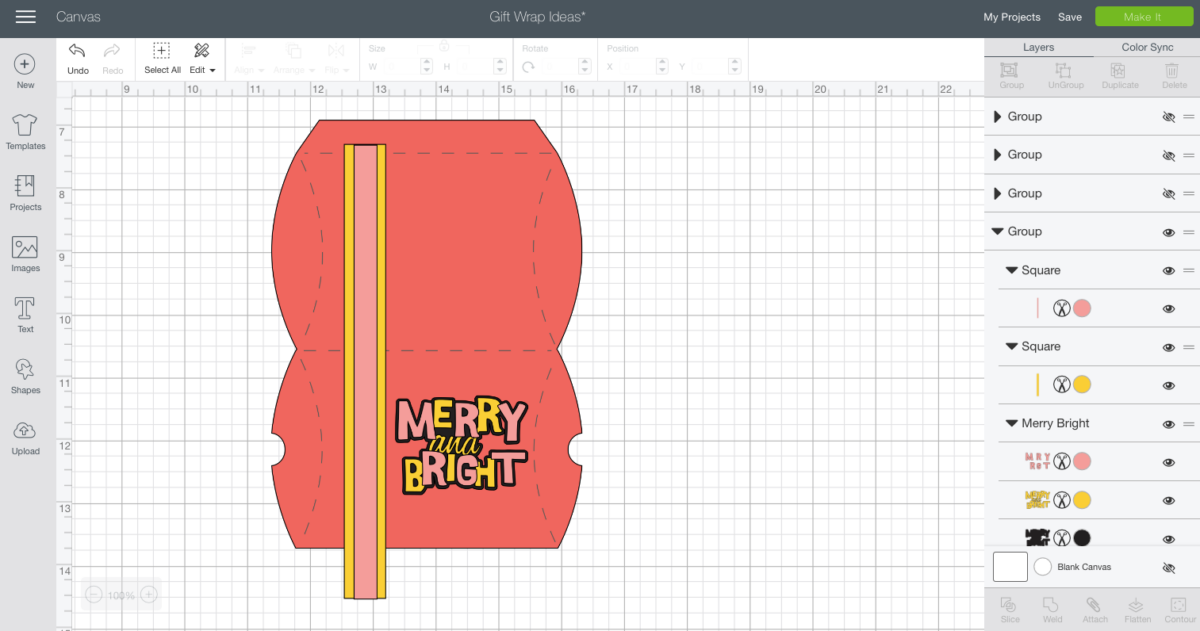
To make the pillow box, fold along the straight score lines and glue the flap to the other side. Then “pop” the curved edges down to create the box.
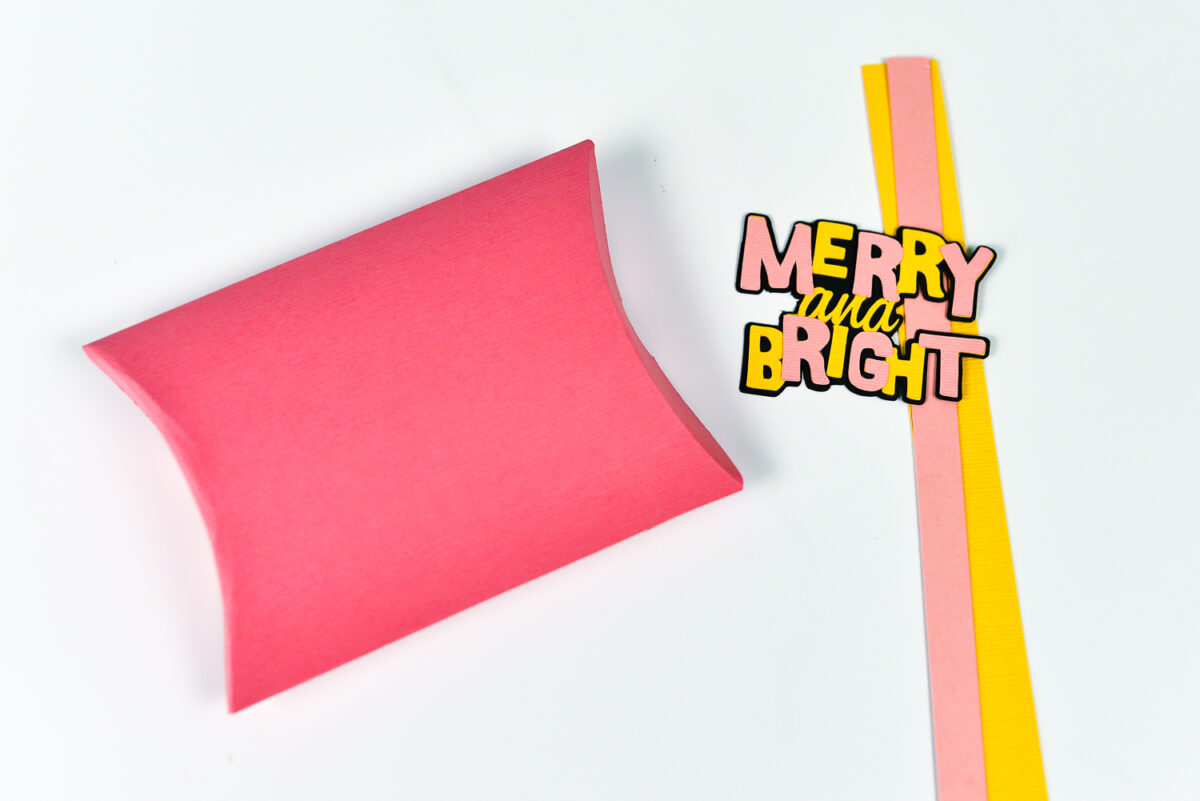
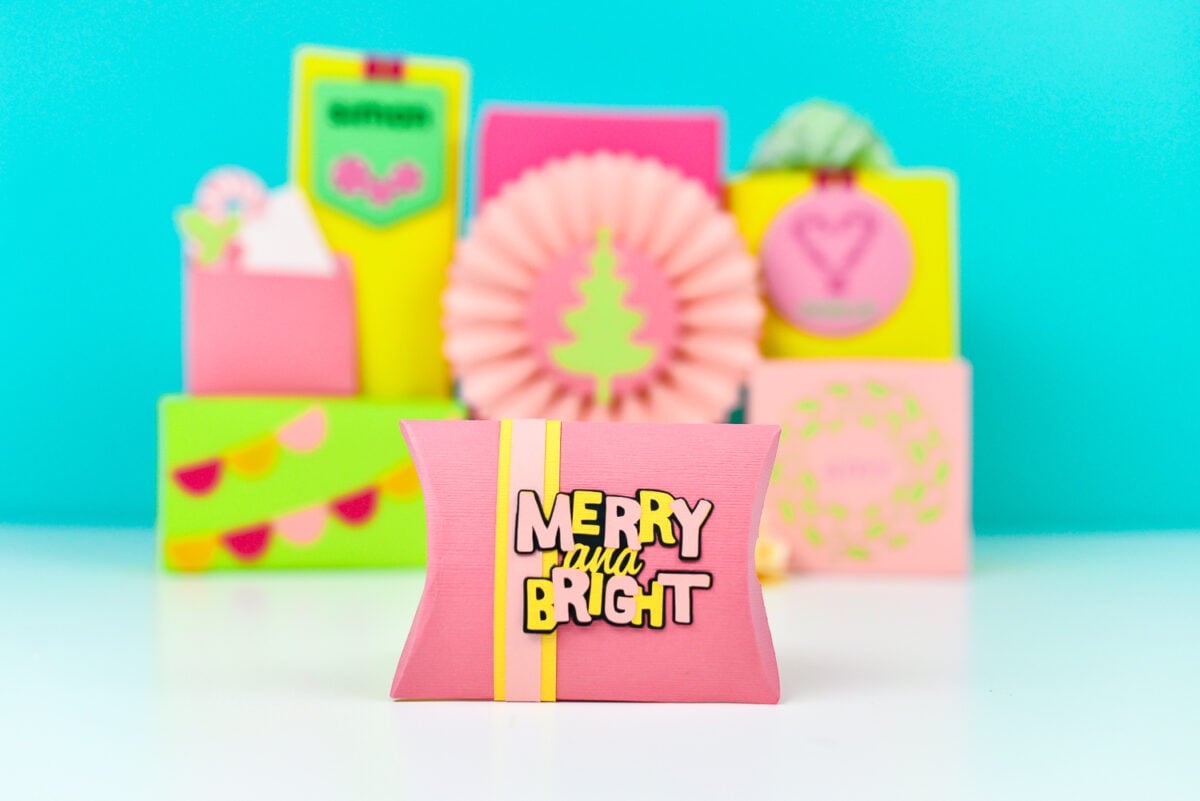
Glue the decorations as show below!
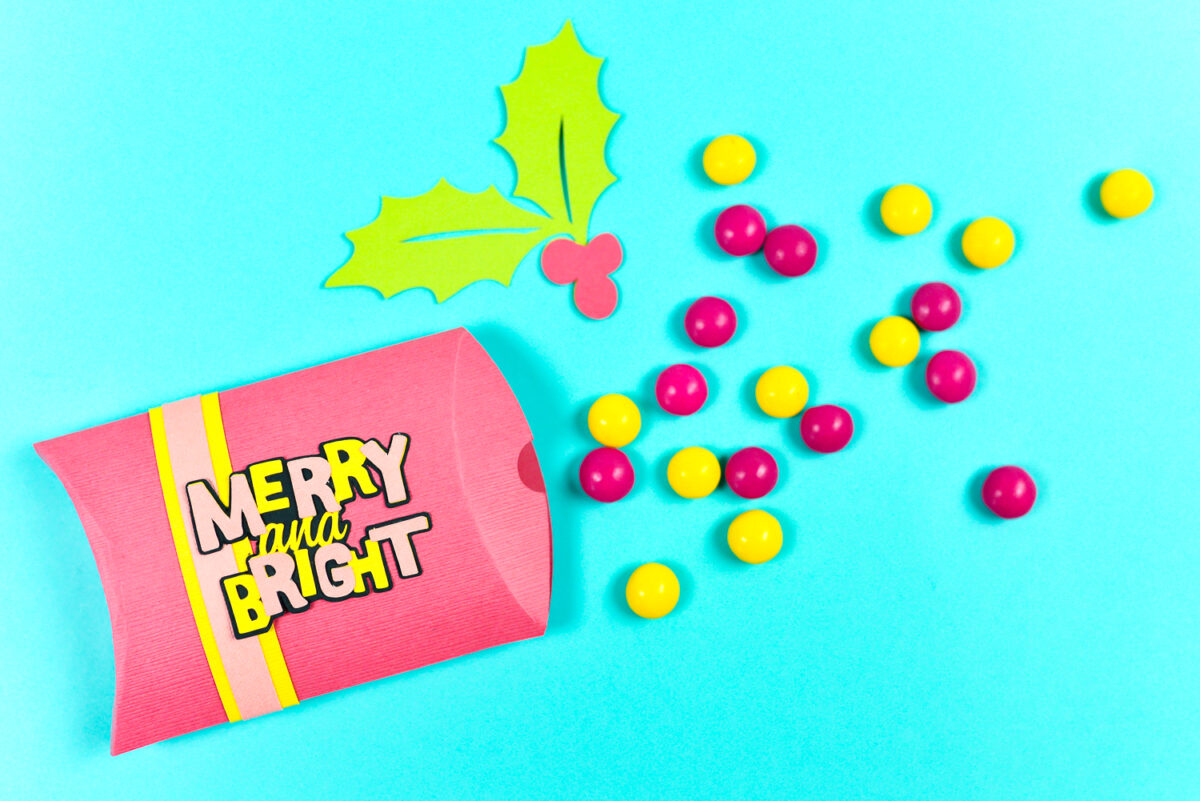
Fill with little treats, like candy. This pillow box also makes an excellent gift wrap idea for jewelry!
Felt Pennants and Fabric Flowers with the Rotary Blade
We’ve tackled I love how the Maker effortlessly cuts fabric and felt with the Rotary Blade. We’re going to make two rotary blade projects. Both of these make adorable Christmas gift wrap ideas, but they are also super versatile—use them any time of year on all sorts of gifts!
Tiny Felt Pennants
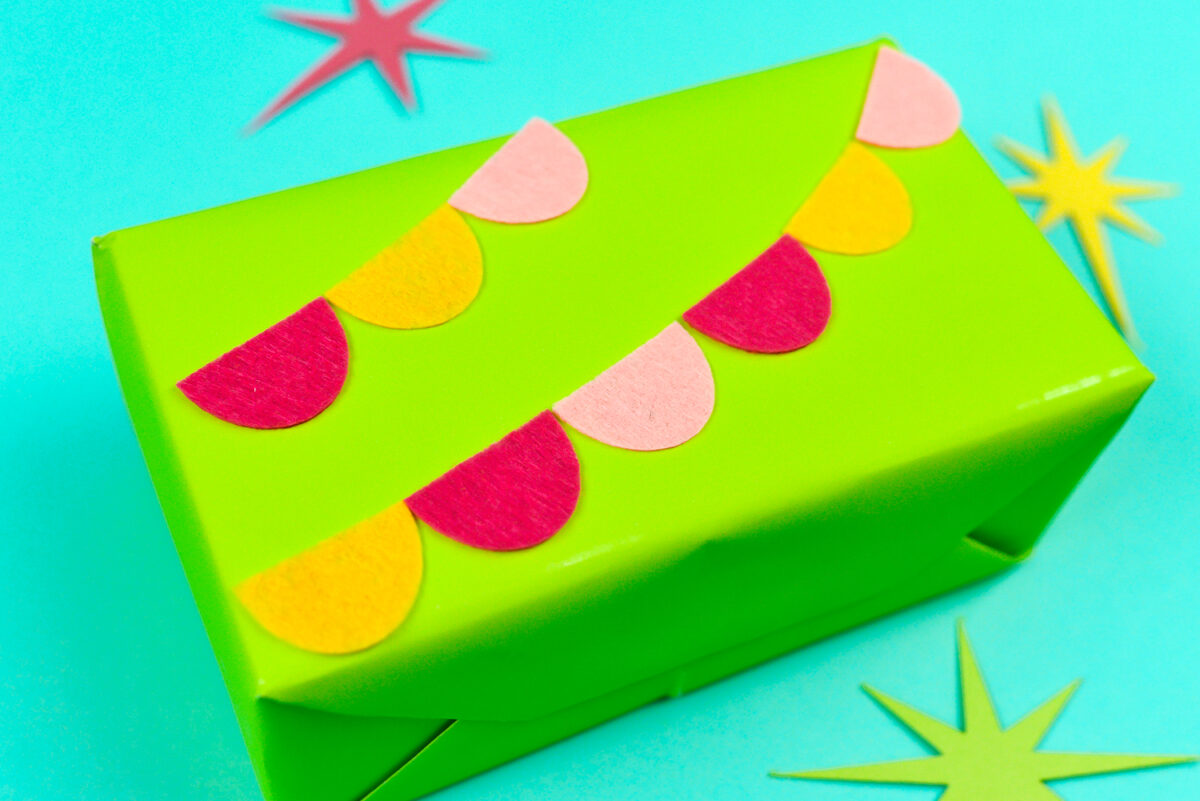
I cut out a bunch of tiny rounded pennants using Cricut Felt and my Rotary Blade. The Maker defaults to using the Fine Point Blade, but I find the Rotary Blade to be the winner for felt.
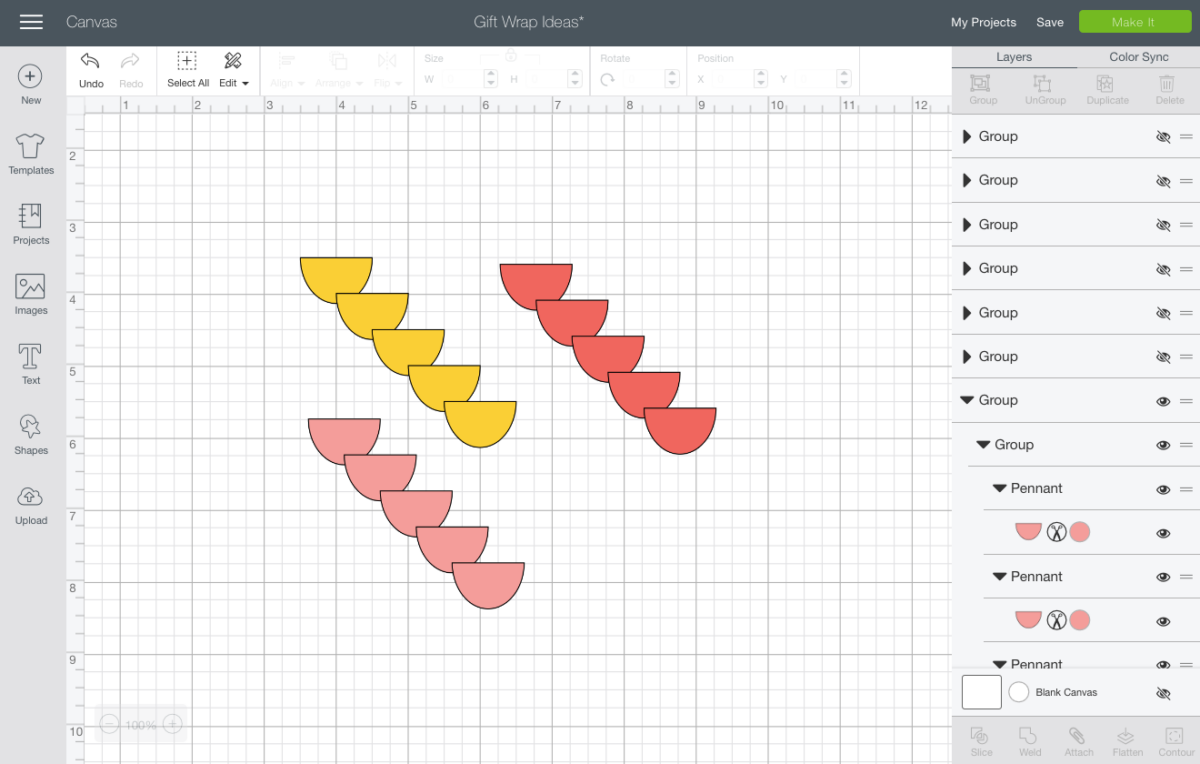
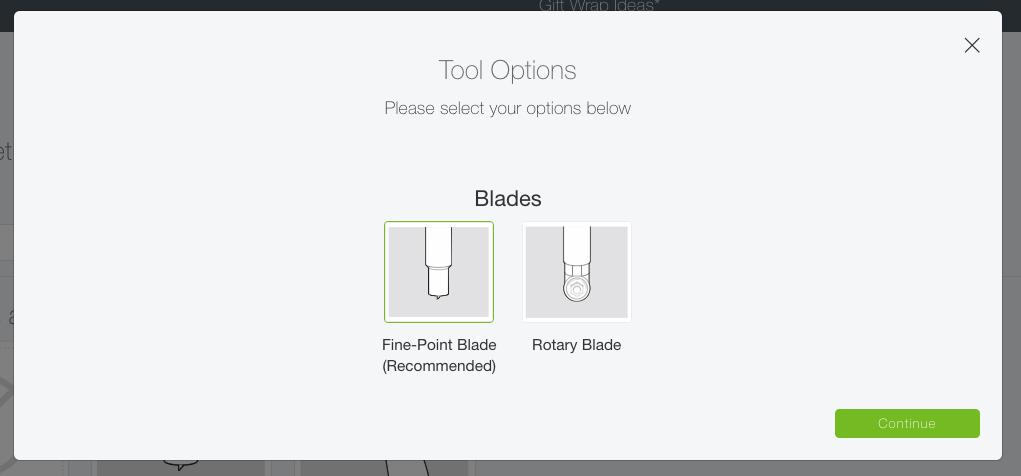
When you go to cut your pennants, click “Edit Tools” on the right and from there you can select the Rotary Blade.
You could run these through your sewing machine or hand-stitch them into pennants together, but I just straight glued them to the box! Never said I wasn’t one to take the easy way out—I think they look just as cute!

Fabric Flowers
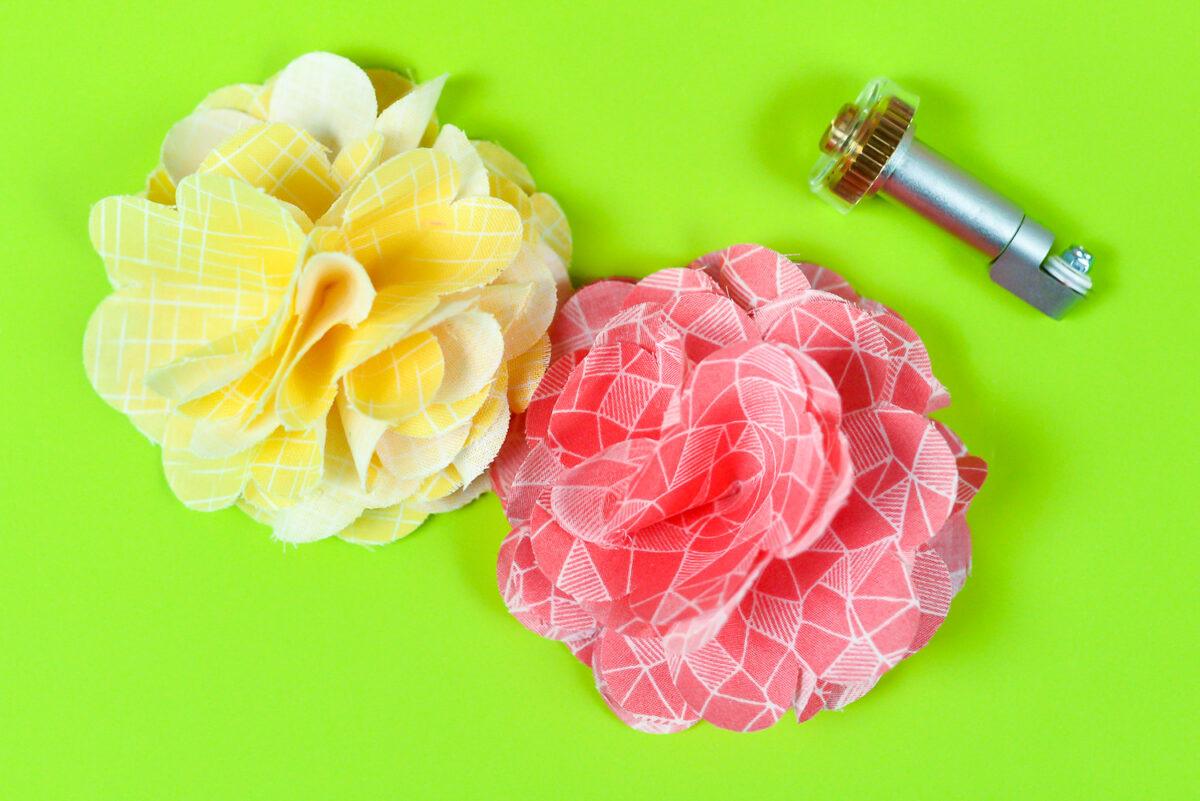
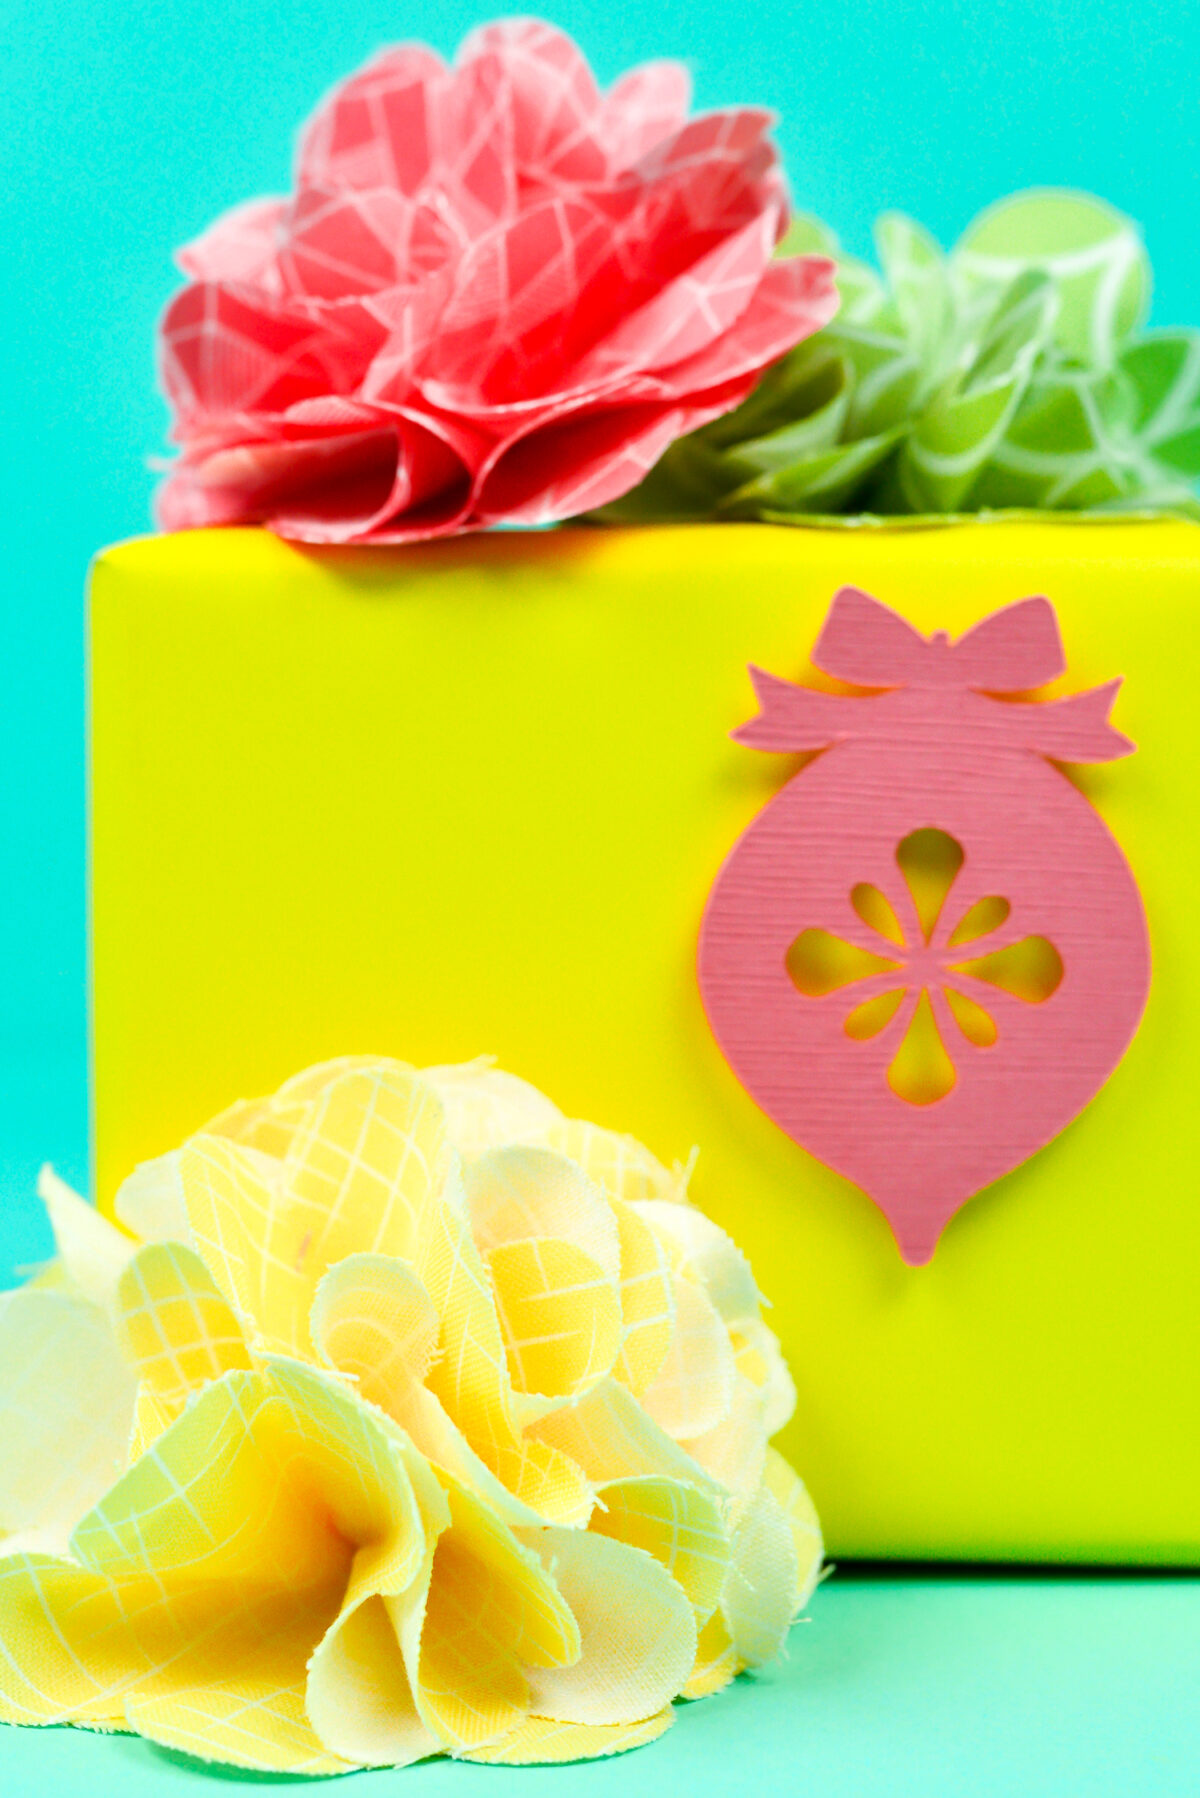
These fabric flowers add lovely texture to gift wrap and work year-round, depending on what fabric you use! These would be so gorgeous cut in a gold lamé or even tulle. I used simple cotton that coordinates with all of my other colors—pink, yellow, and green.
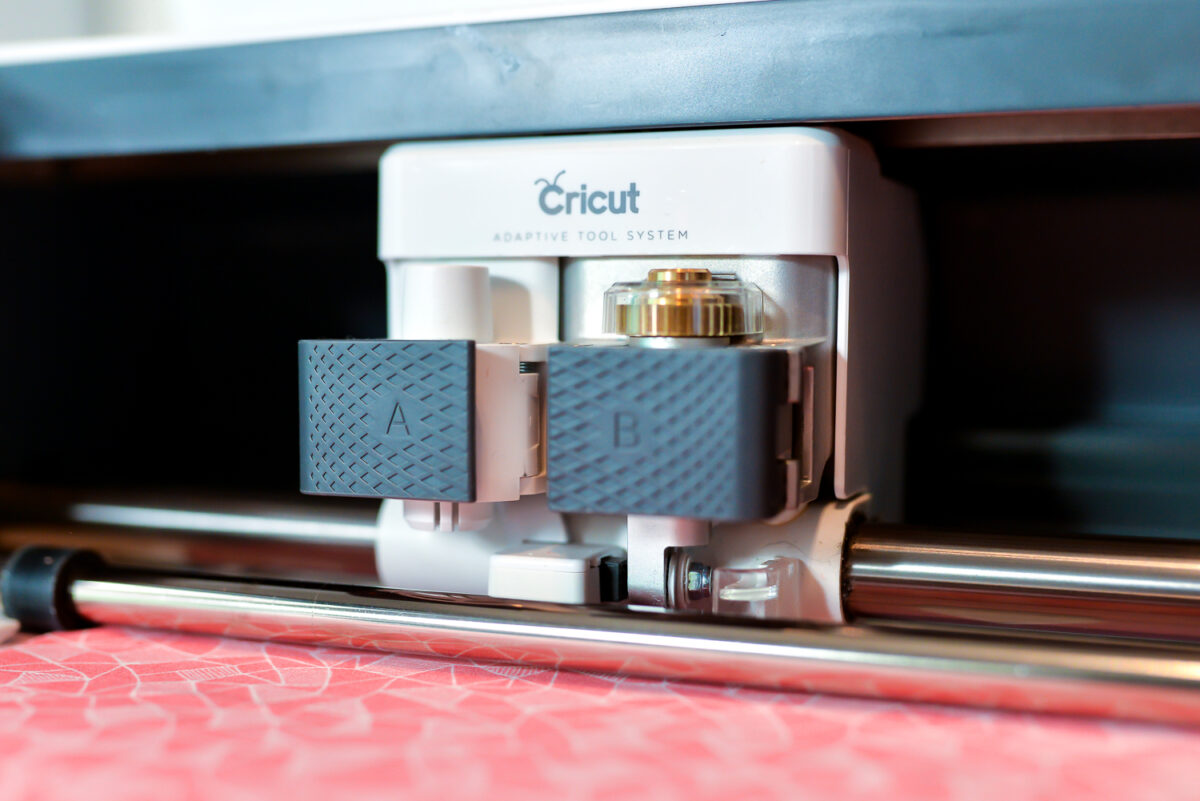
Cut out the flowers in your fabric using the Rotary Blade (learn more about using the Rotary Blade to cut fabric).
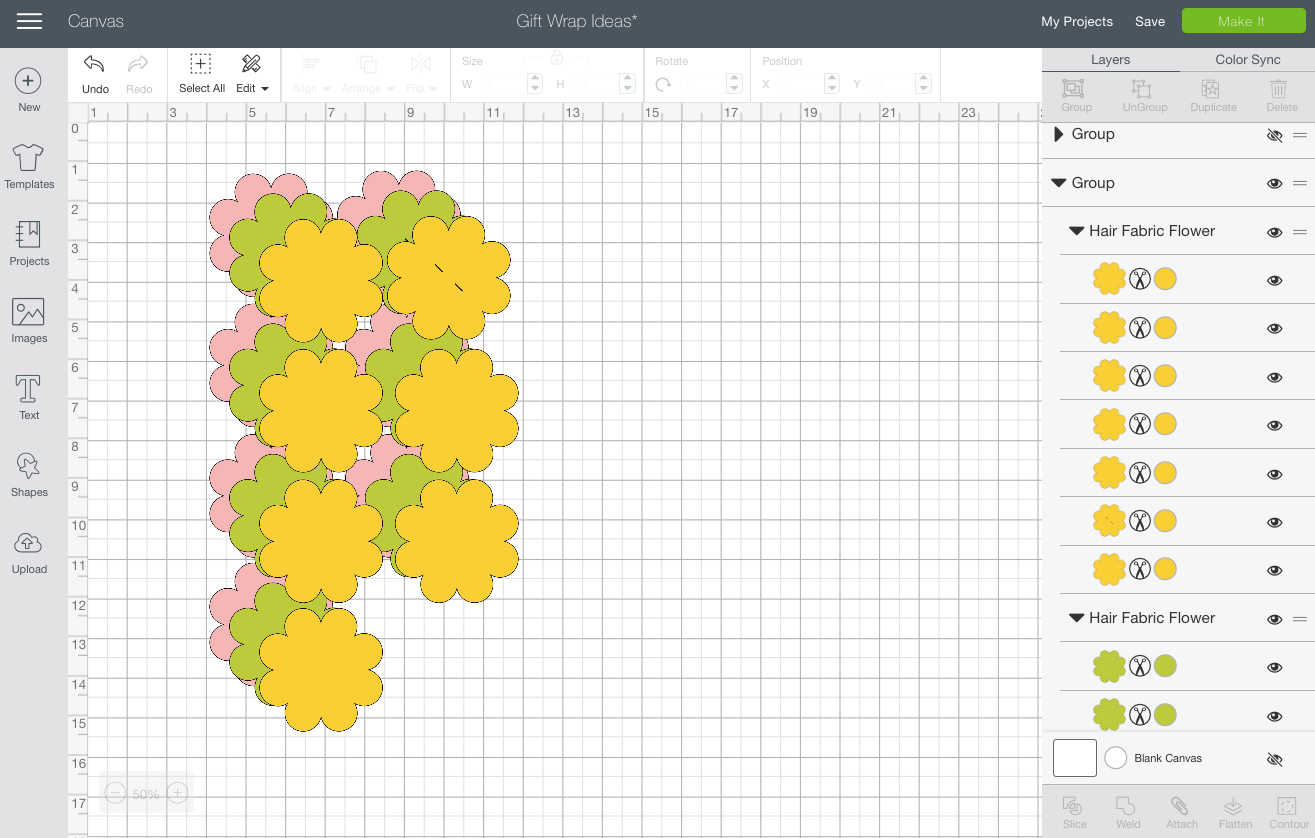
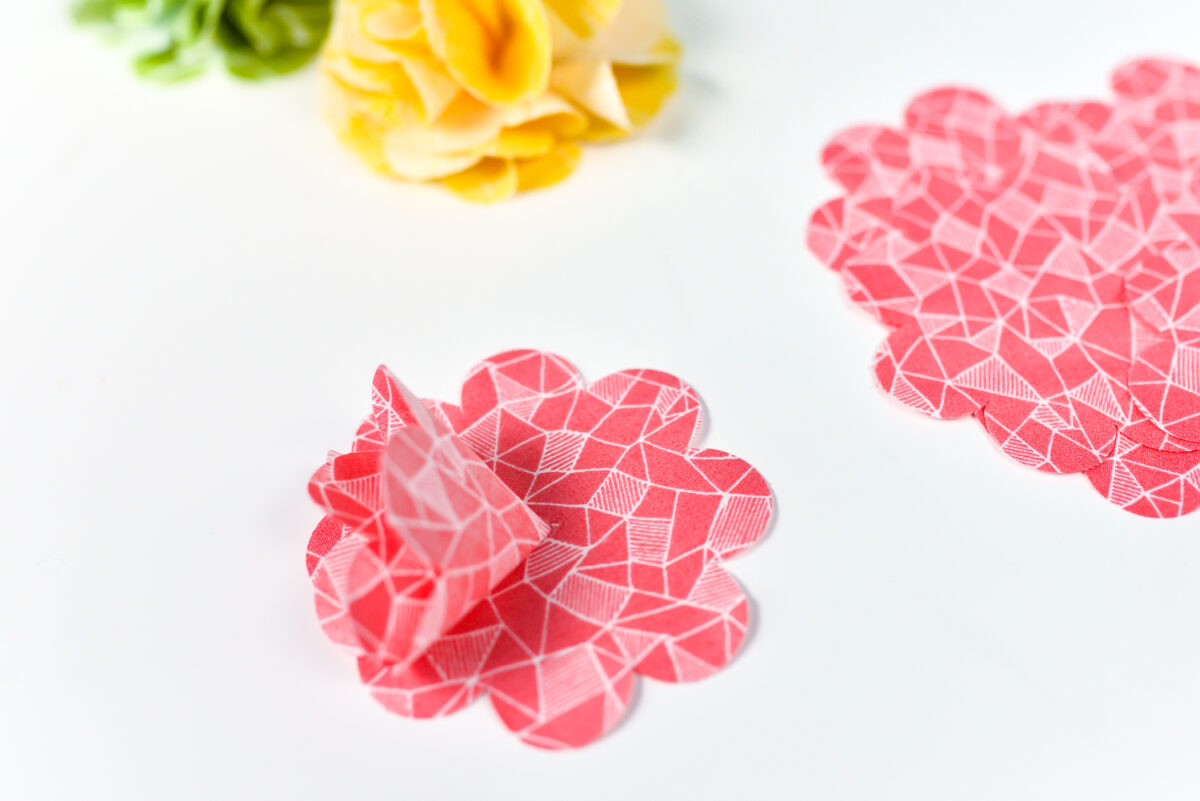
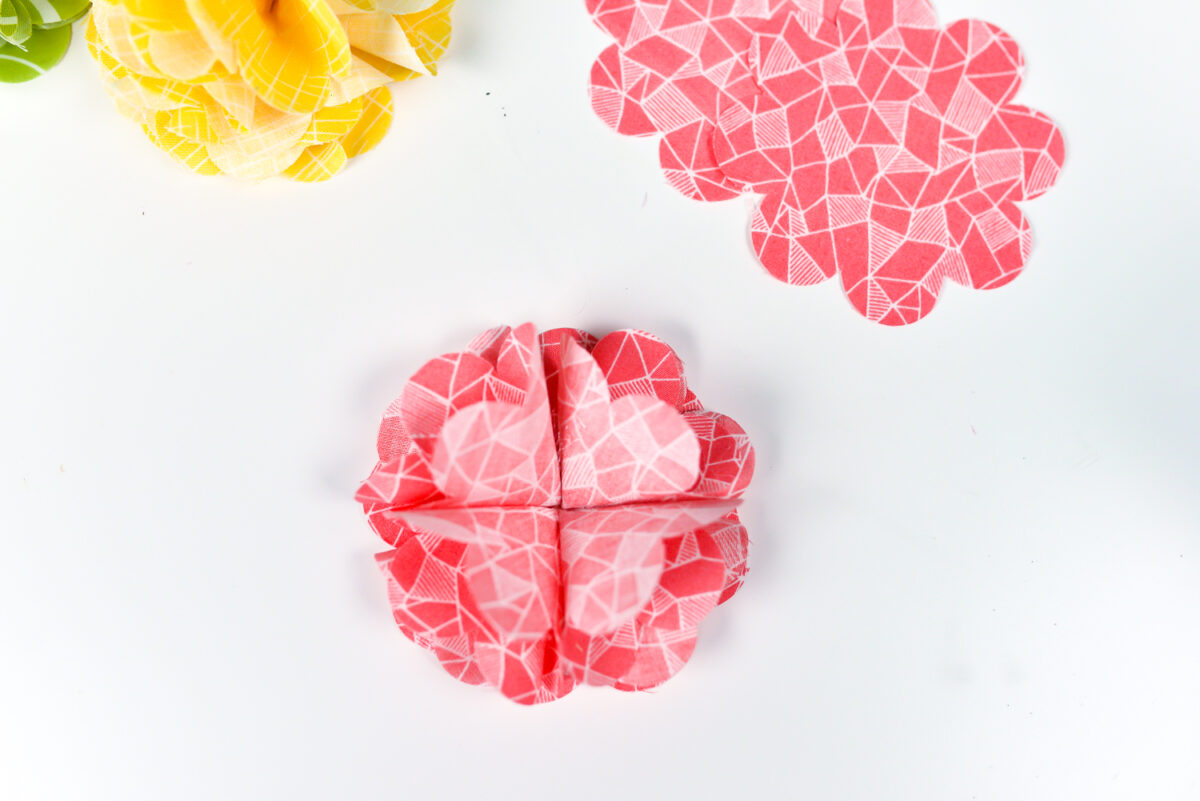
You’ll have seven pieces. There’s one with two small slits. I decided to use that piece as my base, but ignore the slits because I wanted a totally flat base. Fold each flower into quarters and put a dab of glue at the end, and adhere to the base flower.
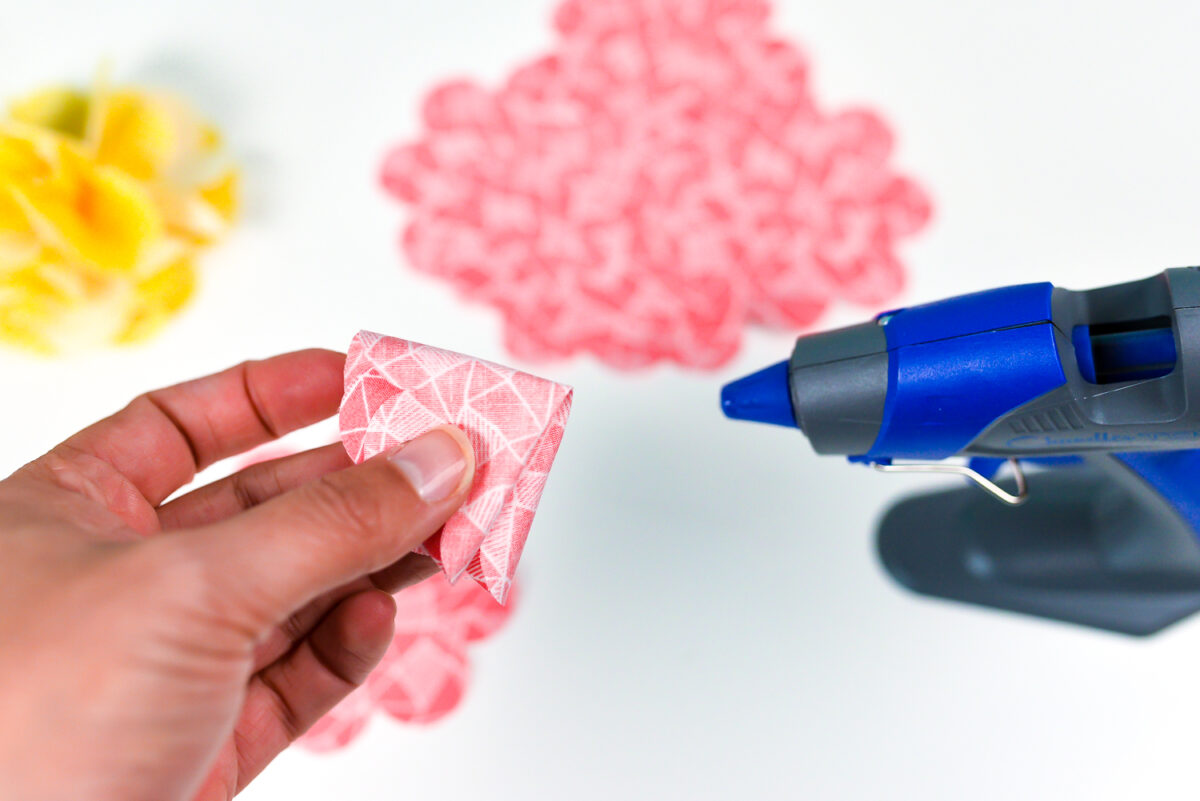
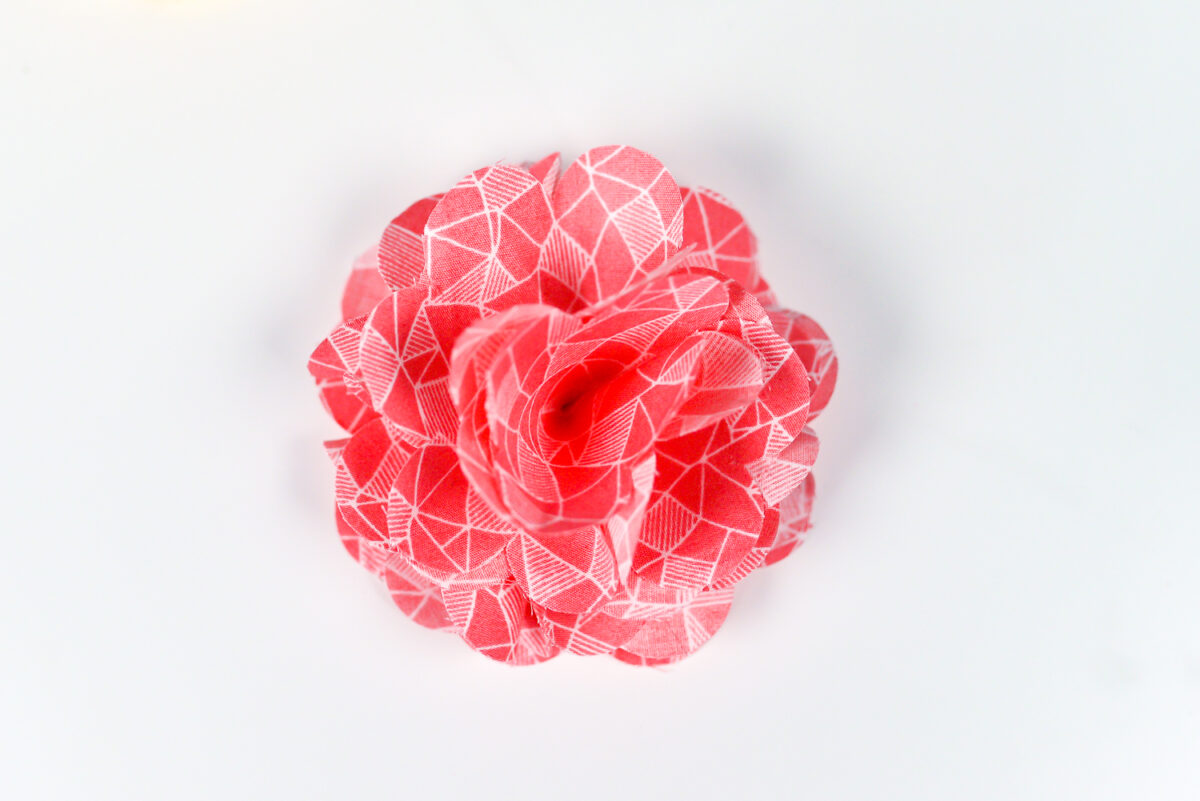
I sort of put one in each “quadrant” of the base, and then nestle the final two on top—it creates a cute, fluffy flower!

I think these would be adorable in felt as well, cut, of course, using the rotary blade!
I hope you liked all of these ideas and found them inspiring for your own Christmas gift wrapping this year! Make sure to hit Cricut’s store and use my code MAKESTUFF to get 10% off many products and free shipping over $49!
