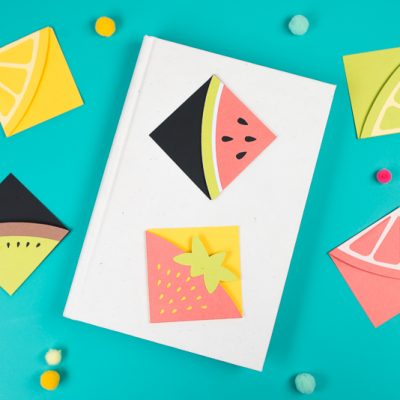
Make these cheerful fruit bookmarks on your Cricut! These DIY bookmarks are perfect for summer, when you’re diving into a delicious beach read.
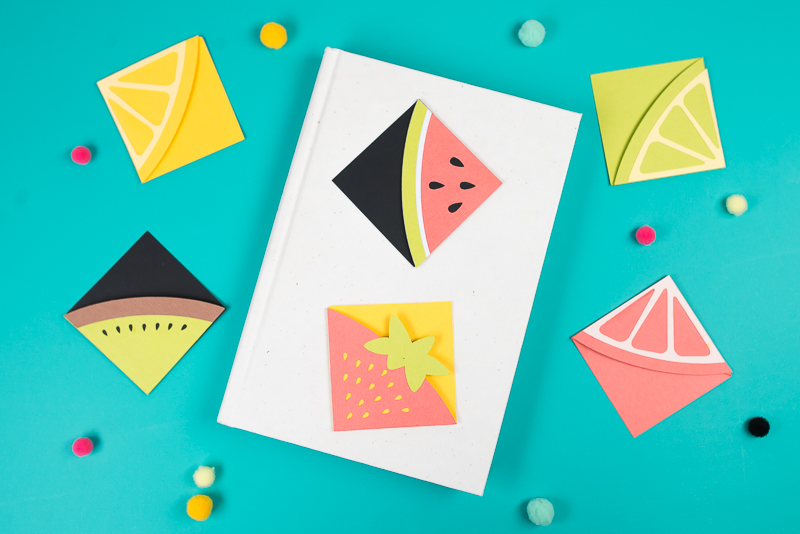
The weather is definitely heating up here in Northern California and all I want to do is sit by the side of the pool with a light and fun beach read!
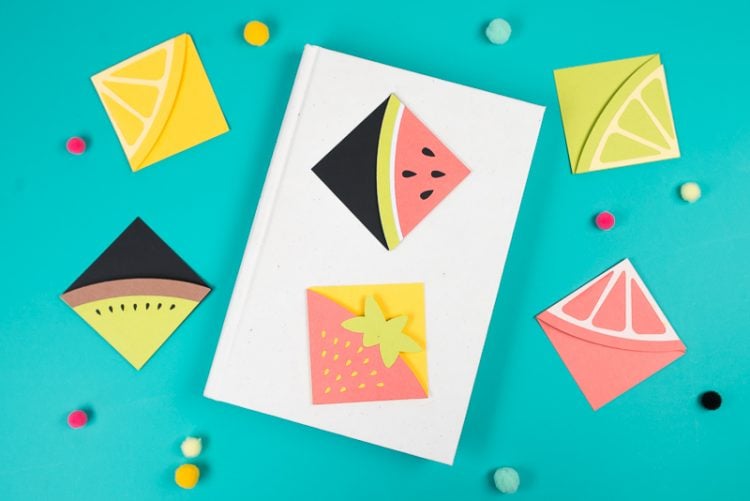
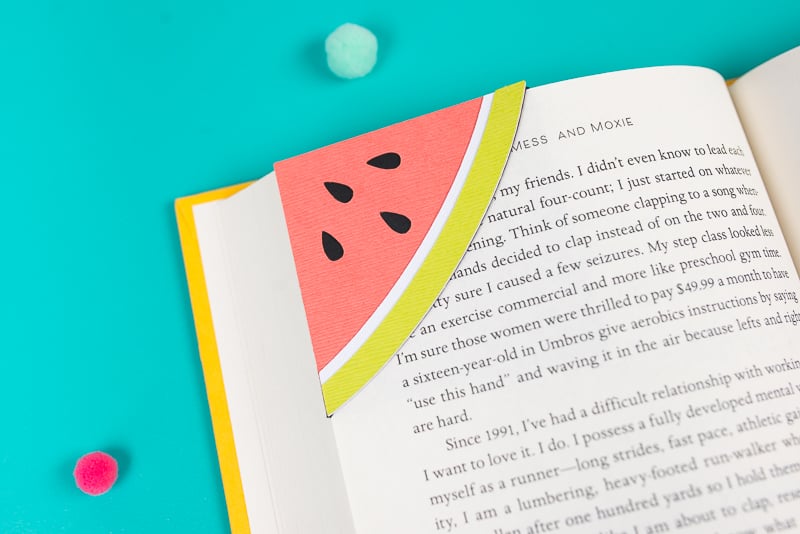
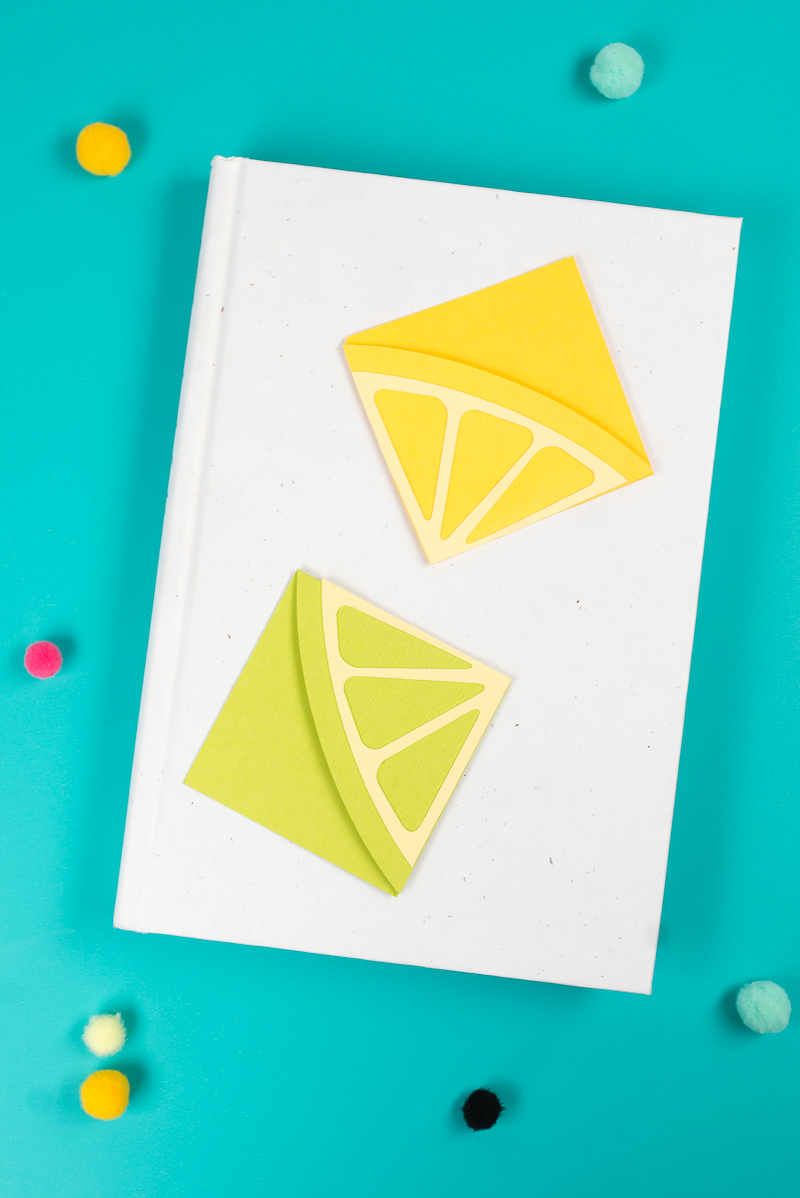
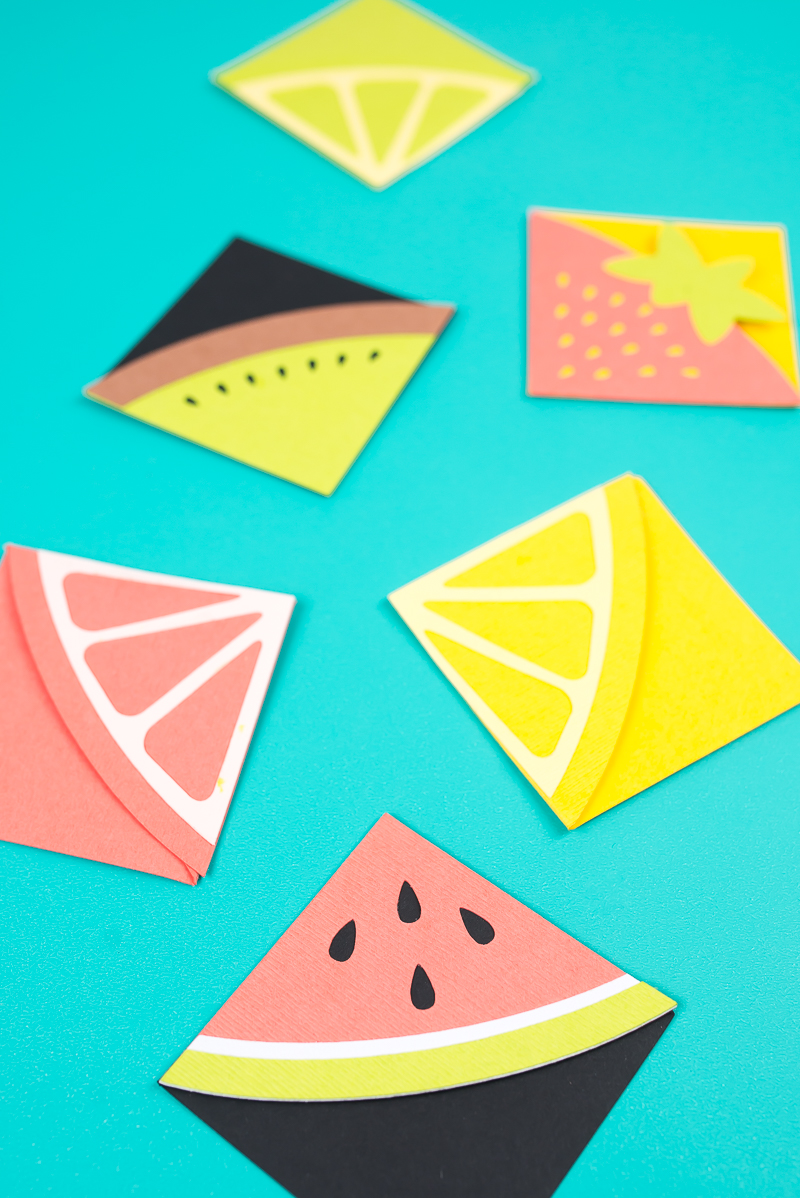
Problem is, I don’t have a pool and I have two toddlers. So watching my boys play at their water table while I sneak a chapter here or there will have to do! Because I’m constantly putting my book down to refill the water table, run the sprinkler, or watch endless “look mamas!,” every book I have needs a bookmark. I love designing corner bookmarks and I thought a set of fun fruit bookmarks were perfect for this summer—lemon, lime, grapefruit, watermelon, kiwi, and strawberry.
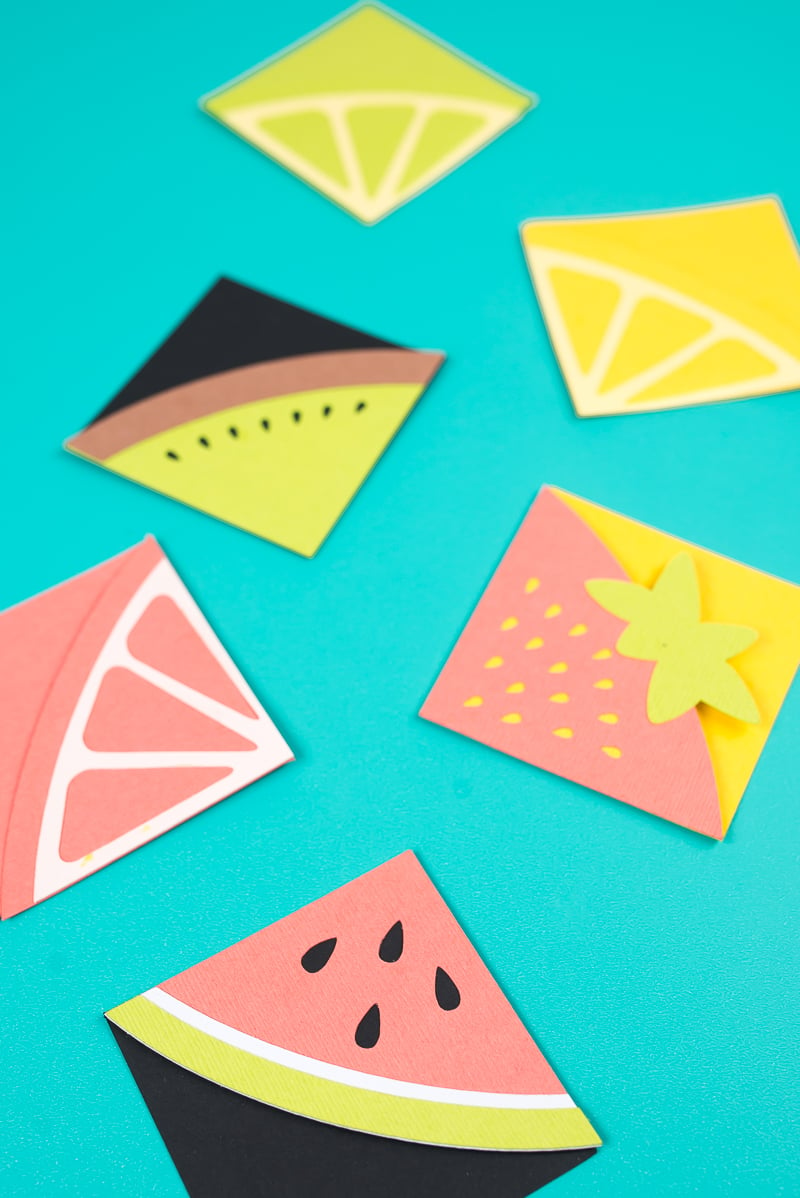
I designed these bookmarks to be scored and cut on a Cricut. Instead of trying to cut out and glue all of the tiny seeds and citrus segments, those are actually cut out to reveal the main bookmark color underneath—same effect, way fewer pieces!
DIY Bookmarks: Supplies
- Colored card stock: pink, light pink, yellow, light yellow, green, black, white, and brown.
- Cricut
- Cricut Scoring Stylus
- Xyron Creative Station (optional)
- Craft glue
- SVG download (see below)
Get the Free File
Want access to this free file? Join my FREE craft library! All you need is the password to get in, which you can get by filling out the form below. The file number is: C115.
DIY Bookmarks: Instructions
Upload the file into Cricut Design Space.
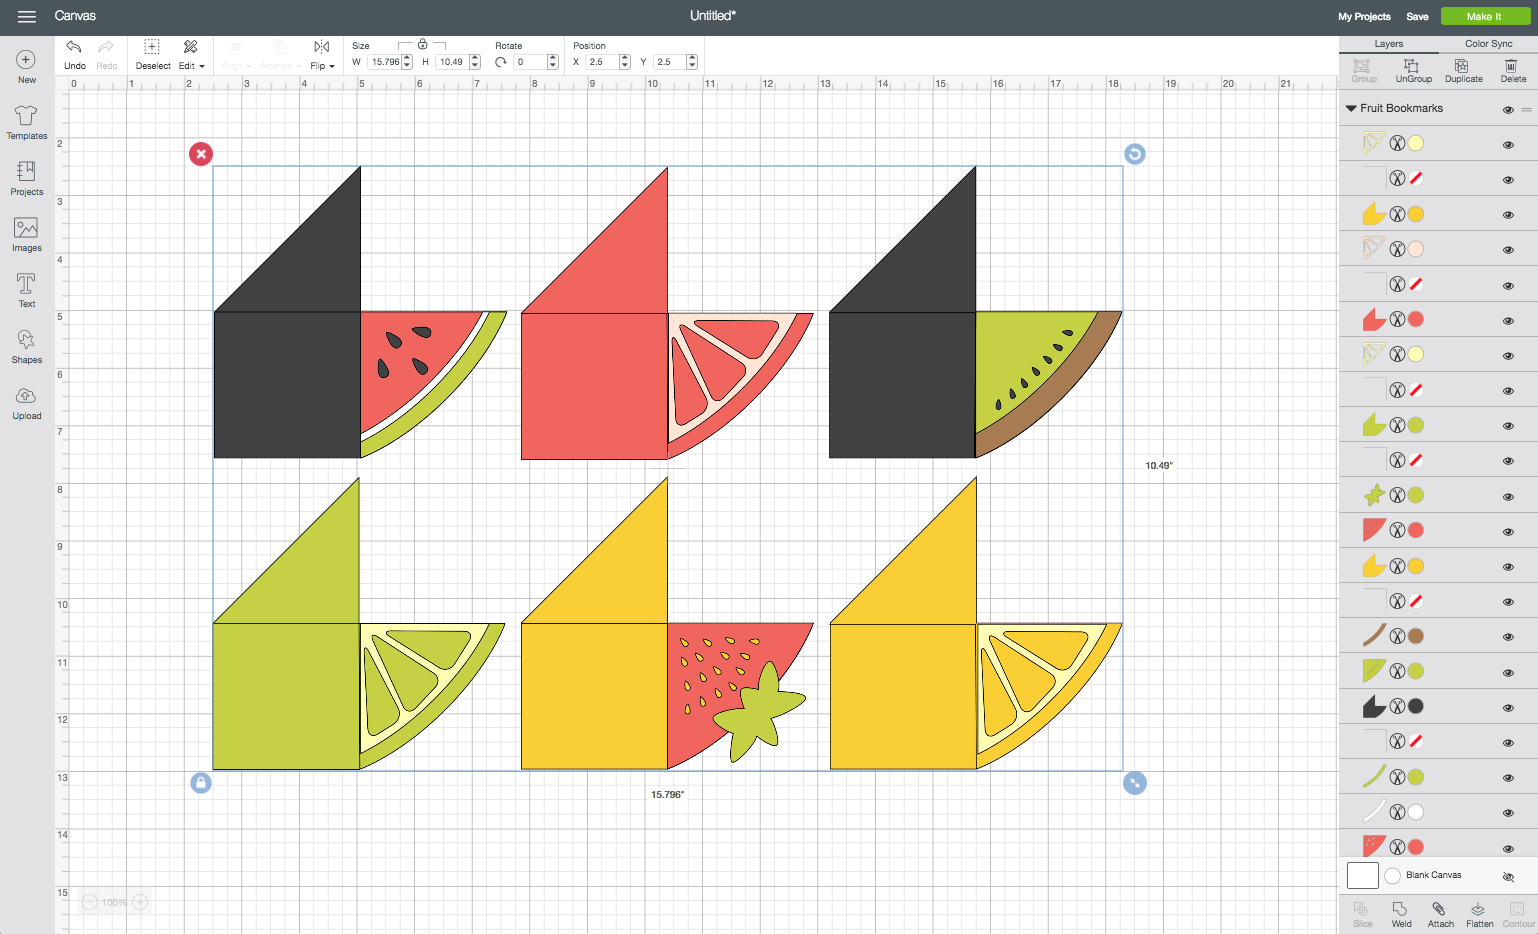
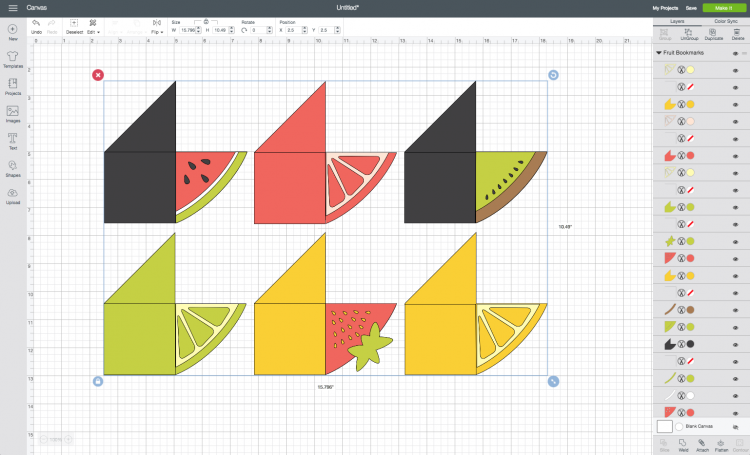
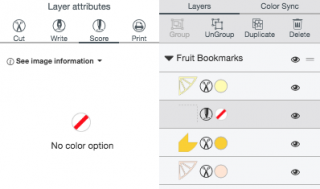
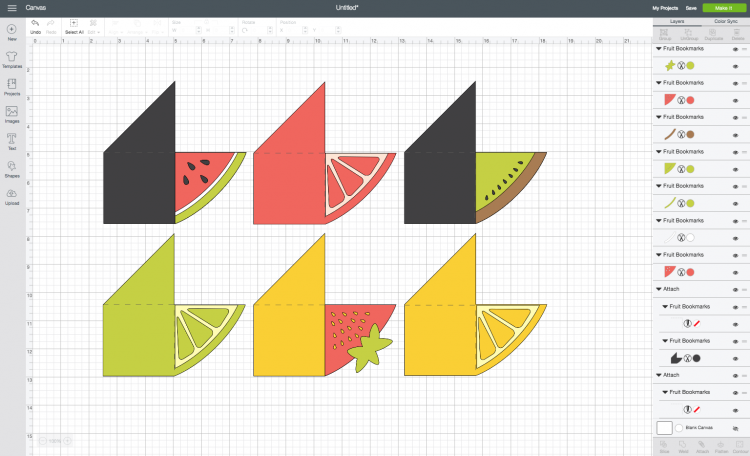
In the Layers Panel, you will see that there are six “line” images in the file — these are these are the score lines for folding your bookmarks. Click on each line and change it from a cut line to a score line in the Layer Attributes. The solid lines will turn to dotted lines in your file.
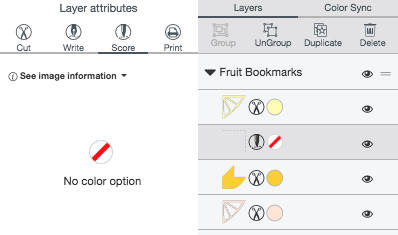
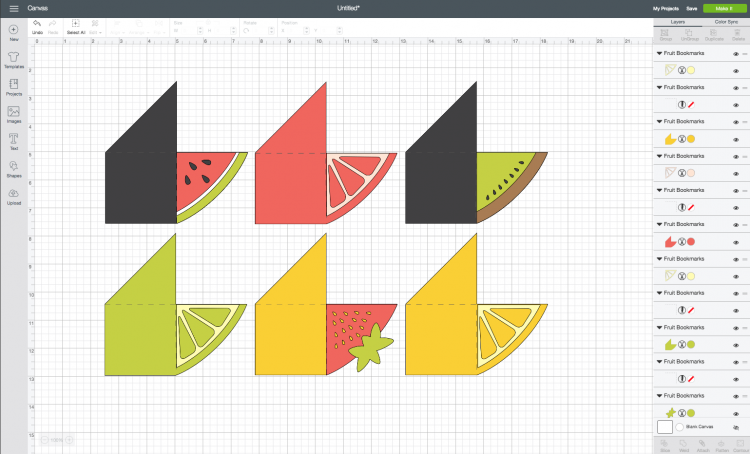
Then “Ungroup” your entire file, so instead of being attached together, everything is in individual pieces.
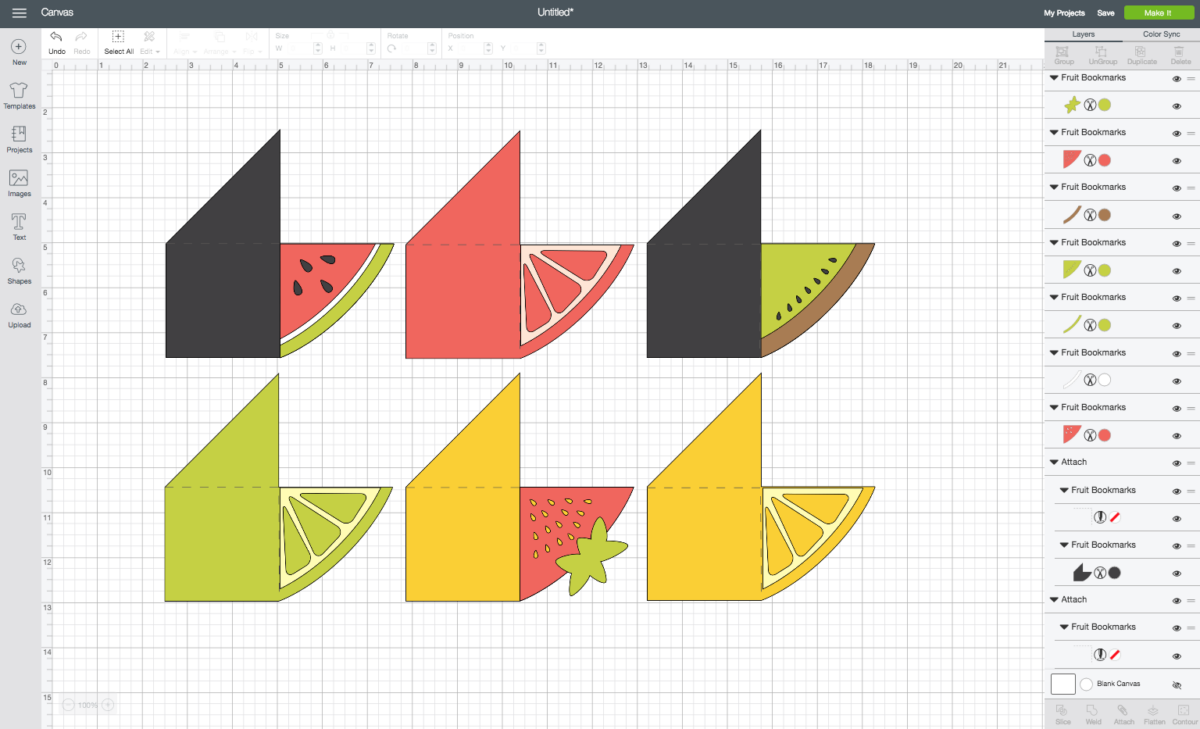
Then attach each score line to its main solid bookmark piece. This ensures the score line will score properly on the bookmark.
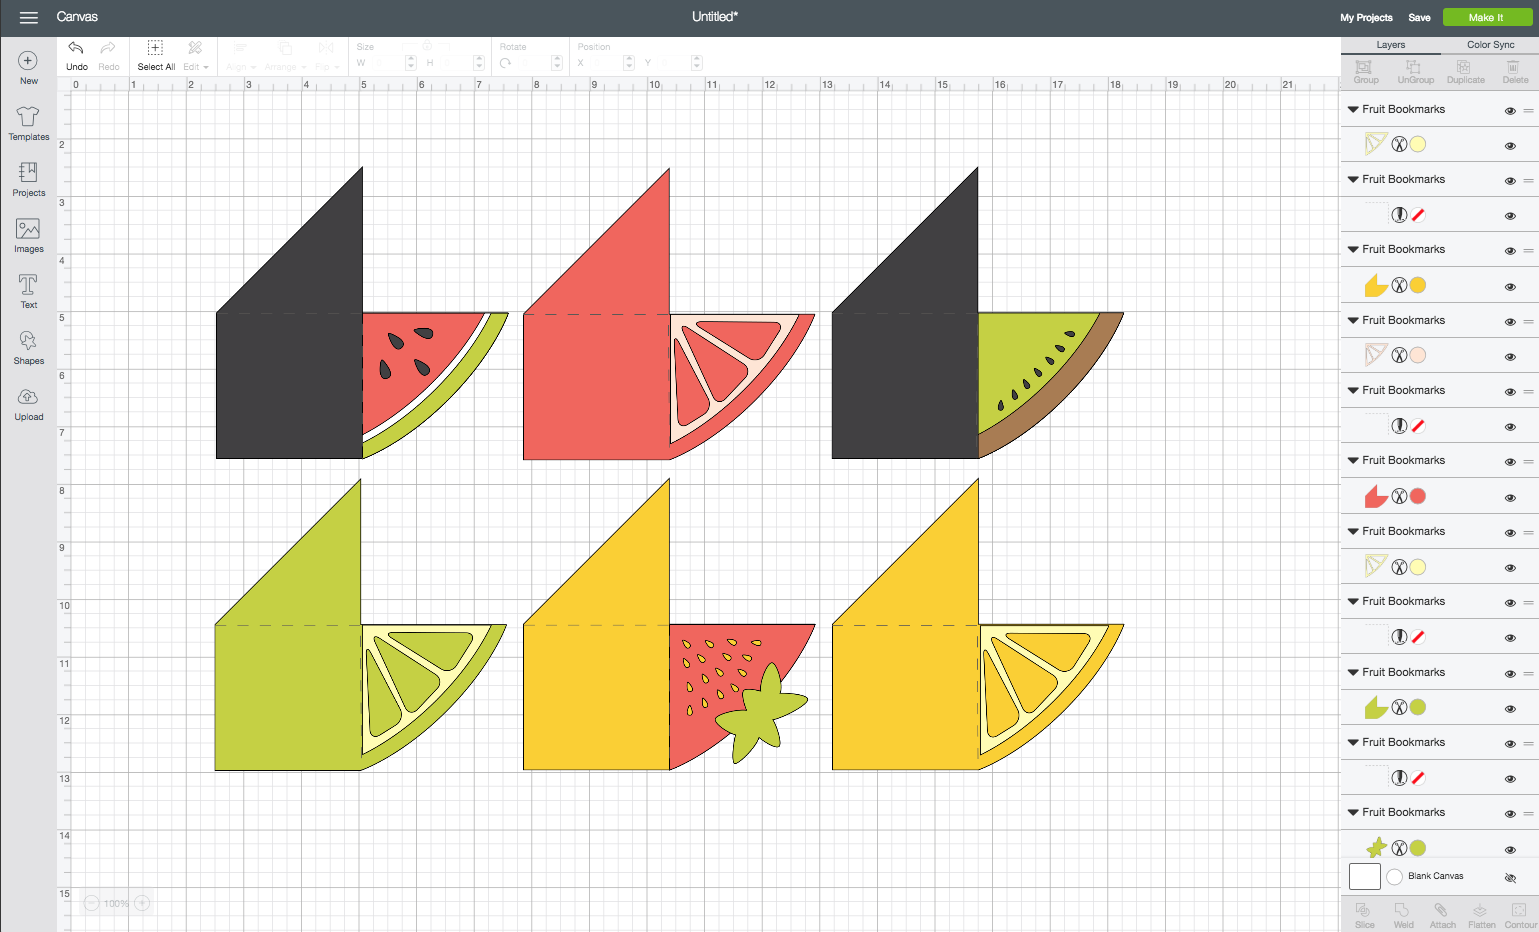
Then you’re ready to cut!
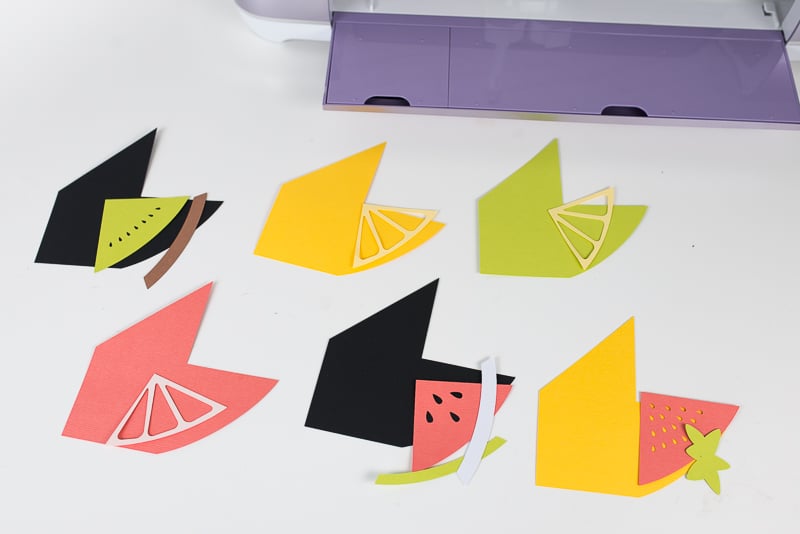
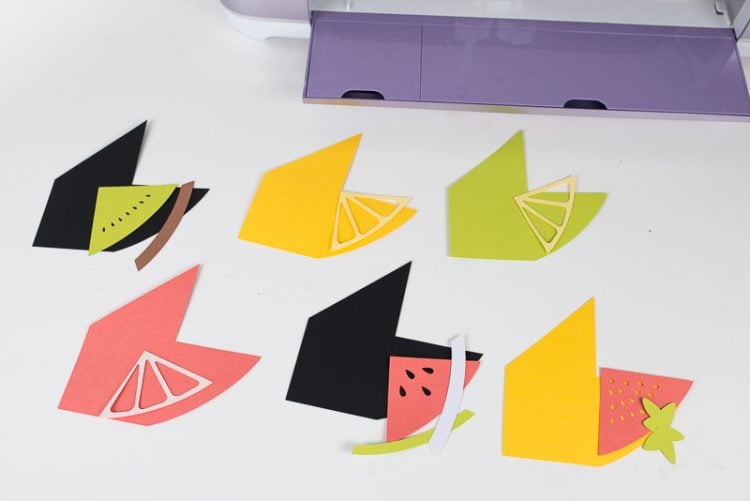
Once you have all your pieces cut out, sort them into piles for each bookmark.
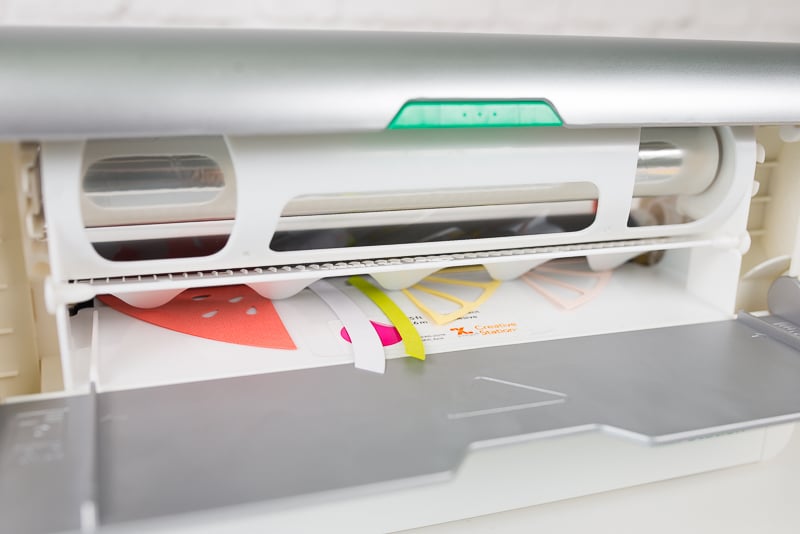
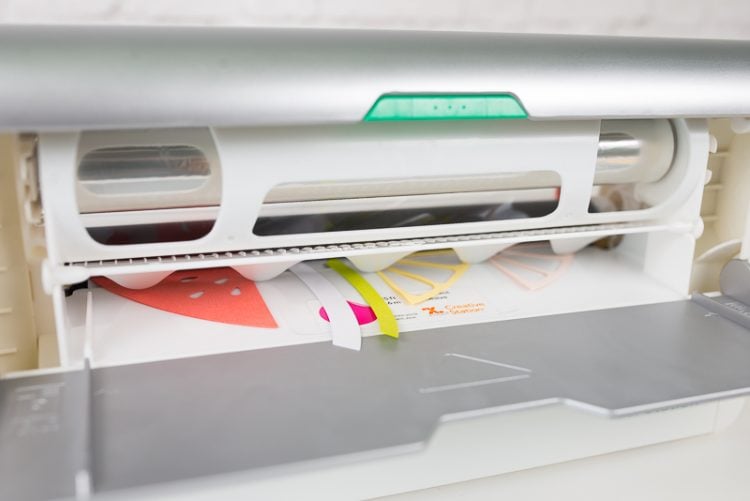
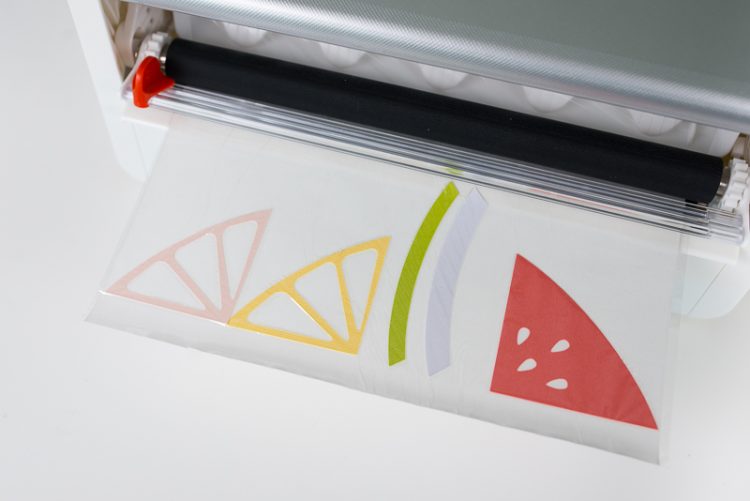
You can use craft or spray glue to adhere each of the pieces, but I wanted to try using my new Xyron Creative Station. It’s basically magic—it can turn almost anything into a sticker or magnet, and it can laminate, too! I cranked my top pieces through and it added a layer of adhesive to the back of my pieces. It was about a million times easier and cleaner than using spray glue, which is my usual go-to adhesive. I can tell right away that this Xyron is going to have a permanent home on my craft table!
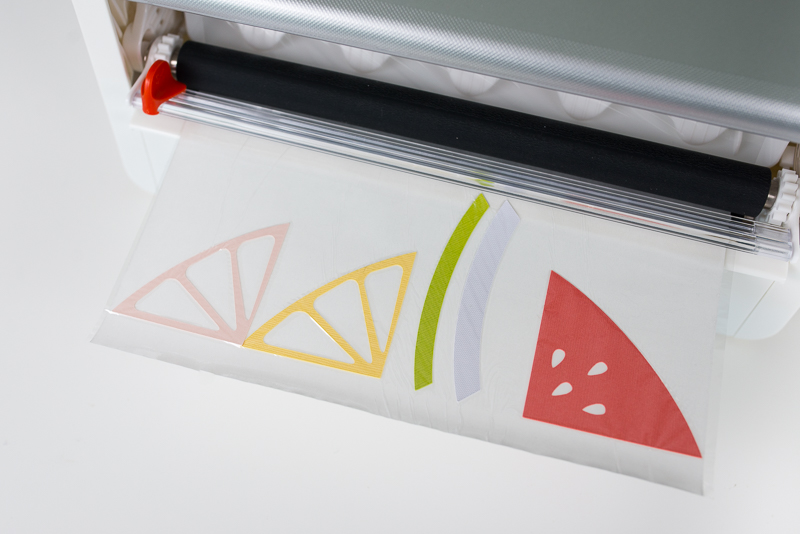
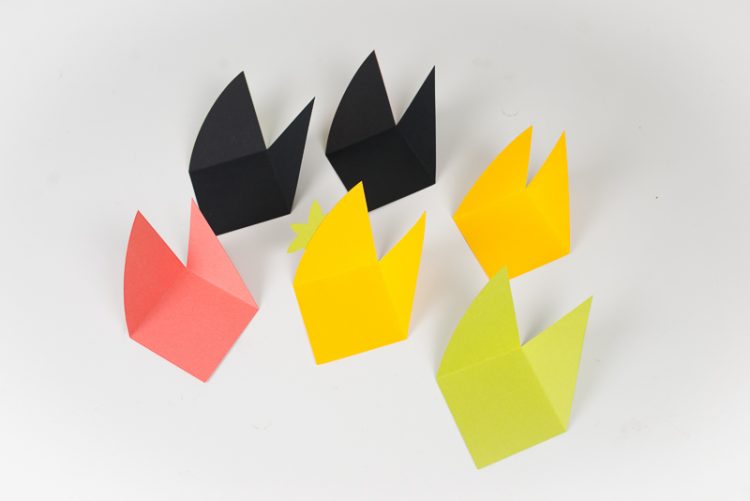
Once you’ve adhered all the fruit pieces to the main bookmark pieces, fold along the score lines.
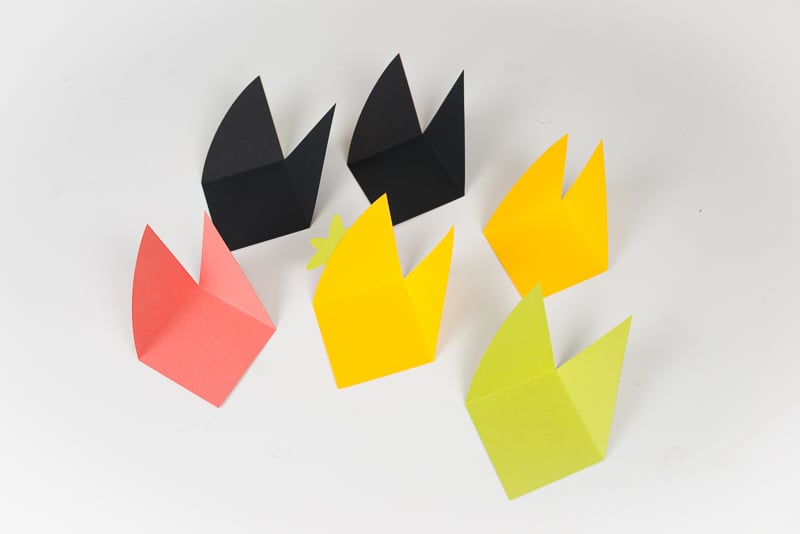
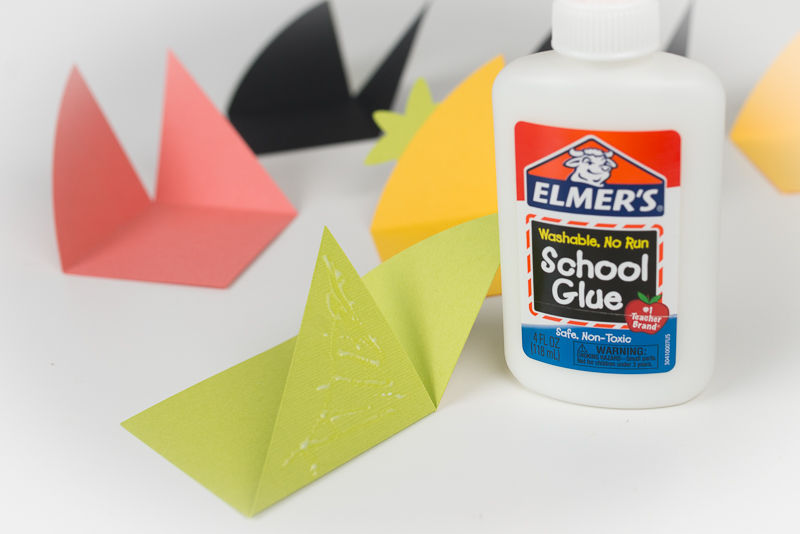
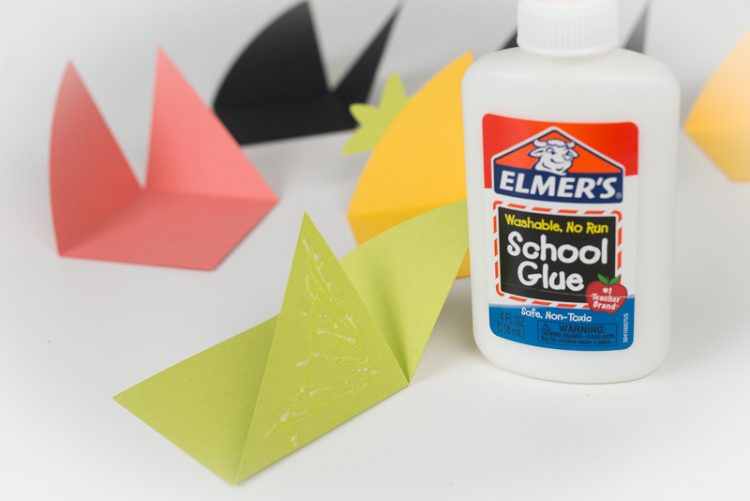
Then add a bit of craft glue to glue the two triangle flaps together, making sure not to glue the flaps to the interior of the bookmark—you still need to be able to slide your book page in there.
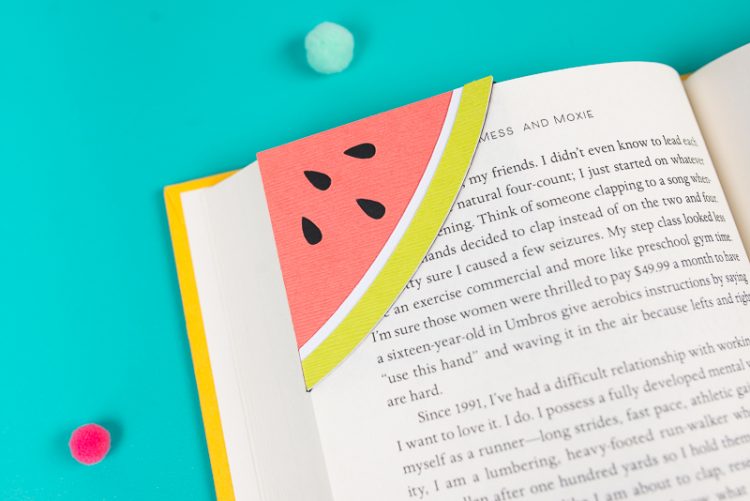
There you go! Six delicious DIY bookmarks that are perfect for summer!
Also check out my round up of fun and easy Cricut bookmark tutorials!
DIY BOOKMARKS: FUN WITH FRUIT
Equipment
- Cricut Maker or
- Scoring Tool (Maker and Explore only)
- Xyron Creative Station optional
Supplies
- Colored card stock pink, light pink, yellow, light yellow, green, black, white, and brown
- Free Fun with Fruit Bookmarks File #C115
Instructions
- Upload the file into Cricut Design Space.

- In the Layers Panel, you will see that there are six "line" images in the file — these are these are the score lines for folding your bookmarks. Click on each line and change it from a cut line to a score line in the Layer Attributes. The solid lines will turn to dotted lines in your file.

- Then "Ungroup" your entire file, so instead of being attached together, everything is in individual pieces.

- Then attach each score line to its main solid bookmark piece. This ensures the score line will score properly on the bookmark.

- Then you're ready to cut! Once you have all your pieces cut out, sort them into piles for each bookmark.

- You can use craft or spray glue to adhere each of the pieces, or the Xyron Creative Station as used here.


- Once you've adhered all the fruit pieces to the main bookmark pieces, fold along the score lines.

- Then add a bit of craft glue to glue the two triangle flaps together, making sure not to glue the flaps to the interior of the bookmark—you still need to be able to slide your book page in there.

- There you go! Six delicious DIY bookmarks that are perfect for summer!




Comments & Reviews
Jim E says
I’ve been making corner bookmarks for over a year and these are great! Good size and easy (I like easy). You mentioned your xyron machine. I have been using the smaller versions of xyron and swear by it for making stickers. I have even used it to make anything layerd such earrings and straight flat bookmarks. It really does work great. Thanks for this file, I’ll be making some soon.
Linda says
I really want to make some of these to go with books as gifts but I cannot download the SVG. I keep trying to click on the picture like it says but no luck. Any suggestions or help would be greatly appreciated.
I love this site, so many cool ideas.
Jen Goode says
These fruity bookmarks are so adorable! I think they’d be a ton of fun for all the summer reading happening over here in my hood.
Liz says
These are so fun! My daughter would love to make these with me. Fun summer project!
Tarissa, HLMS Reader Support says
Thanks, Liz! They are a fun summer project to do with the kids! :)
Alicia says
These are so cute!
Tarissa, HLMS Reader Support says
Thanks, Alicia! :)
Kim Byers says
These are darling Cori!!
Tarissa Hopkins says
Thank you!