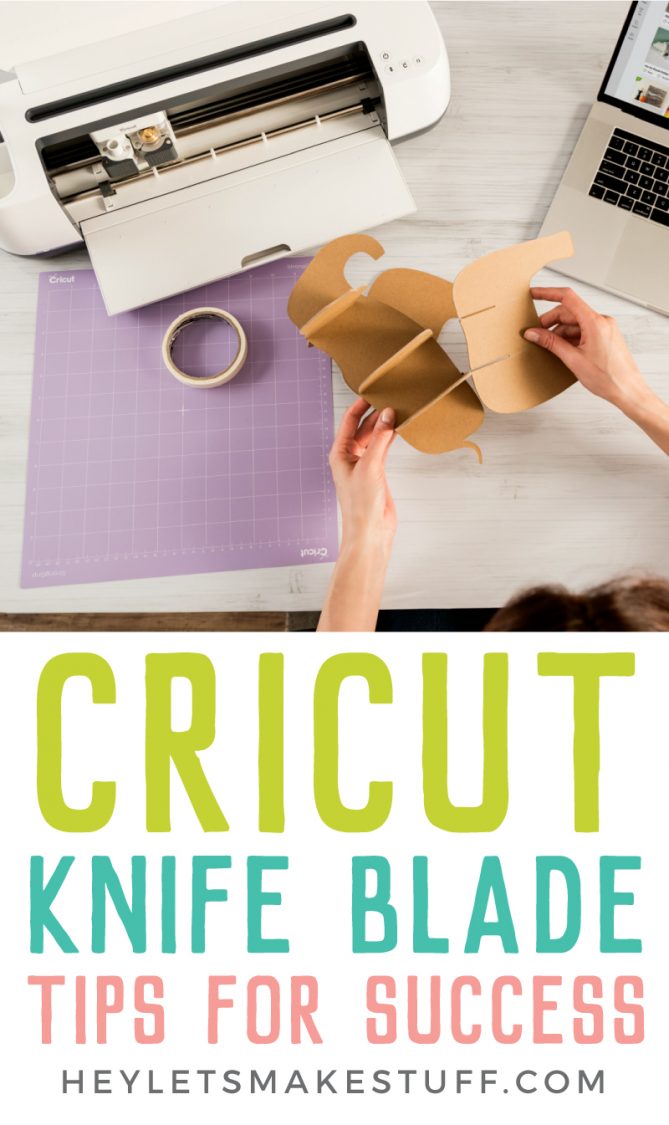
There’s so much to create using the Cricut Knife Blade. Here are 10 of my best Knife Blade tips to get it just right every time! You’ll learn how to prep your mat, what to look for in Design Space, and other tricks for making the most of your Cricut Knife Blade.
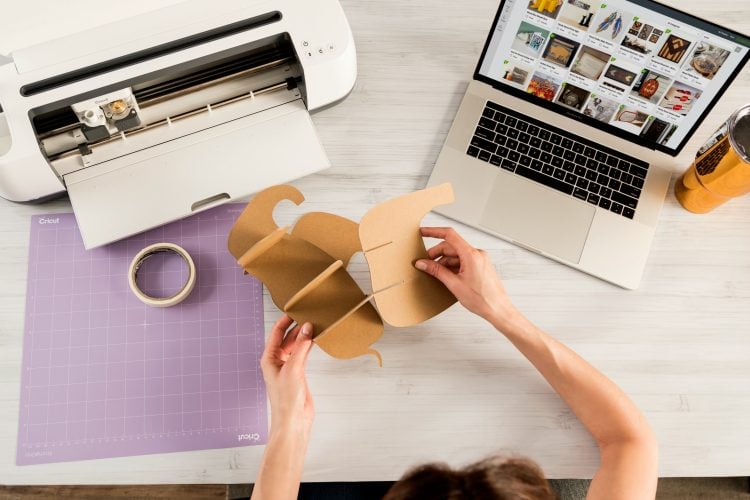
Last week, the Cricut Knife Blade was launched! I did a quick overview of some of the basics and promised I’d be back with some really important things you need to know about using the Knife Blade.
These ten tips will help ensure your Cricut Knife Blade projects cut right the first time and you don’t ruin your materials or blade.
Cricut Knife Blade Tips for Success
1. Change Your Mindset
Like I said last week, projects made with the Knife Blade require you to change your mindset. The Explore makes projects quickly and easily, whereas projects made with the Maker and Knife blade take much longer that you might expect. The Knife Blade makes multiple passes to cut thicker materials. Depending on the depth of the material and the complexity of your design, you may find yourself waiting an hour or more for a cut to finish. Once the Knife Blade makes its first pass, Cricut Design Space will estimate the number of passes the cut will take and how long you can expect to wait.
Yes, it’s kind hard to wait for these longer cuts, but the new projects you can design and make with the Knife Blade are worth it!
2. Calibrate Your Cricut Knife Blade Housing
First and foremost, before you do any cutting with your Knife Blade, you’ll need to calibrate it. Click here to get step-by-step instructions!
3. You Can’t Use the App
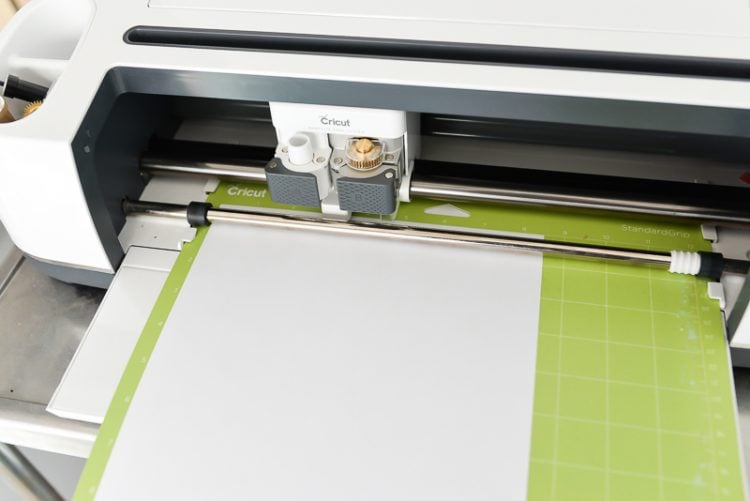
Cricut has disabled use of the Knife Blade in the Cricut Design Space apps. This is because your device must maintain its Bluetooth connection during the longer cut times (see #8 below). If you’re anything like me, the odds of you not walking away from your Cricut with your phone are…slim. Okay, zero. I don’t know about you, but I am definitely taking my phone with me to the kitchen to get a snack and check Facebook—totally forgetting that it’s connected to my Cricut.
The last thing you want is for your cut to cancel out in the middle of your project because you lost connection, especially since the cut times are long and the materials are often more expensive. So you have to use your desktop or laptop computer when using the Knife Blade.
4. Turn Off Sleep Mode
Similarly, you may lose connection if you computer goes to sleep. So make sure you turn off Sleep Mode on your computer when you’re using the Knife Blade.
5. Browser Tips
Always use Design Space in a Google Chrome browser in a dedicated window and try to avoid opening additional tabs. If you absolutely must use the internet while working with Knife Blade, create a new window and use that, instead of new tabs in the window where you’re using Cricut Design Space.
6. Remember Minimum Cut Sizes
When designing your files to cut with the Knife Blade, make sure to remember it’s not an intricate cut blade. You want your inside cuts (the inside of an “O” for instance) to be larger than 3/4″.
Also, make sure any pieces that you cut are at least the width of a pencil. This helps minimize the risk of tearing your materials.
You can always test with smaller pieces. I’ve had good success with smaller cuts…and a lot of chewed up chipboard and broken basswood. Test and see how your files work!
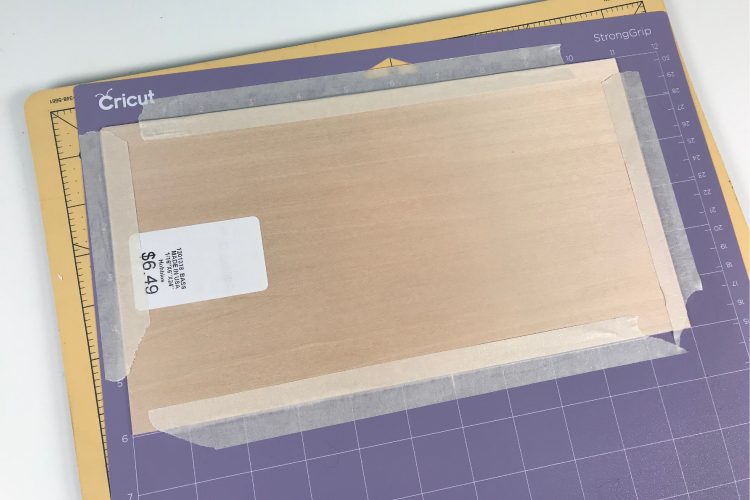
7. Tape Your Material to Your Mat
This sounds a little hacker-y, but taping your material to your mat is vital when cutting with the knife blade. The Cricut Maker and Knife Blade cut with 10x more force than Explore, so you need to ensure that your material isn’t moving around on your mat. Cricut could come up with a stickier adhesive, but then they run the risk of the top layer of your material peeling up when you remove it from the mat (think “ply” materials like matboard). So taping is the best solution, even if it’s not the prettiest! Tape along all four sides of your material, most or all of the length of your material.
8. Move the Star Wheels
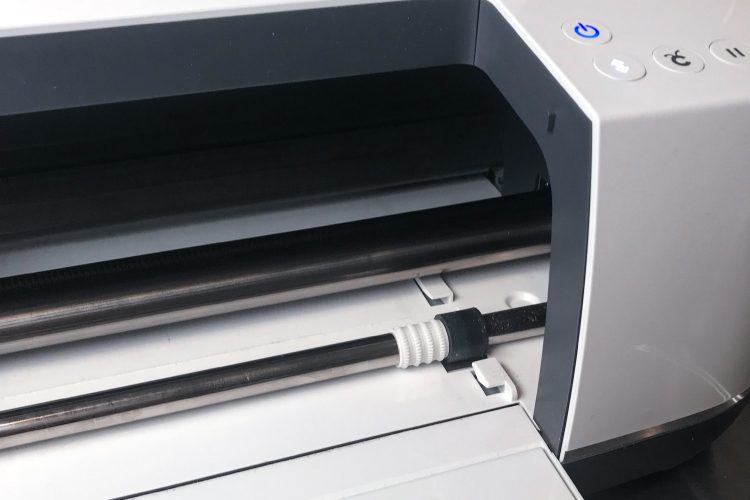
Move the white star wheels on the roller to the right. They can cause indentations, particularly in materials like leather and foam. While you’re at it, make sure your materials are no wider than 11″—this will keep those moved star wheels from ruining your project.
9. Paused Cuts and Clearing Debris
Sometimes your machine may stop cutting in the middle of a cut. This is usually due to debris or a natural defect in your material. Do not remove your mat! Just use some canned air or blow to clear the debris and press the C again and it will resume cutting your project.
10. Add One More Pass
At the end of a cut, Design Space will show you a prompt to check your cuts. I usually use the weeding tool or spatula to see if it is cut all the way through. If not, you can add one more pass (and more if you need them!).


Comments & Reviews
Wendy Cash says
I bought the Cricut Maker after watching a video where they cut matboard 4 ply with the knife blade. (2 years old) So I bought the matboard, and now there is no option to cut matboard 4ply. The closest I can get is Balsa 2.5 mil. It doesn’t cut all the way through even if I have it cut 28 times (by creating 4 objects) Adjusting the pressure or quantity of cuts is not allowed. Disappointed!
Chuck says
I recently got a Maker 3 and am trying to cut 1/16 inch basswood. The maker says it will take 14 cuts to go thru the basswood but it still isn’t cut thru. I’ve added up to 11 extra cuts but still isn’t thru. I have a new blade and have calibrated the knife blade.
I contacted cricut about my problem and after talking to 2 different reps, they sent me a new maker 3.
Same results! What am I doing wrong?
Net says
Hi. I just picked up a Cricut CRV001 Provo Craft. Can I cut matboard with this? If so, where can I buy matboard?
Thanks.
Cori says
Hi!
Unfortunately, that Cricut model has been discontinued for quite a while and is not capable of cutting matboard. You may want to look into a Cricut Maker that would have the ability to cut both 2-ply and 4-ply matboard. Matboard goes all the way up to 8-ply, but that’s too thick to cut, so you’ll want to stick to 2-ply and 4-ply matboard that is less than 2mm thick.
Happy crafting!
Laura Schaefer says
I am trying to cut cake toppers with matboard material. The maker just ate up my top layer only after 3 passes. Any suggestions? I have the explore so the make is new to us. Thanks in advance!!
Teresa Wimberger says
I am using the knife blade for the first time but it is only feeding in on the right side. Right side goes through and left side goes in crooked and turns the whole piece. What is
The biggest size basswood you can use. Thank you.
Penny says
Can the circuit maker with the knife attachment be used to cut vinyl records?
Liz, HLMS Reader Support says
Hi Penny – there hasn’t been an official cut setting created for vinyl records by Cricut so you can either test it and risk damaging your knife blade or you can contact Cricut’s member support and see if they have a setting you can use?
Happy Crafting!
Liz, HLMS Reader Support
DEE GILBERT says
Has anyone found information out on cutting vinyl records with a Cricut Master?
Beth says
I just got a Maker and am researching the same thing! Have you tried cutting records yet?
Aly says
I actually contacted Cricut about this a while ago and they said they had no idea if it could cut vinyl records as it of course hadn’t been tested…though they did say I was welcome to try! The rep recommended starting with the setting on the thickest, heaviest material available. However, she said there was a possibility it would break my blade. I really want to try…but blades are expensive! So, I’m also curious if anyone else has tried and had good (or bad) results!