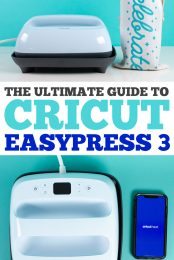
Cricut EasyPress 3 is the newest and most advanced hand-held heat press on the market! Learn all about Cricut EasyPress 3 and what makes it different from previous EasyPresses, plus get details on using the new Cricut Heat app!
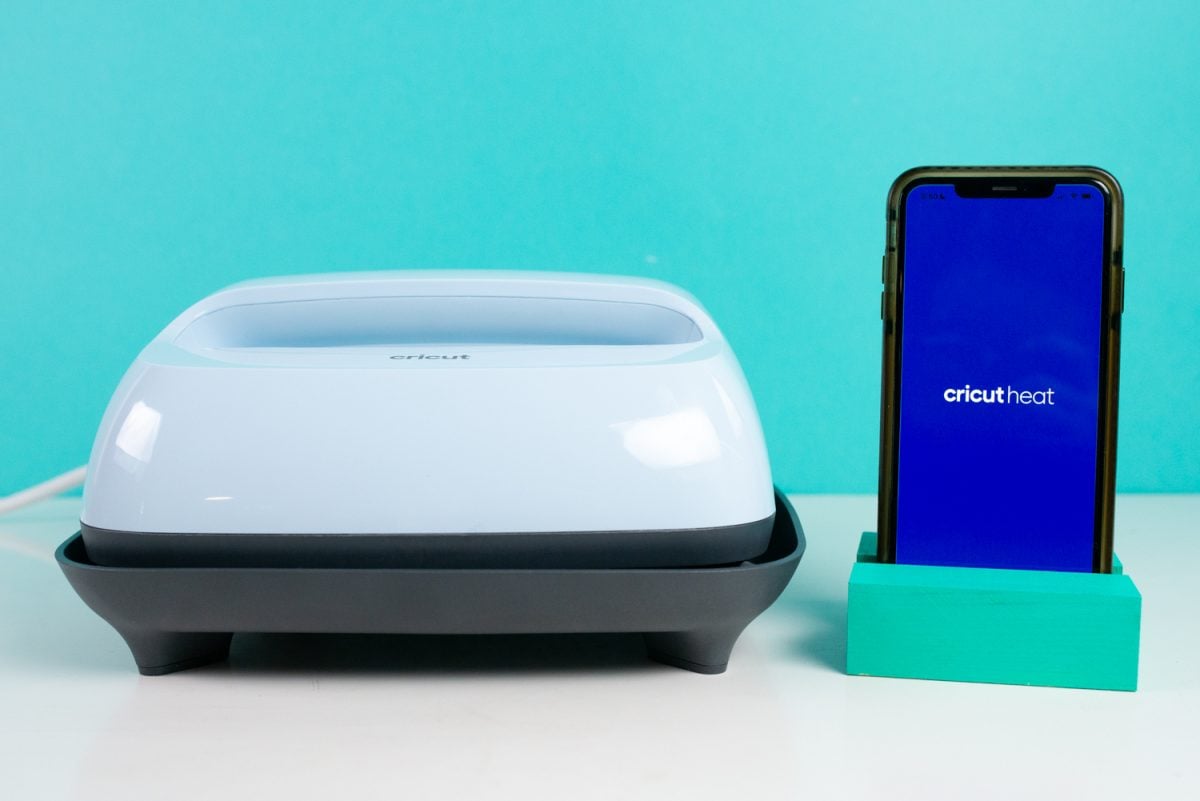
Cricut EasyPress has gone high-tech with the launch of Cricut EasyPress 3! This new EasyPress looks like the previous generations, but there’s one big difference—it’s smart! By combining the EasyPress machine with a new smartphone app called Cricut Heat, using Cricut EasyPress 3 is practically foolproof.
The launch of Cricut EasyPress 3 is just one of the newest heat presses from Cricut. Also make sure to check out my new posts on Cricut AutoPress and Cricut Hat Press!
Not sure which heat press is for you? Check out our e-course Heat Press Roadmap! This extensive course is designed to guide you on your journey to deciding on the best heat press for your needs, space, and budget. Check out all the details about Heat Press Roadmap here!
What is Cricut EasyPress 3?
Cricut EasyPress 3 is a hand-held heat press used to adhere different types of materials to “blanks,” including iron-on vinyl, Cricut Infusible Ink, and sublimation transfers. You can create all sorts of projects using a Cricut EasyPress, including t-shirts and other apparel, tote bags and zippered pouches, pillow cases, and more!
All of the Cricut EasyPress machines marry the ease of a household iron with the even heating of a traditional heat press. The EasyPress is particularly easy to use for beginner crafters (and everyone else!), with simple controls and safety features, all in a smaller footprint.
Cricut EasyPress 3 takes all of that to the next level by combining the press with a new smartphone app called Cricut Heat. I’ll go into Cricut Heat more later in this post, but the app basically makes using the EasyPress 3 foolproof. It was easy to use before—it’s even more simple now.
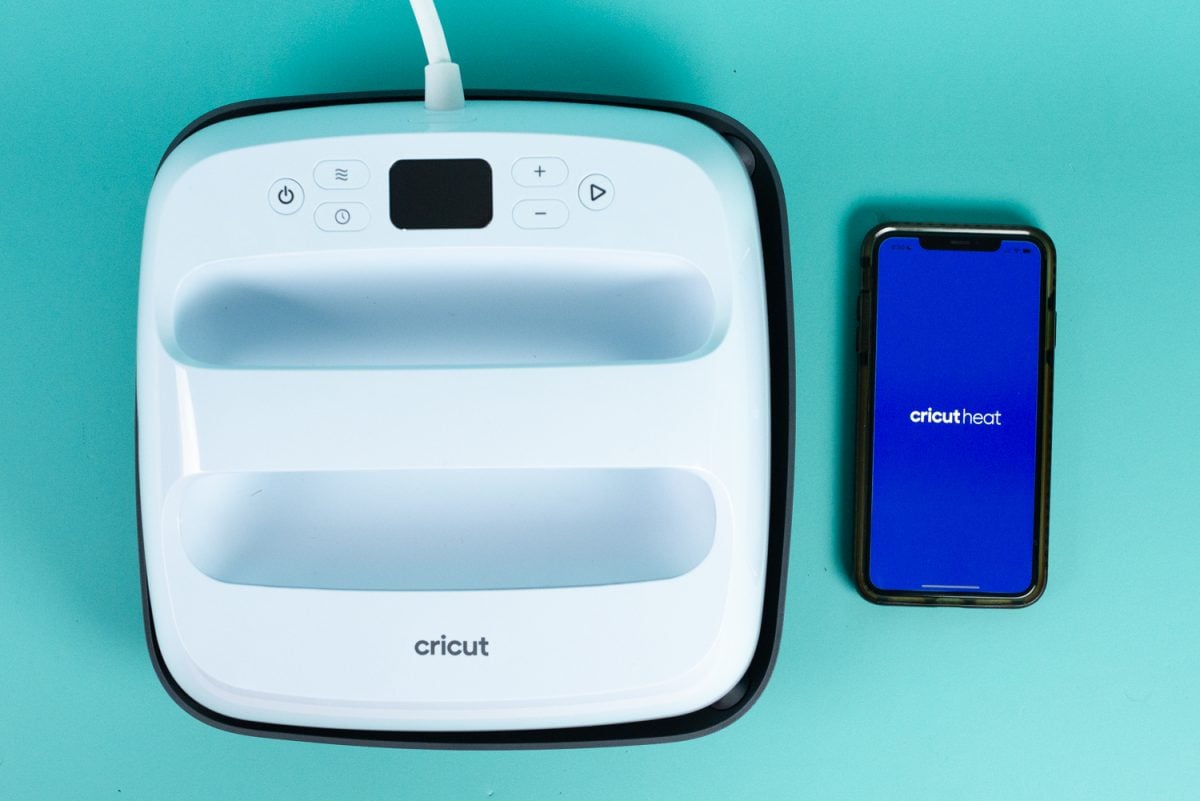
The EasyPress 3 comes in two sizes: the standard 9″x9″ and the large 10″x12″. As of this post, there is no small 6″x7″ version of the EasyPress 3.
How is the EasyPress 3 Different than Other EasyPress Machines?
The biggest difference is the connection to the Cricut Heat app, as you’ll see later in this post!
The other difference is the color—the newest machines are “Zen Blue,” similar to Cricut Bright and the Cricut Maker 3.
The Anatomy Of The EasyPress 3
The anatomy of the EasyPress 3 is the same as the other EasyPress machines. You’ll see a handful of controls, from left to right:
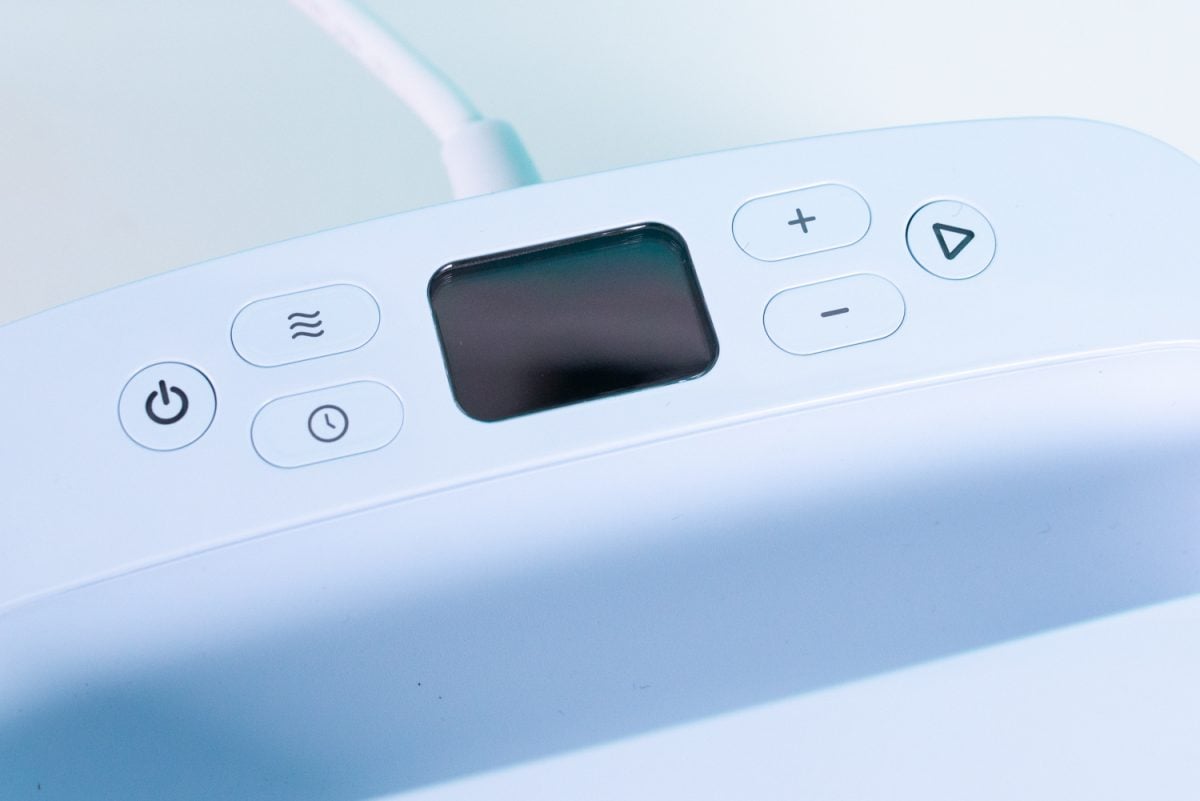
Power Button: Turns the EasyPress on and off. The EasyPress 3 will remember your last used temperature and time settings.
Temp: Push this to select the temperature setting. If you want to switch between Celsius and Fahrenheit, hold down the temp button. If you notice that your EasyPress isn’t getting as hot as you think it should, there’s a good chance you are in Celsius—your machine isn’t broken. Use the + and – to navigate to the temperature you want to use.
Timer: Push this to change the countdown timer. Like the temperature, use the + and – to navigate to the number of seconds you want your EasyPress to countdown.
Countdown Button: Once you are ready to make your project (we’ll go into actual projects more later in this post), you’ll put your hot EasyPress 3 down on your project and push the countdown button. The EasyPress 3 will count down the seconds so you know you’re not pressing too long or too short, and beep when it reaches zero.
Display: On the display you will see the time and temperature settings as you set them, and when you are actually using your EasyPress 3, you will see the timer counting down.
Play Button: Press this button to engage the countdown timer. This button has two colors—orange is when your EasyPress is still heating up, and green when it’s ready to go.
What is Cricut Heat?
Cricut Heat is a free smartphone app that connects via Bluetooth to your Cricut EasyPress 3. This app is designed to take the guesswork out of pressing your projects.
Setting up the EasyPress 3 and Cricut Heat
To start, you’ll want to download the Cricut Heat app. This app is required to set up your EasyPress, but after it’s set up, you do not need to use it if you already are confident with your time and temperature settings. Even as a seasoned Cricut user, I do find it helpful, as you’ll see, because it really does take the guesswork out of pressing your projects.
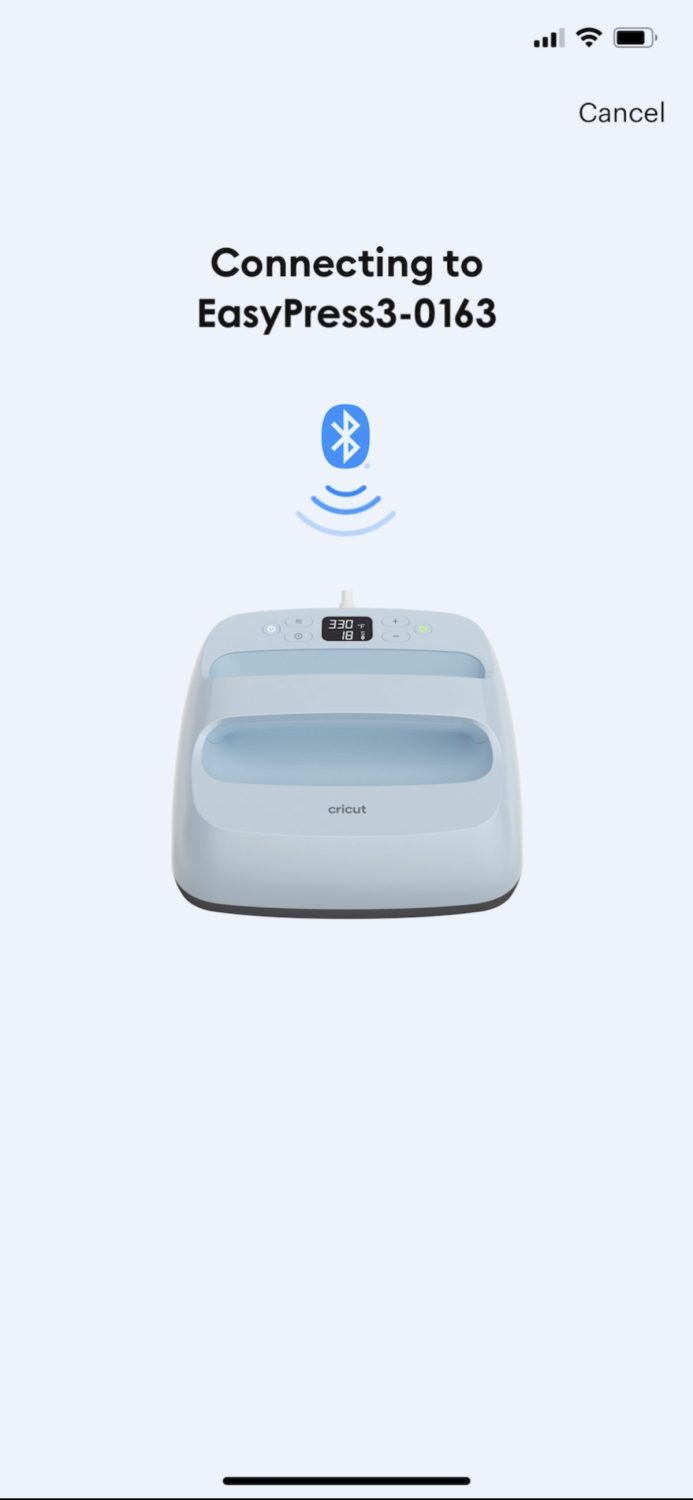
Sign into the app. Make sure your Bluetooth is turned on. Then plug in and turn on your EasyPress 3. You’ll see that the readout display says APP.
In the app, tap Set Up New Heat Press and then follow the on-screen instructions to connect your EasyPress 3 to your app. If you have issues, reach out to Cricut Help.

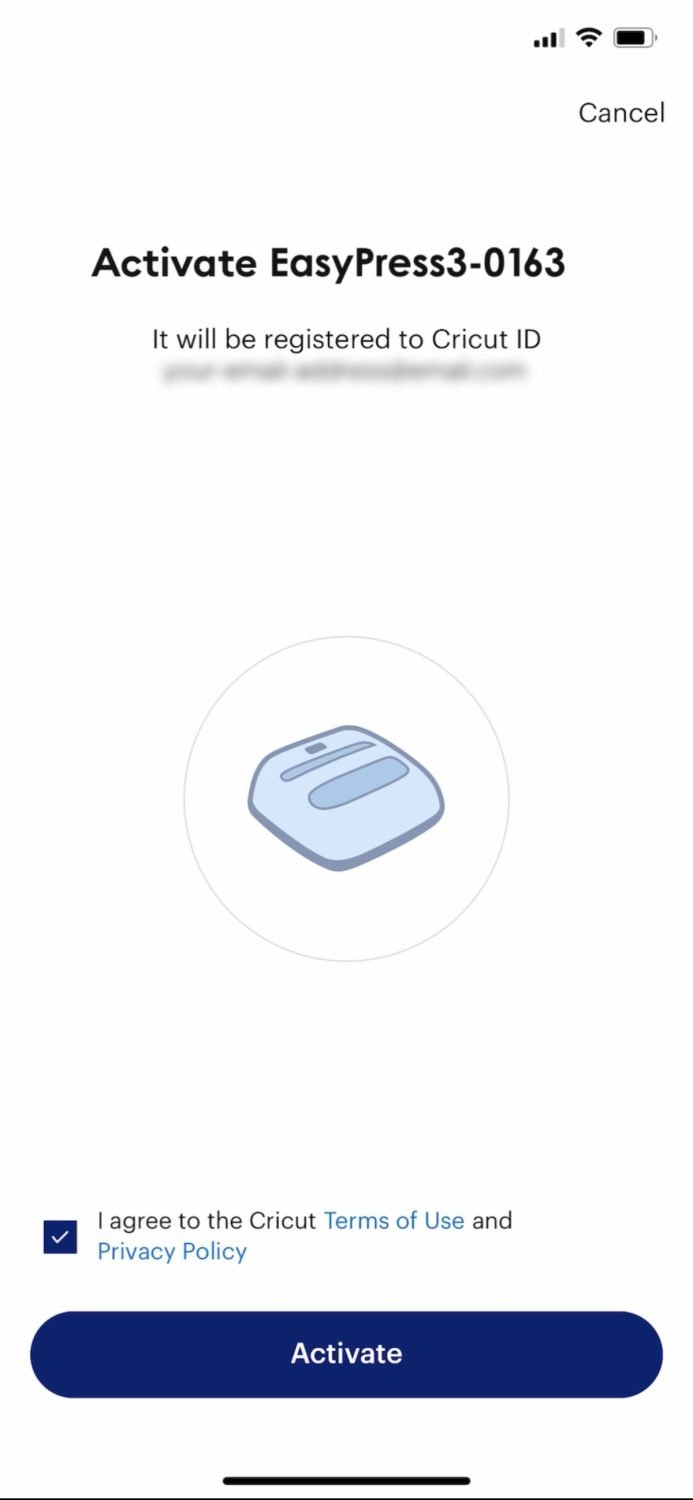
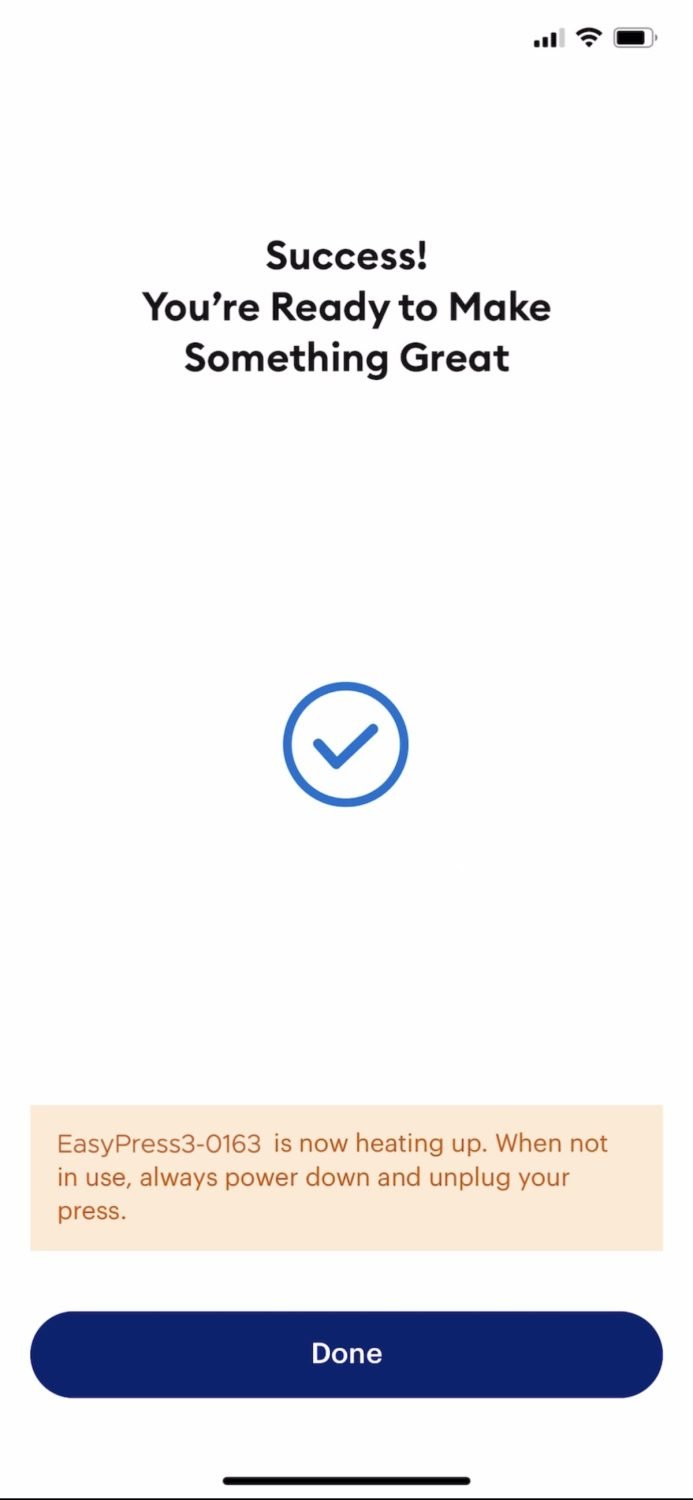
Frequently Asked Questions about the EasyPress 3
Before we get to making a project, here are some frequently asked questions you might have about this new EasyPress!
You need the app to do the initial set up of the Cricut EasyPress 3, but you do not need it for further use beyond the set up.
According to Cricut, not at this time.
Because there are so many possible combinations for layering iron on based on the different types of iron on and different bases, layering iron on is not included. Check out my post on How to Layer Iron On Vinyl for tips and tricks.
No, there will be continued support for the EasyPress 2.
Making a Project with the EasyPress 3
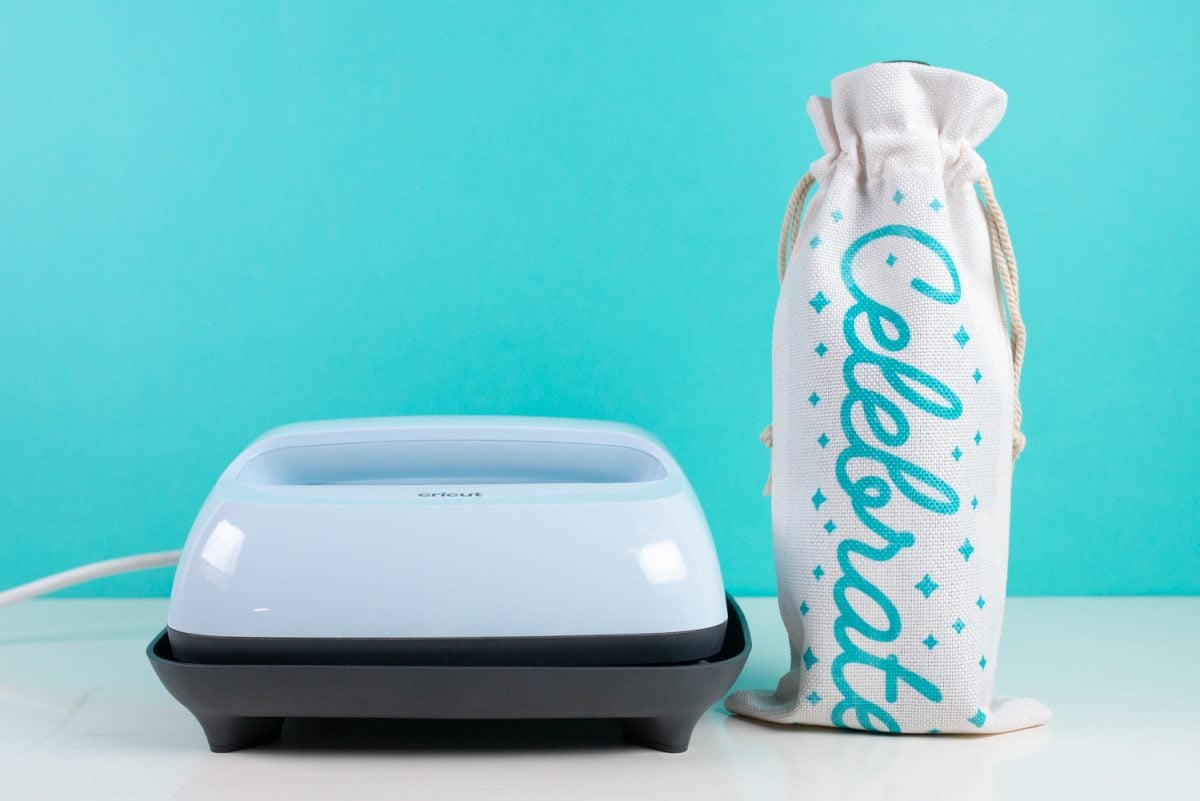
Let’s do a project to see how the Cricut EasyPress 3 and the Cricut Heat app work together—a wine gift bag made using Cricut Infusible Ink!
Supplies for Infusible Ink Wine Bag
- Cricut Maker, Cricut Explore, or Cricut Joy
- Green StandardGrip mat
- Cricut Infusible Ink Transfer Sheets + included butcher paper
- Brayer
- Heat resistant tape
- Cricut Infusible Ink wine bag
- Cricut EasyPress 2
- White cardstock
- EasyPress mat
- Cricut Design Space File
How to Make a Wine Bottle Bag
Set Up Your Cricut Design Space Project
I have already created the Design Space image for you, which you can access through the link in the supply list. You can choose to make the file as is (the file is sized properly), or you can change the color or edit it in other ways. Cricut has a large selection of images for wine bags, so you could also select a different image if you’d like!
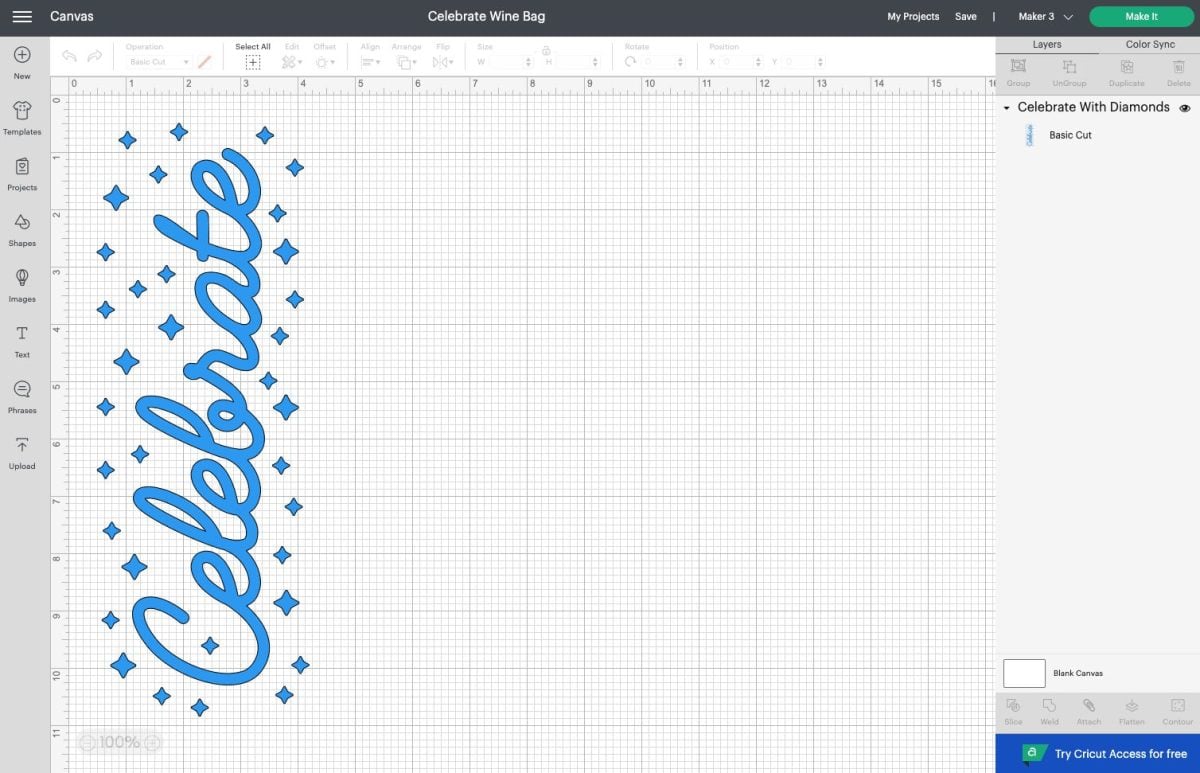
If you have a Cricut Maker 3, Cricut Explore 3, or Cricut Joy, you will see a pop-up when you go to make your project where you can choose your load type. Because I am using Cricut Infusible Ink for this project, I chose On Mat.
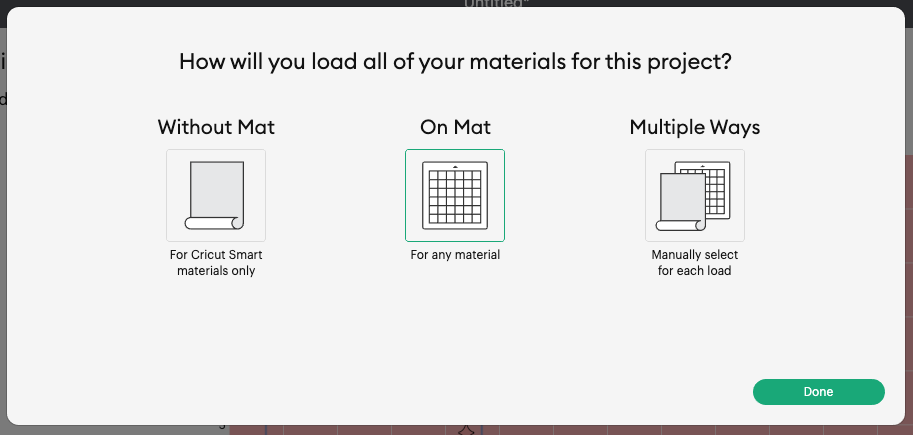
If you have an older Cricut machine, you won’t see this pop up.
In the Prepare screen, you’ll see your image laid out on the mat. Click the Mirror slider. That way, when you go to transfer your image to the wine bag, it will be facing the correct direction.
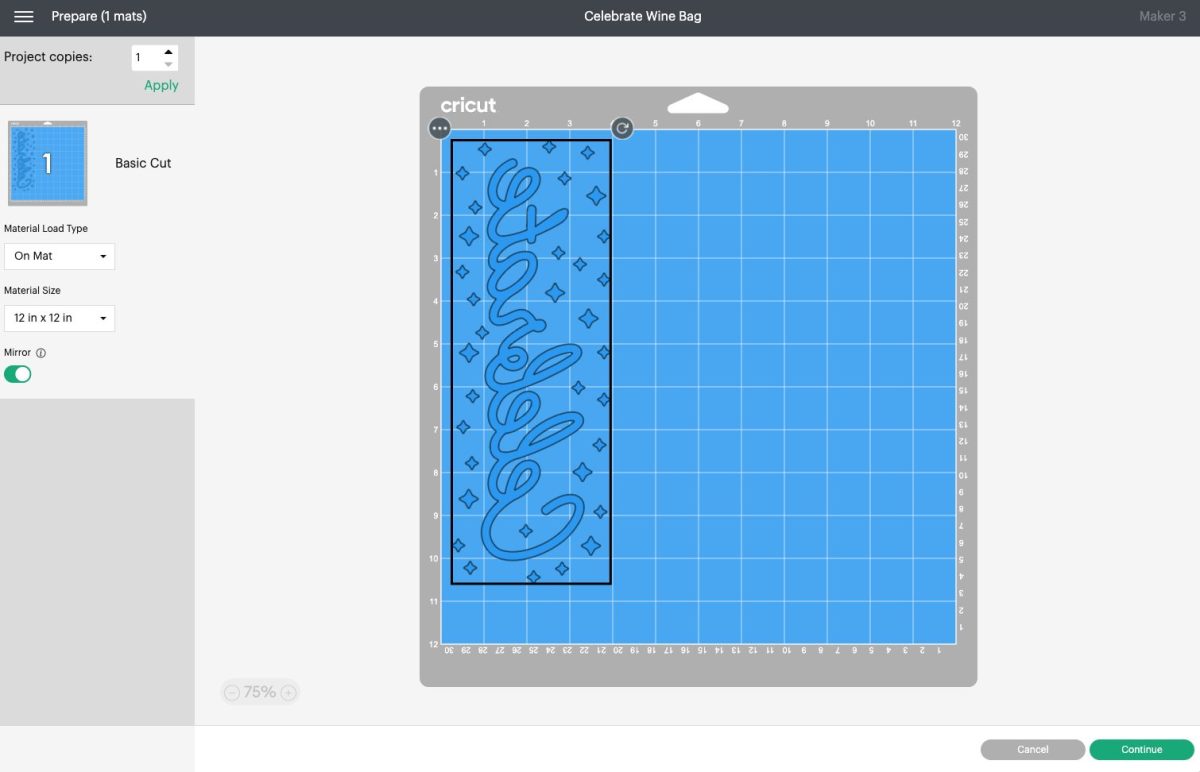
Click Continue!
Cut & Weed Your Materials
Then place your Infusible Ink face up on your mat. I find a brayer really helps get the transfer sheet flat.
Then have your Cricut cut out your image.
Once your image is cut, you’re going to weed your Infusible Ink transfer sheets. You’ll want to weed the Infusible Ink with your hands (see more about that in this coasters post). Just bend the backing paper and peel up everything that is not part of your design.
Adhere Your Image
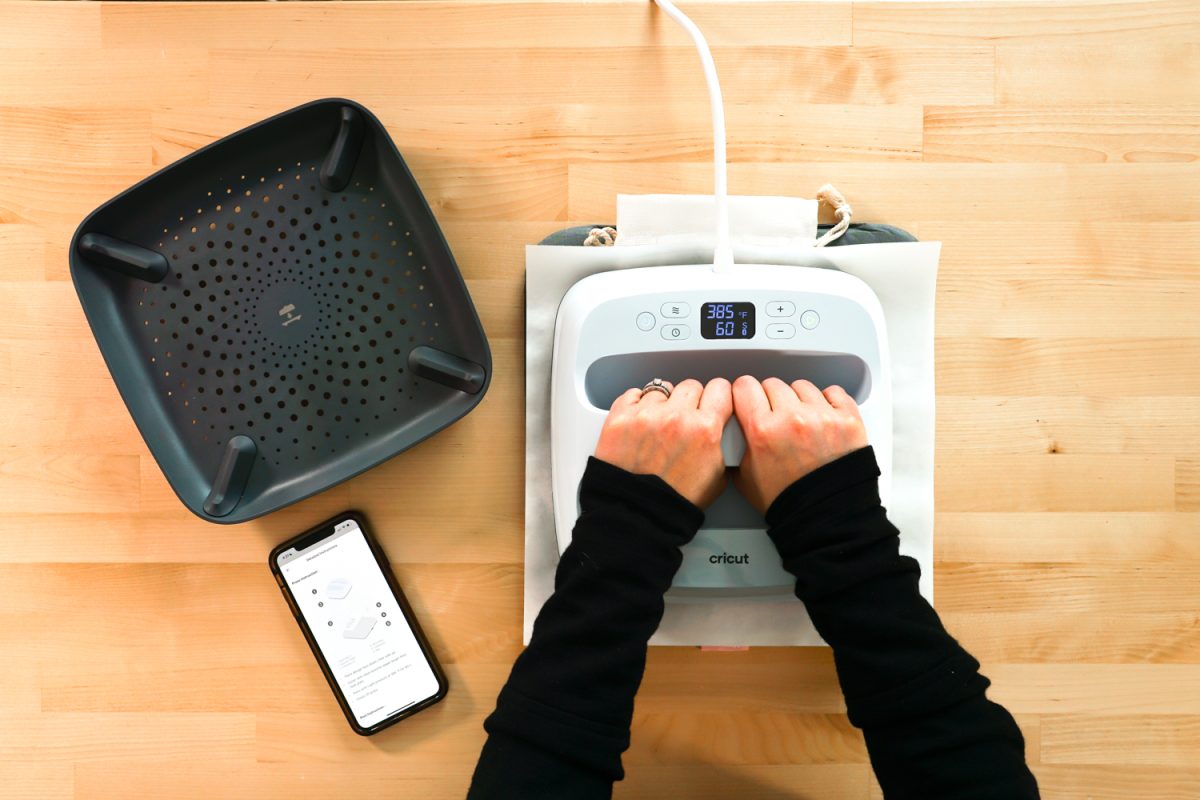
Now it’s time to adhere our image! The Cricut Heat app walks you through everything. Place your wine bag on your Cricut EasyPress mat.
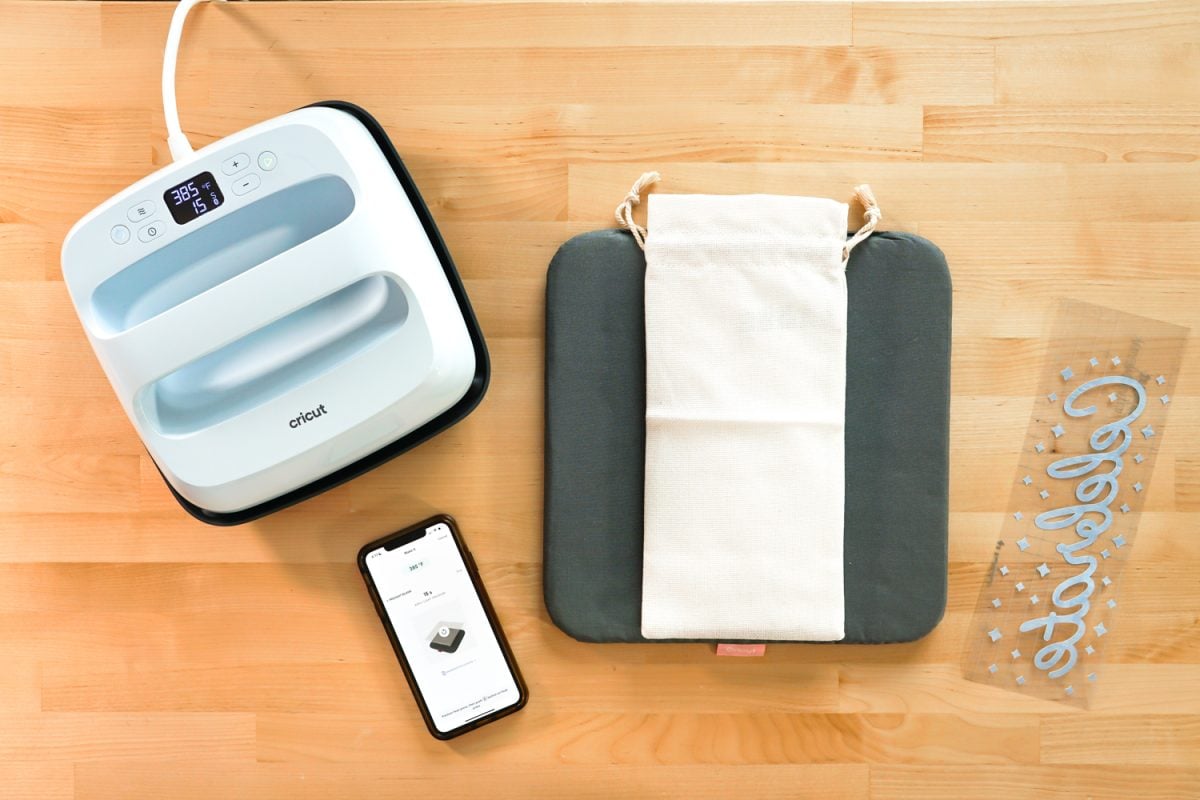
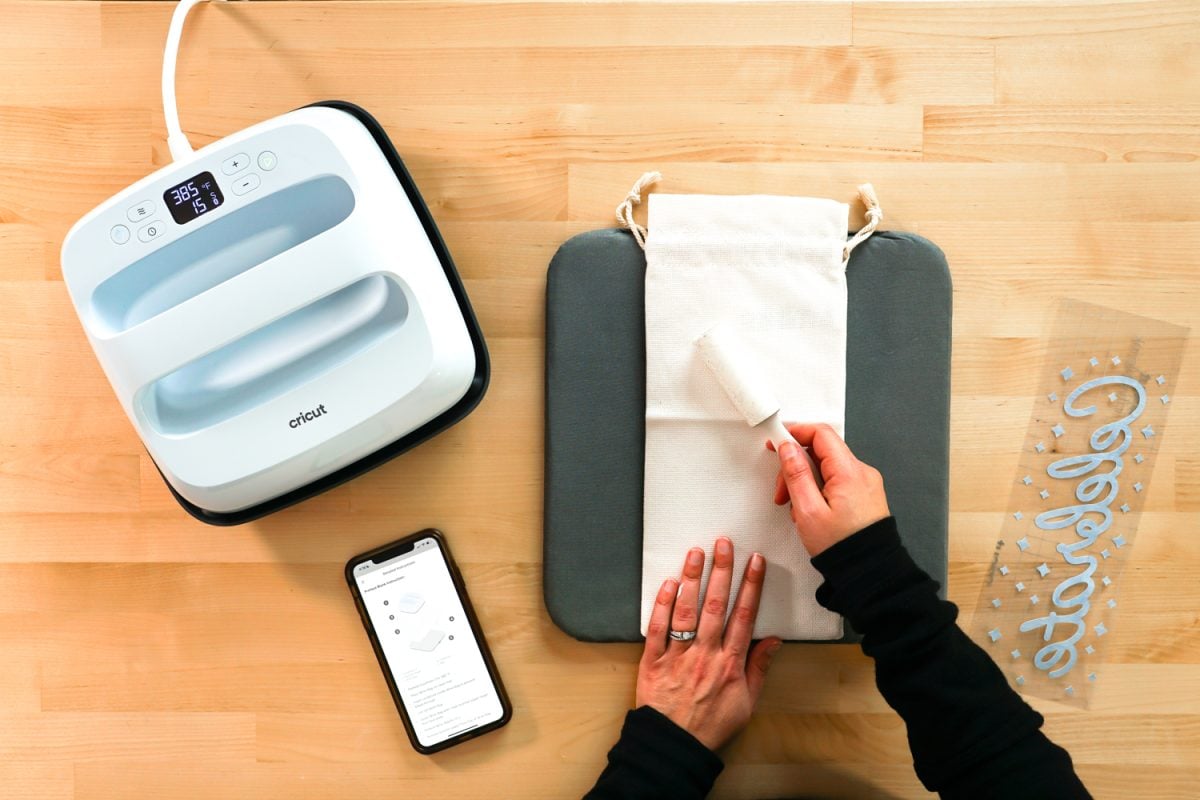
Lint roll the wine bag to remove any fibers or dust.
Place a piece of butcher paper over the wine bag.
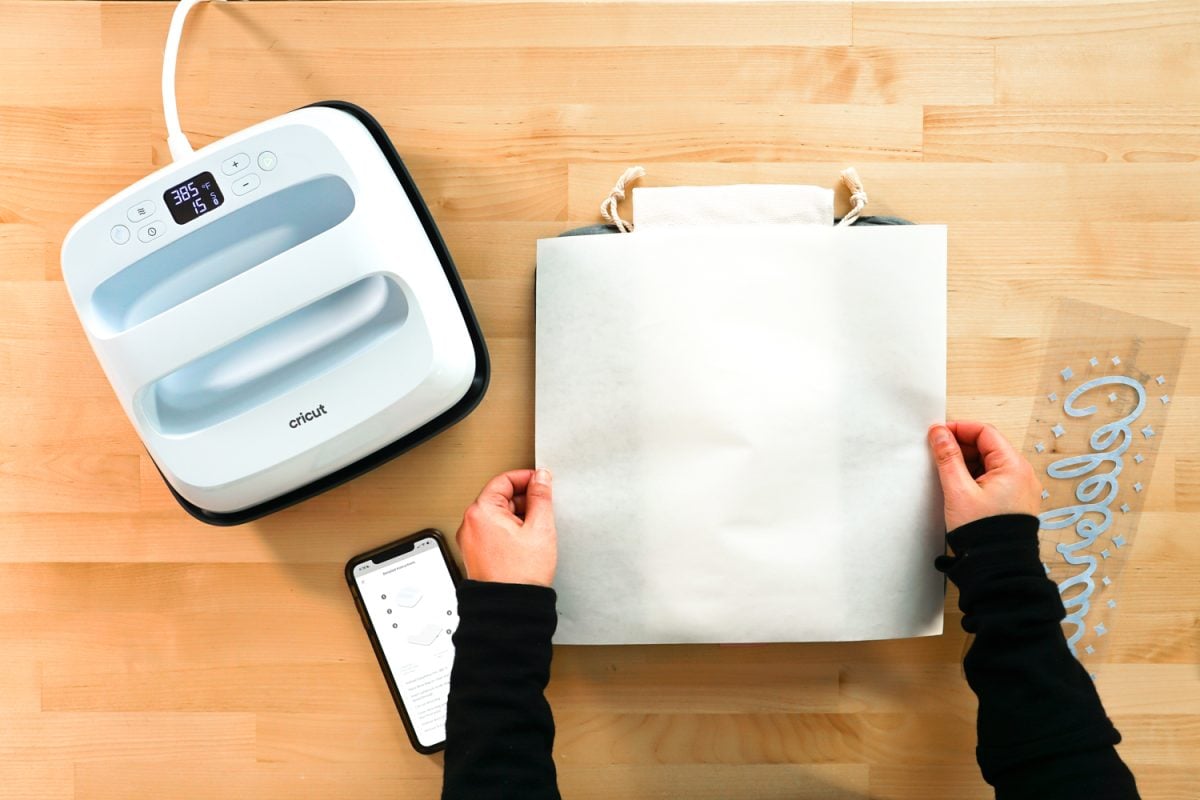
The Cricut Heat App will prompt you to preheat the blank for 15 seconds. Place the press on the wine bag and click the play button and your EasyPress 3 will count down. When it’s done place the press back in the safety base.
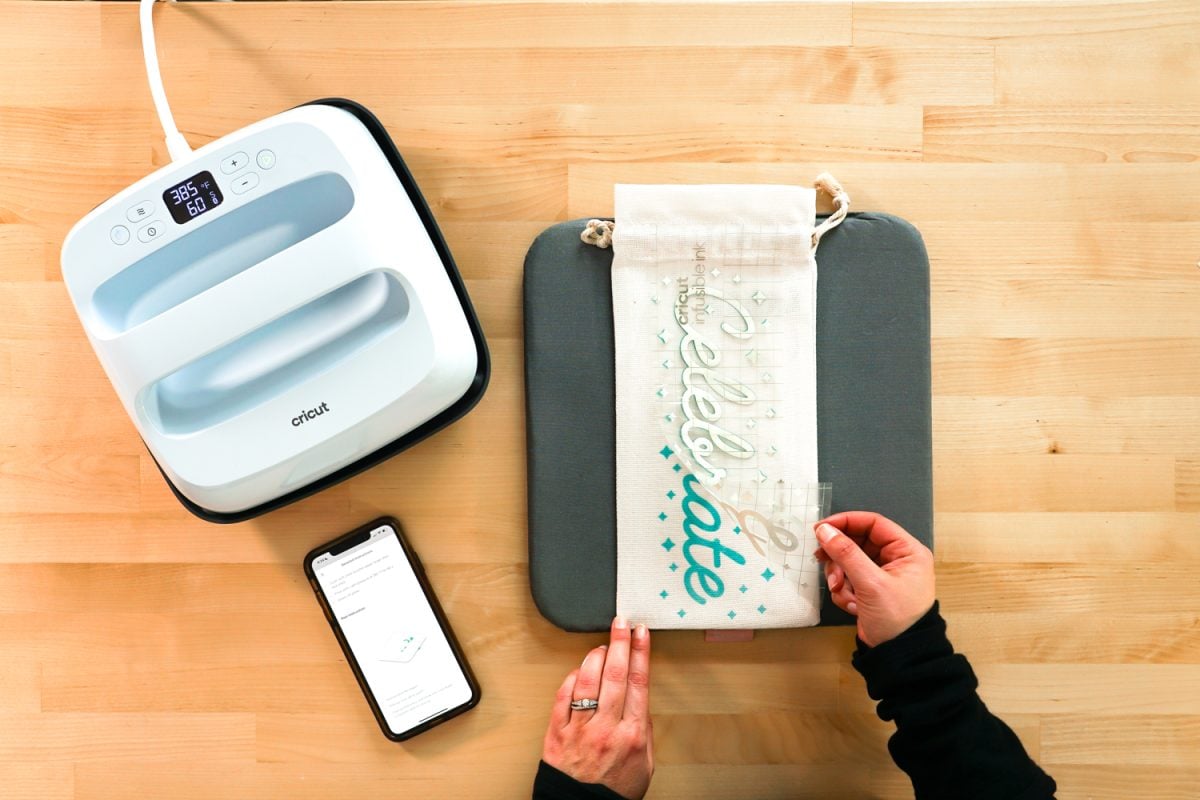
Let the bag cool a bit, and then place your decal face down (with the ink side down and the plastic side up) on the wine bag. Cover with a sheet of butcher paper and press according to the directions in the Cricut Heat app.

When it’s done counting down, replace the press in its base. Wait until the transfer has cooled a bit and peel it back to reveal your wine bag!
Where to Buy Cricut EasyPress 3
Cricut EasyPress 3 launches on online at Cricut.com on March 13, with other retailers following soon! Don’t worry, I’ll be sharing all of the links to my email community, so make sure you’re on the list!
Have questions about Cricut EasyPress 3? I’ll be happy to answer them in the comments!


Leave A Reply!