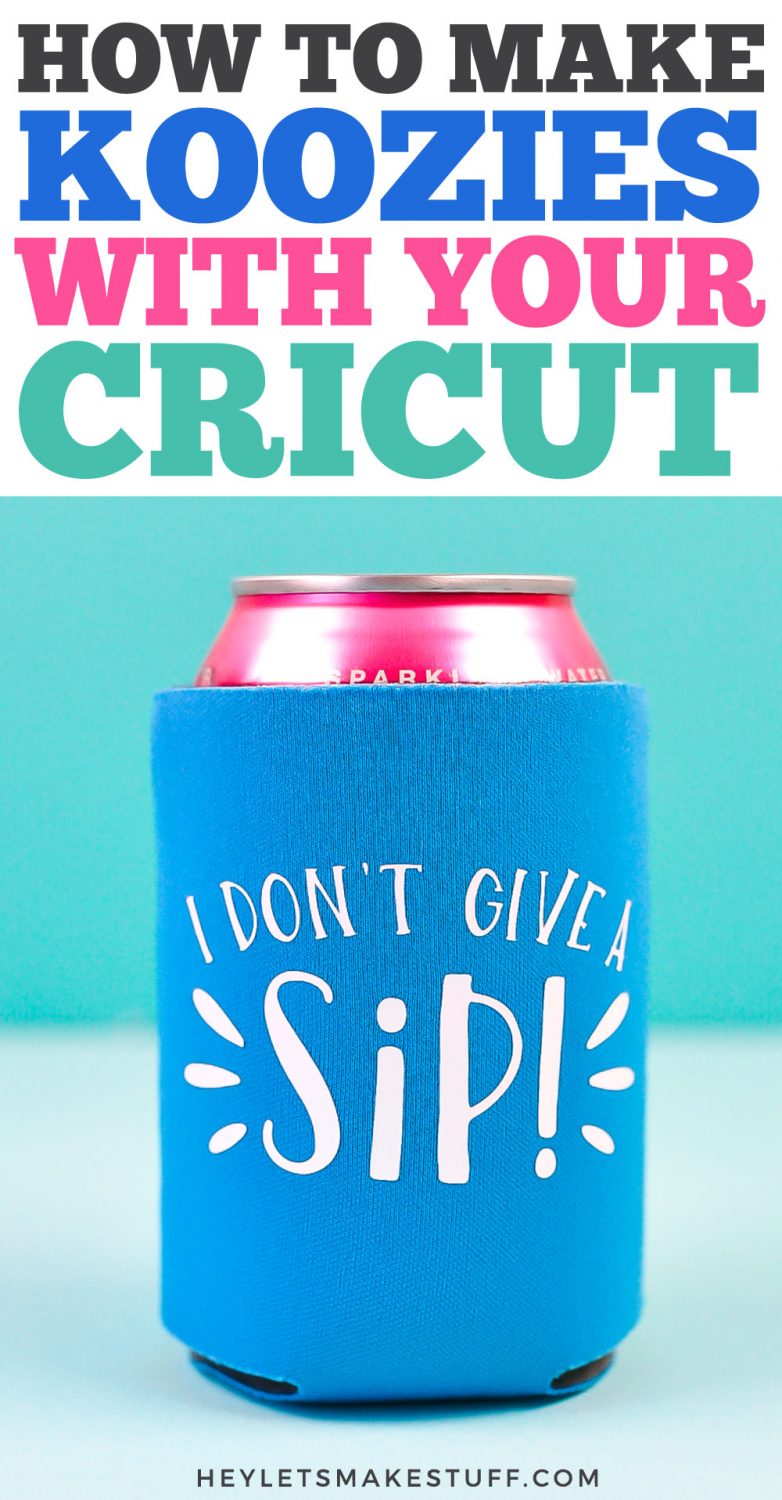
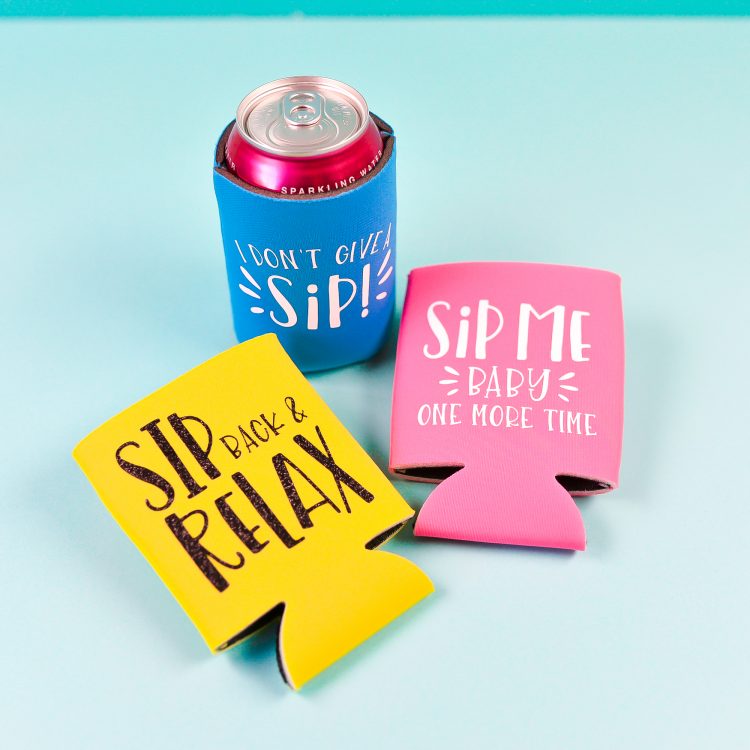
Koozie, cozy, hugger, coolie, can holder, neoprene sleeve—no matter what you call it, you can make it better with a Cricut! Here’s how to make a Cricut can koozie using iron on vinyl. Cheers!
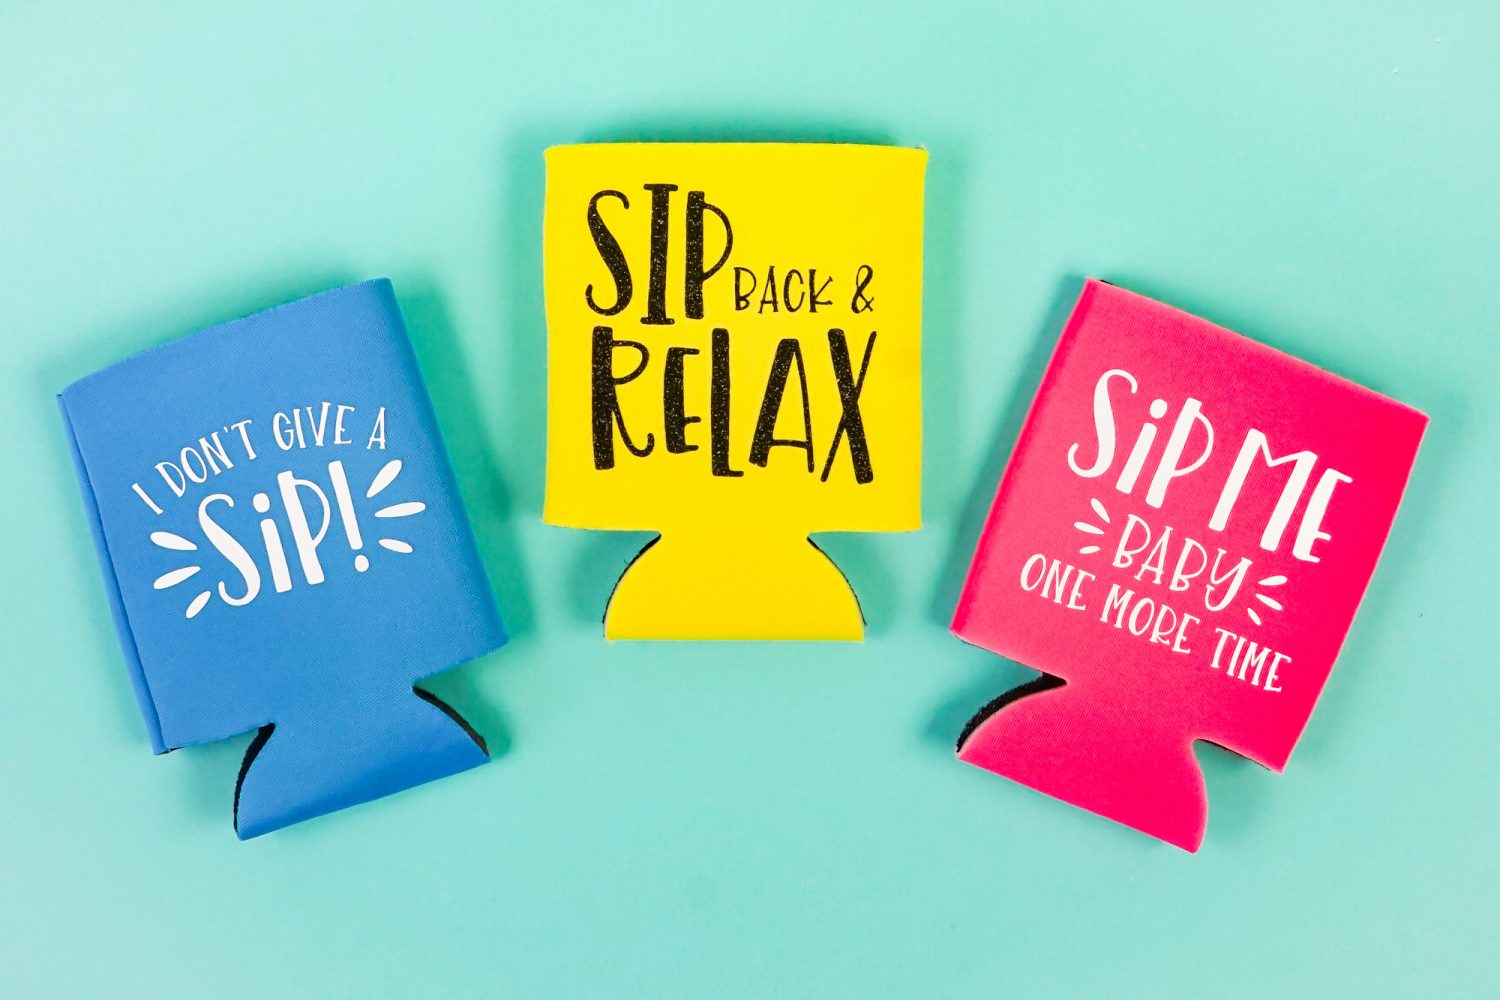
In our last few weeks here in Northern California before we move to Washingon in a couple weeks (AHHH), we’ve had so many friends and family members over for social distanced visits in our backyard. Sitting with these people I love the most, talking forever, cold beverage in hand, has been an absolute joy.
Before the pandemic, I had a hard time slowing down and enjoying things (my personality has always been go go go), but something switched in me in the last few months and now I can’t get enough of these long lazy visits.
Problem is, the temperature is continuing to rise! So we’ve moved deeper in the shade of our trees and I started using can koozies to keep our drinks cold! And, of course, I had to decorate them using my Cricut and iron on vinyl!
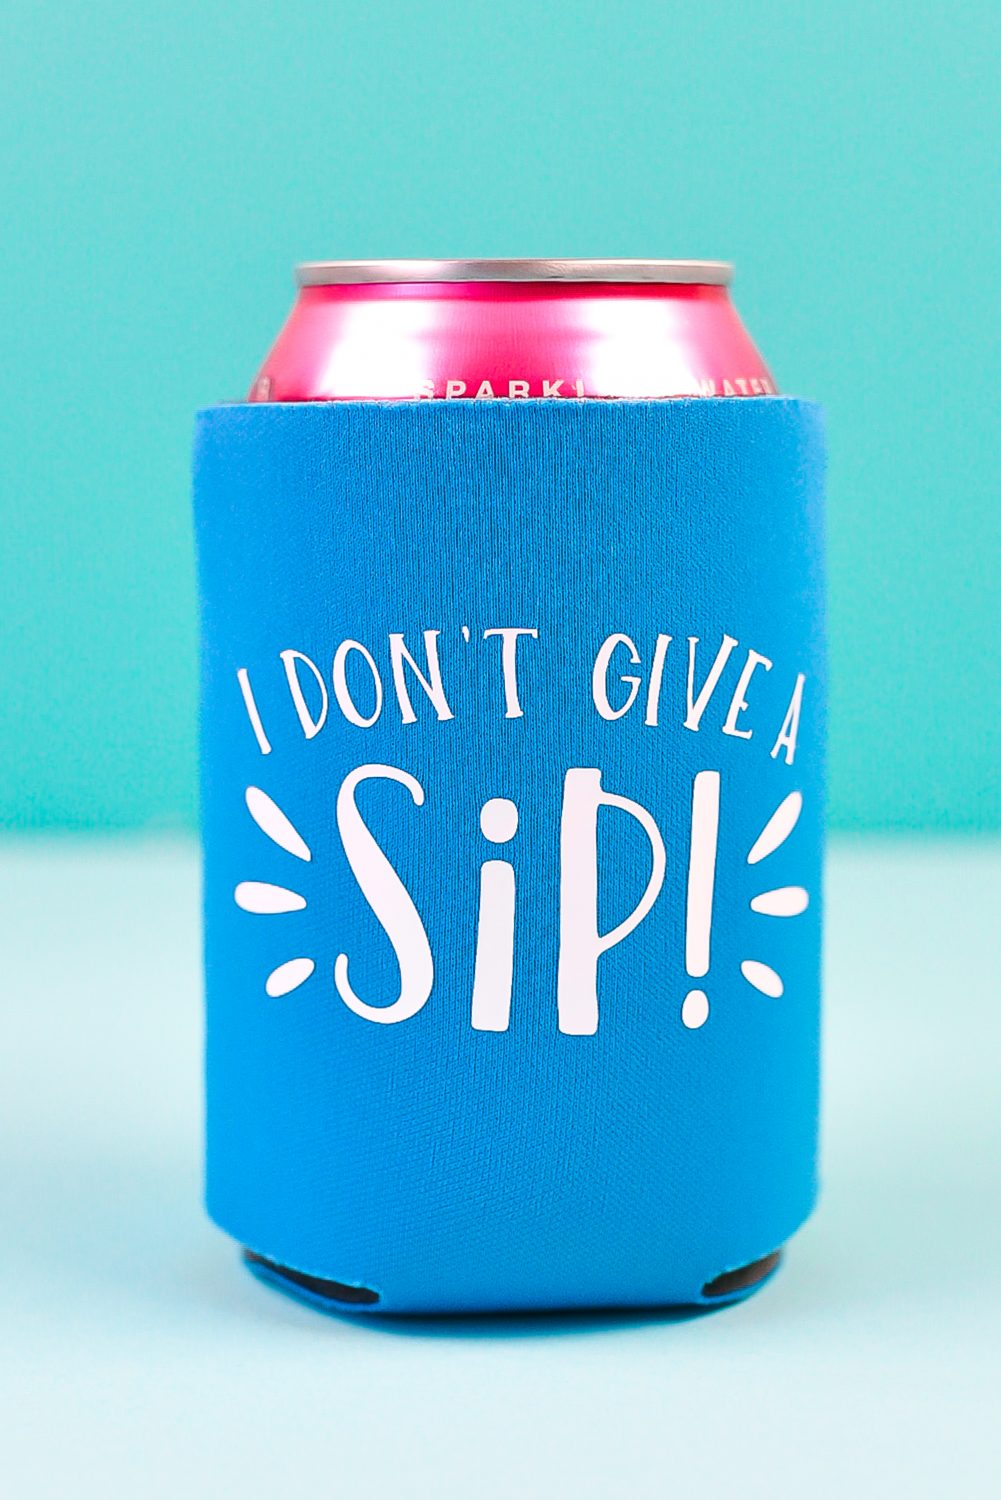
Can I Make Can Koozies with my Cricut?
Yes! You can use iron on vinyl on neoprene can sleeves no problem. It’s super easy to do and because this is a small project, it’s perfect for your Cricut Joy! You can also easily use your Cricut Explore or Cricut Maker as well.
You can also use a range of different iron on vinyl—regular, glitter, patterned, and more.
How to Make Cricut Can Koozies
For these sleeves, I’m using SVG files from my Sip Sip bundle, which you can purchase below. You can, however, use whatever files you’d like as long as they can be sized properly for a koozie!
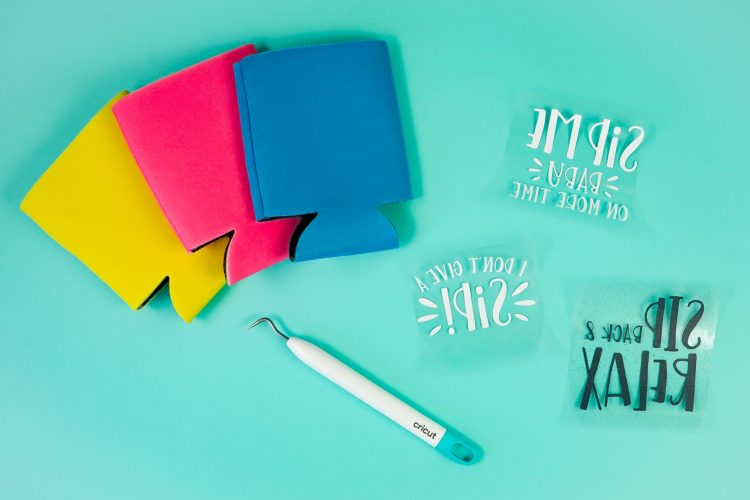
Supplies Needed for Cricut Can Koozies
- Can koozie
- Cricut Joy, Cricut Explore, or Cricut Maker
- Blue LightGrip mat or green StandardGrip mat
- Iron On Vinyl (HTV)
- Weeding tool
- Cricut EasyPress Mini, Cricut EasyPress, or household iron
- SVG (see above or use your own)
Get the Free File
Want access to this free file? Join my FREE craft library! All you need is the password to get in, which you can get by filling out the form below. The file number is: C304.
Making the Can Koozie with Iron On Vinyl
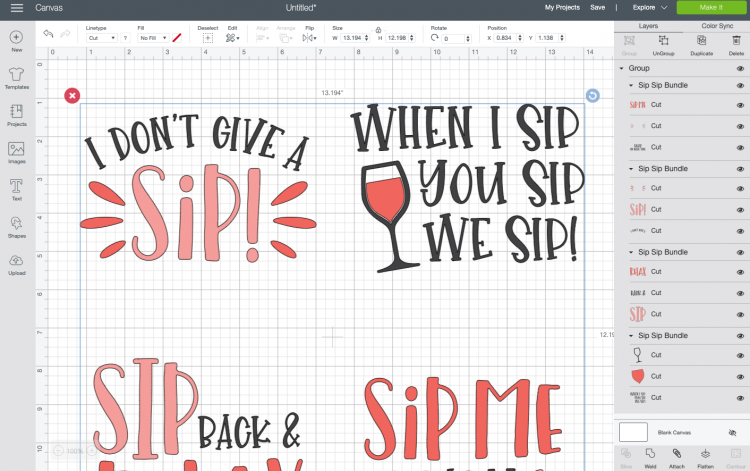
Start by uploading your SVG to Cricut Design Space (see my post Uploading SVG files to Cricut Design Space if you need help). I’m now going to show you how to take these multi-colored files and turn them into single-colored files that will be easy to apply to your can koozies. You can also layer iron on vinyl if you’d like to do that too!
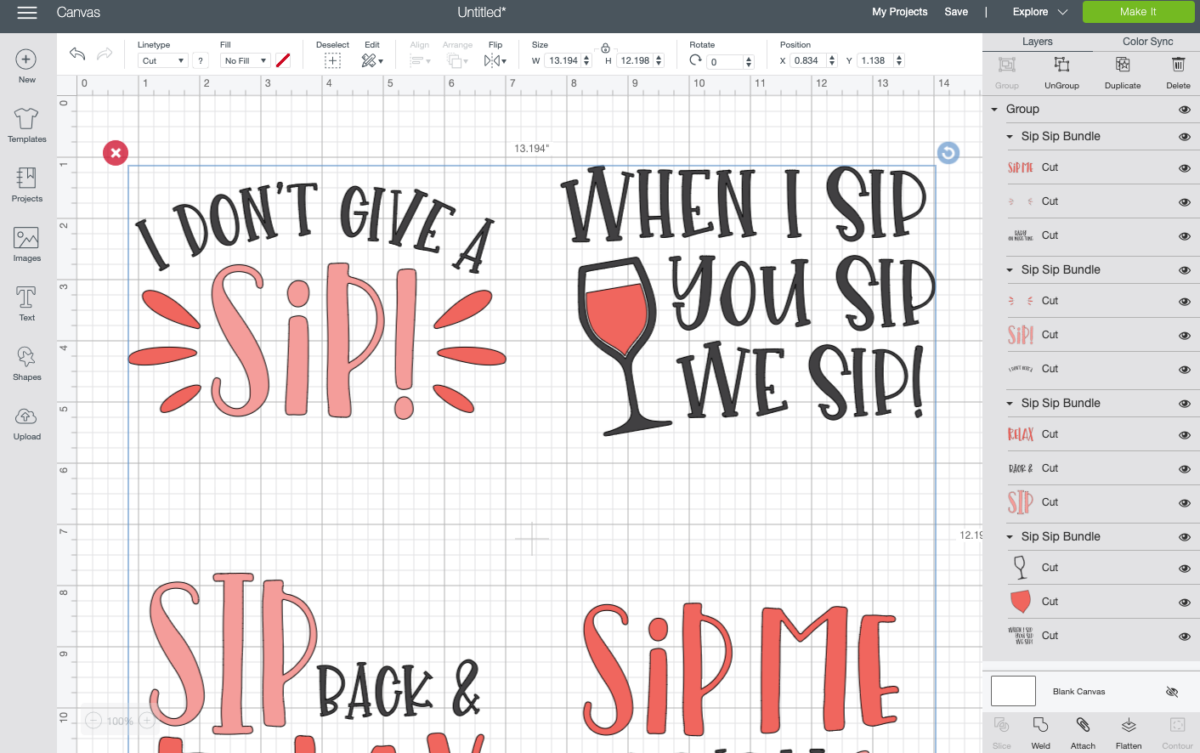
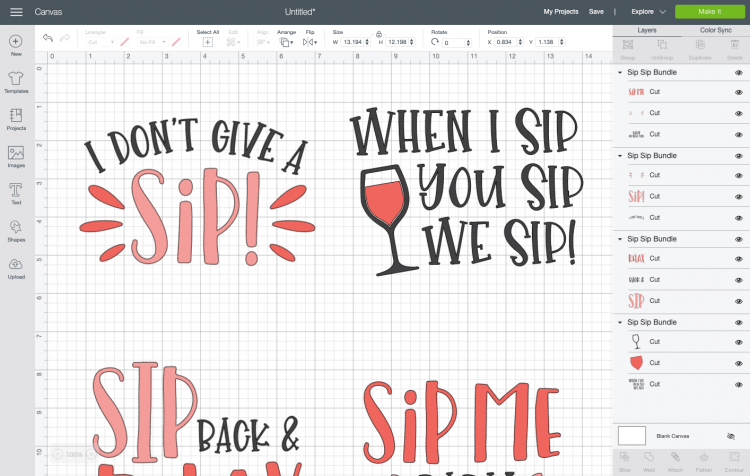
Start by ungrouping all of the images so you can work with them individually. Use Ungroup at the top of the Layers Panel on the right.
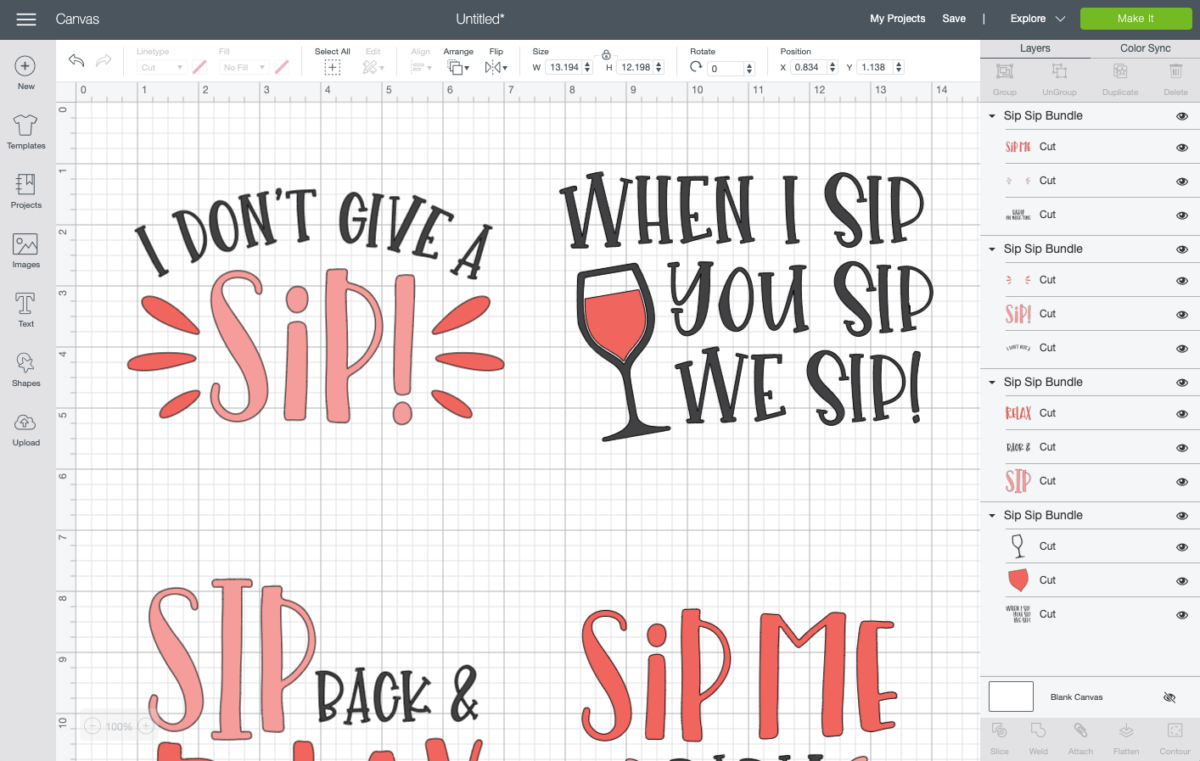
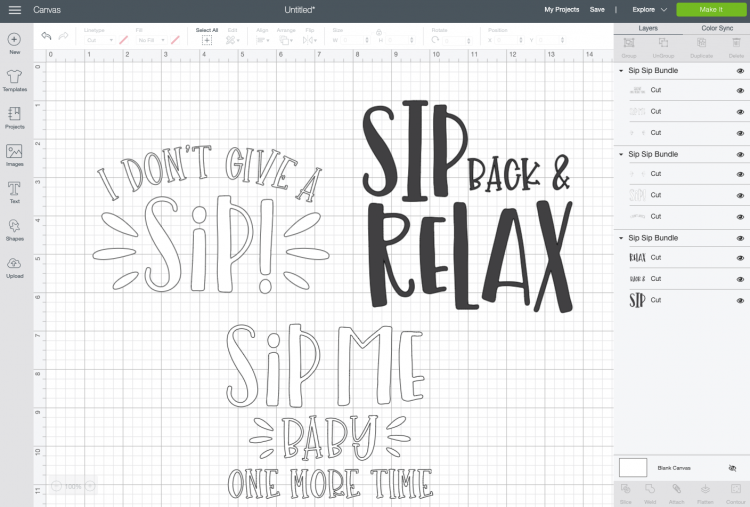
I am only making three can koozies, so I deleted the “When I sip, you sip, we sip” image using Delete at the top of the Layers Panel. I then recolored the images—two will be white, and one will be black.
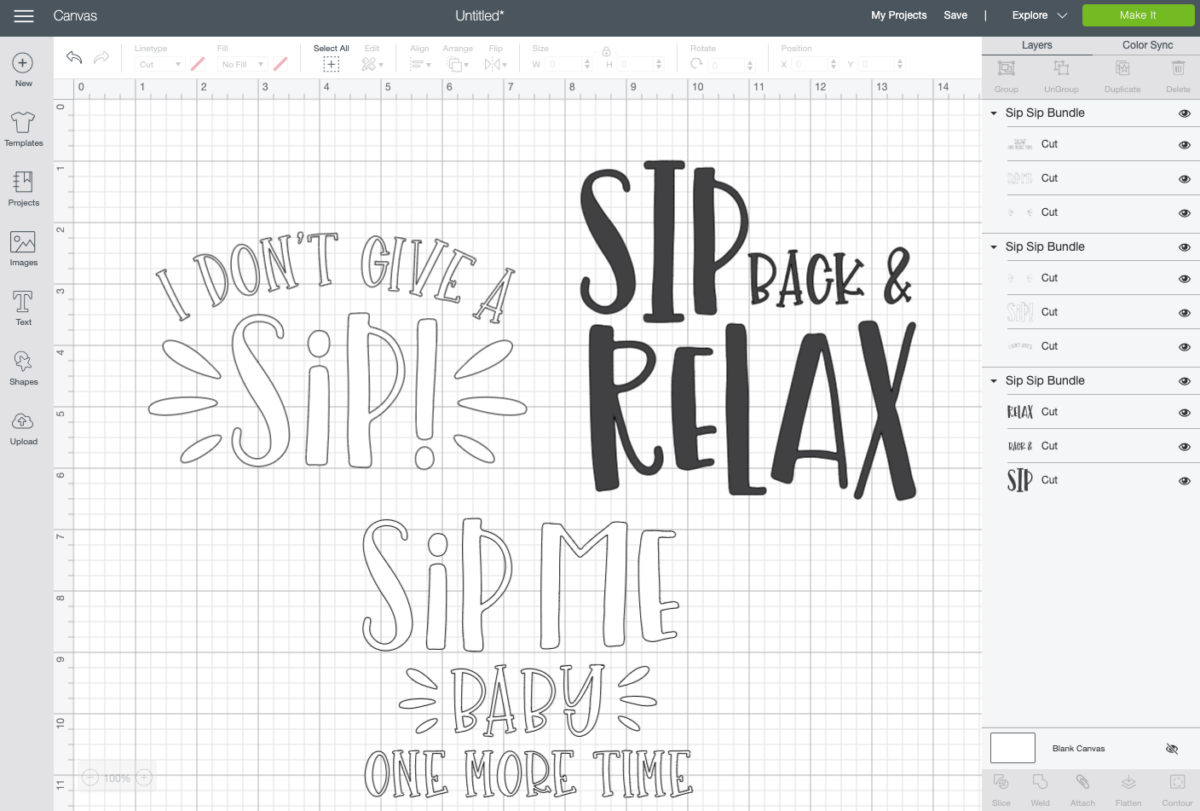
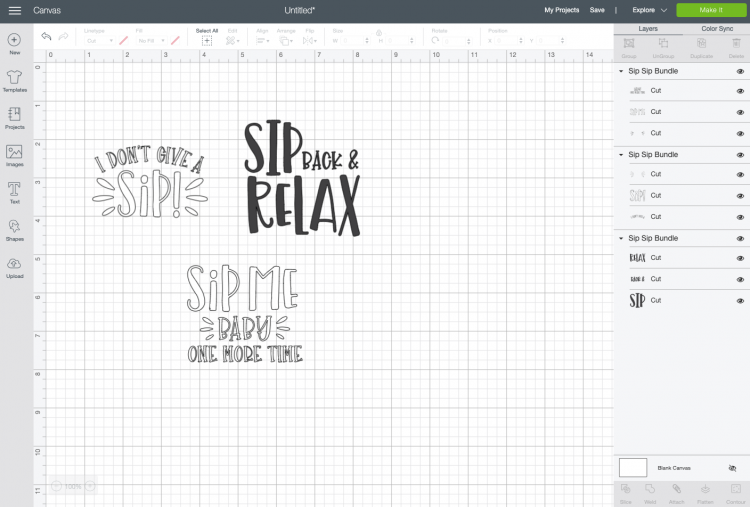
Then I resized each image to be 3″ wide, which is fairly standard for can koozies. Double check your sizing before you cut, though (for instance, I’ve seen taller, skinnier koozies for beer bottles or White Claw seltzers).
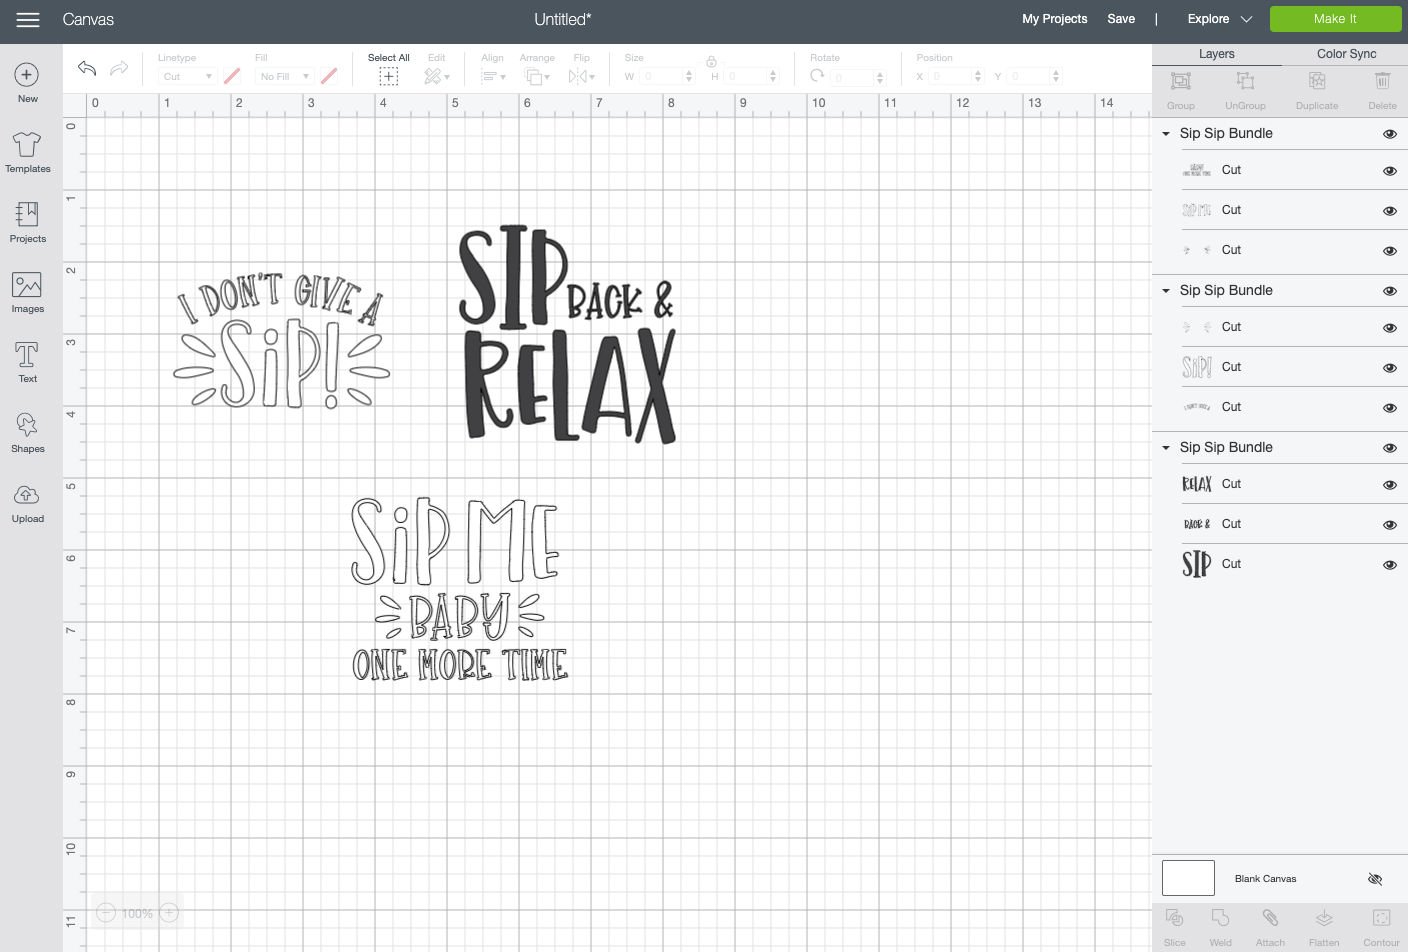
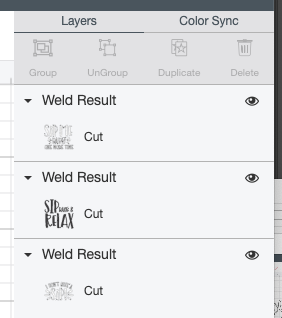
Finally, to keep everything together, select each image and weld all of the pieces together, using Weld in the lower right.
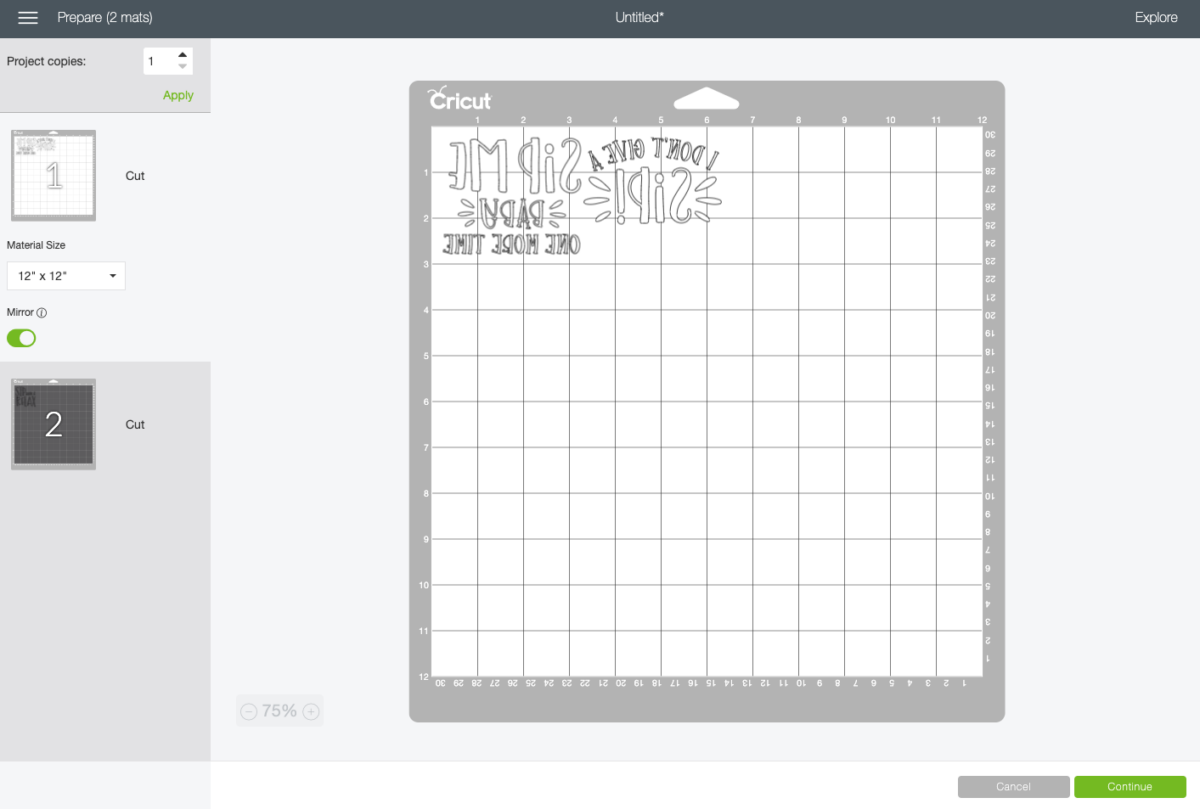
Now you’re ready to cut! Click Make It in the upper right. Make sure you click “mirror” for both mats—you always want to mirror your iron on vinyl so that it adheres the right way to your base material.
Then cut your images! I used regular white iron on vinyl and a glitter black vinyl for when I’m feeling fancy. Make sure to change your material settings in between each cut if you’re using different materials.
Once you’ve cut out the files, use the weeding hook to remove all of the negative material from your files. If you need help, check out my post on Weeding Iron On Vinyl.
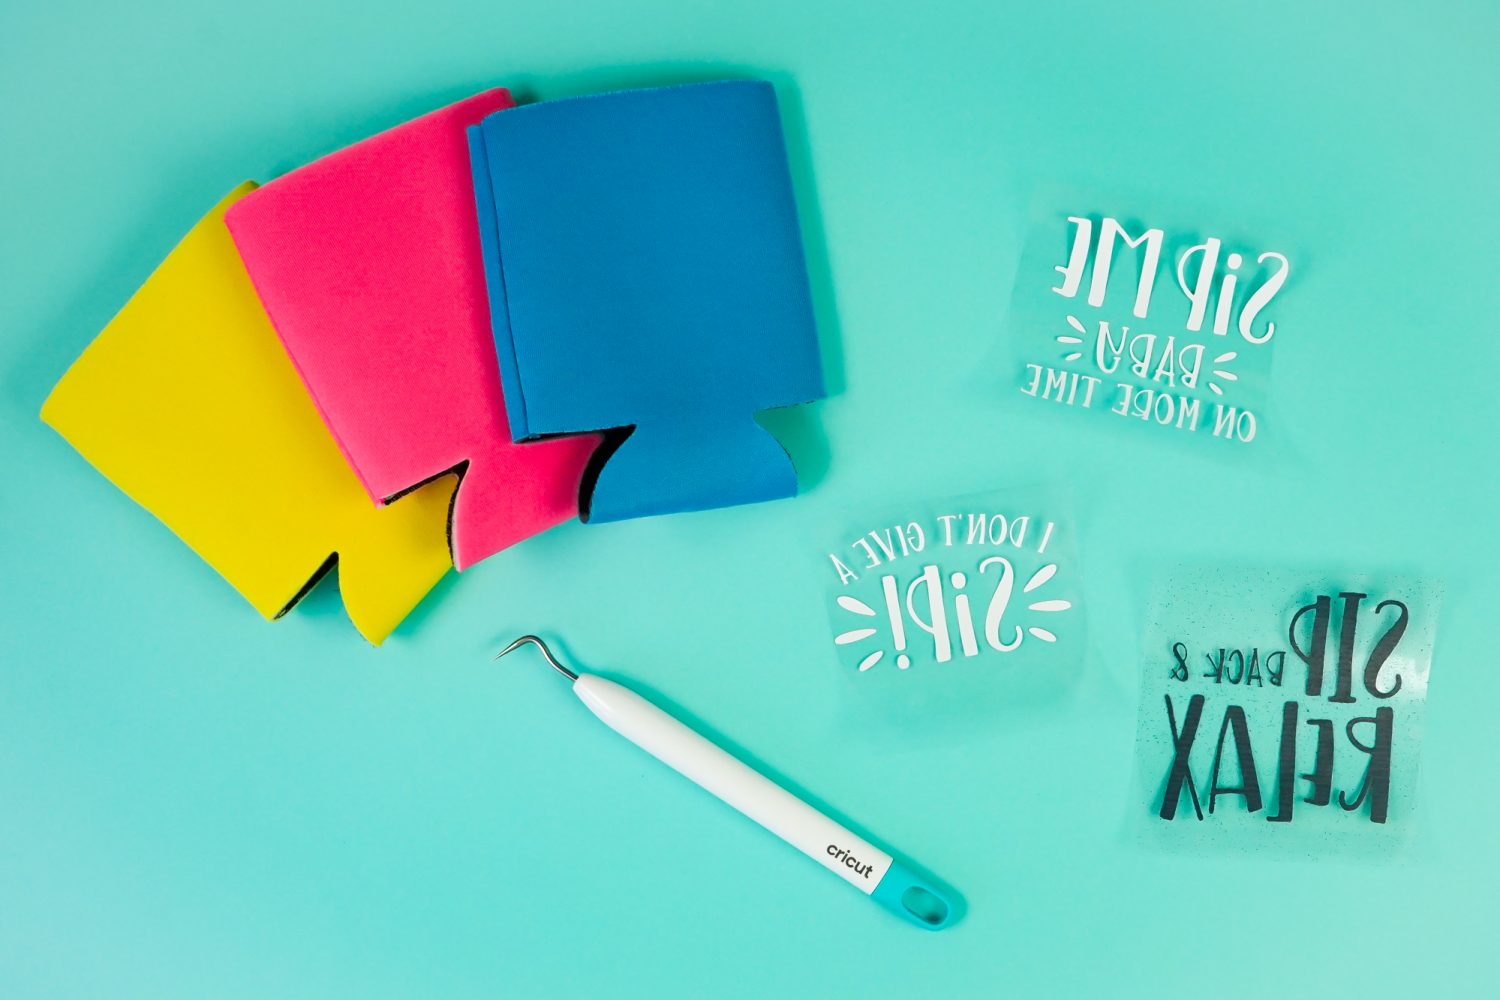
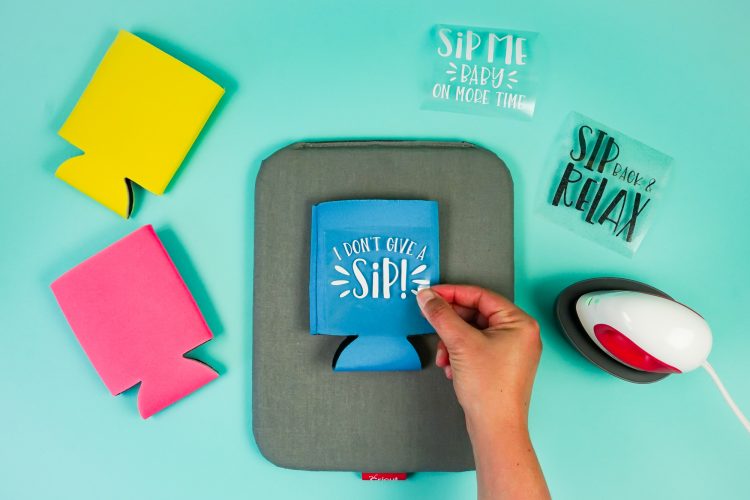
To adhere my transfers to the can koozies, I’m using my EasyPress Mini. I love this little guy (read my post about the EasyPress Mini) and it’s perfect for projects like this! You can also use a regular iron or a standard EasyPress as well. Learn the differences in my big Heating Tool Comparison post.
Place your transfer on your koozie.
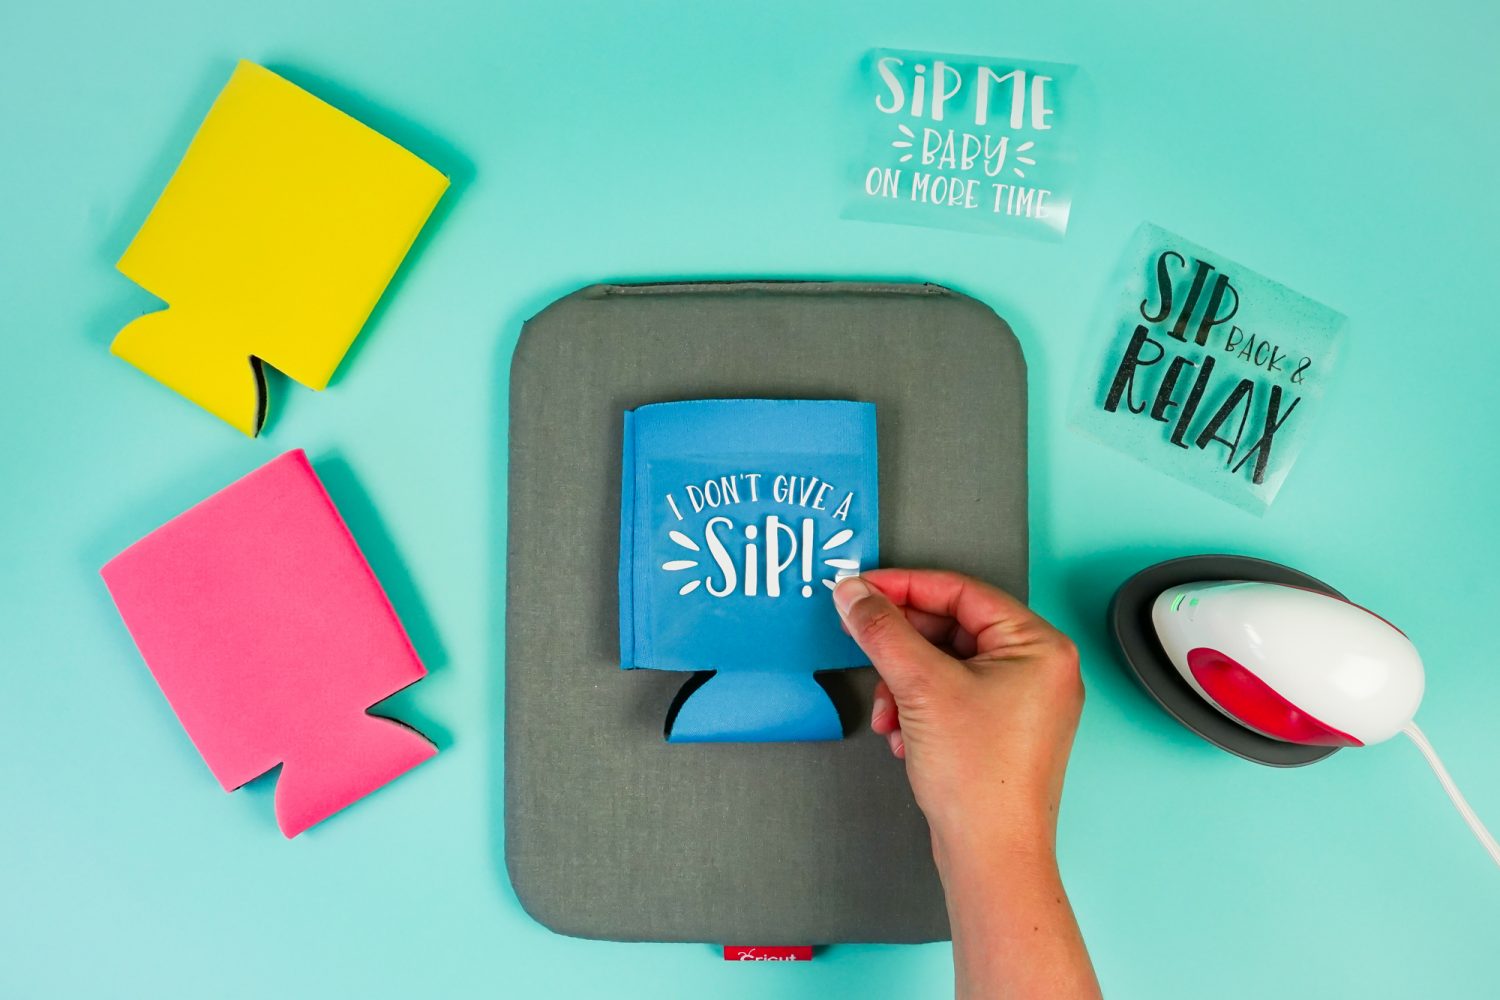
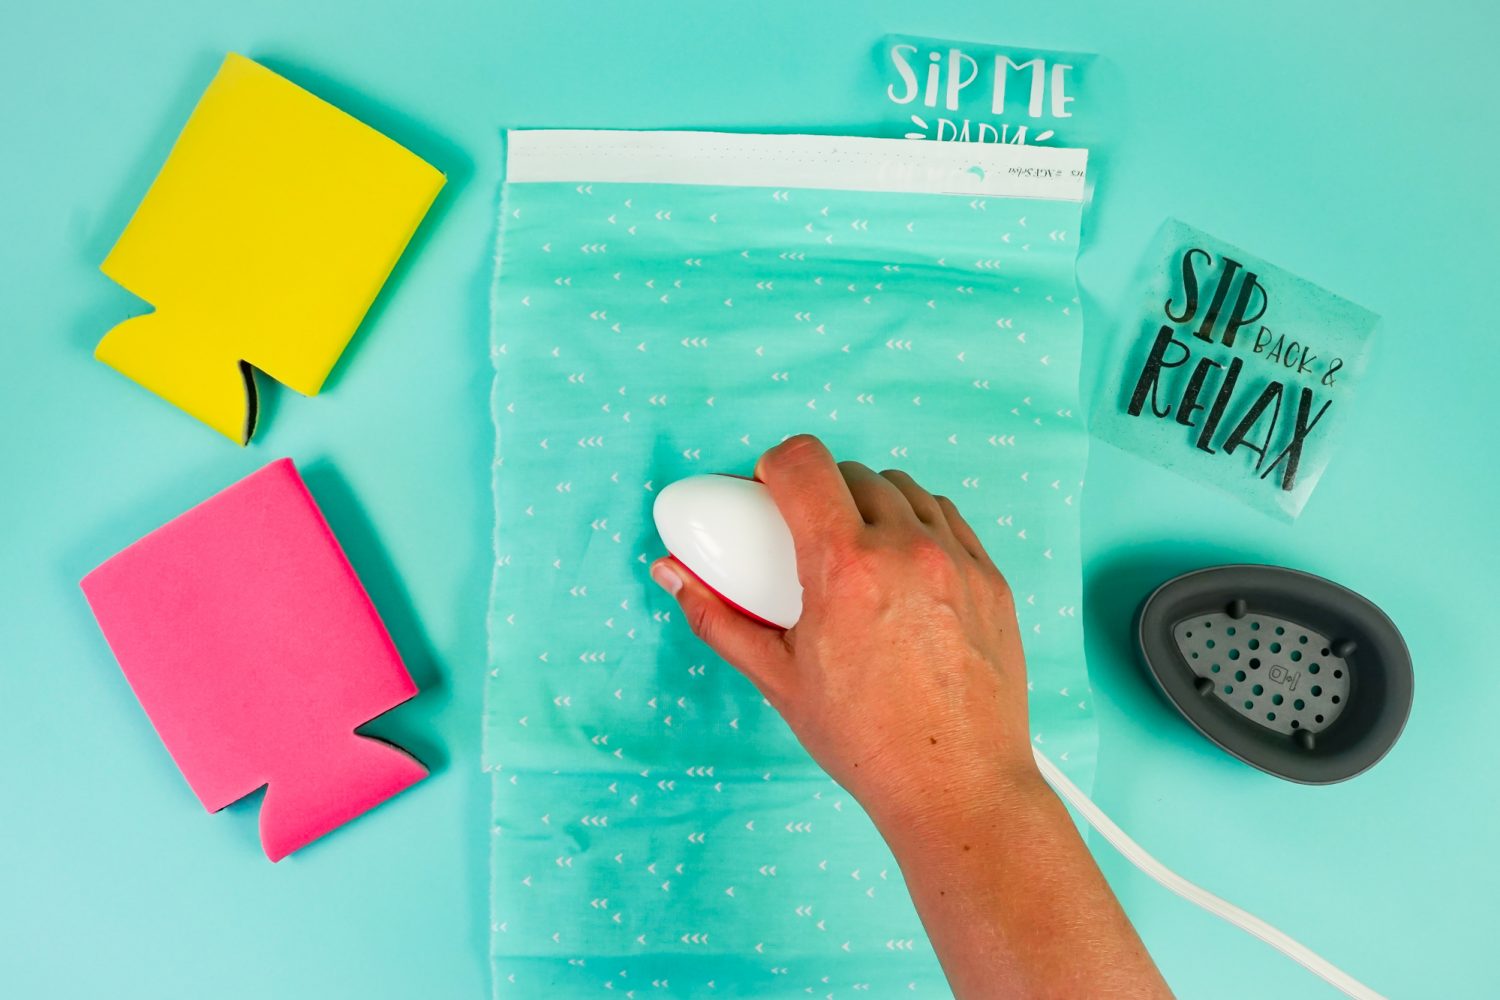
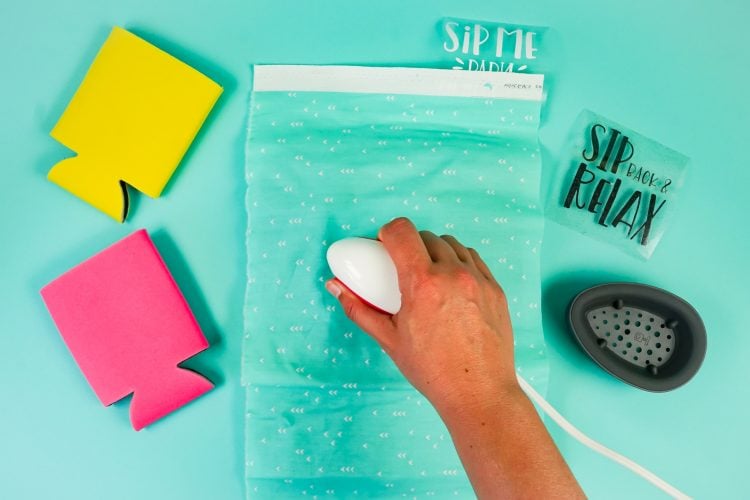
Then cover with a pressing cloth or sheet. It probably wouldn’t hurt to do it without it, but I don’t like the idea of the plate of my iron coming into direct contact with the neoprene. Then press your decal for about 15 seconds.
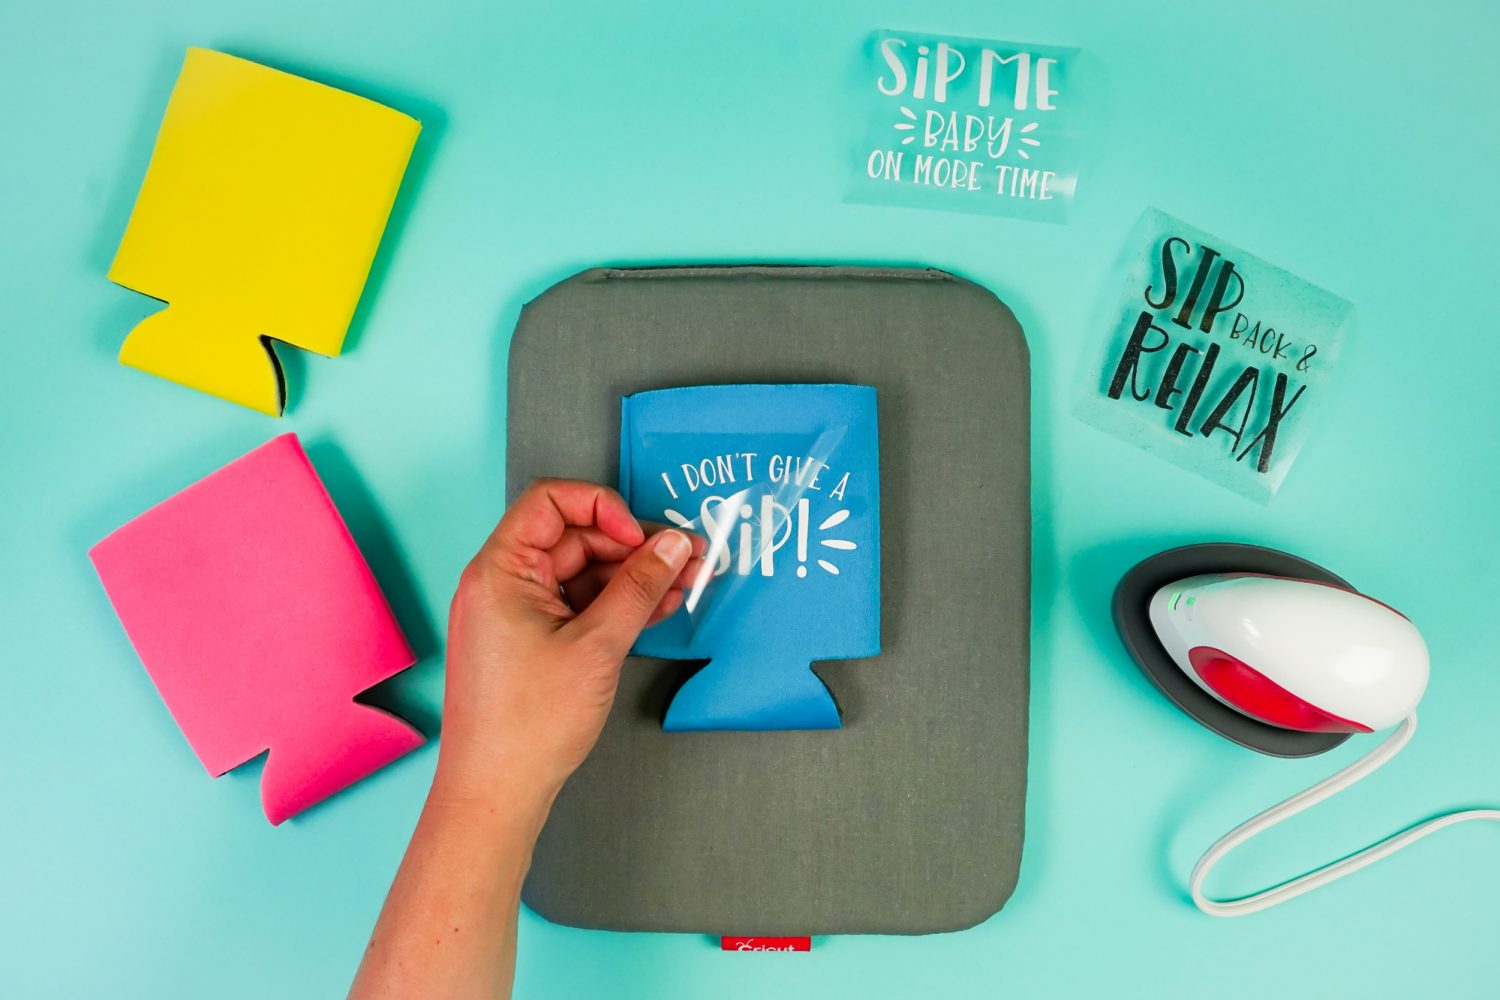
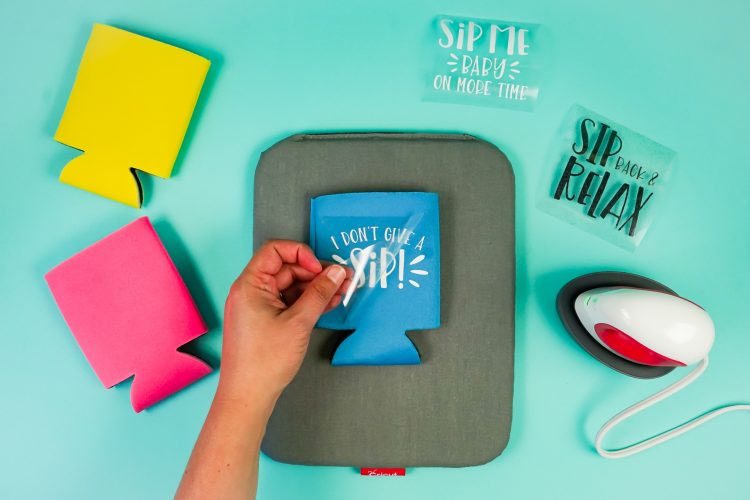
Peel back the iron on vinyl carrier sheet and you’re done! If your transfer doesn’t fully stick, press again.
I just love how these turned out! This is a super easy Cricut project, perfect for beginners—and perfect for summer!
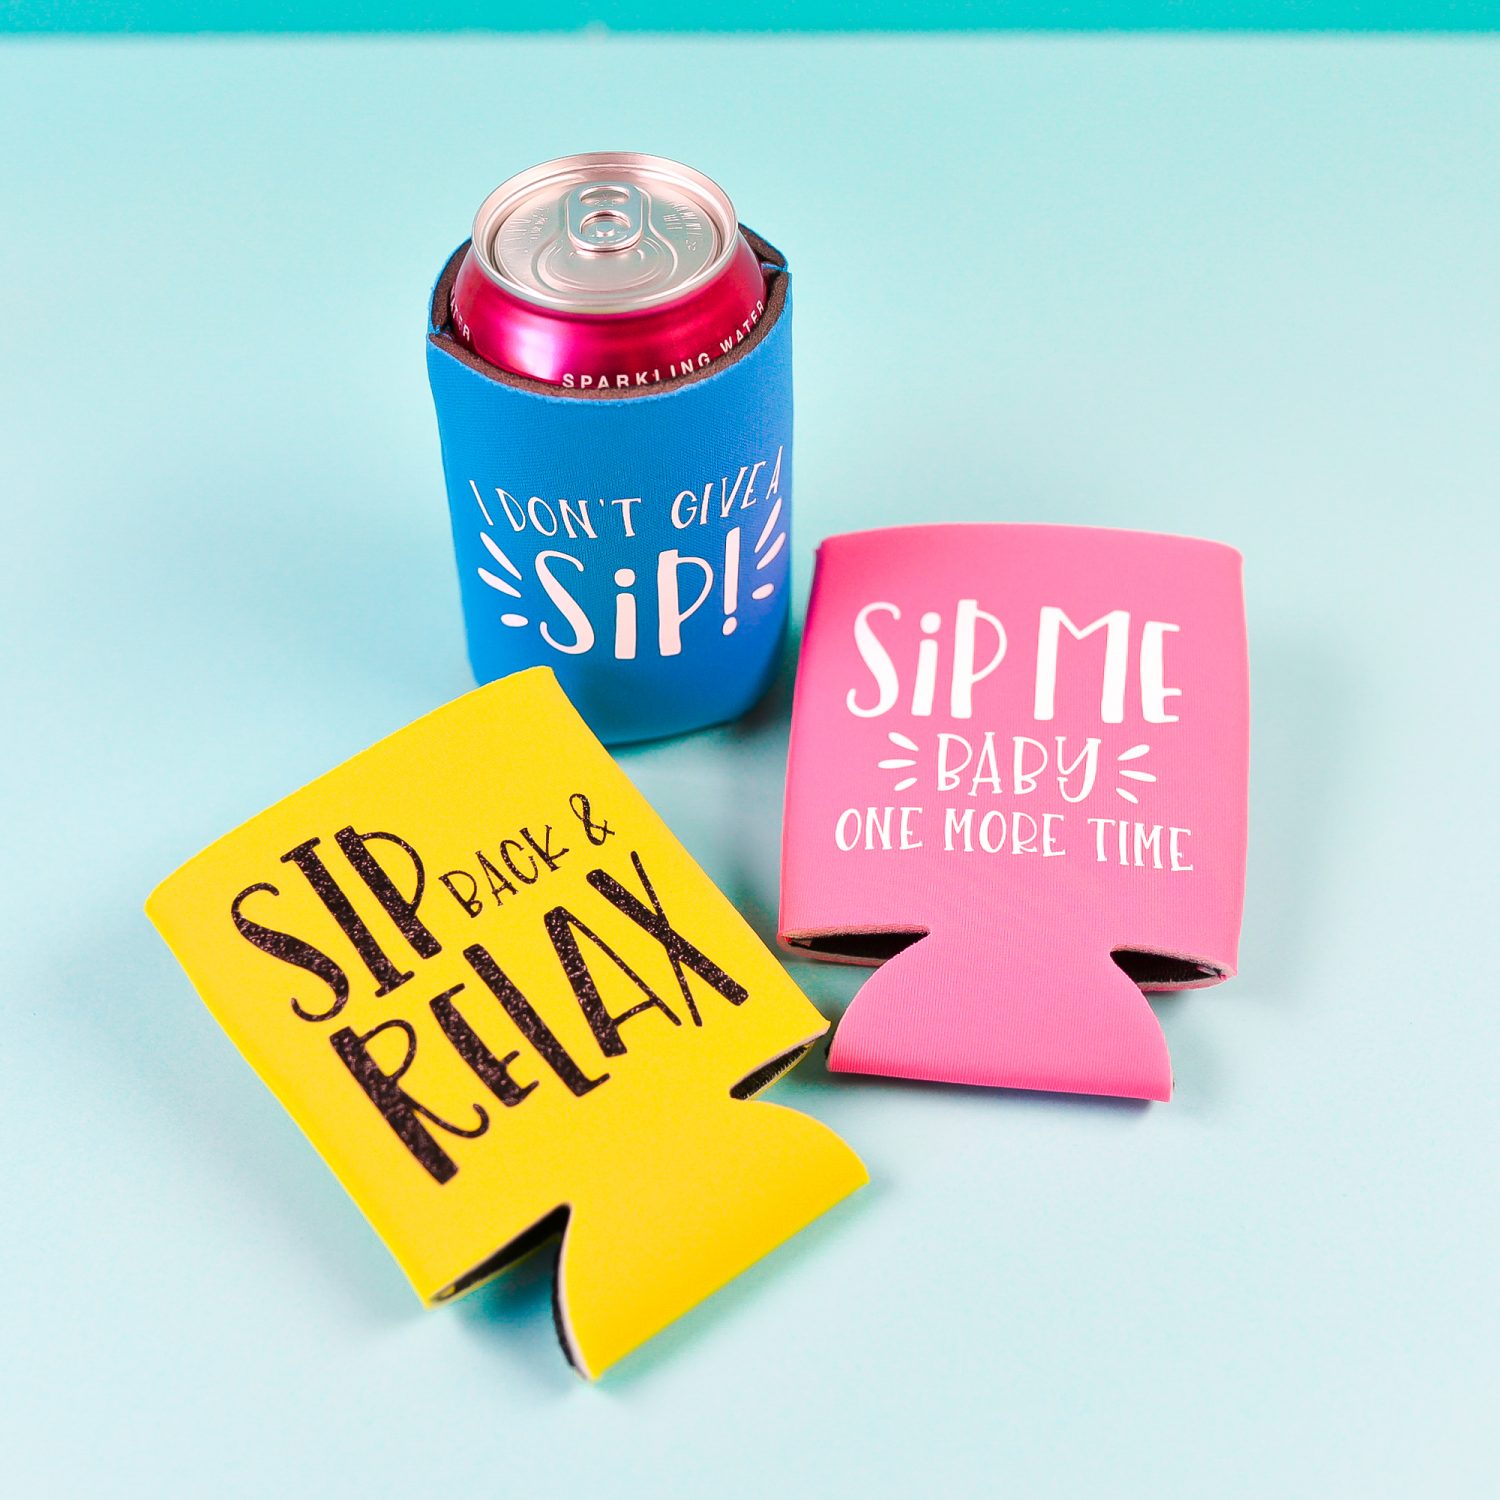
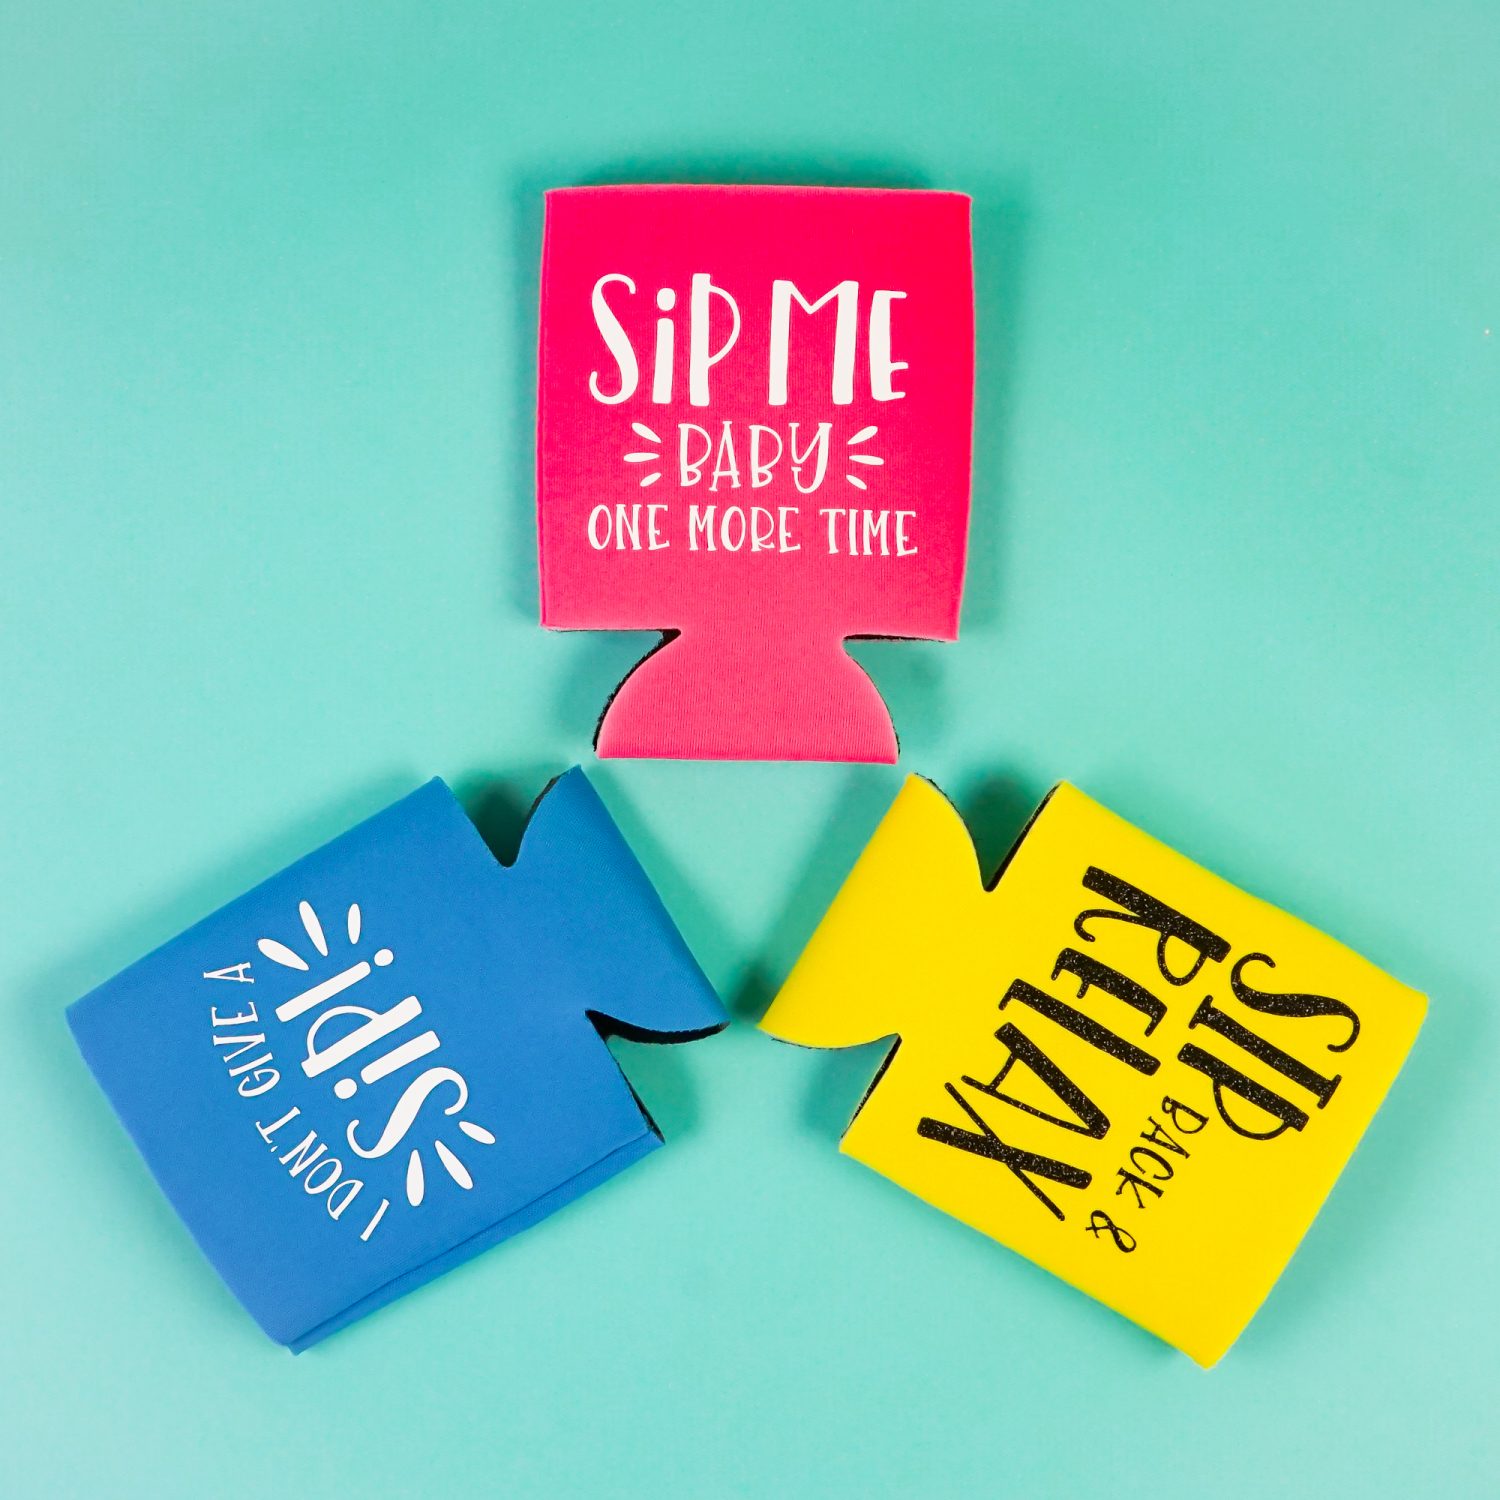
Have any questions about making can koozies with your Cricut? Let me know in the comments!
Blank Koozies for Crafting
HOW TO MAKE CRICUT CAN KOOZIES WITH IRON ON VINYL
Equipment
- Cricut Joy or
Supplies
- Can koozie
- Iron On Vinyl (HTV)
- Free I Don't Give A Sip File #C304 or use your own
Instructions
- Start by uploading your SVG to Cricut Design Space (see this post Uploading SVG files to Cricut Design Space if you need help). Now we will take these multi-colored files and turn them into single-colored files that will be easy to apply to your can koozies. You can also layer iron on vinyl if you'd like to do that too!

- Start by ungrouping all of the images so you can work with them individually. Use Ungroup at the top of the Layers Panel on the right.

- For this project we are making only three can koozies, so the "When I sip, you sip, we sip" image was deleted by using Delete at the top of the Layers Panel. Then the remaining images were recolored —two will be white, and one will be black.

- Then each image was resized to be 3" wide, which is fairly standard for can koozies. Double check your sizing before you cut, though (for instance, there are taller, skinnier koozies for beer bottles or White Claw seltzers).

- Finally, to keep everything together, select each image and weld all of the pieces together, using Weld in the lower right.

- Now you're ready to cut! Click Make It in the upper right. Make sure you click "mirror" for both mats—you always want to mirror your iron on vinyl so that it adheres the right way to your base material.

- Then cut your images! For this project regular white iron on vinyl and a glitter black vinyl was used. Make sure to change your material settings in between each cut if you're using different materials.Once you've cut out the files, use the weeding hook to remove all of the negative material from your files. If you need help, check out my post on Weeding Iron On Vinyl.

- To adhere the transfers to the can koozies, the EasyPress Mini was used. You can also use a regular iron or a standard EasyPress as well. Learn the differences in this big Heating Tool Comparison post.Place your transfer on your koozie.

- Then cover with a pressing cloth or sheet. Then press your decal for about 15 seconds.

- Peel back the iron on vinyl carrier sheet and you're done! If your transfer doesn't fully stick, press again.

- This is a super easy Cricut project, perfect for beginners—and perfect for summer!




Comments & Reviews
J Smith says
I just started making these to sell in our family grocery store. After much trial and error, I have found that if you place cardboard the width of the koozie inside before ironing, it helps the heat transfer vinyl to adhere. It will give you a firmer flatter surface. I layered 2 pieces of cardboard with heat resistant tape. I press for 20 seconds. Good luck!
Sara says
Any tips on getting vinyl to stay on the material of a frantic can koozie? Would it depend on the material of the koozie?
Please let me know your tips. Thank you in advance.
McKayla says
Can I fix burn marks on Koozies? If so how? Also what can I put inside that won’t burn