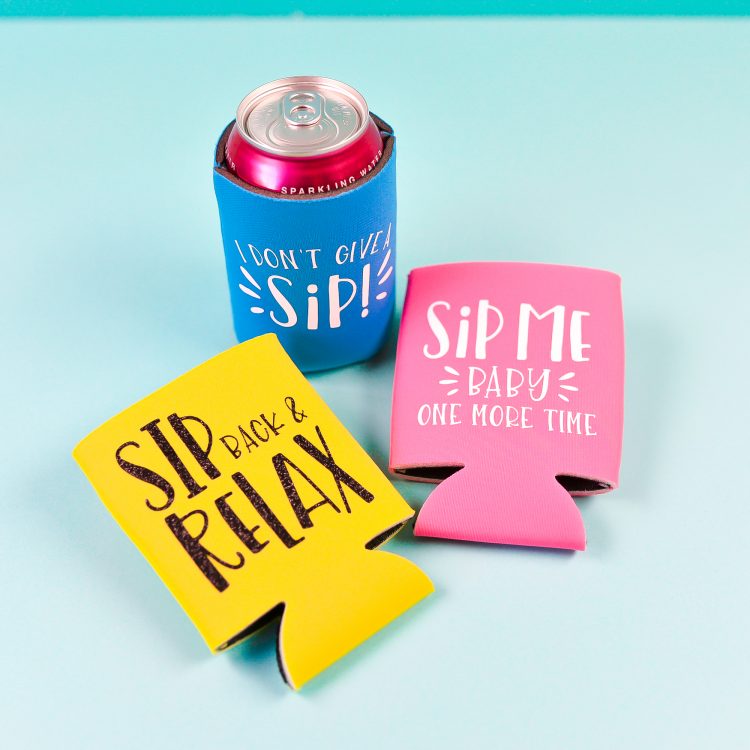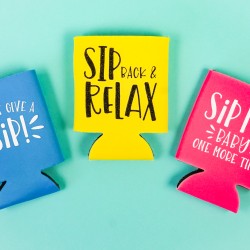
HOW TO MAKE CRICUT CAN KOOZIES WITH IRON ON VINYL
Koozie, cozy, hugger, coolie, can holder, neoprene sleeve—no matter what you call it, you can make it better with a Cricut! Here's how to make a Cricut can koozie using iron on vinyl. Cheers!
Equipment
- Cricut Joy or
Ingredients
- Can koozie
- Iron On Vinyl (HTV)
- Free I Don't Give A Sip File #C304 or use your own
Instructions
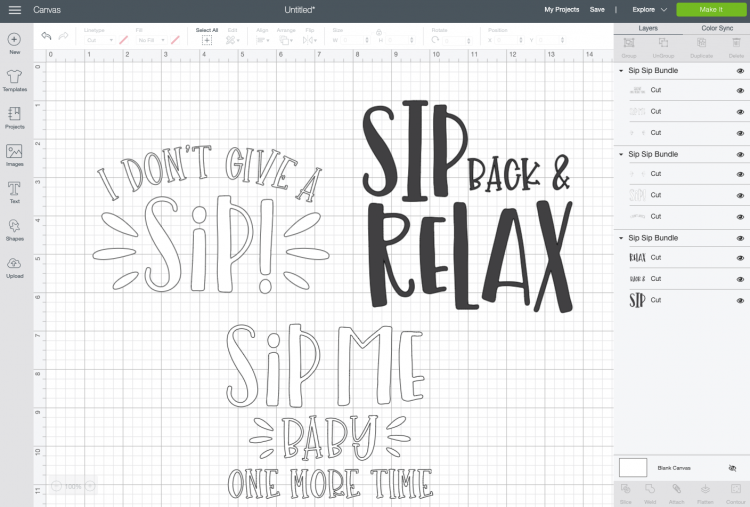
- Start by uploading your SVG to Cricut Design Space (see this post Uploading SVG files to Cricut Design Space if you need help). Now we will take these multi-colored files and turn them into single-colored files that will be easy to apply to your can koozies. You can also layer iron on vinyl if you'd like to do that too!
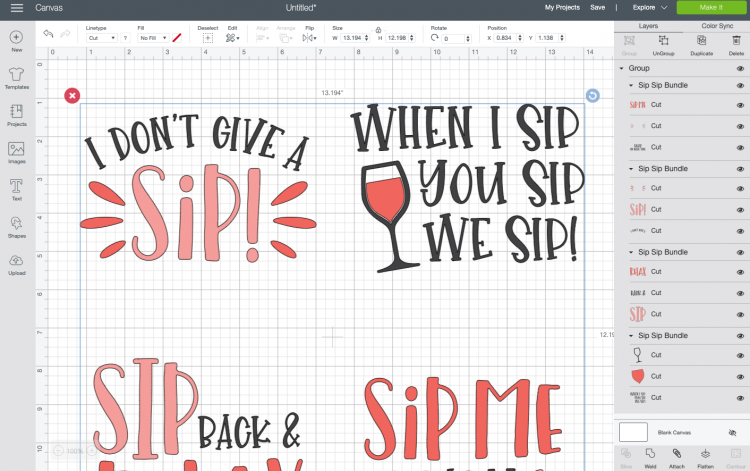
- Start by ungrouping all of the images so you can work with them individually. Use Ungroup at the top of the Layers Panel on the right.
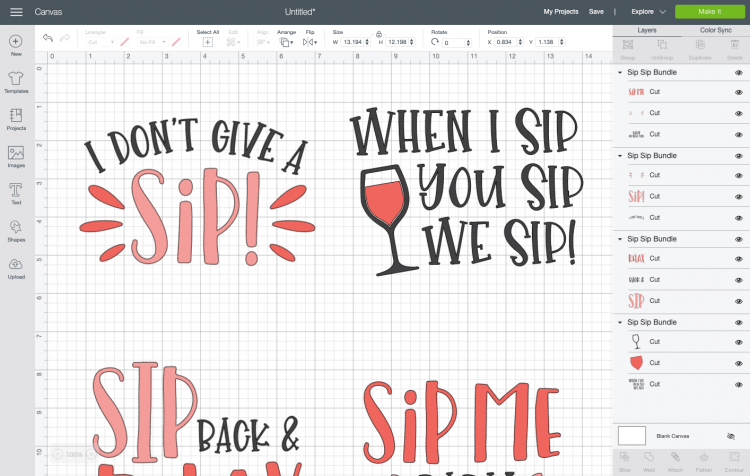
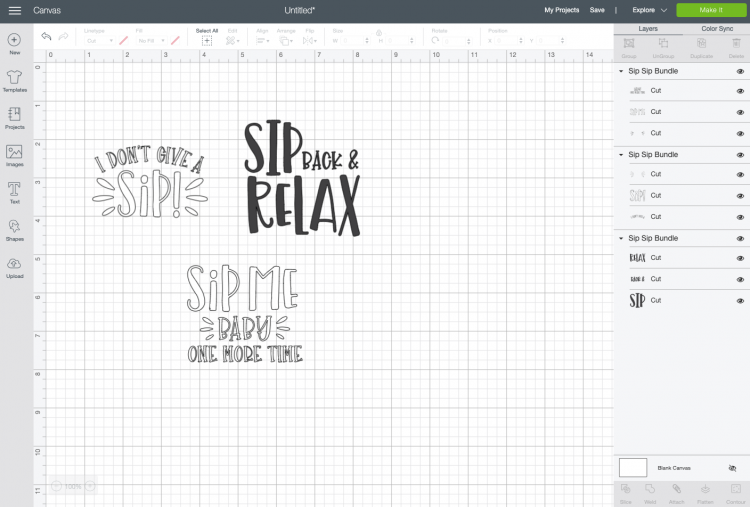
- For this project we are making only three can koozies, so the "When I sip, you sip, we sip" image was deleted by using Delete at the top of the Layers Panel. Then the remaining images were recolored —two will be white, and one will be black.
- Then each image was resized to be 3" wide, which is fairly standard for can koozies. Double check your sizing before you cut, though (for instance, there are taller, skinnier koozies for beer bottles or White Claw seltzers).
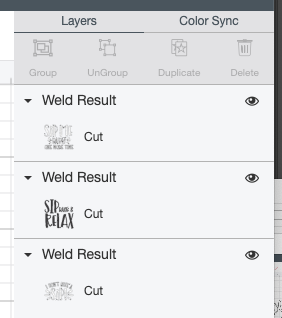
- Finally, to keep everything together, select each image and weld all of the pieces together, using Weld in the lower right.
- Now you're ready to cut! Click Make It in the upper right. Make sure you click "mirror" for both mats—you always want to mirror your iron on vinyl so that it adheres the right way to your base material.

- Then cut your images! For this project regular white iron on vinyl and a glitter black vinyl was used. Make sure to change your material settings in between each cut if you're using different materials.Once you've cut out the files, use the weeding hook to remove all of the negative material from your files. If you need help, check out my post on Weeding Iron On Vinyl.

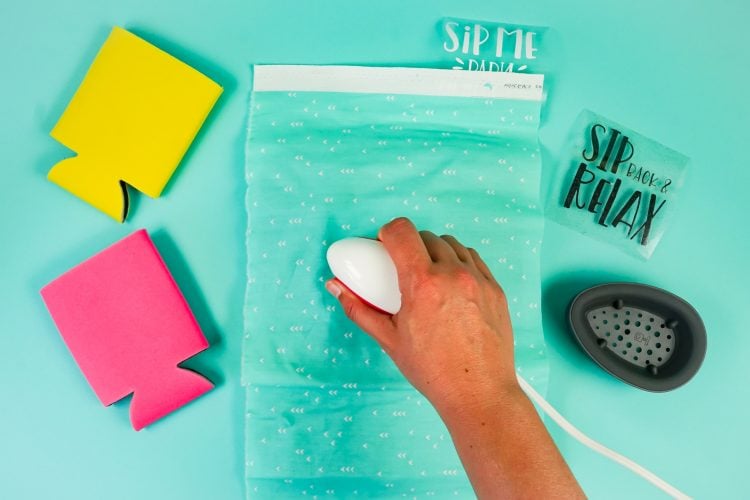
- To adhere the transfers to the can koozies, the EasyPress Mini was used. You can also use a regular iron or a standard EasyPress as well. Learn the differences in this big Heating Tool Comparison post.Place your transfer on your koozie.
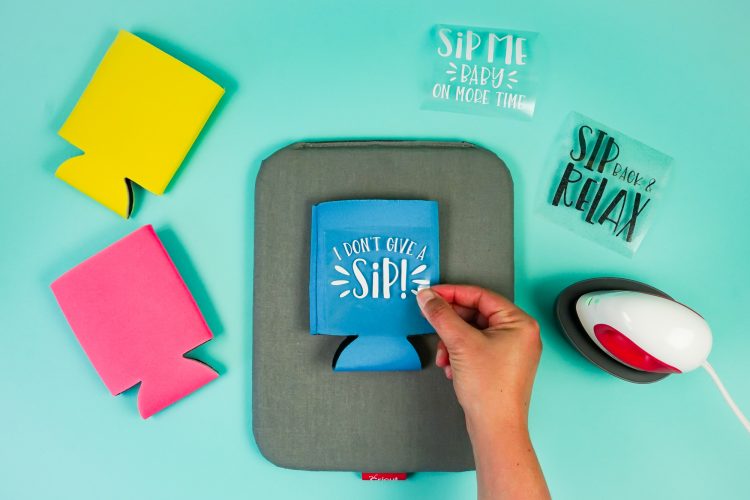
- Then cover with a pressing cloth or sheet. Then press your decal for about 15 seconds.
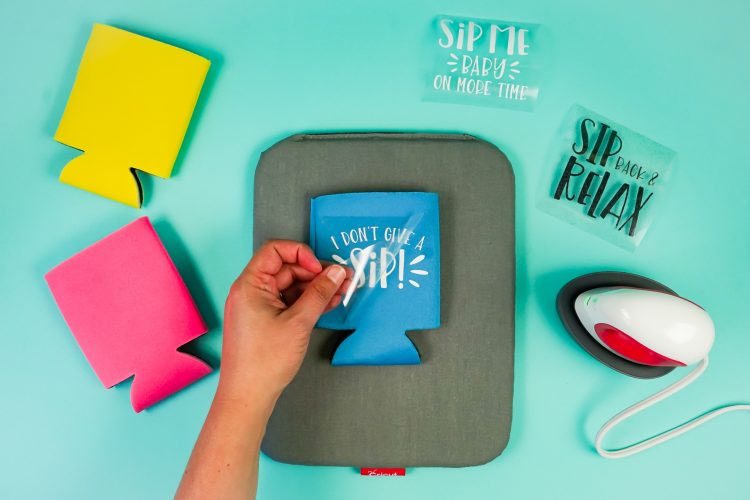
- Peel back the iron on vinyl carrier sheet and you're done! If your transfer doesn't fully stick, press again.
- This is a super easy Cricut project, perfect for beginners—and perfect for summer!