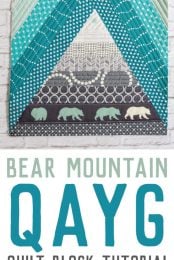
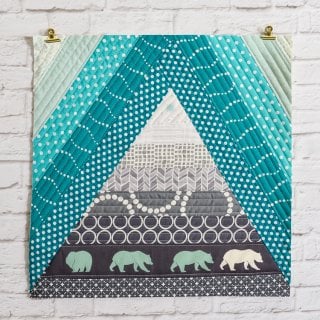
This mountain-inspired quilt-as-you-go tutorial is a fun quilt block perfect for a mountain nursery or any woodland decor!
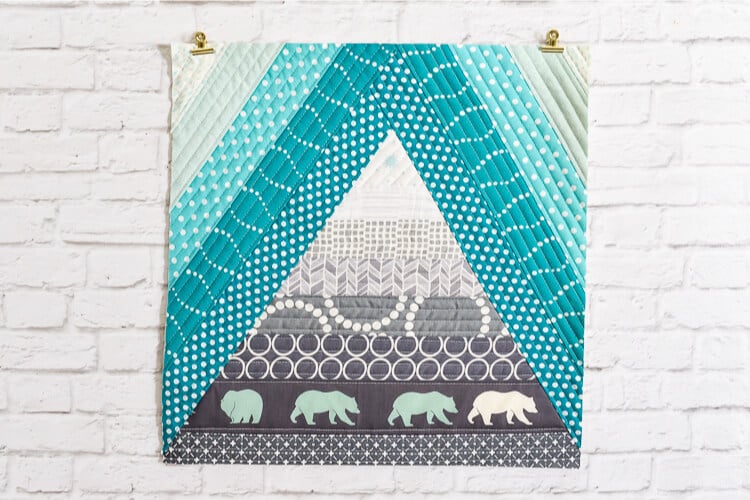
It’s been a long time since I’ve done a quilt-as-you-go tutorial, but I had a fun idea the other night and I decided to actually get out my sewing machine and make it. I plan on turning it into a pillow for my boys’ nursery, which is mountain/adventure themed.
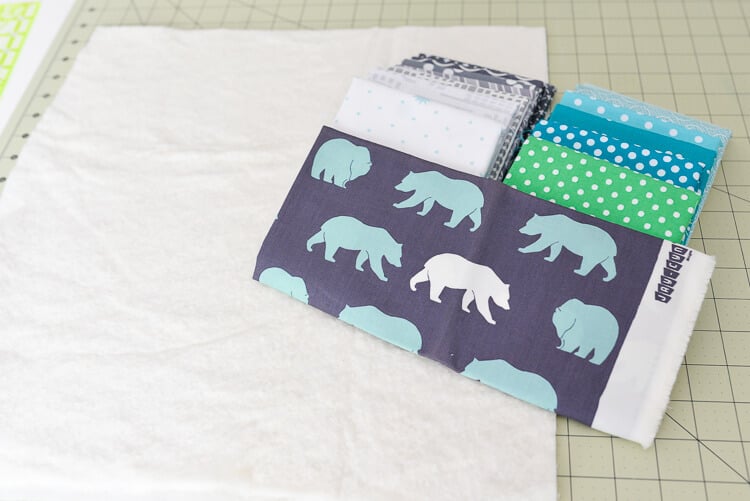
Quilt-As-You-Go Tutorial Supplies
- Fabric, in shades of gray and blue
- Piece of batting, 17″ x 17″
- Muslin or other backing fabric 17″ x 17″
- Coordinating thread
Note: I think the Birch Organic bear fabric is not in production anymore, but Spoonflower has tons of amazing bear options!
Quilt-As-You-Go Tutorial Directions
I have a lot of QAYG tutorials on my blog, so if you want a much more in-depth tutorial for how this technique works, start with my Easy Big Stripes block. It really makes the process of quilting directly to the batting make sense.
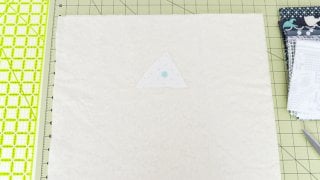
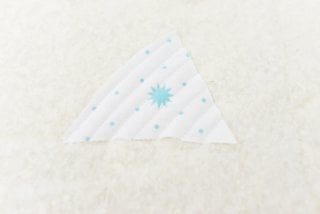
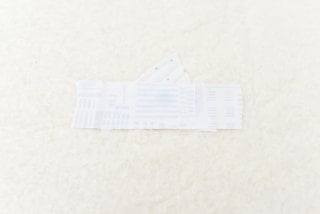
Start by cutting a triangle of your lightest gray-scale fabric. I had white with some very light-blue stars that worked really well as “snow.” My triangle was about 4″ on each side, but you can really start with whatever size you want. Place it right-side up on your stacked batting and backing fabric.
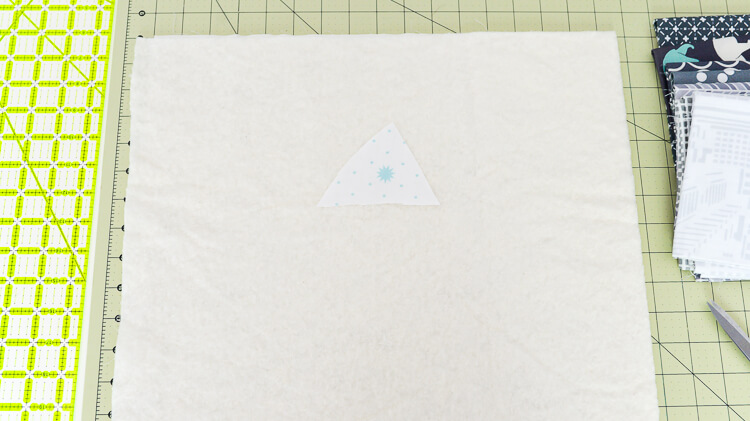
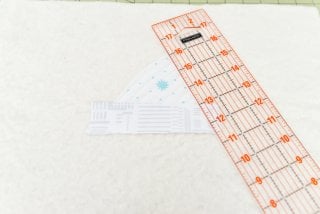
Then quilt it directly to the batting/backing. My lines are about 1/2″ apart, but again, you can do any free-motion quilting style you’d like.
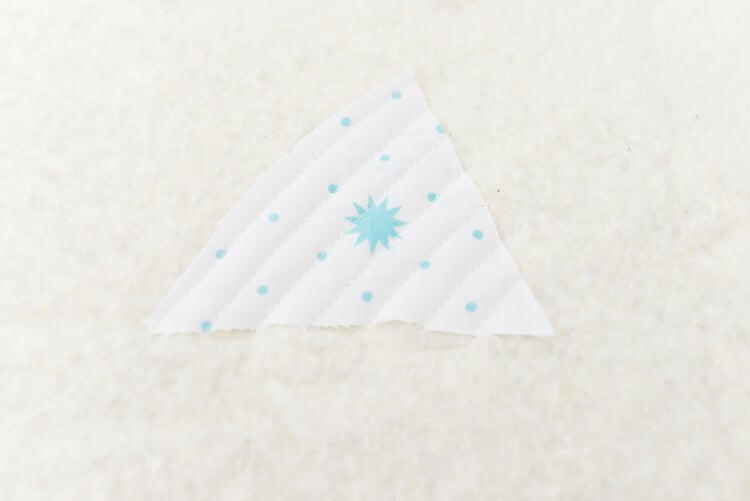
I used 2.5″ strips for my block and cut them as I went so I wouldn’t waste fabric. Place your next strip of slightly-darker gray directly on top of your triangle, right-side down, with the bottom edges matching up.
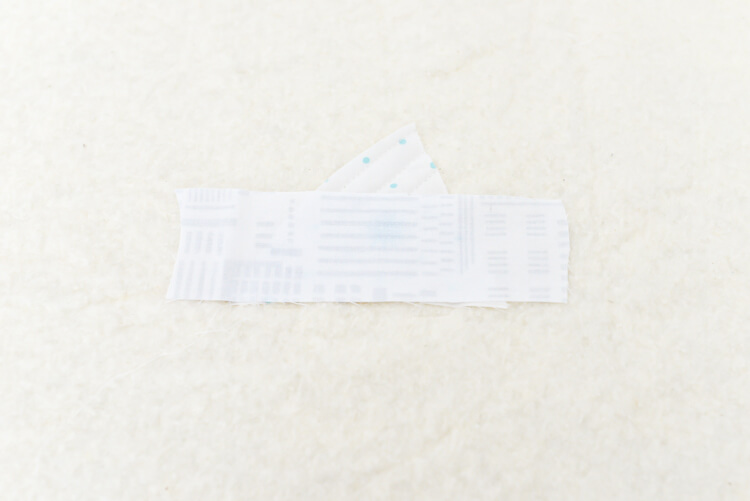
Stitch 1/8″ along the bottom of the two pieces of fabric. Then open up and iron the bottom piece away from the triangle. Quilt it to the batting/backing like you did with the first piece.
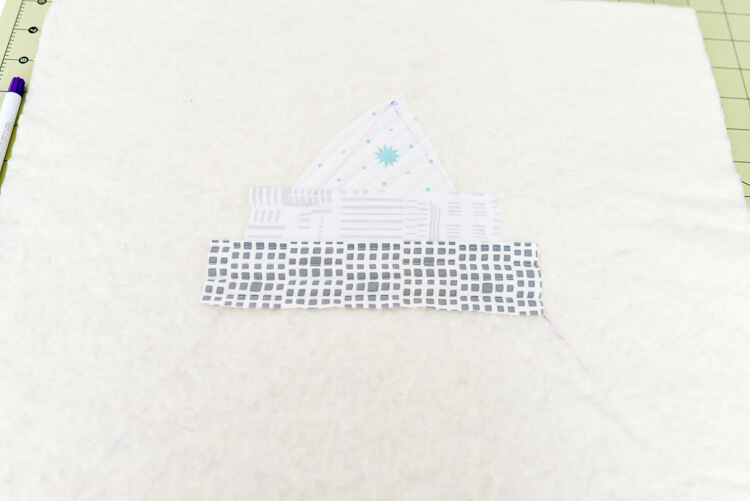
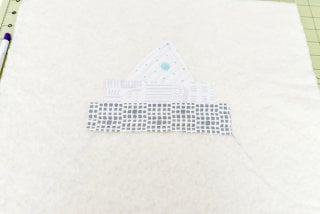
At this point, I drew some mountain-shaped lines with a disappearing ink marker so I would know how long to cut my pieces.
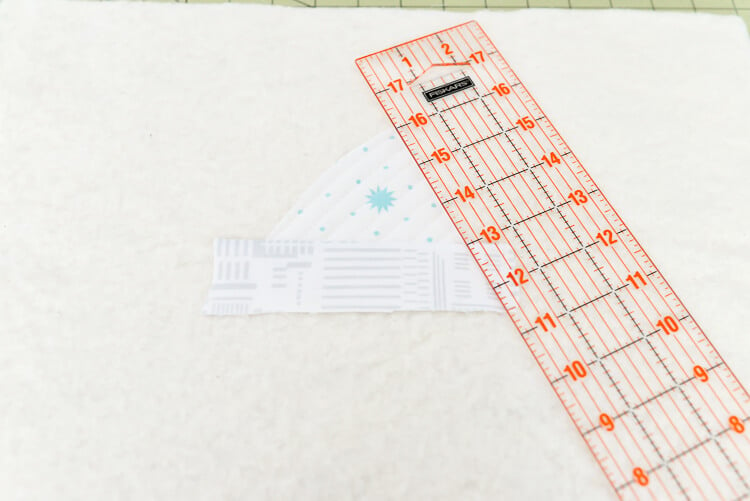
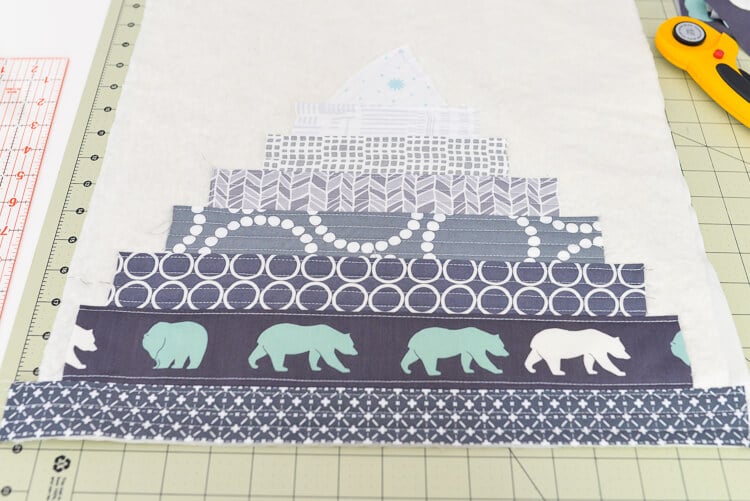
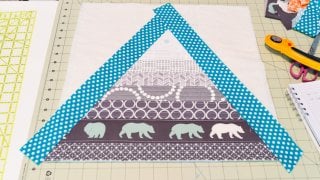
Then continue to work your way down the “mountain” with wider and wider pieces being sewn to the batting/backing.
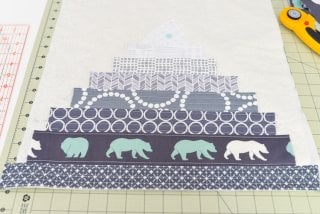
Instead of stitching over my bears, I just did two lines of quilting above and below them.
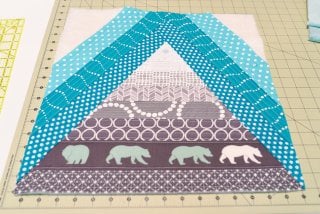
Then it’s time to do the “sky.” You’ll use the same method you used to make the mountain, starting with the darkest blue fabrics and working toward the edges.
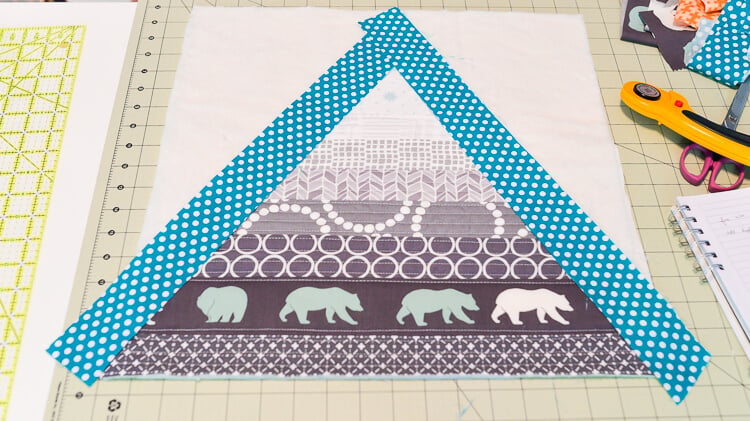
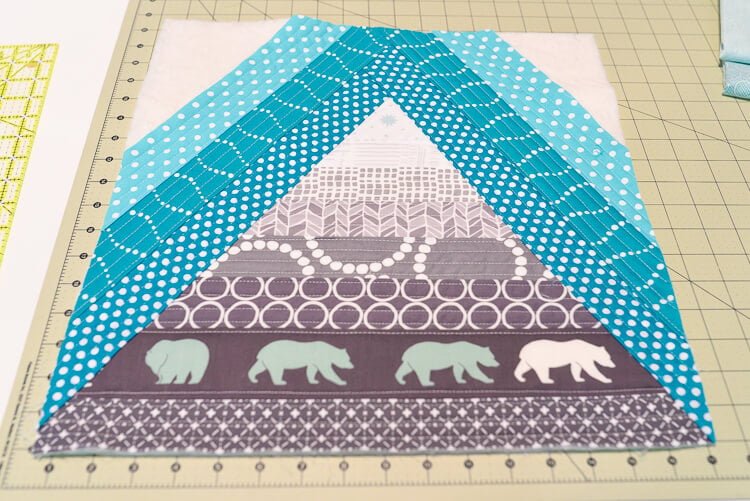
Then keep going until you are done! Square up your block to be 16.5″ x 16.5″ and you’re done! Because it’s not a particularly precise method of quilting, you might find your block is a little wonky. And that’s OK!
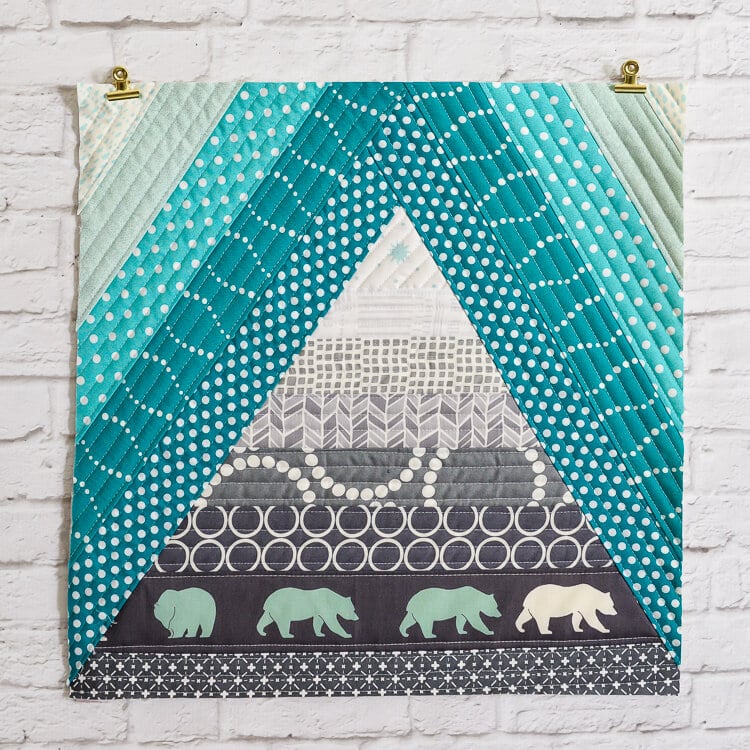
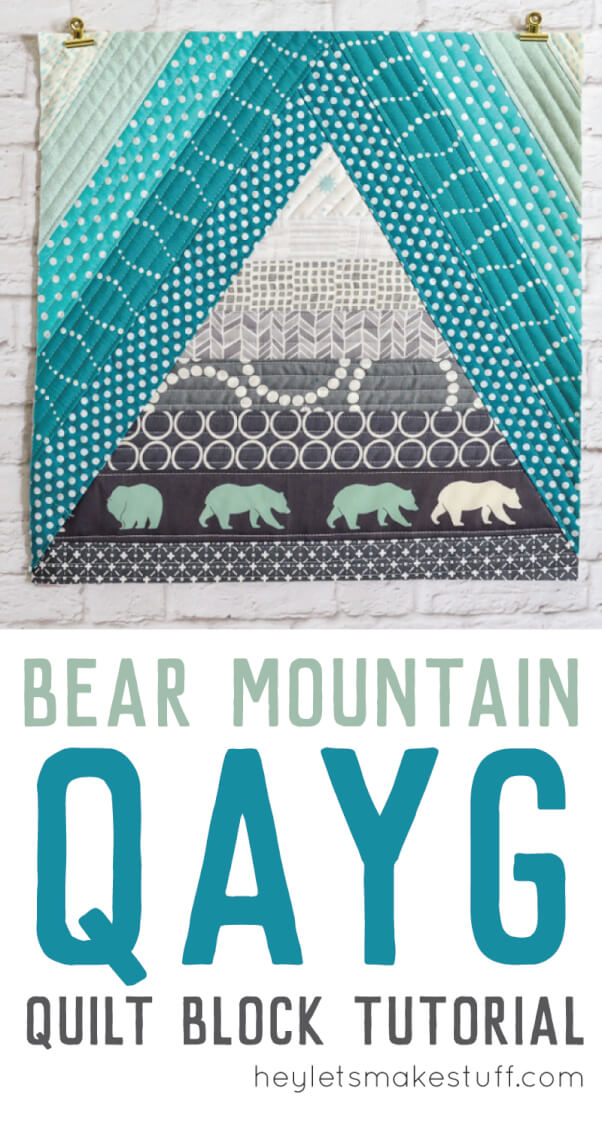
BEAR MOUNTAIN QUILT-AS-YOU-GO
Supplies
- Fabric in shades of gray and blue
- 17" X 17" Piece of batting
- 17" X 17" Muslin or other backing fabric
- Coordinating thread
Instructions
- Note: The Birch Organic bear fabric is not in production anymore, but Spoonflower has tons of amazing bear options!Start by cutting a triangle of your lightest gray-scale fabric. This triangle was about 4" on each side, but you can really start with whatever size you want. Place it right-side up on your stacked batting and backing fabric.

- Then quilt it directly to the batting/backing. The lines are about 1/2" apart for this project, but again, you can do any free-motion quilting style you'd like.

- 2.5" strips were used for this block and were cut as needed so fabric wouldn't be wasted. Place your next strip of slightly-darker gray directly on top of your triangle, right-side down, with the bottom edges matching up.

- Stitch 1/8" along the bottom of the two pieces of fabric. Then open up and iron the bottom piece away from the triangle. Quilt it to the batting/backing like you did with the first piece.At this point, draw some mountain-shaped lines with a disappearing ink marker so you that you will know how long to cut the pieces.

- Then continue to work your way down the "mountain" with wider and wider pieces being sewn to the batting/backing.

- Instead of stitching over the bears, do two lines of quilting above and below them.

- Then it's time to do the "sky." You'll use the same method you used to make the mountain, starting with the darkest blue fabrics and working toward the edges.


- Then keep going until you are done! Square up your block to be 16.5" x 16.5" and you're done! Because it's not a particularly precise method of quilting, you might find your block is a little wonky. And that's OK!



Comments & Reviews
Heather Hayllar says
I love this Block! Thank you
Catherine says
I found that not quilting the strips until the 4 outside seams are secure helps to make a neater back, as then I quilt seam to seam. I also still had to check my square and adjust every so often, but really liked the result.
Cori George says
That’s a great idea!
Glenda says
Love these “QAYG” Tutorials , Thank You So Much for sharing !
Nancy says
Judy, The backing is placed face down first, then the batting goes on top of that, then you start adding your pieces and quilt. Finishing the block was not included in the tutorial. I would bind the edges.
Judy says
how did you attach blocks? Did you put a backing on after the blocks were attached? The quilting will not show once the backing is on, correct???