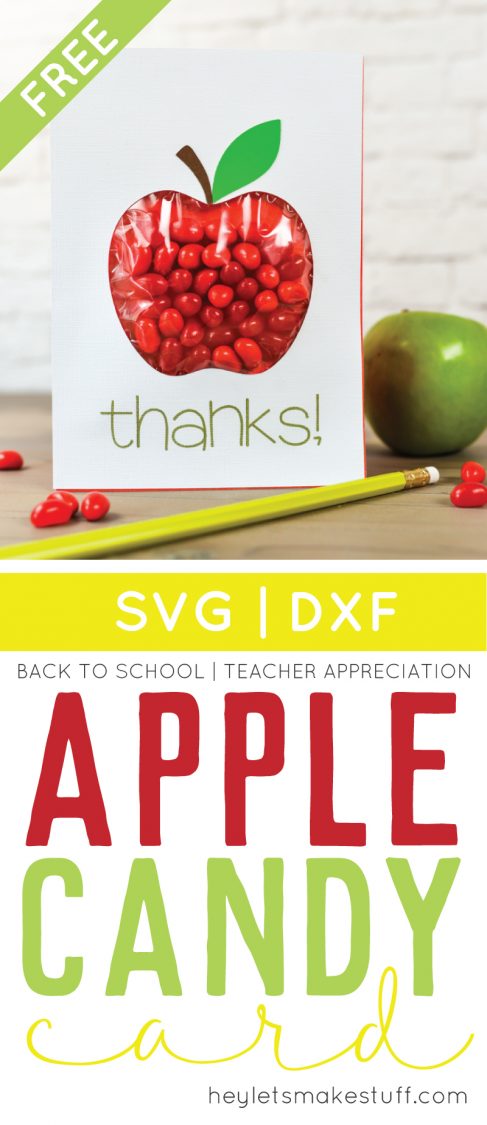
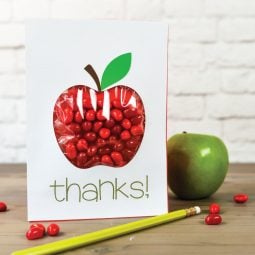
This apple candy pouch card is a great way to celebrate back to school with a new teacher, or give it in honor of Teacher Appreciation Day! Free cut files for the Cricut Explore.

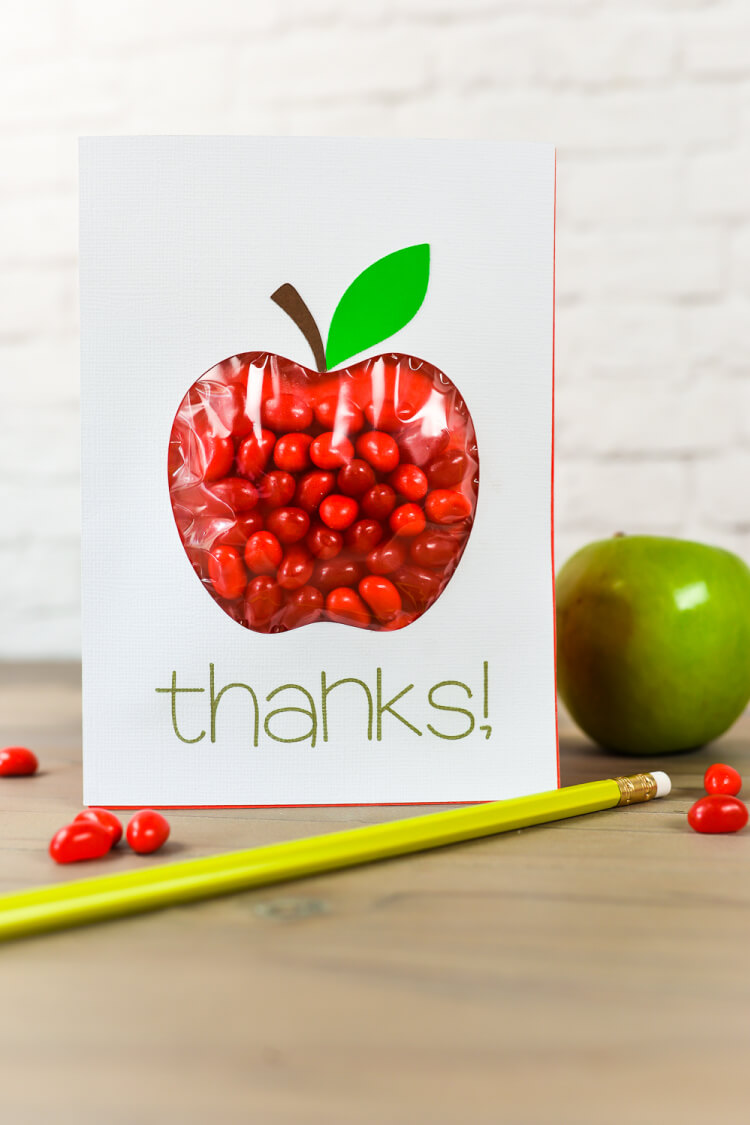
If you’re looking for a cute way to welcome a new teacher, this apple candy pouch card is for you! It’s an easy DIY that’s perfect for new teachers or for teacher appreciation day.
Fill it with your favorite red treats (like Red Apple Jelly Bellies!) and fill in your own text using your Cricut Explore’s writing feature. Since this card is to thank a teacher for being awesome, I went with the simple word “thanks!” But since you can customize it using the Cricut’s writing feature, you can say whatever you want! Tell them they are the apple of your eye, or throw an Apple gift card in there to show them just how much you care.
Apple Candy Pouch Card Supplies
- Red Cardstock
- Green Cardstock
- Brown Cardstock
- White Cardstock
- Cricut Pen
- Cellophane Bag
- Red Candy
- Spray adhesive or glue stick
These cards are meant to be cut out using a Cricut Explore, Maker, or other cutting machine. You can use the Cricut Scoring Wheel (Maker only) or Scoring Stylus to score your card.
Get the Free File
Want access to this free file? Join my FREE craft library! All you need is the password to get in, which you can get by filling out the form below. The file number is: C43.
Apple Candy Pouch Card Instructions
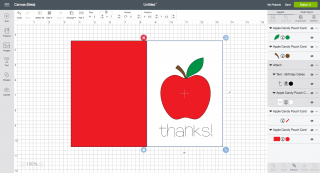
Start by adding your text to your card. Using the text tool, write your chosen phrase, resize it, and place it below the apple.

The red line in the file is the scoring line — change this from a cut line to a scoring line in the Cricut Design Space.
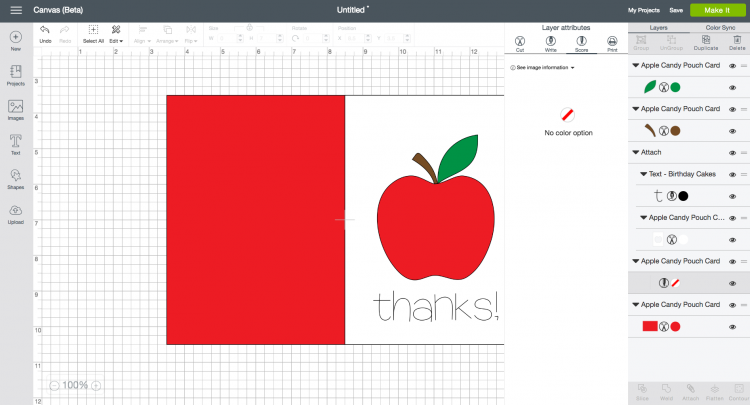
You’ll also want to the “attach” button twice. First to attach the text to the white front piece, and then to attach the score line to the red piece (whatever you attach will move to the front of your project, but don’t worry — the other pieces are still back there. You can use the “arrange” drop-down menu to move it to the back if you’d like.


Then cut/write/score everything! Once you have all of your pieces cut out, you’re ready to assemble your card.
Layer the apple stem and leaf pieces on the white cardstock, aligning the bottom of the pieces with the top of the cutout.
Fill the cellophane bag with candy. Tape to the back of the white cardstock so the candy shows through. Adhere the white piece of cardstock with candy to the red card, fold, and you’re done!
Also check out my Apple Alphabet SVG files—perfect for making classroom banners and more!
BACK TO SCHOOL APPLE CANDY POUCH CARD
Equipment
- Cricut Maker or
Supplies
Instructions
- These cards are meant to be cut out using a Cricut Explore, Maker, or other cutting machine. You can use the Cricut Scoring Wheel (Maker only) or Scoring Stylus to score your card.Start by adding your text to your card. Using the text tool, write your chosen phrase, resize it, and place it below the apple.

- The red line in the file is the scoring line — change this from a cut line to a scoring line in the Cricut Design Space.
- You'll also want to the "attach" button twice. First to attach the text to the white front piece, and then to attach the score line to the red piece (whatever you attach will move to the front of your project, but don't worry — the other pieces are still back there. You can use the "arrange" drop-down menu to move it to the back if you'd like.
- Then cut/write/score everything! Once you have all of your pieces cut out, you're ready to assemble your card.Layer the apple stem and leaf pieces on the white cardstock, aligning the bottom of the pieces with the top of the cutout.
- Fill the cellophane bag with candy. Tape to the back of the white cardstock so the candy shows through. Adhere the white piece of cardstock with candy to the red card, fold, and you're done!


Comments & Reviews
Kristina Hunter says
The text does not import with the svg. It is grayed out in its own group. What font was used in this project?
Crystal Summers says
Hi Kristina,
The text is left blank intentionally so you can add your own phrase to the card. In this particular example, the font Birthday Cake was used.
Hope this helps!
Crystal, HLMS Community Manager