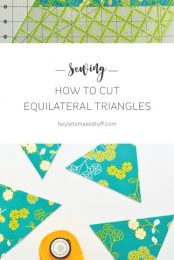
Having a hard time cutting triangles for your quilting and sewing projects? This method makes it simple!
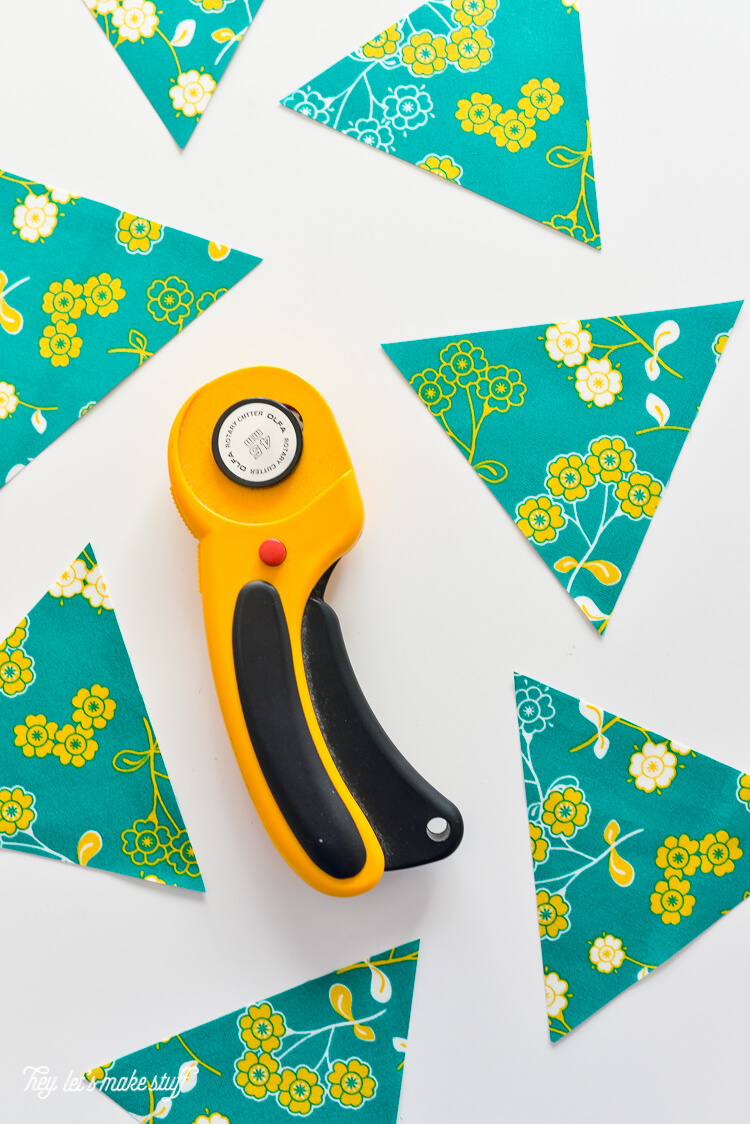
When I was preparing for my Sewing Summit classes, I had to cut fifteen 4″ equilateral triangles. Faith, over at Fresh Lemon Quilts, posted a great tutorial about how easily cut these triangles. If that tutorial works for you, by all means—go with it! But I found an alternate method for cutting equilateral triangles, so I thought I’d share it here.
I got out my ruler to follow Faith’s tutorial (you’ll notice that my Omnigrip ruler is designed differently than hers), cut my 4″ strip of fabric, and then lined up the edge of my fabric on the 60° line on the ruler as she instructs.
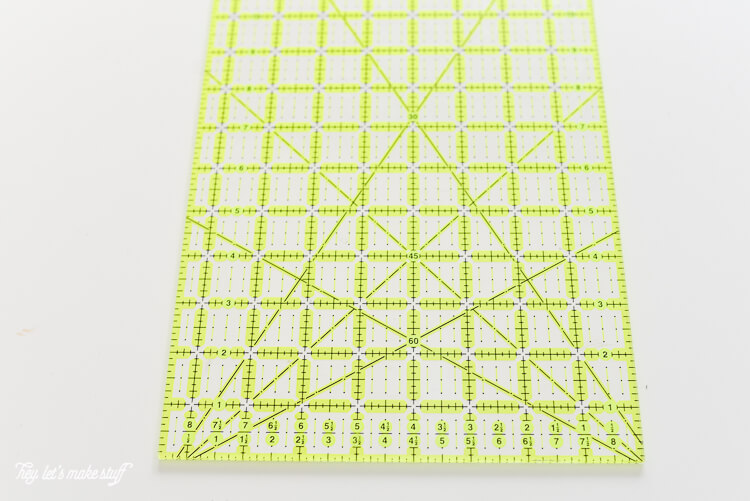
And then PROBLEM:
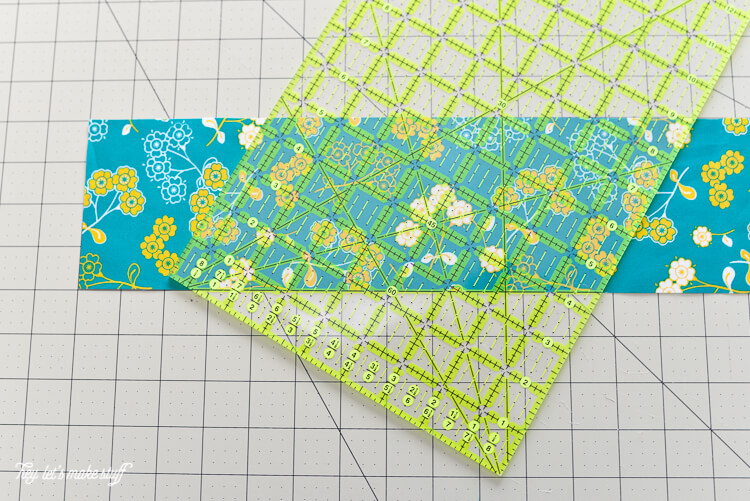
No matter how I turned my ruler, I found that I didn’t have enough ruler! The corner of the ruler always stopped short of going all the way across the diagonal of the fabric. Perhaps there was a way to do it, but I could never make it work.
So my method uses the lines on the cutting mat instead of the lines on the ruler. To make this work, you have to have a cutting mat that has 60° and 30° lines.
Cut your strip of fabric (mine is 4″ but yours can be any height — equal angles work on any size triangle). Align the bottom corner of the strip with the 60° angle and a vertical line.
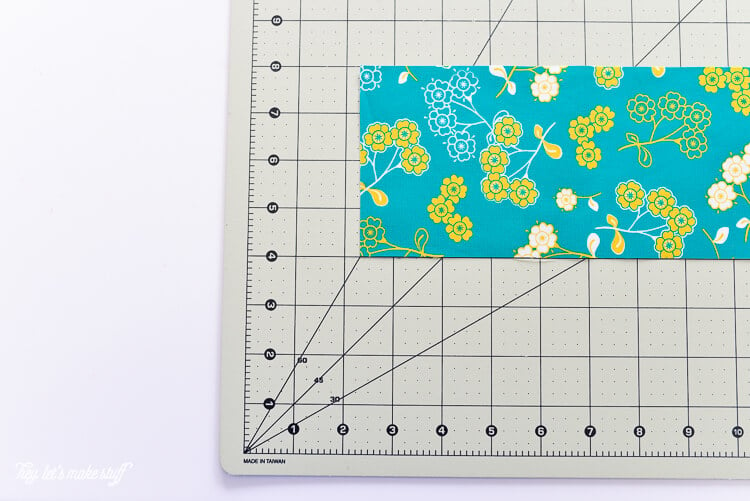
Cut along the line:
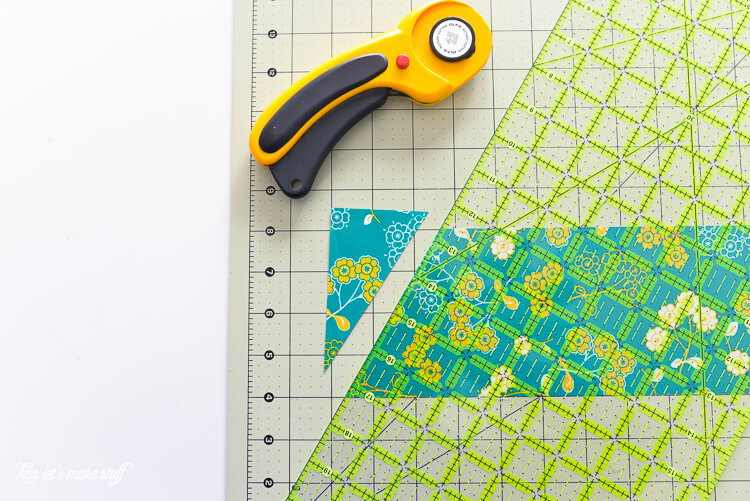
You can see that the first angle is the correct 60°. Then flip your fabric sideways so that your cut end is facing up, and align it with the 30° line on the mat.
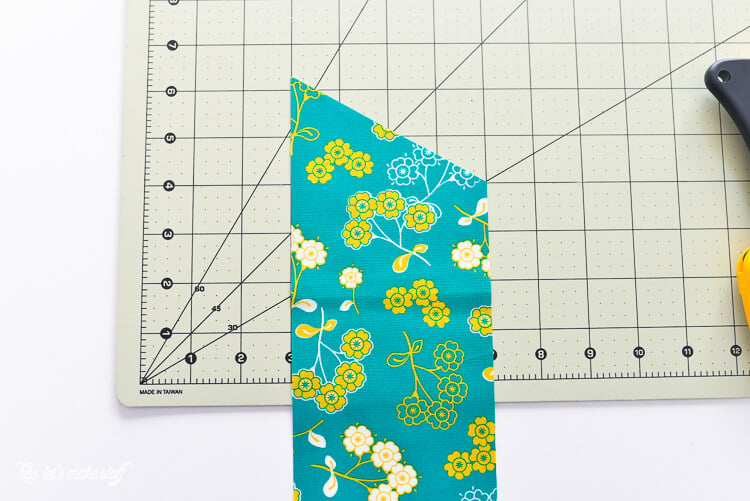
Then cut along that line!
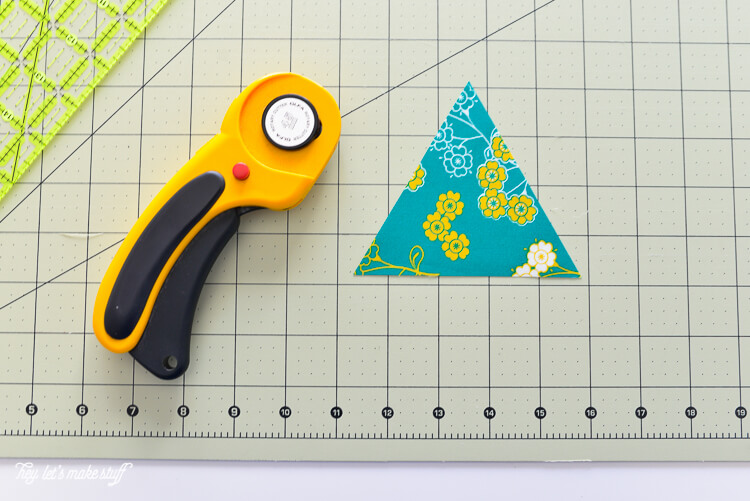
I found this method of lining up the angles for my triangles based on my mat instead of my ruler a lot easier than trying to get the lines on the ruler to cooperate. Hope this may help you, too!
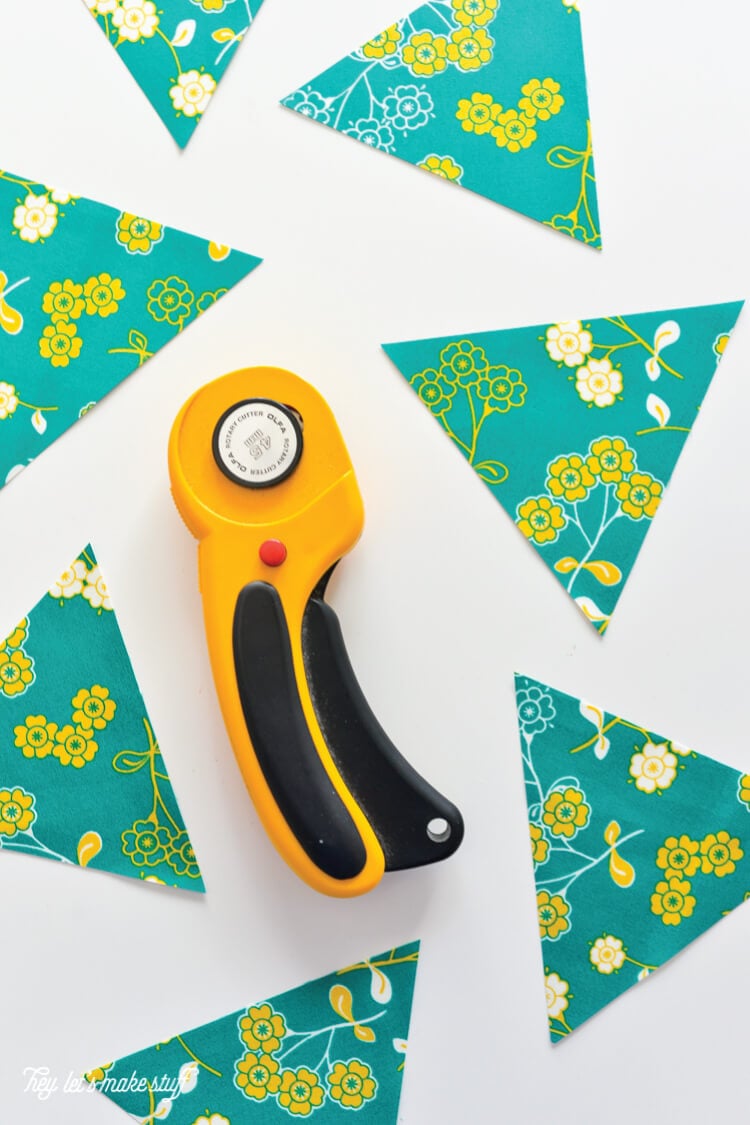
Need a way to store all that beautiful fabric? Here’s how to fold a fat quarter.



Comments & Reviews
Melissa says
Great method! I tend to use my 24.5″ ruler because my cutting mat doesn’t have the lines one it – my mat is 52″ long. This would would great on my smaller mats though. Thanks for sharing!