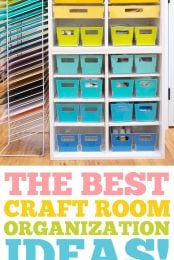
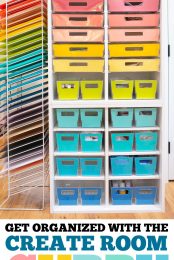
No room for a big Dreambox 2? You can still get organized in your smaller craft space with a Create Room Cubby! This craft room organizer holds so much to help you tackle all of the crafty chaos in your craft room!
This post was written in partnership with Create Room, but all opinions are my own!
Note: The Create Room Cubby has been discontinued (for now) as of September 2024. You can still save $100 on a Dream Box 2 with my code HEYLETSMAKESTUFF or $50 on the DreamCart with HEYLETSMAKESTUFF50.
So many of my friends have an amazing Create Room DreamBox 2 and let me tell you, I am jealous. But while I have a very large studio, I don’t actually have enough space for one to open fully. There are just too many windows and doors in my space to fit a DreamBox 2 properly, and I didn’t want to cover my windows since we get so little light here in the PNW as it is. Windows are life!
But of course, I still dreamed of a DreamBox 2 for a long time. So when Create Room reached out to me about trying one of their smaller storage solutions, I was all in. I may not have room for huge piece of organizational furniture, but I definitely have room for some smaller storage furniture pieces that don’t take up as much space.
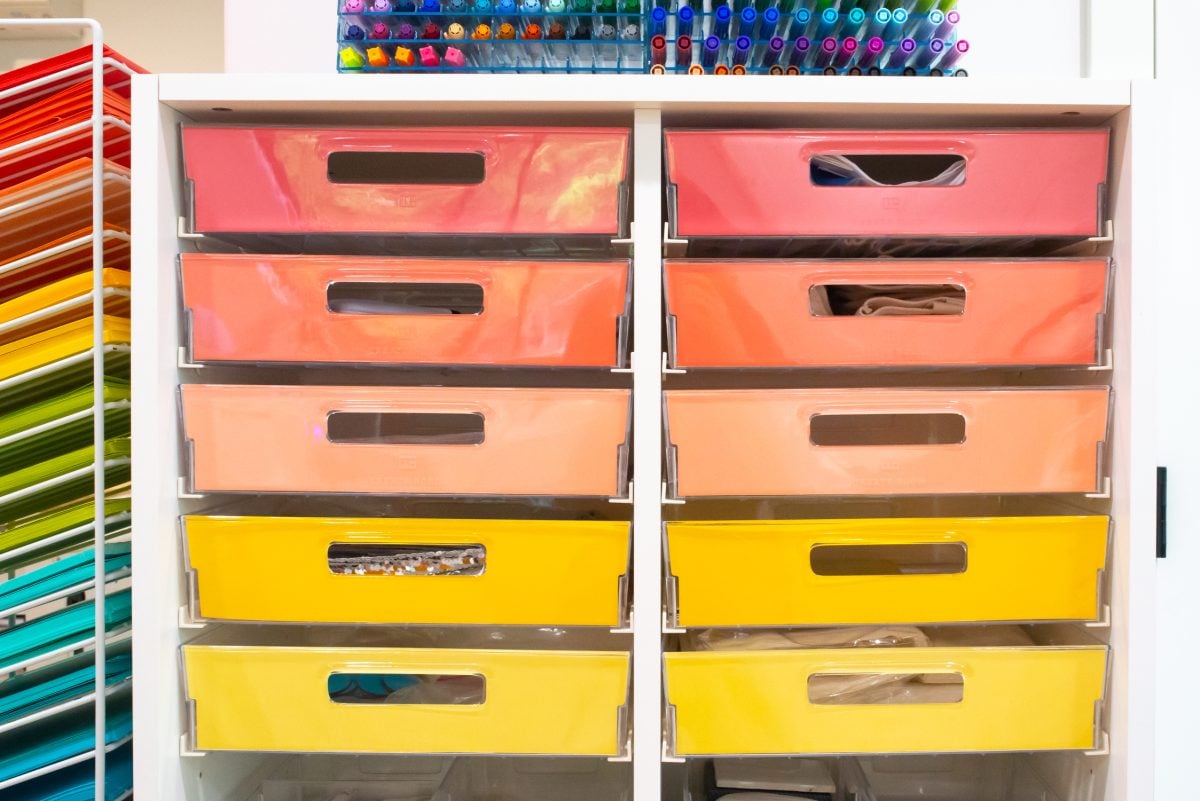
Enter the Create Room Cubby! The Cubby comes with a variety of shelves and drawers that can be arranged in different configurations to create the perfect storage solution for all of your craft supplies in a smaller, compact storage unit. Maybe you also don’t have room (or the budget) for a DreamBox 2, but you still want to get your scattered craft supplies organized! Add a Cubby (or two!) to your wishlist! It’s perfect for small spaces.
Save $100 on a Dream Box 2 with code HEYLETSMAKESTUFF or
Save $50 on a DreamCart with code HEYLETSMAKESTUFF50!
Taming the Craft Room Clutter
For me, I needed a way to get my sublimation supplies and blanks organized. So many DreamBox 2 posts feature gorgeous rainbows of vinyl, ribbon, washi tape, paper and more. But for me, my two Cubby units are going to help me tame my sublimation blanks, tools, supplies, and materials. Which are mostly white or brown—not quite as cute as a rainbow. So later in this post I’ll show you how I created custom drawer inserts to hide away my supplies while giving me the chance to personalize things to match my craft room.
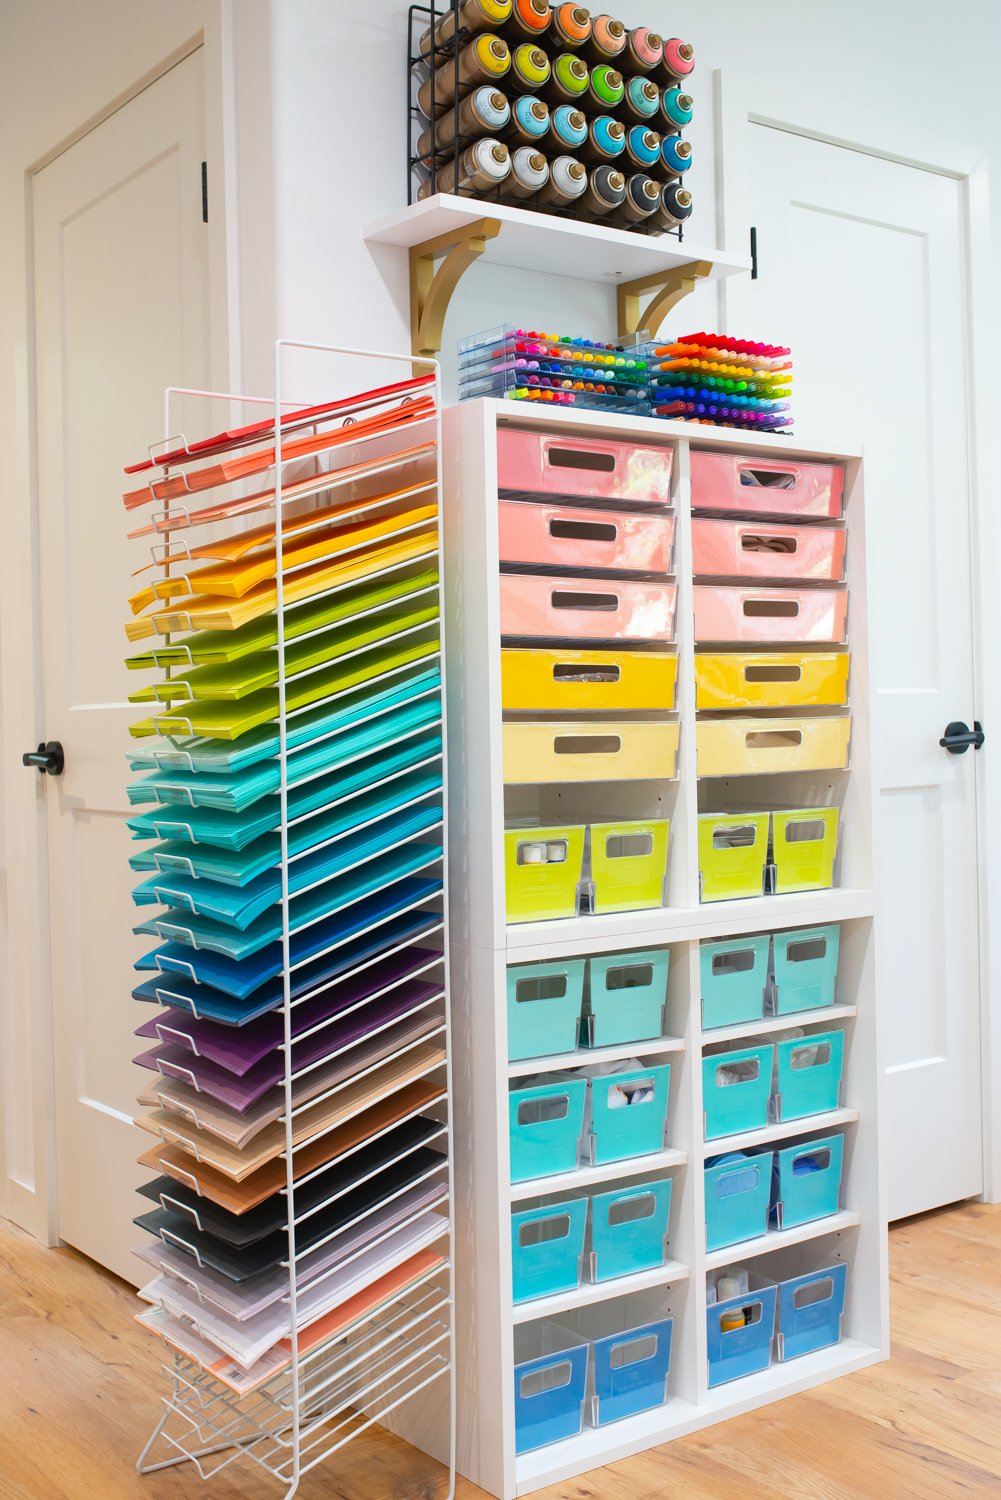
(And I know I’ll get questions about my paper rack. I got mine for a screamin’ deal back in 2018, but it’s really expensive whenever you can find it, like here. Sorry there’s no inexpensive way to buy it anymore!)
Frequently Asked Questions about the Create Room Cubby
Before we get into my Cubby units and how I’m using them, here are some details about the Cubby itself.
How Big is the Create Room Cubby?
The dimensions for the Cubby are 28″ wide x 15″ deep x 28.5″ tall. I’ve stacked two Cubbies to create a unit that is 28″ wide, 15″ deep, and 57″ tall. I like this height—I can still see into the top drawer (I’m 5’6″) without having to get a step stool. You can also put two or more Create Room cubbies side by side to create a wider storage unit.
It comes with five large wide drawers and 10 medium taller drawers.
What Colors does the Create Room Cubby Come In?
There are two color choices—white and a farmhouse gray. All the furniture in my craft room is white, so I went with the white option.
Is the Cubby Easy to Assemble?
The Cubby comes flat-packed, meaning you do have to assemble it yourself. My lovely husband actually did most of the assembly for me (if you’ve been around here any length of time you’ll know I have chronic pain issues in my hands). We both thought the assembly went really easily, with specialized cams and bolts that made it particularly simple to put things together. The top piece was just a bit fussy—you sort of have to hold it all together with the sides and the two backing pieces, but it wasn’t difficult.
We both agreed that the quality felt much higher than a lot of the IKEA furniture in my studio and these were easier to put together. I also love how easy the tracks were to install, and I ended up easily swapping them around to get a layout I liked more, as you’ll see below.
What’s the Difference between InView Totes and Divi Drawers?
There are two options for drawers with the Create Room Cubby: the InView Totes and the new Create Room DiviDrawers. The Cubby includes drawers—there’s no additional cost. You can see a full comparison on Create Room’s website. There are a few key differences:
- The InView totes are one piece, with drawer dividers for the medium drawers (you can divide them into thirds, but that’s the extent of customization), while the DiviDrawers need to be assembled and they all come with dividers for partitioning your drawers in a number of ways.
- The InView totes have slanted sides while the DiviDrawers have straight sides.
- The DiviDrawers are stackable while the InView Totes are not.
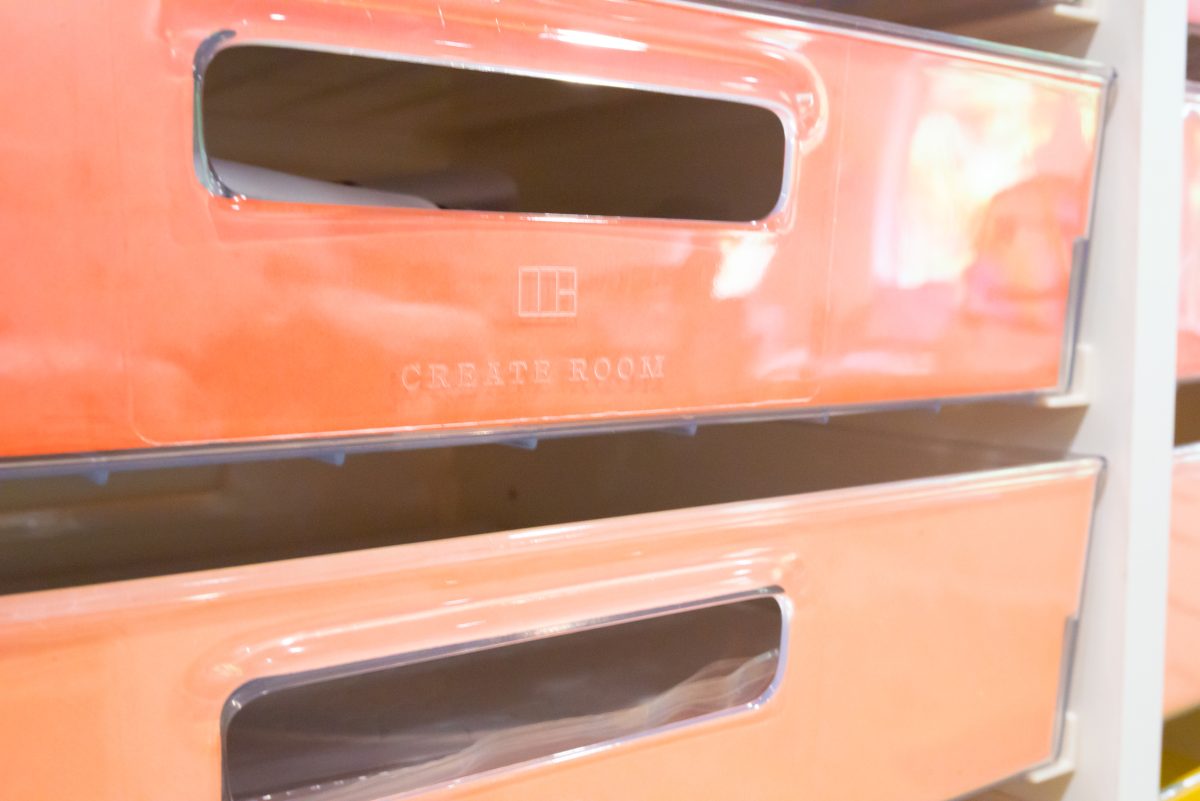
- There’s a slot in the DiviDrawers for adding a cover to your drawers. The InView Totes do not have this slot but you can add a piece of colorful paper to the front if you’d like. See below for how I did this!
I went with the InView Totes because I preferred the easier one-piece setup of the InView Totes.
How Much can the Create Room Cubby Hold?
Um, a lot. Like way more than I expected. My sublimation supplies and blanks were overflowing from a badly organized TV console that holds my printers and I thought all of those things would neatly fit in the two Cubbies, but I have a ton of room left over (see the empty drawers toward the bottom in some of my photos below!), which is great because I am constantly expanding my sublimation supply collection!
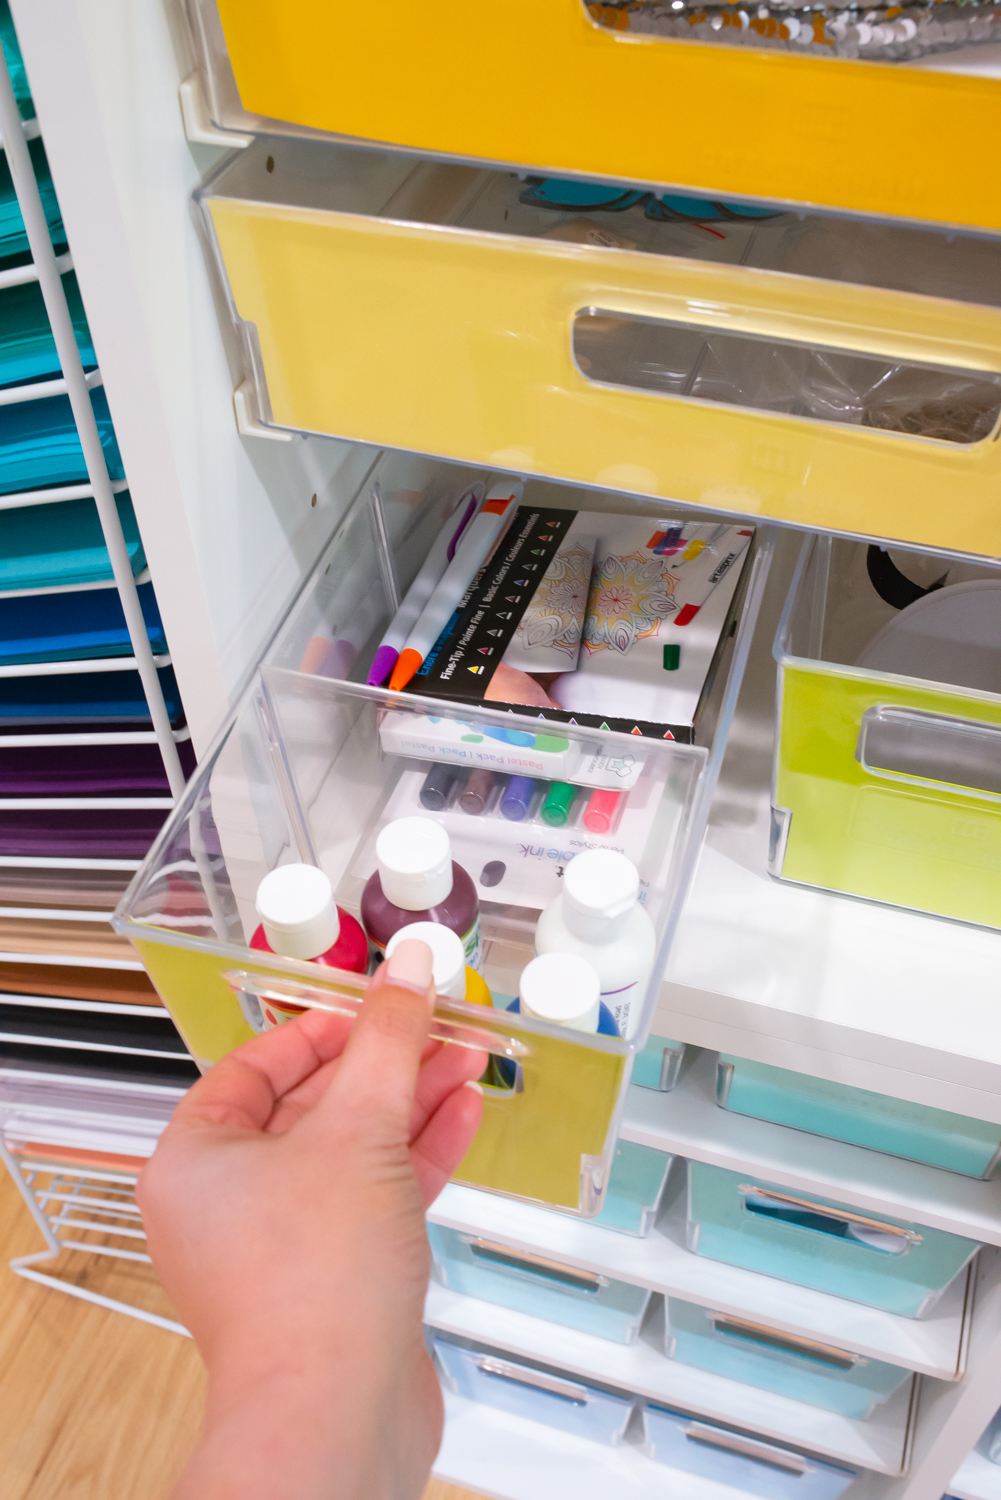
In particular, I really love that the large InView totes are just over 12″x12″ at the bottom. This means I can sort scrapbook-sized papers and other things in these drawers easily. I wouldn’t necessarily fill them completely full of paper since the drawers are plastic, as are the drawer tracks, but having that full 12″x12″ space is really helpful for a lot of my crafting supplies. They’ll also hold standard rolls of vinyl and iron-on. You can also get inserts for these large drawers to organize small supplies like washi tape, pens, ribbon, crochet supplies, pom poms, scraps, paints, and other small supplies.
What Can I Store in a Create Room Cubby?
Cubbies are not just for craft room storage! I have a dream of getting three and placing them side by side in our boys’ loft to create the most amazing LEGO brick pit ever. They’d make great storage in a home office or for classroom cubbies or storage. If you sew, you’ll love how the medium drawers hold fat quarters! Collectors might love them as well, if you need to organize a bunch of small things in your collection. If you don’t stack them, you also have a nice work area on the top of the cabinets.
Sublimation Supply Storage: Before
Okay, let’s take a look at what my supplies looked like before. No matter what I did, these sublimation supplies were a hot mess in these drawers and cabinets. I spent so much time digging through the drawers and shelves to find what I needed and nothing had a proper place. There was way more than this but you get the idea:
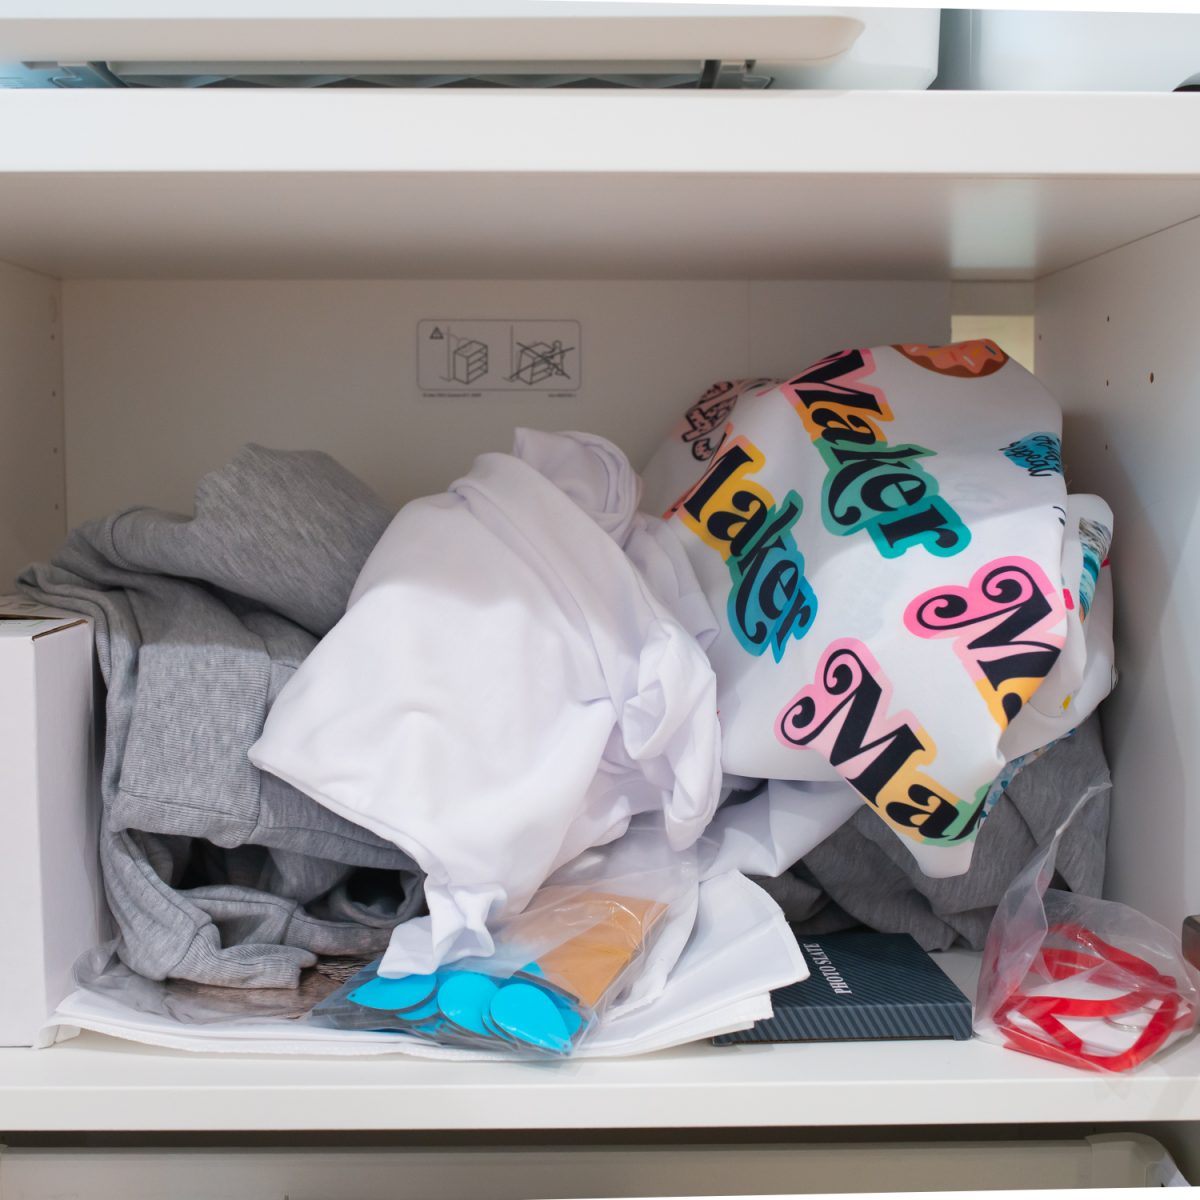
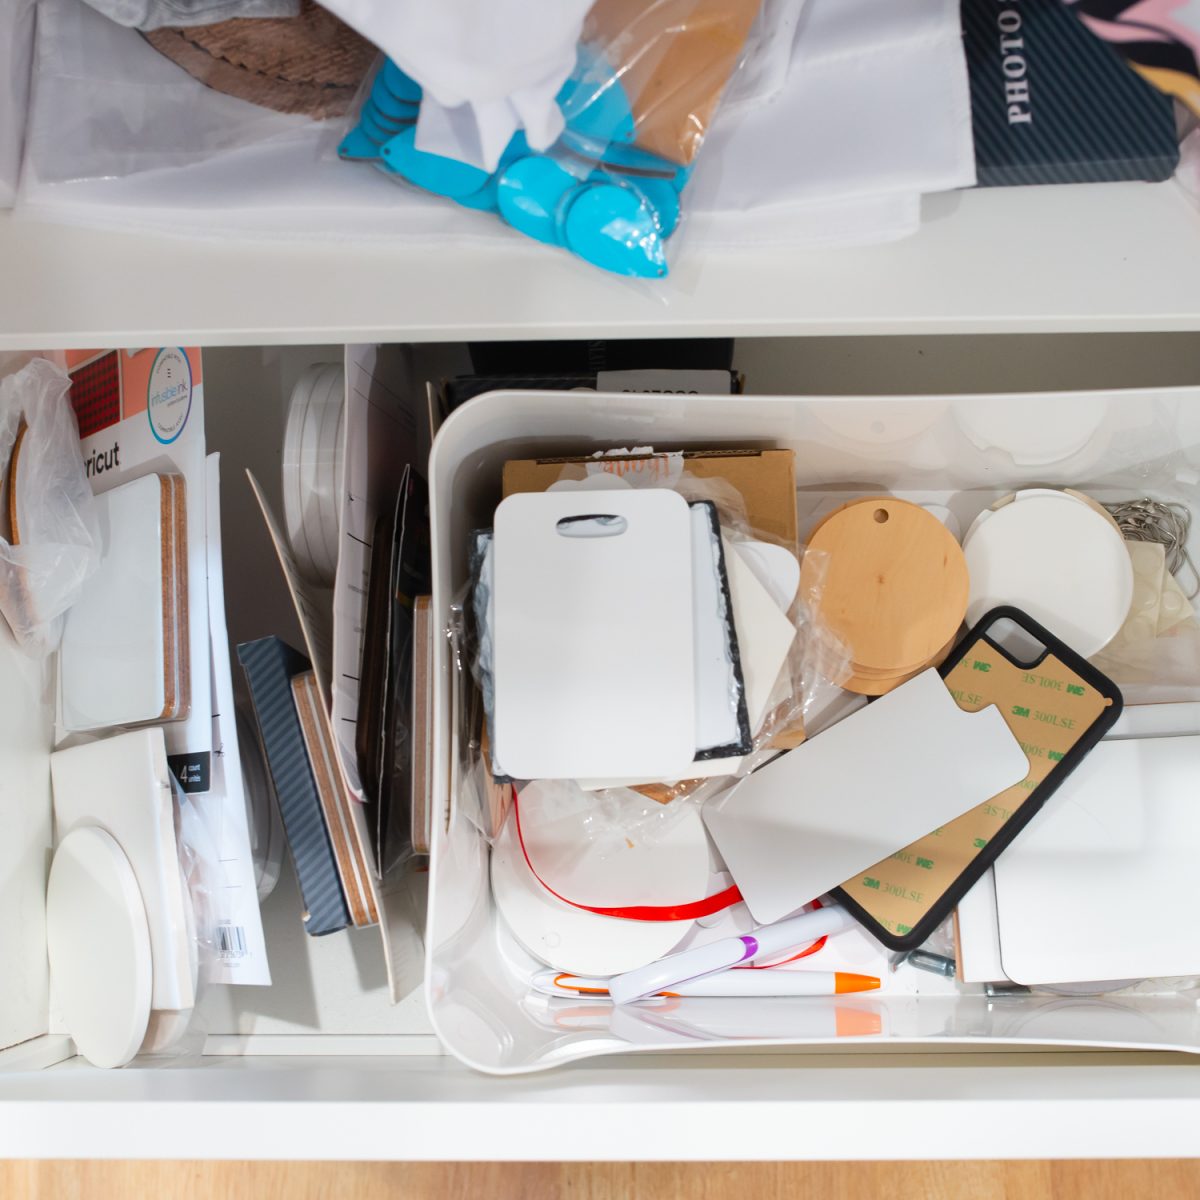
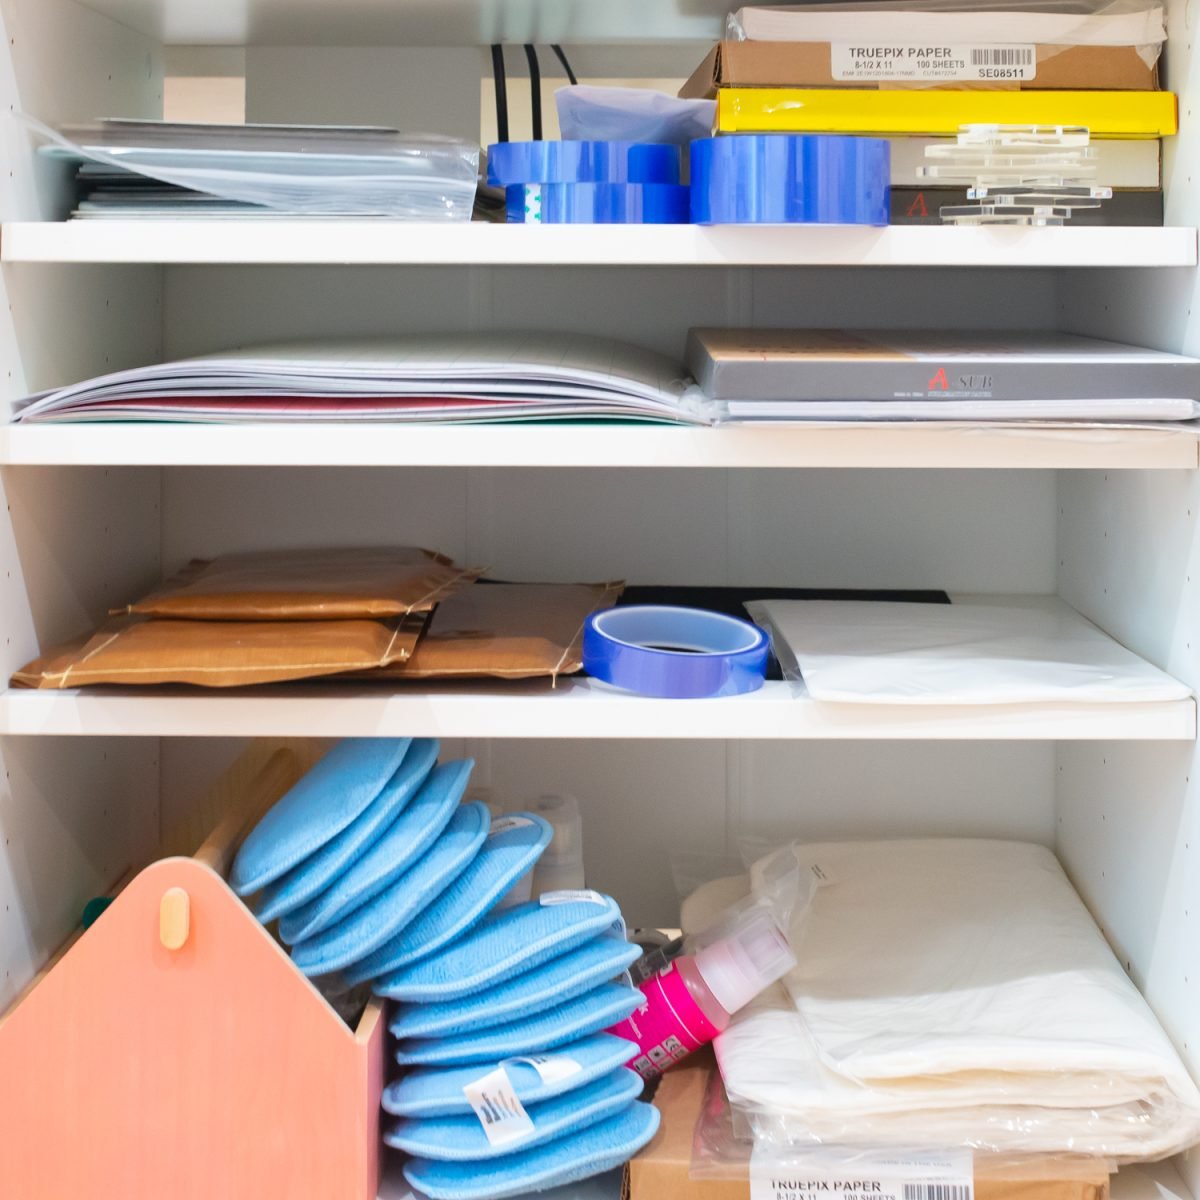
Sublimation Supply Storage: After
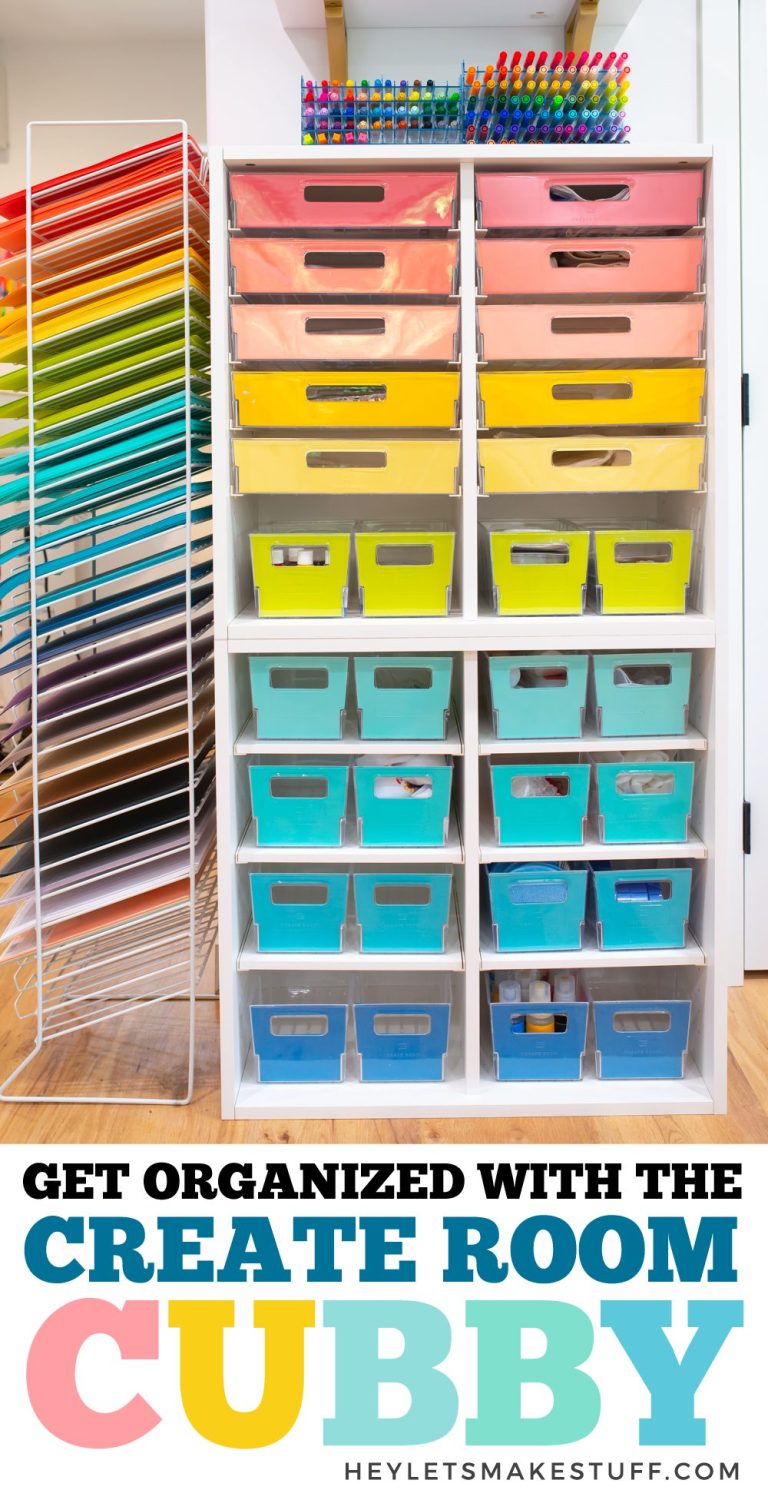
My stacked Cubby units make my sublimation storage so much better! This is such an easy way to have all of my supplies and blanks right at my fingertips.
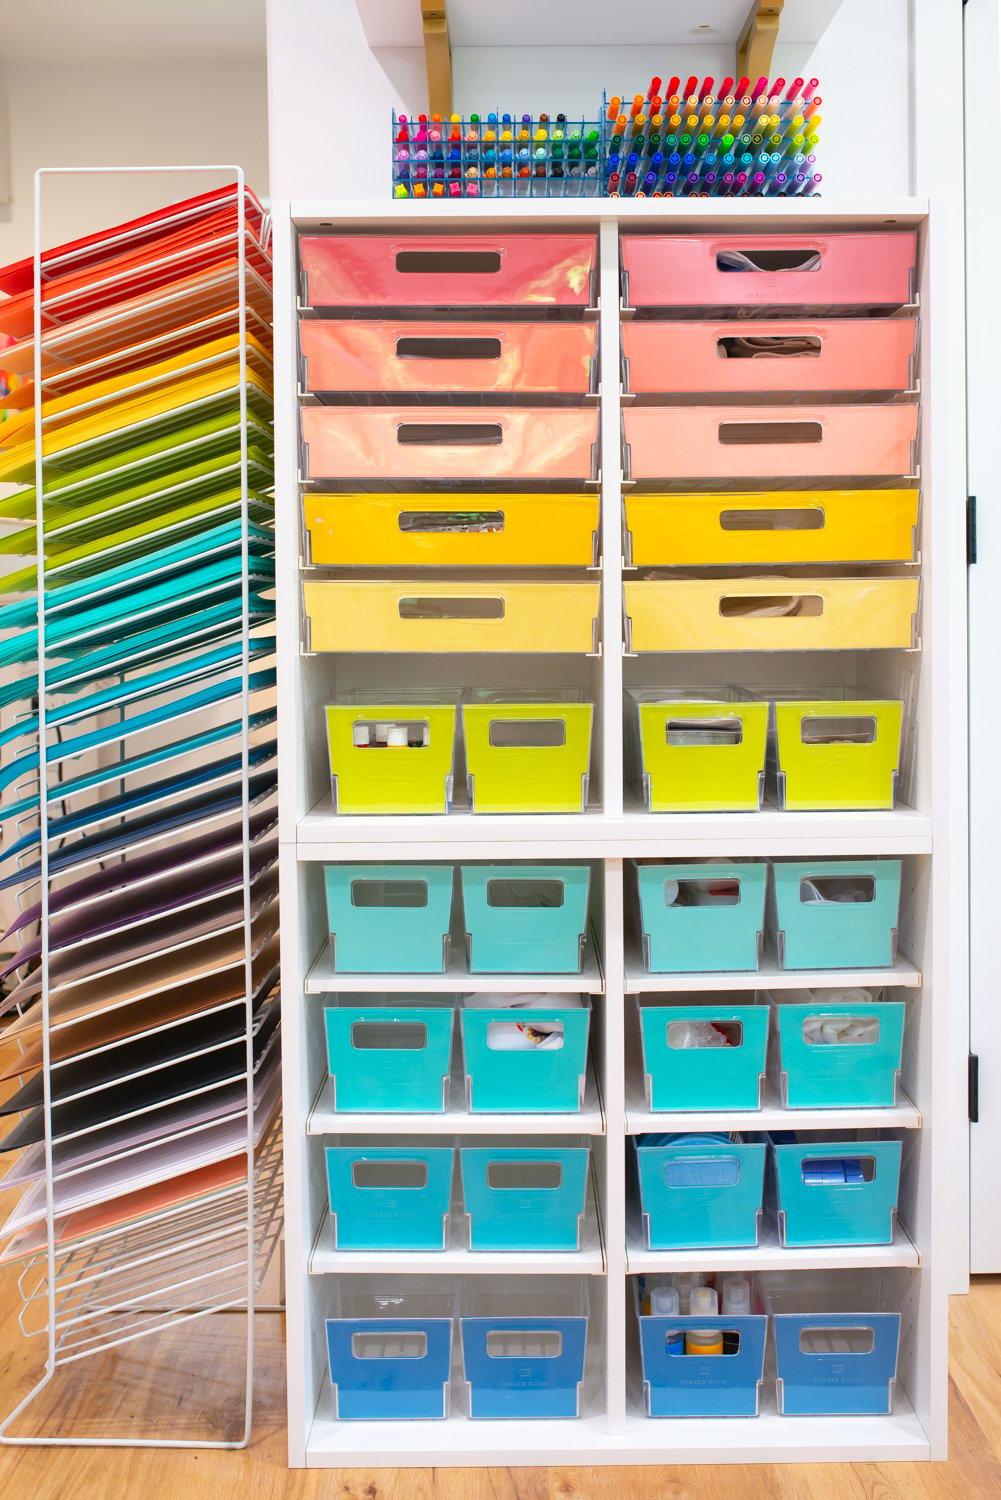
Because I had two units, I ended up putting all of the large drawers at the top and all of the medium drawers at the bottom. I preferred this layout visually and it made it easier to create the rainbow effect.
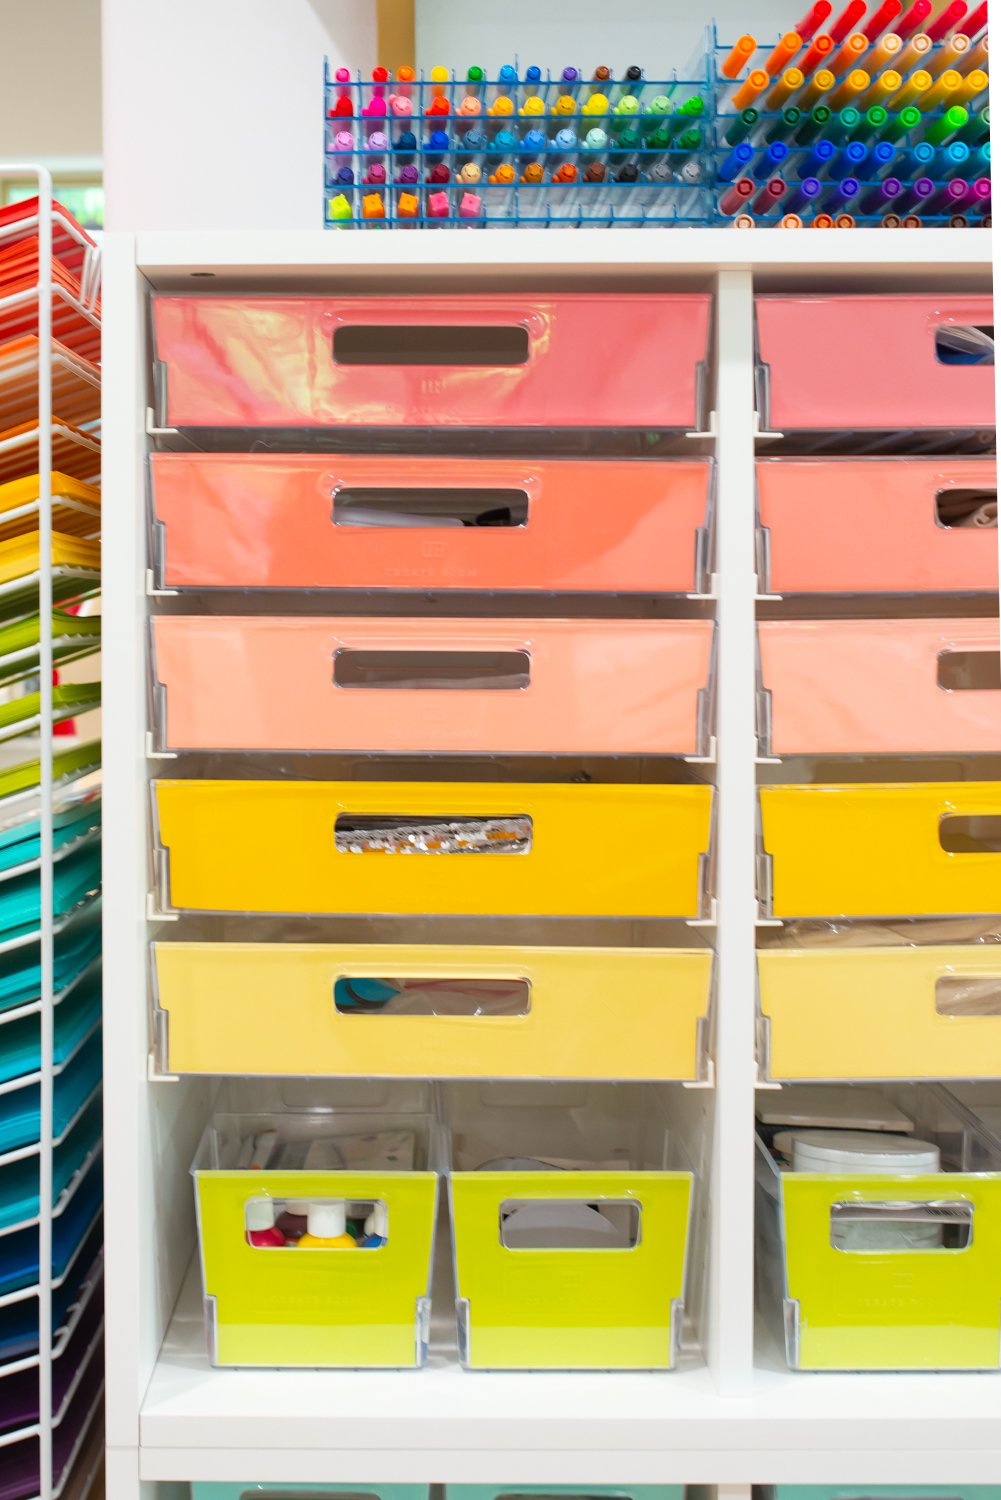
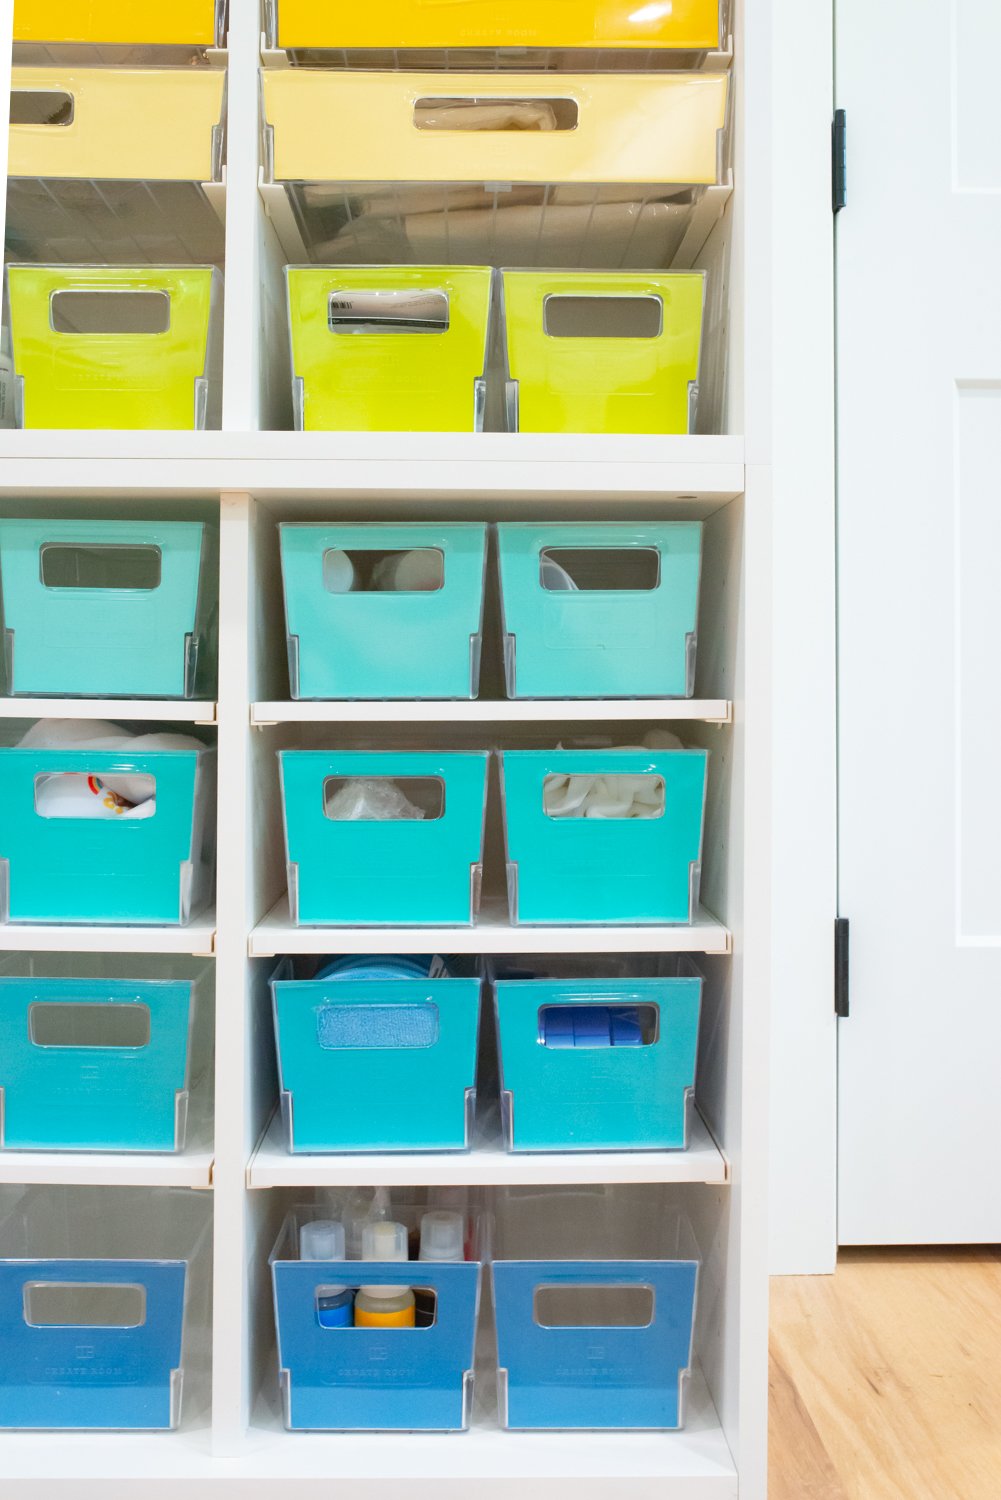
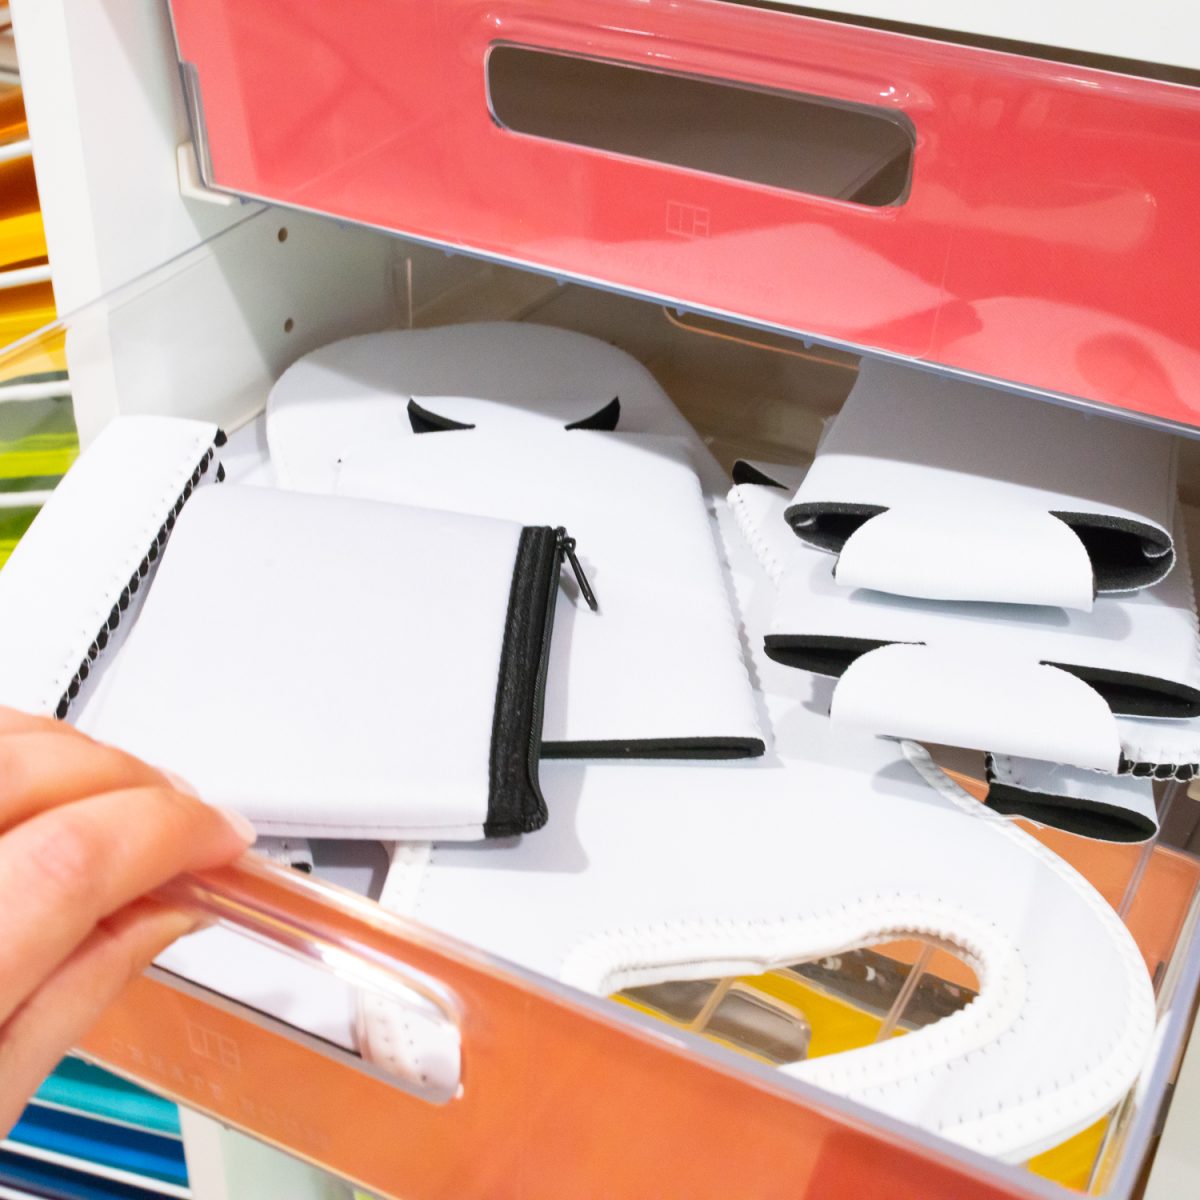
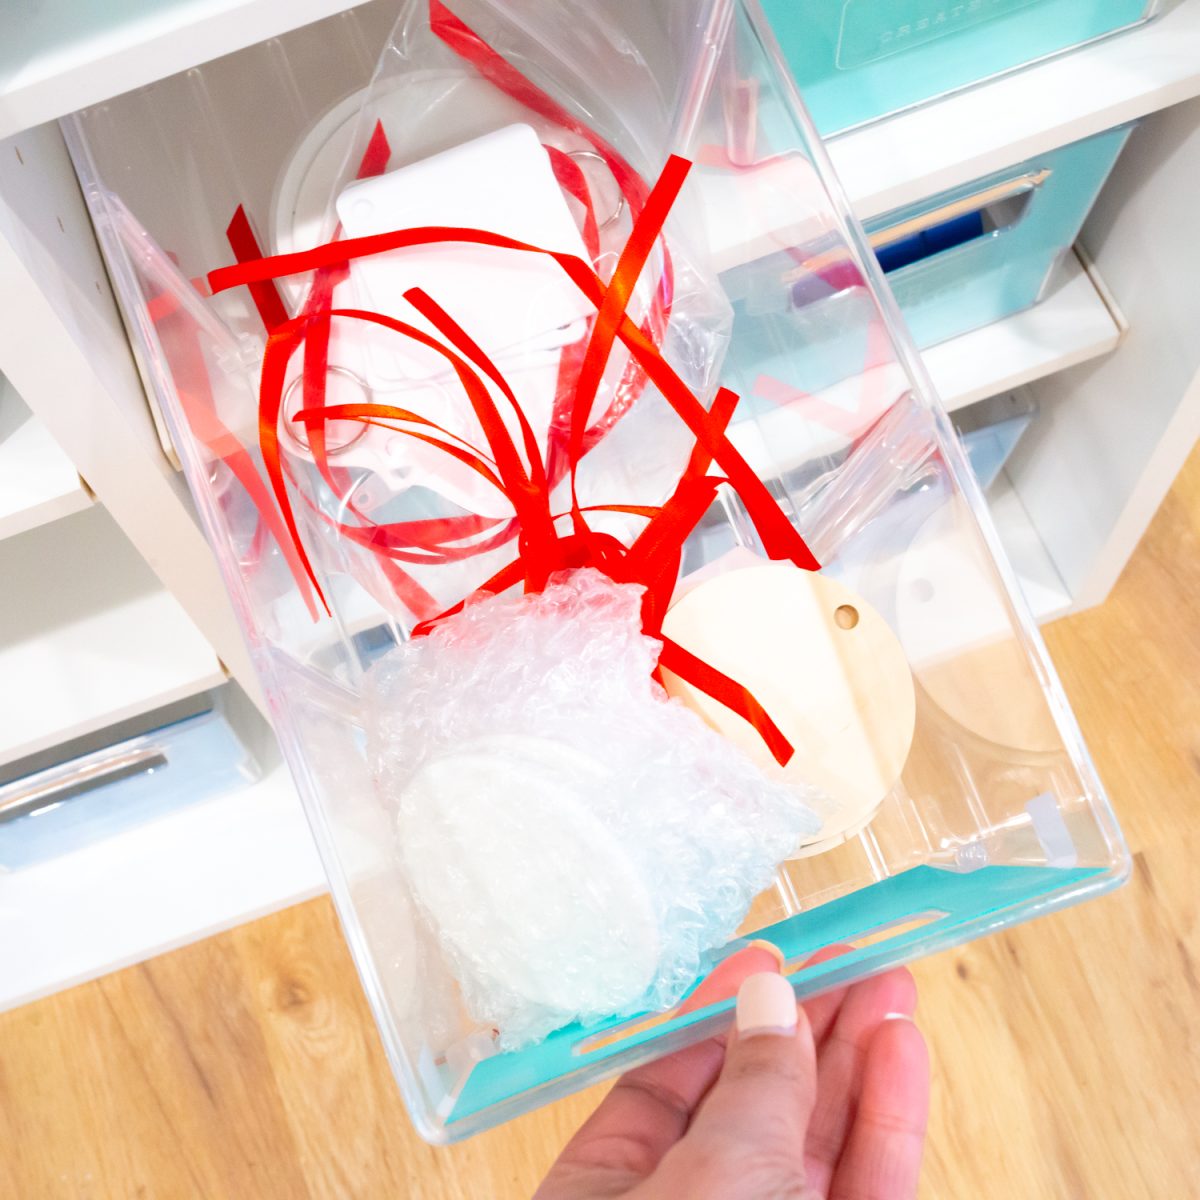
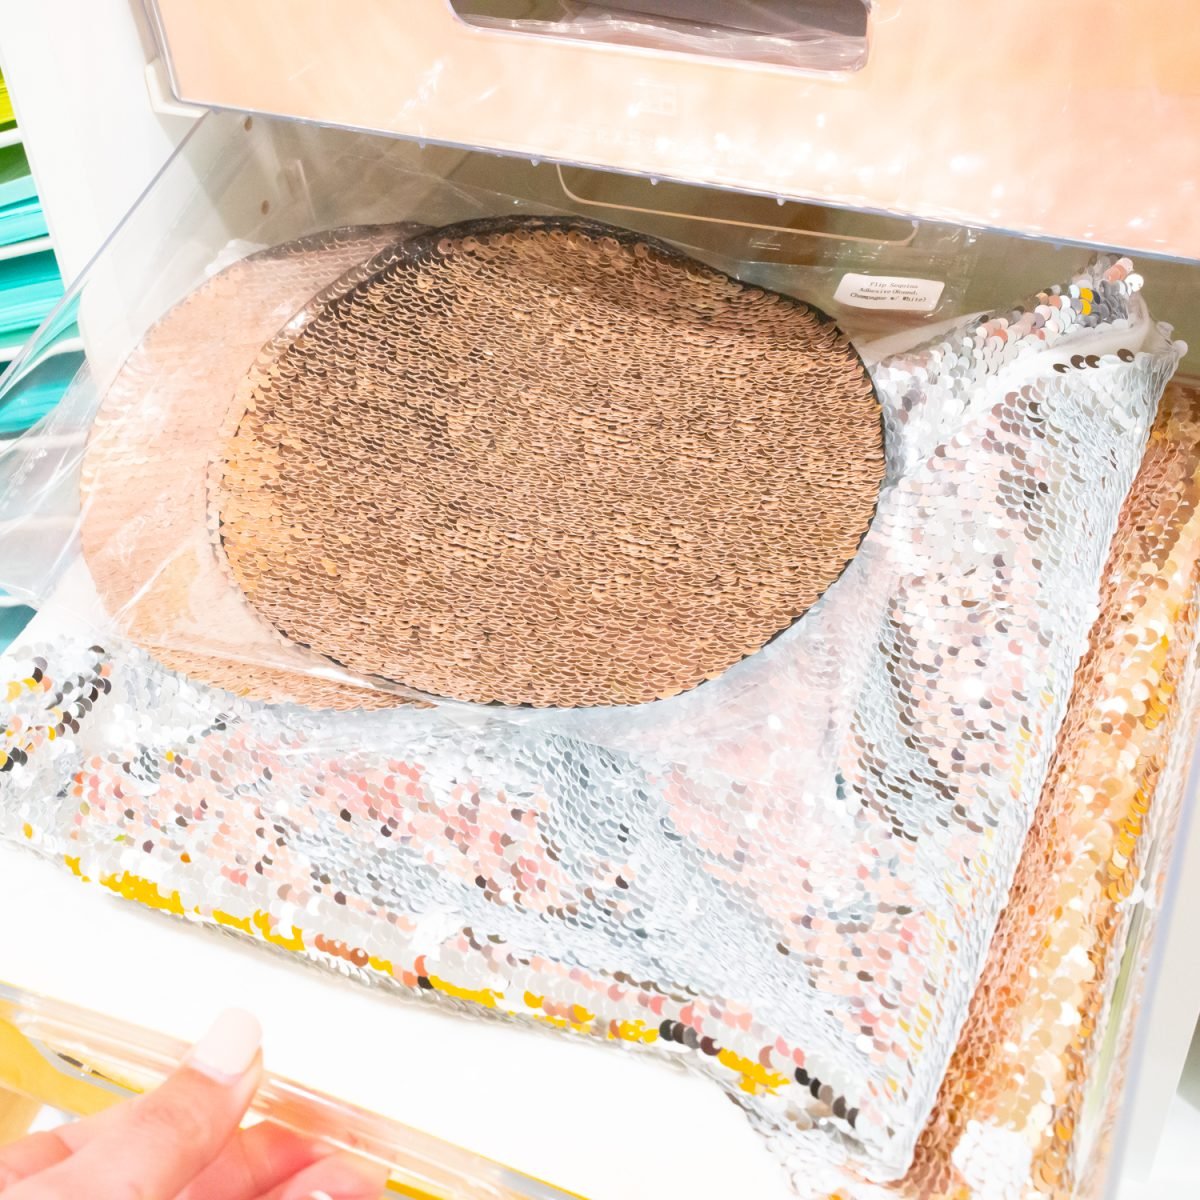
This is such a better storage solution than my cabinet and it holds most of my sublimation blanks except for my drinkware blanks, which are re-organized and in much better shape in that older cabinet. I organized my Cubby drawers by type, so, for example, I have a drawer full of neoprene blanks, one for ornament blanks, and one for sequin blanks (yes, that’s my favorite drawer!).
Cardstock Drawer Covers
I decided not to reinvent the wheel with the covers for my drawers. Lela Burris over at Organized-ish did such a great job with her SVGs that I just used hers. She mentioned in her post how the covers don’t like to stay put at the front of the drawers, so I decided to use small pieces of scotch tape on the inside of the cover and it worked really well. It was hard to photograph as clear tape, so I create a graphic of where I put the tape in pink (yes, they aren’t that tidy but you can’t see them at all!)!
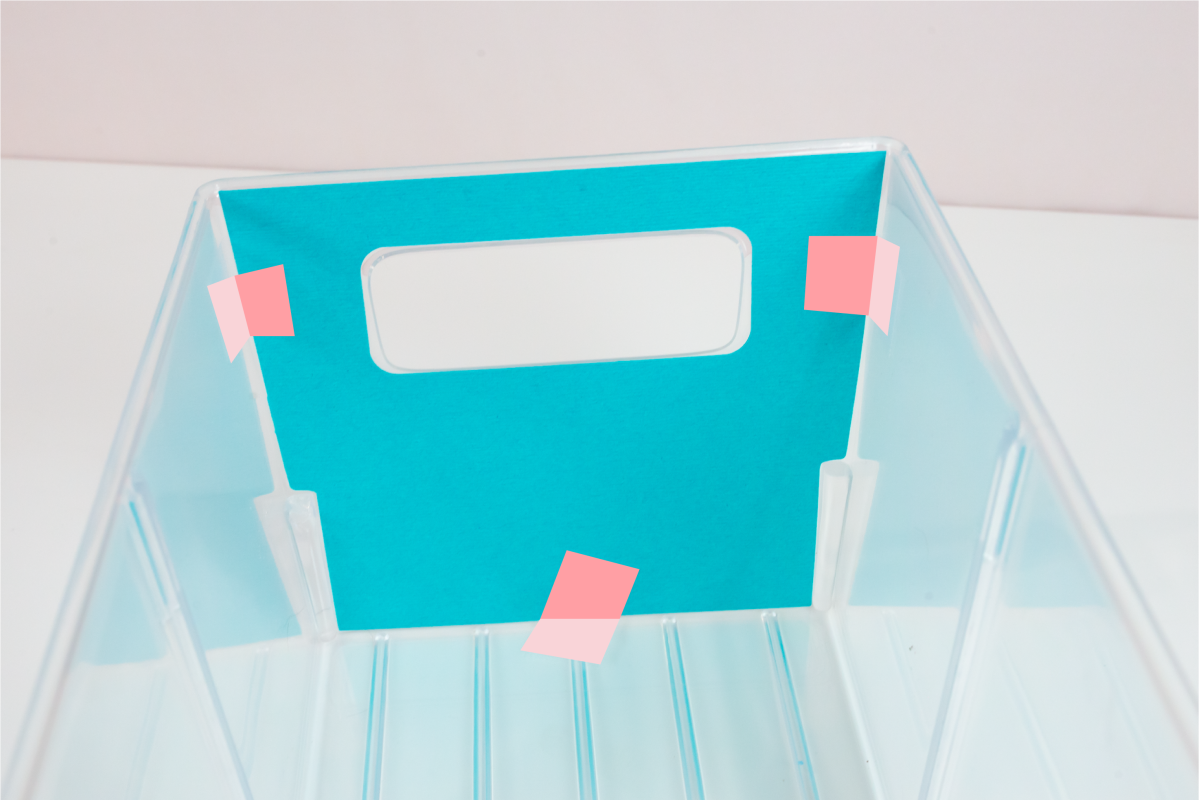
This kept my covers from falling backward into the drawer.
Overall I am so happy with my Create Room Cubbies! This has always been an awkward spot in my craft room, between a corner in the wall and a closet. For a long time I had a cafeteria cart with a heat press on it in this space. But that heat press bit the dust a while back and it was just mostly wasted space in my craft room. Now it’s some of the most useable space in this entire studio!

Have questions about the Cubby or any other Create Room storage furniture? I’m happy to answer them in the comments! Happy organizing!


Comments & Reviews
Pauline Springer says
Hi Corii, I’m new to hey let’s make stuff. I got a cricut for Christmas. Yeah! Finally!!! I have an idea that I don’t know how or where to begin. I think I can do this two fold. Just not sure. I want to get an instants Camera & put the picture on a mug. Ex. A picture with a child & Santa or a pet. & Santa or Easter bunny or even just the child etc. how can I do this & then since the picture will be small. Can I enlarge it enough for a t-shirt???? & no answers!