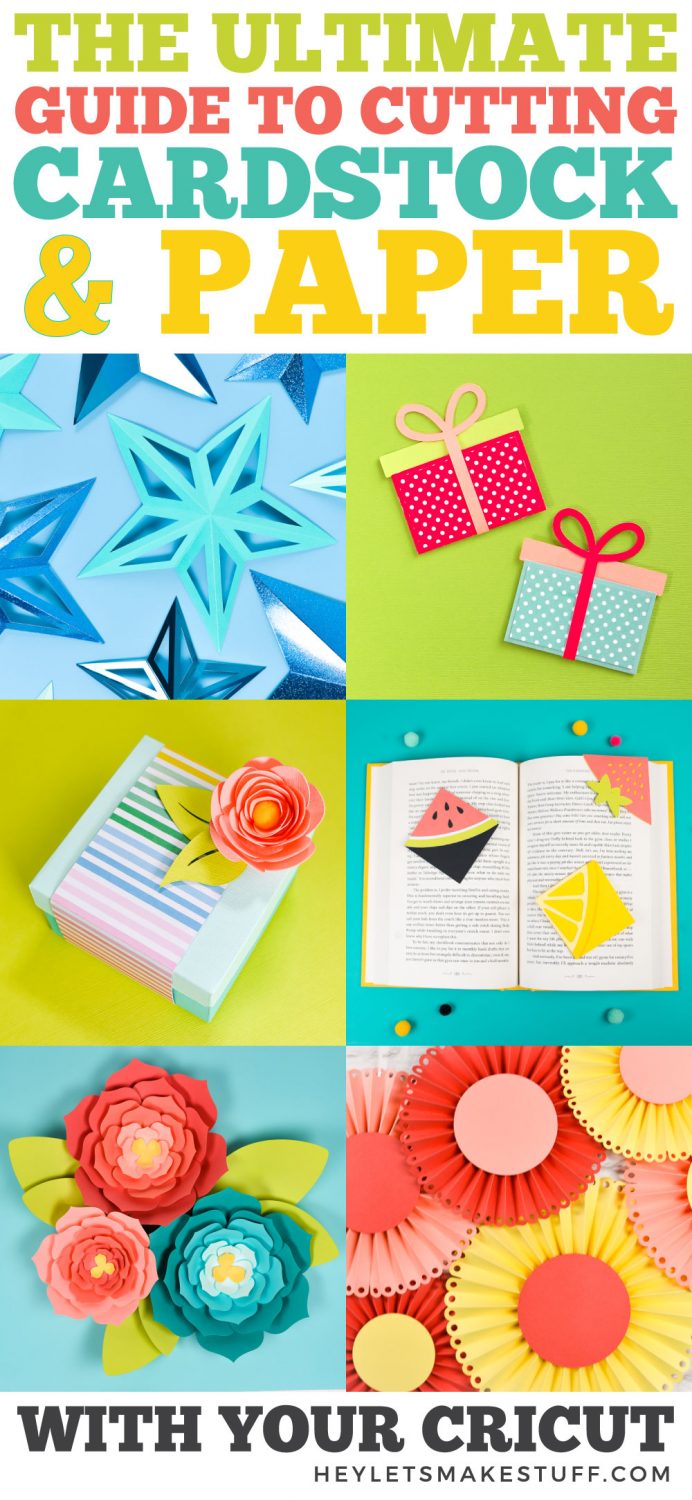
From cards to banners and scrapbook pages to gift tags, there’s a whole world of crafting when it comes to cardstock and paper! Get all of the best tips and tricks for cutting cardstock and paper with a Cricut Maker, Explore, or Joy!
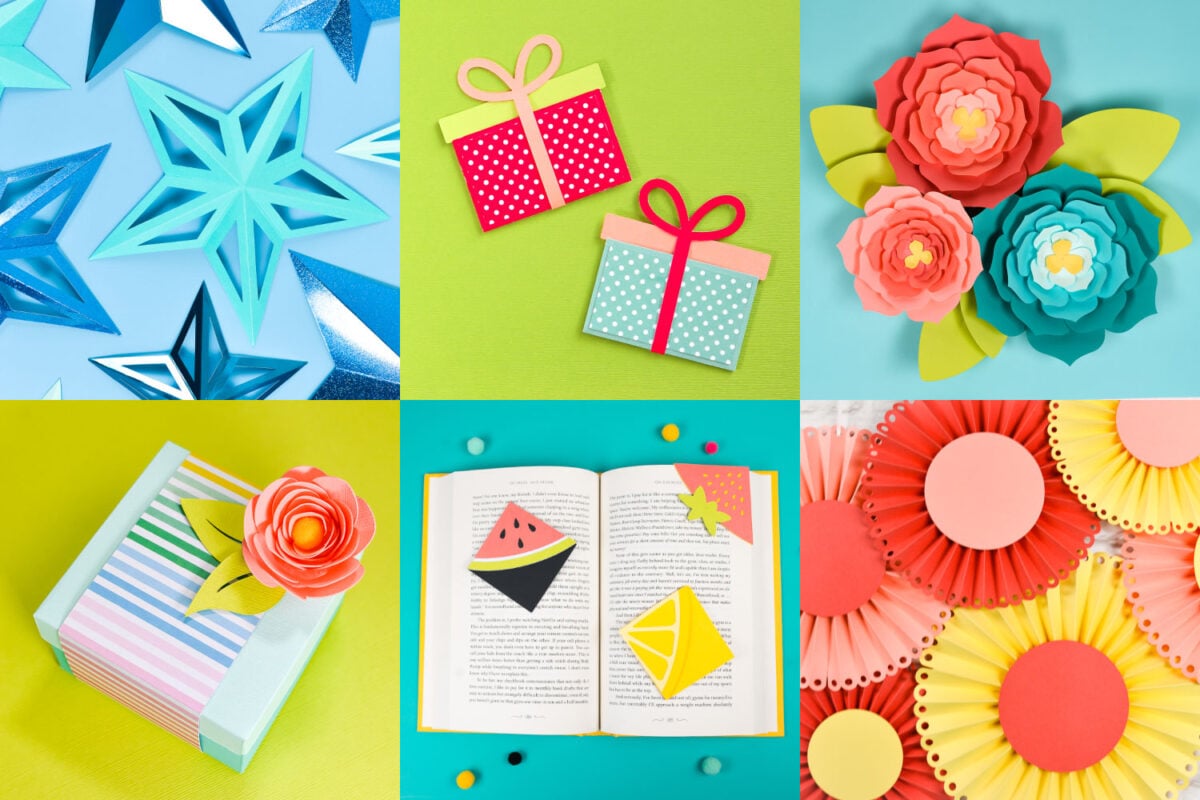
Paper and cardstock are my favorite materials to cut with my Cricut. They are pretty easy for beginners AND they are generally inexpensive, so they are a great place to start if you just got a new Cricut!
You can make all sorts of projects using paper and cardstock, including cards, banners, party decorations, home decor, gift tags, 3D boxes, flowers, and so much more.
The great thing about all three Cricut machines is that you can cut pretty much any type of paper material you want. Read on to learn how to cut cardstock and paper with your Cricut!
- What Types of Cardstock and Paper Can a Cricut Cut?
- Solid Core vs Colored Core Cardstock
- Smooth vs. Textured Cardstock
- Material Settings for Cutting Cardstock and Paper with a Cricut
- How to Cut Intricate Projects from Cardstock
- What Cricut Blade Should be Used to Cut Cardstock?
- What Cricut Mat Should be Used to Cut Cardstock?
- How to Remove Cardstock from a Cricut Mat
- Troubleshooting Paper and Cardstock Cutting
Stop pulling your hair out and start creating confidently with your Cricut! Finally understand how to use your Cricut with my Learn Your Cricut eBooks!
What Types of Cardstock and Paper can a Cricut Cut?
Cricut has its own line of cardstock and papers. The nice thing about using these papers is that the Cricut is set up for using each of these materials with precise settings. You’ll have to do very little tweaking—just set it to the material you’re working with and your Cricut will do the rest.
- Colored Cardstock
- Glitter Cardstock
- Deluxe Patterned Paper
- Sparkle Paper
- Shimmer Paper
- Foil Paper
- Foil Embossed Paper
That being said, there are countless brands of paper and cardstock on the market. I’m partial to Bazzill cardstock, which I usually buy from Scrapbook.com or Amazon. It comes in a TON of happy colors.

I also love the StarDream Metallics from paperpapers.com if I’m looking for a “fancier” look. It’s a little thinner (more paper than cardstock). Check out these paper pinwheels for an example.
The one paper material I’ve struggled with is inexpensive construction paper (the sort you might use for kids crafts). It is so fibrous that it tends to stick to the mat and tear really easily, particularly if you’re cutting a more delicate cut.
Solid Core vs Colored Core Cardstock
Cardstock often has either a colored core (the same color as the paper) or a white core. I prefer the solid/colored core for projects cut on my Cricut. If the cut isn’t perfect, you’ll notice any little nick or tear with the white core. But of course, it’s a personal preference! Just something to keep in mind when shopping for materials.
Smooth vs. Textured Cardstock
Paper and cardstock come in smooth and textured versions. Choose what you like—it’s all personal preference!
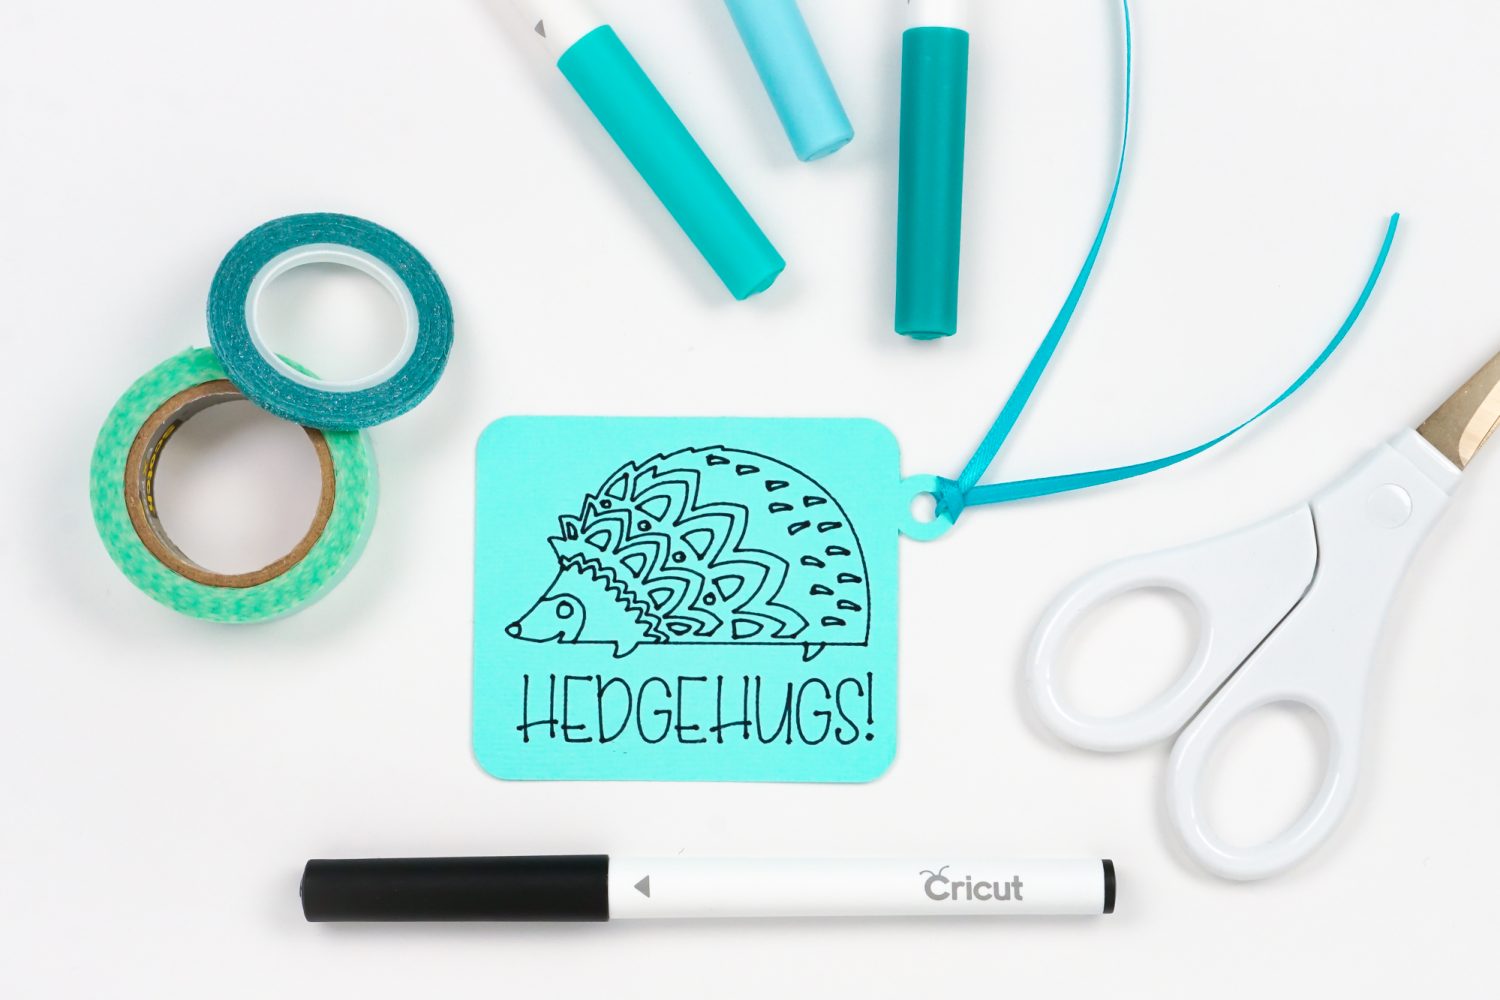
I prefer a little texture to my cardstock (the Bazzil cardstock I mentioned above has a nice texture to it). The one caveat is writing on cardstock using the Cricut pen—for that a smoother cardstock is better. Your pen is less likely to skip on a smoother cardstock.
Material Settings for Cutting Cardstock and Paper with a Cricut
Each Cricut has a bunch of material settings loaded into Cricut Design Space. Choose the setting that is closest to your material if your exact material isn’t available. Always do a small test cut to make sure your settings are working so that you don’t waste materials.
Cricut Joy
For Cricut Joy, material settings appear as a series of boxes on the Make Screen. If you see your material there, simply click on the box to select the setting. Click Browse All Materials to access the entire list of material settings.

Cricut Explore
On Cricut Explore, there are several paper settings on your dial, including paper, light cardstock, cardstock, and poster board.

You’re may to have to play around with the settings a bit to get it right—remember to do a test cut before you cut your project.
If none of the settings are working well for your material, you can select “Custom” and choose a different material from the Browse All Materials screen.
Cricut Maker
For Cricut Maker, material settings appear as a series of boxes on the Make Screen. If you see your material there, simply click on the box to select the setting. Click Browse All Materials to access the entire list of material settings.

If you are cutting simple shapes on your Cricut Maker or Cricut Explore Air 2, you can use Fast Mode. Just click Fast Mode in the Make Screen after you load your mat and it’ll cut twice as fast! Don’t use it on more intricate cuts, though.
How to Cut Intricate Projects from Cardstock
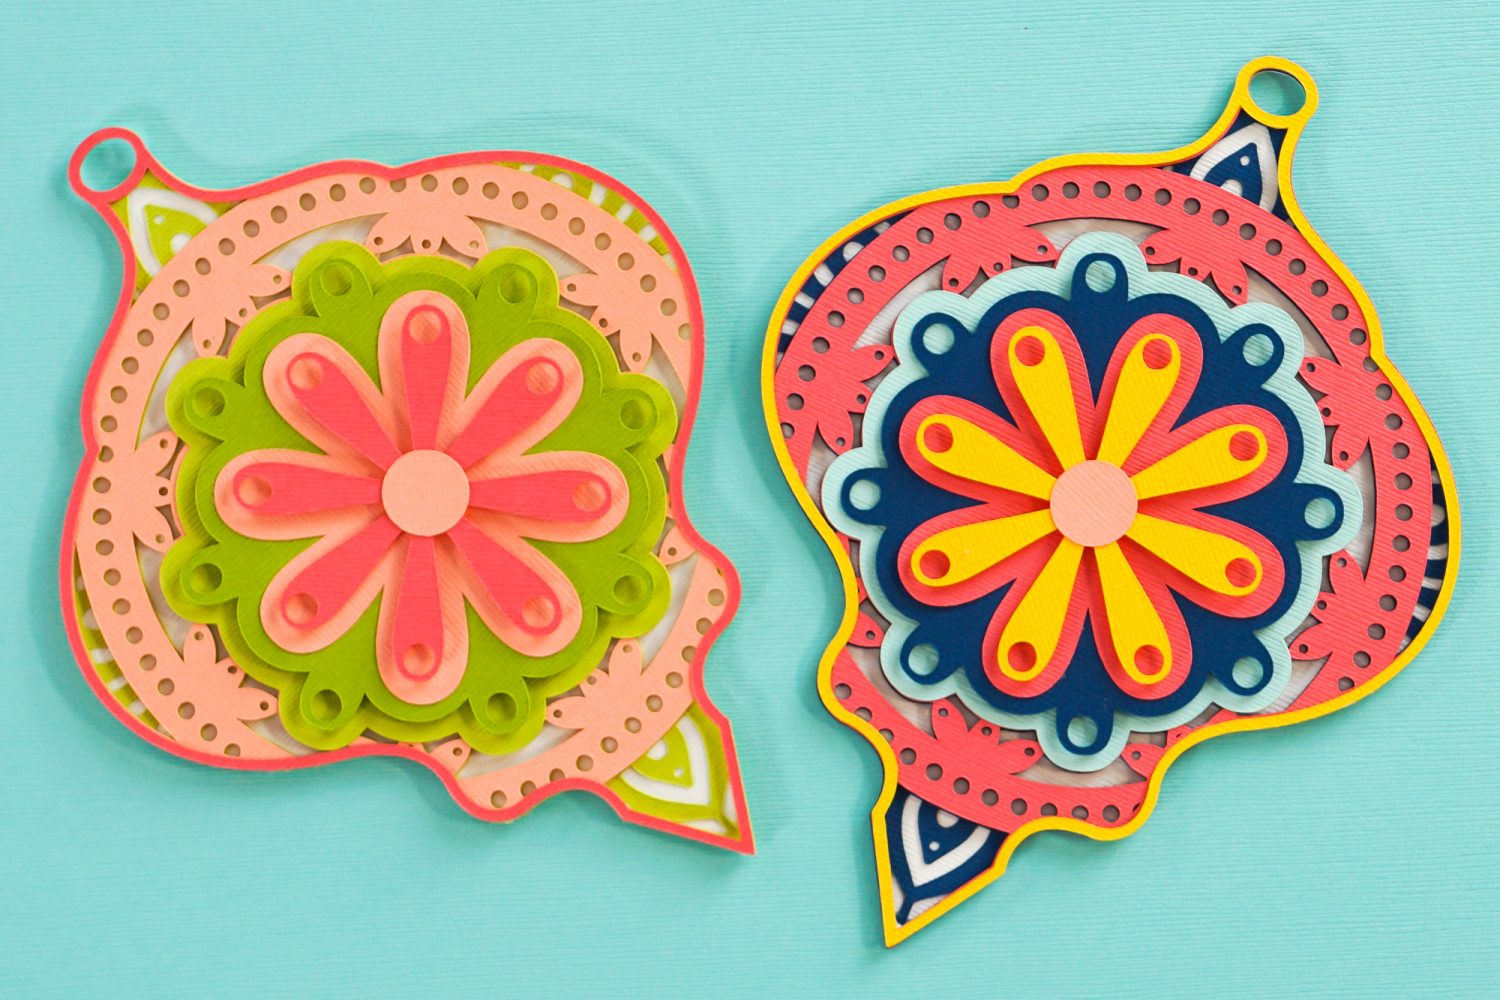
If you are cutting a more intricate cut in cardstock, there is actually a custom materials setting for “Cardstock – Intricate Cut” under “Browse All Materials.” I’m not 100% sure how it exactly works, but it definitely does help with your more intricate cuts.
What Cricut Blade Should be Used to Cut Cardstock?
For nearly all paper projects, you’re going to be using the Fine Point Blade. There may be a handful of very thick cardstocks that require the Deep Cut Blade, but your Cricut should prompt you to use the Deep Cut Blade if needed.
If your blade isn’t cutting all the way through your material, try a Multi-Cut vs. using a different blade. See the Troubleshooting section at the end of this post to learn more.
What Cricut Mat Should be Used to Cut Cardstock?
Generally, use the blue LightGrip mat for most paper and cardstock. I find that the adhesive on the blue mat is the best at releasing paper materials.
Heavier cardstock might need the green StandardGrip mat, but I almost always start with a LightGrip mat.
How to Remove Cardstock from a Cricut Mat
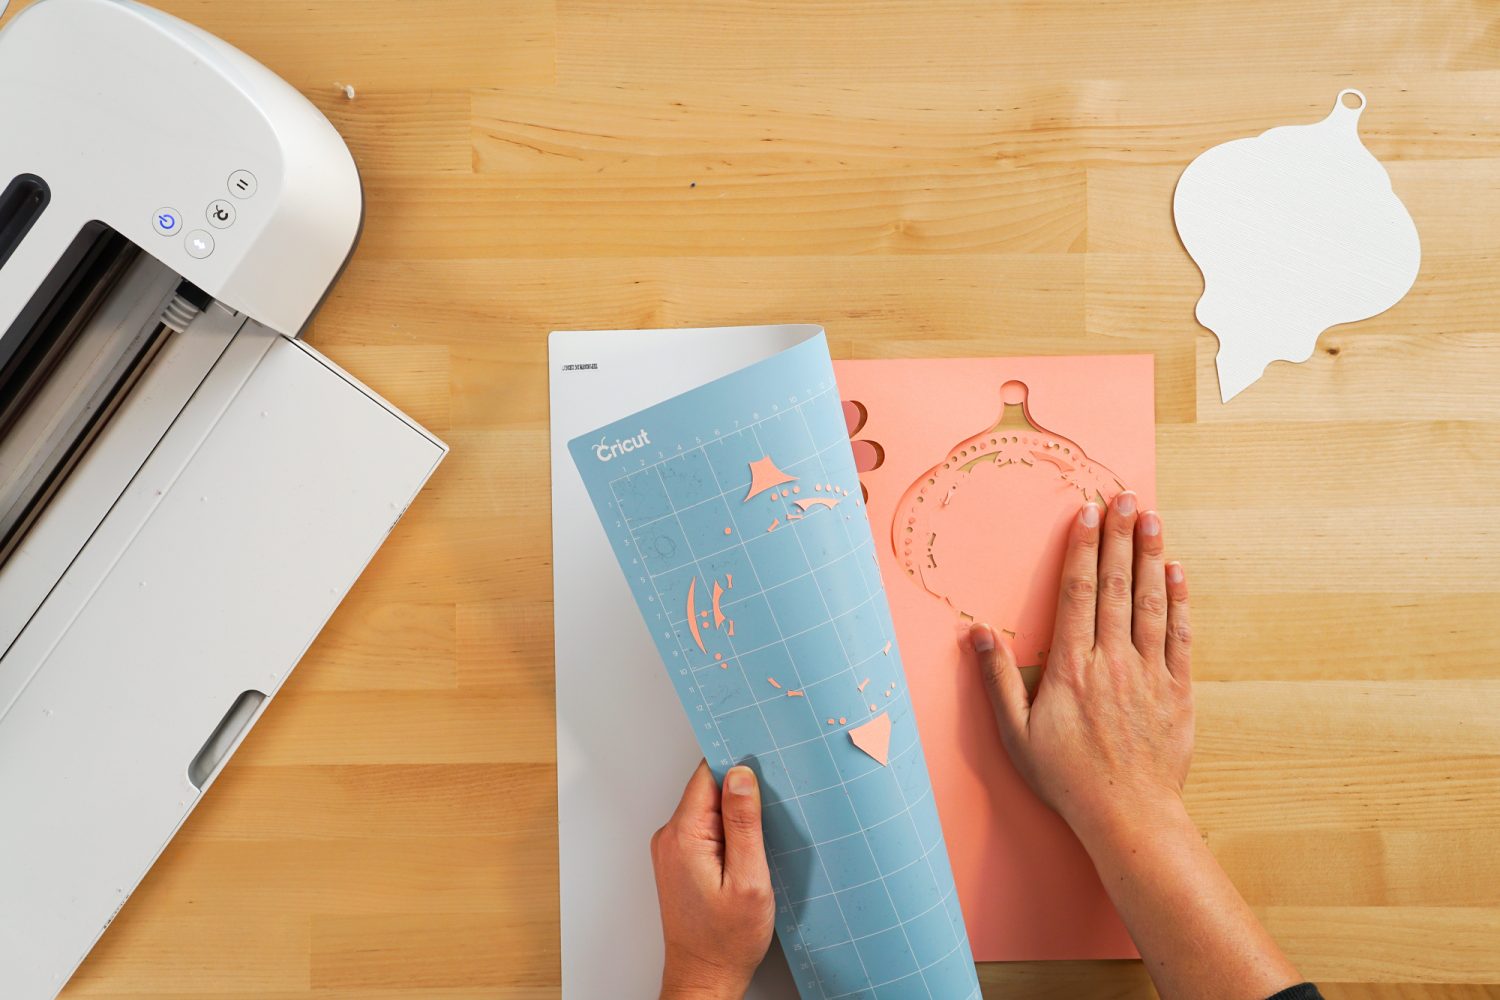
Getting your paper or cardstock to release from your mat can be quite a pain. Thankfully there are a few ways to make it easier. See my detailed post on Removing Materials from Your Cricut Mat for more information.
Make sure you prime your mat if it’s brand new. This is particularly helpful for lighter or more fibrous papers. Basically, pat a brand new mat against your shirt to pick up some of the fibers before using it.
DO NOT pull up your paper project from your mat by the corner. It will curl, tear, and some of your paper will stick to your mat. You will cry and bang your head on your desk (at least I did when I first got my Cricut!).
Instead, use the methods in the Removing Materials From Your Mat post to release your project from your mat without destroying it. You’ll bend the mat away from the material and use the spatula to carefully lift up tiny pieces.
Troubleshooting Paper and Cardstock Cutting
If you find that your material isn’t being cut all the way through (this occasionally happens with that Bazzill cardstock I mentioned), I’ll change the setting to Glitter Cardstock, which cuts in two passes. It always cuts cleanly using this trick.
For the Explore, set the dial to Custom and then choose Glitter Cardstock in the Make Screen from “Browse All Materials.” For the Maker and Joy, just select Cardstock Glitter from the list of materials under “Browse All Materials.”
That being said, there are others who have had a problem with their machine cutting a bit too deep. For this problem, choose a lighter material and give it a test cut!


Comments & Reviews
Stacey says
Hi, What setting do I cut 500gsm cardstock on my cricut maker 3. Thanks
Gale Dodge says
I bought some paper that is not cutting through as copy paper but is destroyed with lightweight even with less pressure. Tried cutting twice as copy and still not through.
Cori says
Hi Gale,
You may want to try the cardstock for intricate cuts setting or the washi setting :)
Kim says
OMG! You totally saved me with my glitter cardstock project. The first one I attempted to make did not come out at all but after finding your article and following your instructions, the second one turned out perfectly!!!
Thank you so much! I’m glad I found this article.