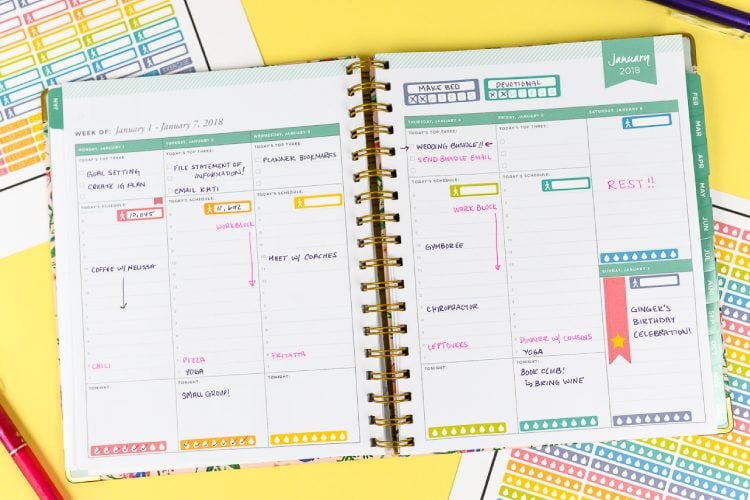
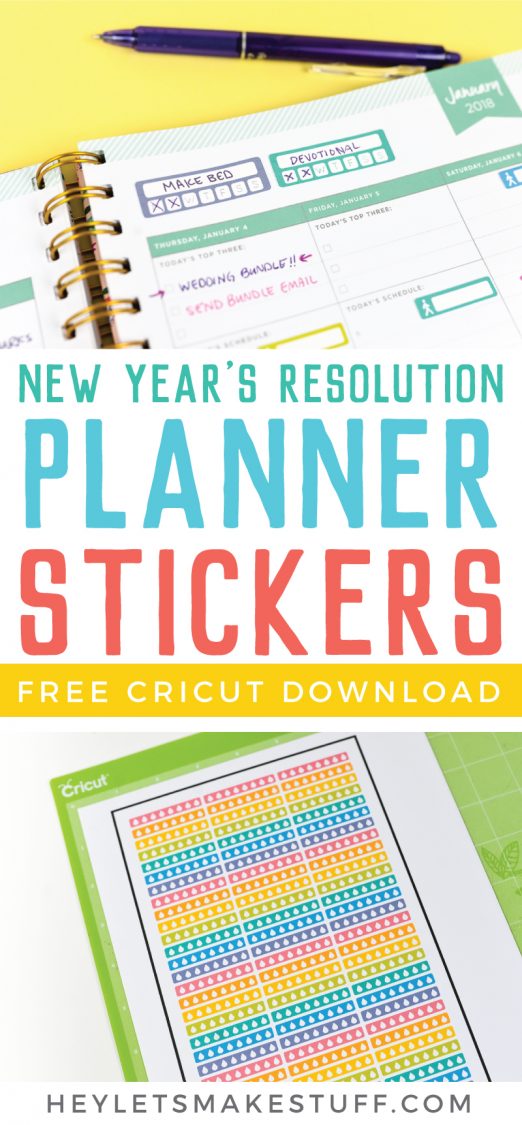
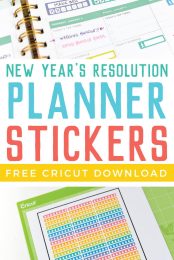
Use Cricut’s Print then Cut feature to make your own printable planner stickers! Plus get three free New Year’s resolution printable sticker sheets—a hydration tracker, a steps tracker, and a blank tracker for you to use however you’d like!
This post first appeared on the Cricut Inspiration blog in 2017 and has been updated for 2020.
Ahh, the new year is almost here. Come January first, I am going to make a ginormous salad to make up for all the cookies and carbs I’ve eaten over this last month, as well as get some of my New Year’s resolutions started!
The new year brings an exciting change for many people—a new planner! There’s something so inspiring about cracking open the fresh pages of a planner. So many possibilities exist on those blank pages!

If you’re a planner person, there’s a good chance you’re also a New Year’s resolution person. I always love the fresh new start the new year brings, along with the challenge of finishing a New Year’s resolution. Maybe you want to practice a new skill each day, work out three times a week, or floss every night.
If this sounds like you, you’re going to love this post on planner stickers! I have three different ways to make planner stickers for you in this post:
- Download my free printable planner stickers
- Create stickers from Cricut’s Ready to Make collection
- Design your own stickers in Design Space
There’s something so satisfying about checking off boxes, as well as knowing that the more often you do something, the easier it is to make it a habit! Get the freebie by clicking the image above and it will be delivered straight to your inbox. Then use Cricut Print then Cut to make them!
Cricut Design Space Ready to Make Printable Planner Stickers
If my stickers aren’t quite for you, you can find so many other options in Cricut Design Space! You can head over to the Ready to Make section (click Projects in the canvas sidebar) and see quite a few ideas to get you think about planner layouts and stickers. Just click the dropdown menu at the top and select Planners.

You can also search in Cricut Access for “planner” and find tons of cool ideas. You can even design your own stickers from scratch, like these star flags using simple shapes.
Design Your Own Printable Planner Stickers in Cricut Design Space
You can also use the shapes tool to create your own customized stickers! Here I’ll show you how to make your own “swallowtail” flag stickers using the basic shapes tool.
1: Start with Squares
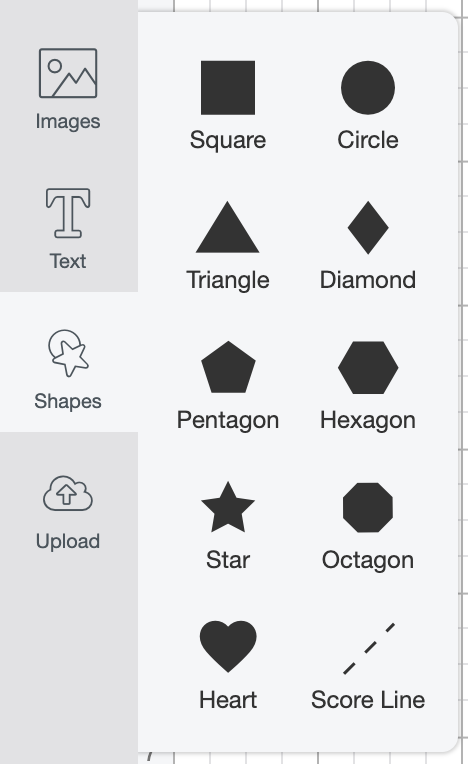
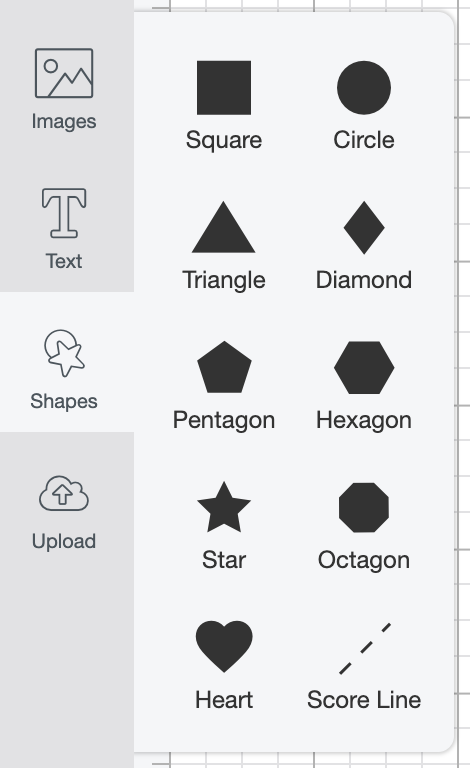
Click on Shapes in the lefthand Design Panel and choose a square.

Then click the lock in the bottom left of the square (to allow you to change the dimensions individually) and change the dimensions in the top Edit toolbar to 2” x .5” (or whatever dimension you would like for your final sticker).

Then draw a second square and rotate it 45 degrees using the rotate tool in the top Edit toolbar.

Then place the rotated square over the end of the rectangle.

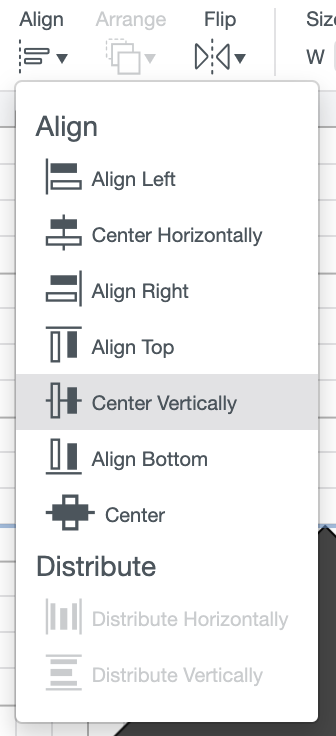
You can use the Center Vertically option in the drop-down to make sure they are aligned properly.
2: Create a Flag by Slicing
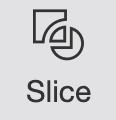
Select both shapes and click “Slice” in the bottom right sidebar.
This slices your shape into four separate pieces. You can delete everything but the flag on the left.


3: Duplicate and Change Colors
Use the Duplicate tool at the top of the Layers Panel on the right to make as many flags as you want.


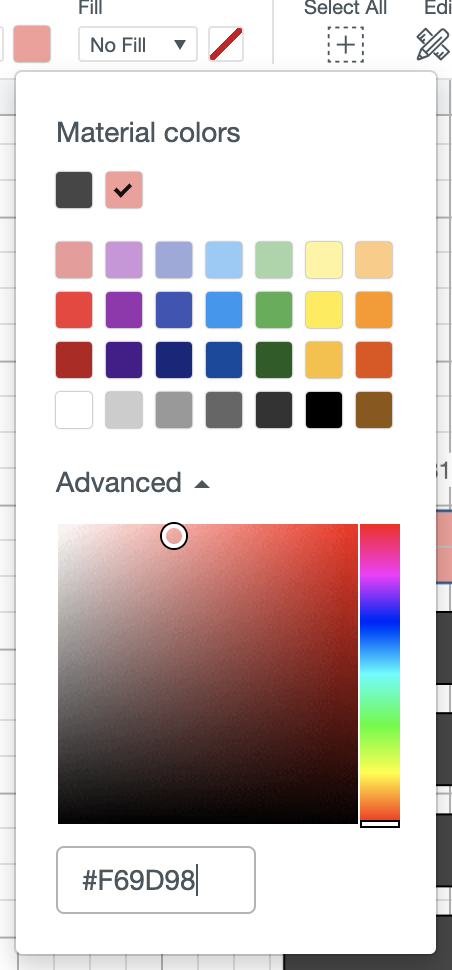
You can also click on the gray box in the Edit Toolbar and choose new colors for your flags. I’m using custom HEX colors (under Advanced) but you can also use the colors Cricut has available.

4: Add a Star and Flatten
Using the Shapes tool, add a star to each flag.
Use the Center Vertically option again to make sure they are aligned.
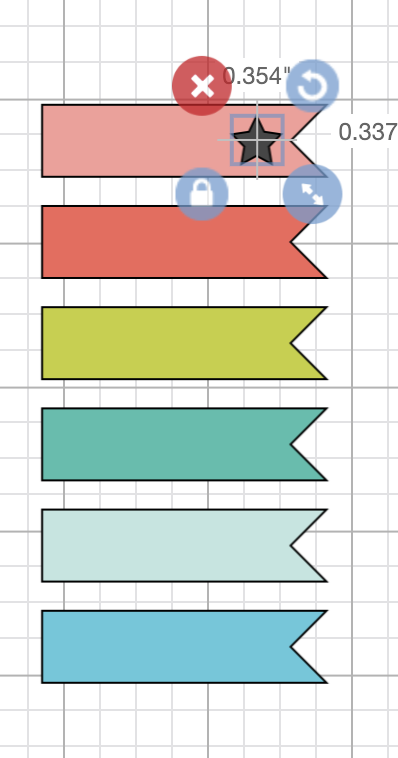
Continue for each flag, and change the color to yellow if you’d like.

Then, select a flag and its star and hit “Flatten” in the bottom right sidebar.

This will turn your shape into a Print Then Cut file and you’re ready to make your stickers! Do this for each individual flag and star.

Just use Cricut’s Print then Cut feature to actually make them! If you have any questions about making your own printable planner stickers, I’d happy to answer them in the comments!
Happy planning!


Comments & Reviews
Ronald Blackwell says
These printable planner stickers are so cute and useful — thank you for sharing! I love having fun designs to organize my planner, and these will make planning way more enjoyable.
drift boss
Cheryl @ That's What Che Said... says
These are so cute and so helpful! I can’t wait to use them on my new planner!