If you’re new to cutting machine crafting, you might be confused at the difference between HTV vs adhesive vinyl. Here’s how to tell them apart, and then the differences between cutting and applying these to two materials.
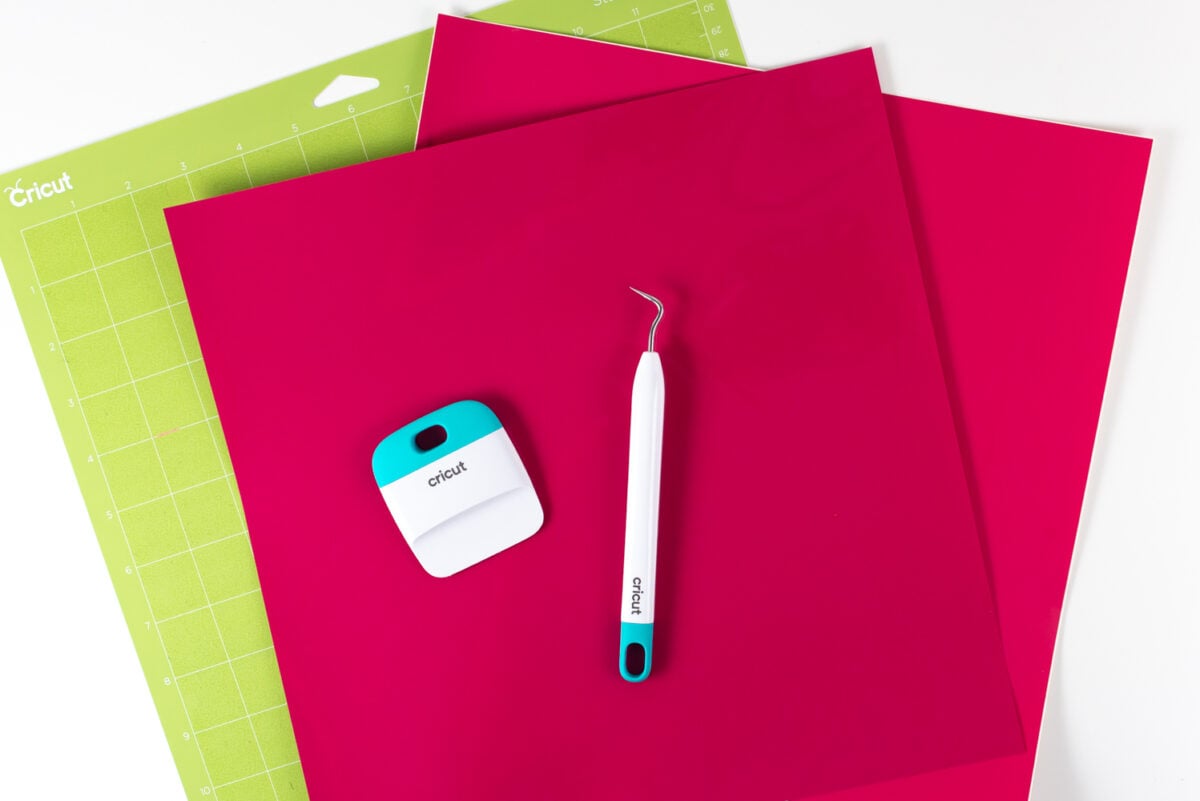
If you’re new to the world of craft cutting machines like Cricut or Silhouette, you might be overwhelmed by the options available when it comes to materials.
Two of the most popular types of vinyl are heat-transfer vinyl (usually called HTV or iron-on vinyl) and adhesive vinyl. Though they may look similar at first glance, they are two completely different materials and are suitable for different projects. Today we’re going to talk about how to tell these two materials apart, how to cut and apply them, and which you should be using for your particular project.
Watch the Video
Want to get a video overview of the difference between HTV and adhesive vinyl? Just hit play below! Or keep reading for a written comparison.
Before we start looking at the differences, let’s see a basic overview of these two materials.
What is HTV (Heat Transfer Vinyl)?
HTV is a type of vinyl material that has a heat-activated adhesive on the back. This means that it is applied with a heat press.
What is Adhesive Vinyl?
Adhesive vinyl has a sticky adhesive, much like a sticker. It is applied by hand (for very simple designs) or using transfer tape.
Identifying HTV and Adhesive Vinyl
When I first got my Cricut, I had no idea what was HTV or adhesive vinyl if I was looking at an unlabeled sheet. Thankfully, there are some key differences between the two that should help you identify the material:
HTV Properties
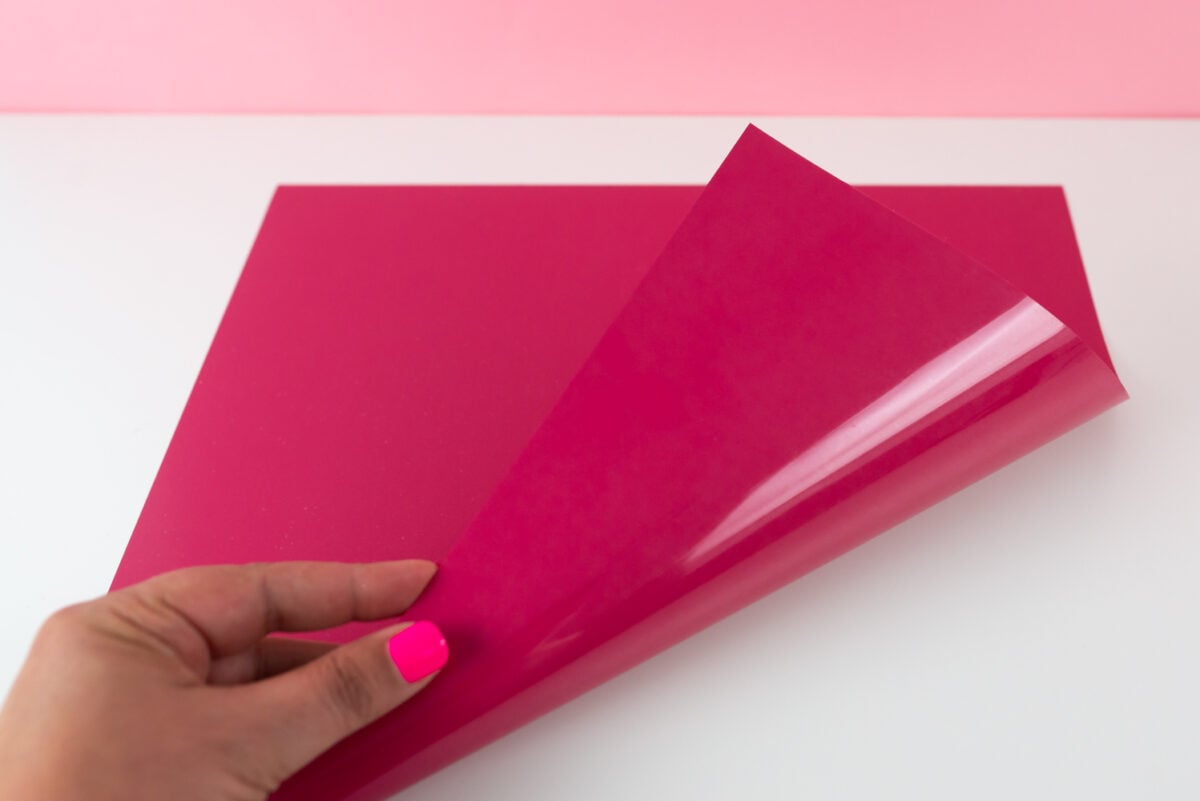
- Carrier Sheet: HTV typically has a shiny side and a matte side. The shiny side is the carrier sheet, which is clear. The matte side is the HTV itself.
- Feel: HTV often feels softer and more flexible than adhesive vinyl.
- Separating Layers: It’s very hard to separate the carrier sheet from the HTV. If you do get it, the HTV layer will not be sticky.
Adhesive Vinyl Properties
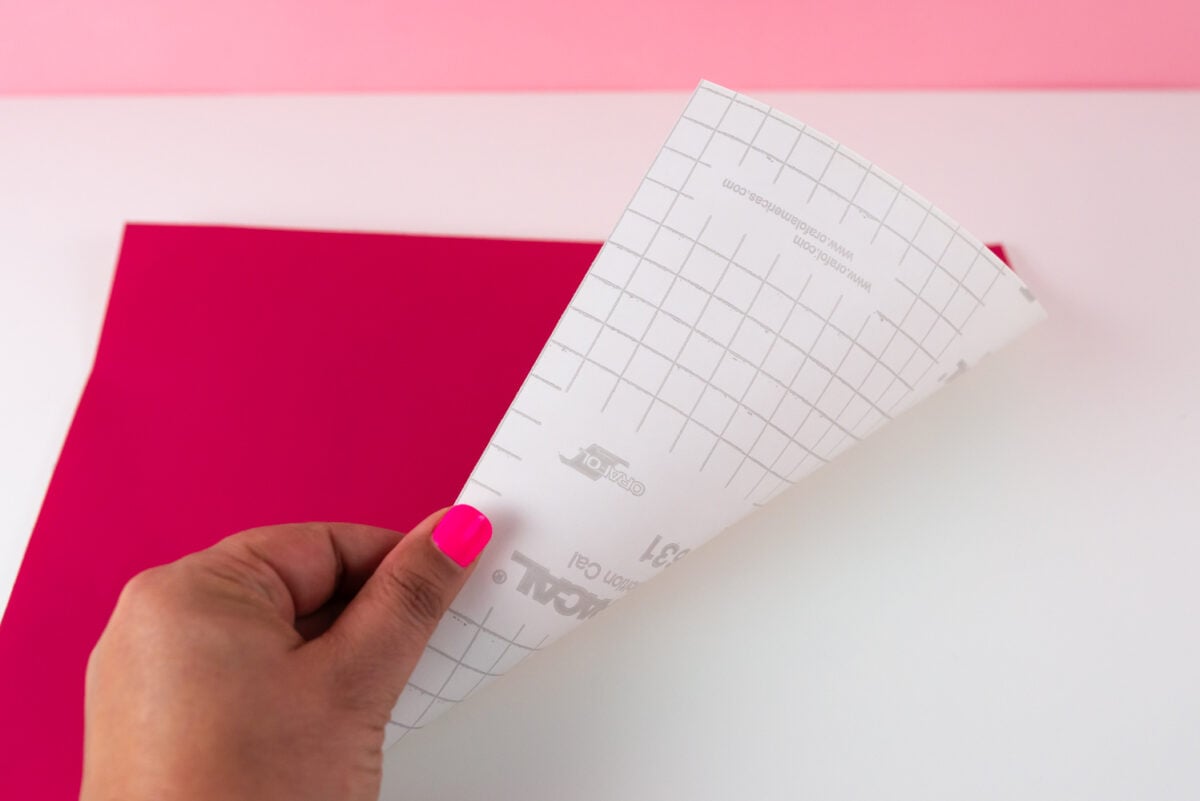
- Backside: Adhesive vinyl has a paper backing that you peel away to reveal the sticky adhesive side.
- Feel: Adhesive vinyl feels more rigid and less flexible than HTV.
- Separating Layers: It can be pretty easy to separate the two layers of adhesive vinyl (the carrier sheet and the vinyl itself). When separated, the colored vinyl will have an adhesive back like a sticker.
Cutting Processes
The cutting processes for HTV and adhesive vinyl are different, and if you don’t use the right process in the right way, your material won’t cut properly.
Cutting HTV
- Design: Create your design in your cutting software and mirror it (this is very important for 99% types of HTV).
- Placement on Mat: Load your HTV into the cutting machine with the shiny side down.
- Cutting: HTV is cut in reverse (mirror image) because it is applied face down on the material and then transferred using heat, as we’ll see.

Cutting Adhesive Vinyl
- Design and Cut: Create your design in your cutting software and do not mirror it.
- Placement on Mat: Load your HTV into the cutting machine with the colored-side up and the carrier sheet side down.
- Cutting: Adhesive vinyl is cut right-side up, and the design is transferred directly to the surface using transfer tape, as we’ll see.

Weeding HTV and Adhesive Vinyl
The process for weeding excess material from HTV or adhesive vinyl is similar. You can see my posts How to Weed HTV and How to Weed Adhesive Vinyl for specific tips, but overall, they are similar to weed.
Application Processes
Applying HTV to a Blank
- Position: Place your design onto the fabric with the shiny side up (carrier sheet side).
- Heat Press: Use a heat press to apply heat and pressure to the design. Follow the HTV manufacturer’s instructions for temperature and time.
- Peel: Once the vinyl has cooled slightly, peel off the carrier sheet, revealing your design on the fabric.
- Learn more in my post How to Iron On Vinyl!
Applying Adhesive Vinyl to a Blank
- Transfer Tape: Apply transfer tape over the top of your design, smoothing it down to ensure it adheres.
- Position: Peel away the backing paper, leaving your design on the transfer tape. Position the design on your chosen surface.
- Apply: Smooth down the design using a scraper o ensure it sticks to the surface.
- Peel: Carefully peel away the transfer tape, leaving your vinyl design in place.
- Learn more in my post How to Use Adhesive Vinyl!
Best Uses for HTV and Adhesive Vinyl
Each type of vinyl has its own strengths and is best suited for different types of projects.
Ideal HTV Projects
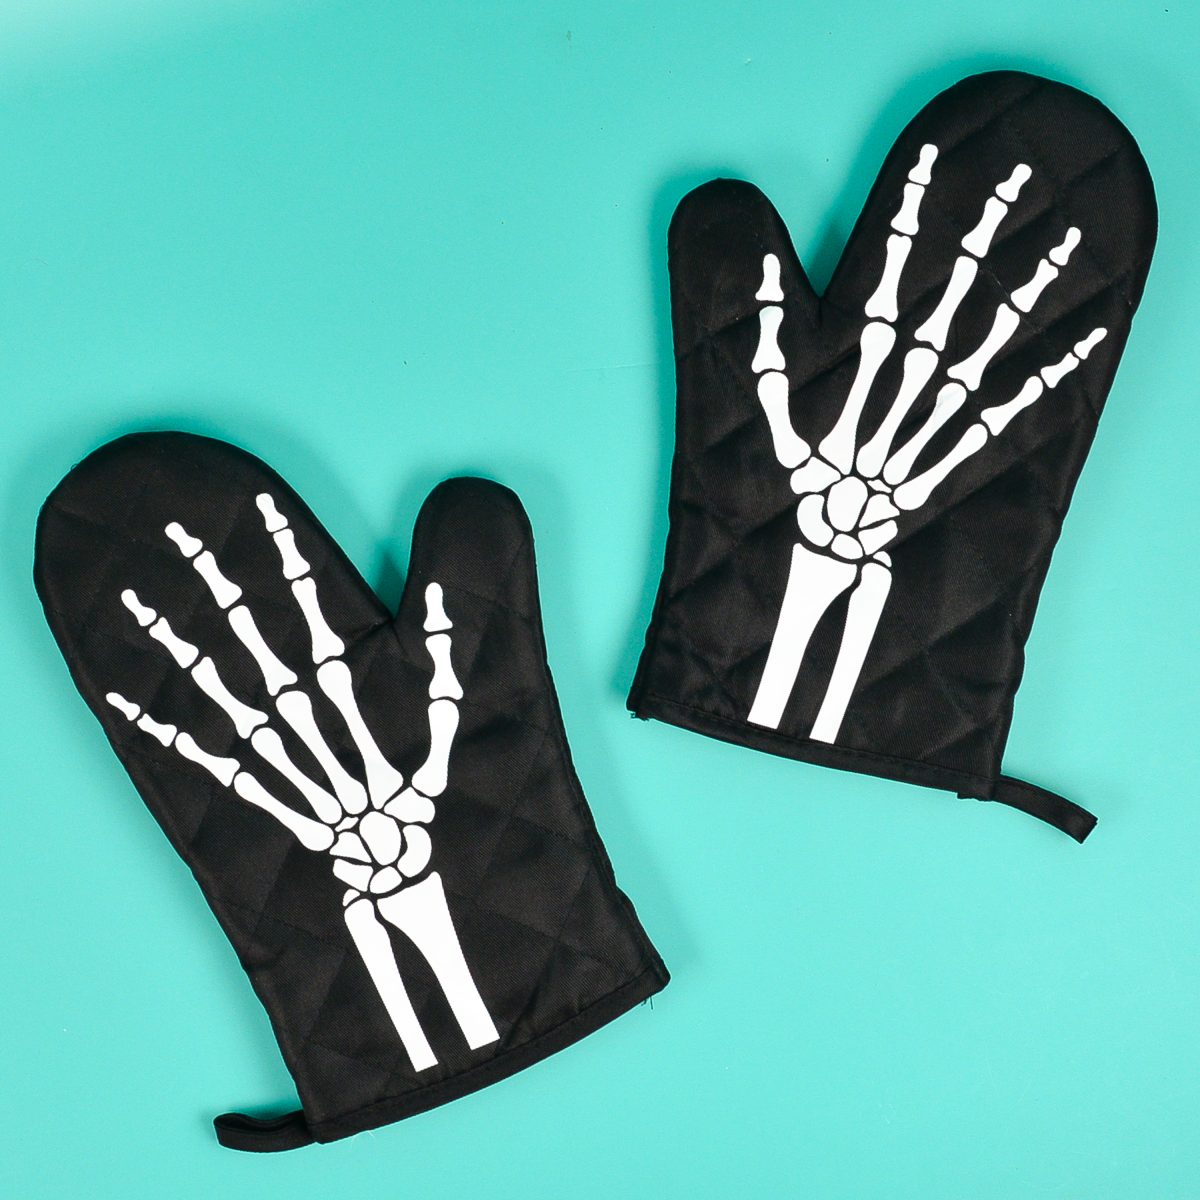
- Fabric Projects: HTV is ideal for decorating clothing, tote bags, pillowcases, and other fabric items.
- Custom Apparel: It is perfect for creating custom T-shirts, team jerseys, and personalized gifts.
- Wood, Canvas, Paper: HTV also works on porous harder surfaces, including wood, canvas, paper, and more.


Ideal Adhesive Vinyl Projects
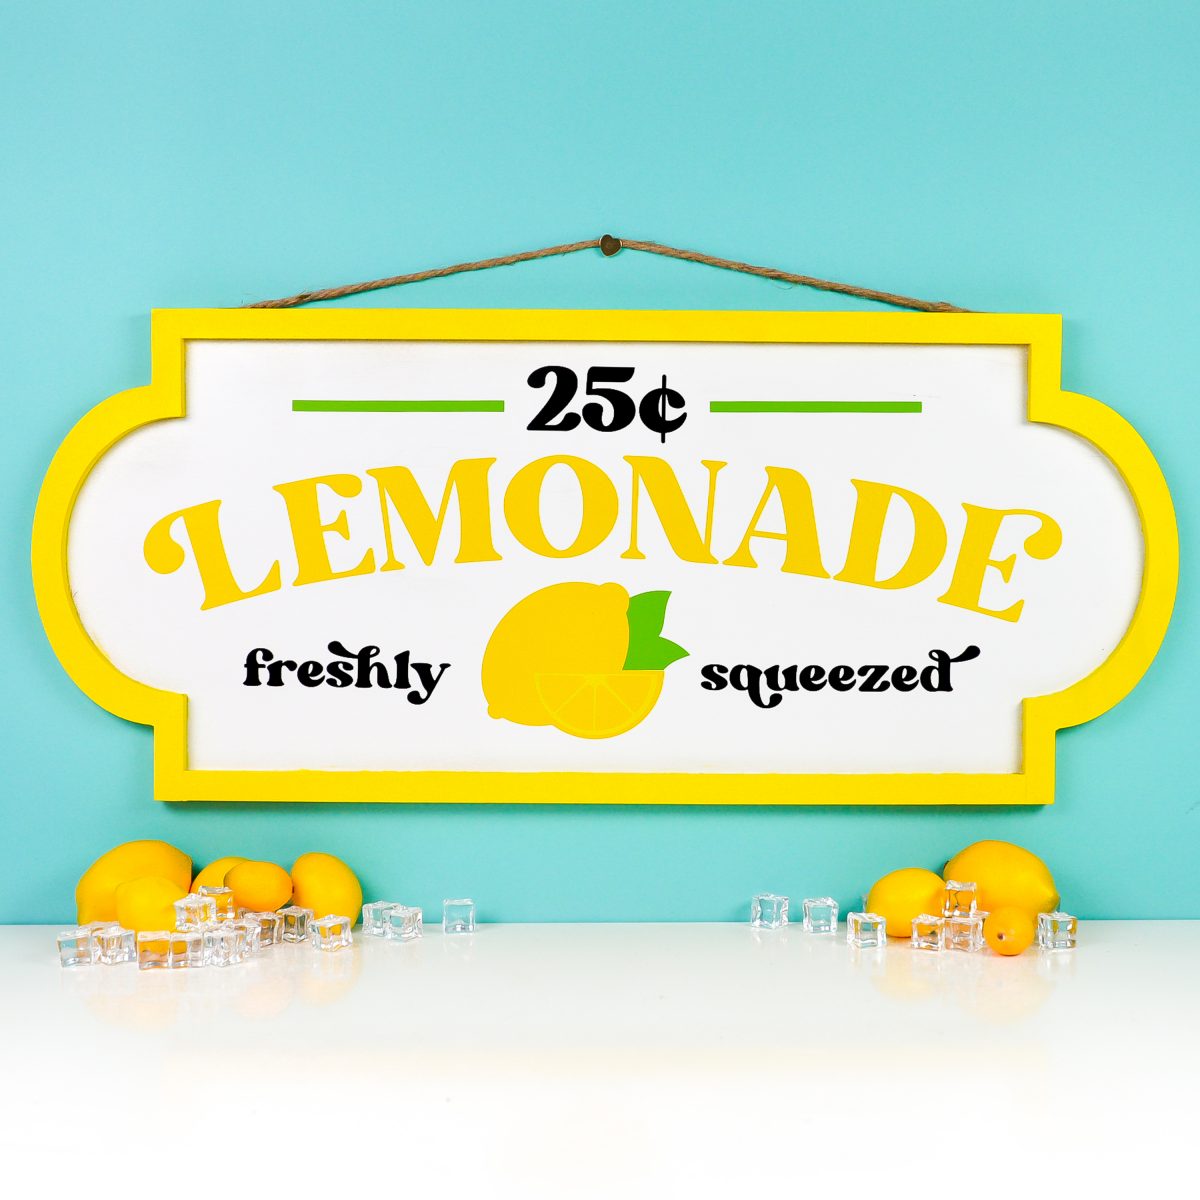
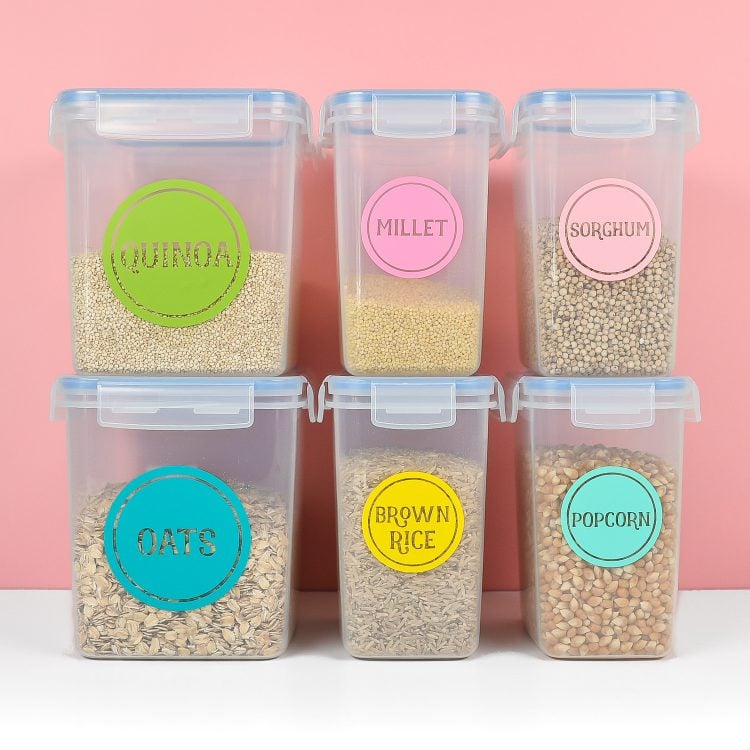
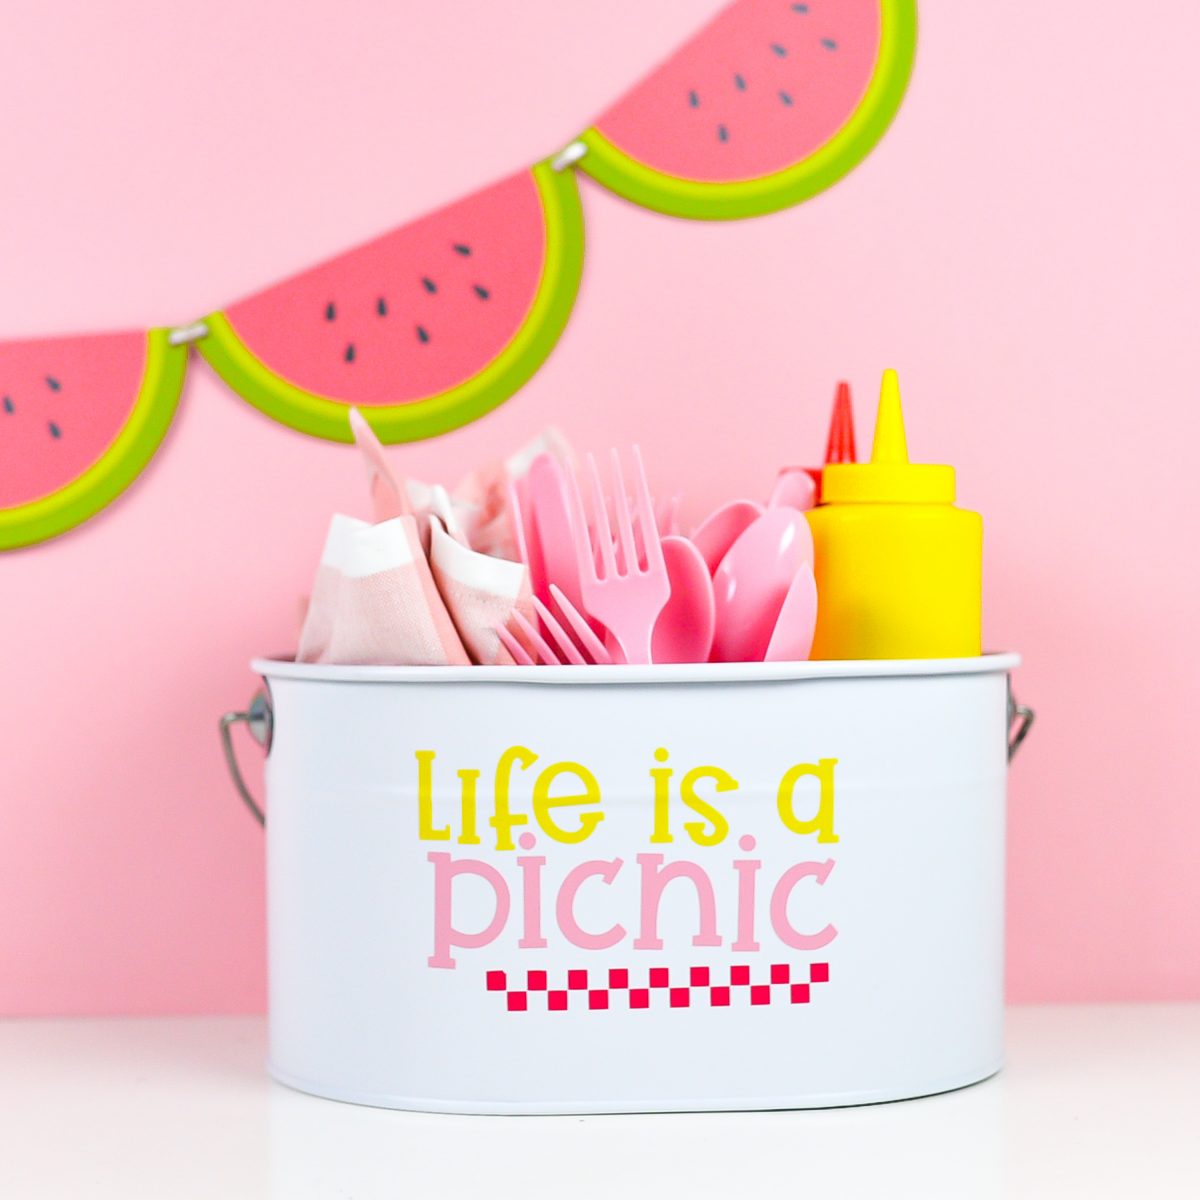
- Hard Surfaces: Adhesive vinyl is great for applying designs to hard, smooth, non-porous surfaces like glass, plastic, metal, and painted wood.
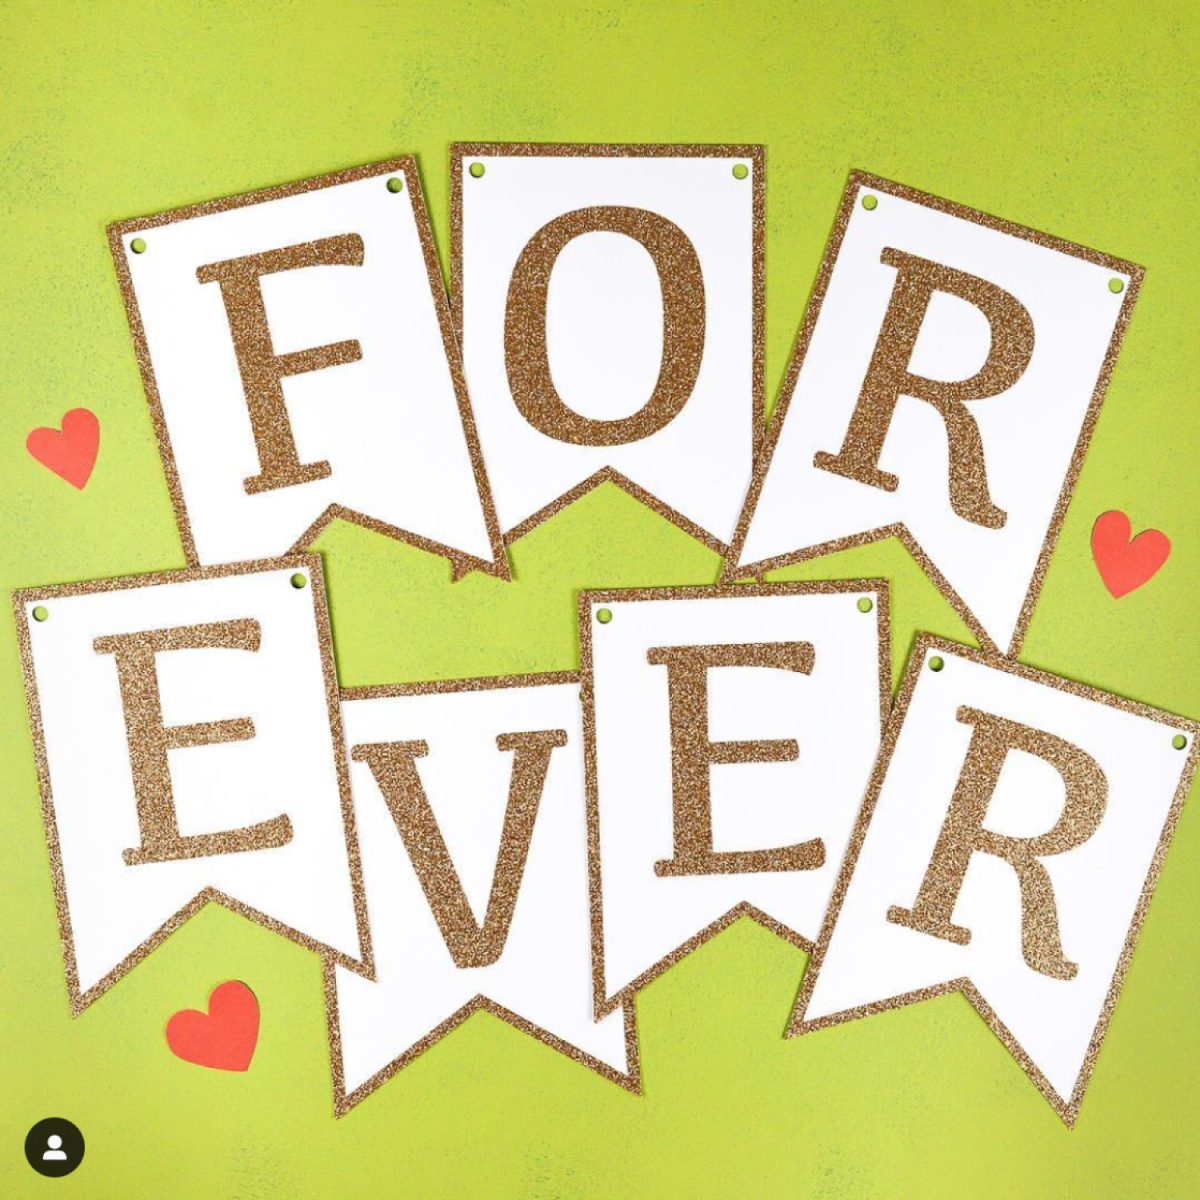
- Home Décor: Use adhesive vinyl for wall decals, signs, and labels for organizing.
- Outdoor Use: Some types of adhesive vinyl are rated for outdoor use and can withstand weather conditions, making them perfect for car decals, outdoor signs, and mailbox decorations.

Understanding the differences between HTV vs adhesive vinyl is crucial for achieving the best results in your crafting projects. By learning how to identify each type, mastering their application processes, and knowing their best uses, you’ll be well on your way to creating beautiful, durable designs. Whether you’re customizing a T-shirt with HTV or adding a decorative touch to your home with adhesive vinyl, each material has unique qualities that make it indispensable in the world of crafting.


Leave A Reply!