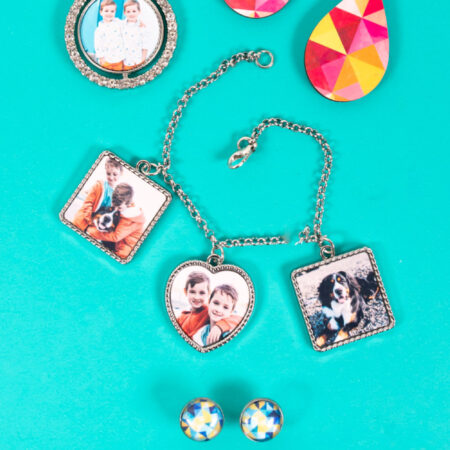
Show off your style with sublimation! Make all sorts of custom sublimation jewelry, including earrings, necklaces, and even charm bracelets!
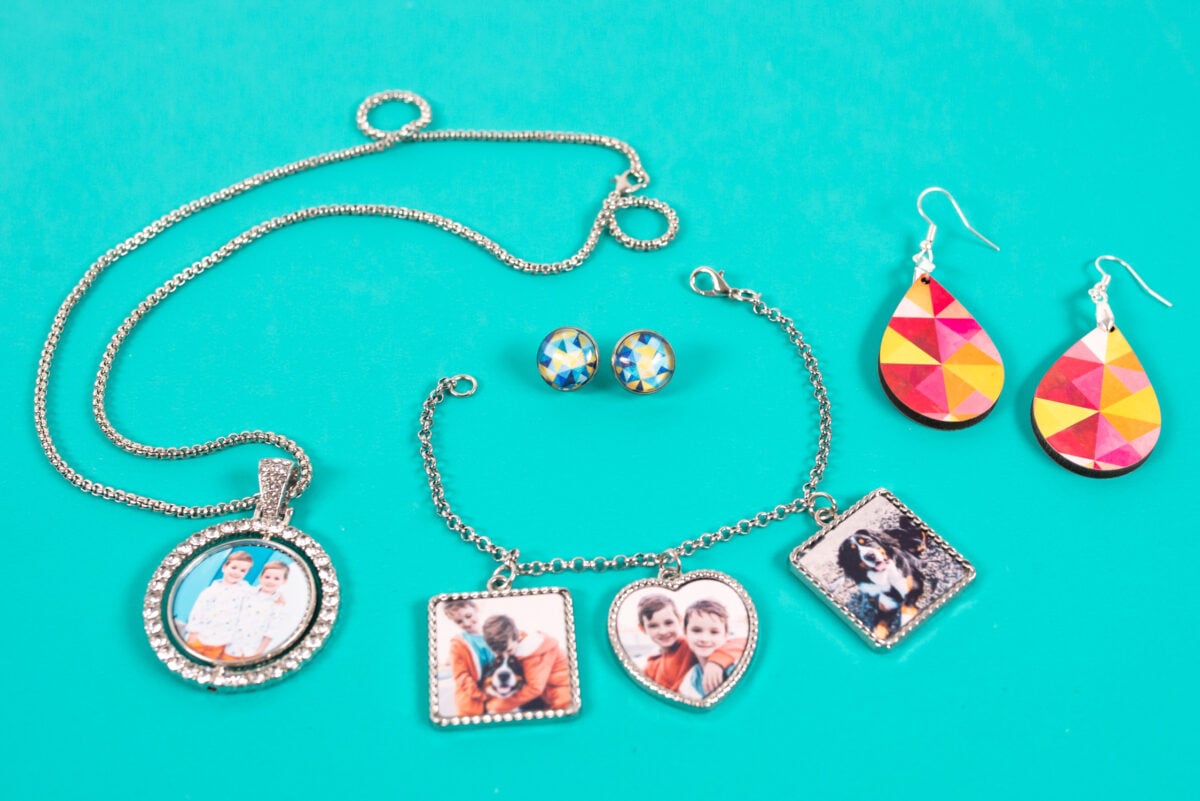
More and more sublimation blanks are coming onto the market and recently I realized that there were a lot of options for jewelry! Sublimation jewelry is a fun way to create matching accessories for your outfits or to show off some of your favorite photos.
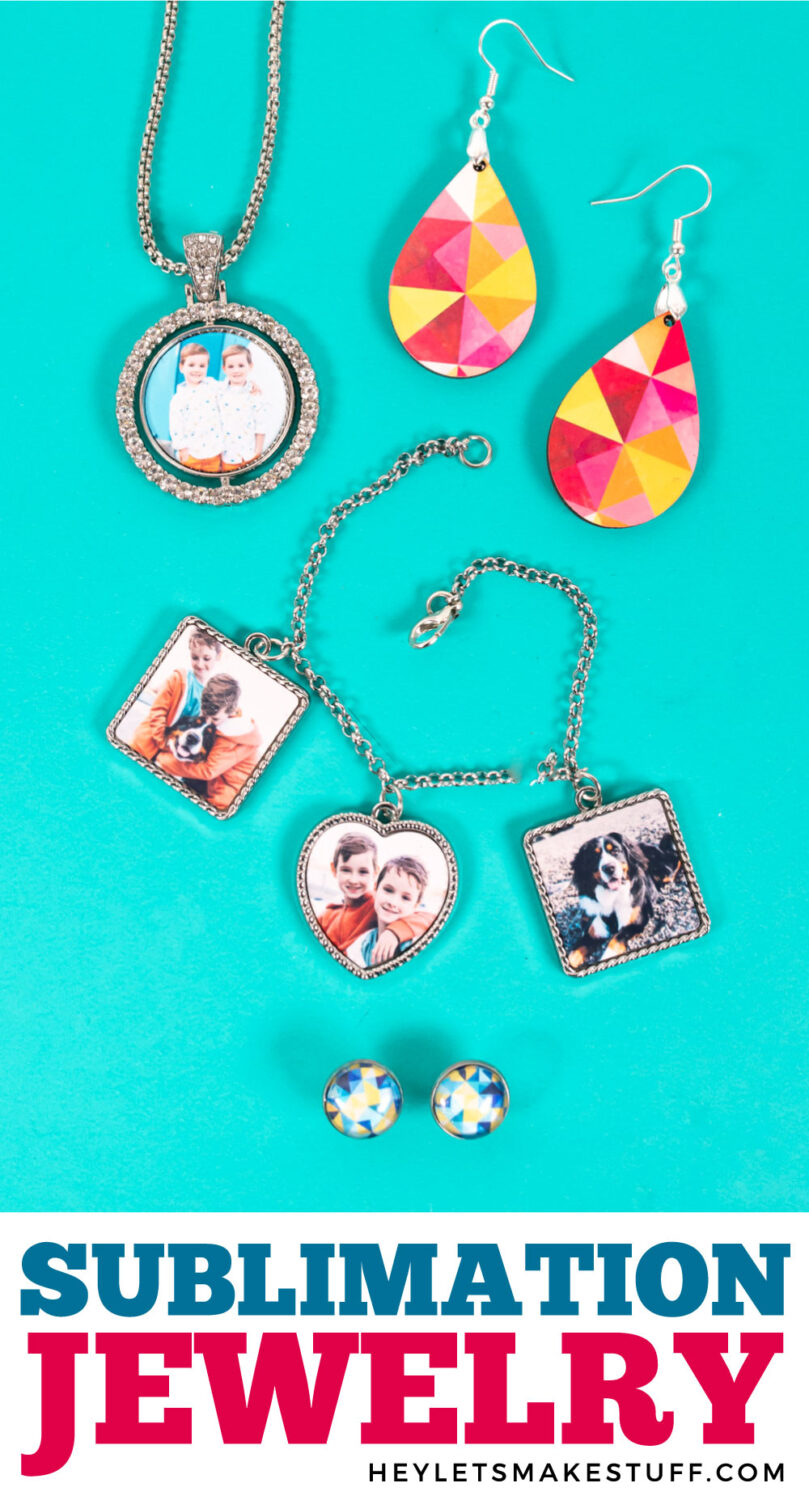
In today’s post, we’re going to walk through making four types of sublimation jewelry—dangle earrings, stud earrings, a rhinestone necklace, and a charm bracelet! You can use pretty much any heat press for these, even the Cricut EasyPress Mini!
Watch the Video
Get a video walkthrough of all of the jewelry pieces I made by clicking play below! Or read on for a written tutorial.
Get the Free File
Want access to this free file? Join my FREE craft library! All you need is the password to get in, which you can get by filling out the form below. The file number is: S32.
Printing Your Sublimation Files
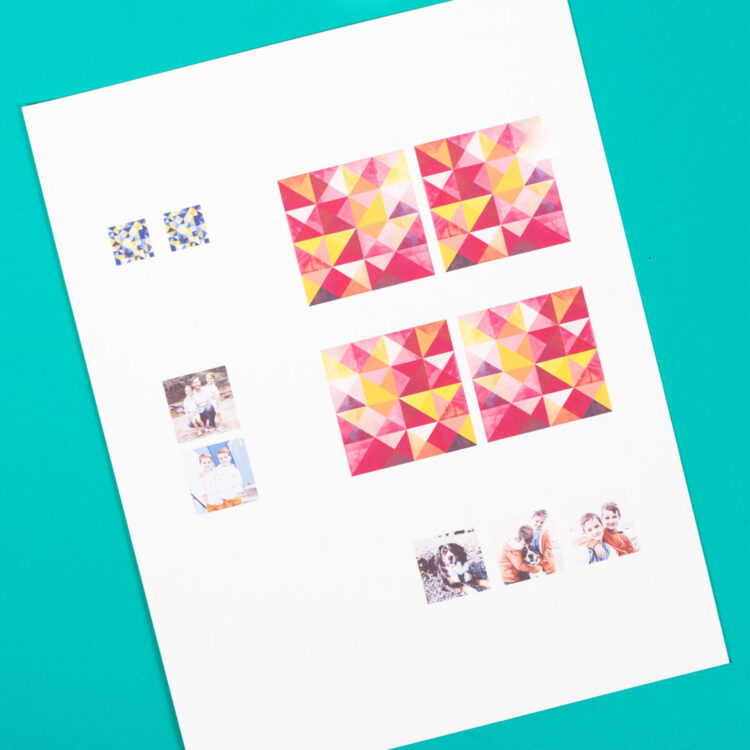
You can use whatever images you’d like for your sublimation jewelry. For this project, I sized down my images to be small to fit my different jewelry pieces and I put them all on a single sheet of paper so I wouldn’t waste extra paper.
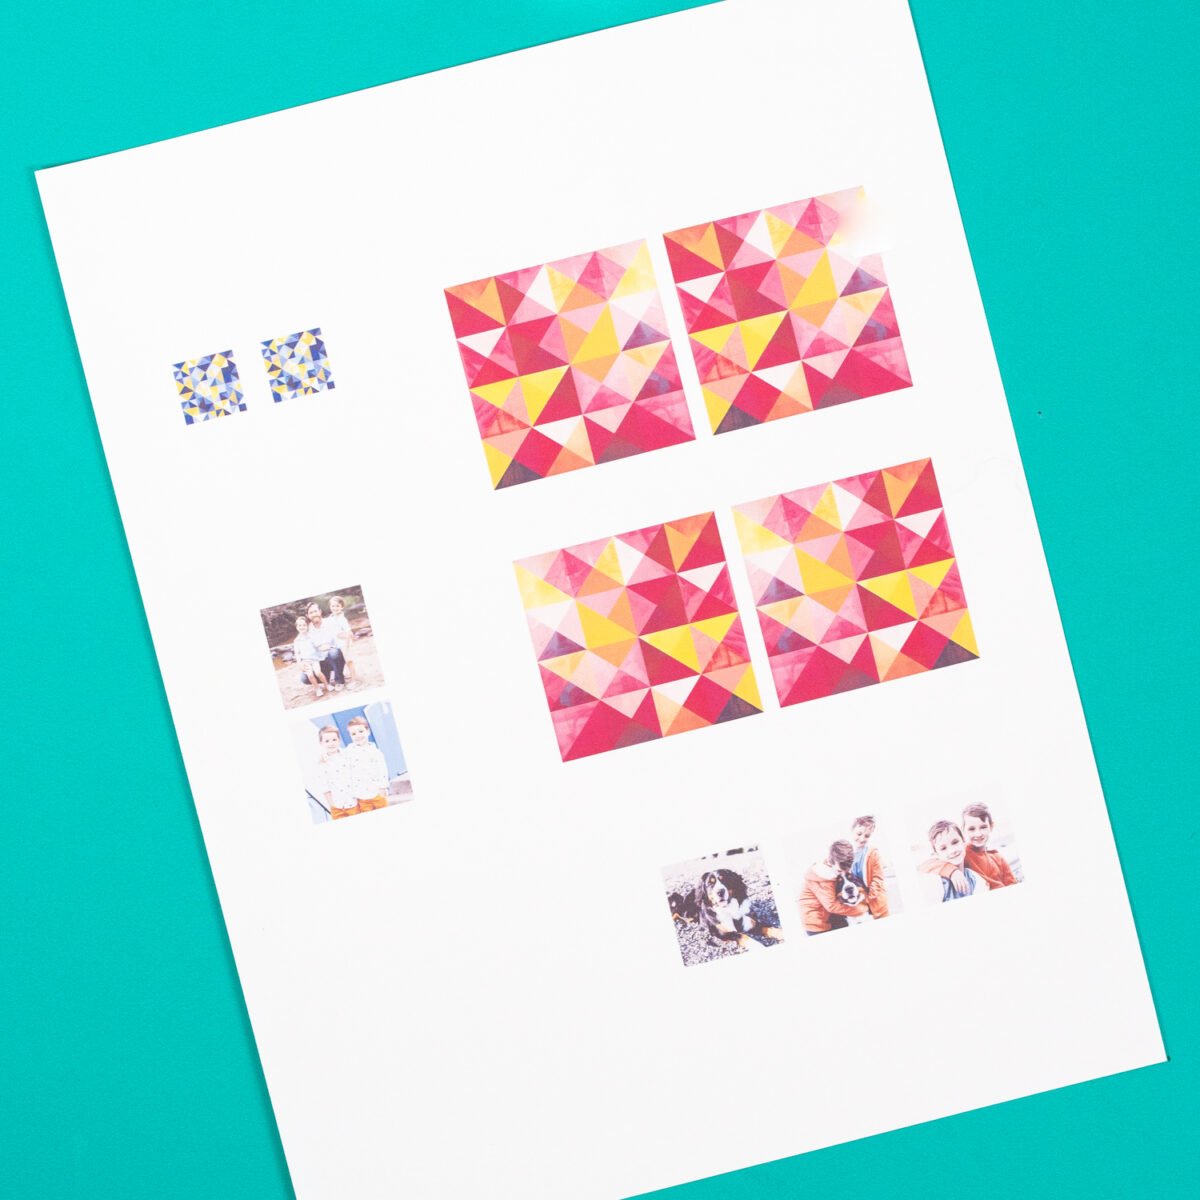
You can see my posts How to Use Photoshop for Sublimation and How to Use Cricut Design Space for Sublimation if you need a place to start.
I used my Brother sublimation printer for these images. Make sure to reverse your image so that it transfers correctly!
Preparing Your Sublimation Jewelry
All of these projects are prepared the same!
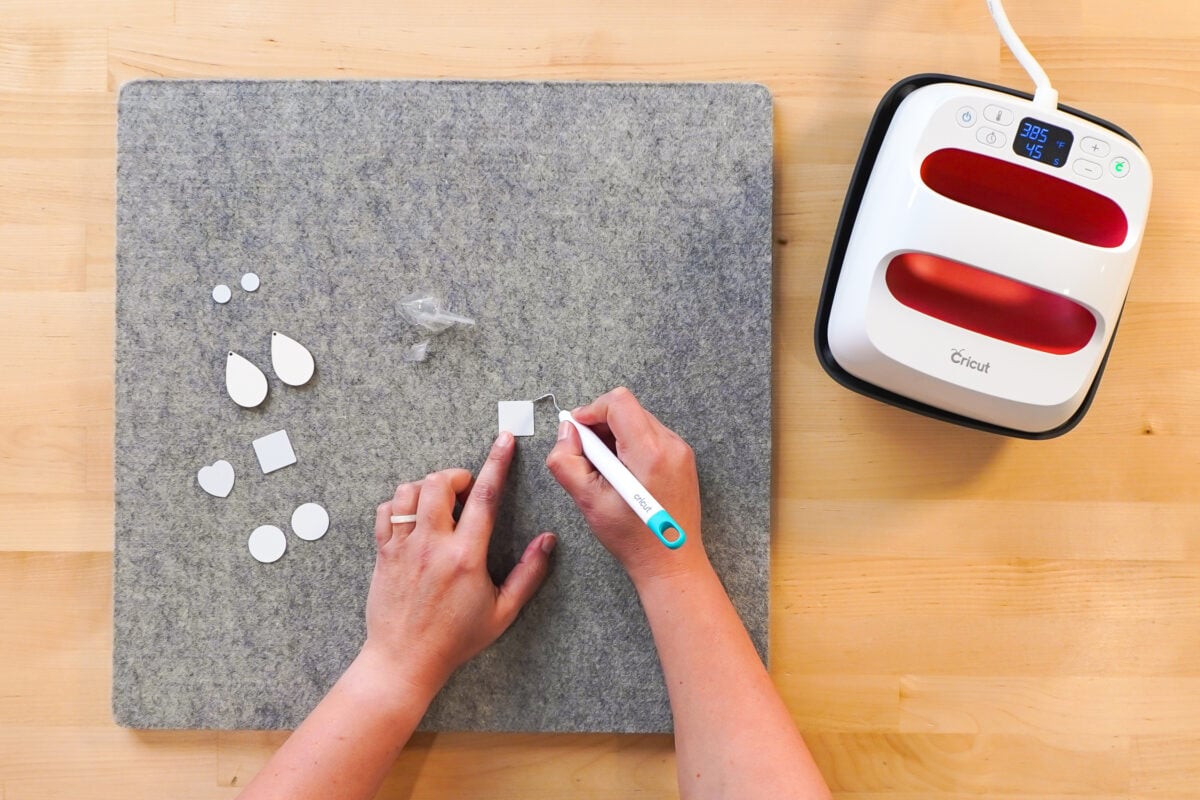
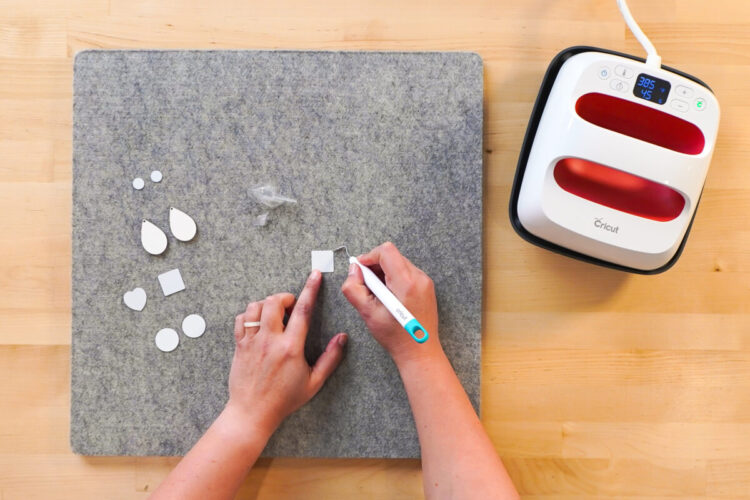
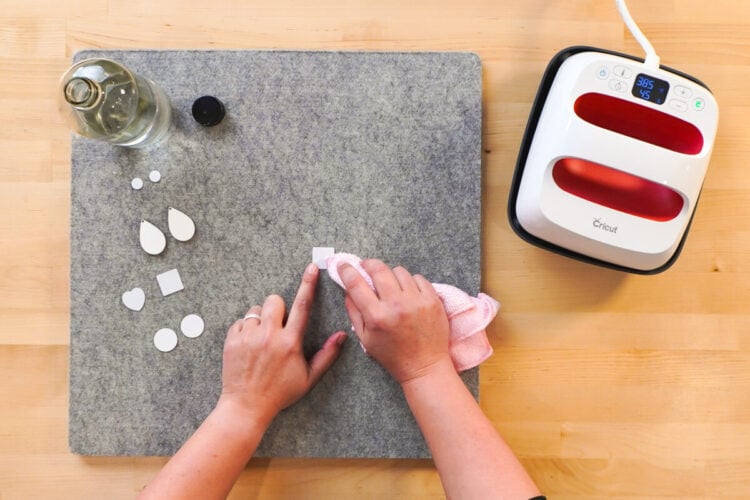
Start by removing the plastic film from the sublimatable surfaces. Every piece of jewelry I bought had a coating, and some were hard to see. I found a weeding hook to be super helpful!
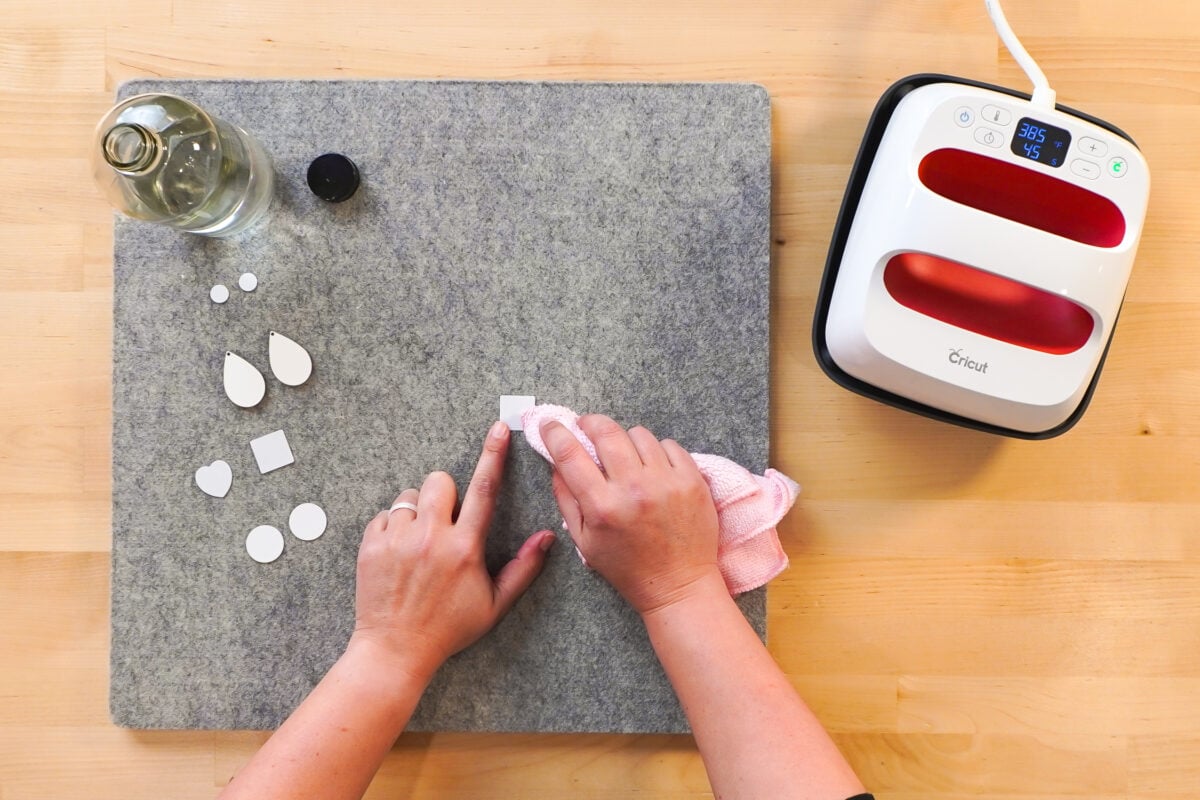
Start by cleaning your blank using some alcohol and a microfiber cloth. You can use a lint roller as well.
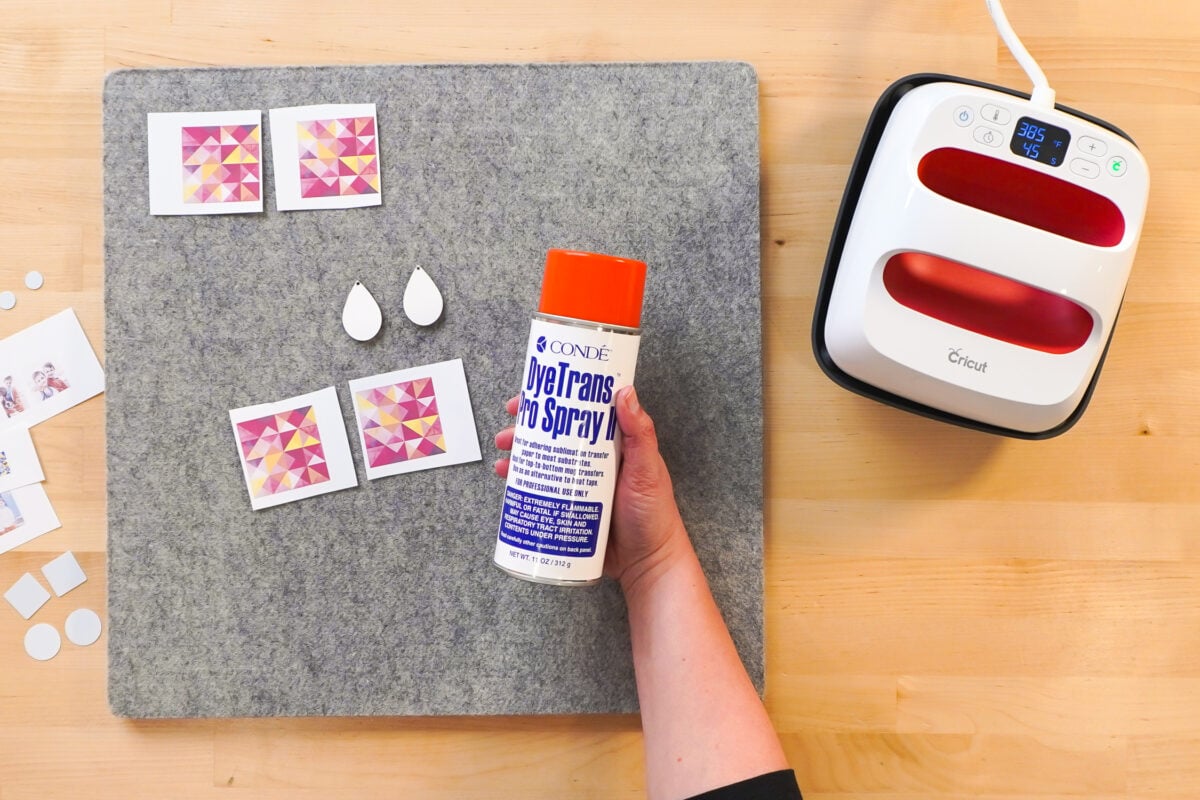
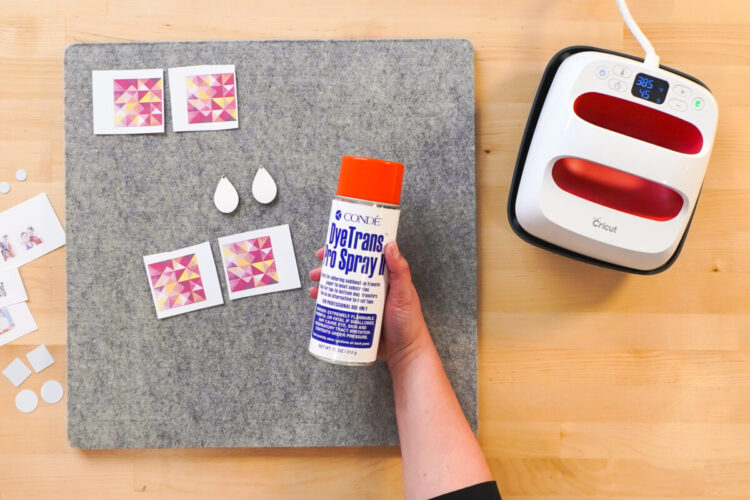
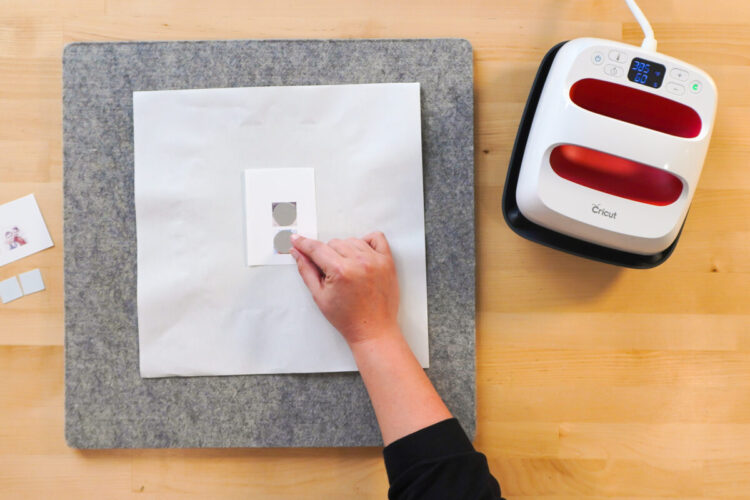
Tape your blank (the white sublimation piece) to your transfer using heat-resistant tape or heat-resistant spray adhesive. I found the spray to be a lot easier on these little blanks, but tape works as well.
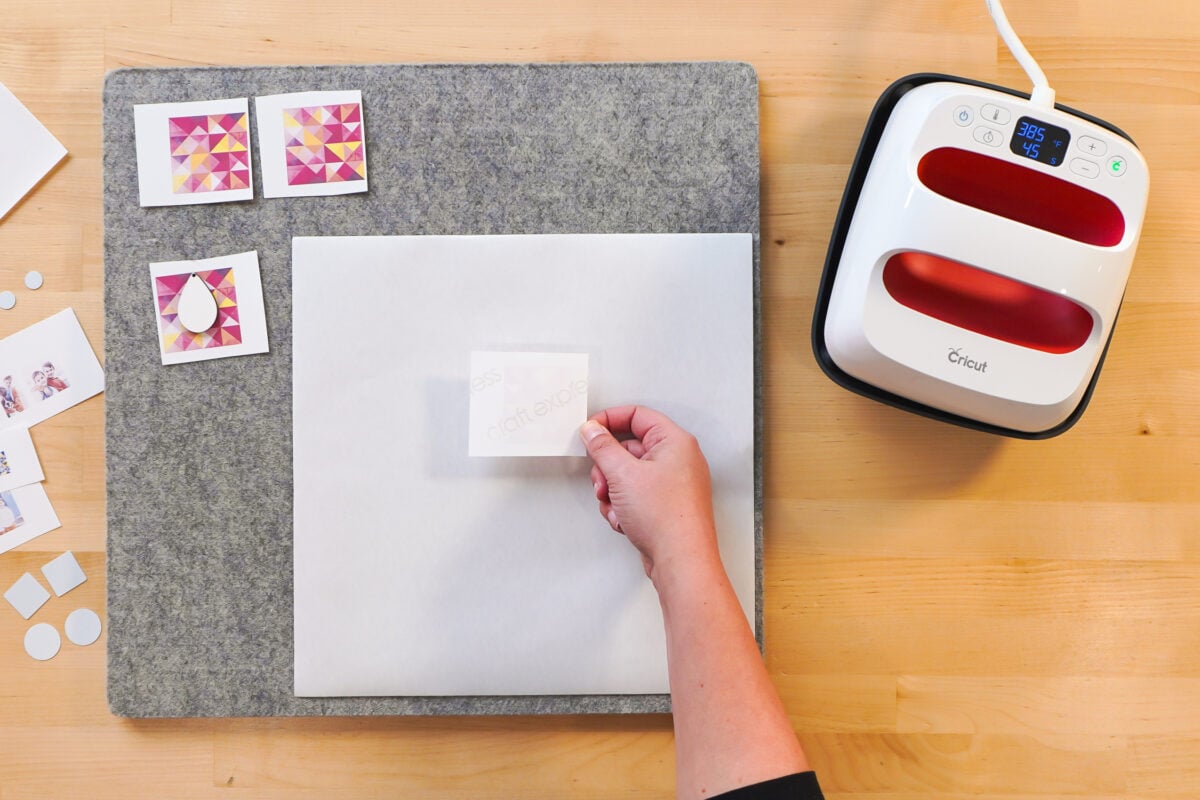
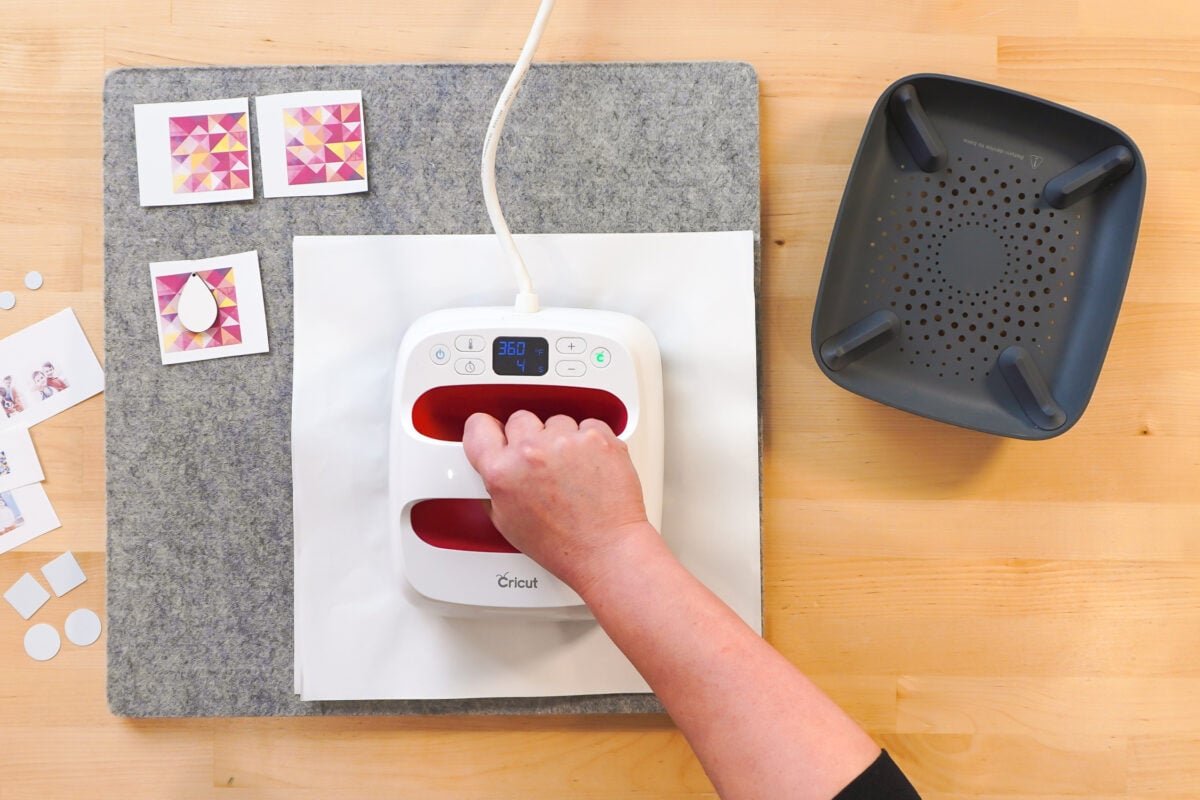
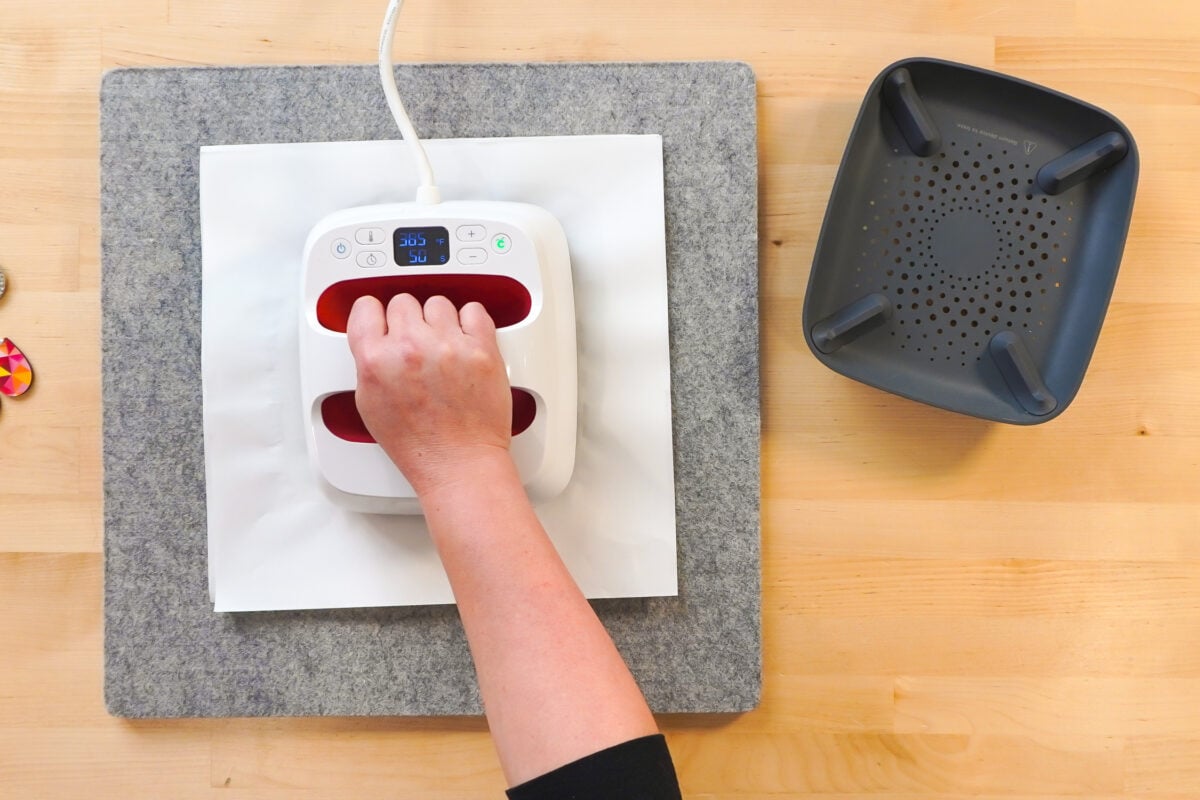
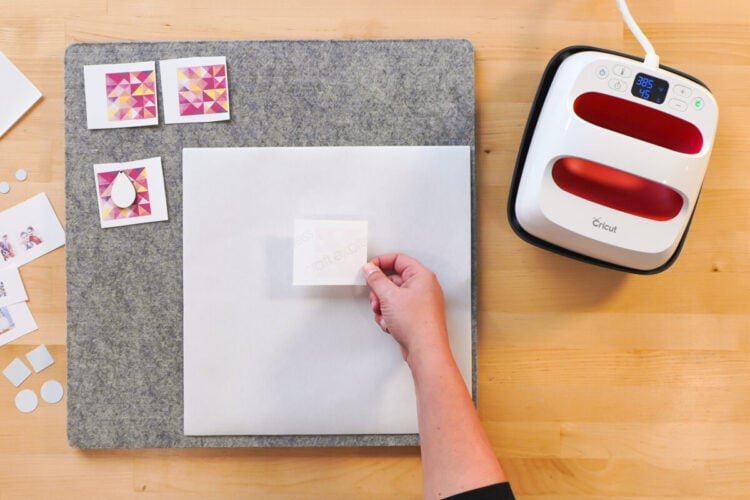
Press according to the time, temperature, and pressure settings below! Make sure to use butcher paper below and above your project to keep your ink from transferring to your press.
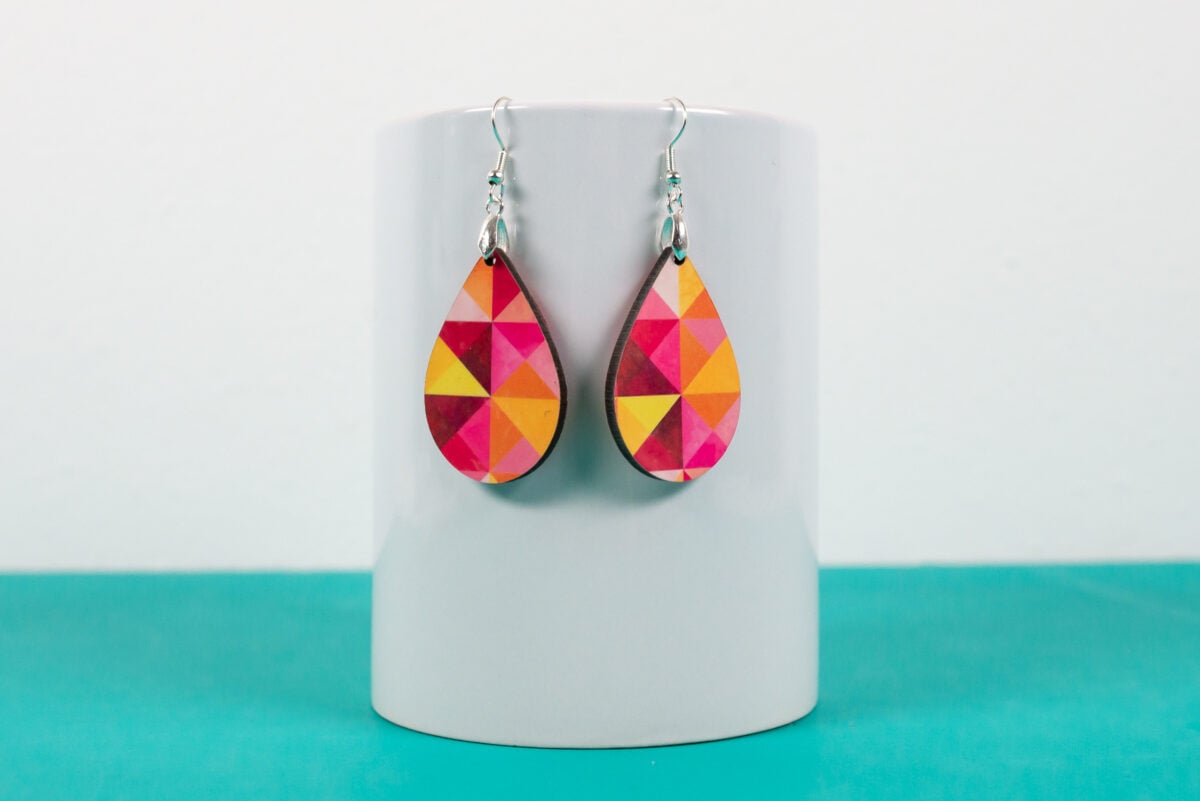
Sublimation Dangle Earrings
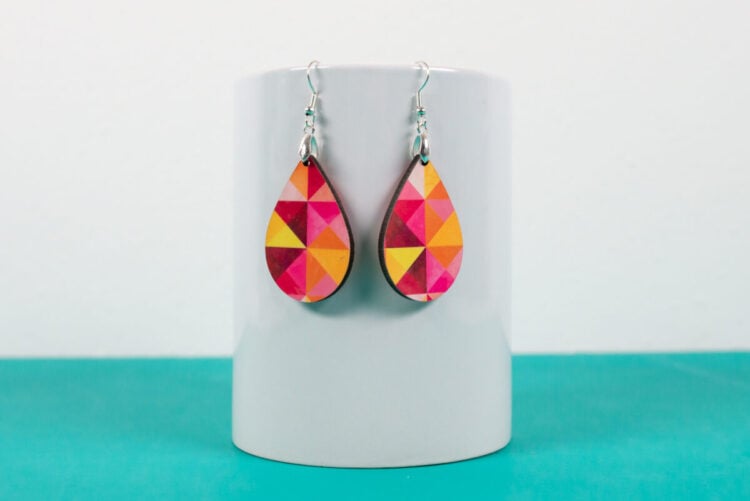
Let’s start with these dangle earrings. These have been around for a while but they are super fun to match to your outfit and are super easy to make. These are a great money-maker as well. They aren’t expensive to buy and they are easy to transport to and from craft shows or to ship if you’re selling online.
You can do both sides, one at a time. Press the first side with the blank facing up and the image facing down. Then flip and press the second side.
- Sublimation dangle earrings
- 360°
- 40 seconds
- Medium pressure
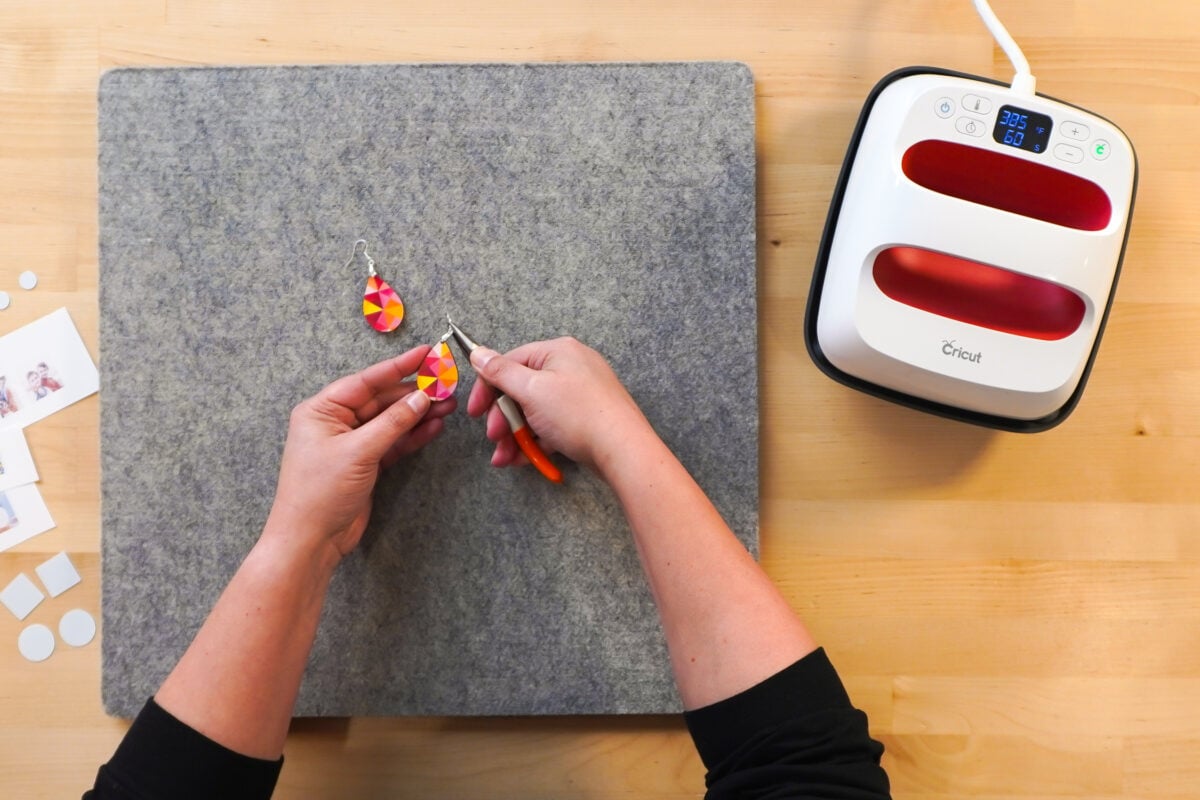
To assemble, just use jewelry pliers to add the earring findings to the earrings.
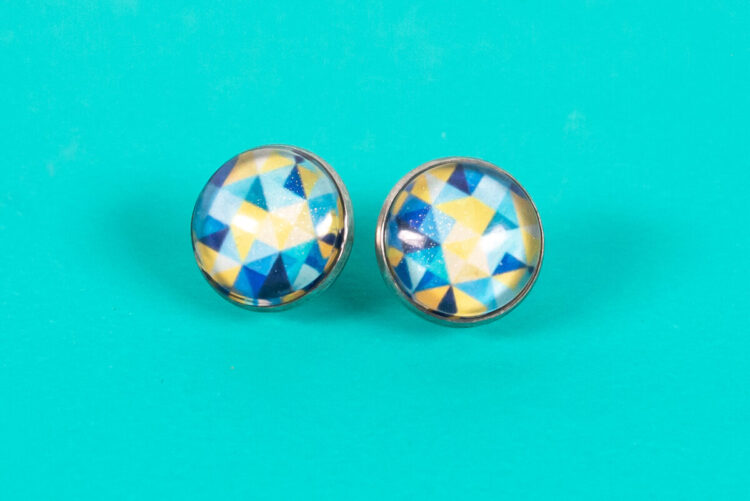
Sublimation Stud Earrings
These little stud earrings would be so cute with little kawaii characters or pictures of the grandkids! These are a bit more difficult to assemble and I didn’t follow their instructions fully.
To start, there is a bag of sublimation pieces and adhesive circles. The sublimation pieces are silver on one side and a sort of shimmery bright white on the other. You’ll want to sublimate that bright white side.
- Sublimation stud earrings
- 385°
- 60 seconds
- Medium pressure

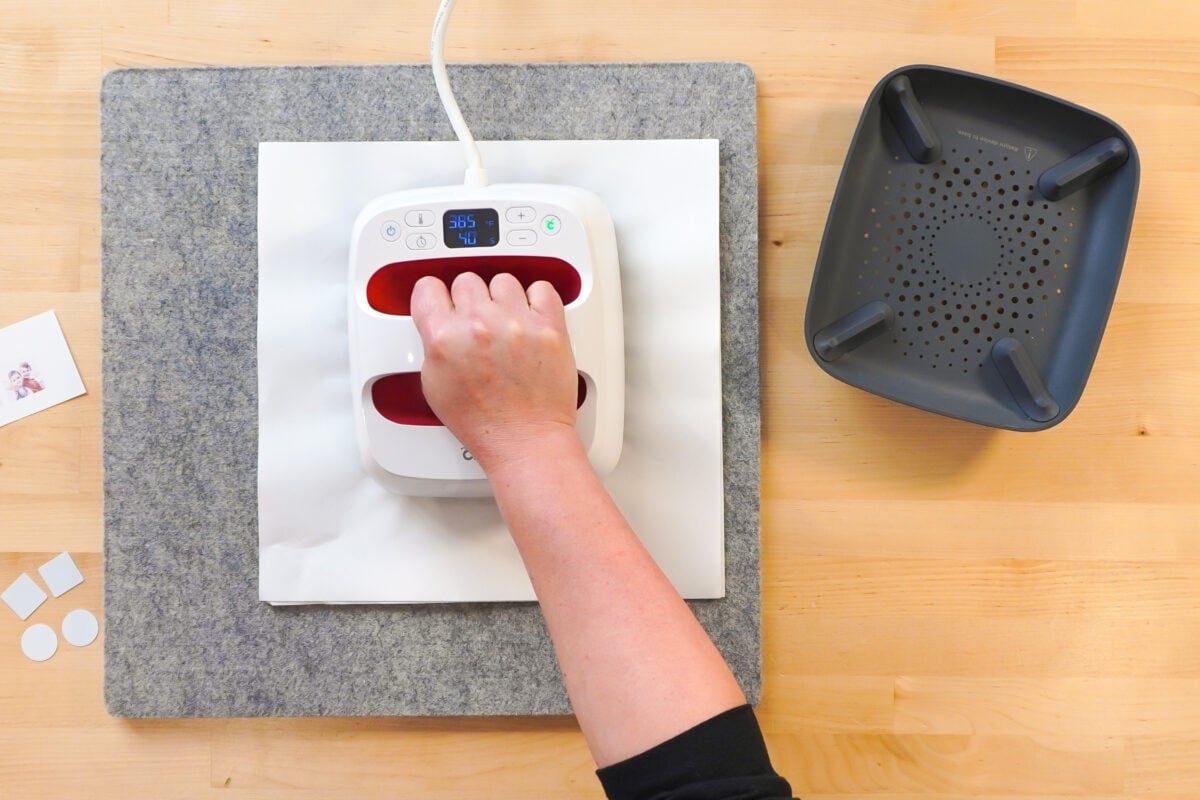
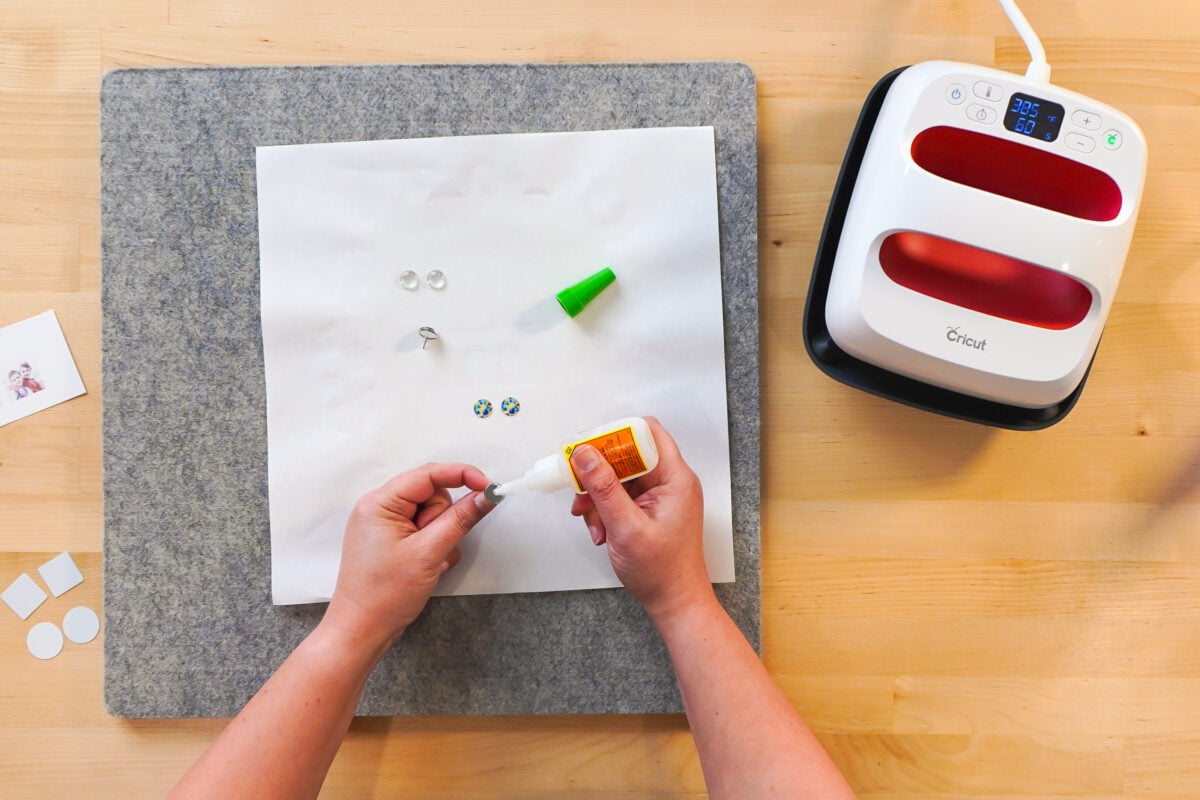
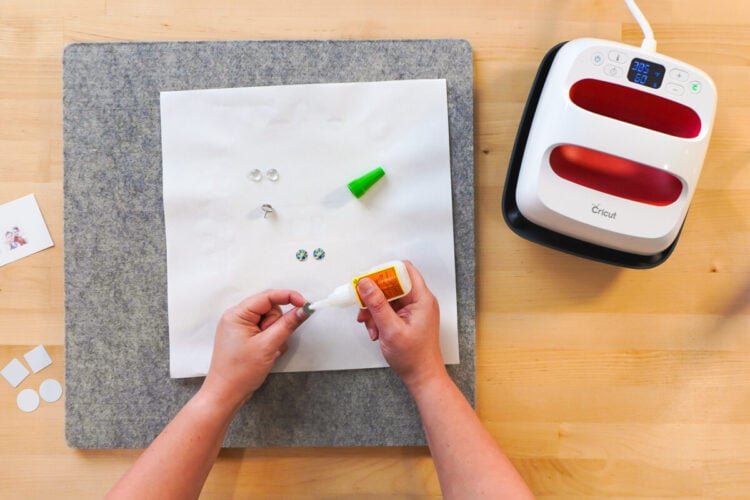
To assemble, I ditched the adhesive circles and just used a tiny drop of super glue instead to seal the sublimation image in the earring back.
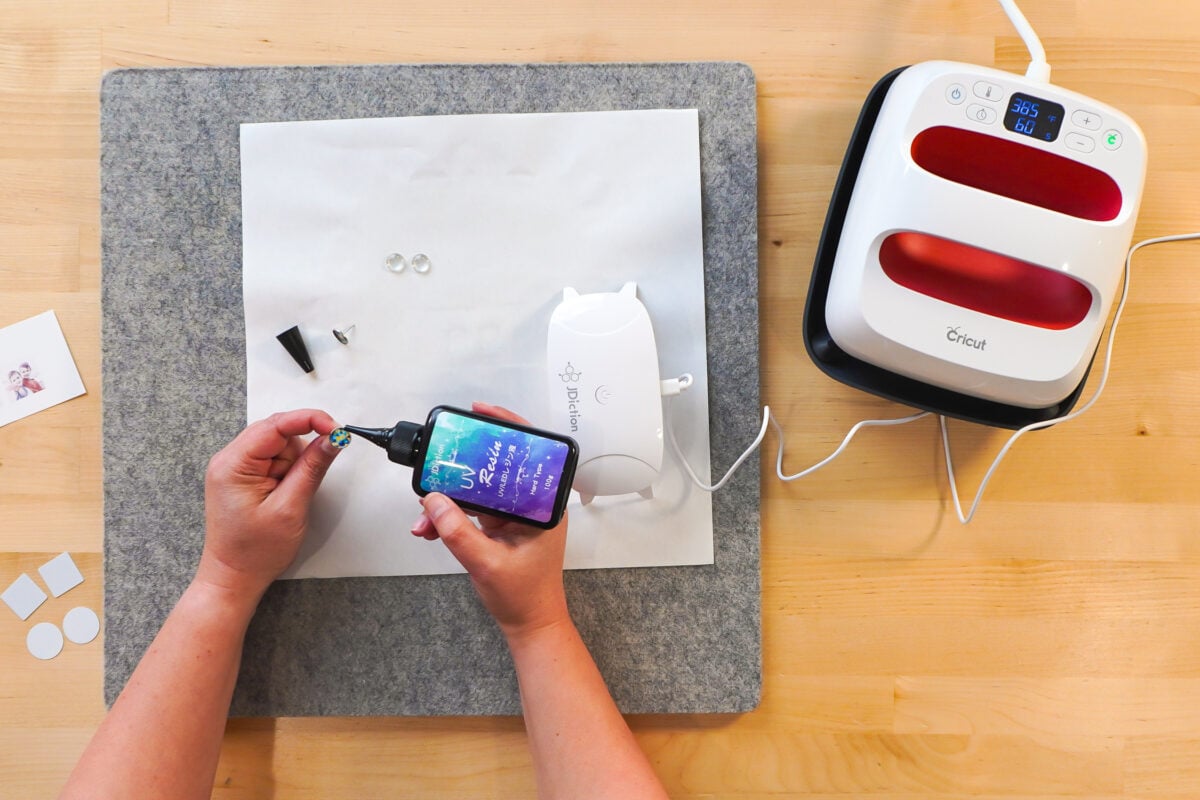
And then instead of using glue to adhere the glass cabochon on top of the sublimation image, I used a small dot of UV resin. Yes this is more difficult and requires you to buy a UV resin kit, but I found that the UV resin was completely invisible whereas glue made my image cloudy.
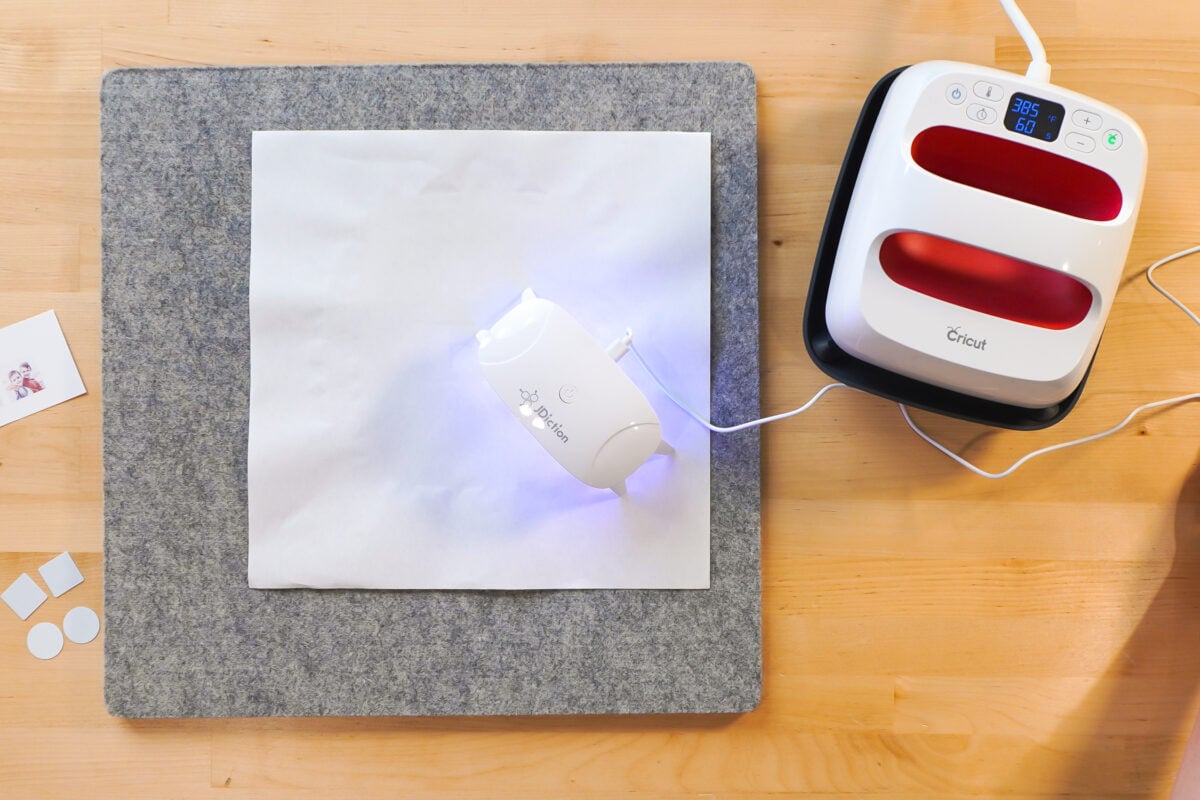
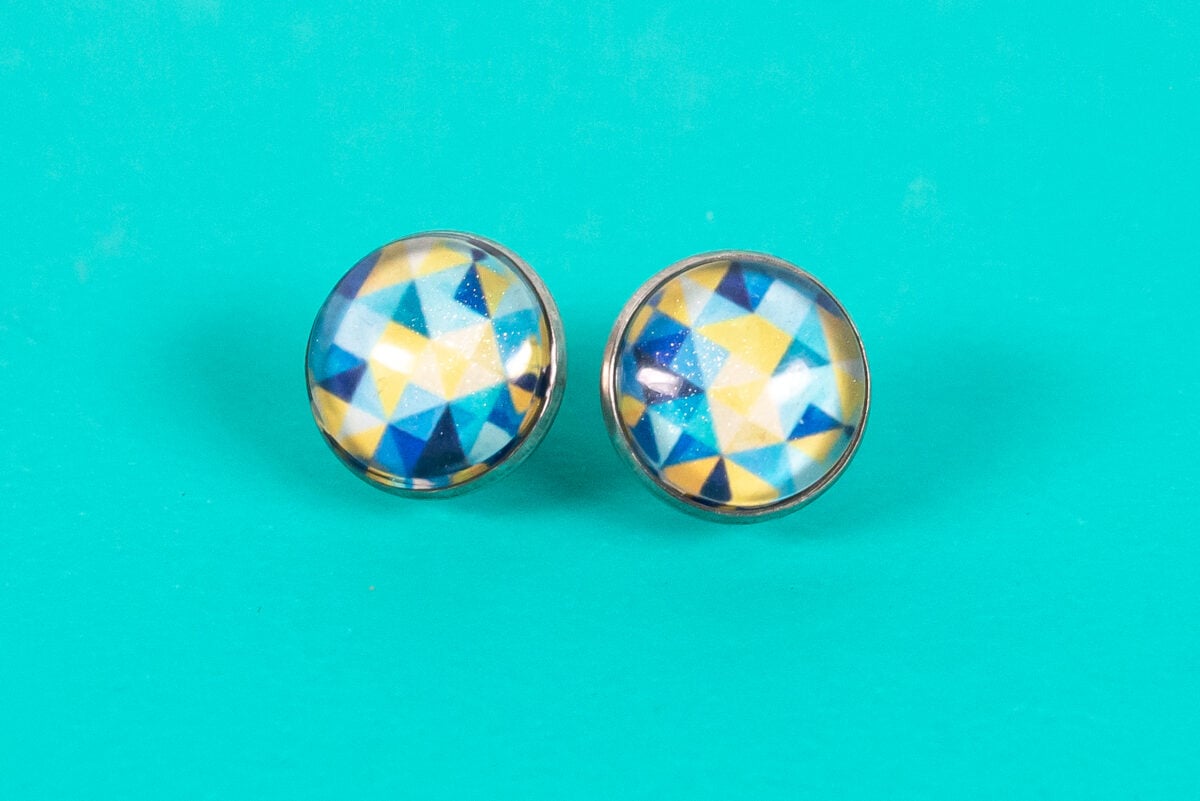
Double-Sided Sublimation Rhinestone Necklace
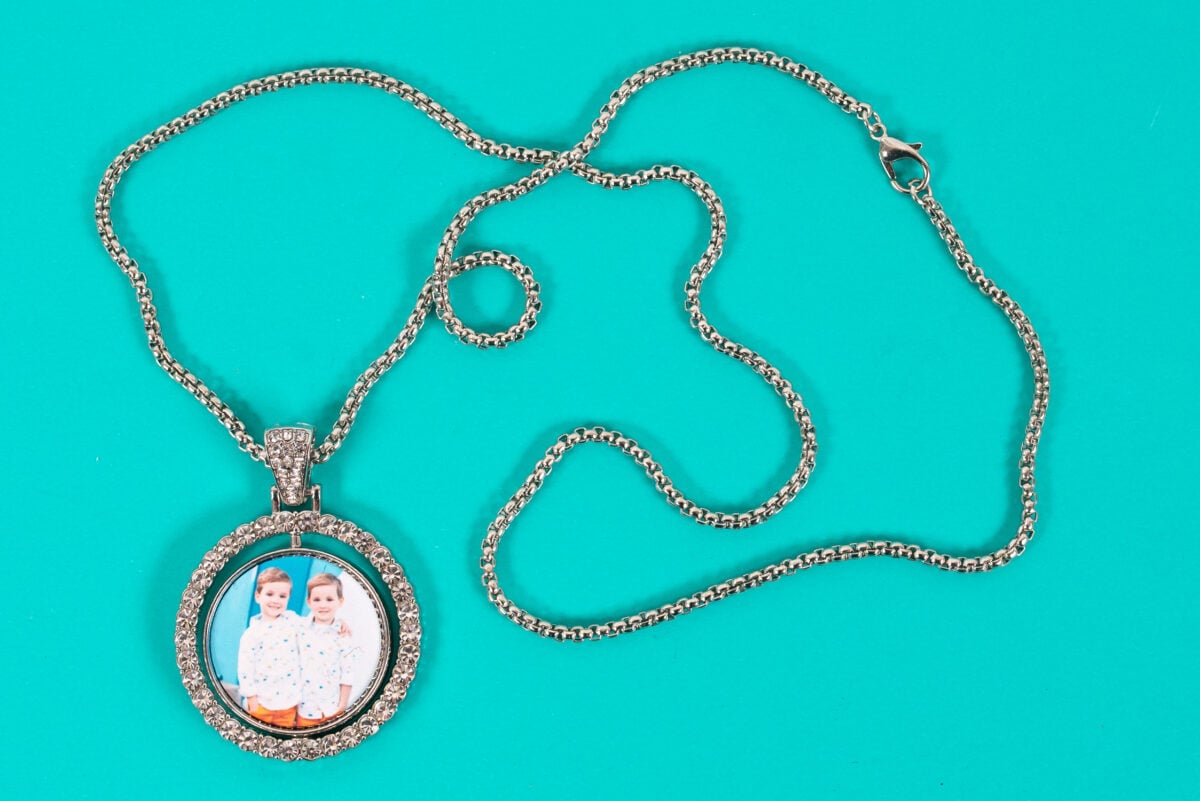
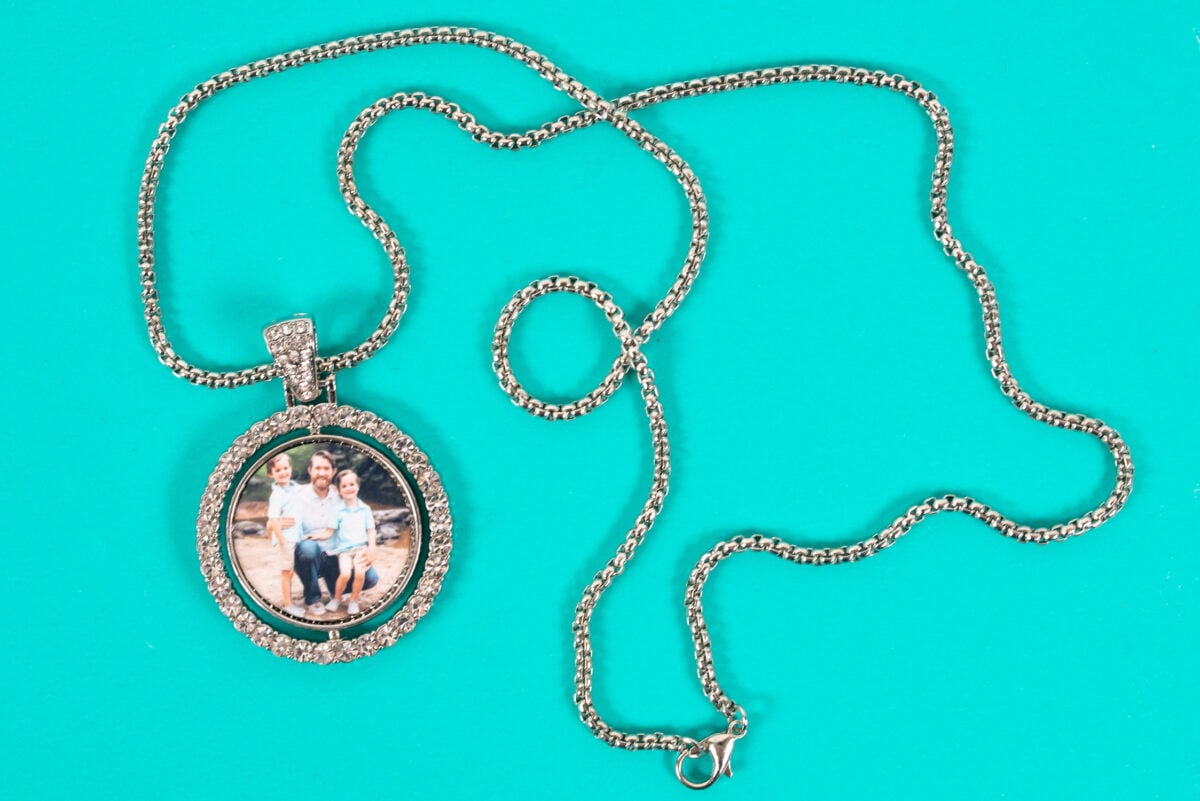
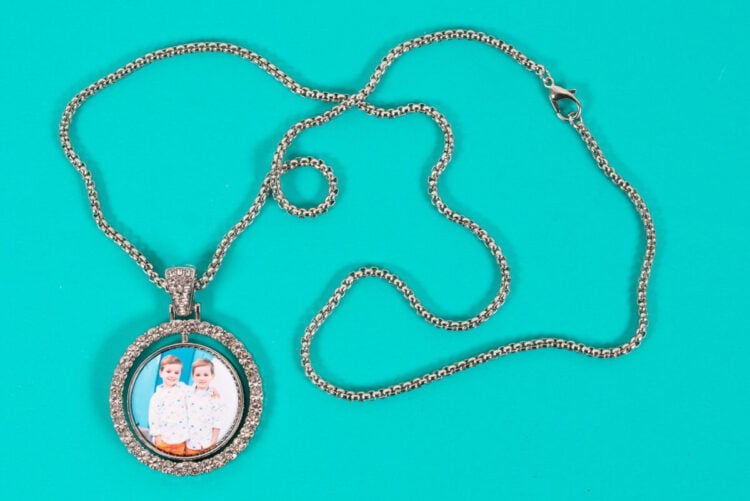
If you want a little sparkle, there is a lot of rhinestone sublimation jewelry to choose from! I chose this bling necklace which is actually double-sided. Unlike the dangle earrings above, though, you’ll sublimate each disk individually. I did them at the same time.
- Sublimation rhinestone necklace
- 385°
- 60 seconds
- Medium pressure
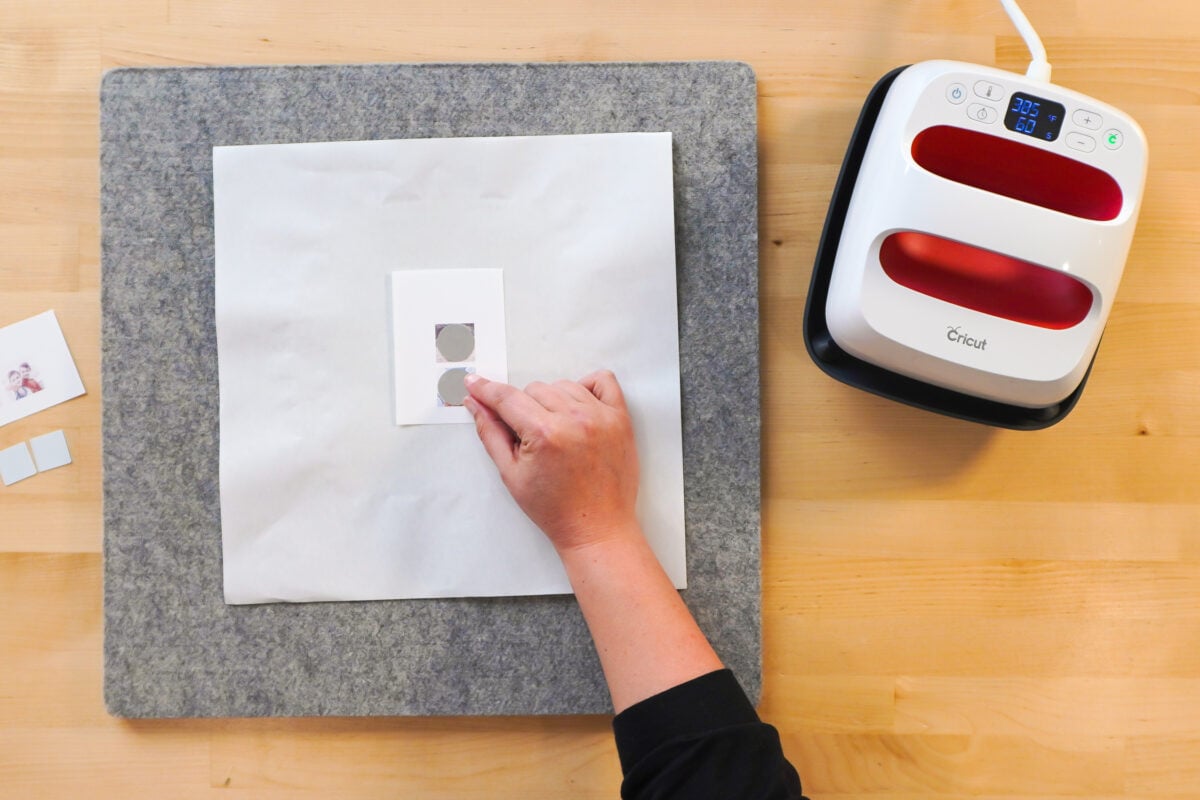
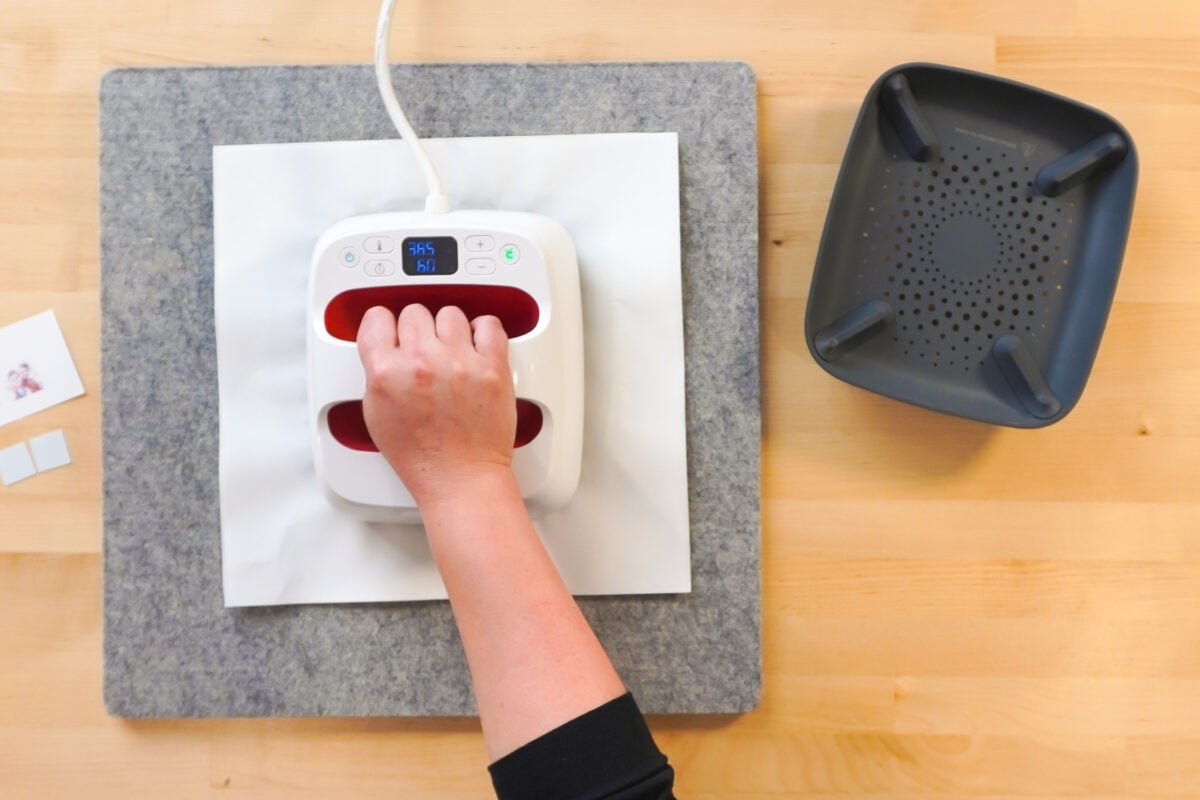
To assemble, you can use the adhesive circles that come with the necklaces, but I found it easier to use a tiny dot of glue. Glue the disks you sublimated to each side of the necklace, taking care to make sure your images are straight up and down.
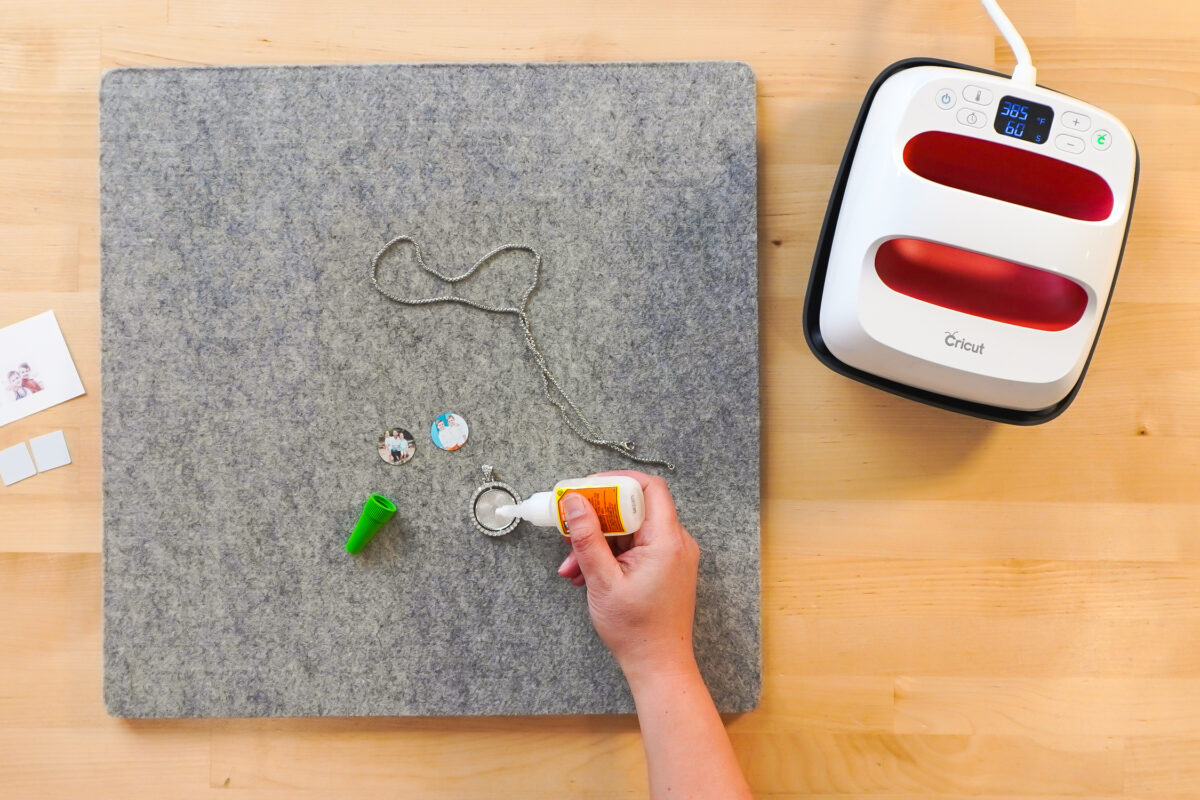
Add the chain and you’re done!
Sublimation Charm Bracelet
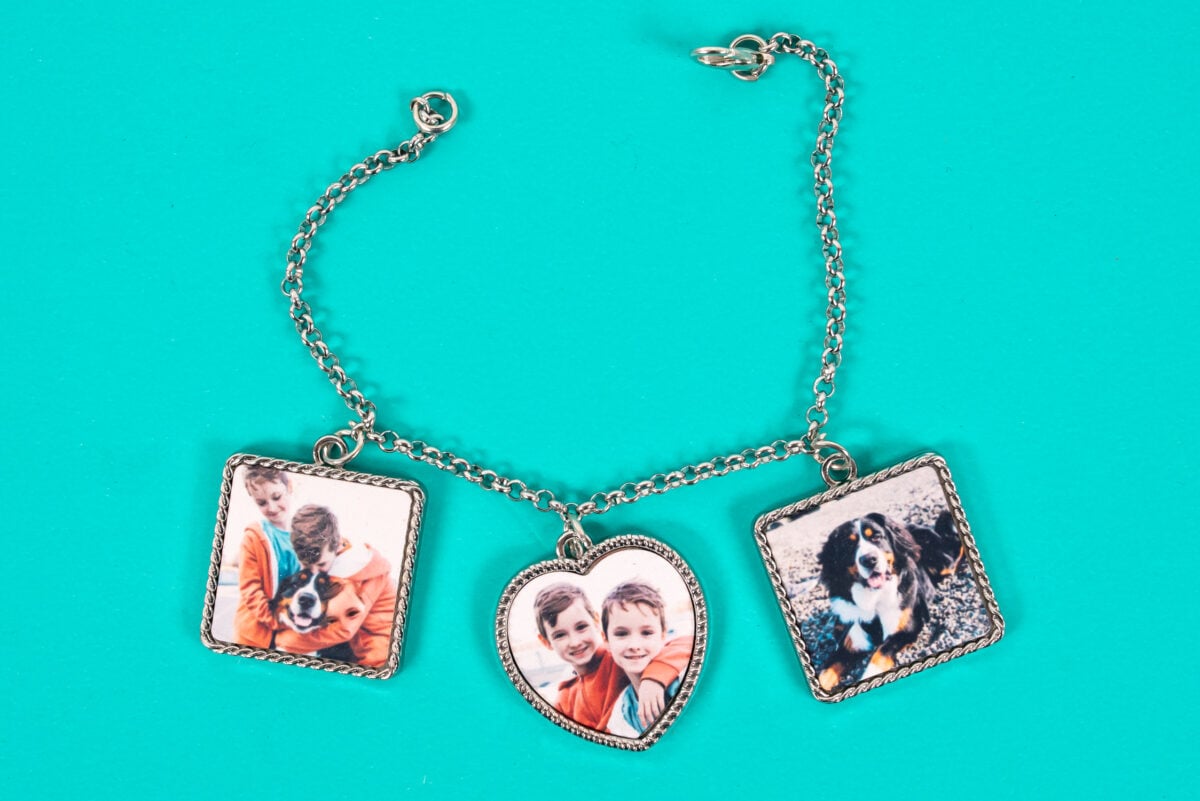
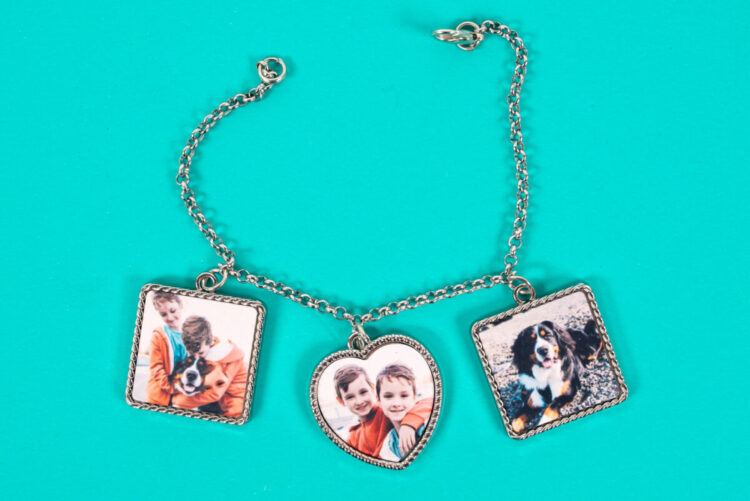
Finally we have a sublimation charm bracelet! I feel like this would be great for a grandma with photos of all the grandkids or for a mom who always wants to have her littles close to her heart.
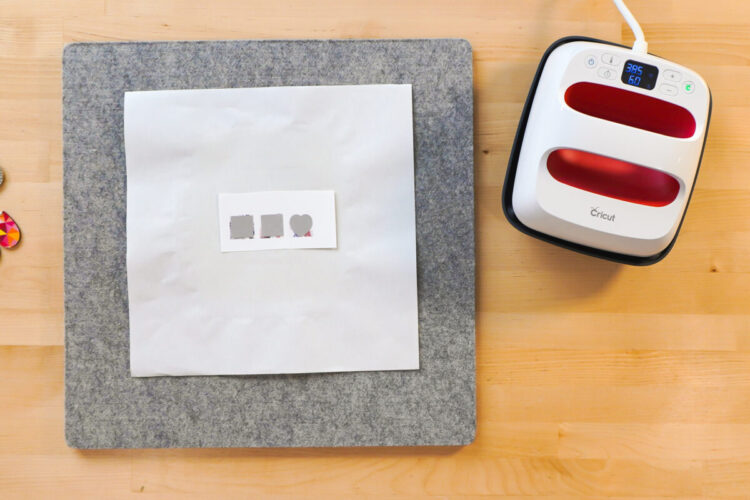
For these, there’s just a single sublimation square/heart disk for each charm, three charms in all. I pressed them all at the same time.
- Sublimation charm bracelet
- 385°
- 60 seconds
- Medium pressure
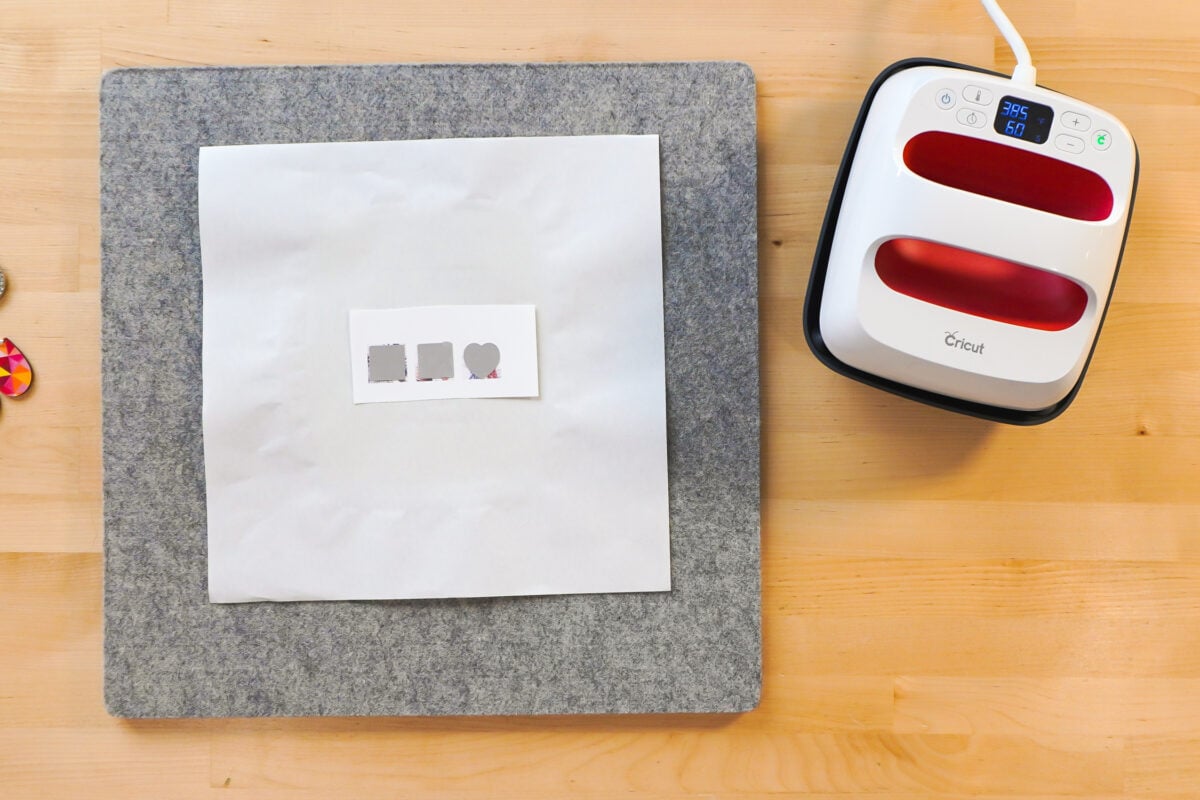
These are super easy to assemble—just peel back the backing on the adhesive piece inside each charm.
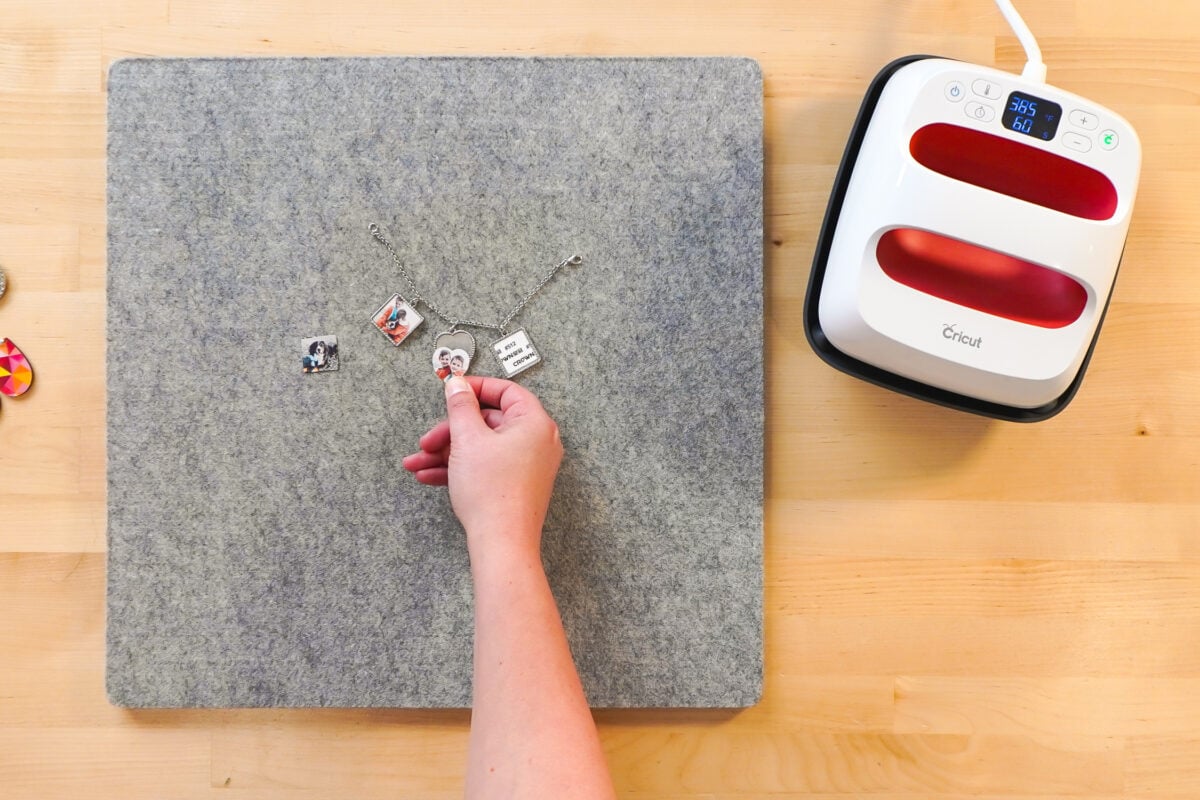
Place your sublimated image for each and you’re good to go!
Hope you felt inspired by this post to make your own sublimation jewelry! I would love to hear what sort of projects you’re making with sublimation down in the comments.

SUBLIMATION JEWELRY
Supplies
Instructions
- Print your sublimation files. You can size down your images to be small to fit the different jewelry pieces and put them all on a single sheet of paper so as to not waste extra paper.

- Prepare the sublimation jewelry by removing the plastic film from the sublimatable surfaces. Every piece of jewelry used in this project had had a coating, and some were hard to see. Using a weeding hook is super helpful!

- Clean the blank using some alcohol and a microfiber cloth. A lint roller can be used as well.

- Tape the blank (the white sublimation piece) to the transfer using heat-resistant tape or heat-resistant spray adhesive. Spray was found to be a lot easier on these little blanks, but tape works as well.Press according to the time, temperature, and pressure settings as shown below for each project. Make sure to use butcher paper below and above your project to keep your ink from transferring to your press.

- Sublimation Dangle Earrings: Both sides can be done at one time. Press the first side with the blank facing up and the image facing down. Then flip and press the second side. 360° – 40 seconds – Medium pressure

- Assemble by using a jewelry pliers to add the earring findings to the earrings.

- Sublimation Stud Earrings: To start, there is a bag of sublimation pieces and adhesive circles. The sublimation pieces are silver on one side and a sort of shimmery bright white on the other. Sublimate the bright white side. 385° – 60 seconds – Medium pressure

- To assemble, ditch the adhesive circles and just used a tiny drop of super glue instead to seal the sublimation image in the earring back.

- And then instead of using glue to adhere the glass cabochon on top of the sublimation image, use a small dot of UV resin. Yes this is more difficult and requires you to buy a UV resin kit, but the UV resin is completely invisible whereas glue makes the image cloudy.

- Double-Sided Sublimation Rhinestone Necklace: This bling necklace is double-sided. Unlike the dangle earrings above, though, you'll sublimate each disk individually. I did them at the same time. 385° – 60 seconds – Medium pressure

- To assemble, you can use the adhesive circles that come with the necklaces, but found that it is easier to use a tiny dot of glue. Glue the disks you sublimated to each side of the necklace, taking care to make sure your images are straight up and down. Add the chain and you're done!

- Sublimation Charm Bracelet: For these, there's just a single sublimation square/heart disk for each charm, three charms in all. They can be pressed all at the same time. 385° – 60 seconds – Medium pressure

- These are super easy to assemble—just peel back the backing on the adhesive piece inside each charm. Place your sublimated image for each and you're good to go!



Comments & Reviews
Liv says
Your post came at the perfect time for me! I’ve been wanting to make a special charm bracelet with photos of my pets, and your tutorial made it feel so doable. On a side note, when I needed a break from crafting, I stumbled upon the Kings Loot customer service team while looking for a nice jewelry gift for my sister. They were incredibly patient and helpful, which was such a relaxing, stress-free experience compared to usual online shopping. Now I’m excited to combine my own handmade pieces with their beautiful jewelry. Thanks for the wonderful inspiration.