SUBLIMATION JEWELRY
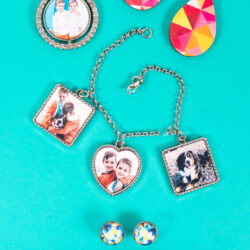
Show off your style with sublimation! Make all sorts of custom sublimation jewelry, including earrings, necklaces, and even charm bracelets!
Ingredients
Instructions
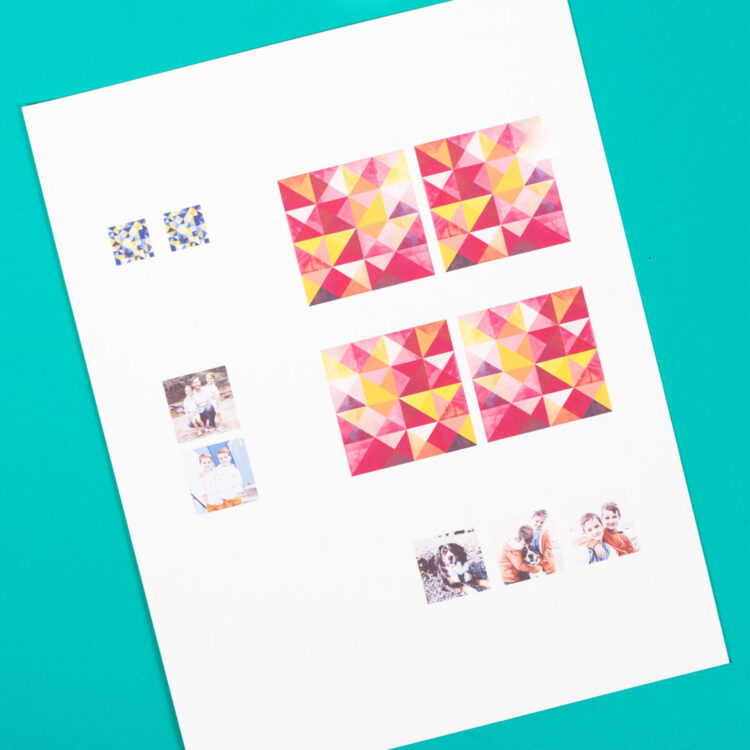
- Print your sublimation files. You can size down your images to be small to fit the different jewelry pieces and put them all on a single sheet of paper so as to not waste extra paper.
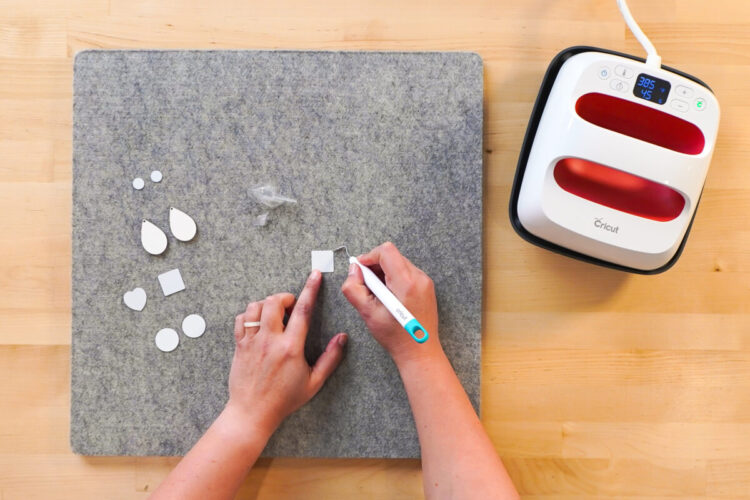
- Prepare the sublimation jewelry by removing the plastic film from the sublimatable surfaces. Every piece of jewelry used in this project had had a coating, and some were hard to see. Using a weeding hook is super helpful!
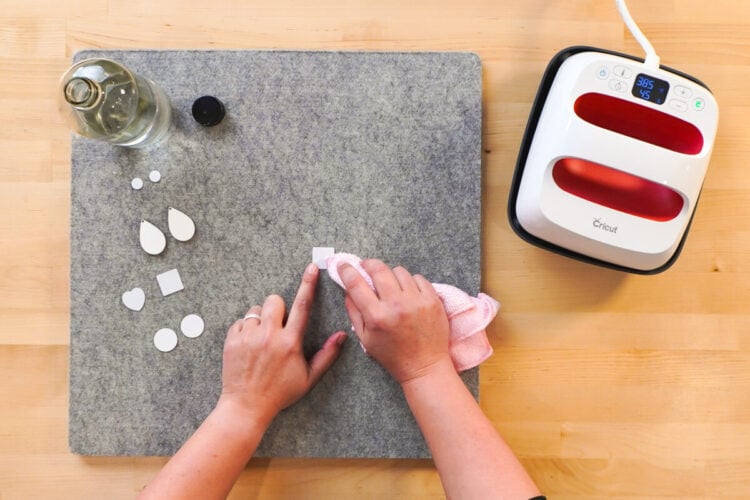
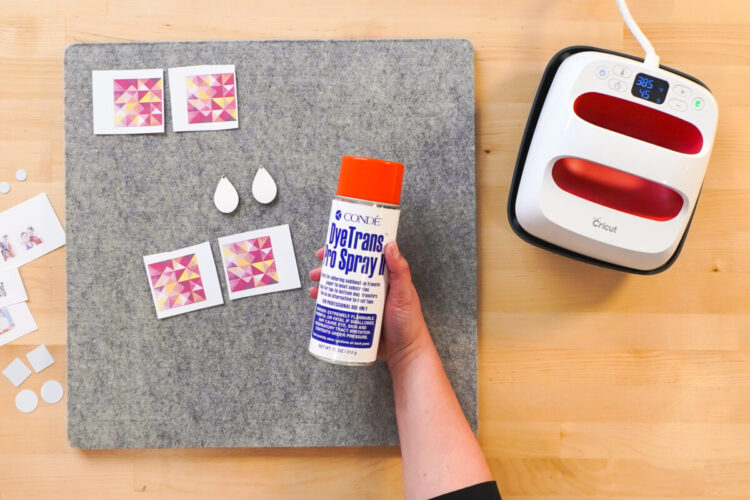
- Clean the blank using some alcohol and a microfiber cloth. A lint roller can be used as well.
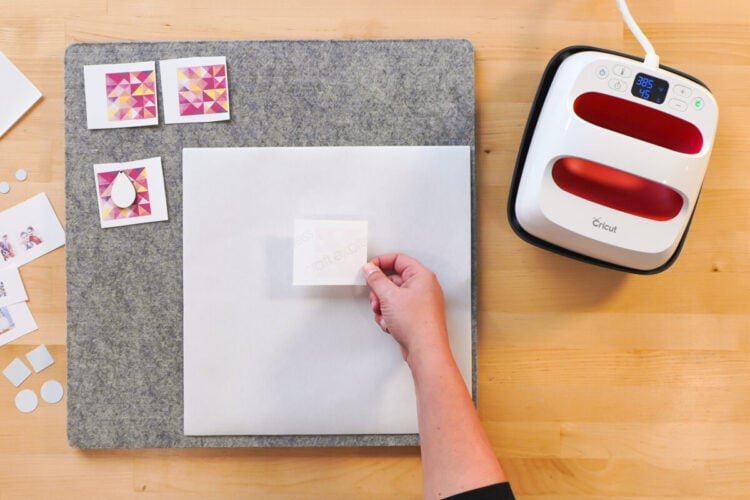
- Tape the blank (the white sublimation piece) to the transfer using heat-resistant tape or heat-resistant spray adhesive. Spray was found to be a lot easier on these little blanks, but tape works as well.Press according to the time, temperature, and pressure settings as shown below for each project. Make sure to use butcher paper below and above your project to keep your ink from transferring to your press.
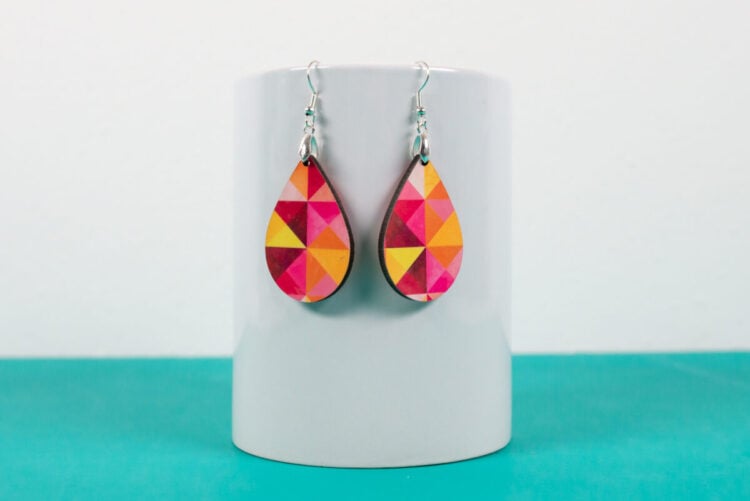
- Sublimation Dangle Earrings: Both sides can be done at one time. Press the first side with the blank facing up and the image facing down. Then flip and press the second side. 360° - 40 seconds - Medium pressure
- Assemble by using a jewelry pliers to add the earring findings to the earrings.
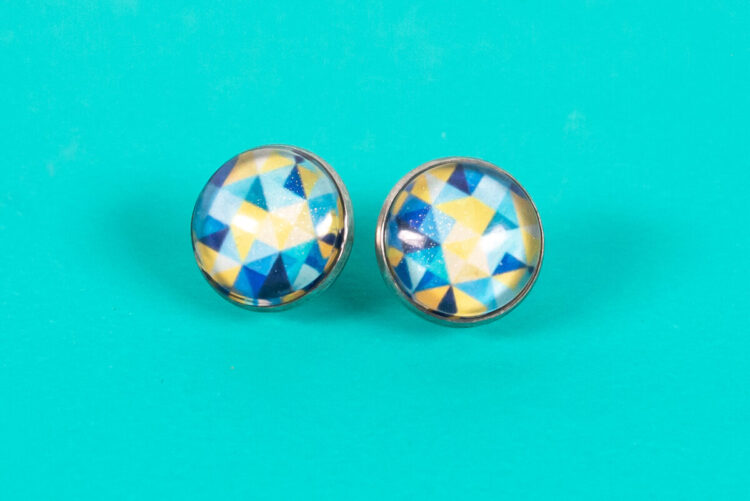
- Sublimation Stud Earrings: To start, there is a bag of sublimation pieces and adhesive circles. The sublimation pieces are silver on one side and a sort of shimmery bright white on the other. Sublimate the bright white side. 385° - 60 seconds - Medium pressure
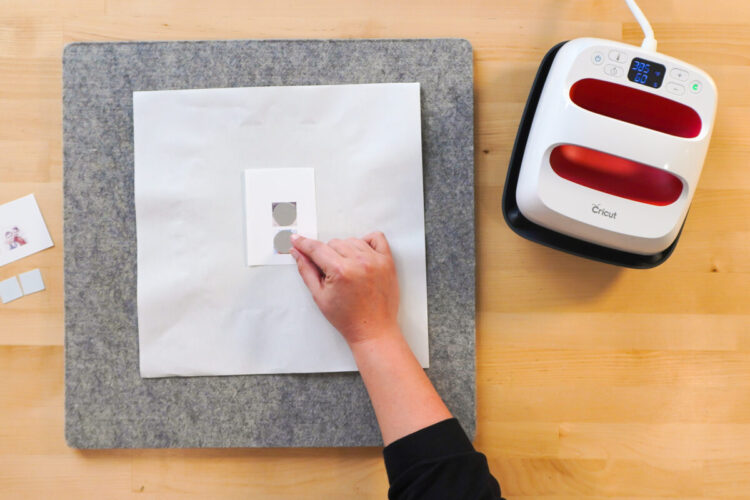
- To assemble, ditch the adhesive circles and just used a tiny drop of super glue instead to seal the sublimation image in the earring back.
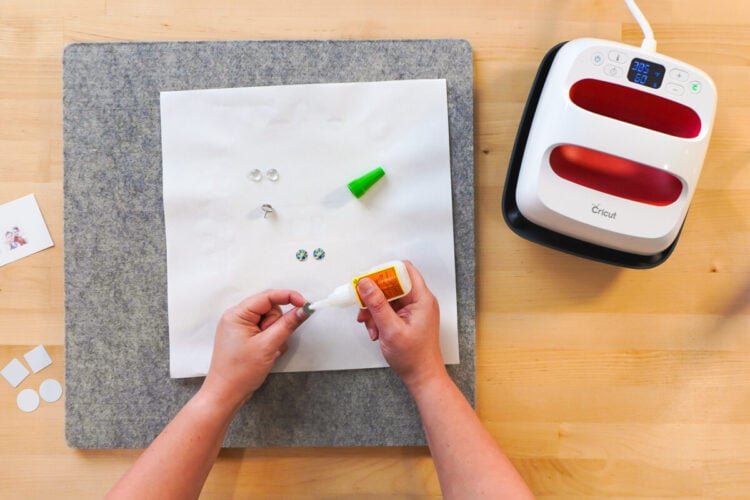
- And then instead of using glue to adhere the glass cabochon on top of the sublimation image, use a small dot of UV resin. Yes this is more difficult and requires you to buy a UV resin kit, but the UV resin is completely invisible whereas glue makes the image cloudy.
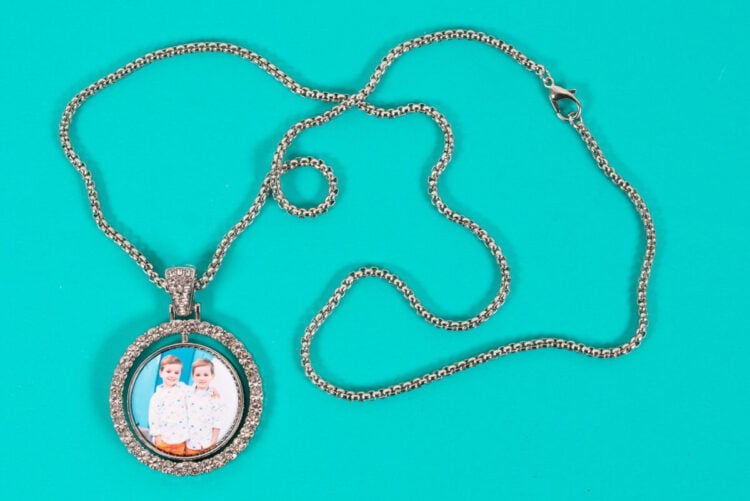
- Double-Sided Sublimation Rhinestone Necklace: This bling necklace is double-sided. Unlike the dangle earrings above, though, you'll sublimate each disk individually. I did them at the same time. 385° - 60 seconds - Medium pressure
- To assemble, you can use the adhesive circles that come with the necklaces, but found that it is easier to use a tiny dot of glue. Glue the disks you sublimated to each side of the necklace, taking care to make sure your images are straight up and down. Add the chain and you're done!
- Sublimation Charm Bracelet: For these, there's just a single sublimation square/heart disk for each charm, three charms in all. They can be pressed all at the same time. 385° - 60 seconds - Medium pressure
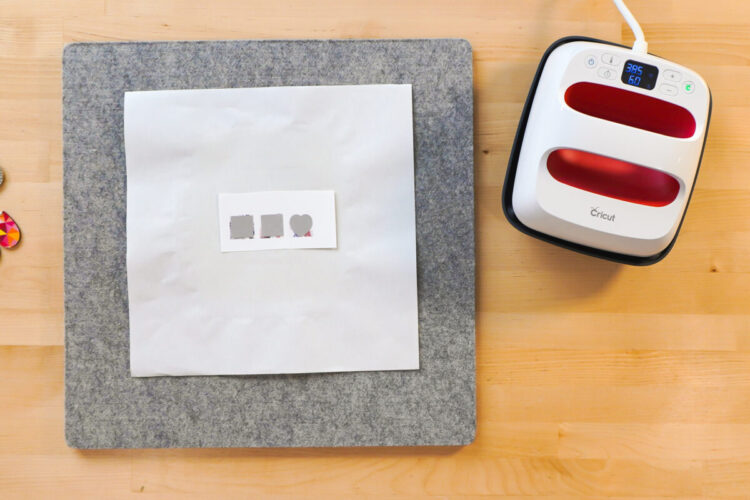
- These are super easy to assemble—just peel back the backing on the adhesive piece inside each charm. Place your sublimated image for each and you're good to go!
