If you want to try sublimation on acrylic, there are so many fun options for sublimation blanks! In this post, we’re testing five acrylic blanks to see what works…and what doesn’t!
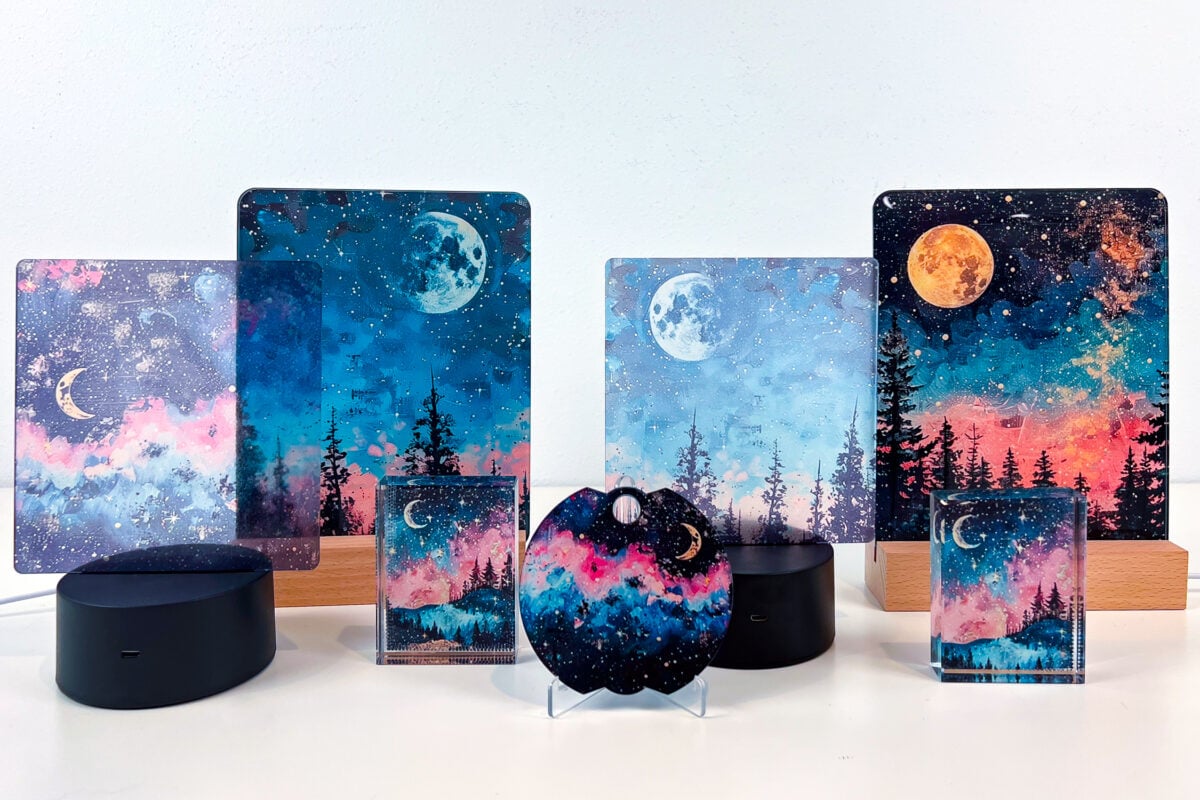
In my 2024 Sublimation Trends post, I talked about how I thought sublimation acrylic would be really popular this year. So far, I’m right! I’m seeing more and more very cool sublimation blanks for sale from all sorts of retailers and manufacturers.
Sublimating acrylic isn’t difficult, but there are some things you need to know to get started so that you don’t end up wasting a ton of blanks. I’ve done all of the testing for you, and I’m confident that I’ve found some great blanks that will have you sublimating on acrylic in no time.
I have links to all of the blanks I used below, but if you’re looking for specific sublimation acrylic shapes, check out Craft Chameleon!
I used TexPrint sublimation paper for all of these projects. I didn’t have any sticking or issues and found this printed very nicely!
If you’re new to sublimation, check out The Ultimate Guide to Sublimation Printing & Crafting or my newest print book Sublimation Crafting!
Watch the Video
Want a video walkthrough of all of the projects in this post? Just hit play below!
Get the Free Files
Want access to this free file? Join my FREE craft library! All you need is the password to get in, which you can get by filling out the form below. The file number is: S27.
Supplies for Sublimation Acrylic Blanks
Get everything you need to make this project in my Amazon Store!
- Sublimation printer
- Sublimation paper
- Sublimation tumbler toppers
- Sublimation crystal photo blanks
- Sublimation night light
- Acrylic night light
- Weeding hook
- Heat-resistant spray adhesive
- Butcher paper
- Heat press
- Stack of books (my book, Sublimation Crafting, works great!)
Printing Your Images
You can print your images using whatever sublimation software you prefer. I printed my designs to be slightly larger than my blanks so I would make sure the design would bleed off the edges.
Here’s the thing you must know about sublimation on acrylic blanks: DO NOT MIRROR YOUR IMAGE. Most sublimation requires mirroring, but because we’re pressing our blanks from the back, you do not want to mirror your images before printing.
Preparing Acrylic Blanks
All of the acrylic blanks I used are prepared in the same way.
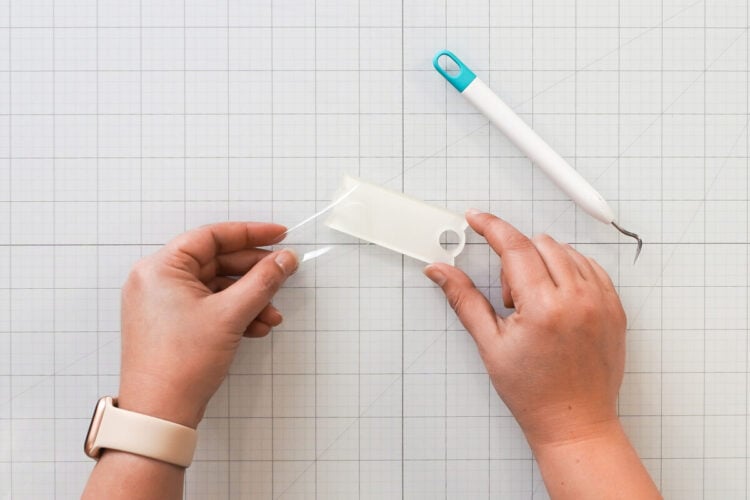
Start by removing any plastic film covering the surface of your blank (see specific blanks below). If you leave that plastic film on, it will melt and ruin your project. You can use a weeding hook, but be careful not to scratch your blank. A plastic razor blade or popsicle stick also work.
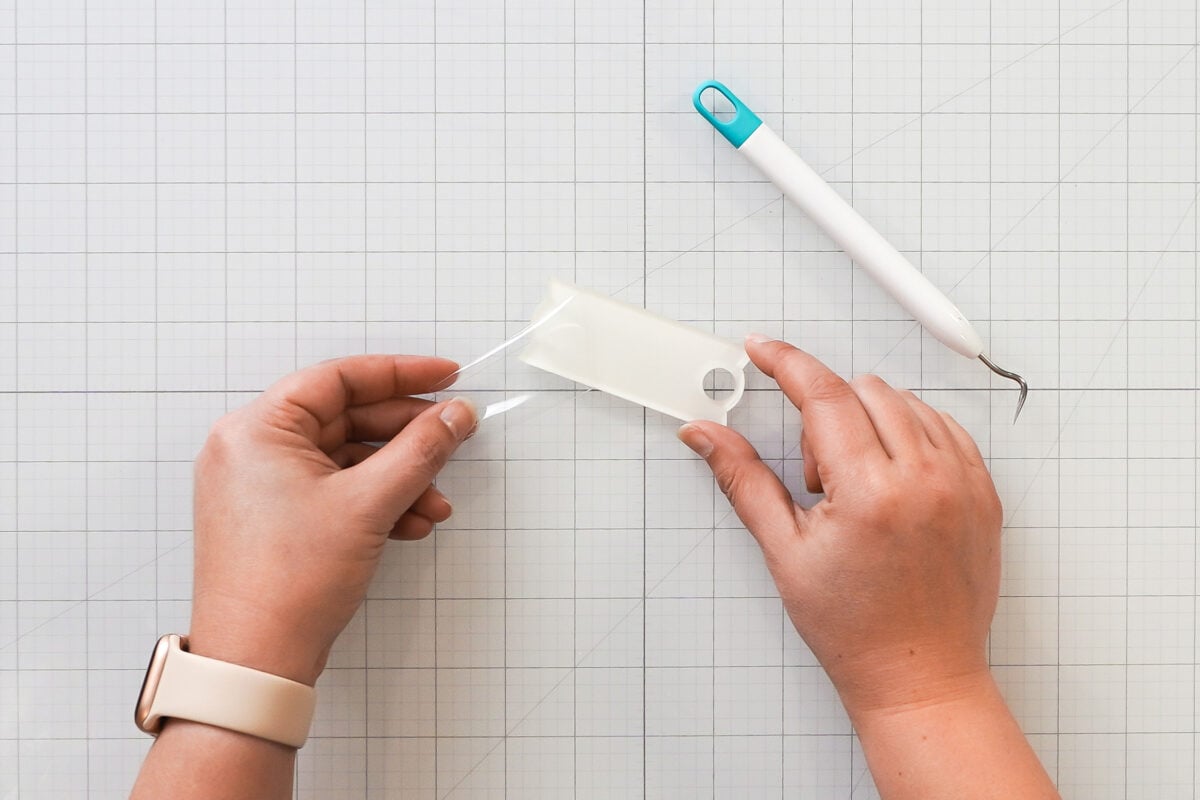
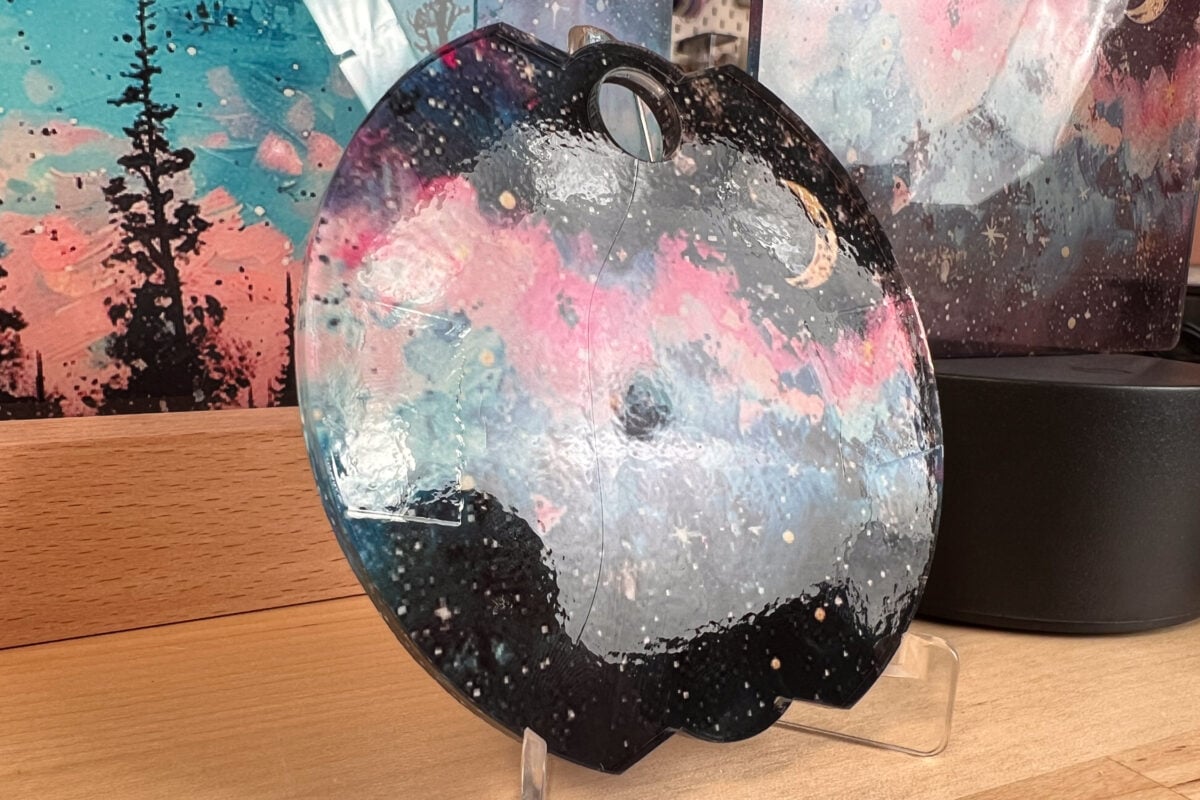
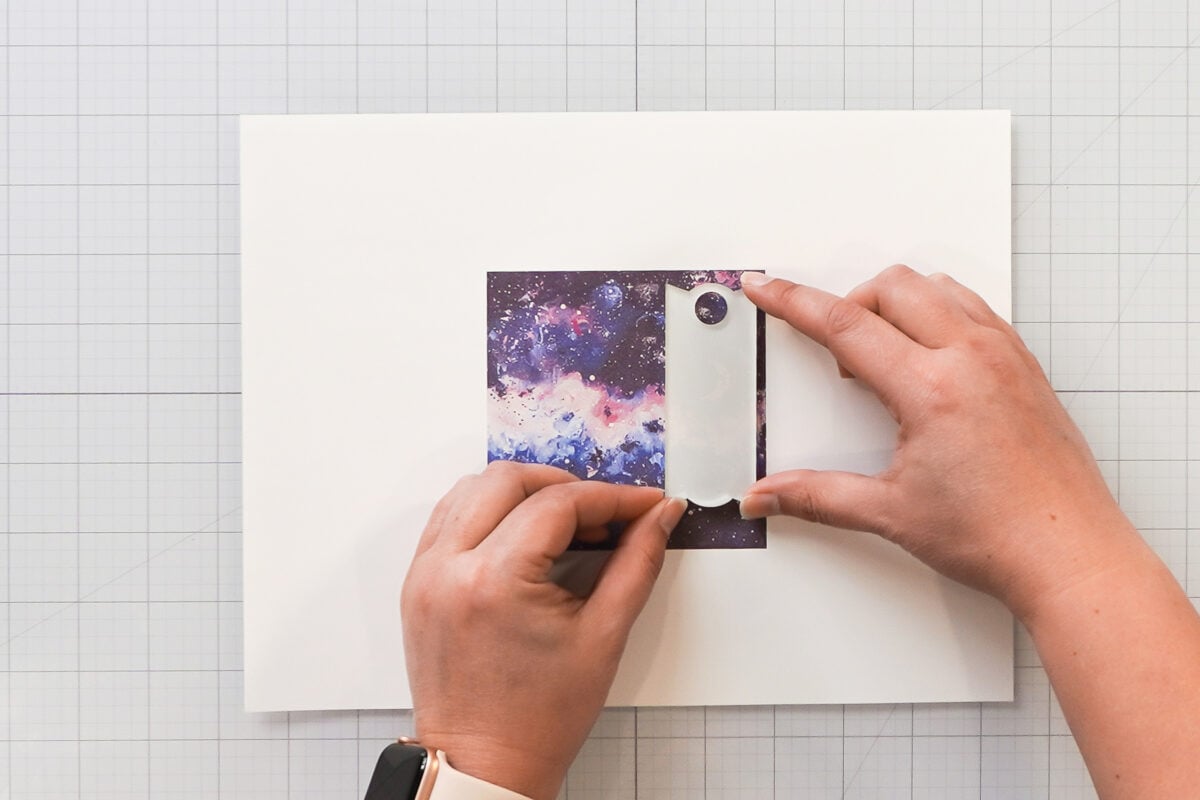
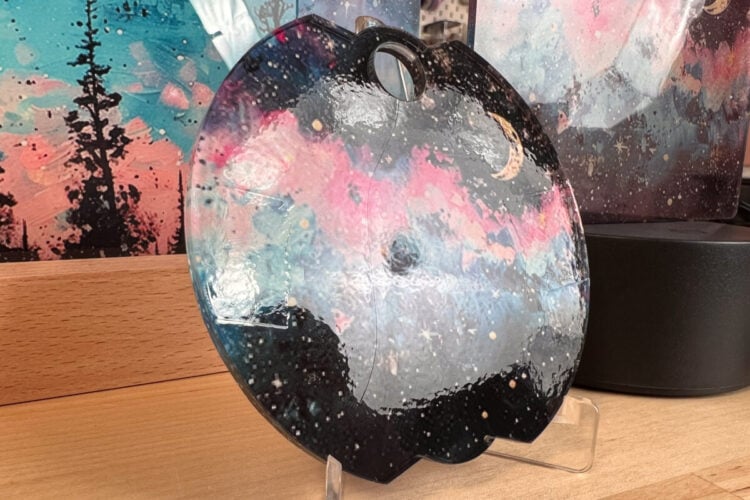
Next you’ll need to adhere your blank to your printed sublimation image. For most blanks I use tape. But tape can leave ugly imprints in the acrylic, as you can see here.
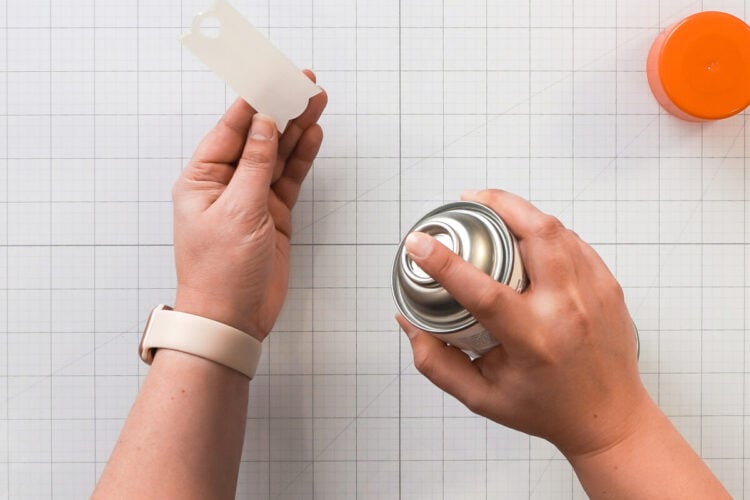
So you may want to use a spray adhesive instead. I am using ProSpray II but it’s been out of stock. Heat Transfer Warehouse has budget-friendly option as well. Add a light spray or two to the white sublimatable side of the acrylic.
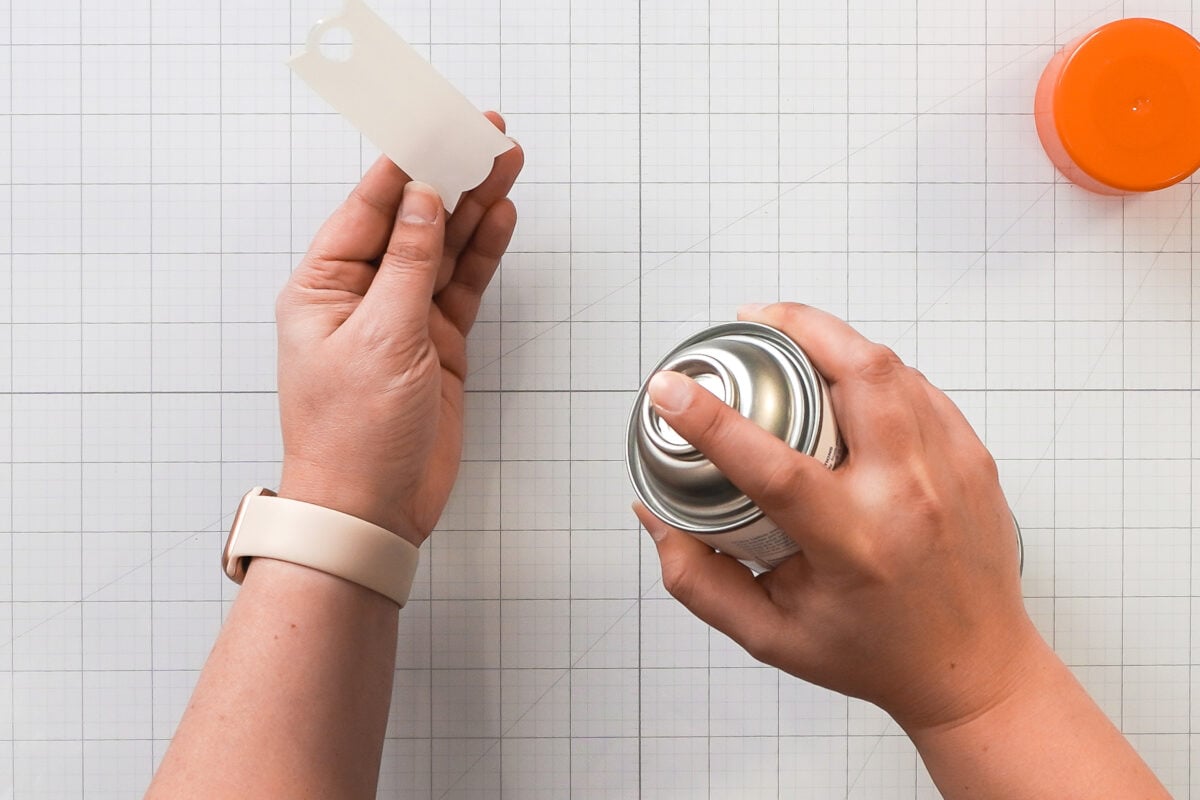
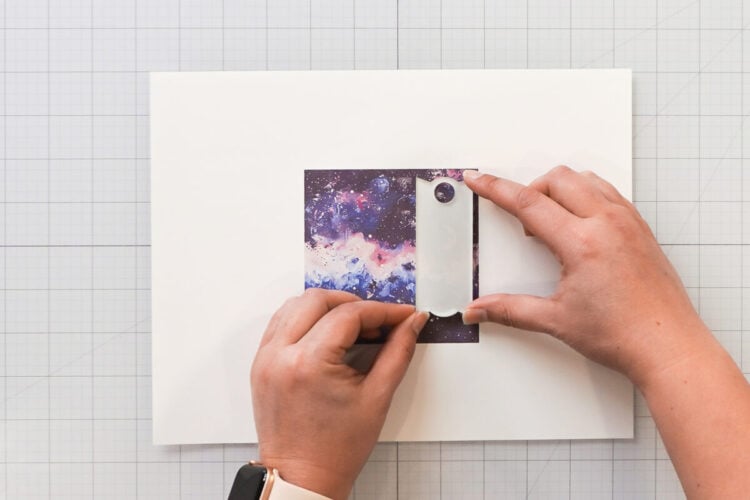
Then place your blank down onto your image. The spray should hold it in place.
Pressing Your Sublimation Images
All of the blanks are pressed in the same way. Specific time and temperature settings are below for each blank. Start by adjusting your press to the right thickness before it heats up. You want light to medium pressure for all of the blanks.
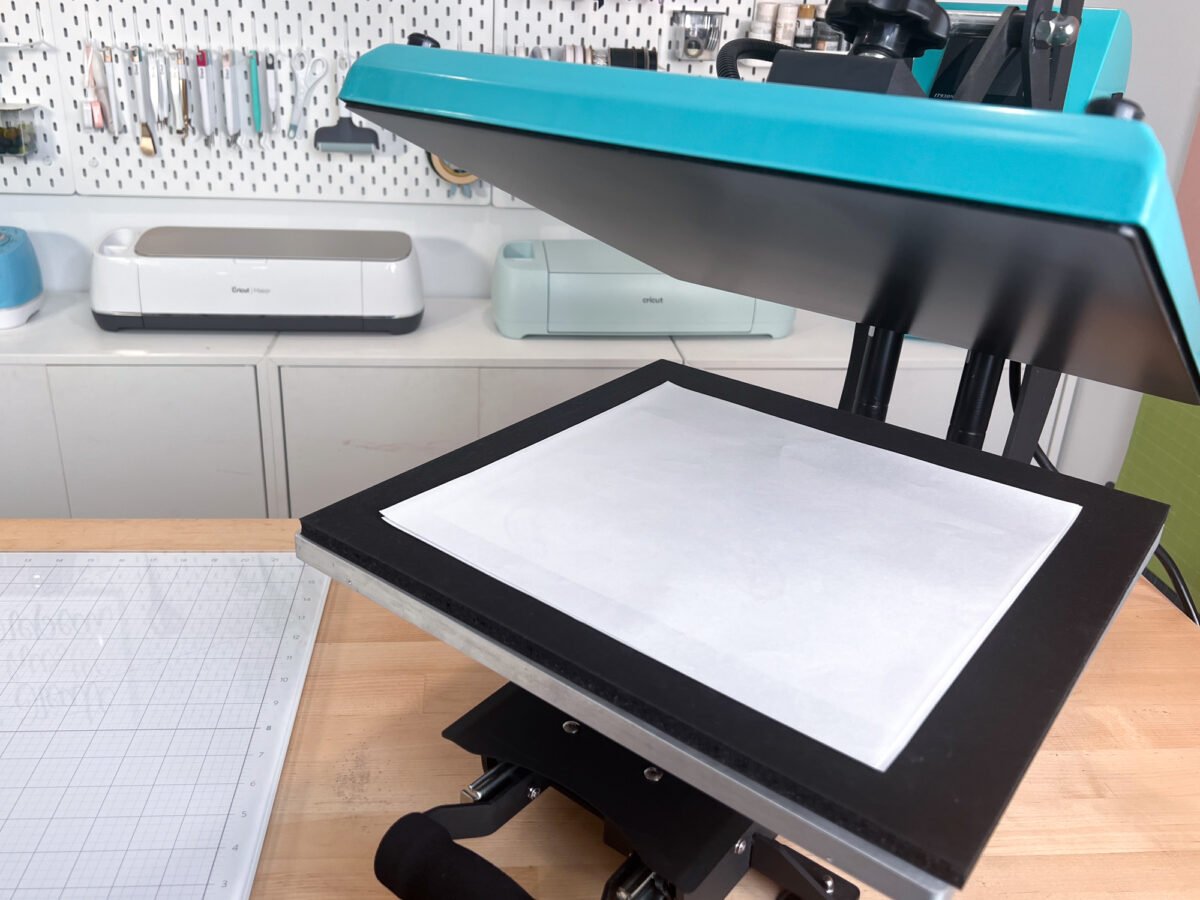
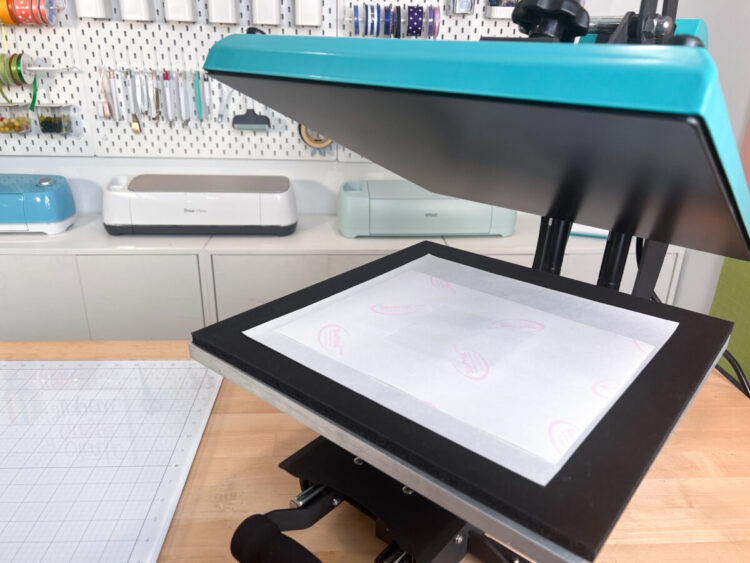
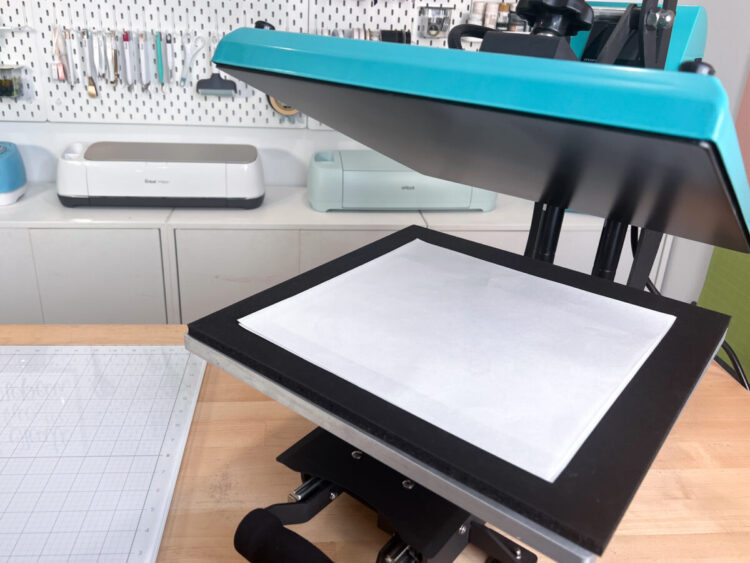
Place a piece of butcher paper on the bottom of your heat press. Then place your blank facing UP with the image facing DOWN.
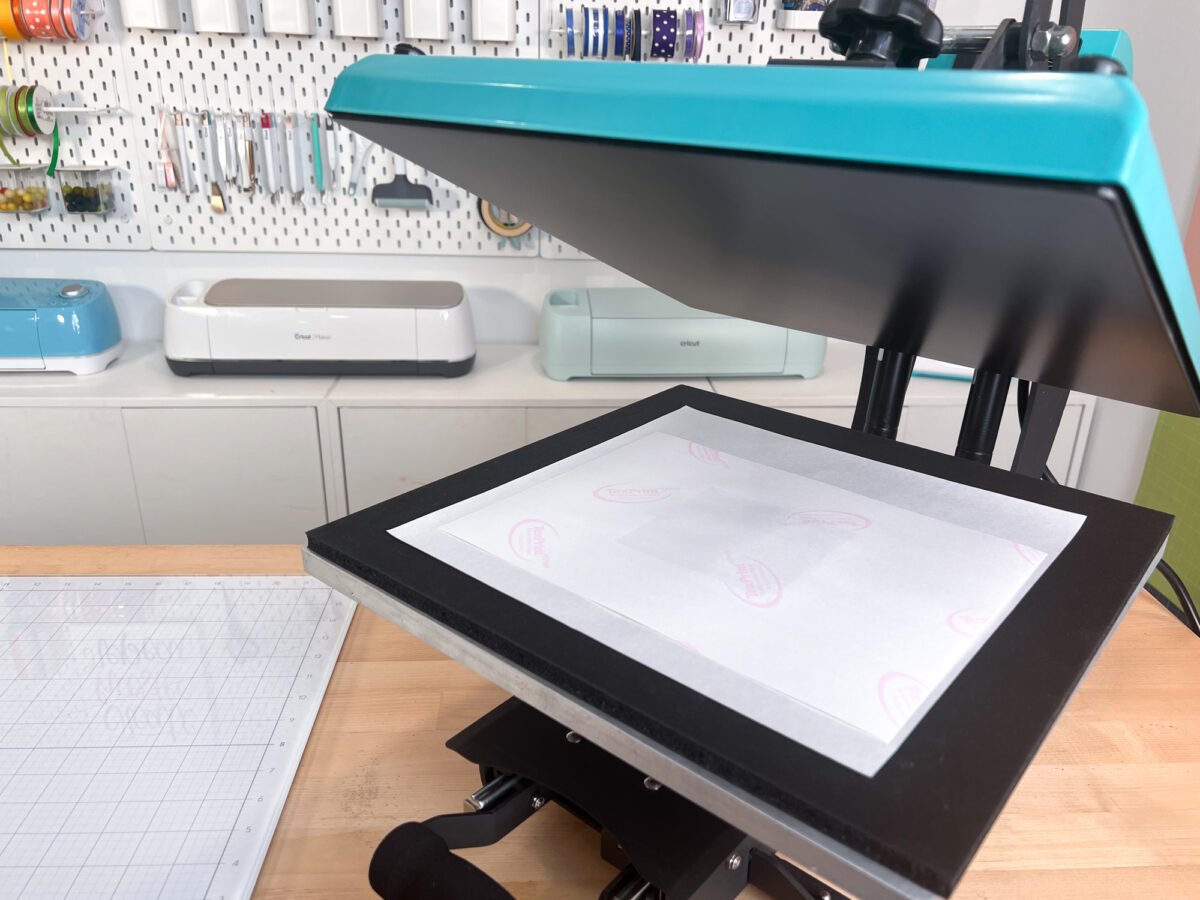
Then place another piece of butcher paper on top and close your press. Press for the recommended time and temperature below.
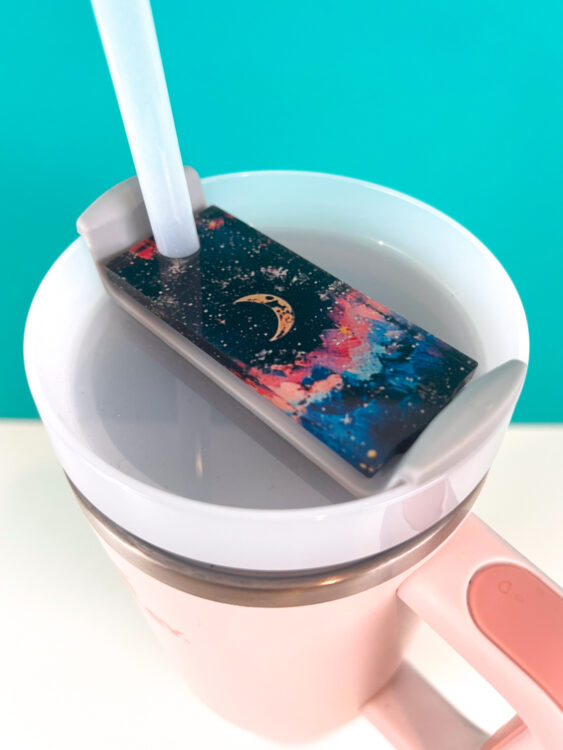
Acrylic Sublimation Tumbler Toppers
Sublimation Tumbler Topper Settings:
- Time: 60 seconds
- Temperature: 360° F
- Pressure: light to medium
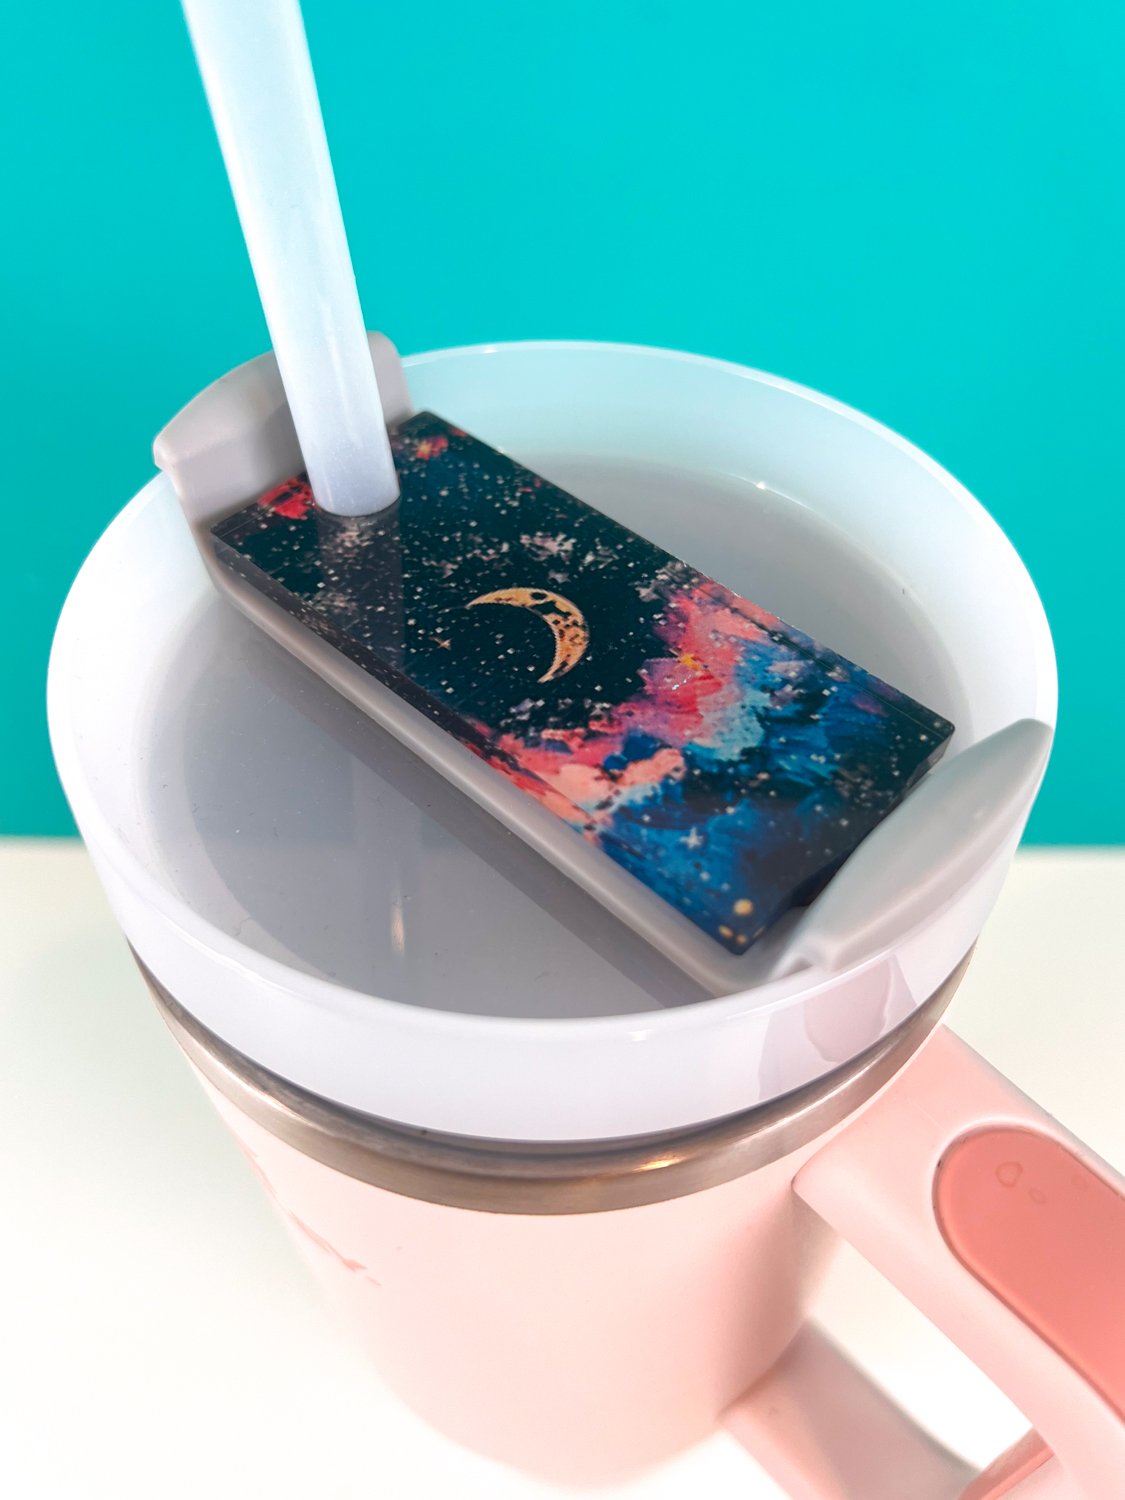
First up is a great project to start with if you want to learn how to sublimate acrylic and you have one of those 40oz Stanley tumblers. (Yes, I have one and I’m so sorry to report that it does, in fact, help me drink more water during the day!).
These Sublimation Tumbler Toppers from PYD life come in a huge number of shapes and even have glittery options!
Remove the plastic film from the front of the topper (the white sublimatable back side does not have a film). Note that if you are using the glitter version, there is a film on both sides!
Prepare your blank and press as shown above.
Once you’re done, remove the topper and place under a stack of books until cool. This will help keep the acrylic topper from warping and bending.
Sublimation Photo Night Lights
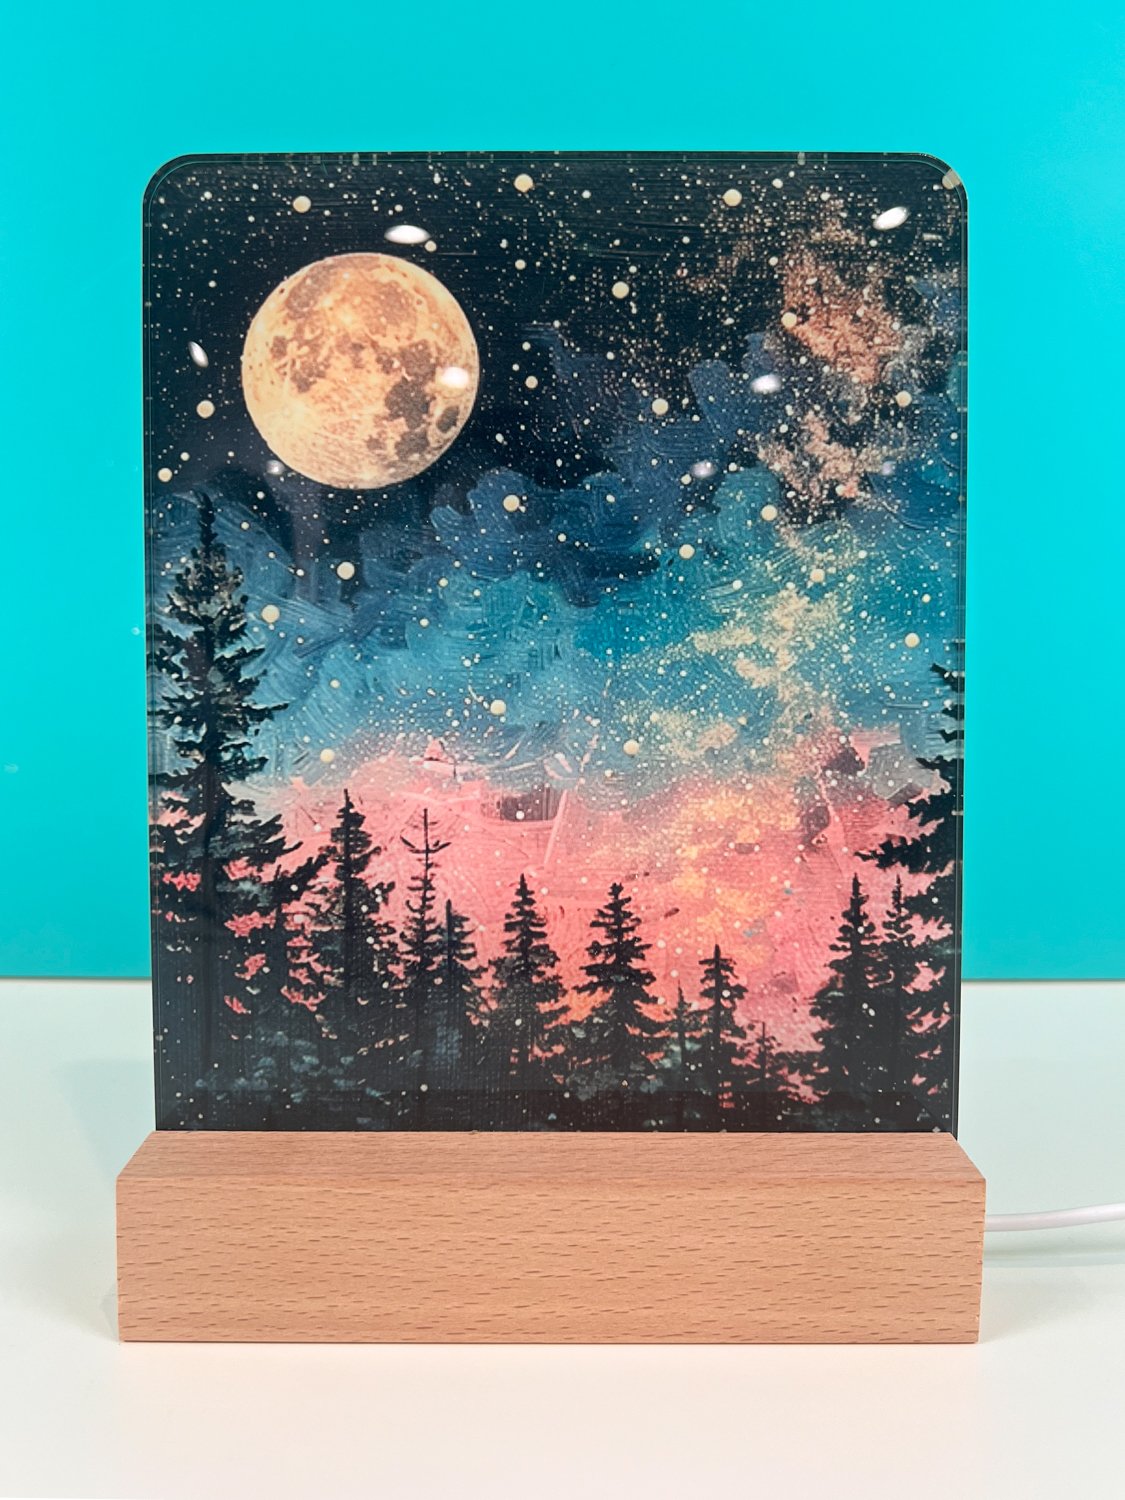
Sublimation Photo Night Light Settings:
- Time: 120 seconds
- Temperature: 375° F
- Pressure: light to medium
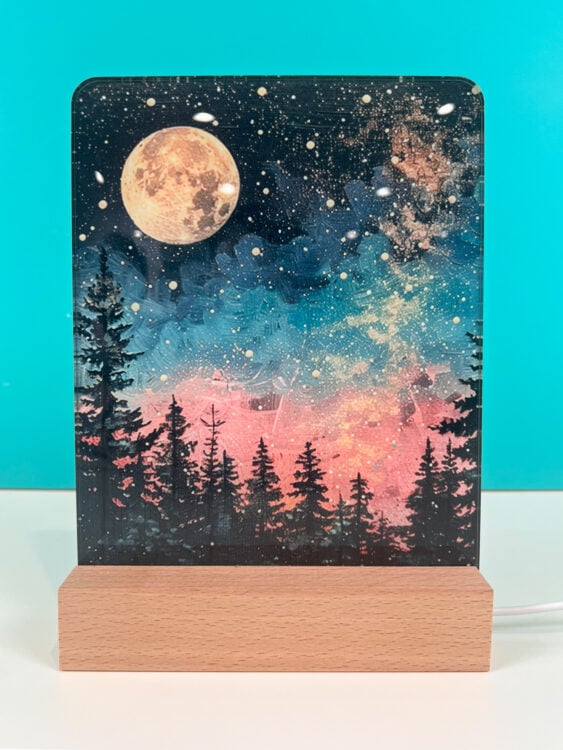
These Sublimation Photo Night Lights make a great decoration for kid or teen bedrooms! They emit a warm yellow light, which lights up your photo nicely. Because the base is made of wood, you could paint the base to match your decor (just don’t get paint into the groove where the lights are). I think these would make an excellent craft fair item.
Remove the plastic wrapper AND the film from the front and back of the night light.
Prepare your blank and press as shown above.
When you are done pressing, remove your sublimation paper and place the nightlight under a stack of books to keep the acrylic from bending or warping. Remove once cool and add to the base.
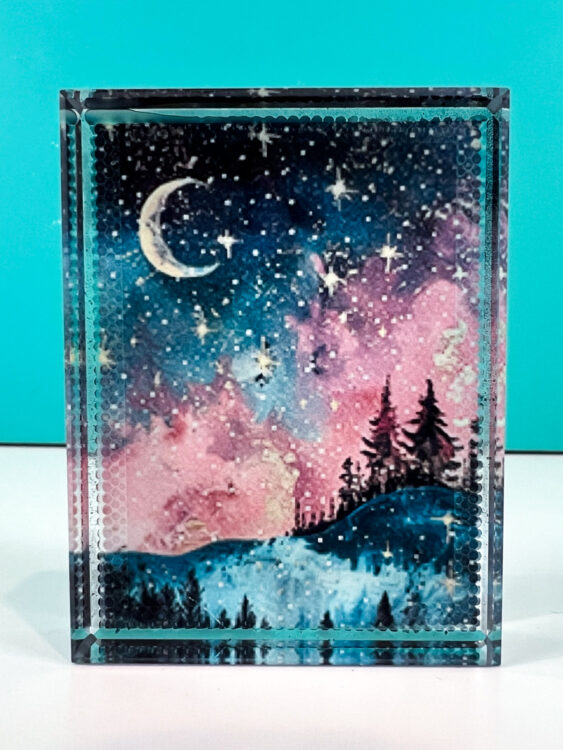
Sublimation Crystal Photo Blanks
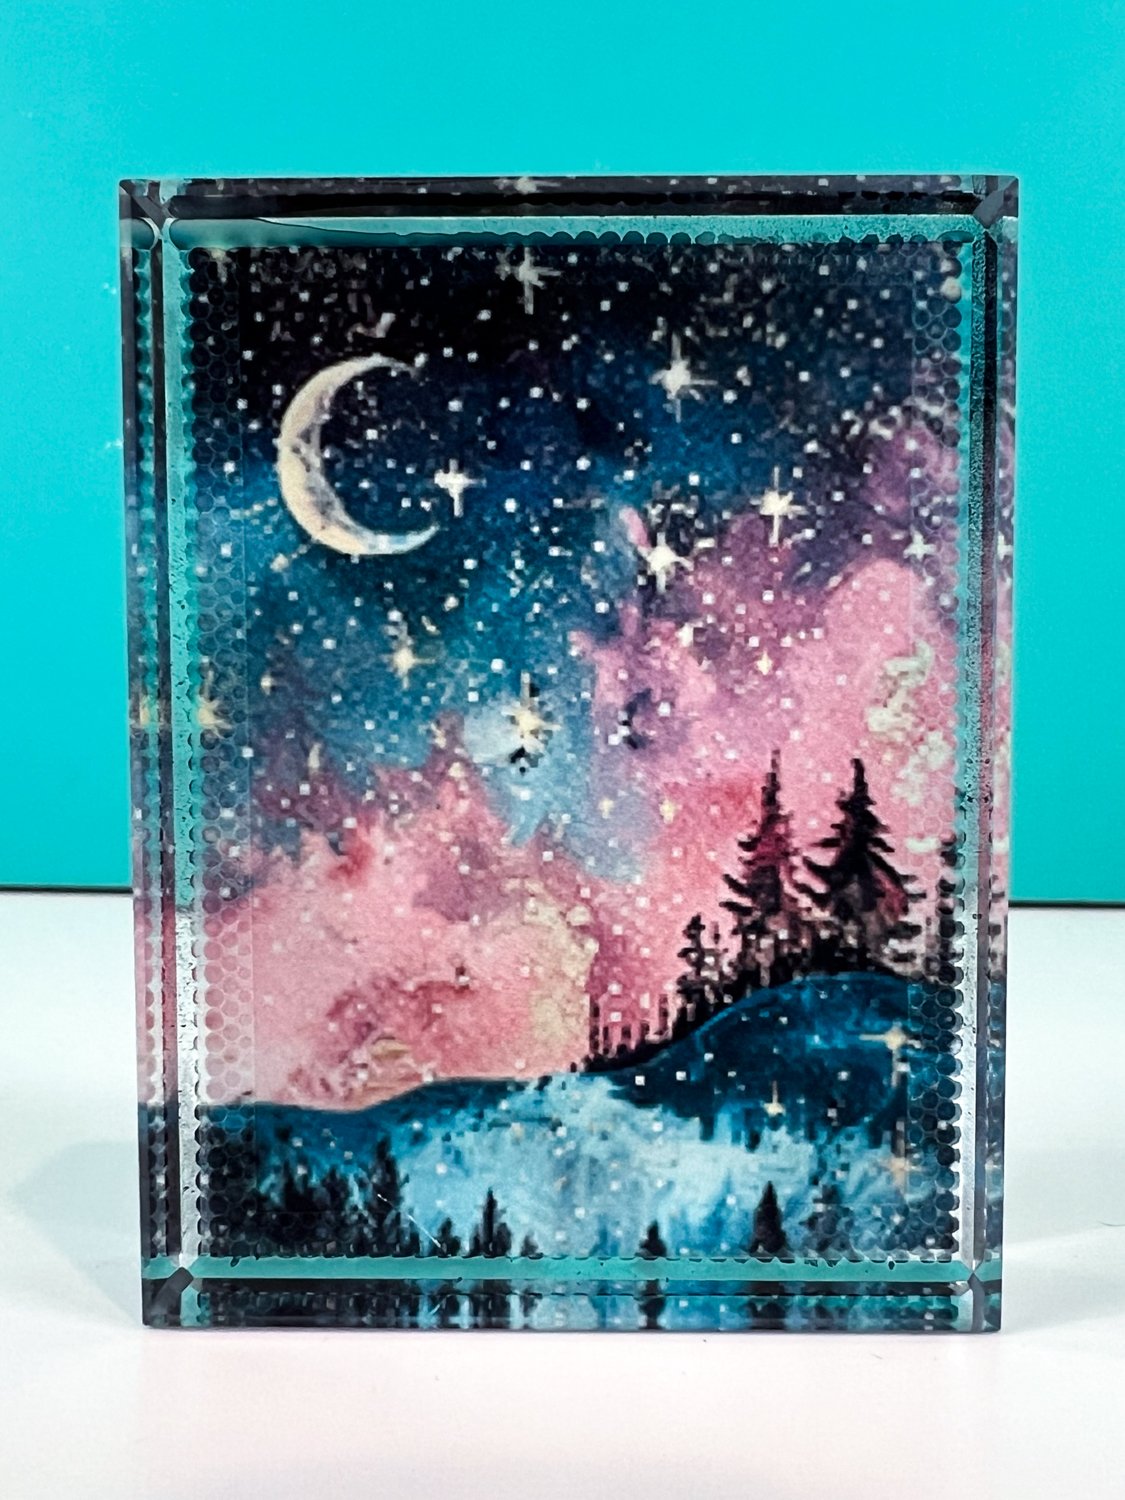
Crystal Photo Blank Settings:
- Time: 210 seconds
- Temperature: 390° F
- Pressure: light to medium
If you’re looking for a unique photo gift or a high-end looking photo for your home office, these sublimation crystal photo blanks are a great way to do just that!
These are much thicker than most blanks, so you’ll want to make sure you really reduce the pressure on your heat press.
There is no film to remove on this particular blank.
Prepare your blank and press as shown above.
After 210 seconds, remove your photo block from the press. It will be HOT for a while since it’s so thick. I placed mine under some books to ensure the material stayed flat. However, I think this was an unneeded step because this blank probably won’t warp the same way the others will without the pressure.
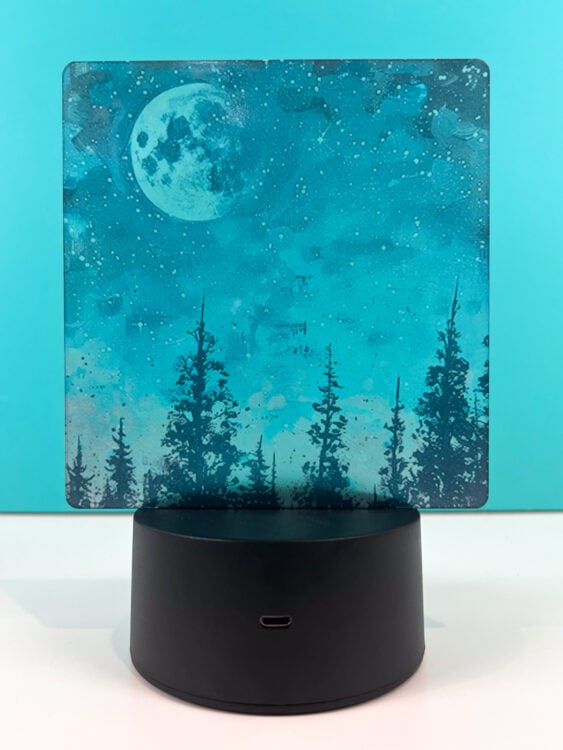
Acrylic Night Lights
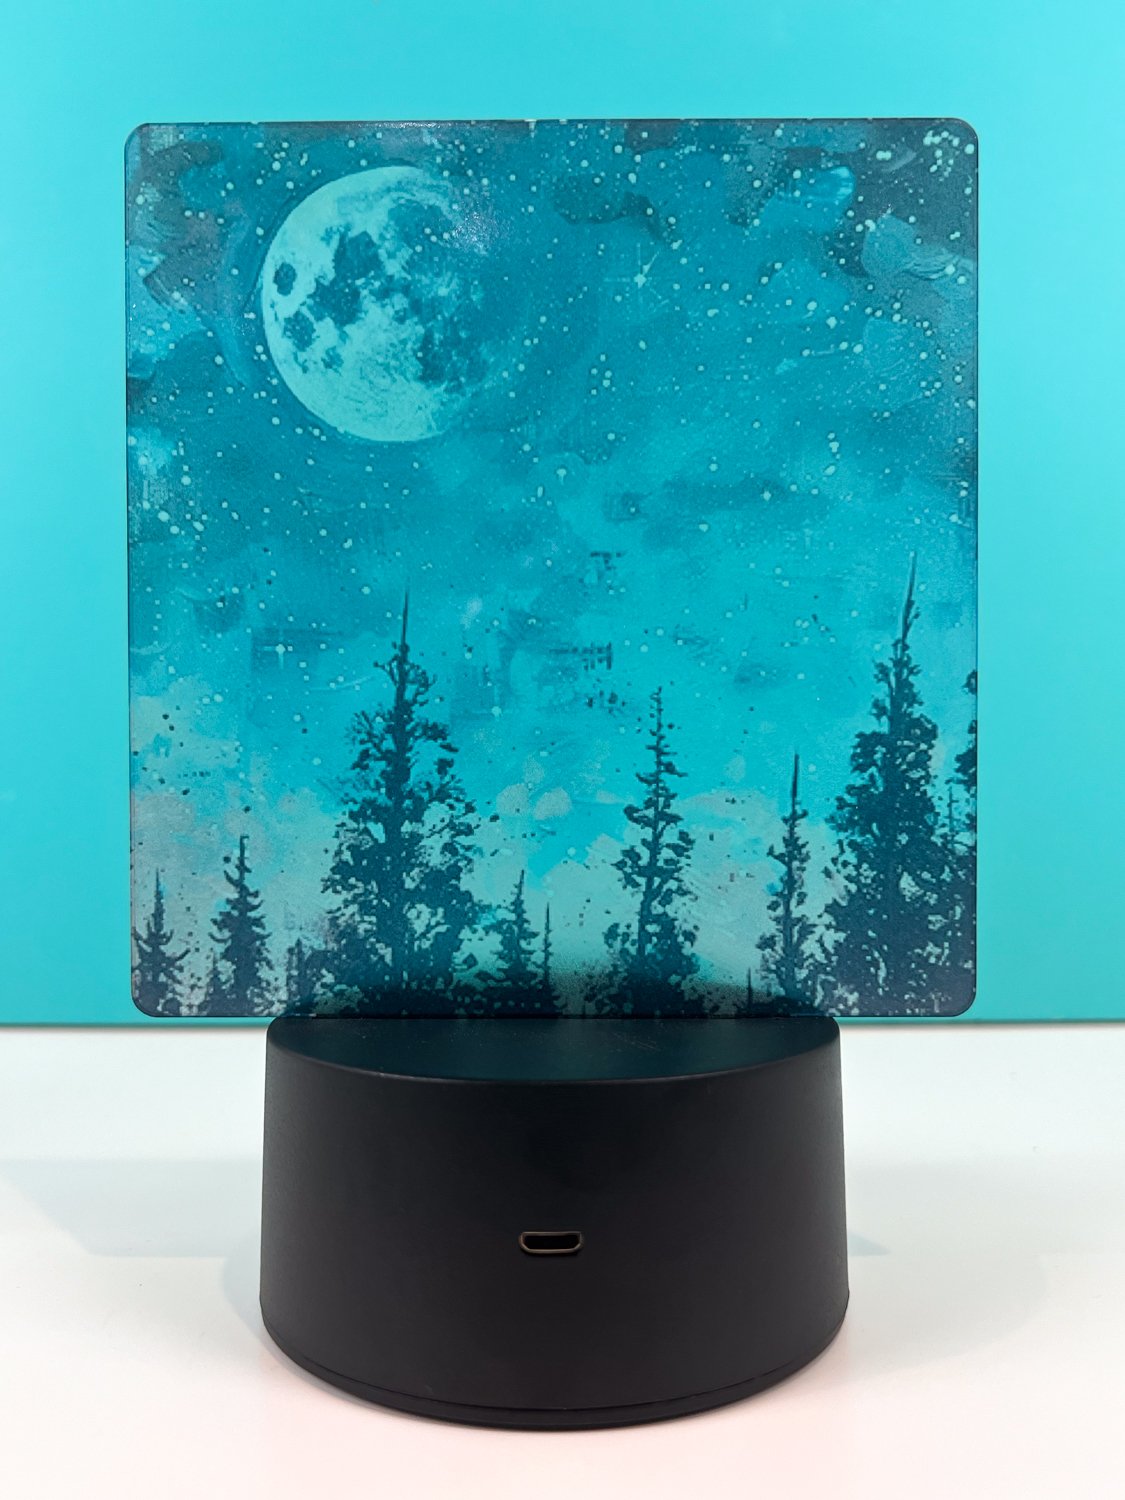
Acrylic Night Light Settings:
- Time: 60 seconds
- Temperature: 360° F
- Pressure: light to medium
These acrylic night lights are not true sublimation blanks, but you CAN still sublimate on them! They turn out looking a bit see-through similar to these sublimation glass cutting boards. I learned how to make these from Angie Holden and Jennifer Maker, but they struggled with the paper sticking to their projects. I didn’t have this problem, however, and I don’t know why! Maybe it was the blanks I used, maybe it was the paper. Either way, mine was pretty straightforward. Check out their videos if you’re struggling with your paper sticking!
Prepare your blank and press as shown above.
Remove the blank from the press and place under a stack of books to cool. This will help the acrylic maintain its flat shape!
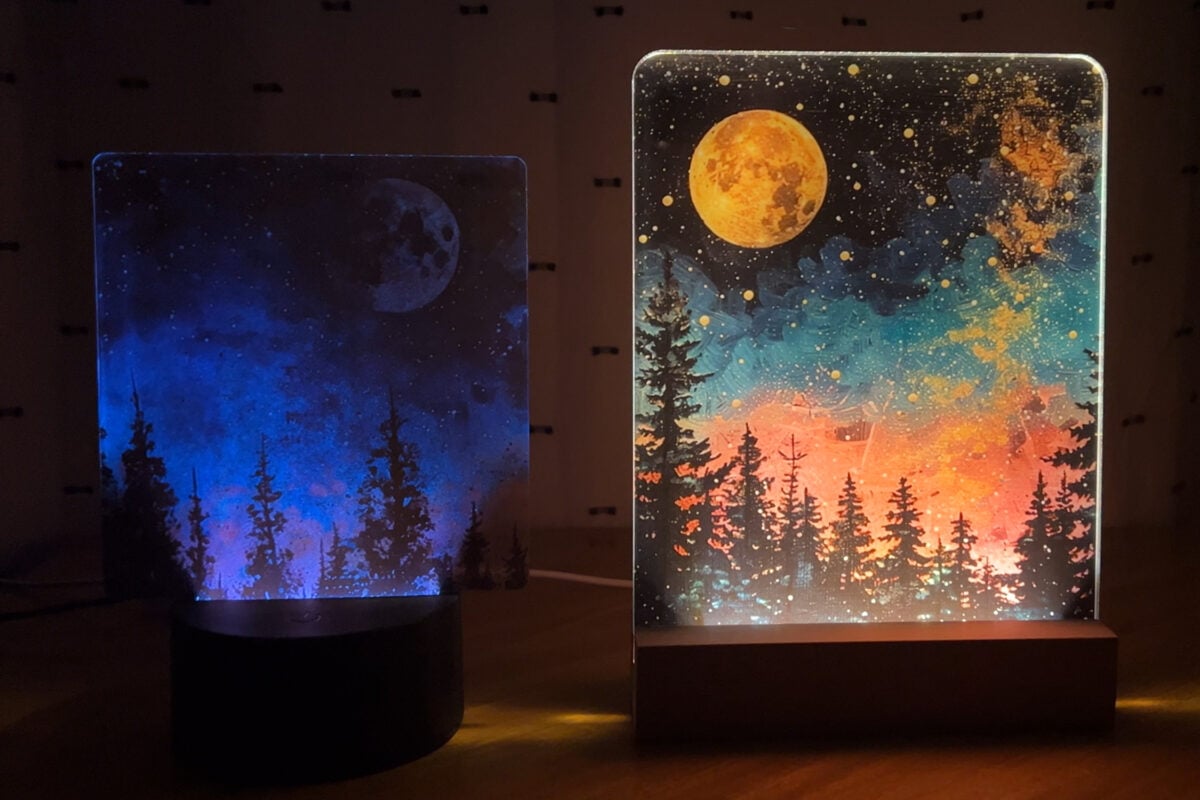
As I mentioned previously, this night light blank doesn’t give you as bright of an image as the sublimation-specific night light. Personally, I prefer the results of the sublimation night light, but there are more fun colors to play with if you use this non-sublimation/clear version. Both blanks worked, so it’s up to your personal preference!
Failed Sublimation Project
Oh, gosh. Where do I even start with this one? I was so excited to try out these sublimation lighted keychain blanks, but I just could not get them to work!
Yes, even I have craft fails!
No matter which type of sublimation paper I used, the transfer stuck to the blank every time. I tried to increase the time and temperature while decreasing my pressure. I tried more pressure, less time. Nothing seemed to work for these. It was a mess and didn’t peel off well and once I got it off the paper it had a sticky residue. The sublimation itself was not nearly as bright and vibrant as the other blanks I tried.
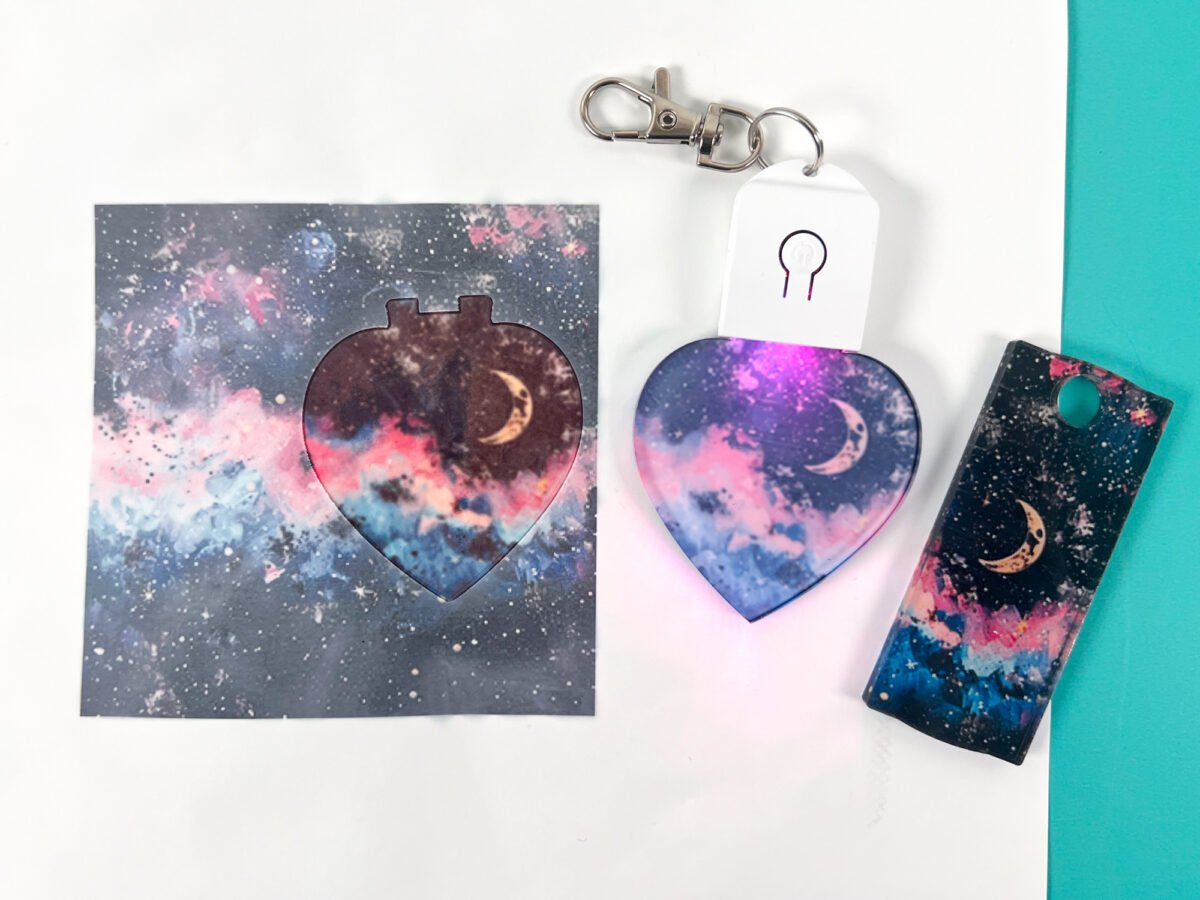
If you do want to give these a shot, I would advise you to proceed with caution. And, if you have success with them, please let me know in the comments. Maybe there’s a magical combination I just haven’t figured out yet!
While this blank was definitely a craft fail, I am very happy with how the other projects turned out! I think these are such a fun, unique way to try out sublimation on acrylic. They make great gifts, too!
I hope you found this tutorial for sublimation on acrylic helpful! If you have any questions, I’d be happy to answer those for you!
FUN SUBLIMATION ACRYLIC PROJECTS
Equipment
Supplies
Instructions
- There are links to all of the blanks used in this project in the Supply List, but if you're looking for specific sublimation acrylic shapes, check out Craft Chameleon!TexPrint sublimation paper was also used for all of these projects and there were no sticking or other issues and this printed very nicely!If you're new to sublimation, check out The Ultimate Guide to Sublimation Printing & Crafting or this new print book Sublimation Crafting!
- Printing Your ImagesYou can print your images using whatever sublimation software you prefer. The designs for this project were printed to be slightly larger than the blanks so as to be sure the design would bleed off the edges.Here's the thing you must know about sublimation on acrylic blanks: DO NOT MIRROR YOUR IMAGE. Most sublimation requires mirroring, but because you pressing the blanks from the back, you do not want to mirror your images before printing.
- Preparing Acrylic BlanksAll of the acrylic blanks used for these projects are prepared in the same way. Start by removing any plastic film covering the surface of your blank (see specific blanks below). If you leave that plastic film on, it will melt and ruin your project. You can use a weeding hook, but be careful not to scratch your blank. A plastic razor blade or popsicle stick also work.

- Next you'll need to adhere your blank to your printed sublimation image. For most blanks tape was used, but tape can leave ugly imprints in the acrylic, as you can see here.

- So you may want to use a spray adhesive instead. For this project ProSpray II was used but it's been out of stock. Heat Transfer Warehouse has a budget-friendly option as well. Add a light spray or two to the white sublimatable side of the acrylic.

- Then place your blank down onto your image. The spray should hold it in place.

- Pressing Your Sublimation ImagesAll of the blanks are pressed in the same way. Specific time and temperature settings are below for each blank. Start by adjusting your press to the right thickness before it heats up. You want light to medium pressure for all of the blanks. Place a piece of butcher paper on the bottom of your heat press. Then place your blank facing UP with the image facing DOWN.

- Then place another piece of butcher paper on top and close your press. Press for the recommended time and temperature below.

- Acrylic Sublimation Tumbler ToppersSublimation Tumbler Topper Settings:Time: 60 secondsTemperature: 360° FPressure: light to mediumFirst up is a great project to start with if you want to learn how to sublimate acrylic and you have one of those 40oz Stanley tumblers. These Sublimation Tumbler Toppers from PYD life come in a huge number of shapes and even have glittery options!Remove the plastic film from the front of the topper (the white sublimatable back side does not have a film). Note that if you are using the glitter version, there is a film on both sides!Prepare your blank and press as shown above.Once you're done, remove the topper and place under a stack of books until cool. This will help keep the acrylic topper from warping and bending.

- Sublimation Photo Night LightsSublimation Photo Night Light Settings:Time: 120 secondsTemperature: 375° FPressure: light to mediumThese Sublimation Photo Night Lights make a great decoration for kid or teen bedrooms! They emit a warm yellow light, which lights up your photo nicely. Because the base is made of wood, you could paint the base to match your decor (just don't get paint into the groove where the lights are). These would make an excellent craft fair item.Remove the plastic wrapper AND the film from the front and back of the night light. Prepare your blank and press as shown above.When you are done pressing, remove your sublimation paper and place the nightlight under a stack of books to keep the acrylic from bending or warping. Remove once cool and add to the base.

- Sublimation Crystal Photo BlanksCrystal Photo Blank Settings:Time: 210 secondsTemperature: 390° FPressure: light to mediumIf you're looking for a unique photo gift or a high-end looking photo for your home office, these sublimation crystal photo blanks are a great way to do just that!These are much thicker than most blanks, so you'll want to make sure you really reduce the pressure on your heat press.There is no film to remove on this particular blank.Prepare your blank and press as shown above.After 210 seconds, remove your photo block from the press. It will be HOT for a while since it's so thick. Place under some books to ensure the material stays flat. This may be an unneeded step because this blank probably won't warp the same way the others will without the pressure.

- Acrylic Night LightsAcrylic Night Light Settings:Time: 60 secondsTemperature: 360° FPressure: light to mediumThese acrylic night lights are not true sublimation blanks, but you CAN still sublimate on them! The night lights turned out looking a bit see-through similar to these sublimation glass cutting boards.Prepare your blank and press as shown above.Remove the blank from the press and place under a stack of books to cool. This will help the acrylic maintain its flat shape!This night light blank doesn't give you as bright of an image as the sublimation-specific night light. but there are more fun colors to play with if you use this non-sublimation/clear version. Both blanks worked, so it's up to your personal preference!



Comments & Reviews
Kevin Smith says
Hi Cori!
As a newbie, its been really helpful to have such advice on many different surfaces you sublimate to, but one question I do have is, that when I sublimate onto acrylic i.e. night light display. I have found that it always seems to leave a cloudy texture on acrylic after sublimation paper has been fully removed. Is there a way of removing/reducing this from happening as it only shows when picture/logo doesn’t fill the entire surface. thus leaving the clear areas with the afore mentioned cloudy appearance. any ideas would be gratefully appreciated
Louise G says
Stupid question – so all these blanks are acrylic, but sublimation acrylic? In other words, you can’t just sublimate onto any acrylic? Thanks!
Louise