FUN SUBLIMATION ACRYLIC PROJECTS
If you want to try sublimation on acrylic, there are so many fun options for sublimation blanks!
Equipment
Ingredients
Instructions
- There are links to all of the blanks used in this project in the Supply List, but if you're looking for specific sublimation acrylic shapes, check out Craft Chameleon!TexPrint sublimation paper was also used for all of these projects and there were no sticking or other issues and this printed very nicely!If you're new to sublimation, check out The Ultimate Guide to Sublimation Printing & Crafting or this new print book Sublimation Crafting!
- Printing Your ImagesYou can print your images using whatever sublimation software you prefer. The designs for this project were printed to be slightly larger than the blanks so as to be sure the design would bleed off the edges.Here's the thing you must know about sublimation on acrylic blanks: DO NOT MIRROR YOUR IMAGE. Most sublimation requires mirroring, but because you pressing the blanks from the back, you do not want to mirror your images before printing.
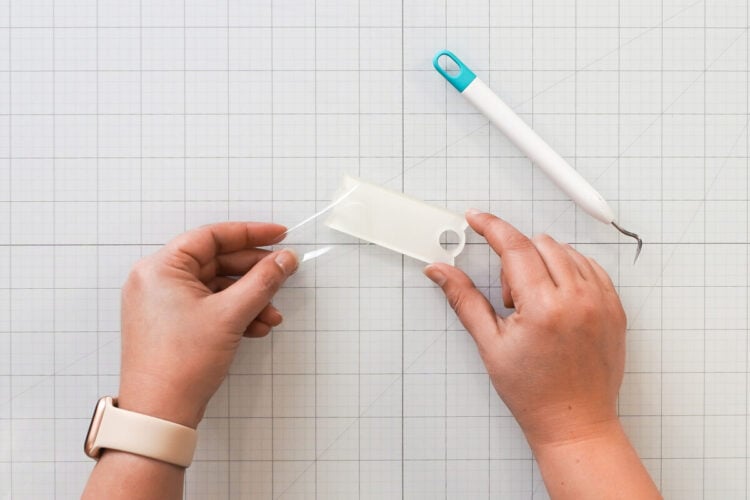
- Preparing Acrylic BlanksAll of the acrylic blanks used for these projects are prepared in the same way. Start by removing any plastic film covering the surface of your blank (see specific blanks below). If you leave that plastic film on, it will melt and ruin your project. You can use a weeding hook, but be careful not to scratch your blank. A plastic razor blade or popsicle stick also work.
- Next you'll need to adhere your blank to your printed sublimation image. For most blanks tape was used, but tape can leave ugly imprints in the acrylic, as you can see here.
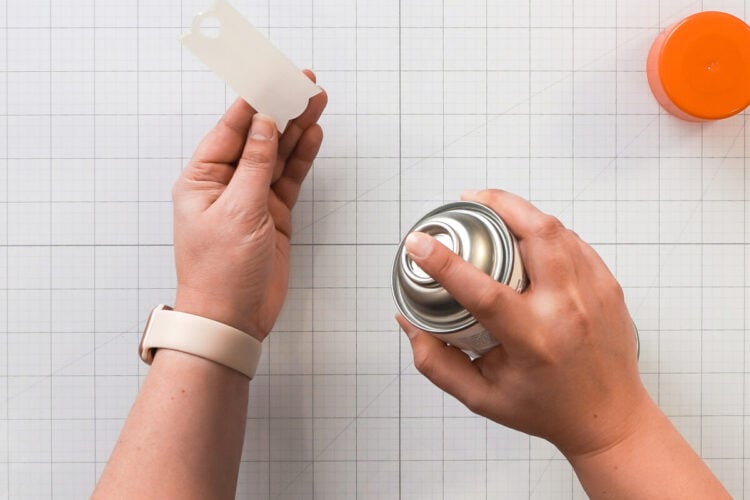
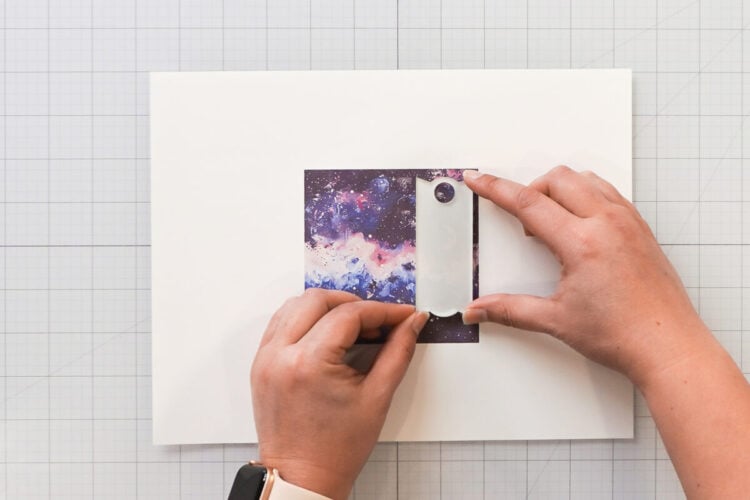
- So you may want to use a spray adhesive instead. For this project ProSpray II was used but it's been out of stock. Heat Transfer Warehouse has a budget-friendly option as well. Add a light spray or two to the white sublimatable side of the acrylic.
- Then place your blank down onto your image. The spray should hold it in place.
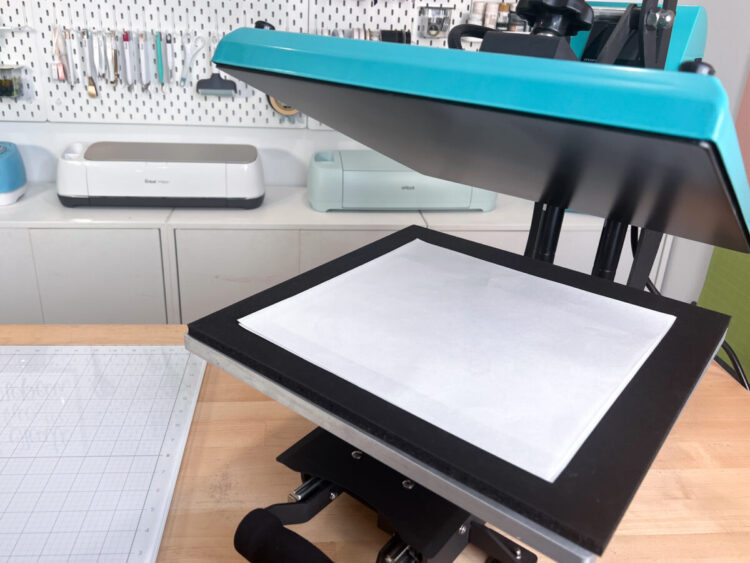
- Pressing Your Sublimation ImagesAll of the blanks are pressed in the same way. Specific time and temperature settings are below for each blank. Start by adjusting your press to the right thickness before it heats up. You want light to medium pressure for all of the blanks. Place a piece of butcher paper on the bottom of your heat press. Then place your blank facing UP with the image facing DOWN.
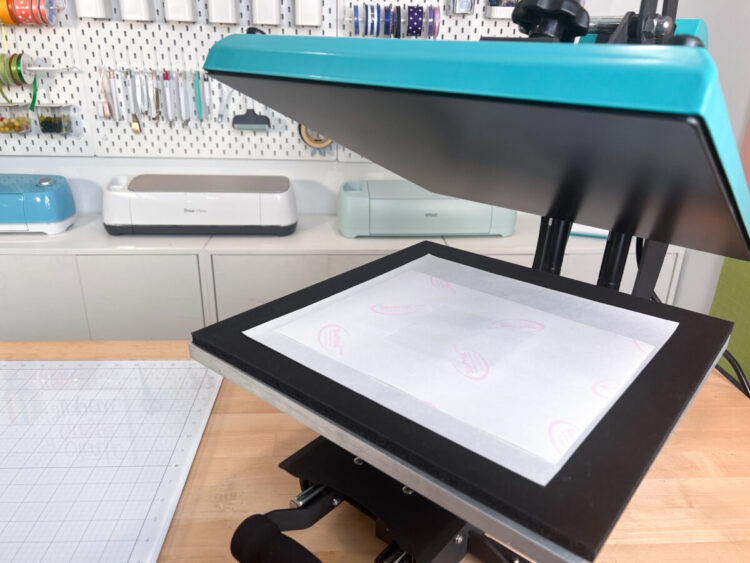
- Then place another piece of butcher paper on top and close your press. Press for the recommended time and temperature below.
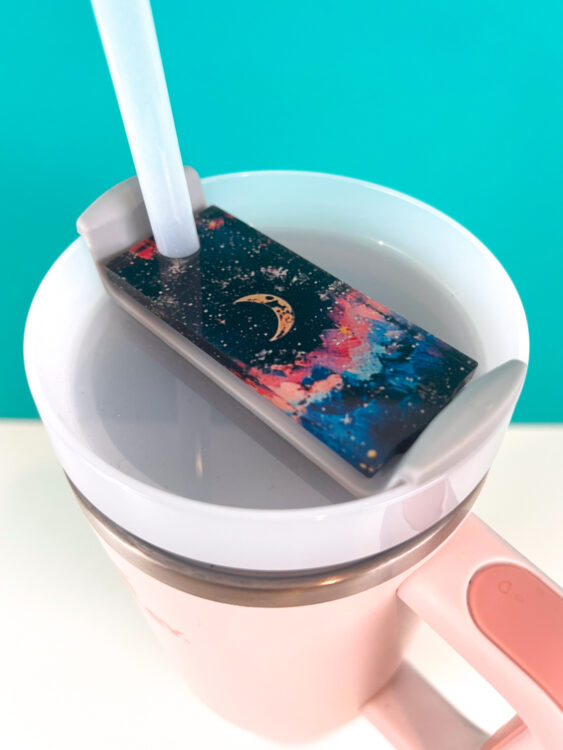
- Acrylic Sublimation Tumbler ToppersSublimation Tumbler Topper Settings:Time: 60 secondsTemperature: 360° FPressure: light to mediumFirst up is a great project to start with if you want to learn how to sublimate acrylic and you have one of those 40oz Stanley tumblers. These Sublimation Tumbler Toppers from PYD life come in a huge number of shapes and even have glittery options!Remove the plastic film from the front of the topper (the white sublimatable back side does not have a film). Note that if you are using the glitter version, there is a film on both sides!Prepare your blank and press as shown above.Once you're done, remove the topper and place under a stack of books until cool. This will help keep the acrylic topper from warping and bending.
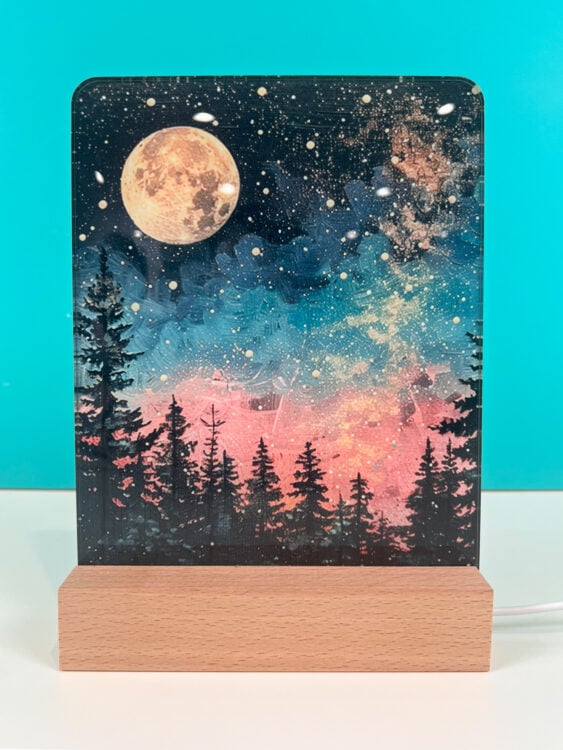
- Sublimation Photo Night LightsSublimation Photo Night Light Settings:Time: 120 secondsTemperature: 375° FPressure: light to mediumThese Sublimation Photo Night Lights make a great decoration for kid or teen bedrooms! They emit a warm yellow light, which lights up your photo nicely. Because the base is made of wood, you could paint the base to match your decor (just don't get paint into the groove where the lights are). These would make an excellent craft fair item.Remove the plastic wrapper AND the film from the front and back of the night light. Prepare your blank and press as shown above.When you are done pressing, remove your sublimation paper and place the nightlight under a stack of books to keep the acrylic from bending or warping. Remove once cool and add to the base.
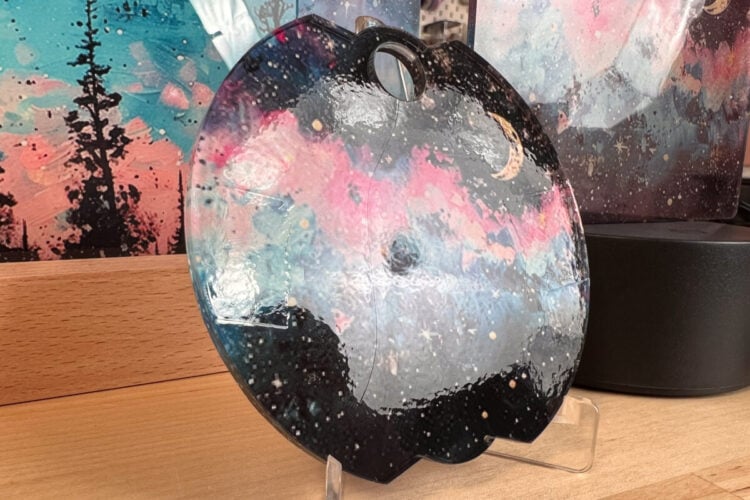
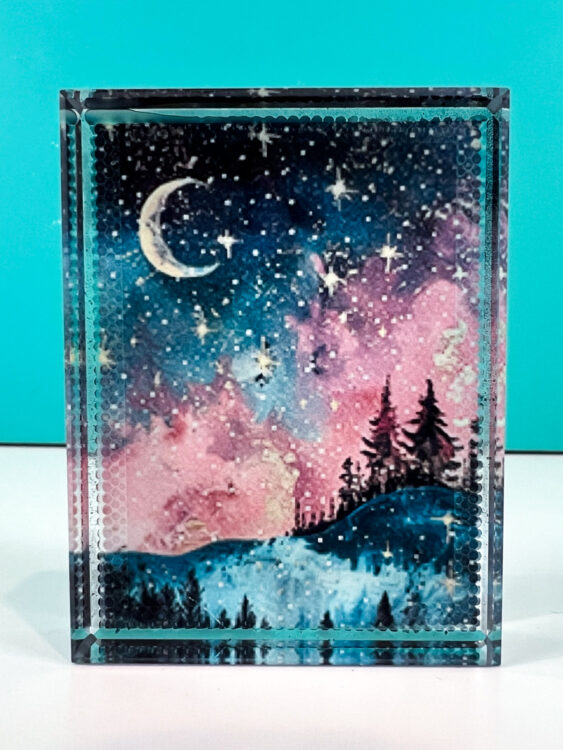
- Sublimation Crystal Photo BlanksCrystal Photo Blank Settings:Time: 210 secondsTemperature: 390° FPressure: light to mediumIf you're looking for a unique photo gift or a high-end looking photo for your home office, these sublimation crystal photo blanks are a great way to do just that!These are much thicker than most blanks, so you'll want to make sure you really reduce the pressure on your heat press.There is no film to remove on this particular blank.Prepare your blank and press as shown above.After 210 seconds, remove your photo block from the press. It will be HOT for a while since it's so thick. Place under some books to ensure the material stays flat. This may be an unneeded step because this blank probably won't warp the same way the others will without the pressure.
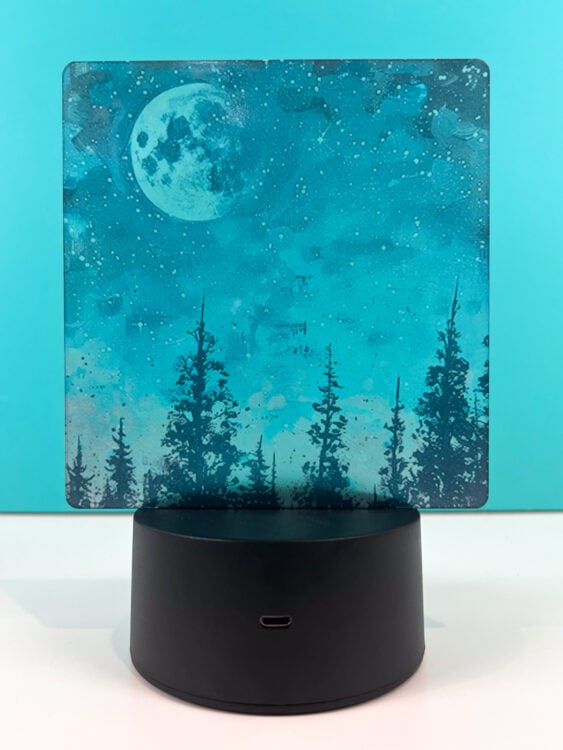
- Acrylic Night LightsAcrylic Night Light Settings:Time: 60 secondsTemperature: 360° FPressure: light to mediumThese acrylic night lights are not true sublimation blanks, but you CAN still sublimate on them! The night lights turned out looking a bit see-through similar to these sublimation glass cutting boards.Prepare your blank and press as shown above.Remove the blank from the press and place under a stack of books to cool. This will help the acrylic maintain its flat shape!This night light blank doesn't give you as bright of an image as the sublimation-specific night light. but there are more fun colors to play with if you use this non-sublimation/clear version. Both blanks worked, so it's up to your personal preference!