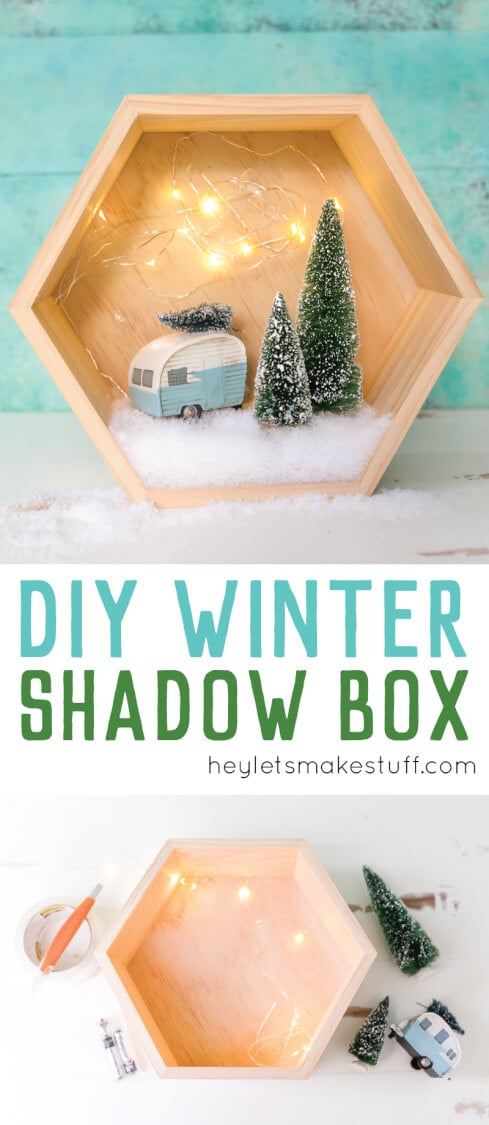
This easy winter shadow box houses a retro Christmas camper, bottle brush trees, and twinkle stars! Easy to put together and festive for the holidays.
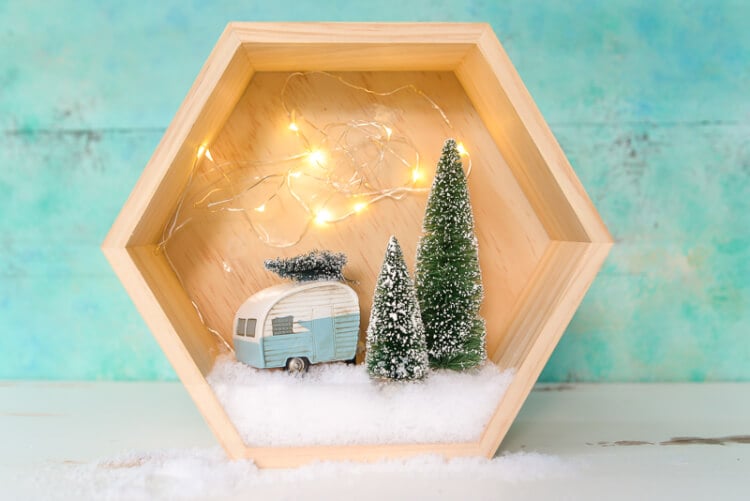
I tend to make a lot of Christmas projects with fake snow because we just don’t get the real stuff here in my hometown in Northern California. The snow in the Sierra Nevadas isn’t very far away (less than an hour), but we’ve never had a white Christmas. So I decided to make my own little winter wonderland with a few simple supplies.
Winter Shadow Box Supplies
- Hexagon Shelf Box (or other similar container)
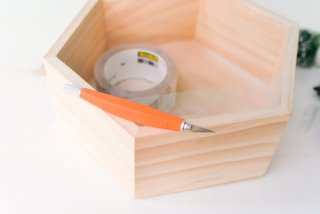
- Clear packing tape
- Craft knife
- Wooden spools (or other similar objects)
- Fairy lights
- Retro ornament
- Bottle brush trees
- Fake snow
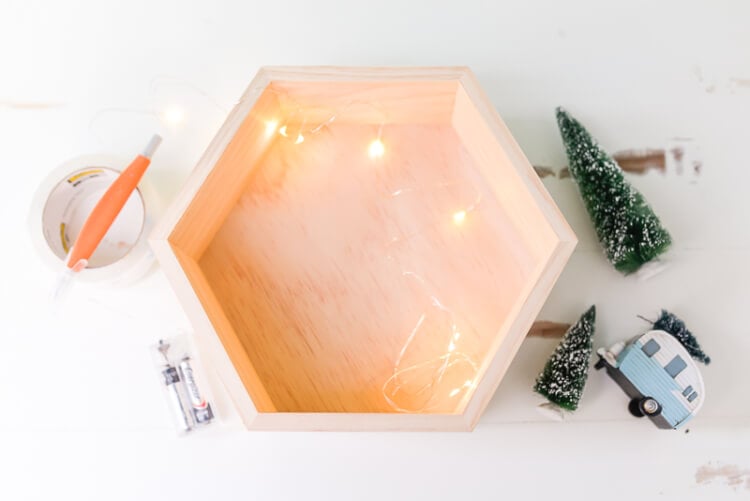
Winter Shadow Box Instructions
I wanted to make something I could dismantle at the end of the holiday season and repurpose next year, so everything is non-permanent. You can always add a little glue to hold everything together if you’d like.
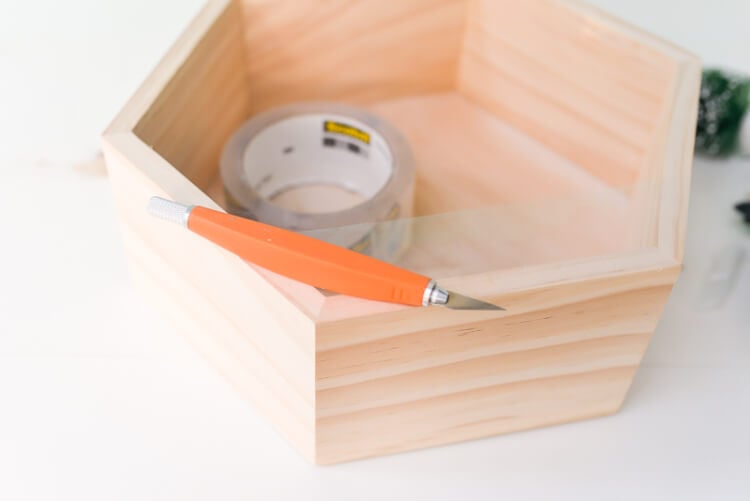
Start by creating a “trough” to hold your snow. I did this by cutting a piece of clear packing take as wide as the bottom of my box and then trimming it down using my craft knife to fit the shape of the box. I’m actually surprised at how the tape disappears in the finished shadow box — you don’t notice it at all.
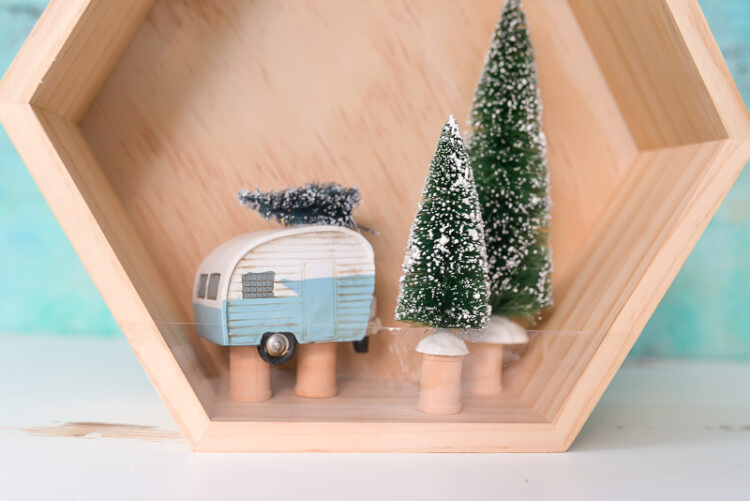
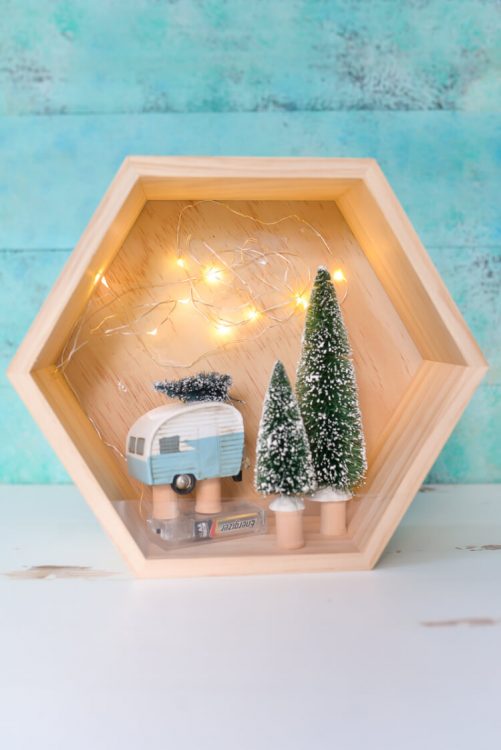
Then lay out your winter shadow box using spools or other objects to lift your items. I didn’t like how low the camper sat on just the spools, so I decided to put the battery pack for the fairy lights below it and that worked perfectly.
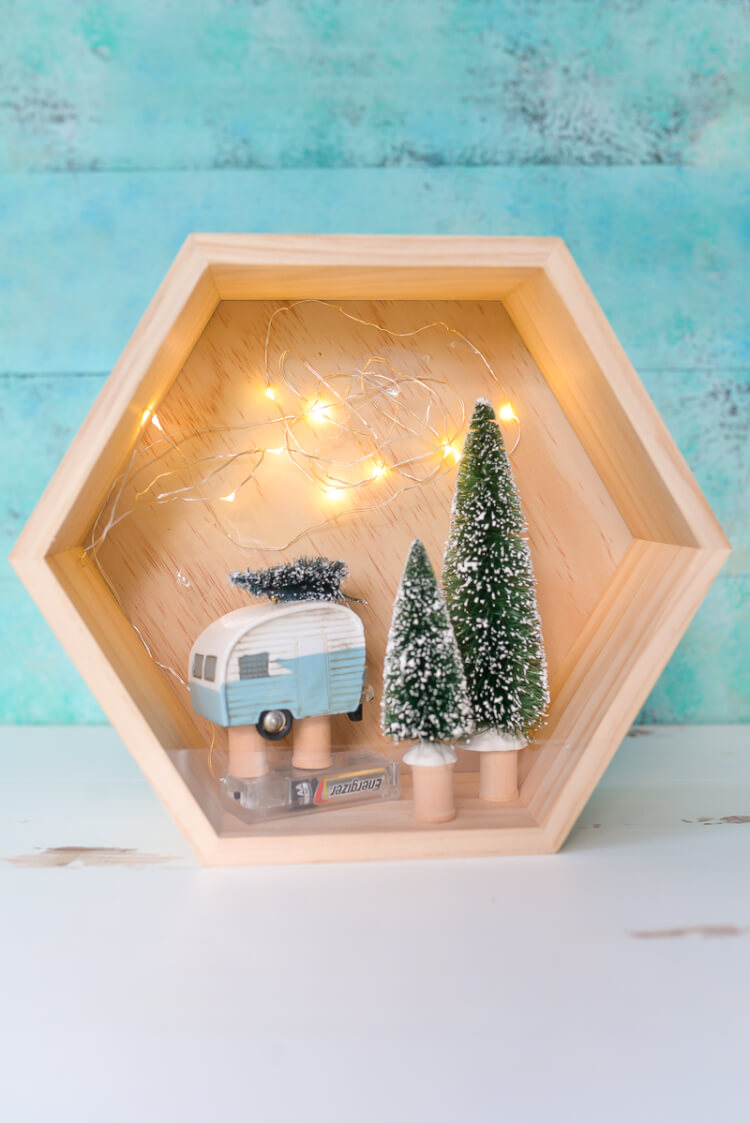
To secure the fairy lights to the back of the winter shadow box, I went ahead and used a few small pieces of tape. I plan on just leaving the lights on throughout the season, but I can also flip the little switch by reaching through the snow if I want to turn them off for some reason.
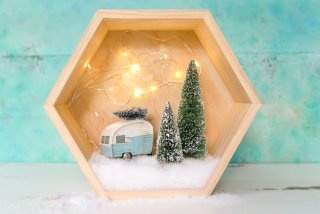
Finally, scoop some fake snow into the “trough” you created to cover the battery pack and spools and you’re done!

This is one of those projects that was cute in my brain and even cuter now that it’s done! I love the funky retro feel of this winter shadow box — I hope you do too!
EASY RETRO WINTER SHADOW BOX
Equipment
Supplies
- Hexagon Shelf Box (or other similar container)
- Wooden spools (or other similar objects)
- Fairy lights
- Retro ornament
- Bottle brush trees
- Fake snow
Instructions
- For this project, this is something that can be dismantled at the end of the holiday season and repurposed next year, so everything is non-permanent. You can always add a little glue to hold everything together if you'd like.Start by creating a "trough" to hold your snow. Do this by cutting a piece of clear packing take as wide as the bottom of the box and then trim it down using a craft knife to fit the shape of the box.
- Then lay out your winter shadow box using spools or other objects to lift your items. Didn't like how low the camper sat on just the spools, so the battery pack for the fairy lights was put below it and that worked perfectly.
- To secure the fairy lights to the back of the winter shadow box, use a few small pieces of tape. The plan is to leave the lights on throughout the season, but you can also flip the little switch by reaching through the snow if you want to turn them off for some reason.Finally, scoop some fake snow into the "trough" you created to cover the battery pack and spools and you're done!



Comments & Reviews
Mary says
Do you have any tutorials about decorating bottle brush trees that you have dyed?
Cori George says
I don’t, sorry!
Melody says
What is the size of the camper? I have found one that is 1/164 – 3” but I don’t know if that is too big
Cori George says
My camper is probably 2.5″ – 3″ wide. I don’t have it out right now to measure!
Stacey says
Love this project! It’s a great idea to make it non-permanent too — more crafty fun next year that way!