Want to take your laser projects to the next level? You can make more with these xTool S1 Accessories, including the riser base, air assist, rotary attachment, and more!
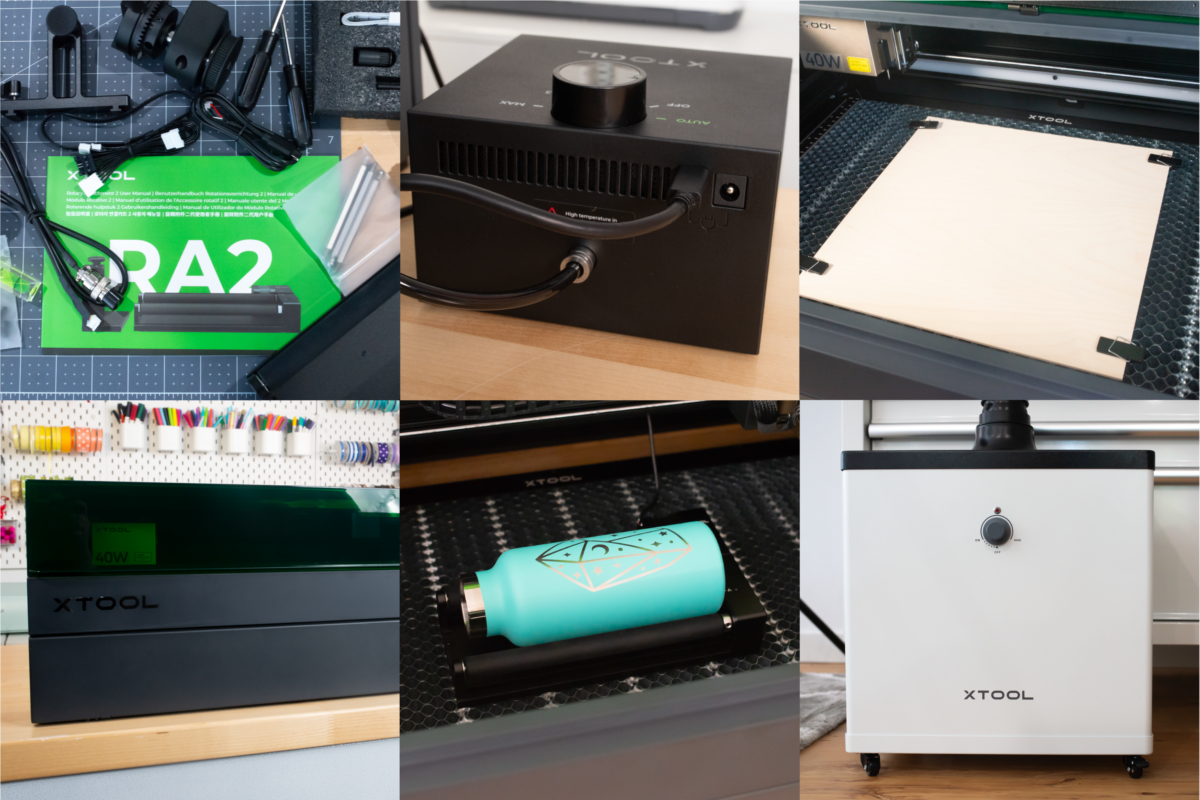
xTool recently sent me the xTool S1 diode laser to review (you can read all about it in my post xTool S1 Review & Guide for Beginners). They also sent me quite a few accessories to try with my new machine to expand the number of things the S1 can make and to make my laser crafting easier!
In today’s post, I’m going to talk through the xTool S1 accessories you can get and how to use them! While the xTool S1 is a really capable laser on its own, you really can do a lot more using these accessories. Let’s get into it!
Watch the Video
I went through all of the xTool S1 accessories in this post in a recent YouTube video! Click play below to watch, or keep reading for a full written review.
xTool S1 Riser Base
- Cost: $199
First up is the xTool S1 riser base. This accessory allows you to lift your laser machine up higher to make taller projects, such as engraved wooden boxes, tools, tumblers (with the rotary tool—see more below), and more.
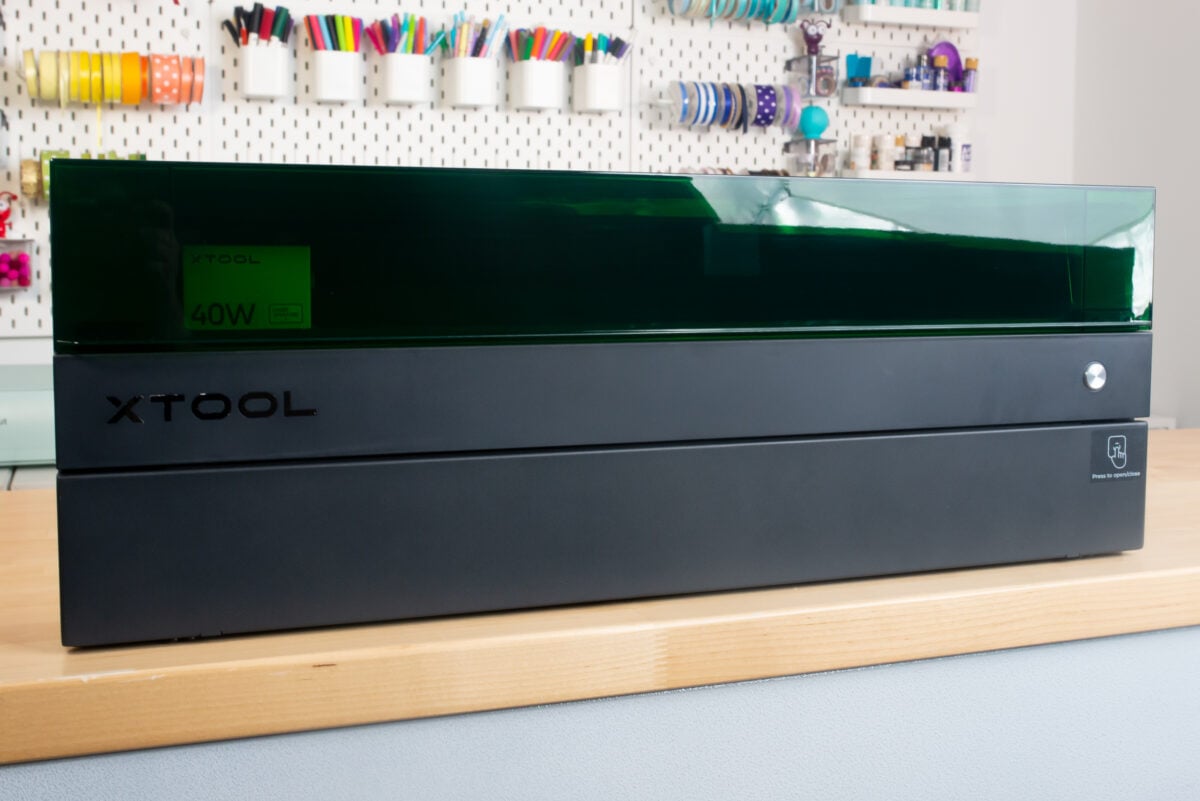
The riser base is labeled for Left (L), Right (R), Front (F), Back (B) for easy assembly. Putting it together is surprisingly easy and the xTool instructions are pretty clear. Set up the riser base where you want to use your laser. Once you have the laser on the riser base, you won’t want to move it because it could damage the base.
Start by attaching the front and back pieces to the left and right pieces using four screws. You’ll notice the front and back pieces open up to allow for passthrough. Keep them open for assembly. Once the screws are tightened, close the front and back flaps. (I have to say, I like this so much more than my xTool M1‘s base—that doesn’t secure with screws so it’s a bit frustrating to move it around.)
Next, you’re going to remove the base tray from xTool S1—yes, we’re removing the actual bottom of the laser. Unscrew the metals screws inside the machine and lift out the base tray. The bottom of your S1 machine will now be open.
This is where you’ll need two people. Lift your xTool S1 machine and place it on top of the riser base. Make sure it fits snug on top—you may need to carefully adjust where the riser pieces are so the laser seats properly. Then add the longer screws that came with the riser base to secure in place.
To protect your work surface, slide the base tray into one of slots in the riser base. Depending on what you’re cutting or engraving, you’ll place this tray at different heights. The xTool instruction book is helpful in figuring out where you need to place the tray depending on the height of your material.
Note: By utilizing the riser base, the product no longer complies with Class 1 laser safety certification. Make sure to use safety goggles if you are using the laser with the bottom doors open (like when using the conveyor feeder, which I mention below). The xTool S1 riser base does come with a pair of safety googles.
Is the xTool riser base worth it? If you want to do taller projects, definitely yes. If you are satisfied doing mostly flat projects, you may not need it.
Honeycomb Panel
- Cost: $169
The honeycomb panel can replace the triangle prisms as a base for your material. It allows air flow below your projects while cutting and engraving. You can use the honeycomb panel both with and without the riser base at different levels depending what you’re cutting. It also includes material pins to assist with securing your material while cutting/engraving.
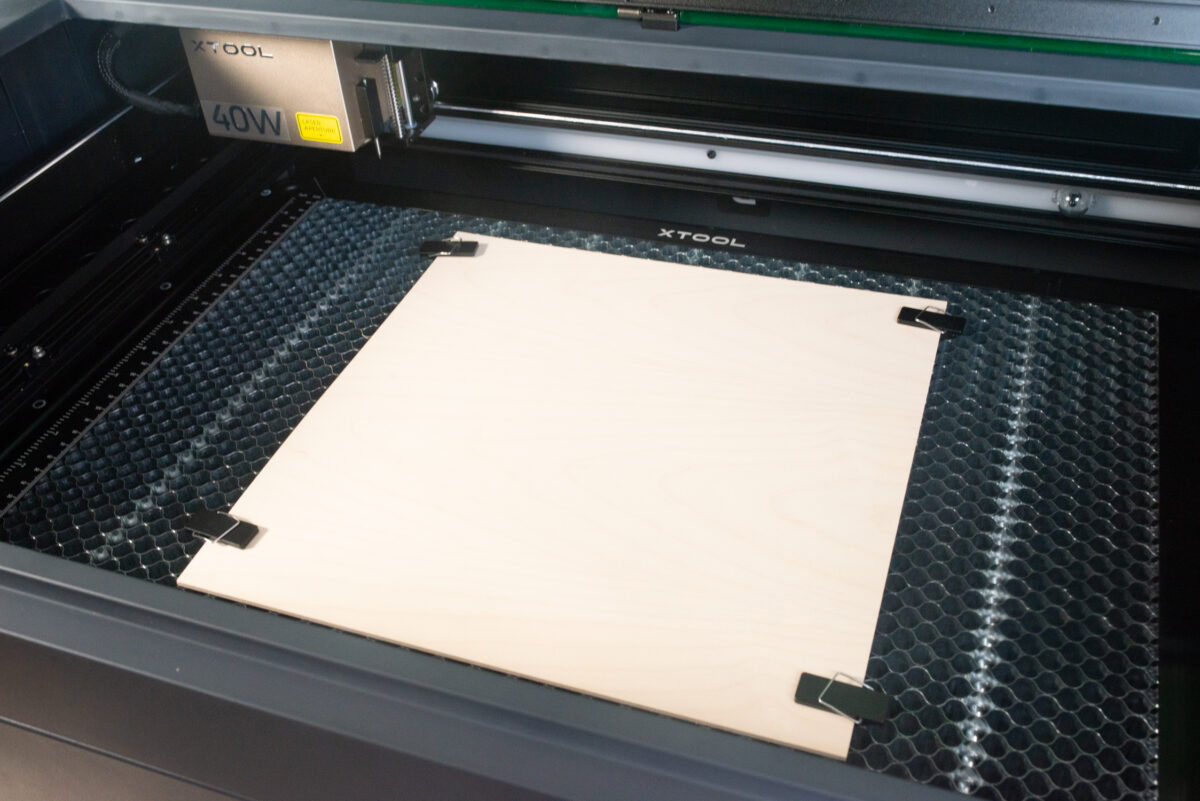
The instructions I received say that you can place the honeycomb tray within the riser base. But I don’t seem to have the same riser base that is featured in the instructions (nor does it exist on xTool’s website). So instead, I placed the honeycomb tray on my base tray. The base tray can be lifted to different heights on the riser base and the honeycomb panel can be adjusted that way.
The tray can be LOUD when adjusting height. Like nails on a chalkboard loud. Just be prepared if the metal happens to hit the wrong way!
The honeycomb panel also comes with pins to hold materials down flat. This is especially handy for pieces of wood that may not be entirely flat. To use these magnetic pins, place them on each corner of your material, press down (careful, the magnet is strong!), then pull the metal tab toward your material to ensure a more secure fit.
Is the honeycomb panel worth it? Absolutely. This is my favorite of all of the accessories here because I really do not like the triangle prisms.
Air Assist
- Cost: $169
The air assist helps to circulate air while cutting material. This reduces charring and the risk of fires within the laser machine by blowing air on your project as you are cutting.
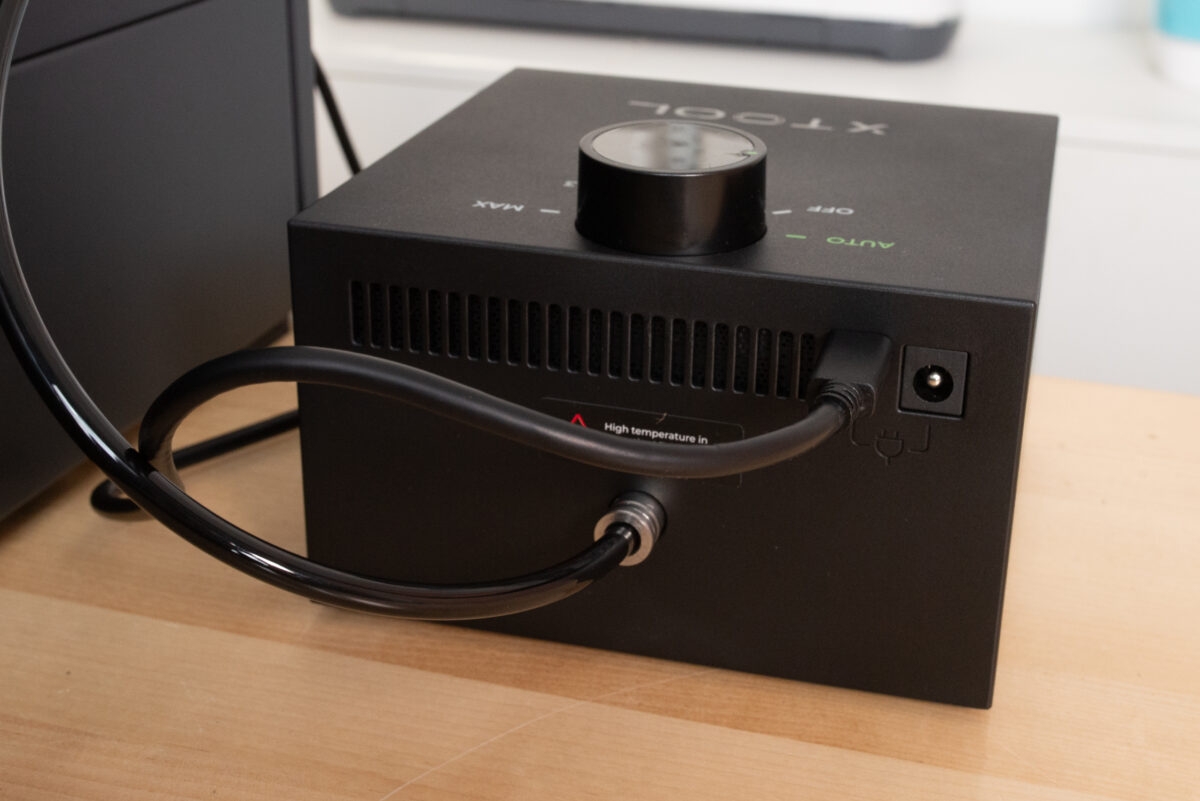
The xTool S1 air assist has different levels you can chose with a turn dial knob. It also comes with filters to clean the air, which is a nice addition.
The setup is really easy, especially compared to the M1. Simply plug both the tube and the USB cable into the back of the laser and attach to the control box. Then turn it on It will beep, which means it’s ready to go!
To use the air assist, turn it on to whatever level you choose (I need to do some more testing to see how the levels differ from each other. It’s quite loud when it’s running, especially at the higher levels. It does have a jiggly (?) base so it doesn’t clatter on the worktop.
My only complaint is that I wish the S1 machine came with an air assist built in like with my Glowforge lasers. It’s nice to not have a separate piece to have to purchase.
Is the air assist worth it? Yes, I think that most people will appreciate how much cleaner their projects are when using an air assist, though masking your materials can help with that too.
RA2 Rotary Attachment 2 Pro Tool
- Cost: $269
The rotary attachment allows you to engrave cylindrical objects with what xTool calls “circular processing.” This was the accessory I was most excited for, yet also the most nervous about!
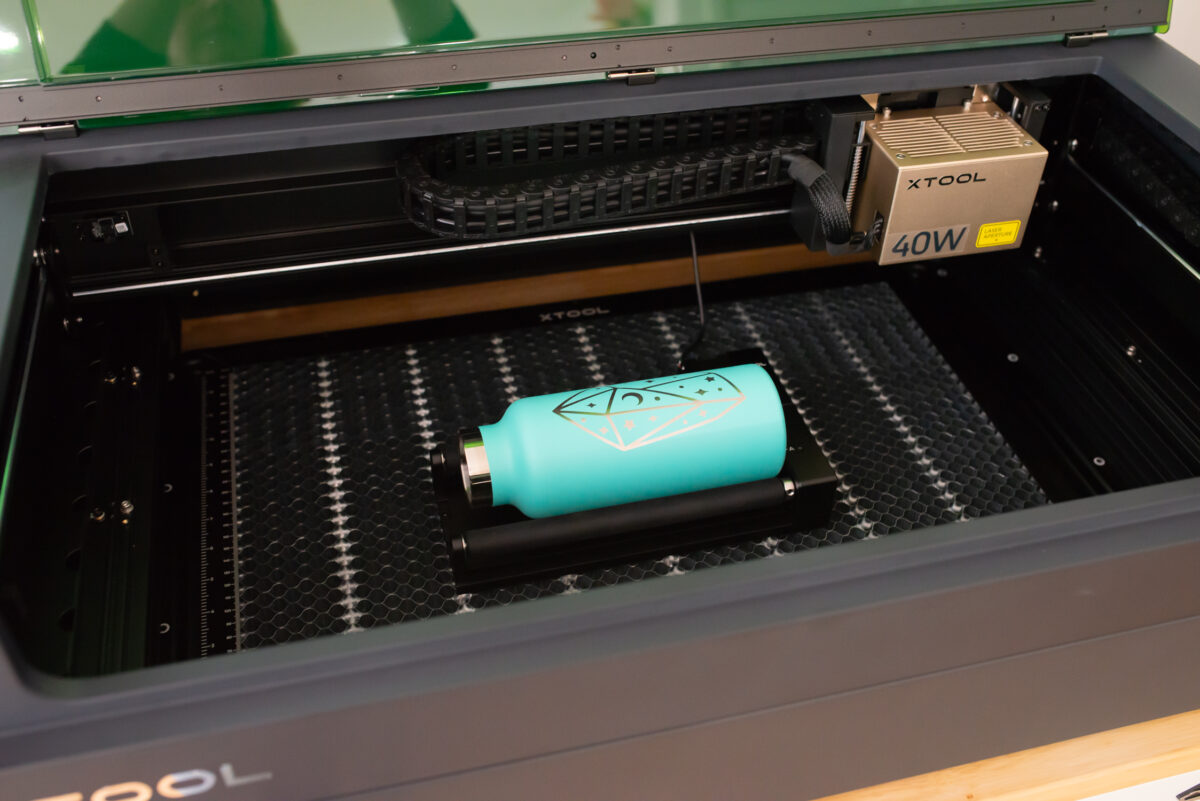
Note: There are two versions of the rotary tool: the RA2 and the RA2 Pro. I have the RA2 Pro, which allows you to do a larger number of engraved projects.
It comes with so many parts and I found it really intimidating. I took my time and made sure to pull out and match each accessory to the manual.
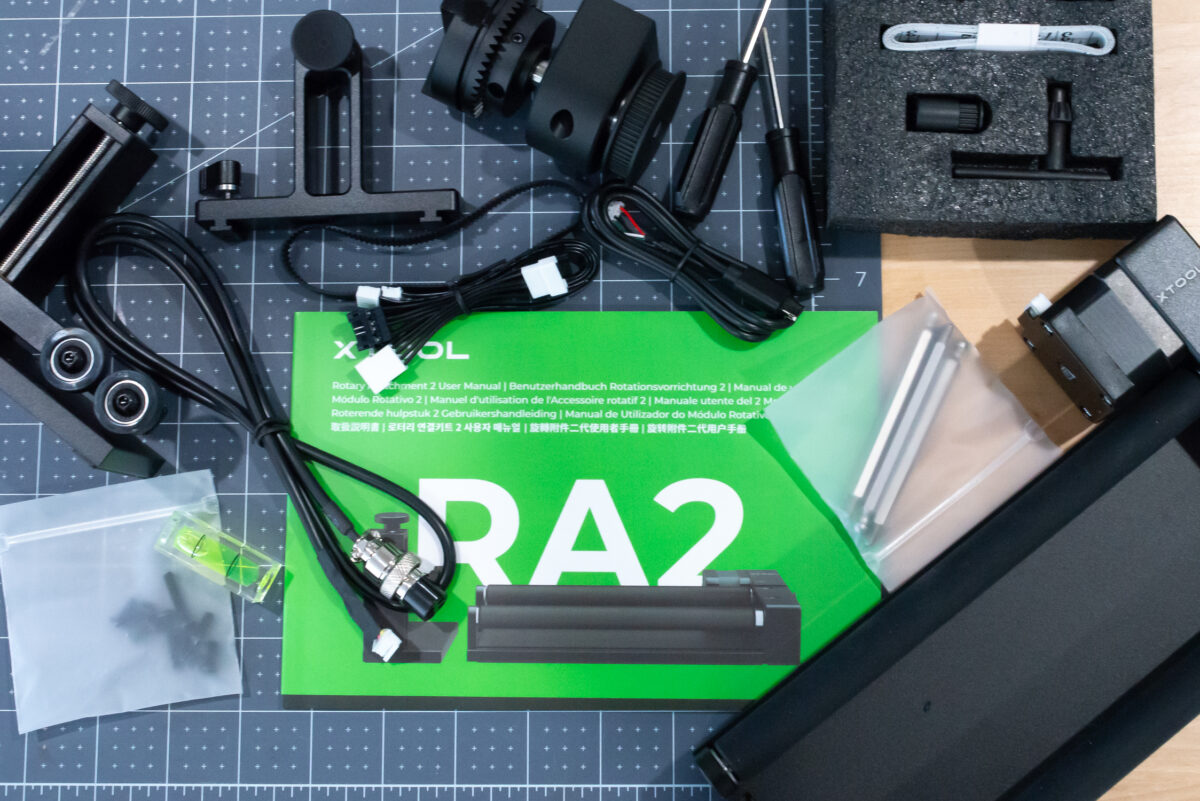
Because this tool has so many different ways to use it, I’m not going to go into them here. Instead, I am going to do a separate post with a very detailed tutorial for a variety of objects. This post would be twice as long as it is if I went into it all here!
Is the RA2 rotary tool worth it? If you want to make circular objects, it’s a must. You do need to have the riser base to be able to use the rotary tool, so keep that in mind. The rotary tool is one of the accessories that really sets the xTool machines apart from other laser brands and you can make so much more with it.
Smoke Purifier
- Cost: $799
Laser cutting and engraving creates smoke and debris and you need a way to remove that from the machine and not have it go directly out into your workspace. You can do this one of two ways—venting out of a window or using the xTool personal smoke purifier. If you don’t have access to a window, you will need the purifier.
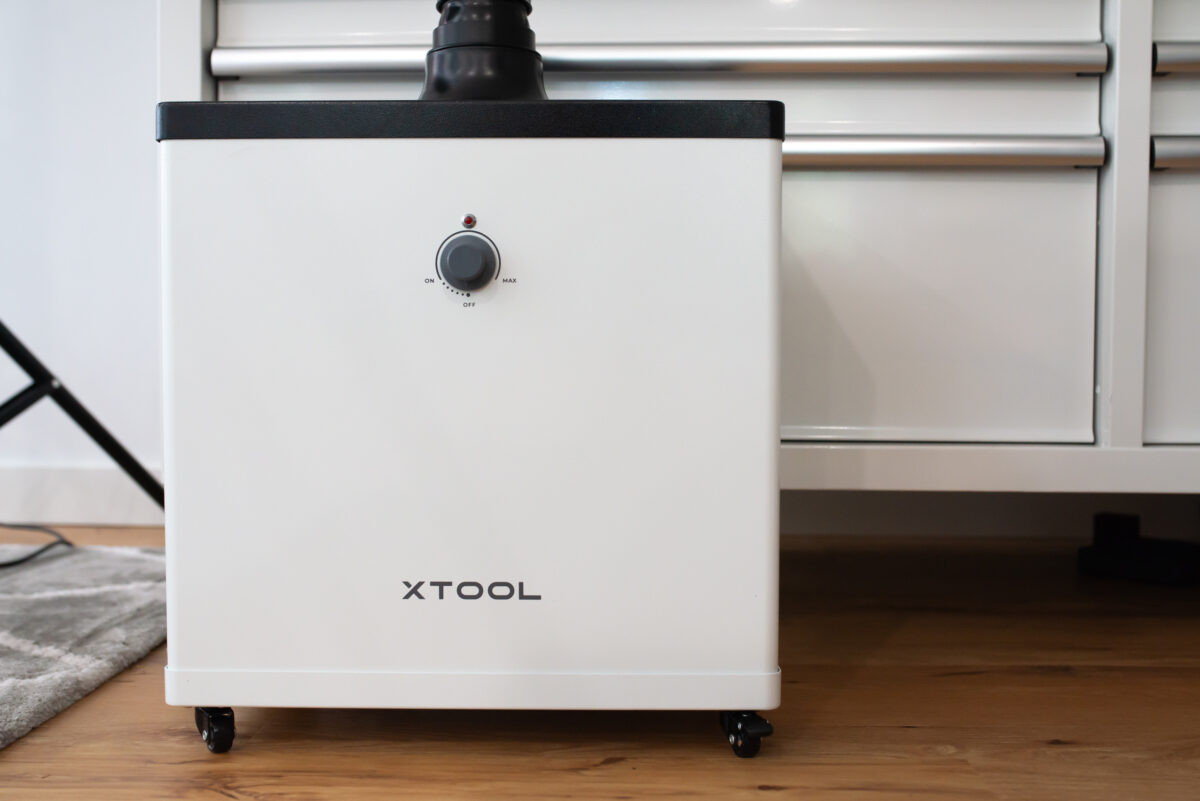
The purifier is a separate unit and you’ll run the vent pipe off the back of the laser into it. I find it heavy even though it’s on wheels, and it is loud.
Is the smoke purifier worth it? If you don’t have a window, yes. You need it so that all those fumes and smoke and debris doesn’t go into your lungs. But if you have a window, I’m not sure I’d spend the extra money. It’s quite expensive and it’s a bit cumbersome.
Other S1 Accessories
These are a few of the additional accessories available that I don’t own at this time, but I thought I would cover them here so you know all of the options.
Automatic Conveyor Feeder
- Cost: $419
The automatic conveyor feeder allows you to process materials that are 118″ long x 18.5″ wide. This would allow you to cut one large thing or multiple smaller items at once. It’s perfect for batching!
You do need quite a large space to be able to use this accessory, but it does store in a much smaller space so you don’t need to keep it out when you’re not using it.
Fire Safety Set
- Cost: $169
If you’re worried about fires in your machine, then the fire safety set might be for you. It automatically detects flames and once it does, it triggers an alarm, cuts power, and extinguishes the fire using CO2 gas that doesn’t ruin your machine like spraying fire extinguisher foam into it might. I think this is a great accessory and I plan on getting it for my machine.
Note that the fire safety set does NOT replace machine supervision. You never want to leave your machine unattended.
Hope you found this post helpful in deciding which xTool S1 accessories you want to get and which ones you don’t need right now! If you have any questions about anything I’ve featured in this post, feel free to ask them in the comments. Happy crafting!


Leave A Reply!