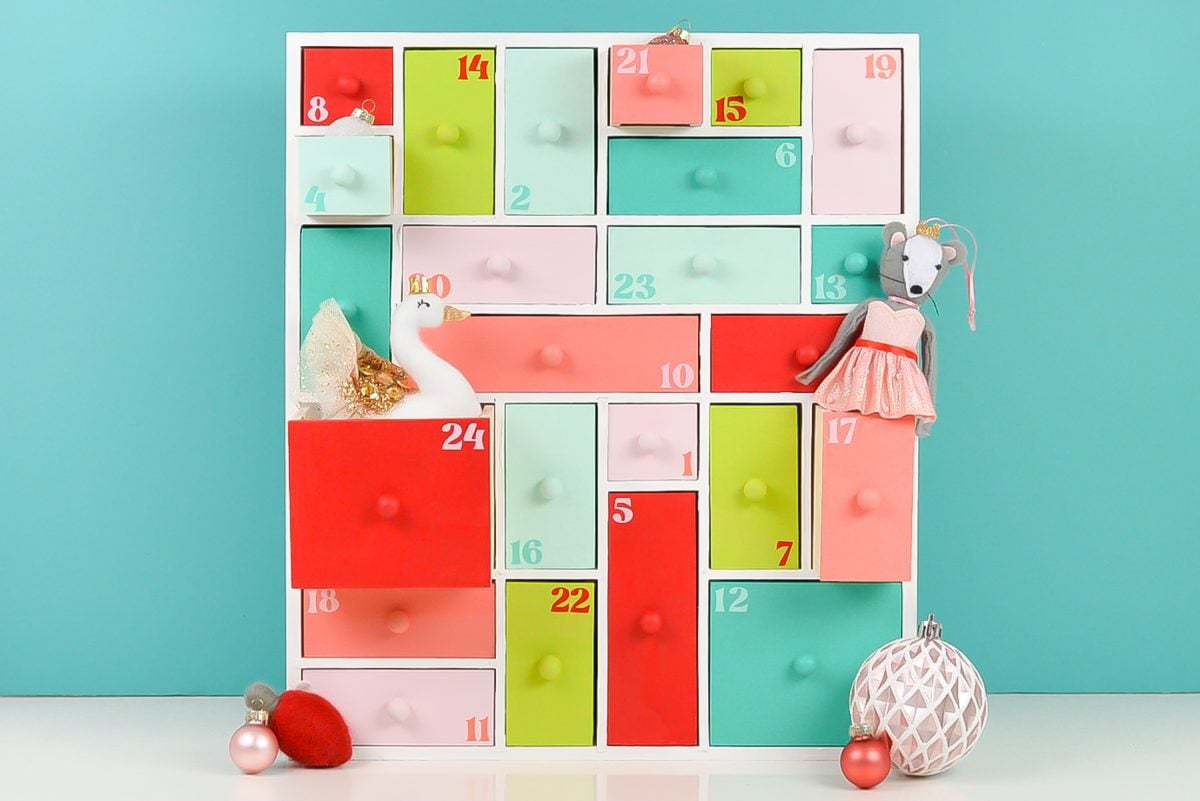
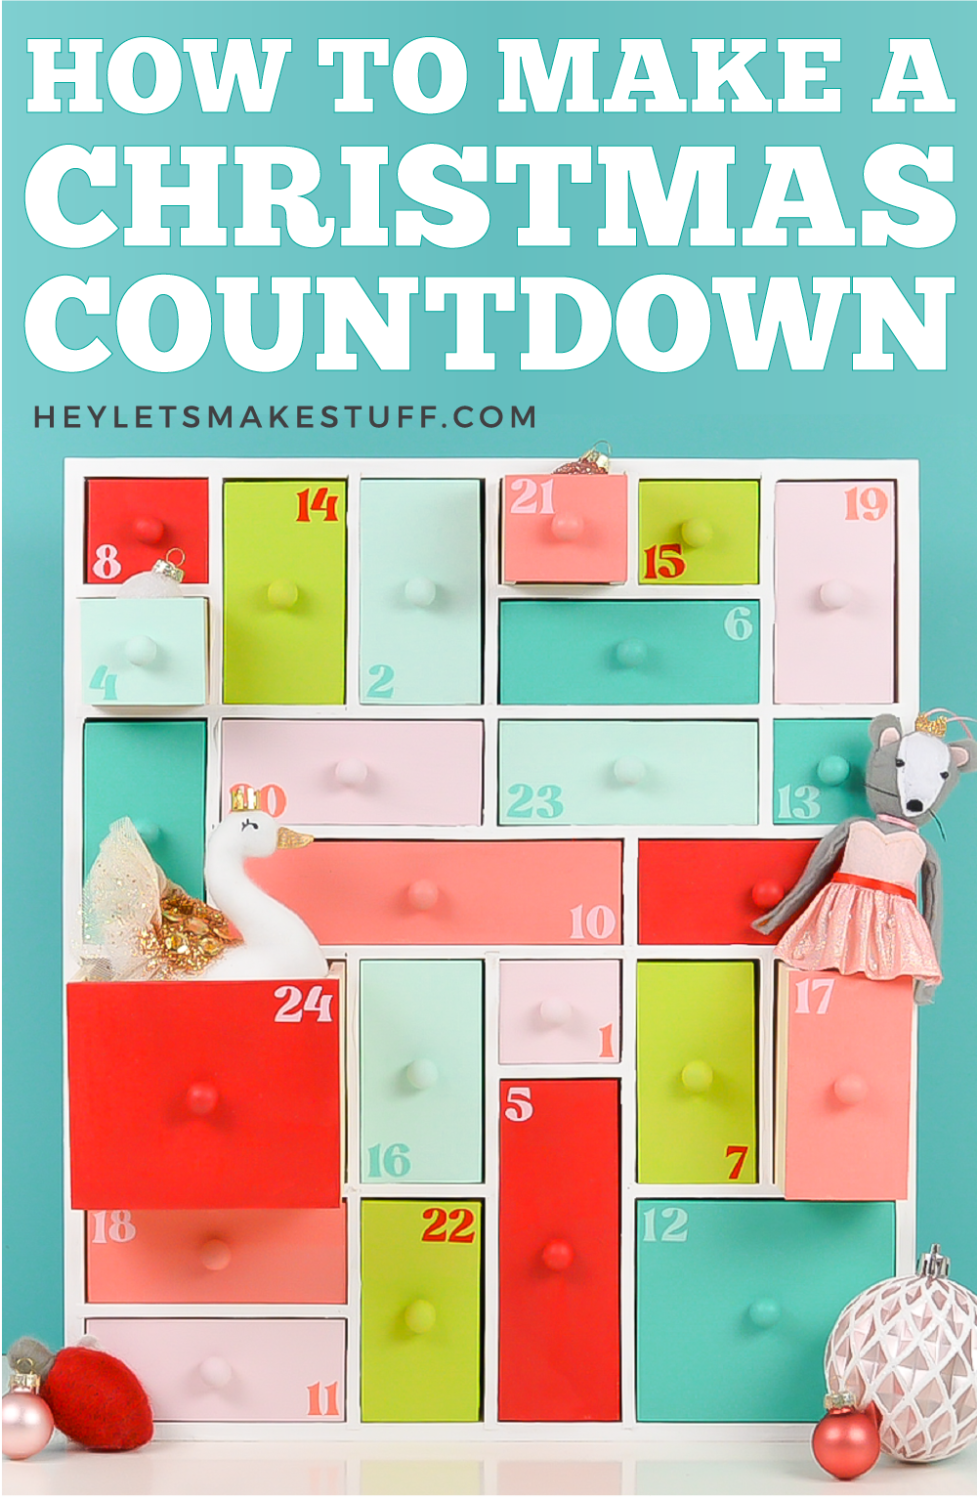
Use a Hyggehaus wooden organizer to craft an advent calendar! This high-quality wooden box has 24 drawers—perfect for personalizing and counting down to Christmas!
Thank you to Hyggehaus for sponsoring this post.
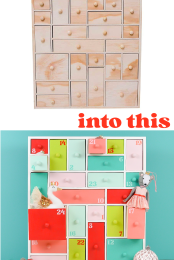
If you want to make a Christmas countdown or advent calendar, November is the perfect time to get crafting! Today I’m excited to partner with Hyggehaus to show you how to easily turn one of their wooden organizers into an advent calendar.
This is the second time I’ve used a Hyggehaus wooden drawer unit in a project—check out my color-blocked craft supply organizer that I made for my studio a while back! I love this little organizer. It’s so well made, the drawers are nice a deep and hold a lot, and the raw wood is perfect for personalizing!
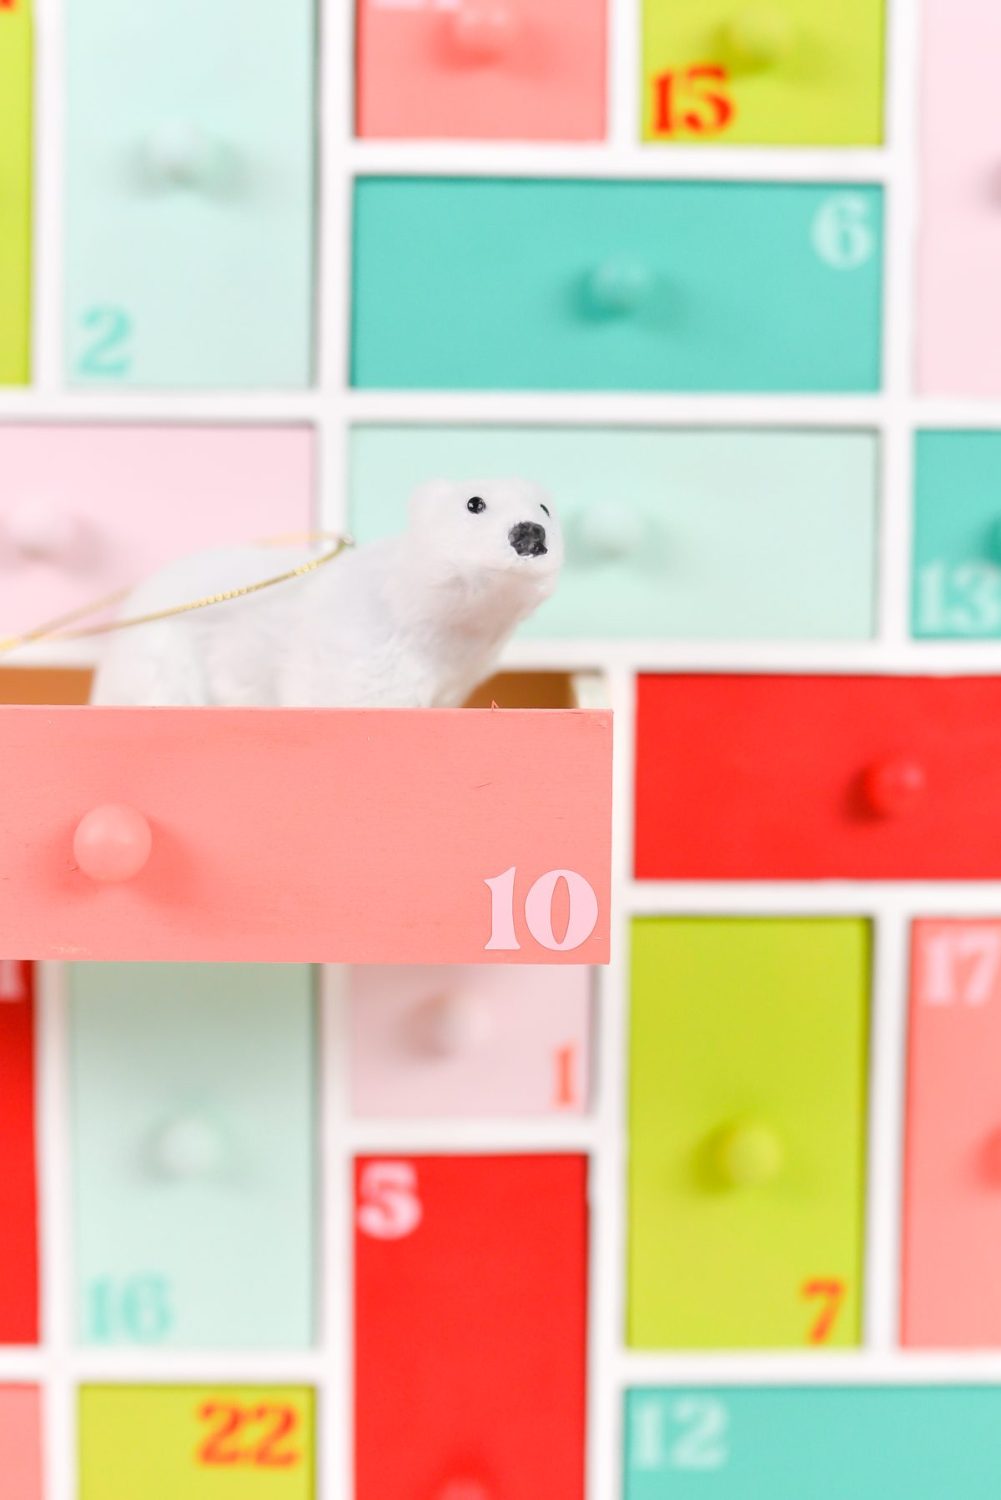
And because it has 24 drawers it’s basically begging to be a Christmas countdown! It even comes with a bunch of tiny wooden numbers you can paint or stain if you’d like (though I went a different route, which you’ll see in a few!).
To be perfectly honest, this project doesn’t really need an in-depth tutorial. So start here: paint the organizer.
[adthrive-in-post-video-player video-id=”vbocUiky” upload-date=”2022-07-30T18:33:30.000Z” name=”Christmas Projects with a Cricut” description=”Let’s get crafting for Christmas using the Cricut! Here are a ton of easy Cricut Christmas ideas that are easy and fun to make using your Cricut Explore or Cricut Maker!” player-type=”static”]
I used six colors of craft paint in my usual bright and retro Christmas palette, but you could easily switch this up to match your decor: white, grays, and black for you minimalism fans, or traditional red and green if you want! You could even stain it with your favorite wood stain to match your other holiday decor. I’ve also seen people use decoupage or patterned vinyl for each drawer front.
The knobs are separate from the organizer, making it easy to paint, stain, decoupage, or whatever your drawer fronts before you add the knobs.
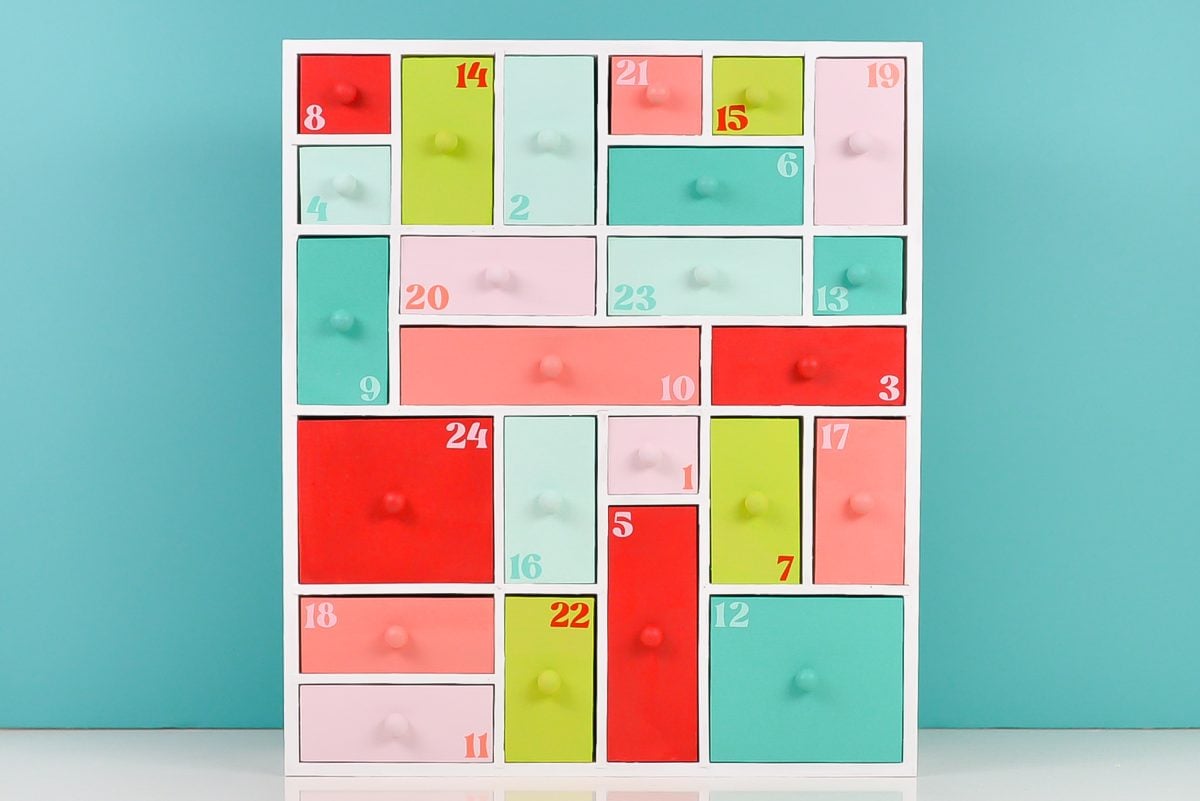
Then add your numbers. Like I said above, the wooden organizer actually comes with some laser-cut wooden letters that you can paint or stain and add to your Christmas countdown. I couldn’t help but grab my Cricut and cut out vinyl numbers for my box—you know I love a good quick Cricut project! You could also hand-letter or paint numbers on yourself as well.
Then use a bit of hot glue to add your knobs!
That’s it! Your advent calendar is ready for filling. Then start opening the drawers on December 1 as you countdown to Christmas!
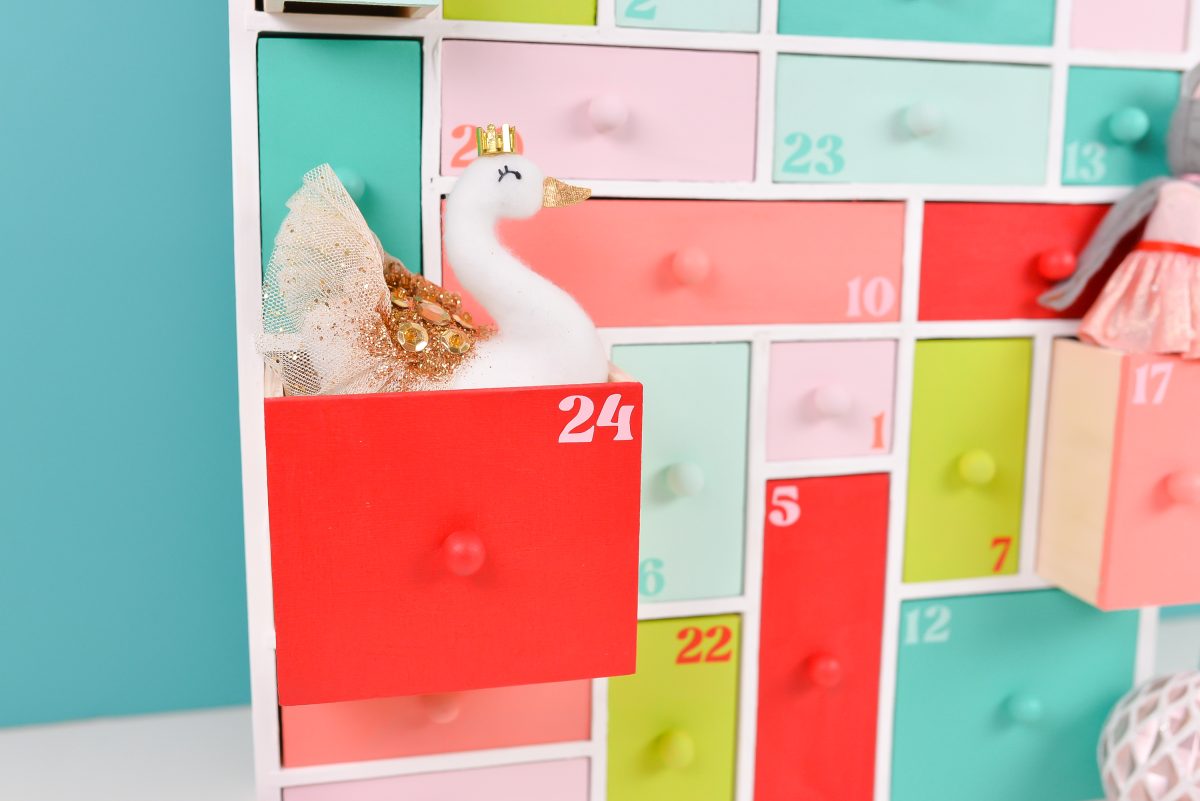
Advent Calendar Filler Ideas
Not sure what to put in the drawers? Here are some ideas!
- Ornaments (pair this with a mini tree that is specifically for your countdown ornaments!)
- Individually wrapped candy or chocolate
- Small toys and trinkets
- Tiny LEGO sets or Minifigs
- Handwritten notes
- Craft supplies (best Christmas ever!)
- Homemade coupons
- Pictures or other sentimental items
- Art supplies
- Money
Check Amazon, the Dollar Tree, Target, and other local spots to find these fillers!
Love this Cricut advent calendar? Check out my post 15+ DIY Cricut Advent Calendars & Christmas Countdowns for more ideas!


Comments & Reviews
Louise says
I love your retro Christmas colors! What colors did you use? This is a perfect early gift for my daughter as this is her first Christmas as a mom.
Cori George says
The colors I used were:
Folk Art – Ballet Slipper
Folk Art – Fire Coral
Folk Art – Minted Aqua
DecoArt – Citron Green
Martha Stewart – Diving Board
Martha Stewart – Habeñero
Hope that helps! :)