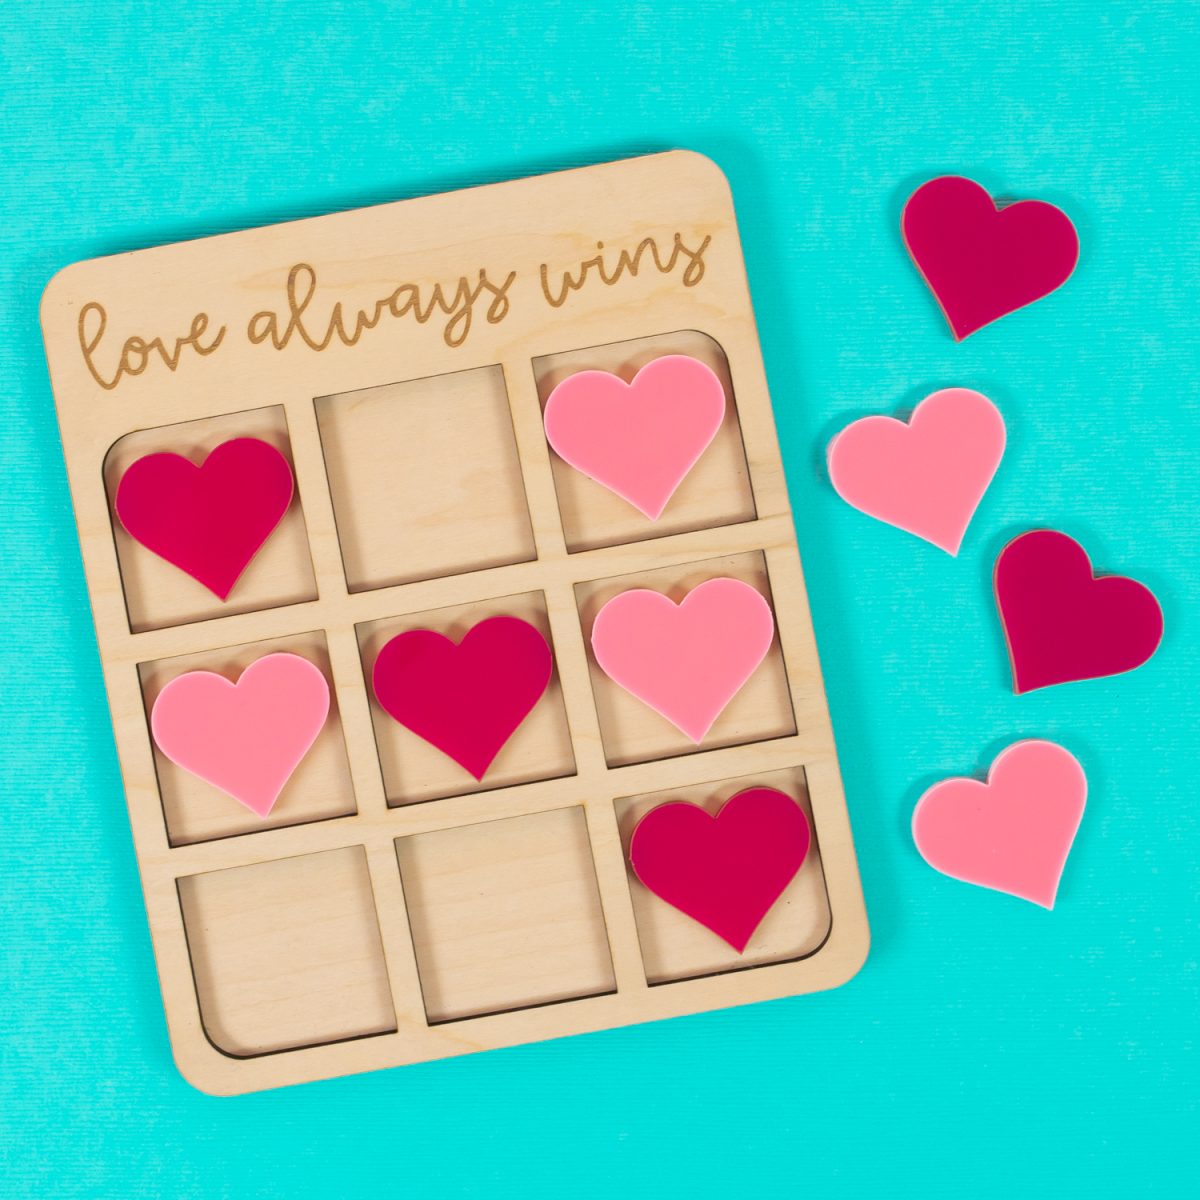
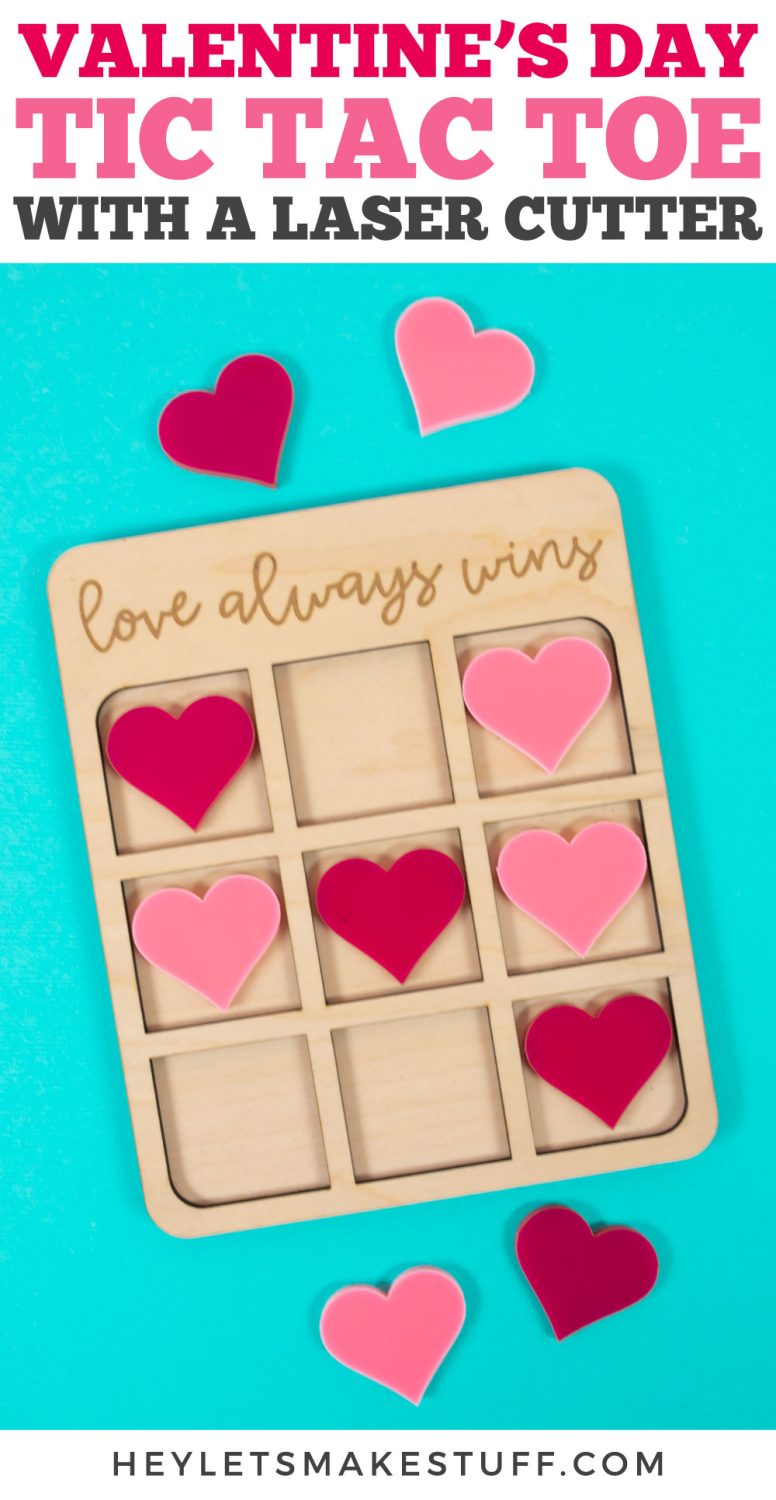
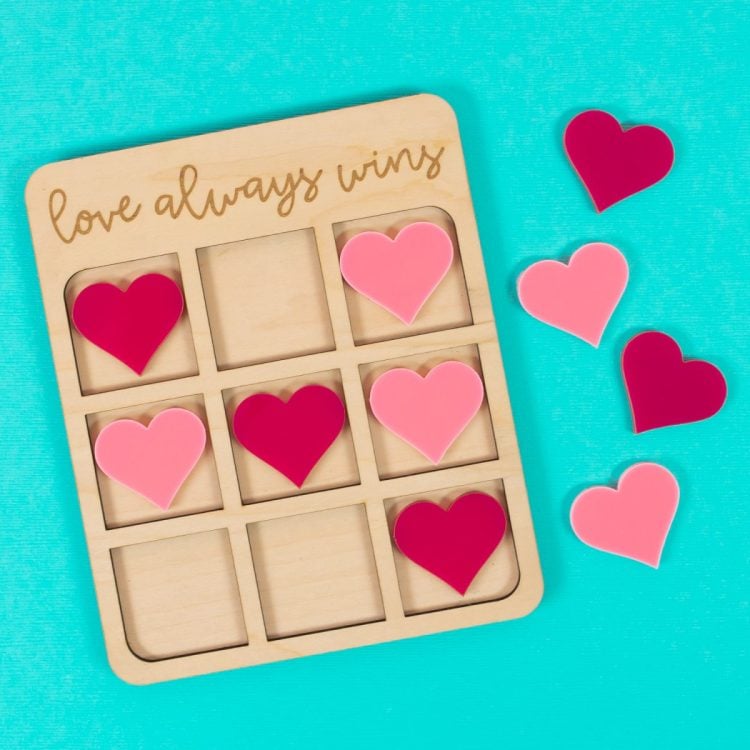
This cute laser-cut Valentine’s Day tic tac toe game proves that love always wins! Cut both the wood frame and acrylic pieces using your laser cutter. The perfect gift for a loved one on Valentine’s Day!

Even though I love making Valentine’s Day decorations, I haven’t really done a lot for my boys the last few years. We decided to homeschool at the beginning of the pandemic due to health concerns…and we’ve found it’s a great fit for our family. So while the boys do have some classroom time with our school district partnership program, they are never in a classroom on Tuesdays. So I have yet to make a set of class valentines for them!
This year, since we’re still homeschooling, I decided to make them a little gift basket of Valentine’s Day stuff. Just some candy and a few yummy cookies to celebrate, since we don’t get the classroom experience. And I’ll be adding this adorable laser-cut Valentine’s Day tic tac toe set! Both players get to play using hearts, which means no matter what, love wins!
This set is easy to make using your laser cutter. For this project, I’m using my xTool 10 M1 with walnut plywood and two colors of acrylic. You can see Beginner’s Guide to the xTool M1 Hybrid Laser / Blade Cutter for more information.
xTool Acrylic Settings
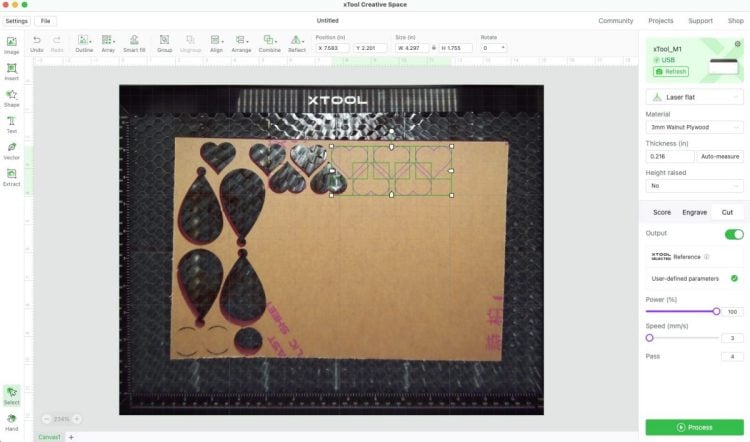
Cutting acrylic with a diode laser like the xTool M1 can be a little tricky. Some colors, like clear and blue, are off the table without a bunch of hacks. But pinks and reds are generally possible to cut if you play around with the settings. Here are the settings I ended up with for my two colors:
Dark Pink Acrylic:
- Power: 100
- Speed: 3
- Pass: 4
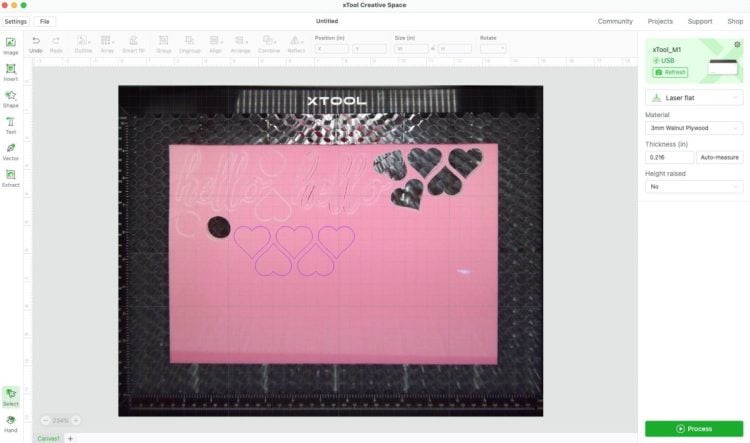
Light Pink Acrylic:
- Power: 100
- Speed: 2
- Pass: 5
Note that the light pink required a slower speed and more passes to cut through. For both, because you are doing so more than one pass, you want to be extra careful not to bump or jostle the machine or table while it’s cutting.
If you are cutting with a CO2 laser, you shouldn’t have any problem and should be able to cut these hearts in a single pass.
xTool Wood Settings
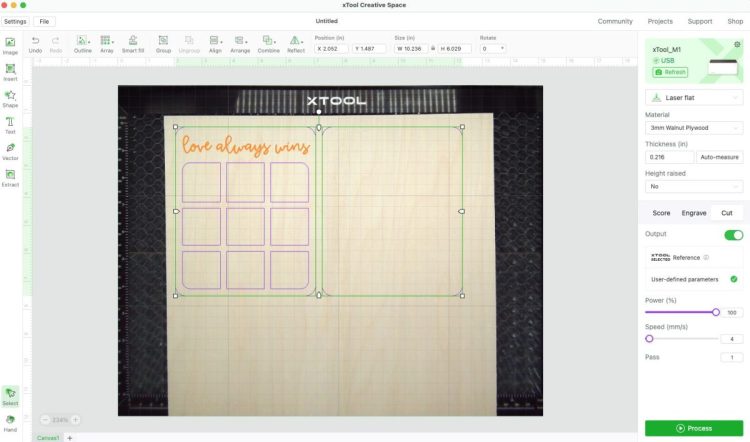
For this project I’m using maple. The xTool settings say to cut it at 100/4/3, but I’ve found that only a single pass is needed for most simple projects. If you’re doing something with a bit more detail, you may want two passes.
- Power: 100
- Speed: 4
- Pass: 1
For engraving, I just used the xTool settings for this material:
- Power: 70
- Speed: 175
- Pass: 1
You can up the power or slow down the speed for a darker engrave (or vice versa if you want a lighter engrave).
Note that I did NOT mask my wood. I have found that with a single pass and the air assist on my xTool, I don’t get burn marks. You can, however, mask your project if you’d like!
Valentine’s Day Tic Tac Toe Supplies
Get everything you need to make this Valentine’s Day Tic Tac Toe game in my Amazon Store!
- Laser cutter
- Sheet of laser-ready wood (I used maple)
- Dark pink acrylic
- Light pink acrylic
- Craft glue (see note below)
- SVG file (see below)
Note about the glue: Instead of gluing your two frame pieces together, you can back your top frame piece with 3M adhesive. This is my preferred method, but I was out of the adhesive! Craft glue easily works in a pinch. Just don’t use too much or it will seep out the sides.
Get the Laser Cut File Here
Valentine’s Day Tic Tac Toe Tutorial
Cutting Your Project
These instructions are for the xTool M1 laser and xTool Creative Space, but again you can use whatever software and laser you have.
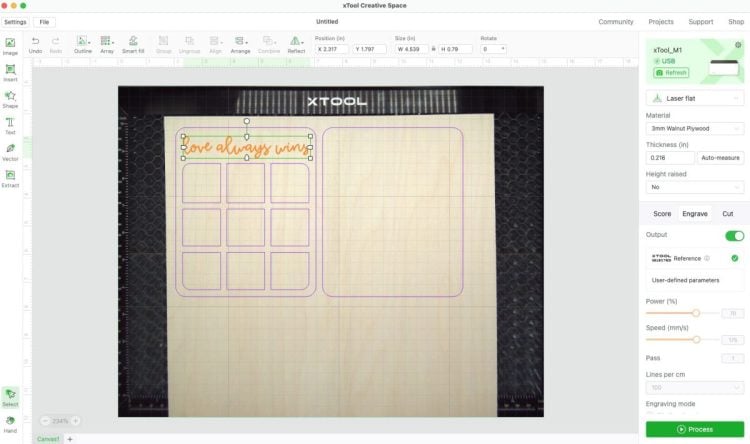
Start by uploading the tic tac toe file to the cutting software. You’ll need to split this file into three cuts—the wood, the dark pink acrylic and the light pink acrylic.
I started with the dark pink acrylic hearts. Change your settings to cut acrylic. For the xTool M1, I chose User-Defined Parameters and then choose 100/3/4 as my power/speed/pass for the dark acrylic. Again, yours may be different than mine, so make sure to test all of the settings for each material.
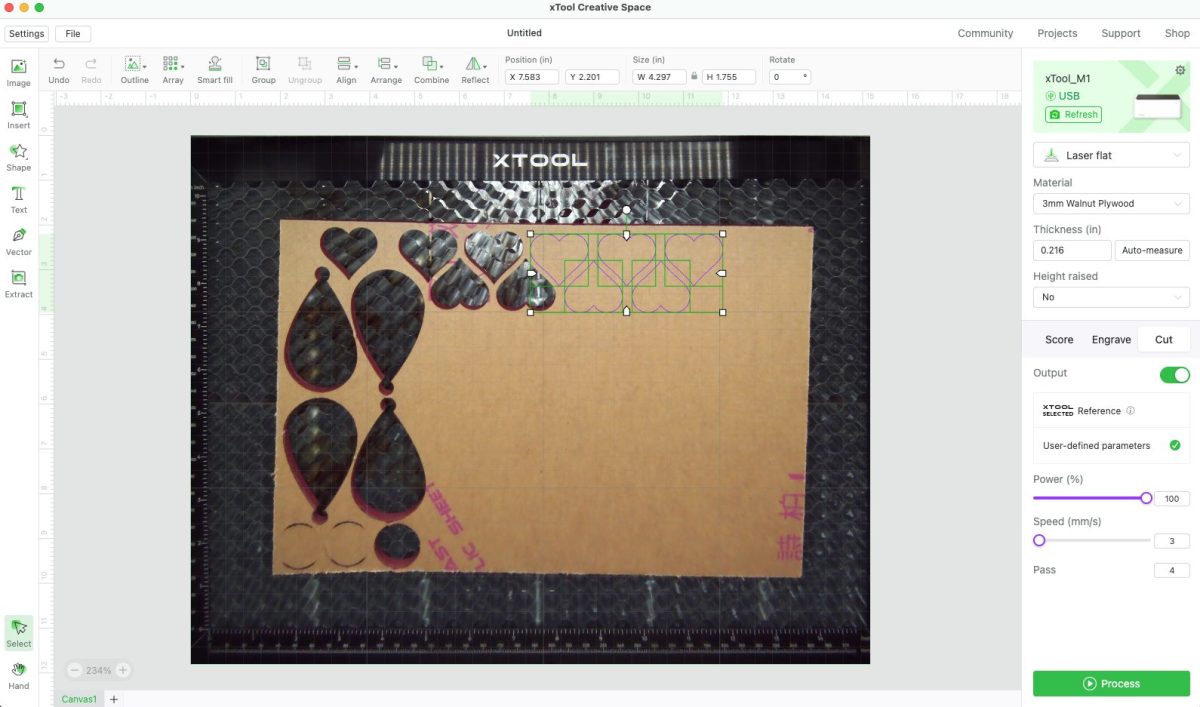
Place your acrylic in the bed of your laser. For the xTool, I haven’t found it necessary to mask my material, but this particular material comes pre-masked so I left it. Cut your project using your laser cutter. Remember not to leave your laser unattended when it’s cutting.
Then repeat for your light pink acrylic. Like I said above, I chose 100/2/5 for my settings for the light pink.
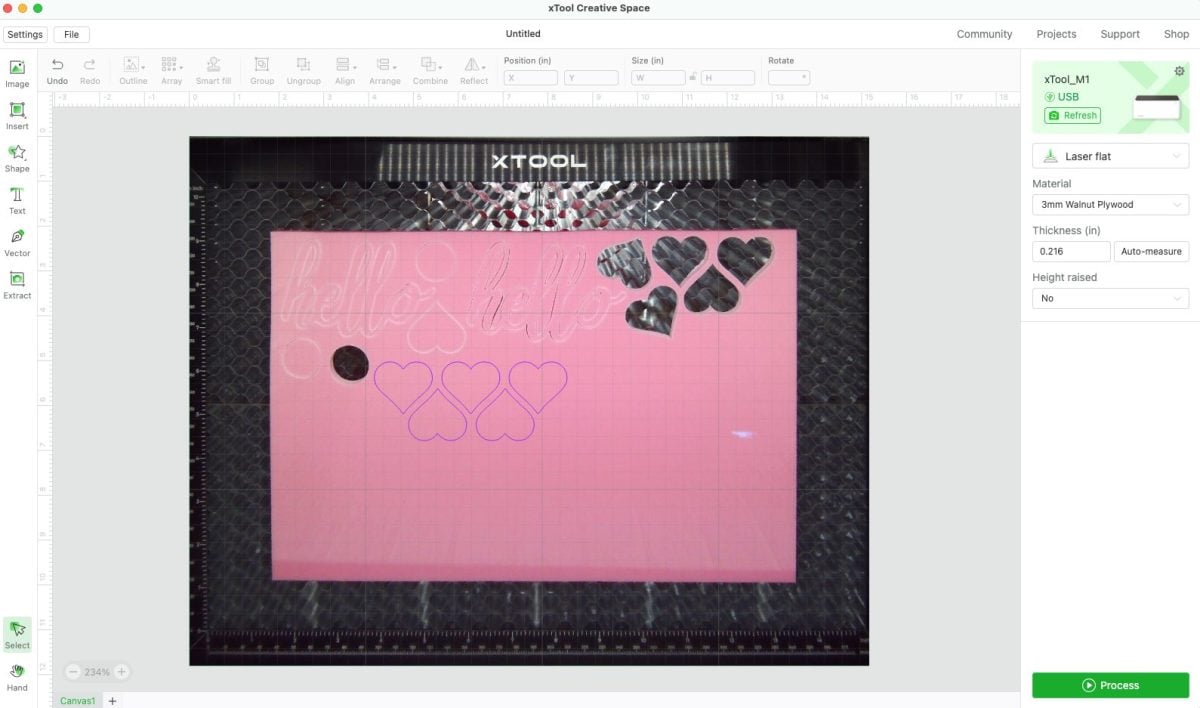
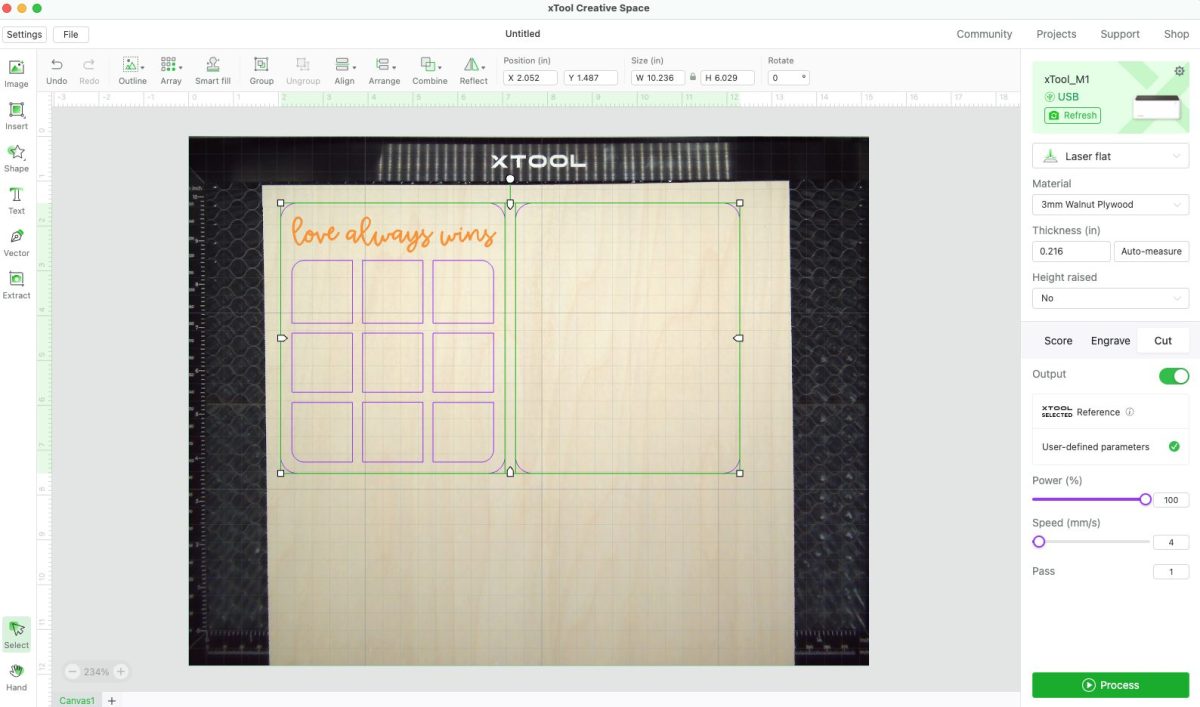
Then prepare the wood piece in the software. You’ll need to change the text to engraving and the frame to cut. Note there are TWO frame pieces but they may import on top of each other. Just drag the pieces apart. Set the frame pieces to cut and change the settings. For Walnut, I use 100/4/1.
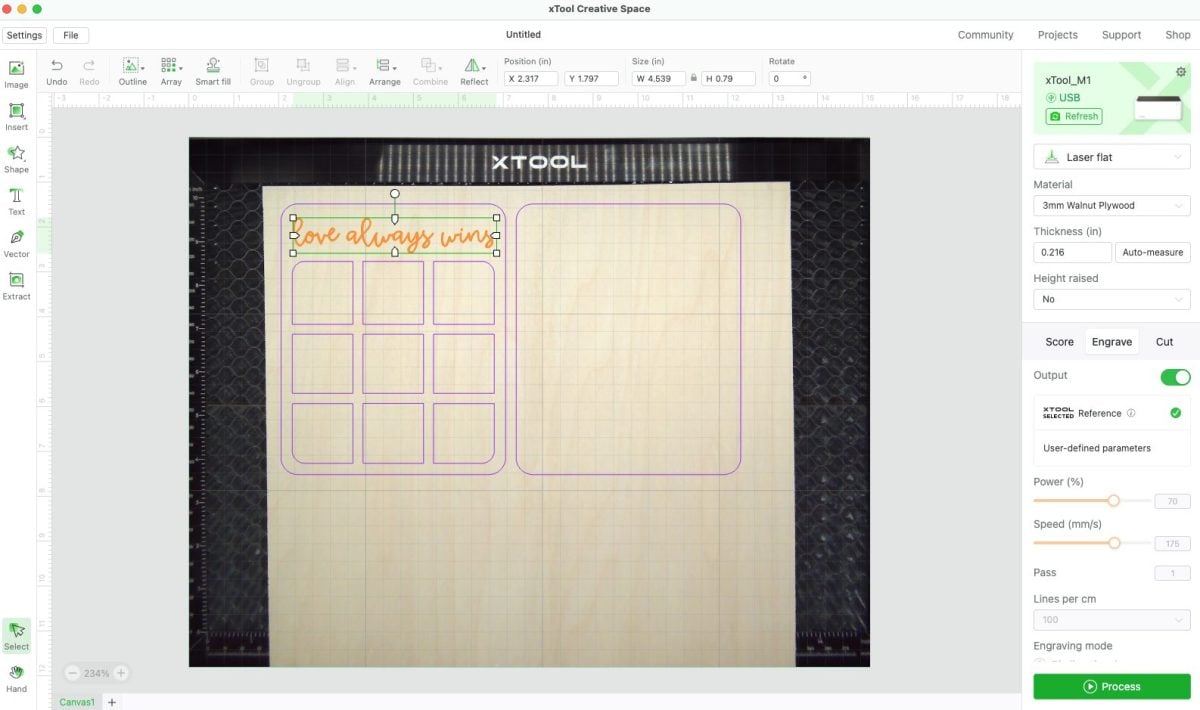
Set the words to engrave and change the settings, if desired. I used 70/175/1 for the engraving settings.
Then click Process to cut and engrave your project.
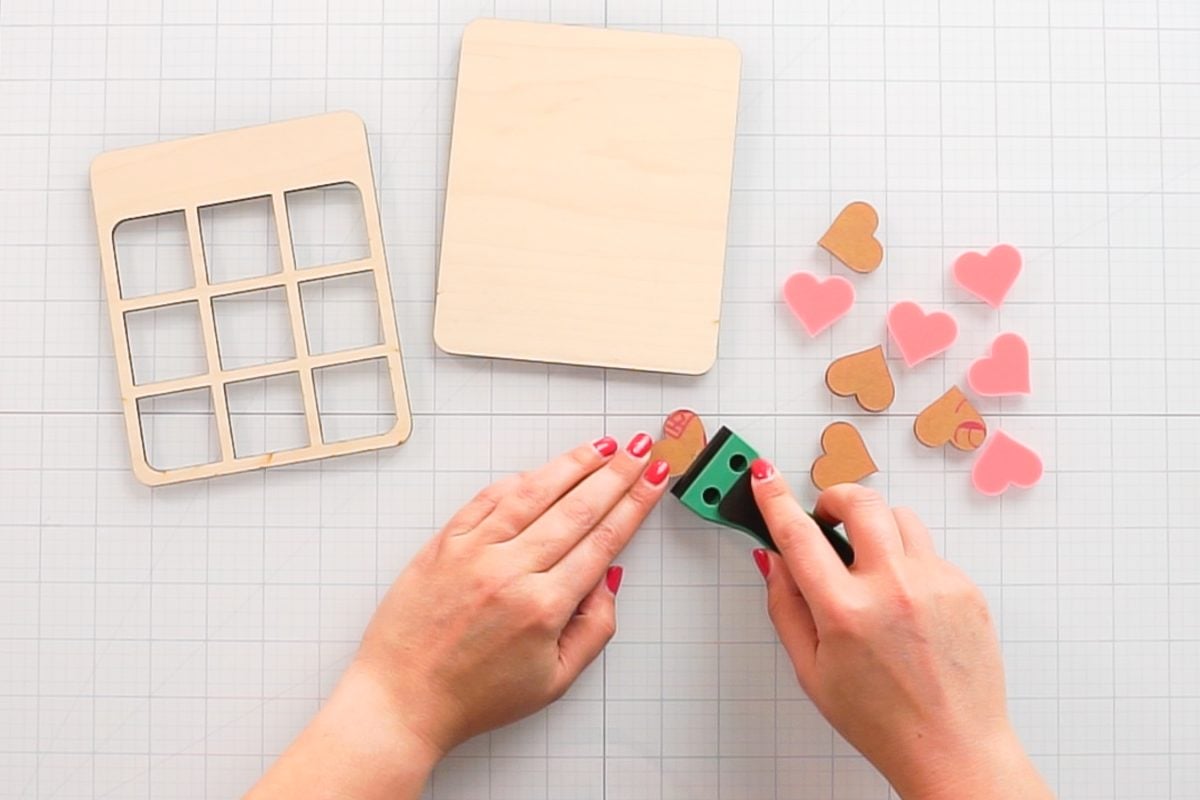
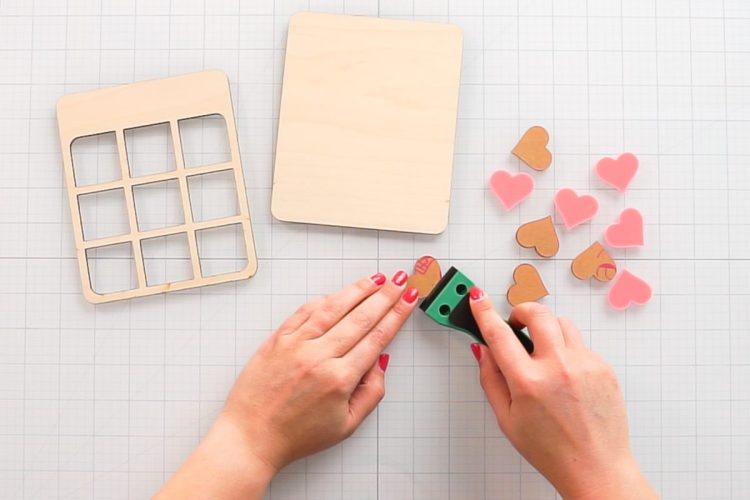
Remove any masking from your project. I love my plastic razor blade for this—so much better than trying to use my fingernails!
Assembling Your Project
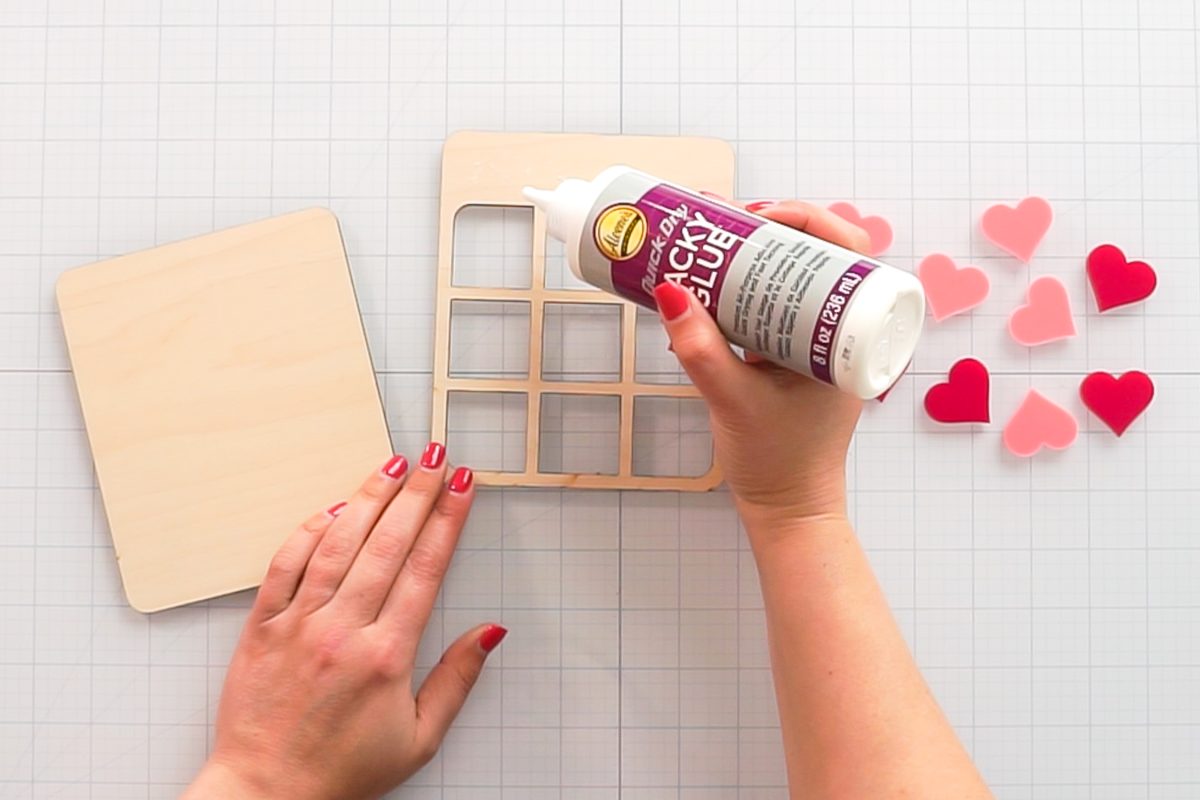
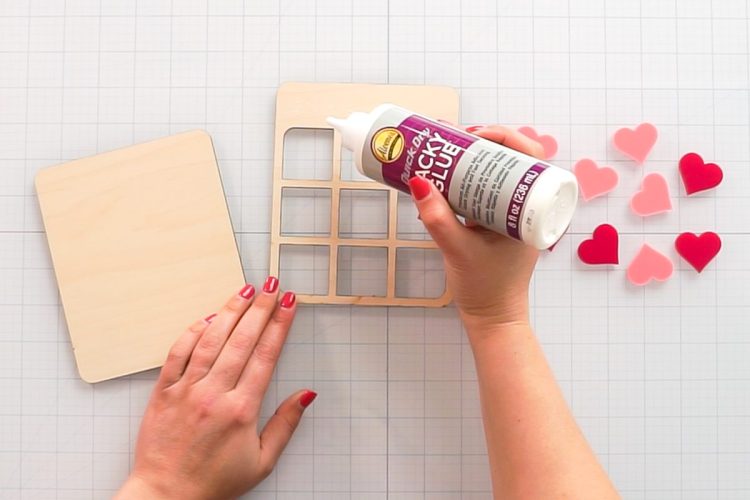
Assembling the project is easy! Just use a bit of craft glue on the back of the frame piece to glue it to the backing piece.
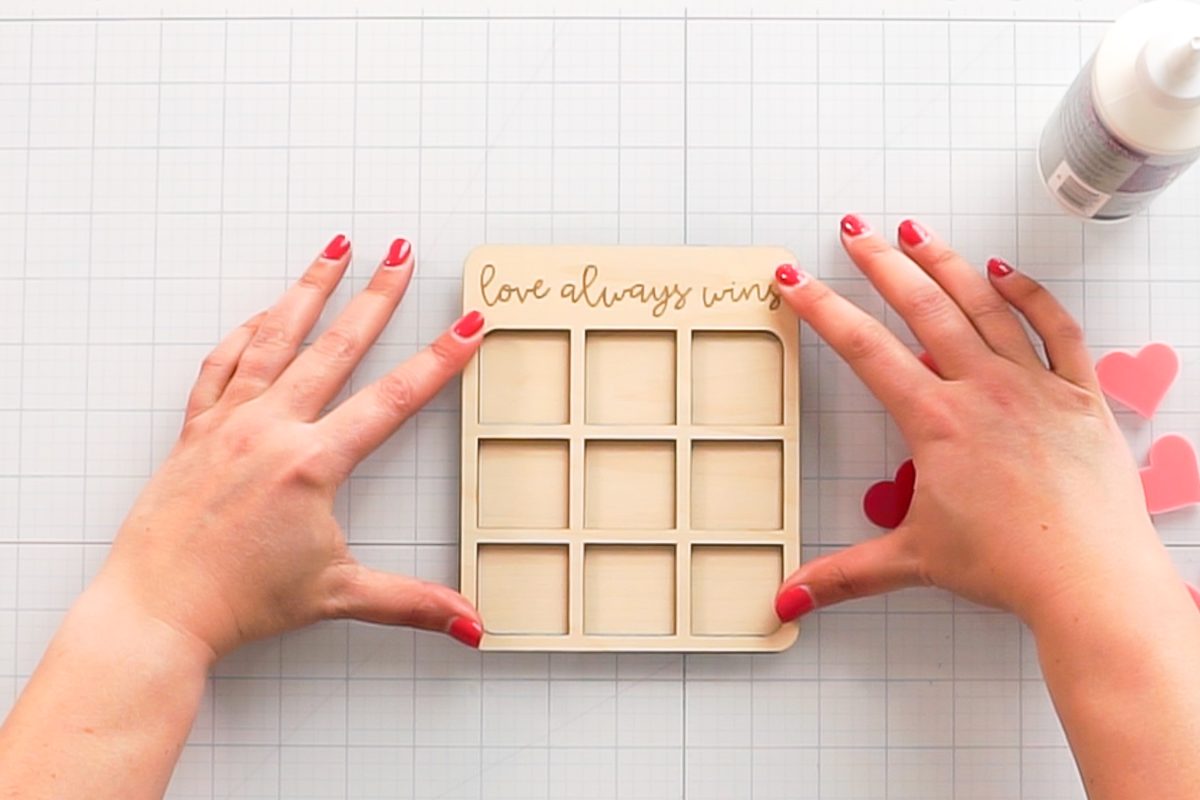
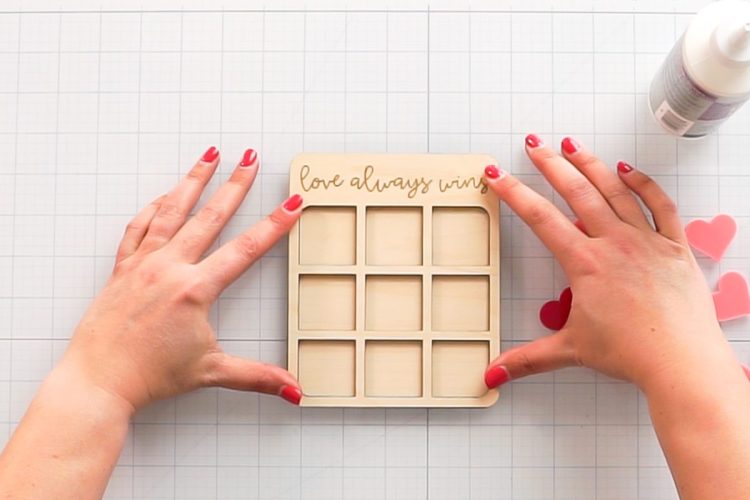
Set a bunch of heavy books or other heavy object on top while the glue sets to make sure it adheres properly.
Then get ready to play a game of tic tac toe with your kids, your significant other, a friend, or other loved one! If you liked this Valentine’s Day laser craft, also check out my heart earrings, made with the same dark pink acrylic!

Valentine’s Day Tic Tac Toe with a Laser Cutter
Equipment
- Laser Cutter xTool, Glowforge, or Other
Supplies
- 1 Sheet of laser-ready wood maple plywood was used for this project
- 1 Sheet of dark pink acrylic
- 1 Sheet of light pink acrylic
- Craft glue
- 3M Adhesive
- Vday Tic Tac Toe File
Instructions
- Cutting Your ProjectThese instructions are for the xTool M1 laser and xTool Creative Space, but again you can use whatever software and laser you have.Start by uploading the tic tac toe file to the cutting software. You'll need to split this file into three cuts—the wood, the dark pink acrylic and the light pink acrylic. Start with the dark pink acrylic hearts. Change your settings to cut acrylic. For the xTool M1, chose User-Defined Parameters and then choose 100/3/4 as the power/speed/pass for the dark acrylic. Again, yours may be different than this, so make sure to test all of the settings for each material.

- Place your acrylic in the bed of your laser. For the xTool, found that it is not necessary to mask the material, but this particular material comes pre-masked so it was left as is. Cut your project using your laser cutter. Remember not to leave your laser unattended when it's cutting.Then repeat for your light pink acrylic. 100/2/5 was chosen for the settings for the light pink.

- Then prepare the wood piece in the software. You'll need to change the text to engraving and the frame to cut. Note there are TWO frame pieces but they may import on top of each other. Just drag the pieces apart. Set the frame pieces to cut and change the settings. For Walnut, use 100/4/1.

- Set the words to engrave and change the settings, if desired. 70/175/1 was used for the engraving settings.

- Then click Process to cut and engrave your project.Remove any masking from your project. Love using a plastic razor blade for this—so much better than trying to use your fingernails!

- Assembling Your ProjectAssembling the project is easy! Just use a bit of craft glue on the back of the frame piece to glue it to the backing piece.

- Set a bunch of heavy books or other heavy object on top while the glue sets to make sure it adheres properly.

- Then get ready to play a game of tic tac toe with your kids, your significant other, a friend, or other loved one! If you liked this Valentine's Day laser craft, also check out these heart earrings, made with the same dark pink acrylic!

Notes



Leave A Reply!