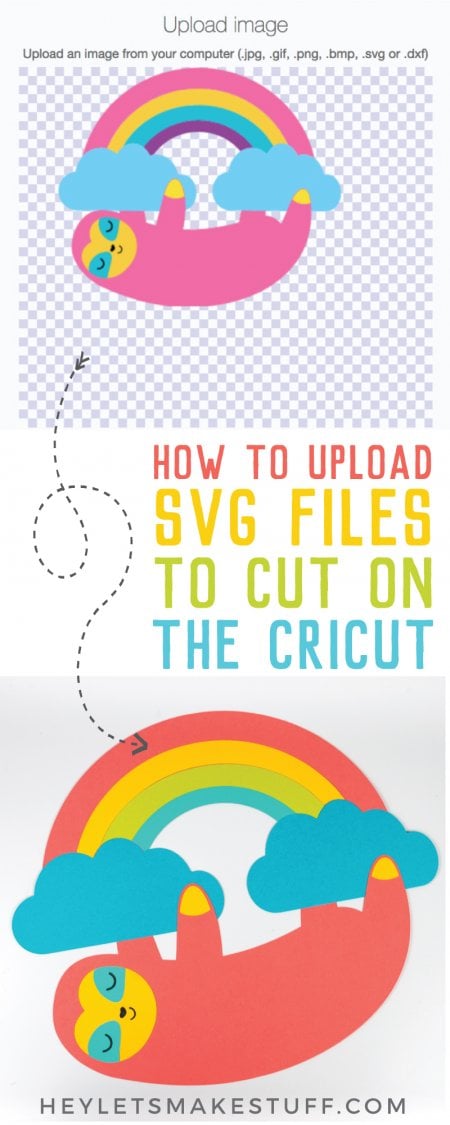
Learn all about how you can upload SVG Files to Cricut Design Space, and why SVG files are the best kind of files to work with for any cutting machine. Plus get a great resource for finding SVG files to cut!
One of my absolute favorite features of Cricut Design Space is the ability to upload unlimited SVG files for free—and it’s so easy.
I get a lot of questions from people having trouble uploading files to the Cricut Design Space. Most often, it’s because they are trying to upload a grainy JPG or PNG and can’t figure out why the Cricut Design Space can’t convert it to cutting layers. I’ll have a post on best practices for uploading JPGs and PNGs soon, but in the meantime I wanted to share the BEST way to upload files to the Cricut Design Space—using SVG files.
What is an SVG file?
Without getting too technical, an SVG file is a file that is mathematically designed, and thus works perfectly with the Cricut and other cutting machines. In contrast to being designed in pixels, like a JPG or PNG, it is created using lines and points. If you think about how a cutting machine works, the blade cuts lines and turns at points. This is what makes SVGs work perfectly with the cutting machine!
Uploading an SVG file to Cricut Design Space
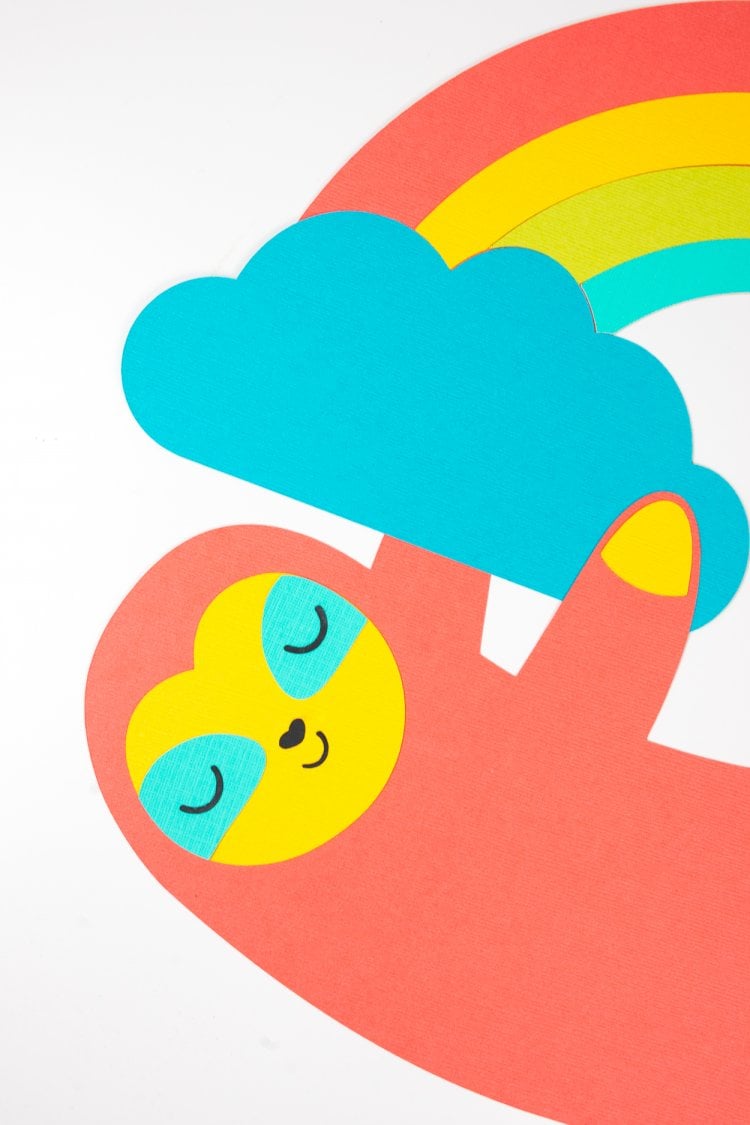
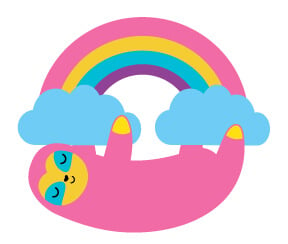
Here’s an example to show how to upload an SVG to the Cricut Design Space. I’m particularly enamored with this rainbow sloth (who wouldn’t be?) so I’m going to cut him out today using my Cricut Explore.
If your download comes in a ZIP file, you’ll need make sure to extract your SVG before uploading—you cannot upload a ZIP to Cricut Design Space.
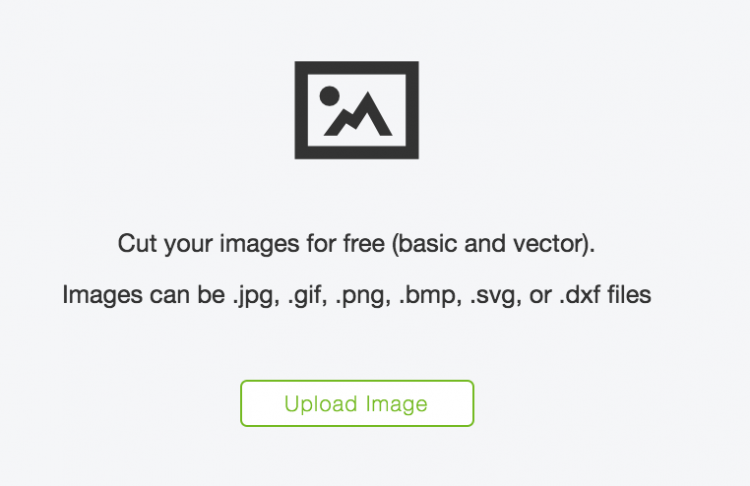
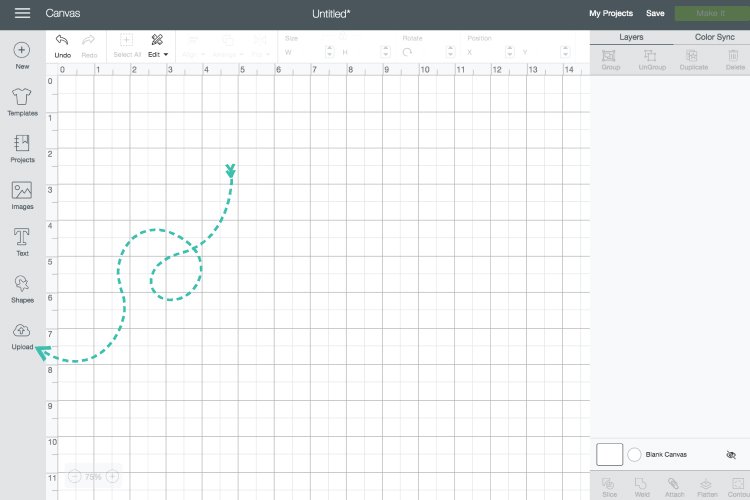
Start by opening a new, blank canvas in the Cricut Design Space. Click Upload in the Design Panel on the left-hand side of your canvas.
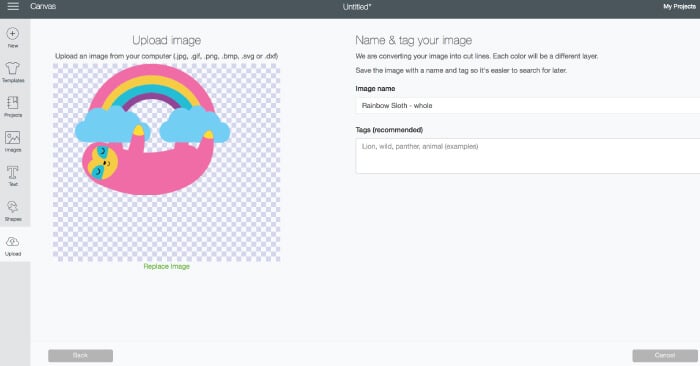
Click Upload Image.
Navigate and choose the sloth file from this bundle (or whatever SVG you’d like!).
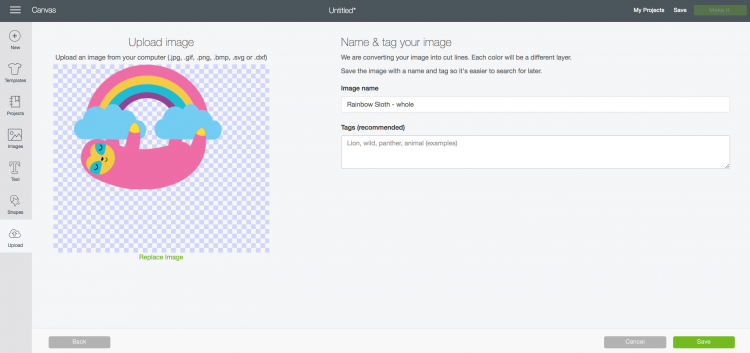
Then click Save. The file will appear in your Recently Uploaded Images. Select it and click Insert Images and your sloth file will import onto your canvas. Easy!
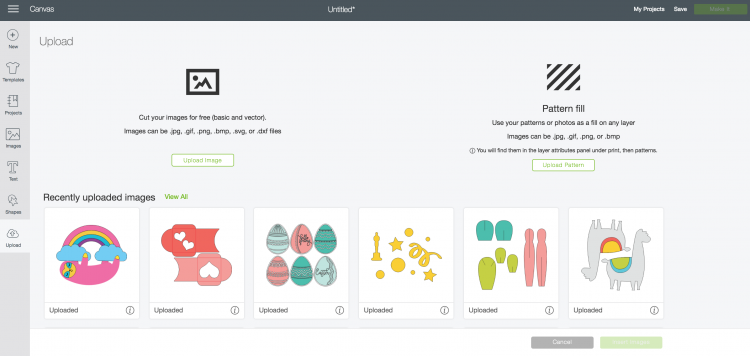
Note that if you tried to uploaded a JPG or PNG, there would be so many more steps right here. But because SVGs are native to the Cricut program, it uploads seamlessly. This is what I LOVE about SVGs. The process is about a million times more simple than using a JPG or PNG.
Depending on the SVG, you may need to do a couple things to be able to actually make the file viewable.
The sloth SVG came into Cricut Design Space quite large—I couldn’t even see the sloth in my main Canvas view. So I simply used the edit bar to change the Size of the sloth to 4″ wide and changed the X and Y Positions to 1. This made the sloth much smaller and moved it to a place I could see it on my Canvas.
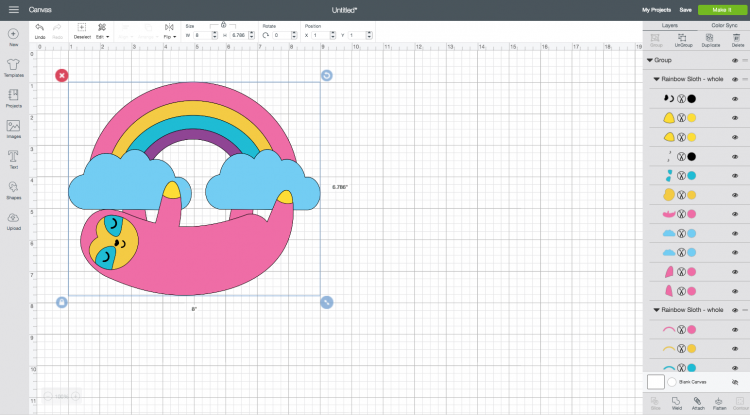
Then I hit “Make It” and cut him on my Cricut! I used slightly different colors for paper, based on what I had in my stash, and I LOVE how he turned out. I think I’ll hang him on my office wall to remind myself to chill a little bit more! He’s one of my favorite files from Craft Bundles!
