Turn a plain IKEA Hemnes bookshelf into a custom piece of furniture using paint and decals! This is a fun and easy IKEA Hemnes bookcase hack to personalize your decor using wall decals.

I’ve always had a lot of books. Living by myself in 1,450 square feet, including an office with built-in book shelves, did not help me curb my hoarding. But when we got married last August, I had to majorly cut back. We just didn’t have the room in Ryan’s 1,100 square foot house for my enormous library. And I have made it a point in my life not to have anything in storage except for seasonal items—I’m never going to read a book if it’s in the attic! And saving them for “someday” when we have a bigger house just isn’t an option when I’m trying to live more simply.
But even after cutting back, I had a lot of books. Until recently, many of them were in piles in our guest bedroom (the rest were on shelves in our office), but I decided I needed to get them off the bed and onto bookshelves.

I bought two Hemnes bookcases from IKEA, a large one and a small one — I used the larger version for this project. I like the Hemnes shelves because they are solid wood and have a little bit more of a classic feel than the Billy bookcases that are very popular. They cost a little more, but I think the higher price is worth it for a more classic design and better feel.

Assembling the IKEA Hemnes Bookcase
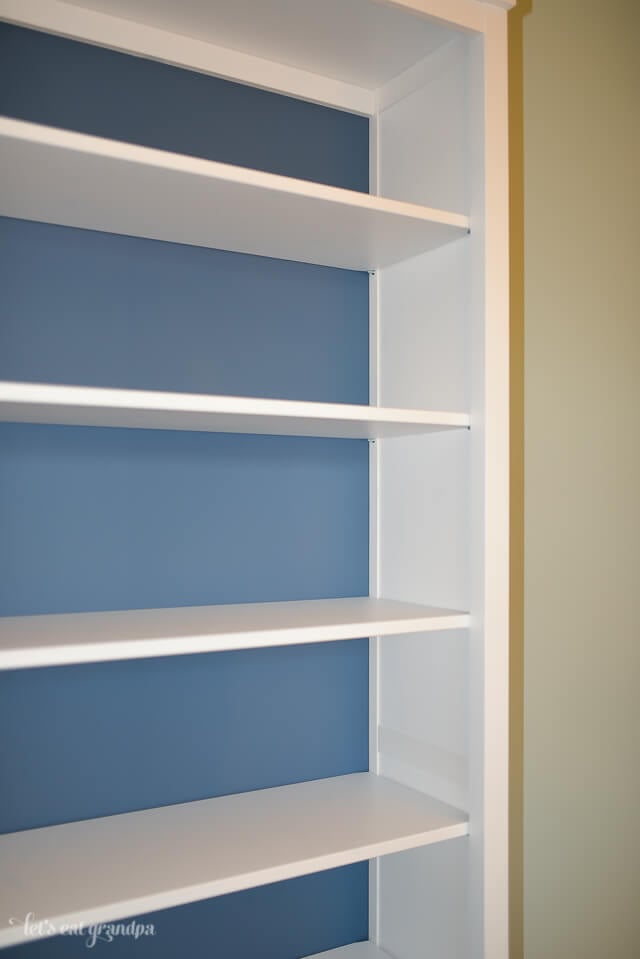
We assembled the bookcases, but before I added the back board on each, I gave it two coats of Martha Stewart Mariner paint
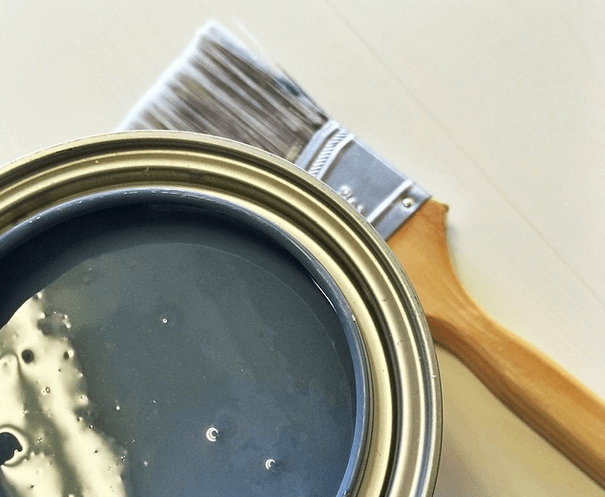
I love the contrast of the gray-blue paint against the white of the shelves.
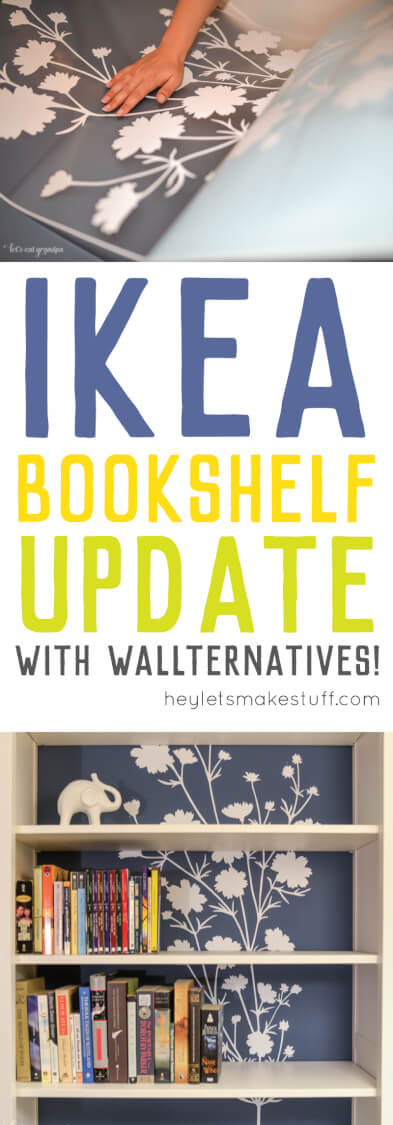
Then it was time to really make a statement. Wallternatives are vinyl decals that give you the look of stenciling without all the hassle—plus they are completely removable, making them perfect for rental homes or projects you’re sort of on the fence about (though once you use them, I can almost guarantee you’ll love them so much you’ll keep them!).
Now pay attention, because this is important: before I added the decals, I let the paint on the bookshelves cure. Paint drys pretty quickly, but it takes up to two weeks to cure. So if you’re painting, make sure to give yourself plenty of time to let the paint cure before adding the decals!
Applying the Decal
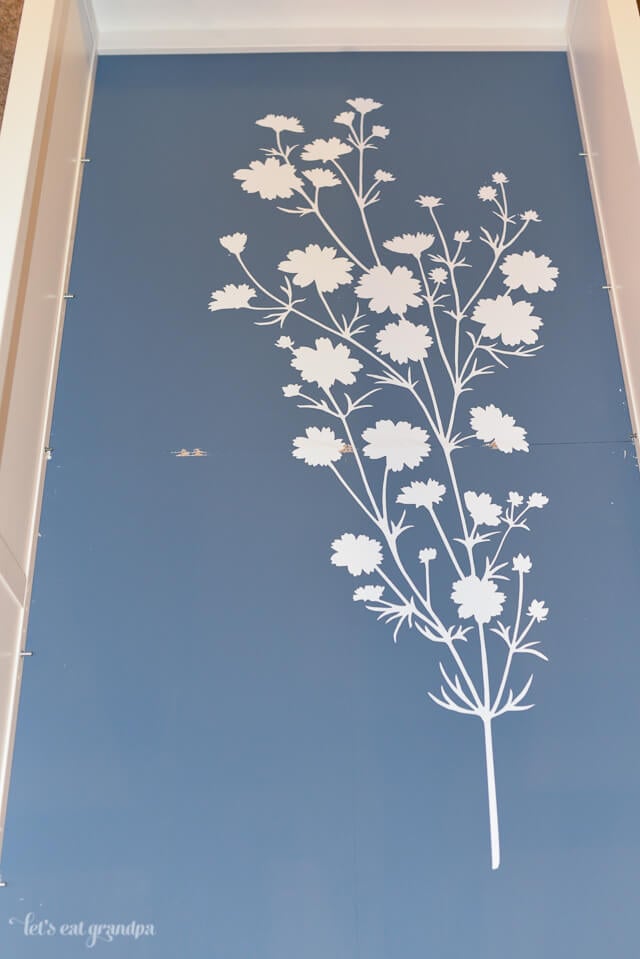
I chose the Summer Days Flower Vinyl Wall Decal out of their large selection of styles and colors. I was surprised how big the decal was—and that there were two! I ended up only using one of them for this project. I’ll save the other for another project.
I was a little nervous about applying it, but they have a very detailed application how-to page, so putting them up was fairly straightforward.
First I placed the decal on the floor and scraped it with a credit card (when you purchase Wallternatives, they come with a burnishing tool) to make sure it would stick to the transfer paper and the backing paper would remove cleanly.
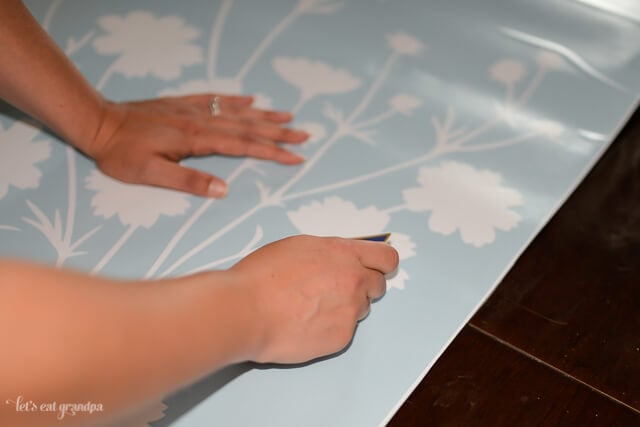
The Ryan and I laid the bookshelf on the floor and I used painters tape to secure the decal to the shelf in the right position. Ryan was super helpful during this project, taking photos for me. Love that guy.
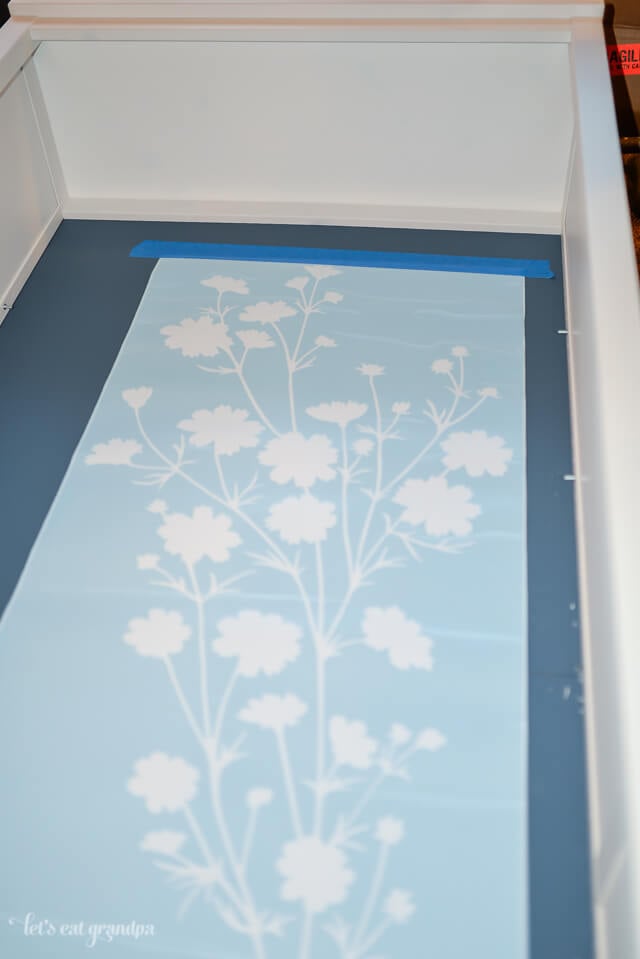
Using the tape as a hinge, I flipped the decal over and started removing the backing paper.
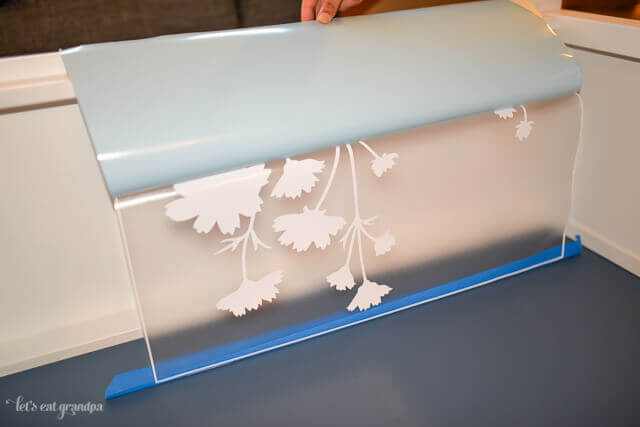
As I removed it, I started pressing the deal to the back of the bookcase. I was surprised at how easy the backing paper came away from the decal.
Then I used the card to burnish the decal onto the backing, so it would stick better.
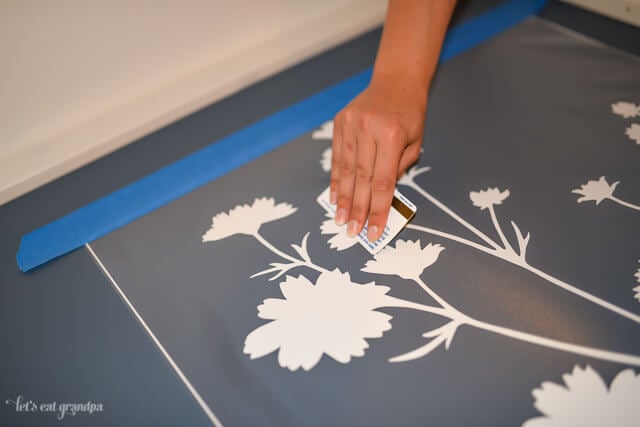
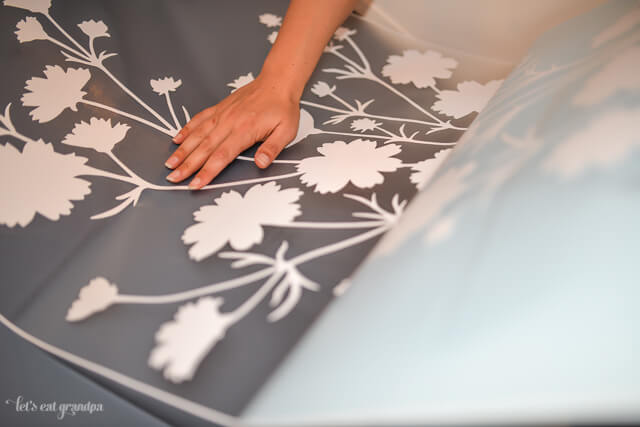
Then we started peeling back the transfer paper. It was a little tough, because my surface wasn’t ideal — the flat paint had a slightly chalky texture and this particular design has a ton of detailed bits.
BUT, we were able make it work, it just took a little elbow grease and patience. We found it was easier for both of us to peel back the paper, making sure all the intricate details were sticking properly.
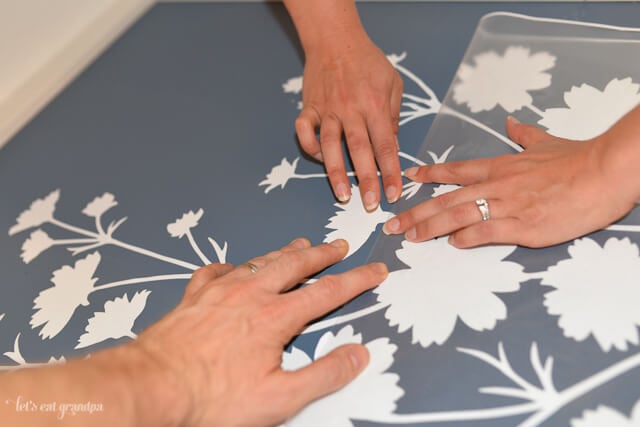
Soon the decal was adhered!
The Finished Hemnes Bookcase Hack
We stood it back up, added the shelves, and I love, love, love how it turned out!
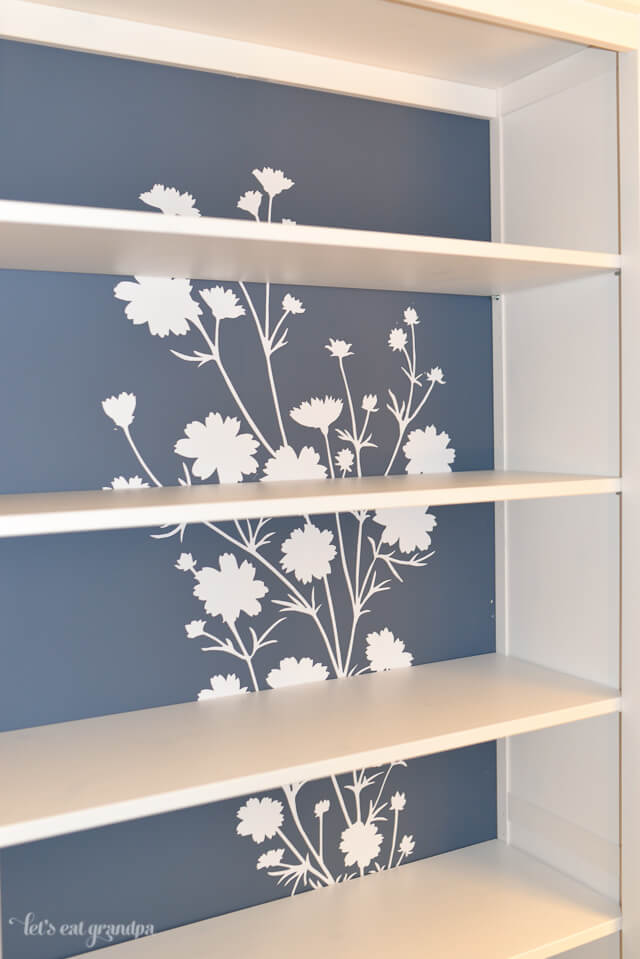
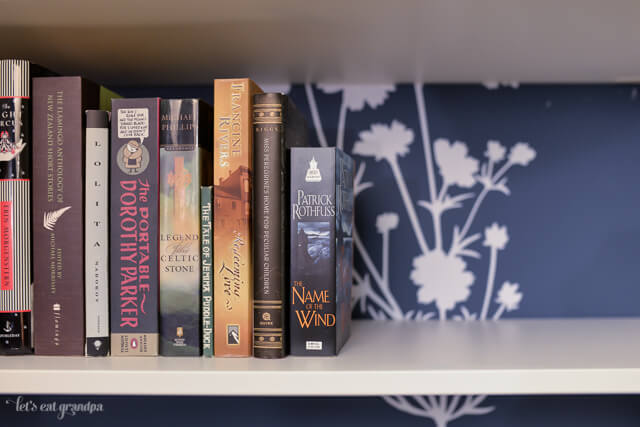
So fun, right? The blue with the flowers behind the books is so special and personalized compared to the original stock white bookcase.
These bookcases will remain in this room, which is our future nursery (someday, people, I’m not announcing anything). If we have a girl, the flowers will be beautiful. And should we have a boy, the decals are easy to remove, it won’t be a problem!
Have you done an IKEA Hemnes bookcase hack? I’d love to see it down in the comments!