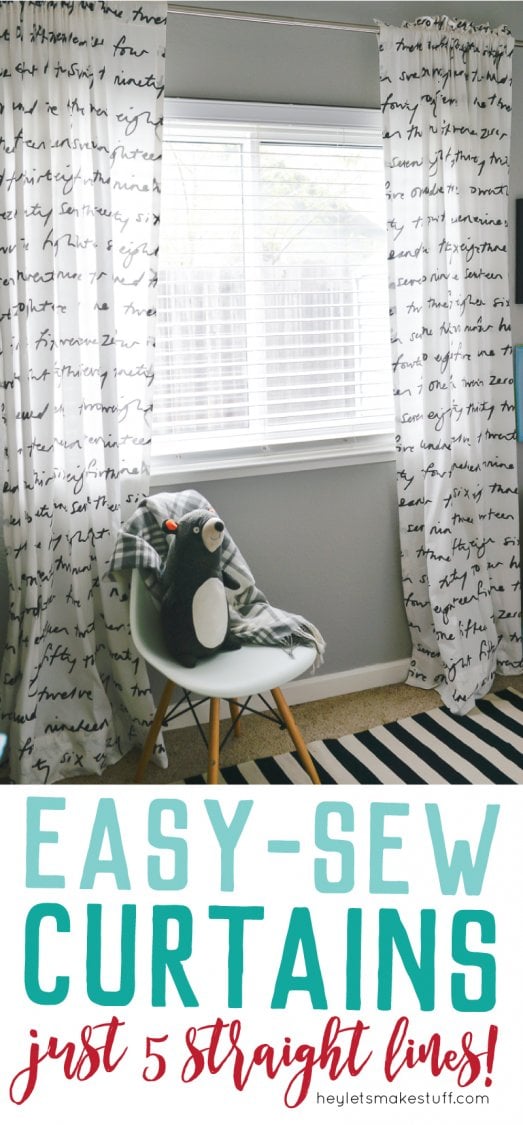
If you can sew five straight(ish) lines, you can make these simple but stunning easy-sew curtains for any room in your house!
Did you know that IKEA sells fabric? Our local IKEA has a large selection of fabric, mostly in home-decorator weights (canvas, upholstery, etc.). But when Ryan and I were in there the other day, we found a light cotton fabric with this great text print:
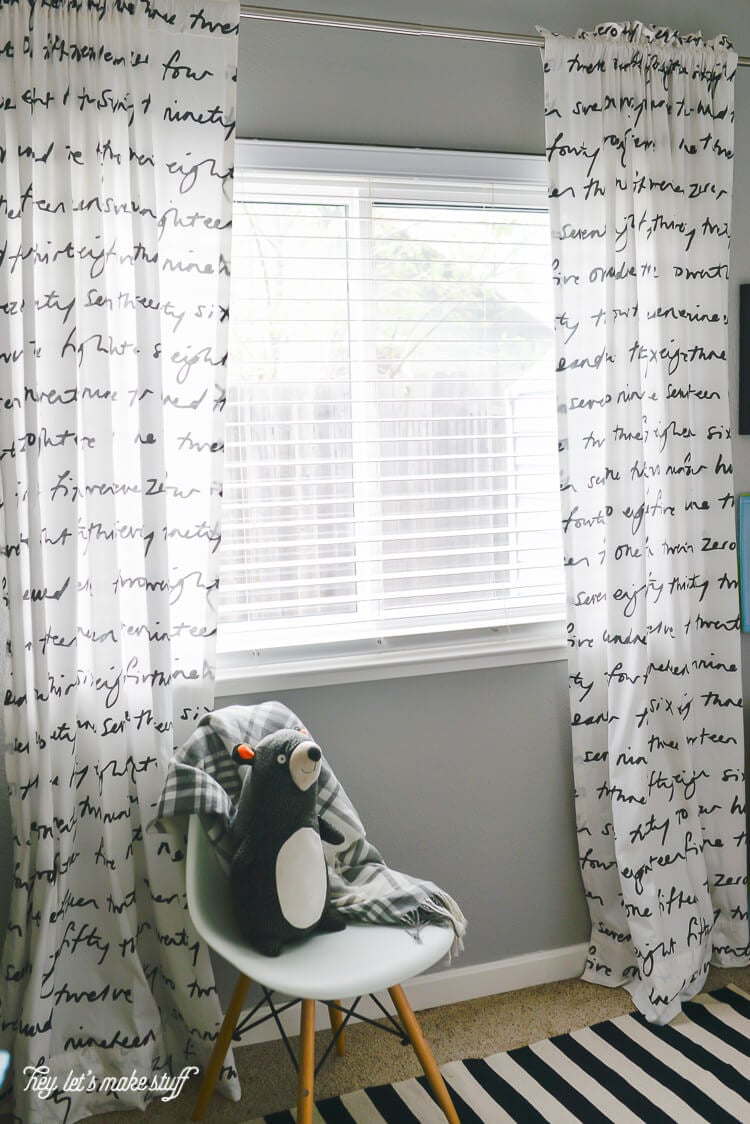
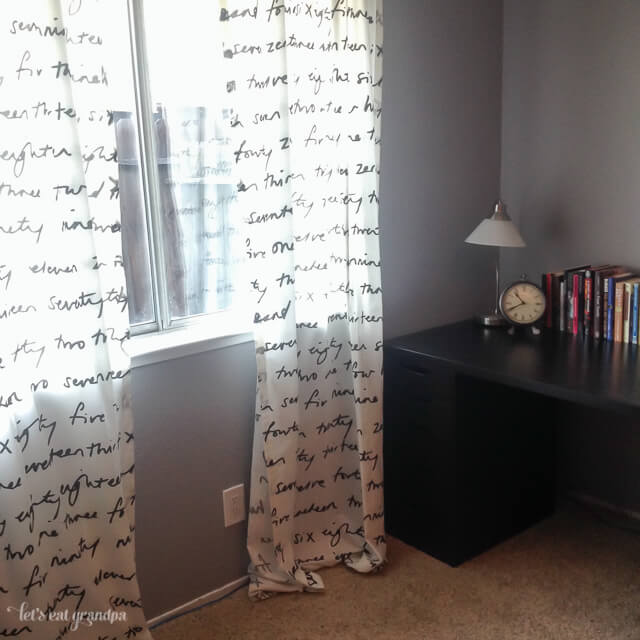
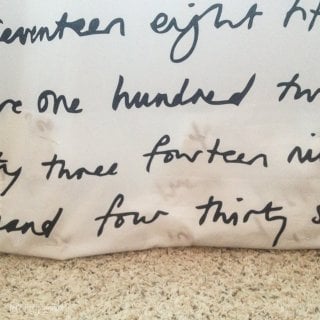
We’re giving our home office / library a makeover, and I thought this was the perfect fabric to complement the literary nature of the room. Plus, it’s a whopping $4.99 a yard—if you’ve ever purchased enough fabric to make curtains, you know that’s a bargain.
And along with new curtains for me, comes an easy-sew tutorial for you! Note these curtains are unlined — they definitely let in a lot of light and offer little privacy. When I make curtains for our guest bedroom, I’ll post a tutorial about how to make lined curtains.
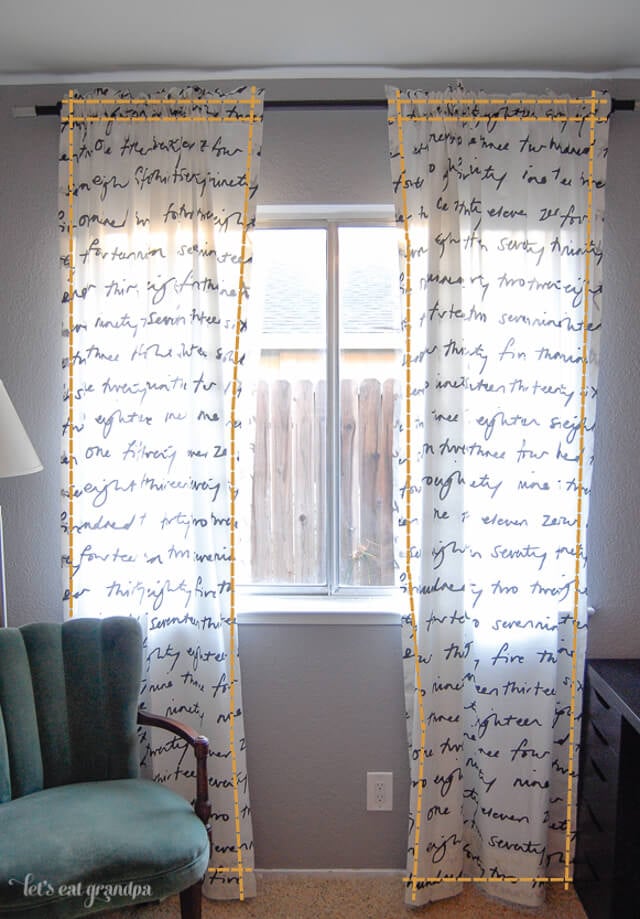
There are a lot of tutorials for no-sew curtains, but come on ladies (and gents) — you can learn to sew a straight line! These curtains are a great beginner project because each curtain has only five straight lines of sewing (see below). For two custom curtain panels, you can sew ten straight lines! They don’t even have to be that straight! And because they are sewn, they should last longer than curtains made exclusively with fusible hem tape.
Supplies for the Easy-Sew Curtains:
- Fabric (yardage determined below)
- Coordinating thread
- Ruler
- Scissors or rotary cutter
- Disappearing ink marker
- Pins
- Fusible hem tape (optional)
Determining Fabric Yardage:
For floor to ceiling curtains (my personal favorite — adds drama and softness to a room), take the height of your ceiling and add 14″ for the top and the bottom hems. So, if you have a 96″ ceiling (8′), you will have a total of 110″ of fabric for each panel. Double that for two panels and you have 220″ of fabric, or just over 6 yards. I bought 7 yards just to be safe, and have enough left over to make some matching pillows.
If you want another length (say, the height of the window + curtain rod), use that for your height measurement, and still add the 14″.
I suggest buying fabric that is at least 60″ wide. Standard 45″ fabric is just too narrow for most windows, if you fully want to close the curtains. Most home decor fabric is 60″.
Directions for the Easy-Sew Curtains
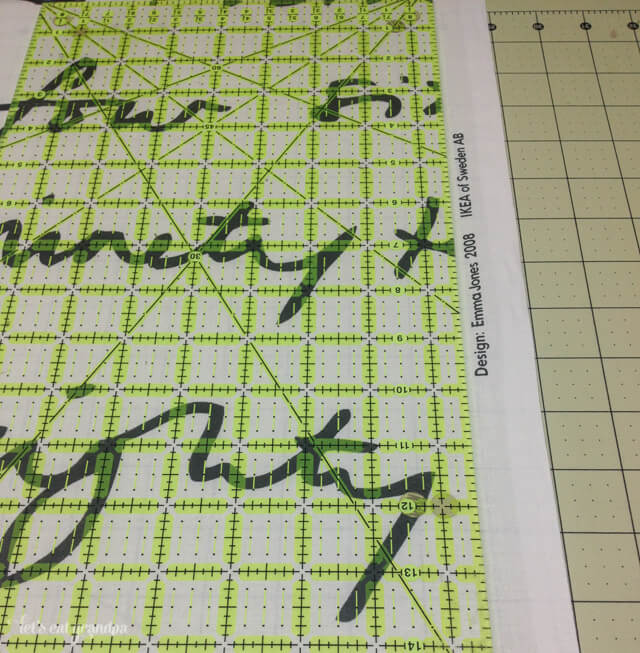
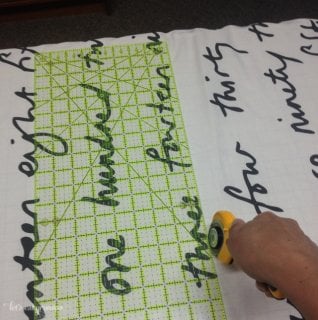
Measure out the full height of your first panel, with the hem allowances (using the above calculation, it would be 110″). You don’t have to be super exact — there is plenty of fabric to hem with. Just get close.
Cut both 110″ panels. I use a rotary cutter and mat, but you could just as easily use scissors.
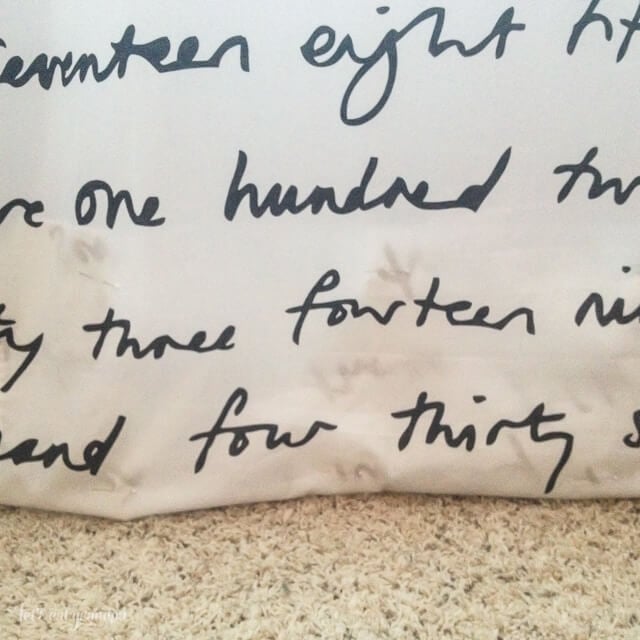
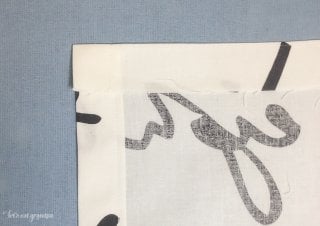
This particular fabric had writing on the selvage. Creating a nice side edge requires me to turn the fabric under, and the writing showed through to the front. Not cool.
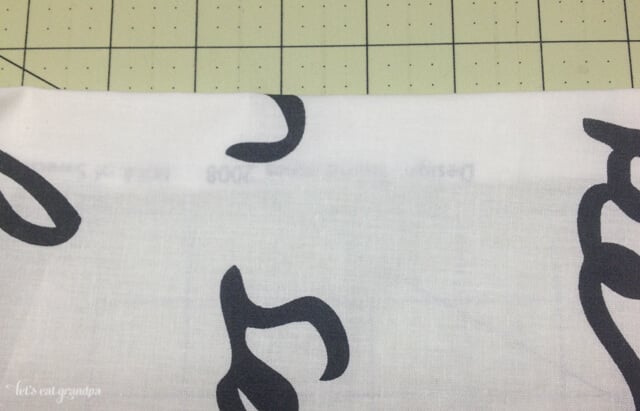
So I trimmed off the selvage (again, scissors would work just fine here).
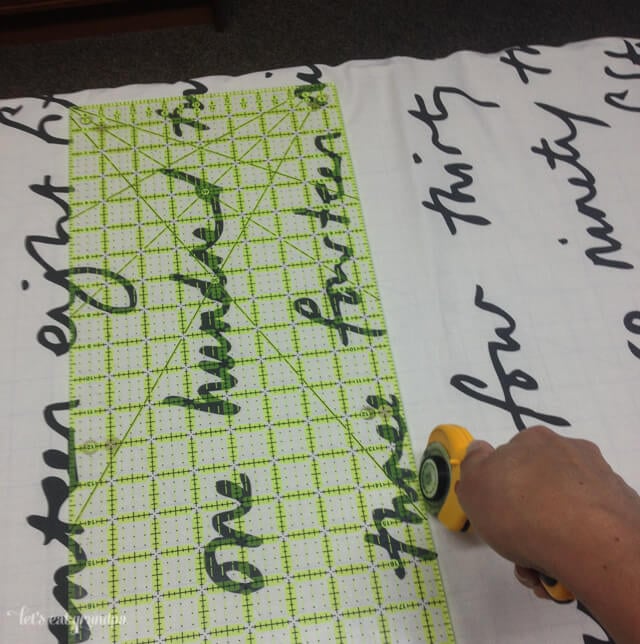
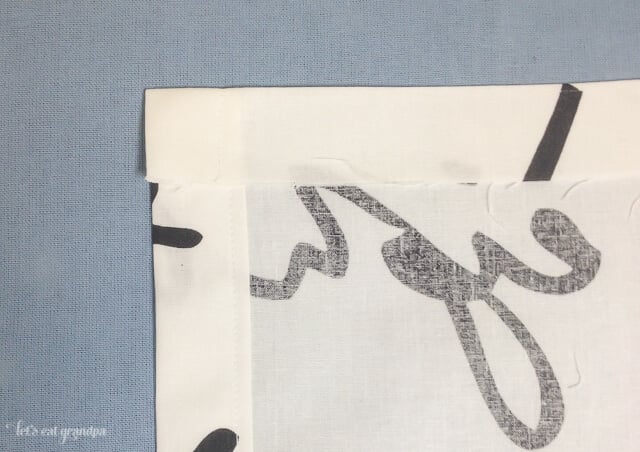
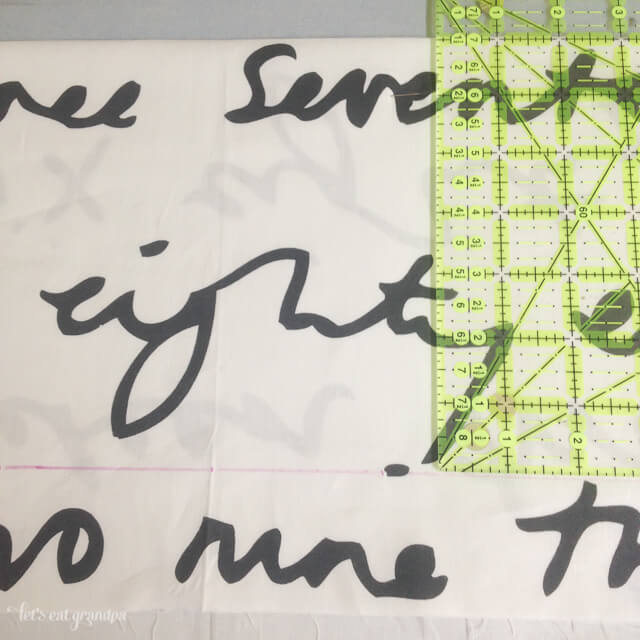
To create the side “hem” on the curtain, iron a 1″ hem along the entire 110″ length of the fabric. A ruler can help guide you.
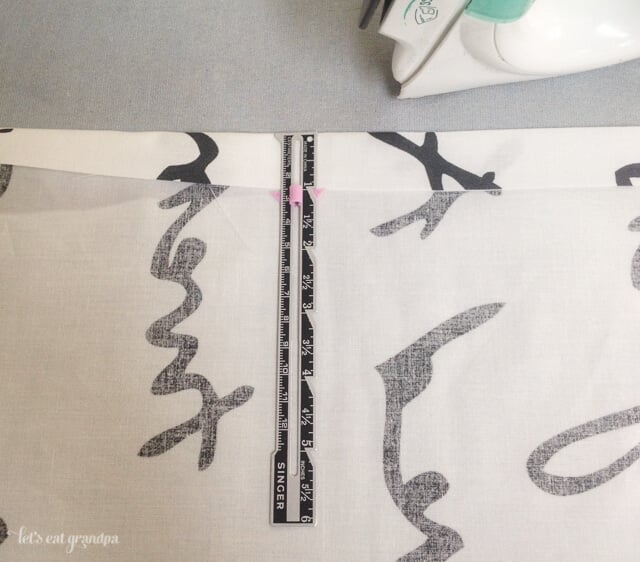
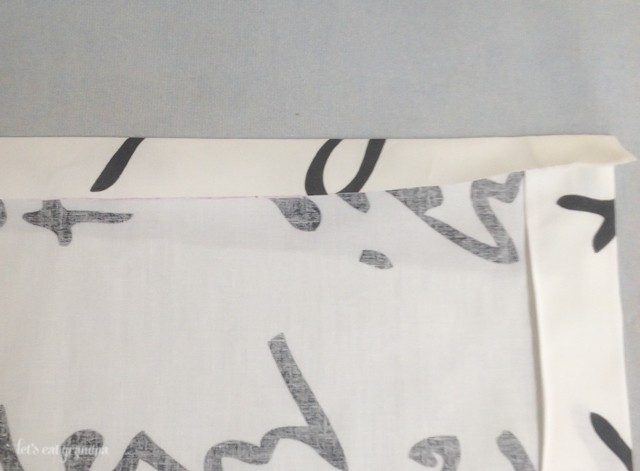
Turn the fabric over one more time, enclosing the raw edge in the fold, and iron. Pin to hold down the hem.
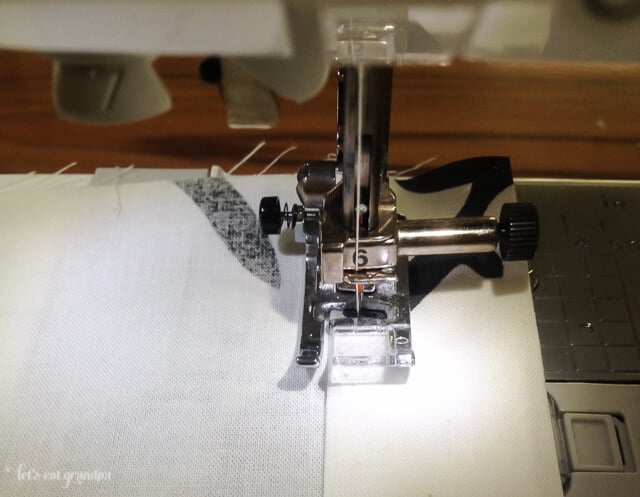
Sew the hem closed all the way down the curtain, using a narrow 1/8″ seam allowance (meaning 1/8″ away from the interior edge of the folded fabric). Do this to both sides, for both panels.
This tutorial used the “rod pocket” method for hanging. No grommets, tabs, or hardware to deal with.
To determine the height of your “pocket”, double the width of your curtain rod. I have a pretty hefty 1 1/2″ curtain rod, so my pocket is 3″ deep. If you have, for instance, a narrower 1/2″ curtain rod, your pocket only needs to be 1″ deep.
Add 3″ to your pocket height: for mine, 3″ + 3″ = 6″. 1″ of this will be just turning the fabric under (see the next paragraph and illustration), 2″ will be the ruffle at the top, and 3″ will be my pocket.
To create the rod pocket, fold over the fabric at the top 1″ and iron. (Important note: if you are using a directional fabric such as this text fabric, make sure you are making the rod pocket at the top of the curtain — you don’t want your print upside down!) If you’d like, use some fusible hem tape to hold this fold down (optional).
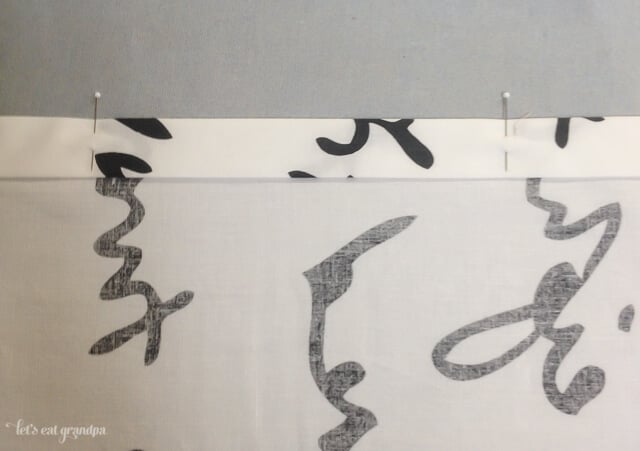
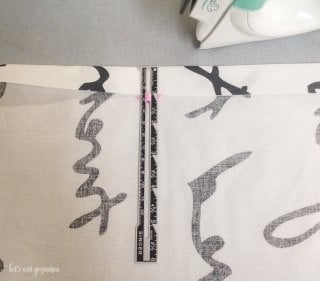
Then fold the fabric down 5″ (which is my original 6″ minus the 1″ fold). Iron the edge and pin in place:
Sew the edge of the fabric in the same way you sewed the side hems above, with a 1/8″ seam allowance.
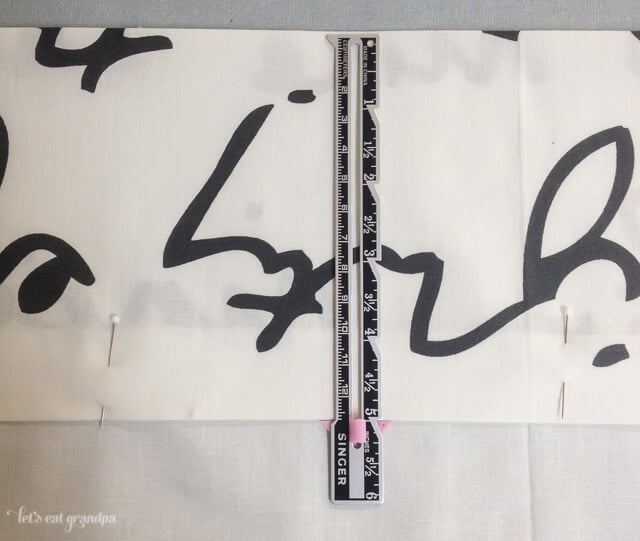
Because my pocket needs to be 3″ deep, I am going to sew another line 3″ above the seam I sewed (not the folded edge of the fabric). I used a ruler and drew a line 3″ above my seam all the way across using a disappearing ink marker. This leaves 2″ above the line for the ruffle.
Note: if your rod pocket needs to be, for instance, only 1″ deep, sew the line 1″ above the seam you sewed.
Sew down the line you just drew. You’ve completed the rod pocket for your curtain! Follow these directions to make the rod pocket for the other panel as well.
To hem your curtains, hang them up. You’ll notice I have quite a bit of fabric pooling at the bottom. Some people like this look, but I find it a little messy, especially with a behemoth dog who will try and sit on them. So I hem them to floor length.
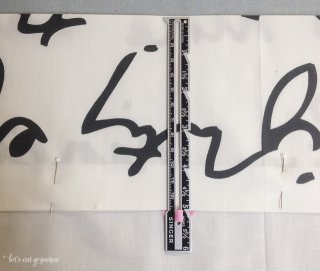
Pin the curtains so that they just brush along the floor. I have pins both at the fold and to hold the excess fabric behind the curtain:
Iron the fold so that you can use it as a guide.
Your calculation should have left you with 8 or 9 inches of extra fabric for the hem. I like a hefty 6″ hem — it allows the curtains to hang better, and because the bottom is heavier, they aren’t as likely to randomly float away from the wall if there’s a little draft.
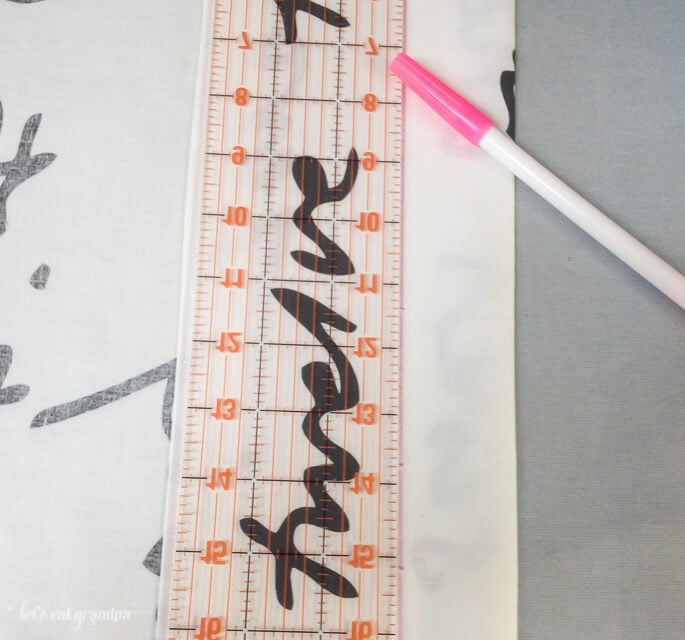
Measure 7″ away from the ironed fold, and draw a line. This leaves 1″ to fold under and 6″ for the hem.
Cut along the line you just drew. I used scissors. Fold over the fabric at the top 1″ and iron. If you’d like, use some fusible hem tape to hold this fold down (optional).
Then fold your hem back along on the ironed fold line you already made and sew down the hem, in the same way you sewed down the hem for the rod pocket above.
Voila! You’ve made yourself some beautiful curtains! If you have any questions, please leave them in the comments and I will try and clarify or modify the tutorial to be more clear.
Comments & Reviews
jenn says
thanks for this tutorial, your instructions are nice and clear. I’m making curtains for my teenage son’s room. I’m recycling a bed sheet, and I bought some coordinating sheer fabric to go with it. I started this morning and so far, I’ve finished one sheer panel. Hopefully I’ll have them done by the weekend.
Cori George says
Awesome! I’m so glad my tutorial is clear and that your curtains are coming along!
gussie says
Thank you for easy to follow instructions! I have not made curtains before, but I knew there had to be a simple way to make them. I have a moderate amount of sewing experience, so your tutorial is very clear. I couldn’t find anything that I like for my girls’ rooms so I decided to make some! I chose a taffeta and a satin that I found on clearance at JoAnn’s for $3 per yard! I love the colors and the look of the fabric. Wish me luck!
Cori George says
Great! I’m so glad you’re finding my tutorial easy to follow. Please stop by and let me know how the finished product turned out! :)
Nancy says
I liked your tutorial. I have made curtains before, tabs, but its been quite a few years, so needed a refresher I need to line my bedroom curtains. Going to make tiers and a valance.
Do you have a tutorial on how to apply the lining? It is going to probably be muslin lined on cotton curtain material? Thanks!
Cori George says
Hi Nancy — I don’t have a tutorial for lined curtains — the only ones I’ve made since I started blogging are unlined. But I know there are a lot of tutorials out there — good luck!
Nicole says
Thanks for this awesome tutorial! I made my first-ever pair of curtains using it last year, and now I’m excited to make more. Thank you so much!
Ingrid says
Any hints for working with sheer material to make sheer curtains?
Cori George says
I don’t work with a lot of sheer fabrics, but when a fabric is particularly shifty, you can always use spray starch to help stabilize it.
Lori East says
Thanks for the great tutorial! Just finished my first set for my grandson on the way nursery. They are precious!! I was wondering if there should be an opening on the bottom hem, but I suppose they would be fine either way. :)
Cori George says
You can leave a hole, or you could stitch that up if you’d like :)
Jessy @ The Life Jolie says
These are awesome- I am terrible at sewing anything beyond a button, so this is right up my alley! Would you mind if I shared a text link to this on Friday (I link things I like each Friday)?
I stopped by from Tuesdays at Our Home.
Julie Bagamary says
Nice. This writing on the fabric adds a lot of interest.
Julie Bagamary says
Nice – the words on the fabric adds interest.
Nicole says
This is a great tutorial, thank you! I wish I had windows to do this for! I’ll be pinning for when I do!
All that's Jas says
I love that fabric and your tutorial is super easy to follow! Thanks for linking up with Thursday Favorite Things!
Sharlee says
I love that fabric…LOVE LOVE LOVE it! I am no seamstress, but I might be willing to give these a shot! Thanks for sharing with the Home Matters Linky Party! We hope to see you again next week!
Nikki Frank-Hamilton says
I love this fabric, it makes gorgeous curtains. I never knew IKEA sold fabric, We don’t have an IKEA here but it looks like I am going to have to plan a shopping trip to Indy. Your tutorial is spot on and simple to follow, great tips! I now have curtain envy!
Carrie @ Curly Crafty Mom says
This looks so easy! I really love the fabric you chose, too. I am not a great sewer, but I need to pin this for the next time I need some new curtains!
Lou Lou Girls says
Love them. Pinned and tweeted. We appreciate you being a part of our party. Please stop by on Monday at 7 pm. Happy Sunday! Lou Lou Girls
Theresa @DearCreatives says
Thanks for sharing at the Inspiration Spotlight party Pinned & shared.
Kristy says
Thanks for the tutorial! Used it as a guide to make these new curtains for my daughters’ room! http://hopefulthreads.blogspot.com/2015/07/a-room-makeover-success.html
Cori George says
They look fabulous! :)
jami says
How lightweight does the fabric need to be in order to create the ruffly effect at the top? I’m worried mine may be too heavy.
Cori George says
I’ve made these curtains with home decor weight fabric. It works pretty well. It’s not quite as ruffly, but unless the fabric is really heavy, I don’t think you should have a problem. You could also sew your rod enclosure a little lower so there is more fabric to ruffle at the top, fit that makes sense.
Lorraine says
I;m getting back into sewing after many years, although I am at the beginner stage. I was to bored as a young adult to let my mom teach me, when she tried, (one of my big regrets). She was a heck of a sewer when I was little, made all our clothes. Your instruction’s were clear and easy to understand, for my Fibro brain, (http://www.webmd.com/fibromyalgia/guide/fibromyalgia-and-fatigue). I have subscribed. Thanks again.
Sara says
This curtain is perfect for summer. Your instructions are prices and clear and easy to follow. Thanks Cori :)
Traci says
I have never sewn more than a button, but I want to make curtains for our new Runaway Camper. There are three small windows measuring 21″ high by 31″ wide. Would you still need the same 14″ for top and bottom hems? Thank you!
Cori George says
You could definitely get away with less at the bottom!
joyce jordan says
I get my fabric from a Thrift store and you can find some sewing item at the thrift store or look on the internet for nice bargain price fabric ex , I love sewing .
Silk says
hi, i wanted to know distance between window and Curtain Rod ,we have french window of 2 meter of Length and 2.1 meter of height,what will ideal dimensions of curtain go with that? thank you in advance
Cori George says
Hi Silk — I’m not positive what you’re asking? I usually hang the curtain rod about a foot higher than the window (or as close to the ceiling as possible). Hope that helps!
Abi says
I am a sewing newbie. About all I know is how to sew a straight line. Your article is excellent. I still have one question. How do I know how much fabric i need for the width of the window? Thank you.
sn says
You will likely want 1/3 more than the width of the window.
Luggage says
I loved this post! Have been keeping up with your
blog for a while now and your always coming out with some great stuff.
I shared this on my facebook and my followers loved it!
Keep up the good work :)
Running Scared (Eldar & Nigar song) says
I loved this post! Have been keeping up with your blog for a while now and yourr always coming out with soome great articles.
I shared tthis on my facebook andd my followers loved it!
Keep up the good work :)
Allie says
I’ve just bought my first sewing machine and curtains are the top of my list of projects. This tutorial was easy enough for me to follow, even as a complete sewing beginner. Thanks!
Cori George says
I’m so glad you find them easy to follow!
Marion Delmaire says
Hello and tnx for this tutorial , i wanna make courtains for my child’s room(he’s 10) and i found this https://www.quartierdestissus.com/tissus-occultants/486-tissu-occultant-ignifuge-graphic-art-3700808687164.html !beacause i realy want somethig colorful ! Do you think it will do or it is to much for a children’s room?
Cori George says
I say go for it!
May says
Hi Cori,
I love the fabric design you are using for these curtains. It looks very unique and beautiful at the same time. You also have great instruction showing how to make it. Nicely done! Thank you for sharing.
SUSANNA H HAXELL says
I am VERY new to sewing (i.e. I have only made cloth napkins :) I would like to make simple curtains to be hung on tension rods to cover some storage space under counter tops at work. I do not want a ruffle. So, could I still basically follow these instructions but just alter the top to not have the ruffle? Would I fold the top over only once or twice, when making the hole for the curtain rod? Thank you for any help you can offer!
Cori George says
Yes, I would try it just folding the top over once!
Helen says
I love how the curtains turned out. The fabric design is awesome. It’s a pity IKEA discontinued it.
Kathy says
I am learning sewing and this guide is great for me. Thank for share!
Kristen says
Hi there,
I am brand new to sewing, thank you coronavirus for getting me to use that sewing machine I got for Christmas one year :) I am going to follow your pattern to make bedroom curtains but I want my curtains to meet in the middle, how much extra width would you add for some nice bunching? The length of my windowsill is 90 inches.
Donna T says
This has been the best tutorial for me. I have made sheer living room curtains, then lined curtains over the sheer on a double curtain rod. I figured out the lining part myself. Thank you so much for this tutorial. It was simple enough for me to follow and complete!
Staci Standley says
I’d like to use cafe rings in place of the rod pocket. Could you suggest a top hem width that will make the panels hang pretty?
Naina Kalra says
Nicely done, and very creative. Thank you for sharing.
June Taylor says
I have used your Easy-Sew Curtains tutorial several times, and for a beginner, it’s been wonderful! On your Easy-Sew Curtains tutorial you said, “When I make curtains for our guest bedroom, I’ll post a tutorial about how to make lined curtains.” Did you ever post this tutorial? I want to make a set of lined curtains, and since the Easy-Sew Curtains was so easy I’m sure the one you creat for lined curtains will be too!
Suzi says
I have purchased a new project runway sewing machine few days back. Will give it a shot, let’s see how it goes.
Henry Leo says
thanks for sharing the tutorial step by step. I am gonna try it this weekend. Keep up the good work.
heather says
A very helpful article for a newbie like me
Brain Miller says
Thanks for a great tutorial. As an Intermediate sewer I hope that i will sew my curtains following your instruction
Sharon N says
I love the instructions given except I would love the ability to print the instructions
Cori says
Hi Sharon,
Yes, I can see how that might be helpful! You may find it useful to use the copy/paste functions on your computer to copy the instructions into a blank document so you can make notes as you follow along :)