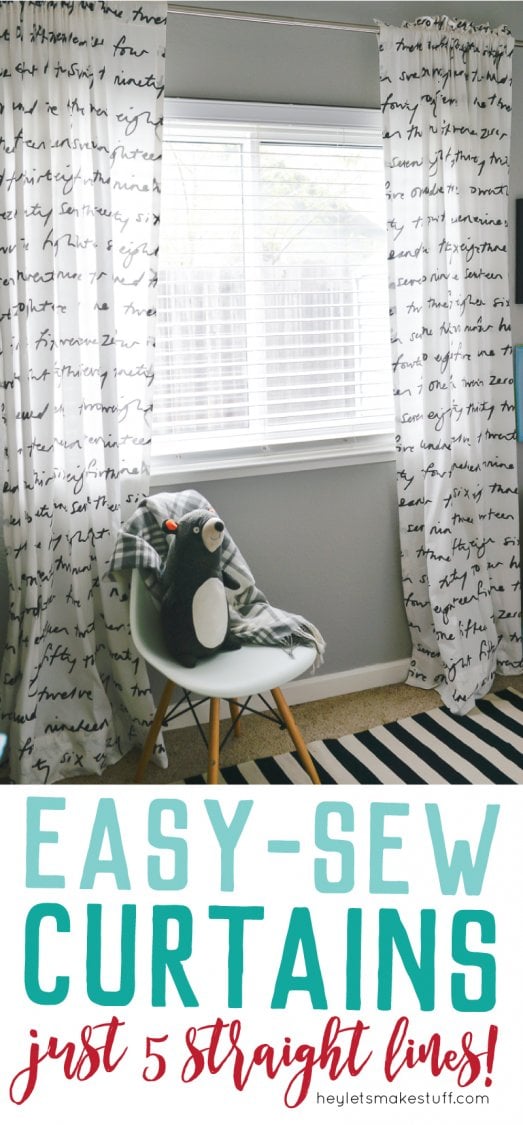
If you can sew five straight lines, you can make this simple curtain pattern for any room in your house! Even beginners can sew this basic curtain pattern.
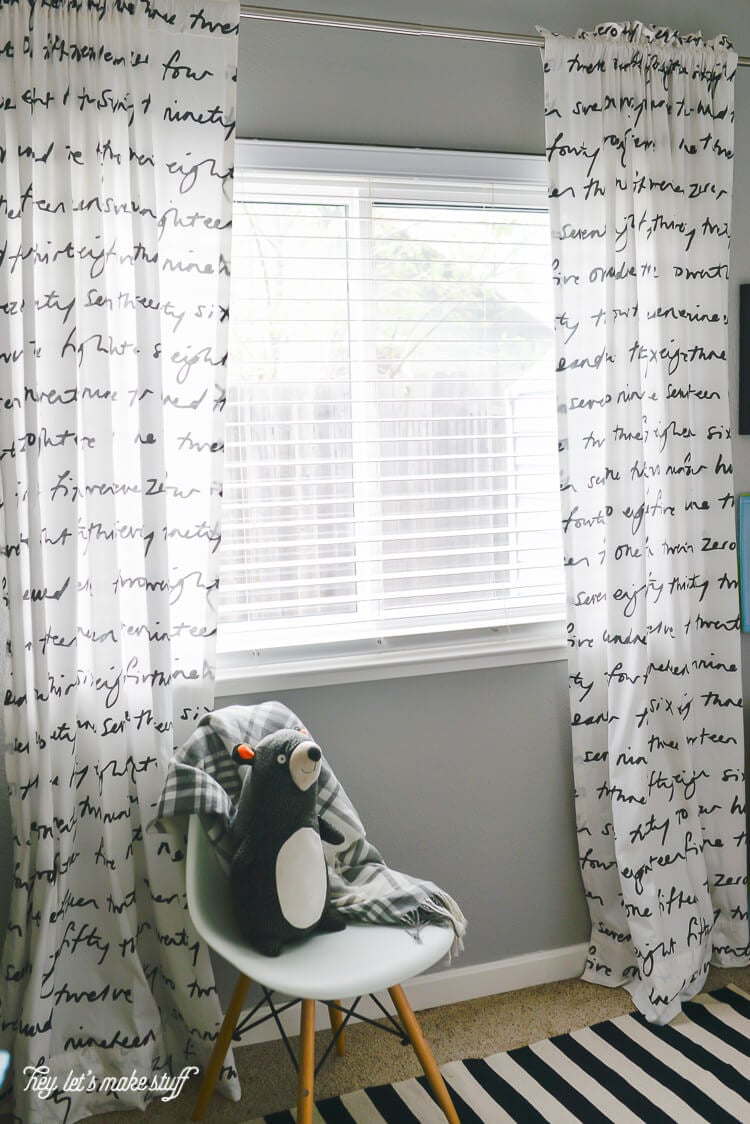
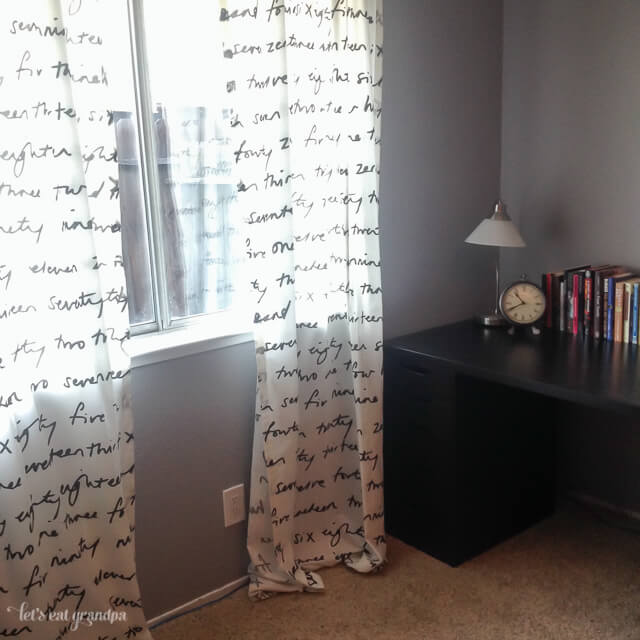
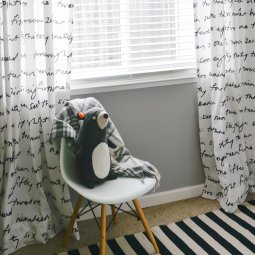
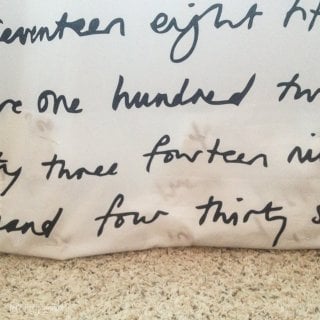
We’re giving our home office / library a makeover, and I thought this IKEA fabric was the perfect fabric to complement the literary nature of the room. Plus, it’s a whopping $4.99 a yard—if you’ve ever purchased enough fabric to make curtains, you know that’s a bargain.
And along with new curtains for me, comes a simple curtain pattern for you! These curtains are unlined and definitely let in a lot of light and offer little privacy. But if you use a heavier fabric, you can still use this basic curtain pattern and get more privacy in the end.
There are a lot of tutorials for no-sew curtains, but come on ladies (and gents), you can learn to sew a straight line! These curtains are a great beginner project because each curtain has only five straight lines of sewing (see below). For two custom curtain panels, you can sew ten straight lines! They don’t even have to be that straight! And because they are sewn, they should last longer than curtains made exclusively with fusible hem tape.
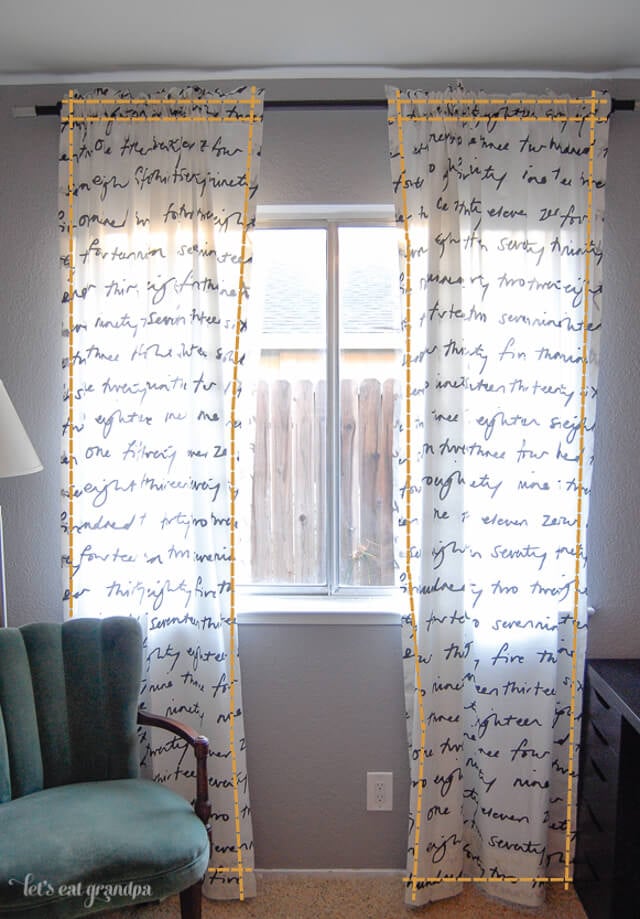
Supplies for this Simple Curtain Pattern
- Fabric (yardage determined below)
- Coordinating thread
- Ruler
- Scissors or rotary cutter
- Disappearing ink marker
- Pins
- Fusible hem tape
Determining Fabric Yardage:
For floor to ceiling curtains (my personal favorite because it adds drama and softness to a room), take the height of your ceiling and add 14″ for the top and the bottom hems. So, if you have a 96″ ceiling (8′), you will have a total of 110″ fabric for each panel. Double that for two panels and you have 220″ of fabric, or just over 6 yards. I bought 7 yards just to be safe, and have enough left over to make some matching pillows.
If you want another length (say, the height of the window + curtain rod), use that for your height measurement, and still add the 14″.
I suggest buying fabric that is at least 60″ wide. Standard 45″ fabric is just too narrow for most windows, if you fully want to close the curtains. Most home decor fabric is 60″.
Instructions for this Simple Curtain Pattern
Cutting the Panels
Measure out the full height of your first panel, with the hem allowances (using the above calculation, it would be 110″). You don’t have to be super exact, there is plenty of fabric to hem with. Just get close.
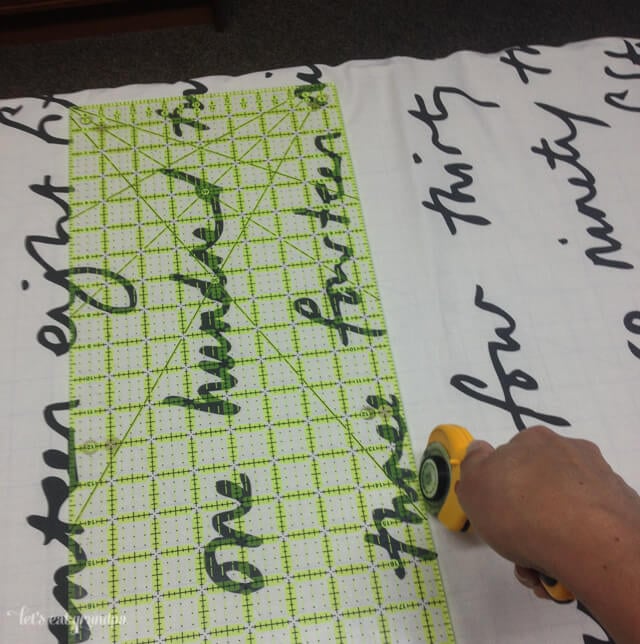
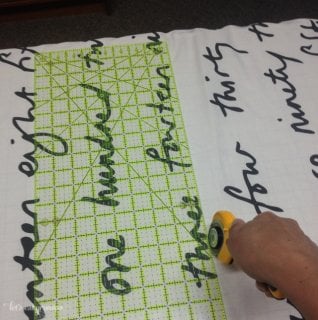
Cut both 110″ panels. I use a rotary cutter and mat, but you could just as easily use scissors.
This particular fabric had writing on the selvage. Creating a nice side edge requires me to turn the fabric under, and the writing showed through to the front. Not cool.
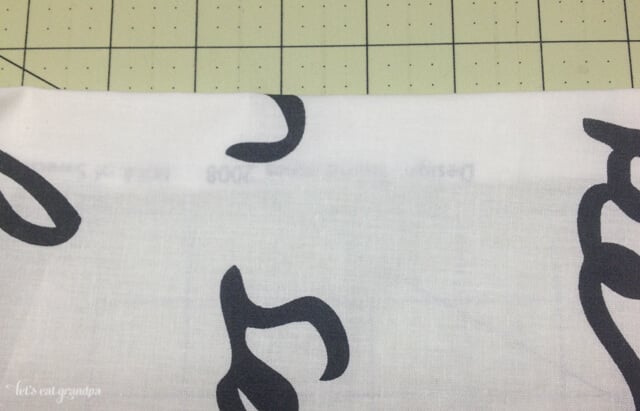
So I trimmed off the selvage (again, scissors would work just fine here).
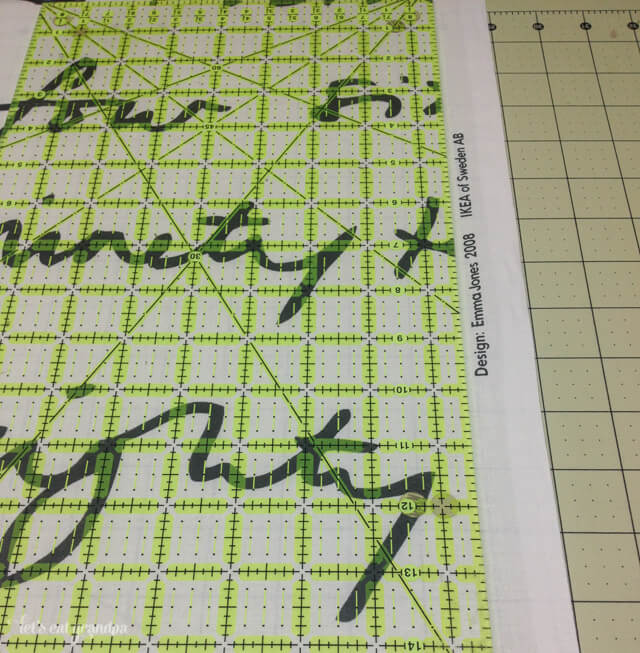
To create the side “hem” on the curtain, iron a 1″ hem along the entire 110″ length of the fabric. A ruler can help guide you.
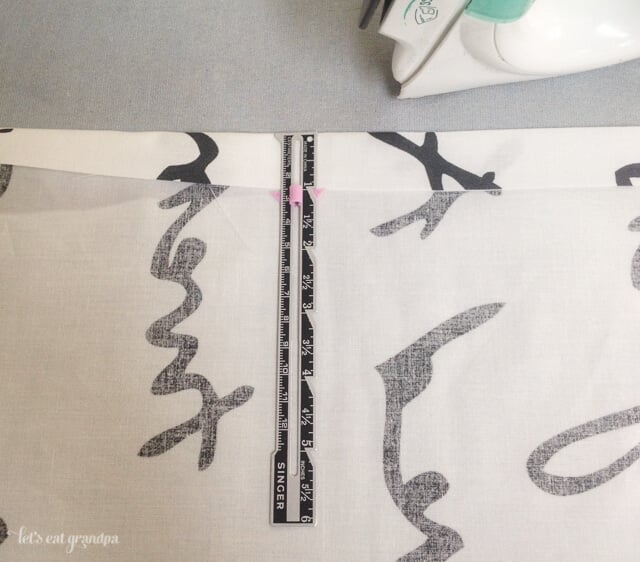
Turn the fabric over one more time, enclosing the raw edge in the fold, and iron. Pin to hold down the hem.
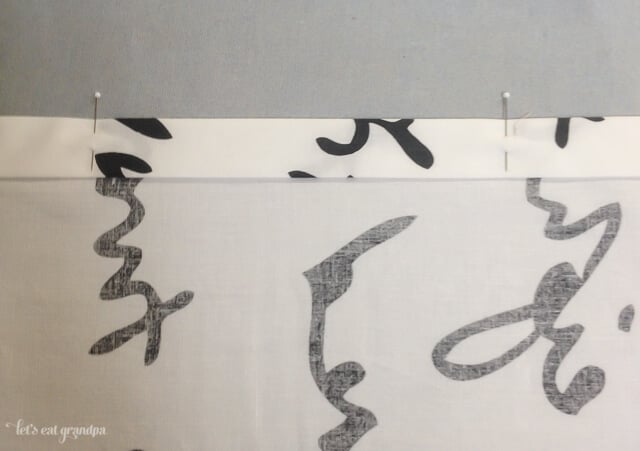
Sew the hem closed all the way down the curtain, using a narrow 1/8″ seam allowance (meaning 1/8″ away from the interior edge of the folded fabric). Do this to both sides, for both panels.
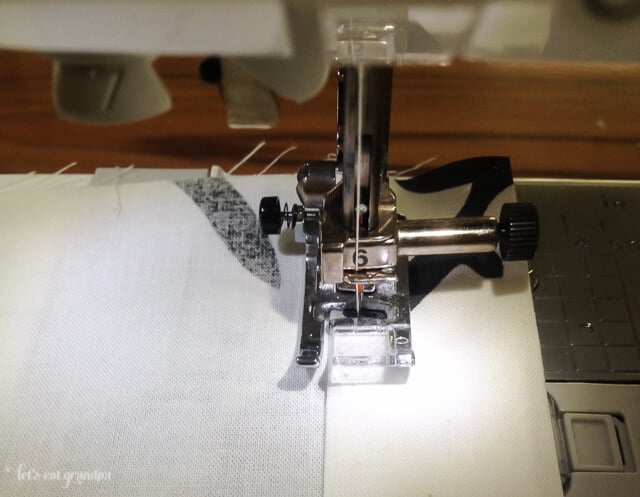
Creating the Rod Pocket
This tutorial used the “rod pocket” method for hanging. No grommets, tabs, or hardware to deal with.
To determine the height of your “pocket”, double the width of your curtain rod. I have a pretty hefty 1 1/2″ curtain rod, so my pocket is 3″ deep. If you have, for instance, a narrower 1/2″ curtain rod, your pocket only needs to be 1″ deep.
Add 3″ to your pocket height: for mine, 3″ + 3″ = 6″. 1″ of this will be just turning the fabric under (see the next paragraph and illustration), 2″ will be the ruffle at the top, and 3″ will be my pocket.
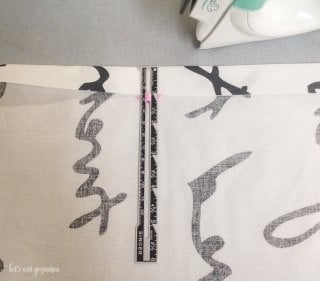
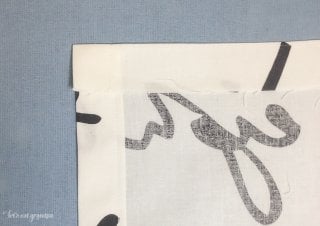
To create the rod pocket, fold over the fabric at the top 1″ and iron. (Important note: if you are using a directional fabric such as this text fabric, make sure you are making the rod pocket at the top of the curtain because you don’t want your print upside down!) If you’d like, use some fusible hem tape to hold this fold down (optional).
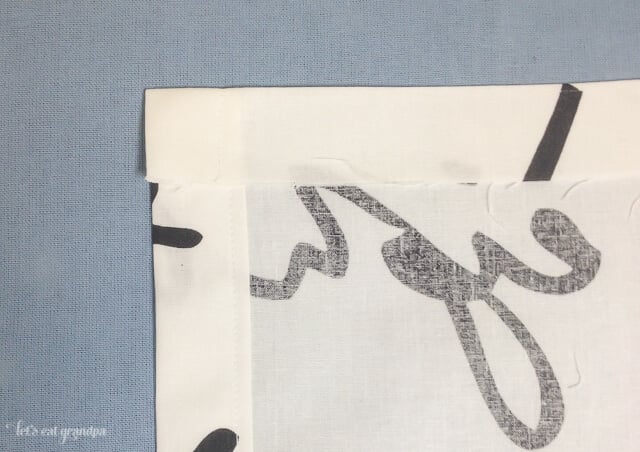
Then fold the fabric down 5″ (which is my original 6″ minus the 1″ fold). Iron the edge and pin in place:
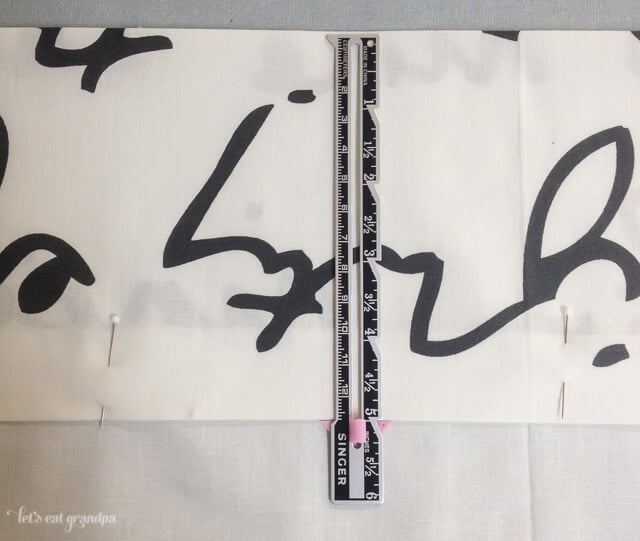
Sew the edge of the fabric in the same way you sewed the side hems above, with a 1/8″ seam allowance.
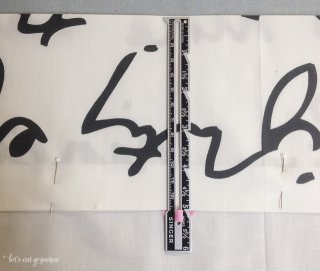
Because my pocket needs to be 3″ deep, I am going to sew another line 3″ above the seam I sewed (not the folded edge of the fabric). I used a ruler and drew a line 3″ above my seam all the way across using a disappearing ink marker. This leaves 2″ above the line for the ruffle.
Note: if your rod pocket needs to be, for instance, only 1″ deep, sew the line 1″ above the seam you sewed.
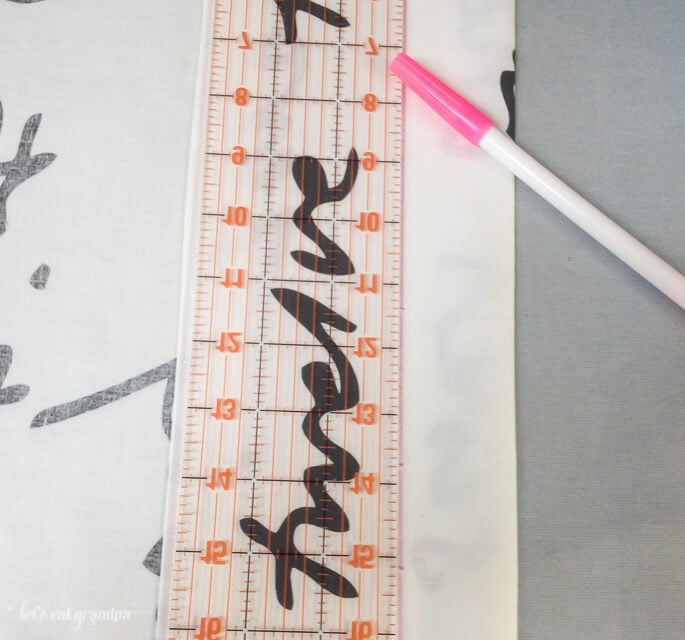
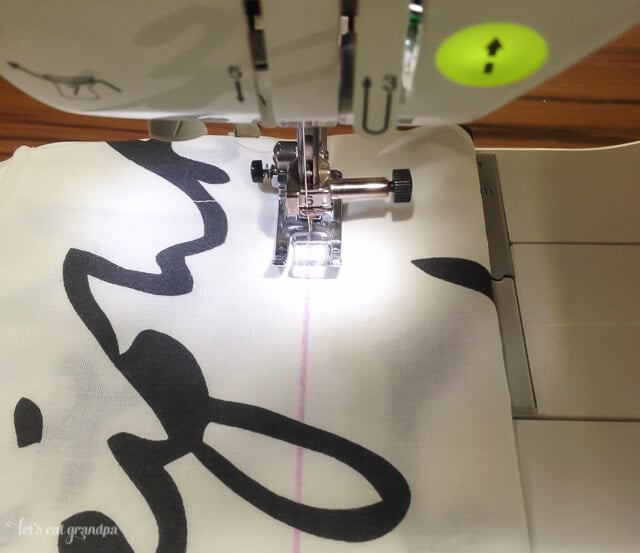
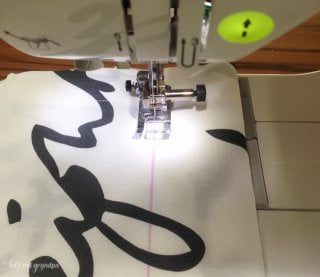
Sew down the line you just drew. You’ve completed the rod pocket for your curtain! Follow these directions to make the rod pocket for the other panel as well.
Hemming the Curtains
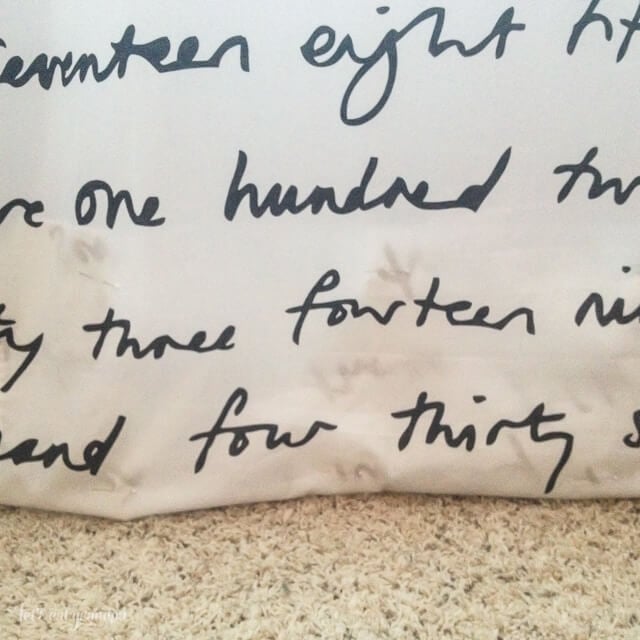
To hem your simple curtains, hang them up. You’ll notice I have quite a bit of fabric pooling at the bottom. Some people like this look, but I find it a little messy, especially with a huge dog who will try and sit on them. So I hem them to floor length.
Pin the curtains so that they just brush along the floor. I have pins both at the fold and to hold the excess fabric behind the curtain:
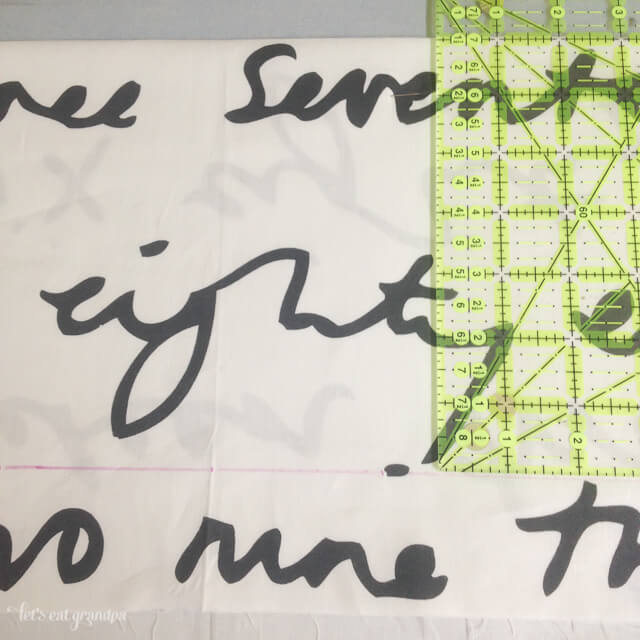
Iron the fold so that you can use it as a guide.
Your calculation should have left you with 8 or 9 inches of extra fabric for the hem. I like a hefty 6″ hem — it allows the curtains to hang better, and because the bottom is heavier, they aren’t as likely to randomly float away from the wall if there’s a little draft.
Measure 7″ away from the ironed fold, and draw a line. This leaves 1″ to fold under and 6″ for the hem.
Cut along the line you just drew. I used scissors. Fold over the fabric at the top 1″ and iron. If you’d like, use some fusible hem tape to hold this fold down (optional).
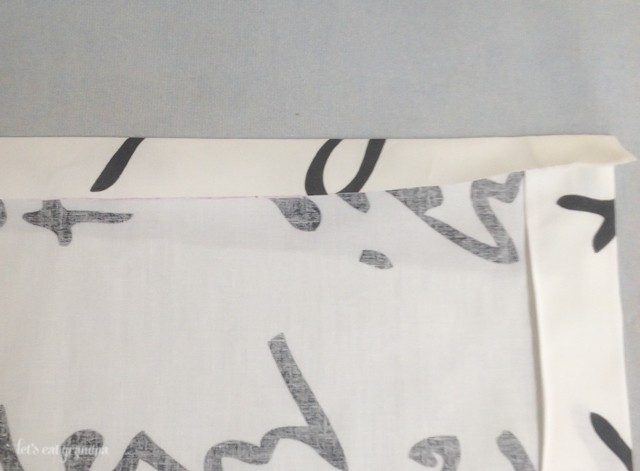
Then fold your hem back along on the ironed fold line you already made and sew down the hem, in the same way you sewed down the hem for the rod pocket above.

SIMPLE CURTAIN PATTERN
Equipment
- Scissors If you don't have the above cutting tools
Supplies
- Fabric See full tutorial for determining yardage
- Coordinating thread
Instructions
- Measure out the full height of your first panel and cut your fabric.

- To create the side hem on the curtain, iron a 1" hem along the entire length of the fabric.

- To determine the height of your rod pocket, double the width of your curtain rod and add three inches.
- Fold over the fabric at the top 1" and iron.

- Then fold the fabric down the height of your rod pocket (above), minus 1". Iron the edge and pin in place. Sew the edge of the fabric.

- Sew a line above the seam you just sewed that is double the width of your curtain rod. This is where you will put your curtain rod. The fabric above is for the ruffle.

- Hang your curtains. If they need hemming pin the bottom of the curtain so it just brushes the floor, and hem.

Voila! You’ve made this simple curtain pattern! If you have any questions, please leave them in the comments and I will try and clarify or modify the tutorial to be more clear.


Comments & Reviews
Sara says
This curtain is perfect for summer. Your instructions are prices and clear and easy to follow. Thanks Cori :)
Lorraine says
I;m getting back into sewing after many years, although I am at the beginner stage. I was to bored as a young adult to let my mom teach me, when she tried, (one of my big regrets). She was a heck of a sewer when I was little, made all our clothes. Your instruction’s were clear and easy to understand, for my Fibro brain, (http://www.webmd.com/fibromyalgia/guide/fibromyalgia-and-fatigue). I have subscribed. Thanks again.
jami says
How lightweight does the fabric need to be in order to create the ruffly effect at the top? I’m worried mine may be too heavy.
Cori George says
I’ve made these curtains with home decor weight fabric. It works pretty well. It’s not quite as ruffly, but unless the fabric is really heavy, I don’t think you should have a problem. You could also sew your rod enclosure a little lower so there is more fabric to ruffle at the top, fit that makes sense.
Kristy says
Thanks for the tutorial! Used it as a guide to make these new curtains for my daughters’ room! http://hopefulthreads.blogspot.com/2015/07/a-room-makeover-success.html
Cori George says
They look fabulous! :)
Theresa @DearCreatives says
Thanks for sharing at the Inspiration Spotlight party Pinned & shared.
Lou Lou Girls says
Love them. Pinned and tweeted. We appreciate you being a part of our party. Please stop by on Monday at 7 pm. Happy Sunday! Lou Lou Girls
Carrie @ Curly Crafty Mom says
This looks so easy! I really love the fabric you chose, too. I am not a great sewer, but I need to pin this for the next time I need some new curtains!
Nikki Frank-Hamilton says
I love this fabric, it makes gorgeous curtains. I never knew IKEA sold fabric, We don’t have an IKEA here but it looks like I am going to have to plan a shopping trip to Indy. Your tutorial is spot on and simple to follow, great tips! I now have curtain envy!
Sharlee says
I love that fabric…LOVE LOVE LOVE it! I am no seamstress, but I might be willing to give these a shot! Thanks for sharing with the Home Matters Linky Party! We hope to see you again next week!
All that's Jas says
I love that fabric and your tutorial is super easy to follow! Thanks for linking up with Thursday Favorite Things!