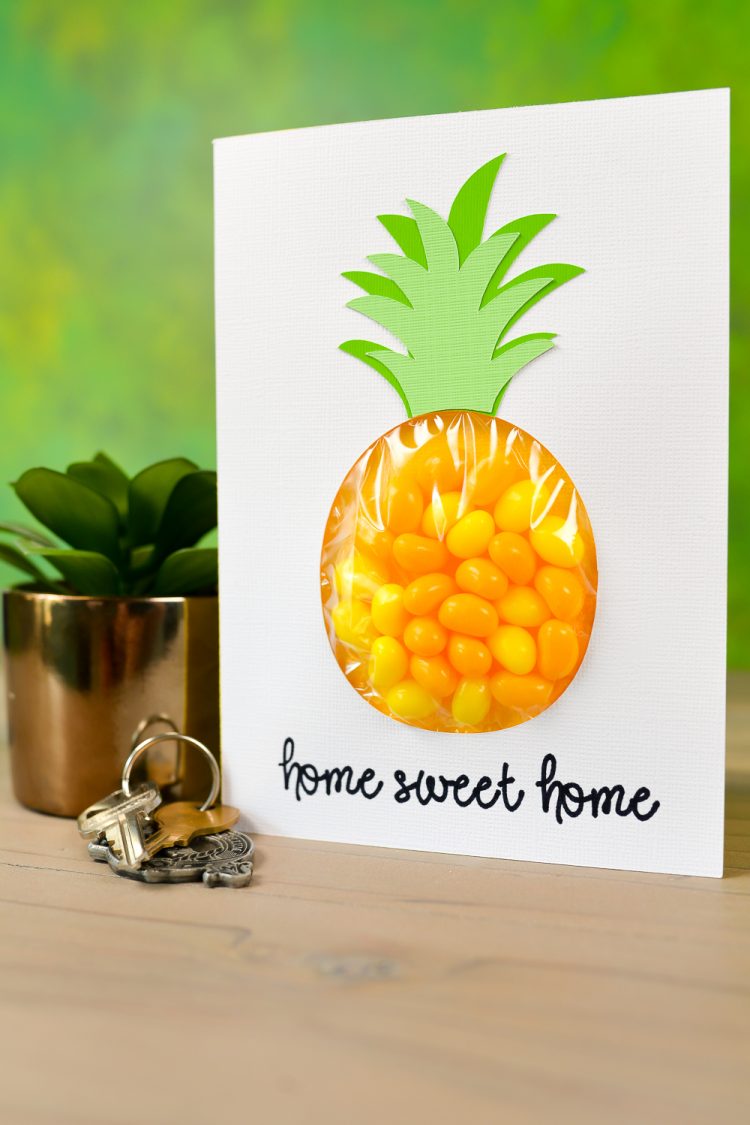
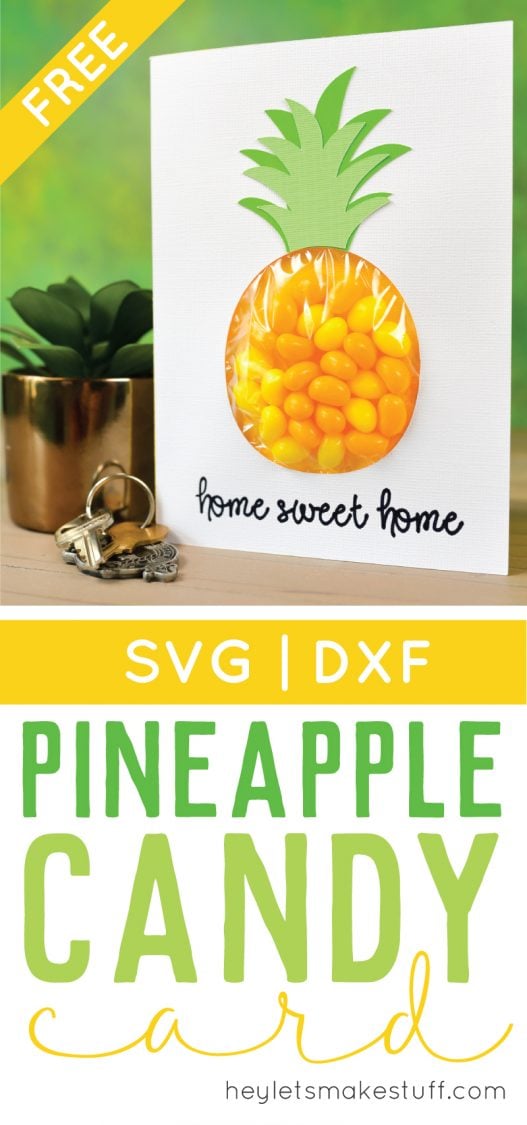
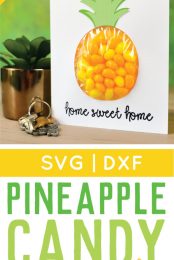
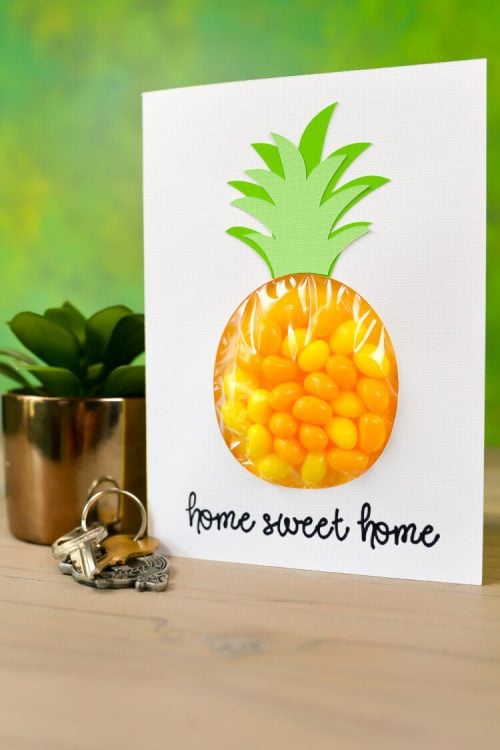
This pineapple candy pouch card is a great way to welcome a new neighbor or tell someone you love just how sweet they are! Free cut files for the Cricut Explore.
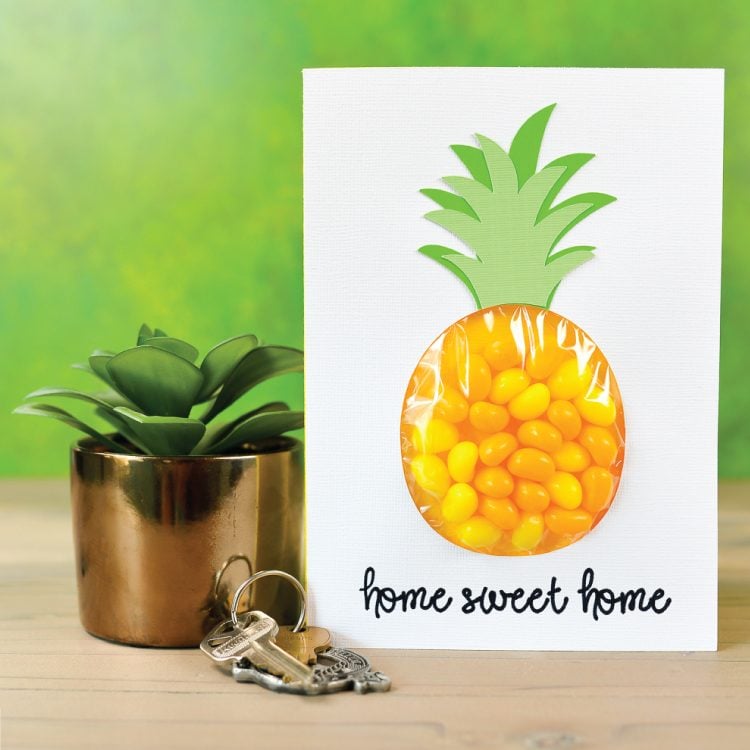
Few things taste better than a delicious juicy pineapple! I’ve done a few pineapple projects in the past, including a pineapple pouch and pineapple pennants. Now it’s time for another yummy project!
Today I’m joining up with some of my blog friends to share a whole bunch of pineapple crafts, DIYs and recipes all hosted by my friend Crystal over at the Weathered Fox for Pineapple Week!
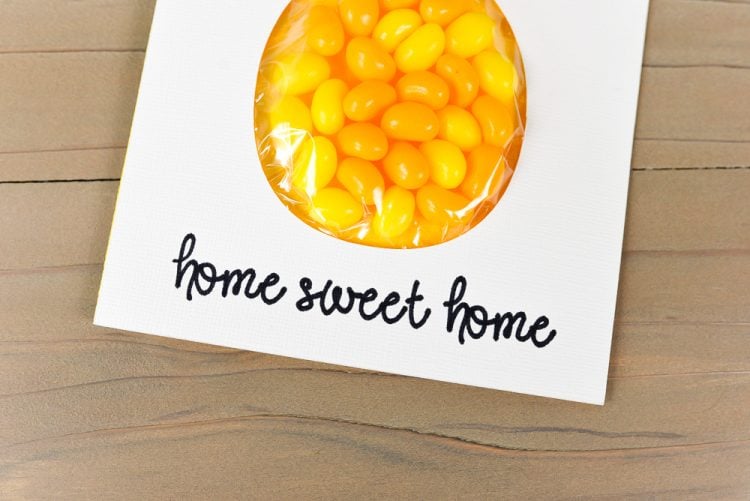
For this hop, I designed this adorable pineapple candy pouch card! Fill it with your favorite yellow treats (like my favorite, pineapple Jelly Bellies!) and fill in your own text using your Cricut Explore’s writing feature. Since pineapples are the traditional symbol of welcome in Hawaii, I wrote “home sweet home” on my card so I could give it to our new neighbors. But you could also do “you’re so sweet” or “you’re such a fineapple” as well! The nice thing about using the Cricut Design Space is that this card is customizable, so get creative!
Pineapple Candy Pouch Card Supplies
- Yellow Cardstock
- Dark Green Cardstock
- Light Green Cardstock
- White Cardstock
- Cricut Pen
- Cellophane Bag
- Yellow Candy
- Spray adhesive or glue stick
These cards are meant to be cut out using the Cricut Explore or other cutting machine. If you have it, use the scoring stylus to score the fold line on your card.
Get the Free File
Want access to this free file? Join my FREE craft library! All you need is the password to get in, which you can get by filling out the form below. The file number is: C38.
Pineapple Candy Pouch Card Instructions
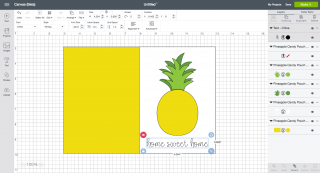
Start by adding your text to your card. Using the text tool, write your chosen phrase, resize it, and place it below the pineapple.
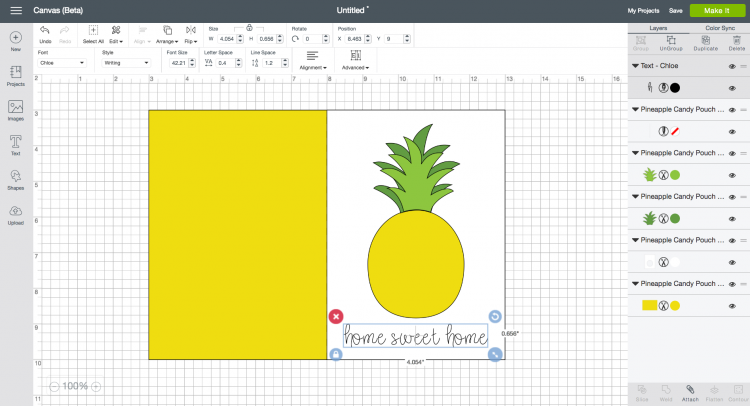
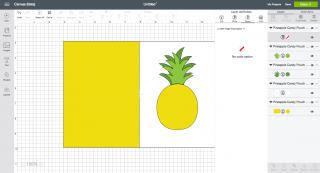
The red line in the file is the scoring line — change this from a cut line to a scoring line in the Cricut Design Space.
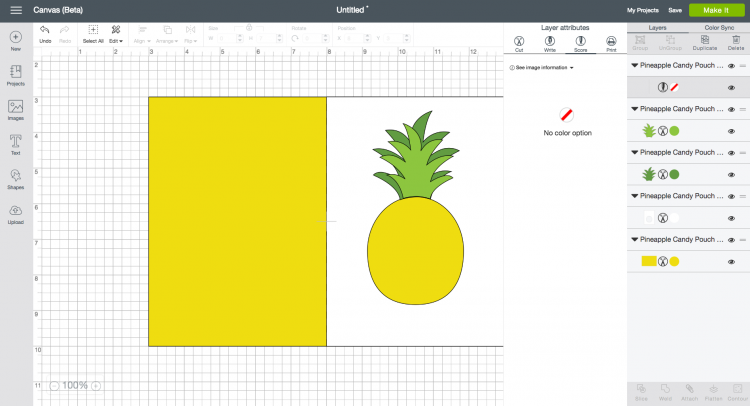
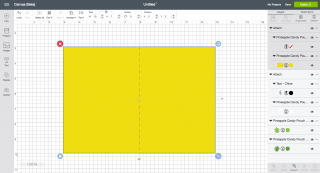
You’ll also want to click the “attach” button twice. First to attach the text to the white front piece, and then to attach the score line to the yellow piece (whatever you attach will move to the front of your project, but don’t worry — the other pieces are still back there. You can use the “arrange” drop-down menu to move it to the back if you’d like.
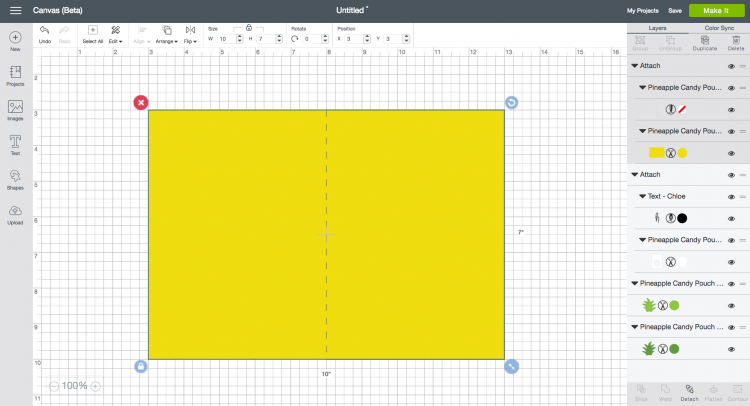
Then cut/write/score everything! Once you have all of your pieces cut out, you’re ready to assemble your card.
Layer the pineapple crown pieces on the white cardstock, aligning the bottom of the crown pieces with the top of the cutout.
Fill the cellophane bag with candy. Tape to the back of the white cardstock so the candy shows through. Adhere the white piece of cardstock with candy to the yellow card, fold, and you’re done!
Check out all the other Pineapple tutorials here:
Craftivity Designs | Pineapple Tablescape and Printable Menu
The Vanderveen House | Pineapple Pillow Cover
Our Home Made Easy | Summer Pineapple Printable
Woodshop Diaries | DIY Carved Wooden Pineapple Spoon
Hey Let’s Make Stuff | Pineapple Candy Pouch Card
Happiness is Homemade | DIY Pineapple Candle
Sustain My Craft Habit | DIY Pineapple Succulent Mason Jar Planter
Casa Watkins Living | Pineapple Inspired Wine Charms
Our Crafty Mom | Pineapple Flour Sack Tea Towels
Sense and Serendipity | DIY Driftwood Pineapple Welcome Sign
PMQ for Two | Pineapple Wine Charms
PINEAPPLE CANDY POUCH CARD
Equipment
- Cricut Maker or
Supplies
Instructions
- These cards are meant to be cut out using the Cricut Explore or other cutting machine. If you have it, use the scoring stylus to score the fold line on your card.Start by adding your text to your card. Using the text tool, write your chosen phrase, resize it, and place it below the pineapple.

- The red line in the file is the scoring line — change this from a cut line to a scoring line in the Cricut Design Space.

- You'll also want to click the "attach" button twice. First to attach the text to the white front piece, and then to attach the score line to the yellow piece (whatever you attach will move to the front of your project, but don't worry — the other pieces are still back there. You can use the "arrange" drop-down menu to move it to the back if you'd like.

- Then cut/write/score everything! Once you have all of your pieces cut out, you're ready to assemble your card.Layer the pineapple crown pieces on the white cardstock, aligning the bottom of the crown pieces with the top of the cutout.Fill the cellophane bag with candy. Tape to the back of the white cardstock so the candy shows through. Adhere the white piece of cardstock with candy to the yellow card, fold, and you're done!



Comments & Reviews
Susan says
Thank you for sharing — flour sack towels
Ariel says
love it! Perfect for a fun summer luau!
Cori George says
Totally! Happy pineapples everywhere!