If you’re looking to make some organization progress in your crafting space, you’re in luck! Here are 10 tips to organize your craft room so you actually make progress, not just a bigger mess.
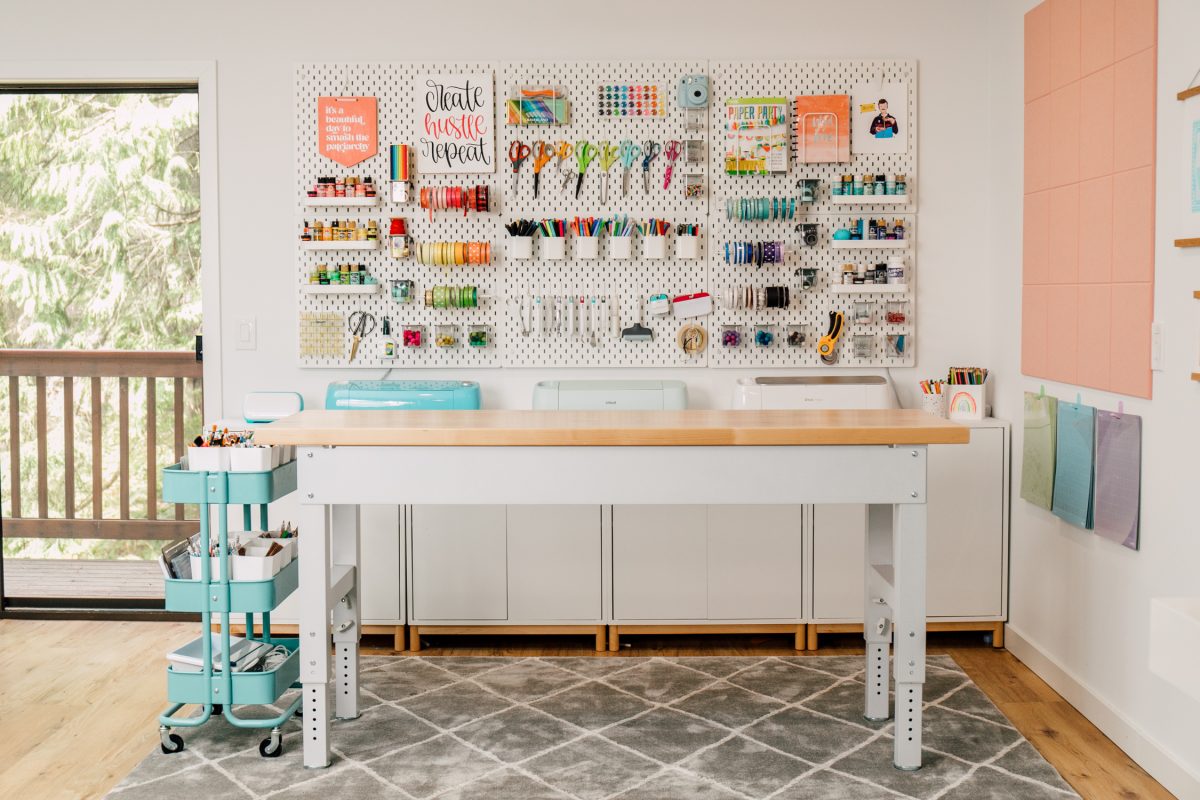
If you’re a crafter struggling with a messy and disorganized craft room, today we’re clearing out the clutter by spring cleaning your craft room! And if it’s not spring when you’re reading this, well, then it’s back to school cleaning or it’s cleaning for the holidays. We can all use a little decluttering no matter what time of year it is!
I really love to clean and organize (I know, but what can I say…I’m Type A!) but I know it’s not everyone’s cup of tea. And people have a myriad of challenges when it comes to cleaning their craft rooms, including space considerations, storage solutions, energy or health levels, and more. And I think it’s harder to get organized the longer you’ve gone without doing a good deep clean, which can stop crafters from cleaning before they even start.
But having a clean(ish) and tidy(ish) space can help you unleash your creativity and be more productive. Let’s walk through 10 tips to organize your craft room. Some of these take more energy than others, so set aside different time blocks to work on this project. It may take you a while and it may (okay, it will) get messy in the middle. But in the end, you’ll have a space you love where you can actually enjoy crafting!
You can check out my full Craft Room Tour to see more details about my studio, including more details about all of the storage solutions I talk about below.
Watch the Video
Want to hear all of my tips and tricks in an easy-to-watch video? Just hit play below! Or keep reading for a written set of tips!
1. Set Clear Goals
Before I embark on any big project, I like to think about my goals. Whether it’s learning how to use a new crafting machine, writing a book, or organizing my craft room, having a clear goal in mind gives me something to visualize when I’m stuck in the dreary middle of a big project.
For my own craft room organization, I made three primary goals that I wanted to work toward:
- Create a space that makes it easy for me to craft whenever I’d like
- Make my craft supplies easily accessible so I wouldn’t have to spend a lot of time digging through bins or baskets
- Foster a creative environment through color and bright light
Your goals may be different! Perhaps you need to downsize because you’re moving houses, or you want to be more efficient so you need a craft room layout that works well for you. Maybe you’re starting a small business and you need to clear out the clutter to make room for inventory and shipping supplies or perhaps you just want to walk into your craft room and feel at peace. And all of those thing will look different for each person, depending on your needs, your budget, and your space.
So take some time to visualize how you want your craft room to feel in the end. How do you want to feel once everything is tidied up and organized? Then write out a few goals that you can come back to as you complete the other steps in this post!
2. Figure Out What You Love to Make
This is one of my best tips but it’s going to require you to actually dig deep and figure out what you actually love to craft.
Let me put on my High School Economics Teacher Hat for a minute and talk about the sunk cost fallacy. This is where a person is reluctant to abandon something because they’ve invested so heavily in it, even when it’s clear that abandoning it would be more beneficial.
Craft supplies and organizational furniture is not inexpensive. And sometimes we hold on to things because we’ve spent so much money on them or time invested in them. This makes it very hard to get rid of things that are no longer serving us.
For a long time, most of my craft space was sewing supplies, because I was doing mostly sewing. But over time, as I got my first Cricut and then different crafting printers and laser cutters and heat presses….my sewing took a back seat. Okay, who am I kidding, sewing isn’t even in the car anymore for me. So at some point, I had to make the choice to donate so much beautiful fabric and supplies to someone who would actually use them vs. having them take up space in my craft room where I badly needed storage for crafts I was actually doing.
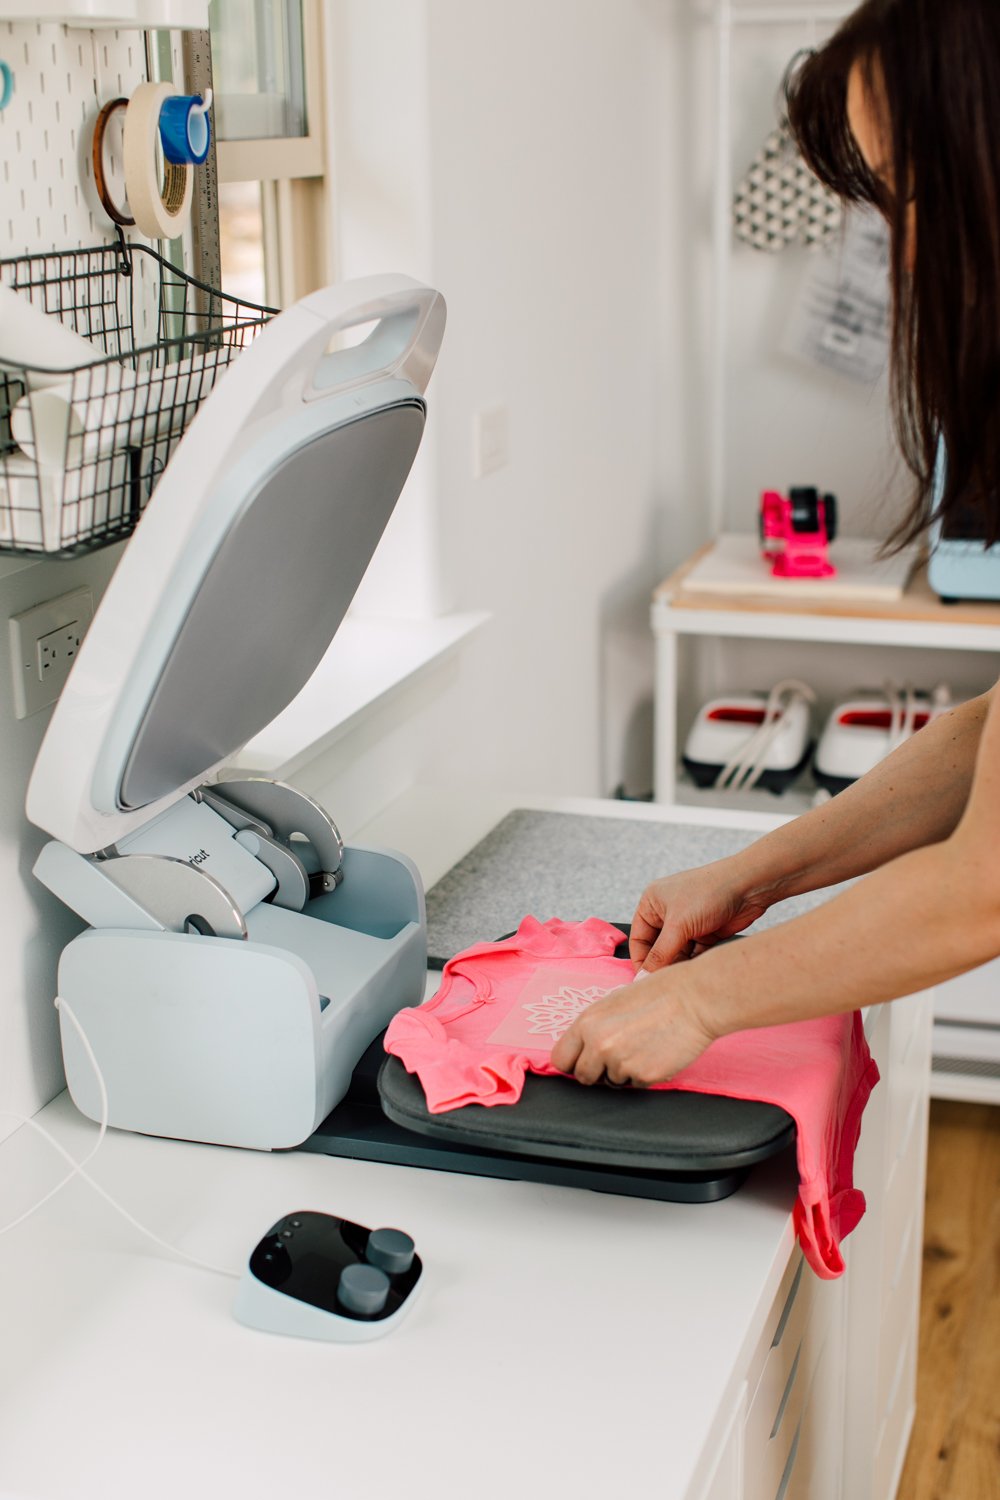
So take a look at what you currently have and ask yourself if you actually love to craft with it. Why are you holding onto things that you don’t need? Is it because they cost a lot or because you used to love them? Maybe it’s time to pass them along to someone who would really enjoy them instead of having them take up space in your craft room.
If you need permission to move on, I am happy to give you that permission. *sings Let it Go from Frozen*
Don’t worry about donating things you don’t want yet, just keep in mind what you are willing to part with while you get through these next few steps.
3. Designate Zones
Next, make a list of all the things you DO like to craft. For me, that’s Cricut crafting, sublimation and DTF crafting (they have similar supplies), and laser crafting. I still do have a small stash of sewing supplies and my sewing machine for projects for my boys (mostly Halloween costumes), but pretty much everything else in my craft room is related to those crafts.
What does your list look like? Divide the list into zones and we’re going to work to organize things within the zones. Again, we’re not actually organizing yet, we’re just planning what the future space might be. Keep those goals you created in the first step at the front of your mind.
If you’d like, you can map out the zones on a piece of paper. You don’t have to decide where everything goes right now, but maybe you know that your sewing stuff is best suited to the darker back corner of your craft room where your fabric won’t be damaged by sunlight, and your Cricut machine is underneath the window where you love to sit and look at the trees. Maybe you have a really great piece of storage furniture and you know that it’s great for vinyl and iron on rolls. Just loosely decide the zones in your craft room based on what you love to do.
One zone I think you MUST have is an empty table for actually crafting. Make it a good sized table if possible. And then don’t put anything else on it. Mine is in the middle of my studio and all it has on is a Cricut lamp for when I need more light. Having a space designated specifically for making whatever I’m working on in the moment makes it so much easier to get crafty. Which is, coincidentally, one of my three goals!
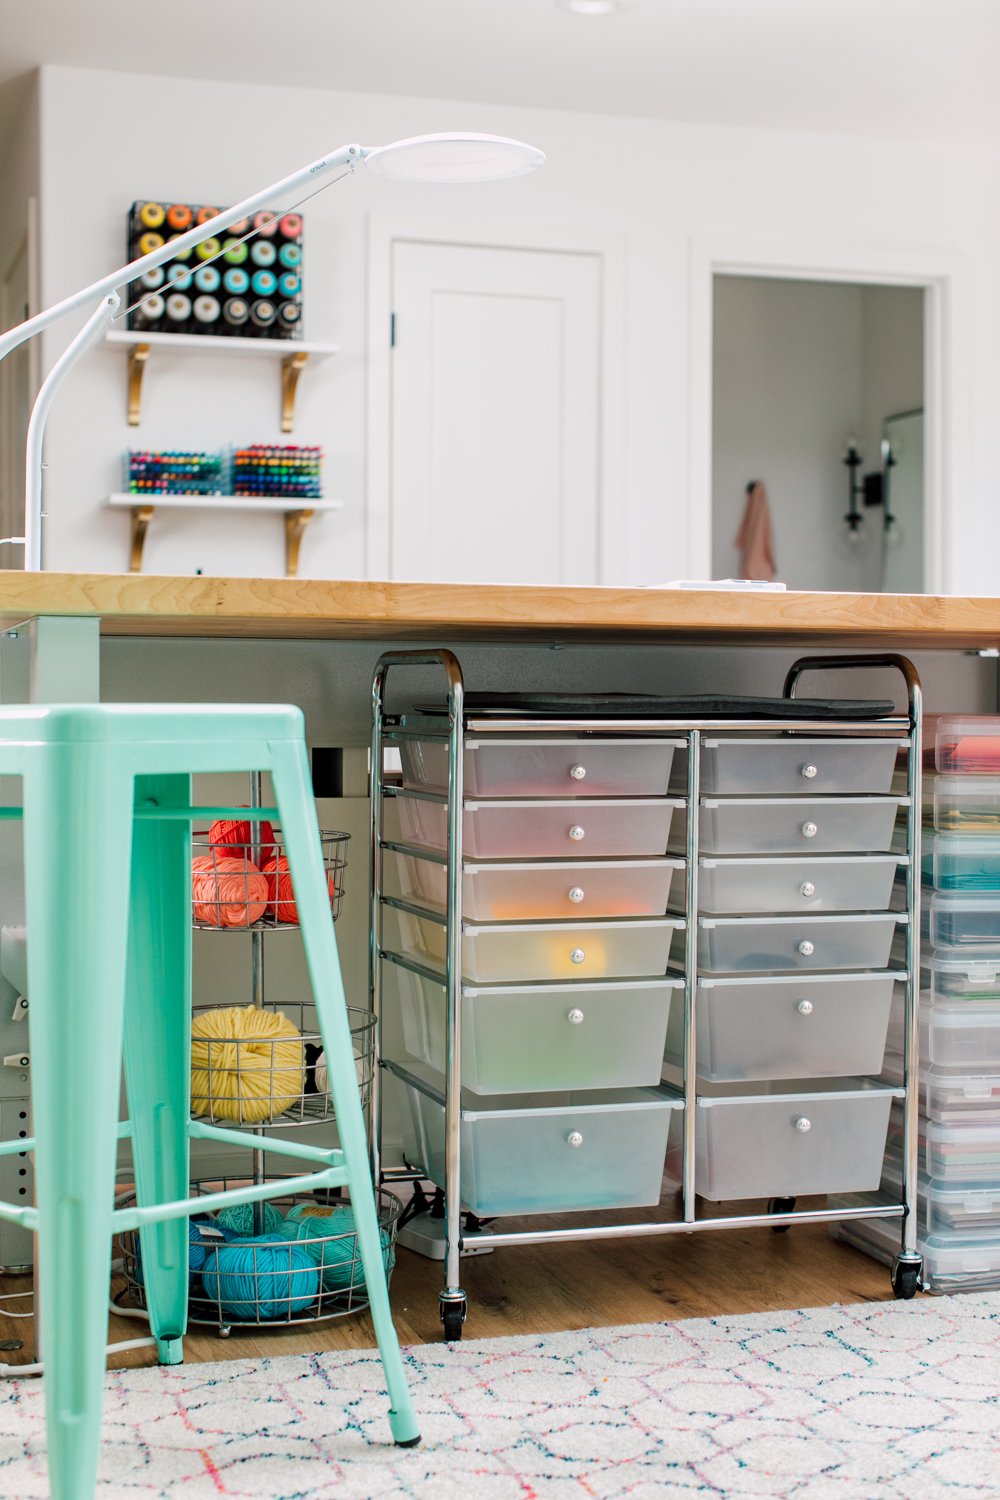
4. Throw Away Expired or “Dead” Supplies
Now we’re going to start decluttering. You can do this step and the next step concurrently.
The easiest things we can declutter are things that are obviously (or not as obviously) trash. Start with one drawer or other space and start to go through it. Maybe you have acrylic paints that are dried up or pens that no longer work. Maybe you kept a bunch of scraps that are too small for anything really useful. Maybe you thought you’d fix your old heat press that stopped working but, who are you kidding, you’re never going to fix it.
Also note that some supplies have expiration dates. Did you know that HTV doesn’t work as well after the expiration date (if you’ve ever had trouble getting older HTV to stick, that’s why!). So look to see if there are expiration dates on your packages as well.
Then grab a trash bag and start to throw away anything that is just not good for the donation bin. Again, this can be hard if you’ve spent money on things or if maybe they were given to you by someone special. But at some point, some things are just not useful anymore and all they are doing is taking up space in your craft room and your mind.
Toss it all!
5. Donate to a Neighbor (or Local Donation Spot)
Now you will have to go through what’s left and choose between what you want to keep (remember this is only stuff you will actually use) and what you want to donate (stuff that’s still useable but don’t fit with your current vision for your crafting life).
There may be some things that you want to try and sell. For example, I had a Silhouette Cameo 4 that I never used (I was going to make comparison content with Cricut). And I did sell that because it was brand new and in the box and I thought it was worth it. But unless you’re going to get a decent amount of money for something, I would suggest skipping trying to sell everything and donate instead.
The problem with trying to sell small stuff is that it ends up sitting in your craft room or house until it sells. And if it doesn’t sell right away, it’s just more clutter that gets in the way of getting to those goals we talked about in the beginning of this post.
So instead, I highly recommend a few donation options. The first is to local schools or other organizations who actually need the supplies. I donated a ton of Crayola stuff to my boys’ school for example, as well as two Cricut machines I’m not using anymore.
The second is to put out a bin on your driveway labeled FREE! and fill it with things you don’t want anymore. If you have a neighborhood Facebook group, you could put something like “Free craft supplies at 123 Marigold Way!” or whatever your address is. I am always shocked to find my bin empty, usually within a single day.
And third is to use your neighborhood Facebook Buy Nothing group. Most neighborhoods have one and you can snap a quick photo with your phone and say “free ___ and ___” and people can chime in if they want something.
I’ve found that I’ve been able to get rid of 95% of things I don’t need anymore using one of these three options. My final option is to drop things at my local donation center, but it only happens once or twice a year these days.
6. Research Storage Solutions
By now, you should be left with just the things you want and use. They may be in complete disarray on the floor or they may be stuffed out of sight in drawers and cabinets. Now is when you can take stock of what types of storage solutions you may want to add to your space.
If your budget is zero dollars, that’s totally fine (and understandable in today’s economic climate!). Take a look at what you have and go back to the zones we talked about earlier. Move all your sewing stuff to one side of the room, make a pile of Cricut stuff, or put all your resin supplies in a box. Get it in the general area of where you want it to go and then you can start playing around with where everything goes.
If you do have some budget for storage solutions, don’t just go out and buy a bunch of boxes. Really consider your needs before spending the money so you can really get what will work for you.
For example, every other craft blogger I know is has a gorgeous Dreambox. That’s awesome! But I have tried and tried to make the vision of a Dreambox work for my needs and I just can’t do it. I need storage for BIG things, not tiny things. I have enough tiny things storage. I need places to put bins of t-shirts and shelves for dozens of blank mugs and tumblers, and if someone could create some sort of printer carousel to house all of my printers, that would be great.
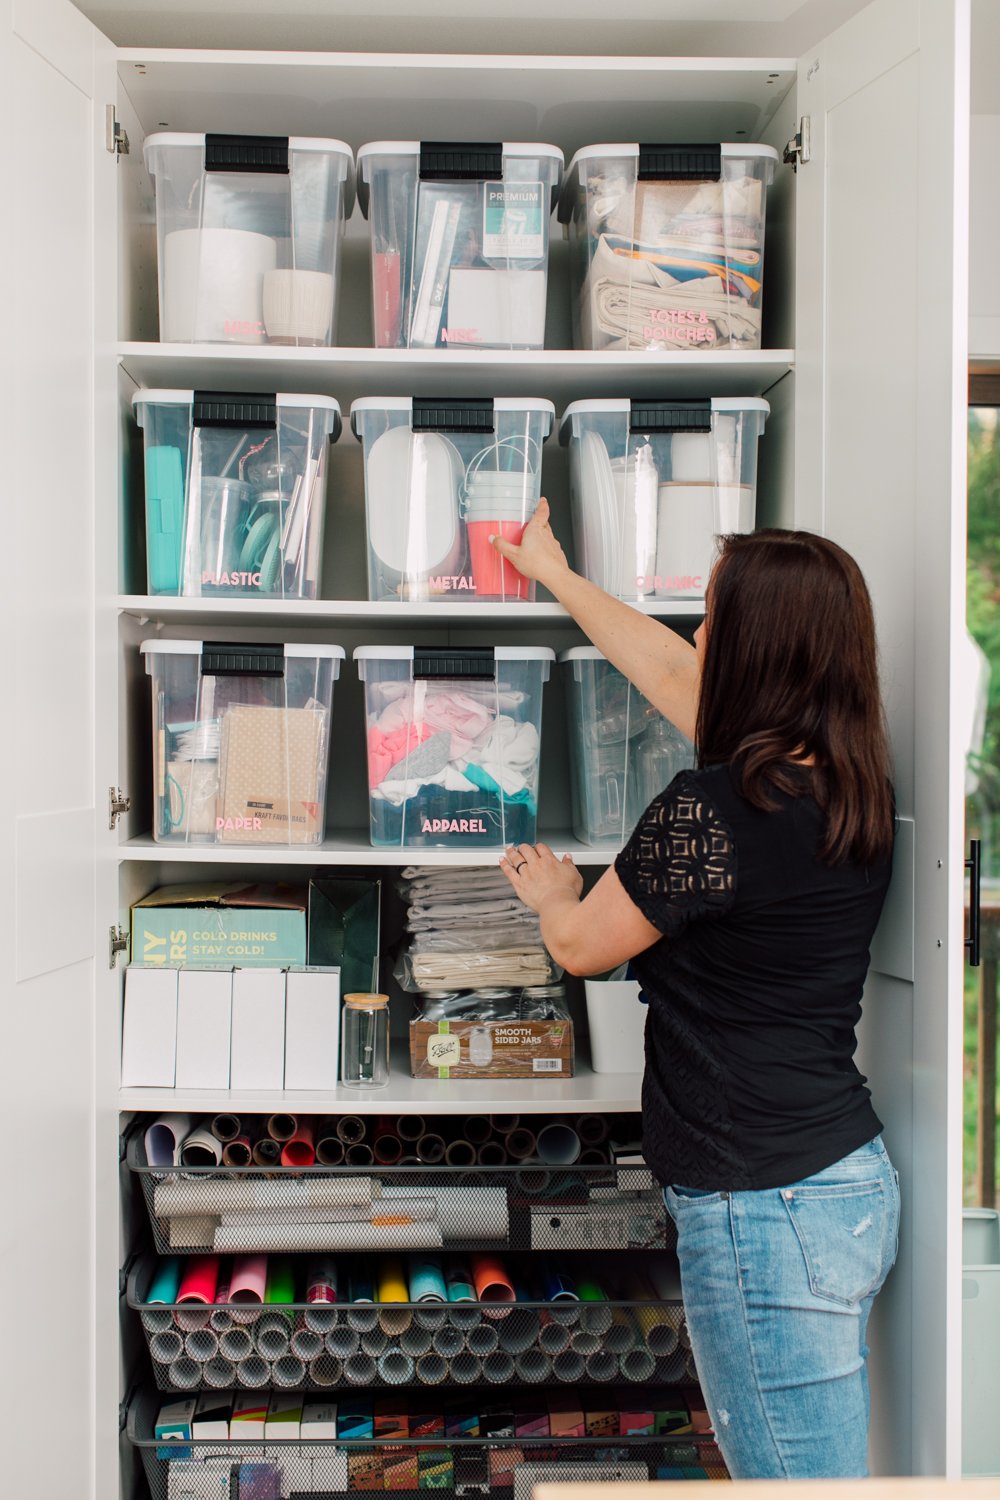
A Dreambox, even if it’s in your budget, isn’t going to solve all of your crafting needs if your needs are different than what a Dreambox can give you. For me, plastic bins on shelves in a big IKEA cabinet is a much better solution. I have a smaller set of two Create Room Cubbies that work well for my sublimation blanks. I’ve got huge Husky work benches for my laser materials. It really is about what works best for YOU, not what the crowd is doing.
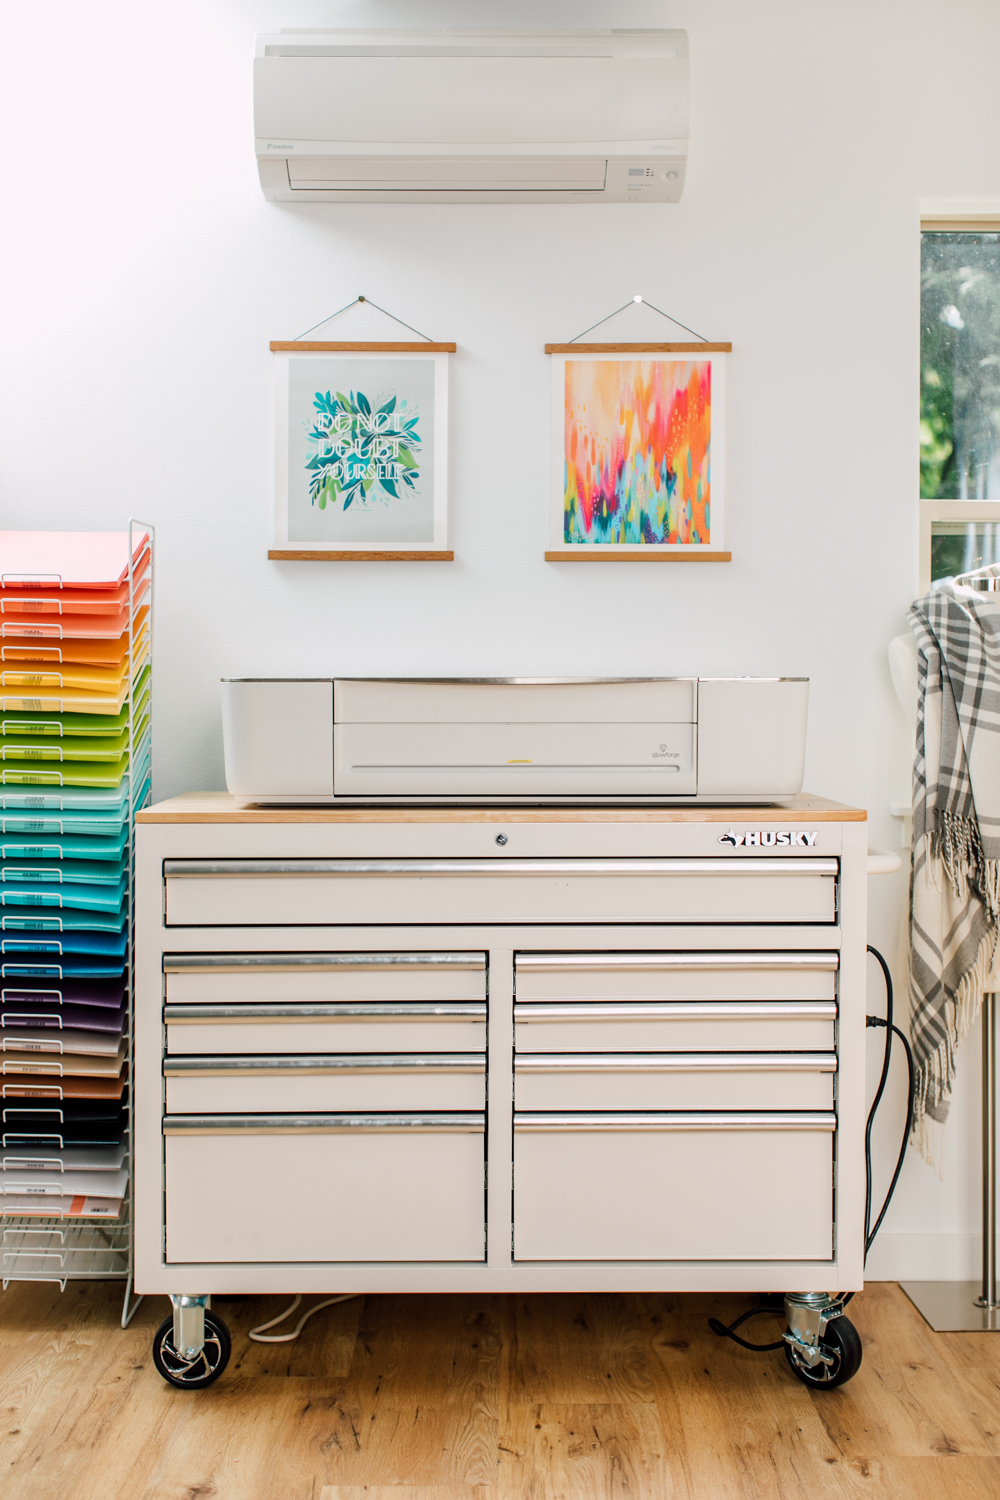
7. Maximize Vertical Space
One thing that I think a lot of people struggle with is maximizing vertical space. Your walls can offer so much storage! You may be limited on what you can hang on the walls if you are renting, but always remember that space goes all the way to the ceiling.
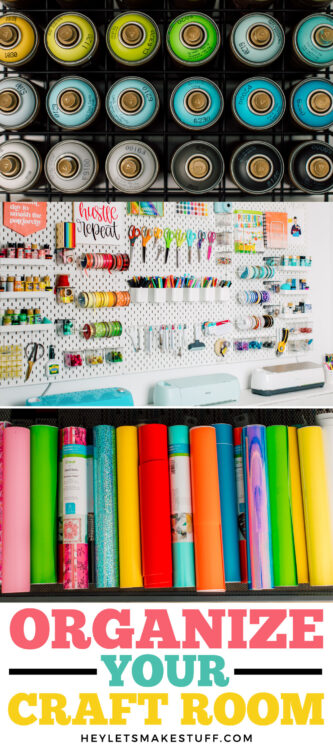
I’ve maximized some of my vertical space in a few ways. The first is with the biggest pegboard I could fit on the wall. If you can’t make holes in your walls, you may not be able to do this, but I LOVE my pegboard. While in my videos it may look decorative, I actually use almost everything on the peg board pretty regularly. Yes it is a nice backdrop but it’s a TON of tool and supply storage. Scissors, Cricut tools, pens, ribbon, paint, and more. And it’s all easily accessible which is one of my three goals!
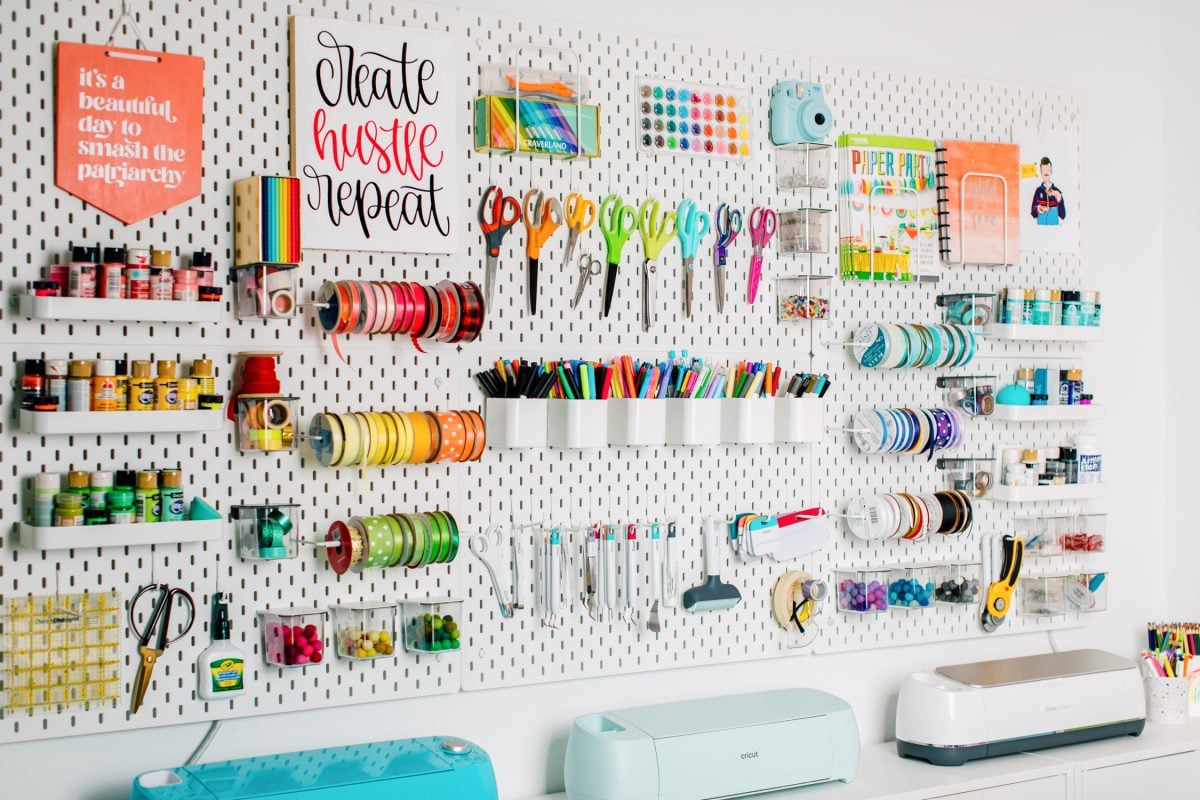
Another way to maximize that vertical space is with storage furniture. I have several that I love. The first are the two Create Room Cubbies stacked on top of each other that I mentioned before (with a shelf above for even more storage). Then I have that big IKEA cabinet that allows me to sore tons of blanks in bins. And then I also have a baker’s rack which is really great for most of my heat presses.
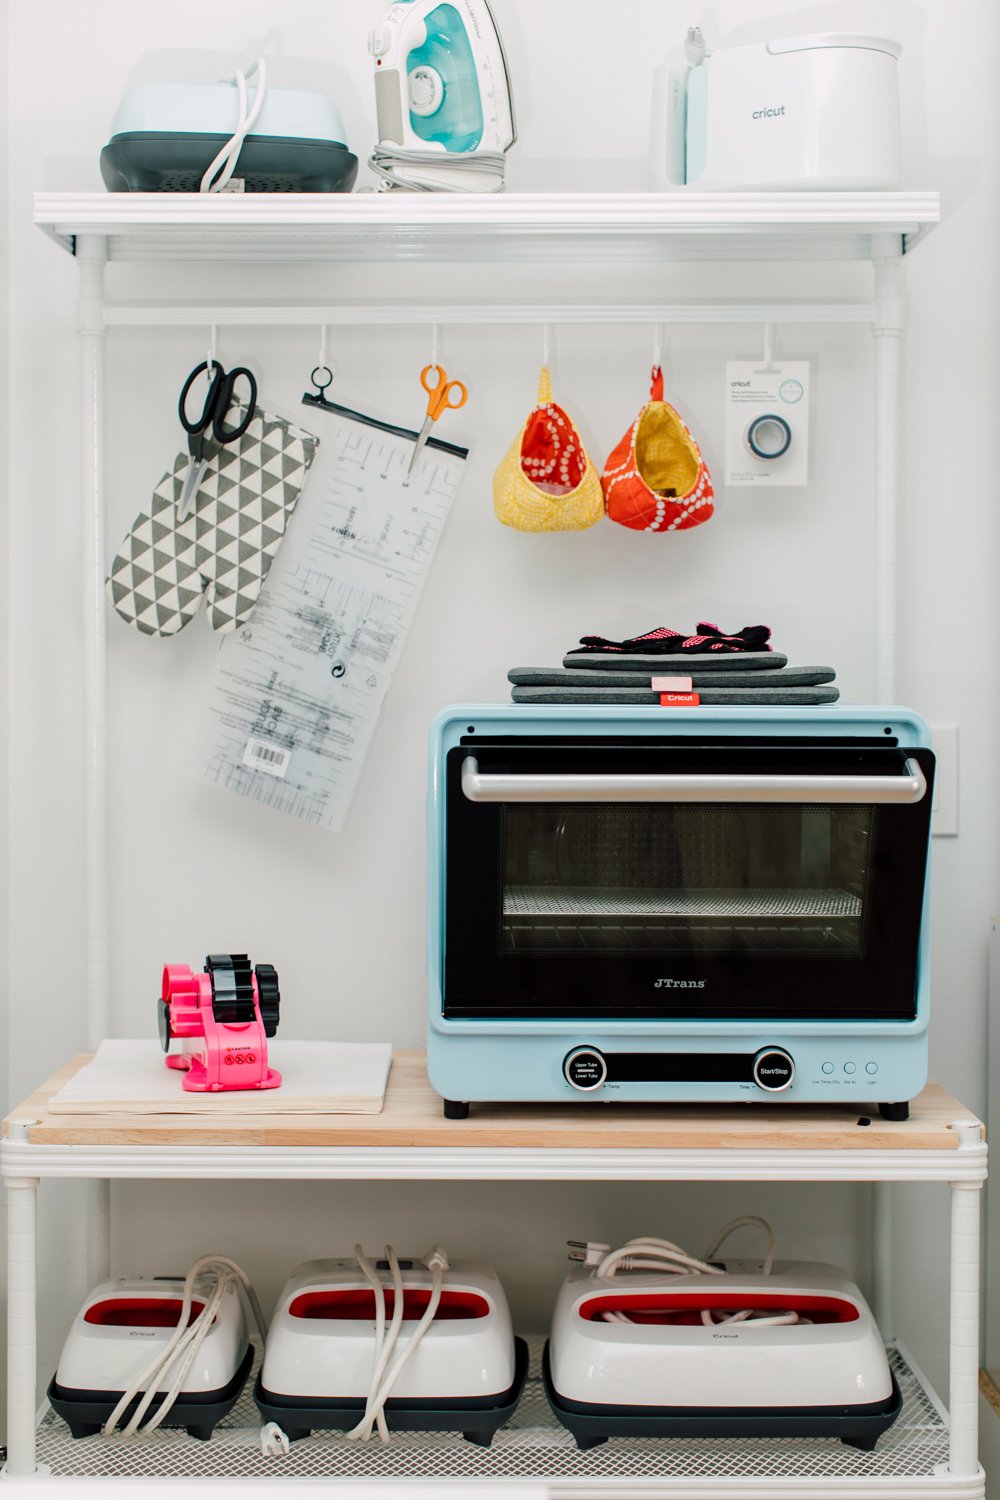
So think about going up higher on the wall than a desk or cabinet. There may be more space in your craft room than you think!
8. Make it Pretty (to You!)
I know this may seem silly, but I really do believe that you can be more creative in a space you find beautiful and inspiring. You may not have the money for a full makeover, but if possible, try for a coat of paint in your favorite color. Organize your supplies in a rainbow. Choose furniture that matches your vibe.
My new studio is often photographed and on camera but even when I was just working out of a bedroom, I still wanted it to be pretty. And that means pretty TO ME. It doesn’t need to match everyone’s style. My craft room has been bright and colorful even when Jo Gaines was reining supreme with her neutral Texas chic style. It’s what I actually love so that’s why it’s light and bright and colorful in here. This is my third goal—to foster a creative environment.
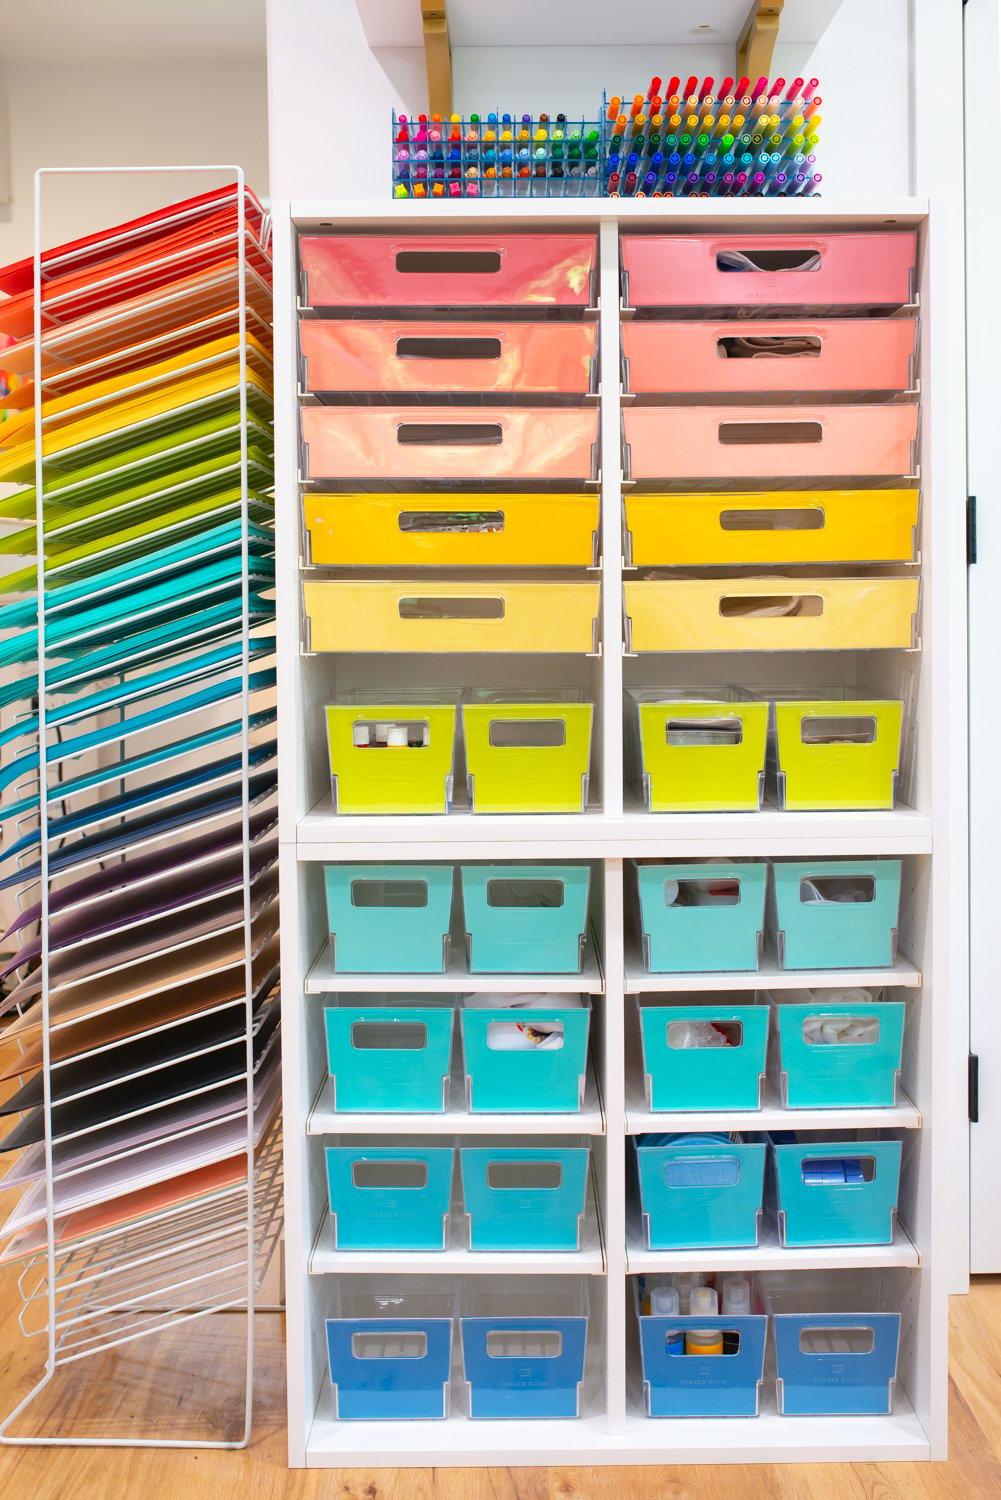
So whether it’s a new coat of paint, some pretty baskets, or new curtains, find ways to make your space prettier in your own eyes. If it’s a space you love being in, you’ll spend more time there!
9. Label Everything
Once you’re starting to get an idea of where everything goes, you’ll want to label it. Whether it’s with a small little label maker or with labels made on your cutting machine or even just masking tape with Sharpie, you’ll want to know what’s in every bin and basket and drawer.
I have almost all of my bins labeled and it’s so helpful in finding what I’m looking for. I don’t need to spend time sorting through bins because I know exactly what bin I need to start with.
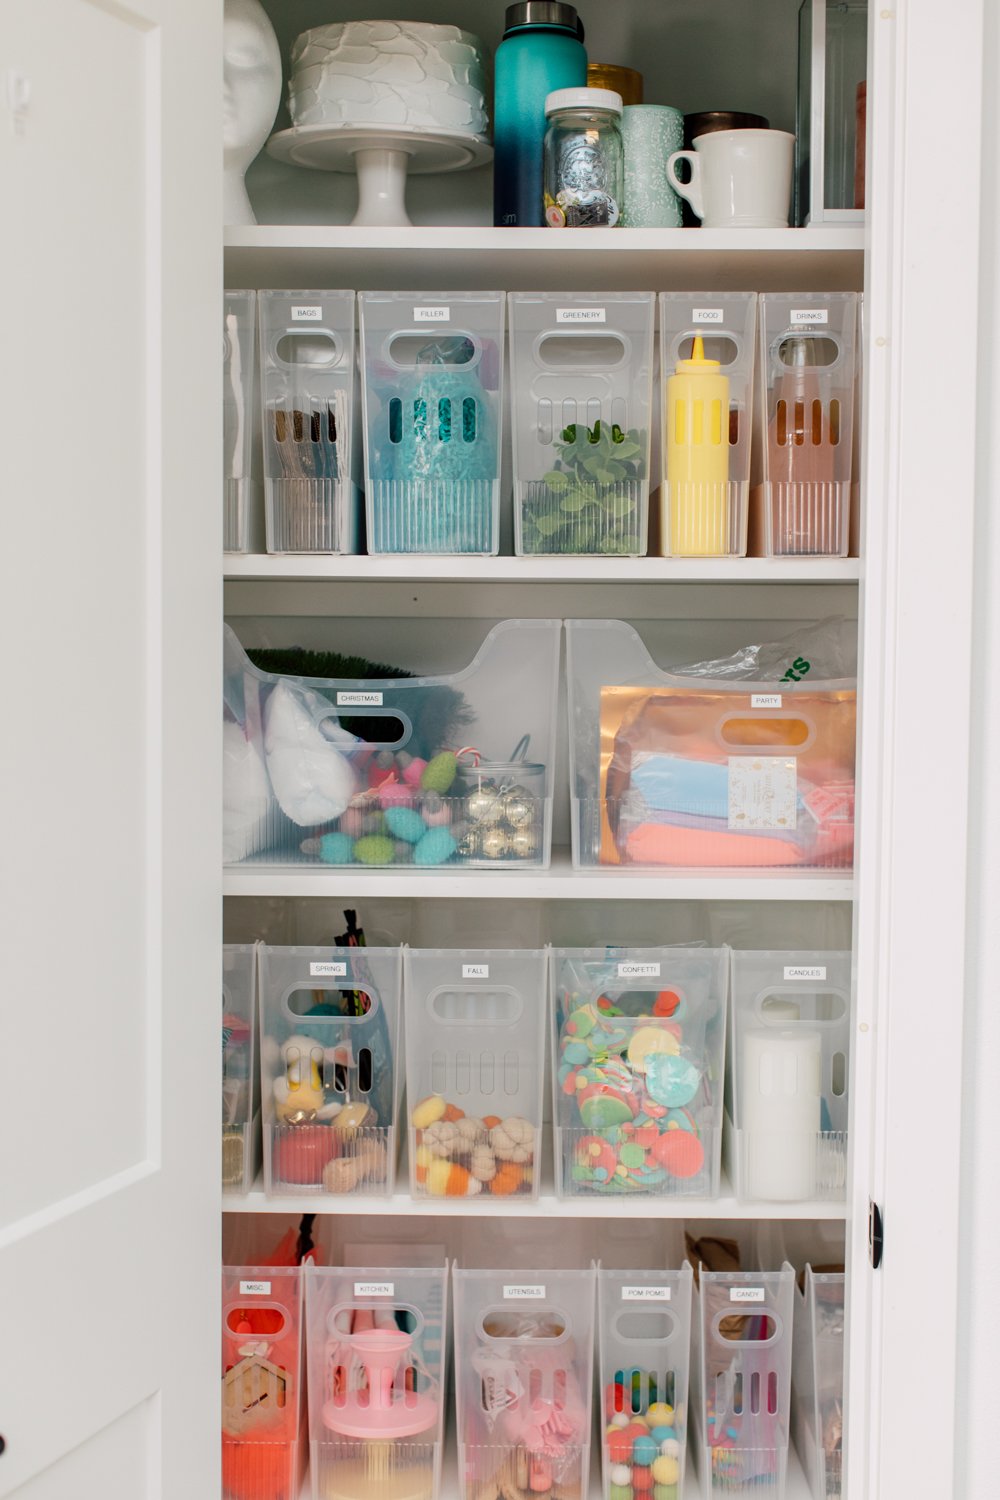
Don’t make the mistake of getting all organized and thinking you’ll remember where everything is. I can’t even remember where I put my keys—do you think I’ll remember where I keep the sublimation aprons or wooden dowels? Not a chance. Labeling will save you so much time!
10. Keep It Organized
There are a lot of ways you can choose to keep things organized. Maybe once a month you pick a day for a craft room refresh, where you do a good clean and make sure everything you have is still serving you (and trash or donate anything that isn’t!). Maybe you tidy up every Friday afternoon while listening to your Taylor Swift playlist.
I have found that tidying up very regularly has helped me finally keep on top of the mess. I am constantly working on at least five craft blog posts at a time (right now my Glowforge is cutting some samples and I have a book-related project that has caused me to have out way more supplies related to spray paint than I normally use) so I really do need to keep on top of things to keep both my business running and my sanity in check.
I’ve mentioned this in a previous post, but I bought a flip timer and I use it to keep me both focused on my work as well as organized in my space. I set the timer for 30 minutes. For that 30 minutes, I craft what I need to craft or I do whatever I need to do on my computer. Then when the timer goes off, I flip it to the five minute timer and I tidy up until it goes off again. It’s amazing how much I can get done in just five minutes, especially since I have worked really hard to get my craft studio to a place where everything has a home.
With this method, I am spending almost an hour a day cleaning and tidying up. Sometimes I can’t even find things to clean in here so I end up going inside our house and watering the plants or doing the dishes. And some days, like today, I just make a dent in the disaster but I know that on a slower day, I’ll make some good progress.
I hope you found this post to organize your craft room helpful! If you have any thoughts or questions about organizing your own craft space, let me know in the comments!


Comments & Reviews
venus says
Retro Bowl 26 takes classic football simulation to the next level, blending strategy, skill, and retro charm in every thrilling match.
Valerie P says
Thanks for sharing. These are some good tips for decluttering and organizing in general, not just the craft room.