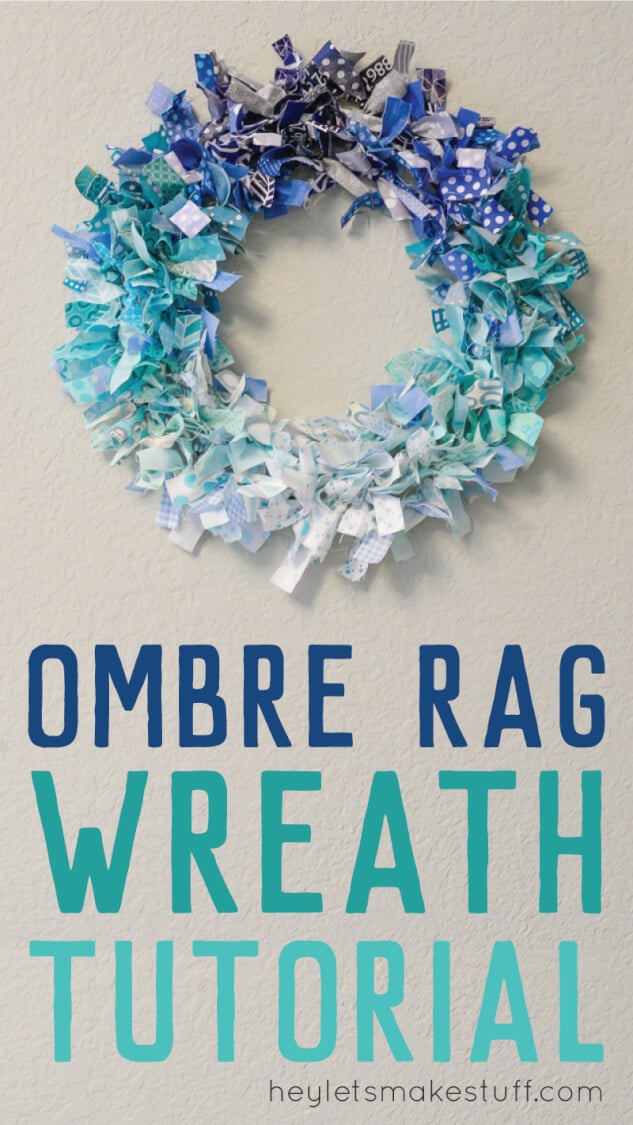
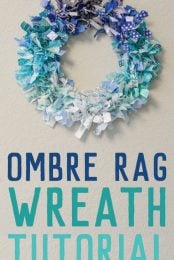
Make this ombre rag wreath with your leftover fabric scraps. The perfect craft for doing while watching TV. DIY decor has never been so easy!
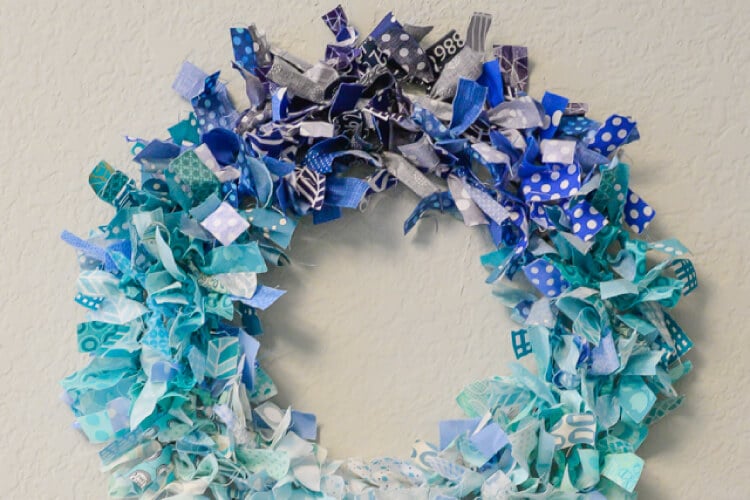
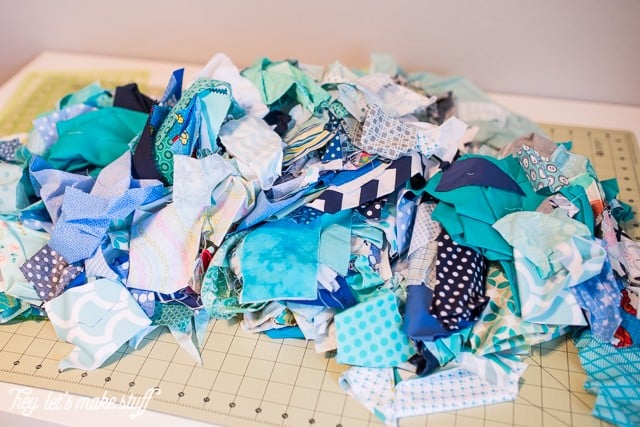
Guys. I have a lot of fabric scraps. Like, A LOT of fabric scraps. And in an effort to save some money by crafting using stuff in my own stash, I thought I’d make an ombre rag wreath.
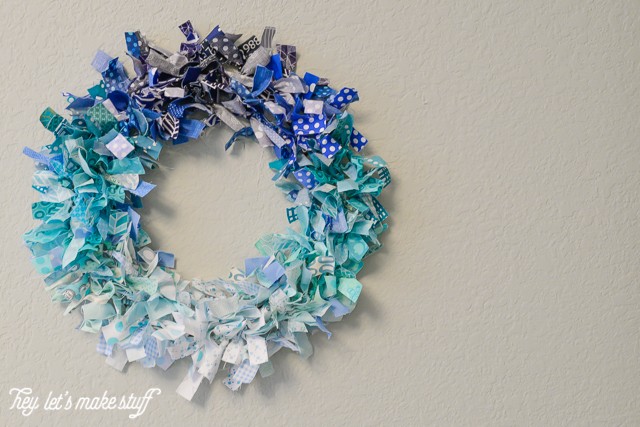
This is another project that’s going on the gallery wall in the adventure nursery, so of course it incorporates my favorite colors — blues and teals. I think it helps bridge the gap between the more blue and more teal elements in the room.
Rag Wreath Supplies
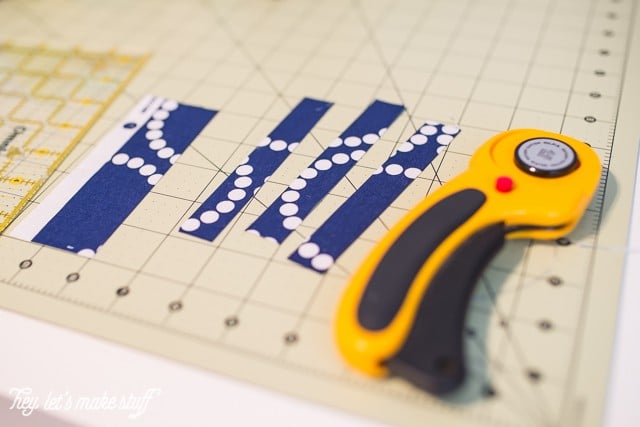
- Fabric scraps, cut into .75″ strips, 5″ long. Lots of ’em.
- Metal wreath frame
Rag Wreath Directions
This is a super simple yet time-consuming project. I finished it over the course of several evenings as we watched TV, tying one strip after another.
I wanted to create an ombre effect, and I knew I just sort of needed to wing it. To separate and sort the scraps into a gradient would have taken me forever and these babies don’t have that long left to bake! If you want to sort, be my guest. But I found just sort of eyeing it worked really well.
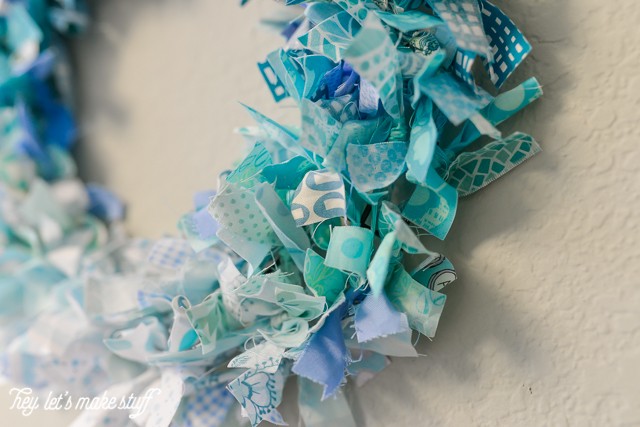
Tie the fabric scraps onto the frame with a tight little tug. No need to square knot the strips — they’ll stay just fine. The more you pack into the frame, the more full your wreath will be.
If you find that your gradient isn’t quite right, you can slide the fabric pieces on the frame, or untie and re-tie them.
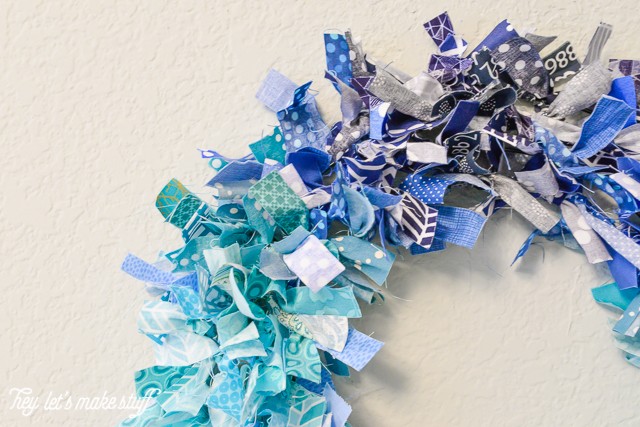
You’ll find that you need WAY more scraps than you might think. I cut a ton, but still went back to my stash and cut more to fill in places in my gradient that felt a little light.
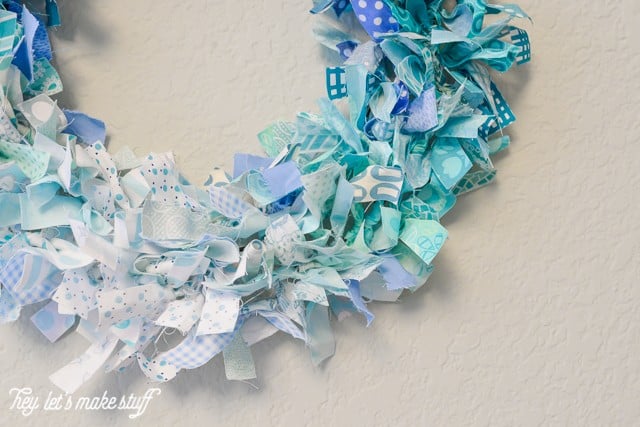
When you have all your scraps tied on, fluff it by pushing all of the fabric ends to the front of the wreath, with the knots at the back.
And after all that, it barely made a dent in my stash! You can also use your scraps and styrofoam wreath form like I did for my One-Hour Scrappy Fabric Heart Wreath! Or if you like working with tissue paper, check out this Valentine’s Day Tissue Paper Wreath!


Comments & Reviews
orystully says
This ombre rag wreath turned out really nice. Sprunki Retake like how the color transition gives it a modern look while still feeling handmade. It also seems like a great project for using up fabric scraps instead of letting them go to waste.