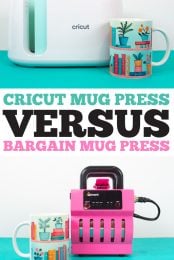
Looking for a mug press? The Cricut Mug Press is a great option, but can you get away with spending less money? Here’s my mug press comparison between the Cricut Mug Press and a bargain mug press I got on Amazon!
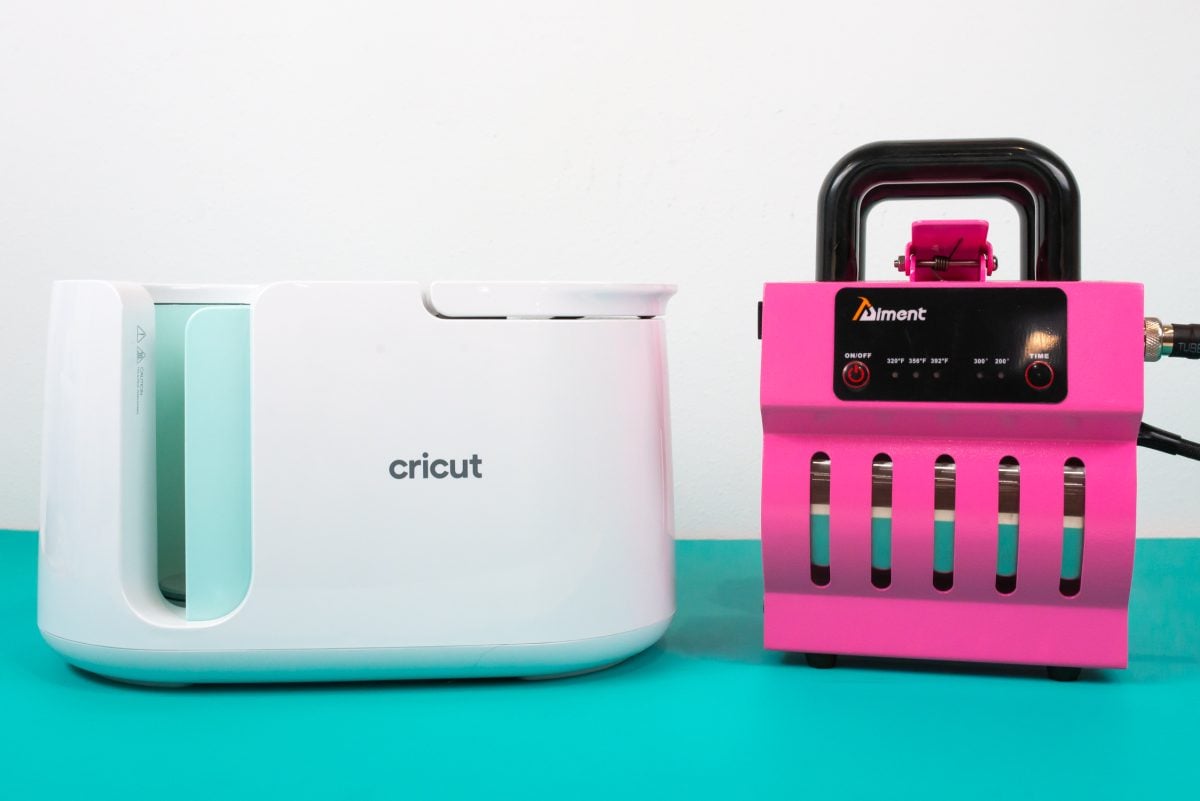
My Cricut Mug Press is one of my favorite things in my craft room, but recently a friend was talking about how expensive it is. She’s not wrong! At full price, it’s a $200 press! You can easily find it for $179 and occasionally on sale for $149, but that’s still a lot for many people to spend on a press that is pretty much good for only one thing.
So I went to Amazon and grabbed a bargain press for less than $80. That’s basically half the price of the Cricut Mug Press. The pink one I bought quickly went out of stock, so I have linked to a very similar teal mug press (this happens often with random things from Chinese sellers—just search for “mug press” if this one is out of stock!).
Now let’s put both of these mug presses to the test using a sublimation print!
Watch the Video
Want to see both of these mug presses in action? Click play below, or keep reading for a written tutorial!
Supplies Needed
Get all the supplies for this mug press comparison in my Amazon Store!
- Cricut Mug Press
- Amazon Mug Press
- Sublimation printer with sublimation ink
- Sublimation paper
- Heat-resistant tape
- Heat-resistant gloves
- Butcher paper
- Sublimation design (see below)
Get the Free File
Want access to this free file? Join my FREE craft library! All you need is the password to get in, which you can get by filling out the form below. The file number is: S24.
Preparing Your Mug
Print out your mug design. You are going to prepare your mug the same way, no matter which mug press you are using. Lint roll your mug (or use alcohol and a microfiber cloth) to remove any dust or lint.
Wrap your design around the mug and adhere with heat-resistant tape. You do not want any gaps or air pockets—make sure the paper is fully against the mug. You can choose to tape the top and bottom, but I generally don’t when making mugs.
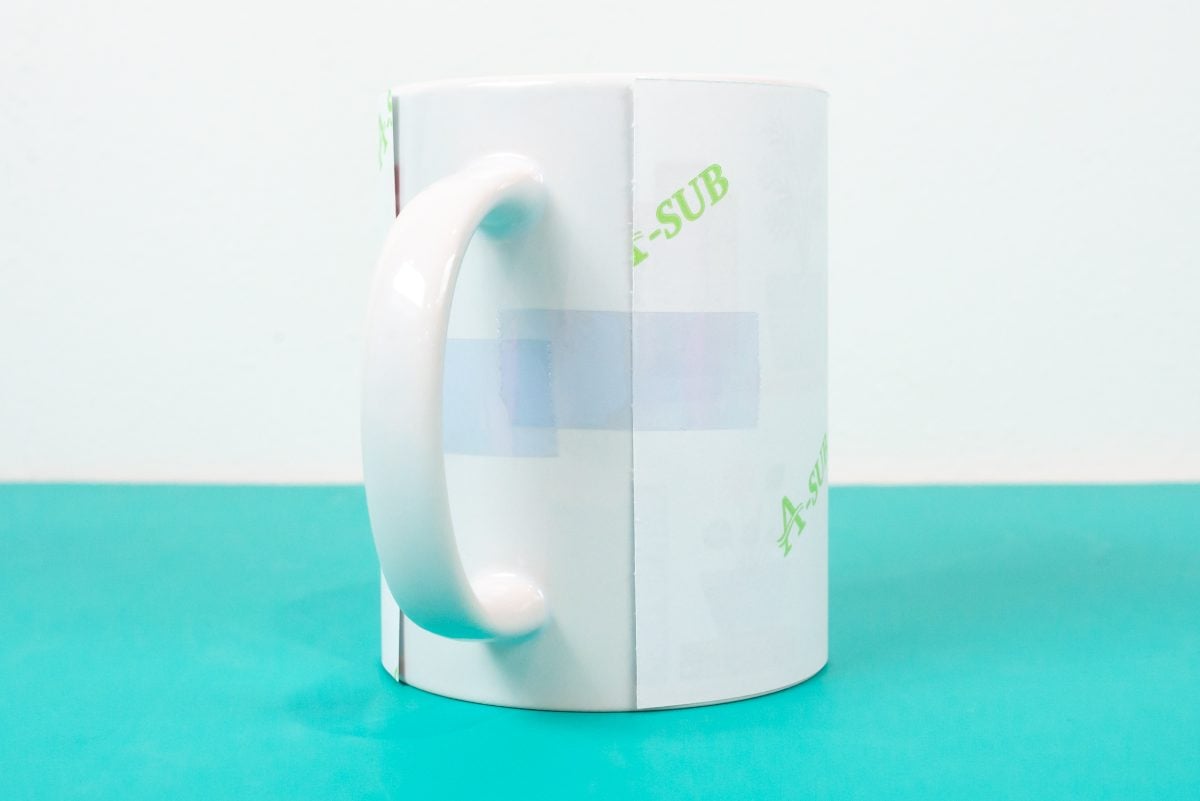
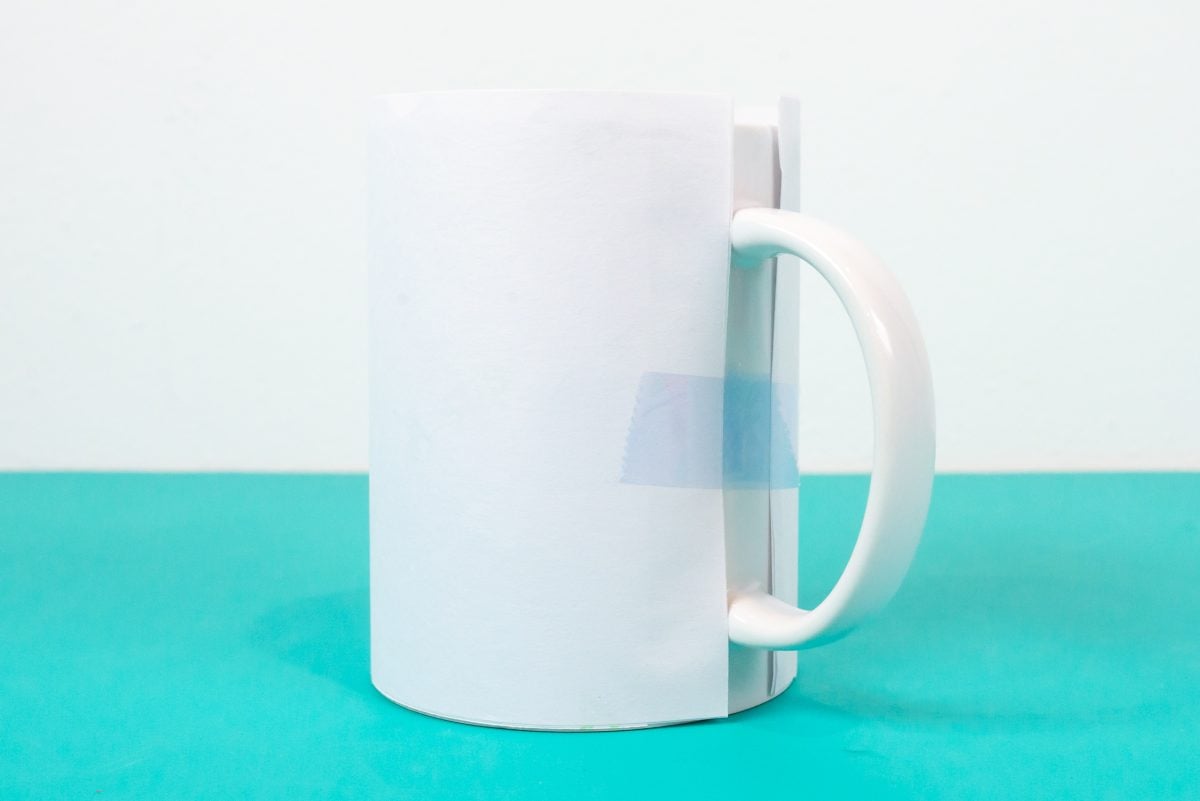
Then wrap again with two to three pieces of butcher paper. This will protect the press’s plate from any ink that escapes.
Using the Cricut Mug Press
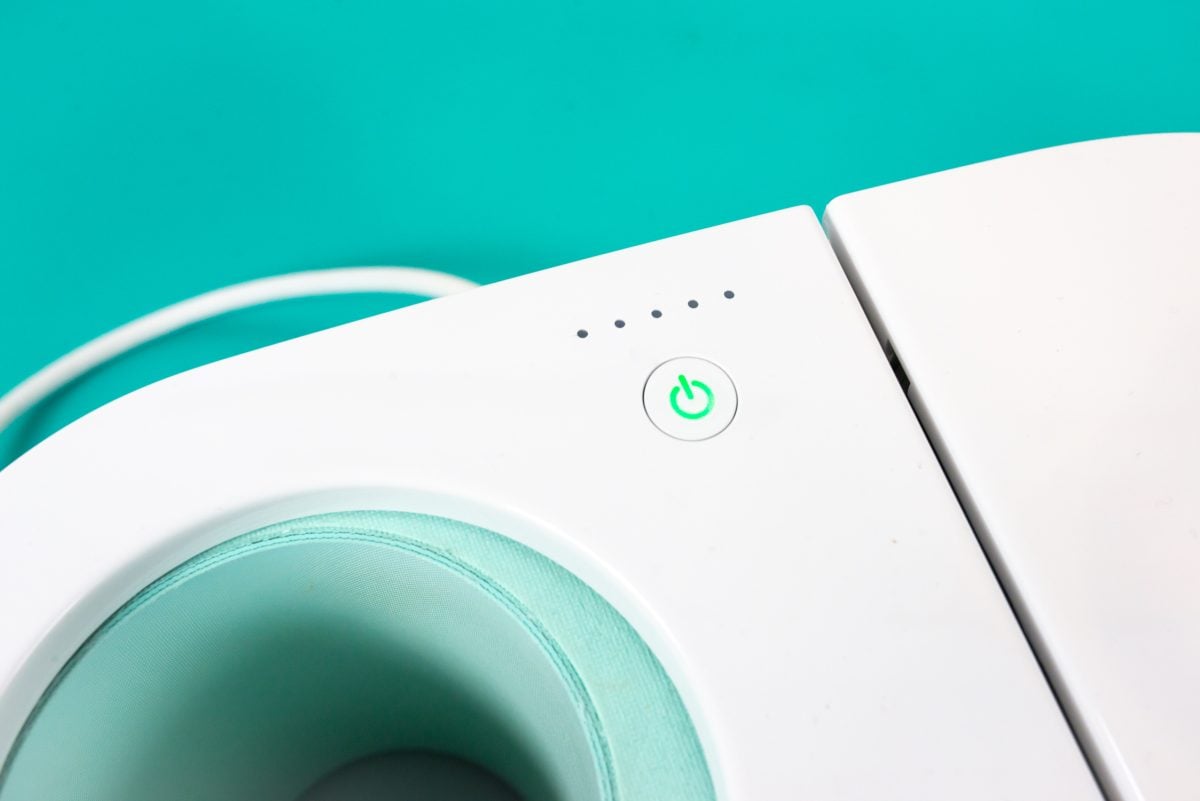
Plug in the Cricut Mug Press and allow it to come to temperature. There are no time or temperature settings on the Cricut Mug Press. They have been dialed in by Cricut to be used with Infusible Ink and sublimation prints. There is also no pressure setting—when you close the press, it applies the pressure for your blank.
When the press beeps and the light is green, lift up the lid-like handle on the right of the machine.
Carefully slide your mug into press.
Then press down on the handle as you are closing, making sure the handle is centered as you close it. You may need to shift the handle slightly as you close to make sure it’s not off-center.
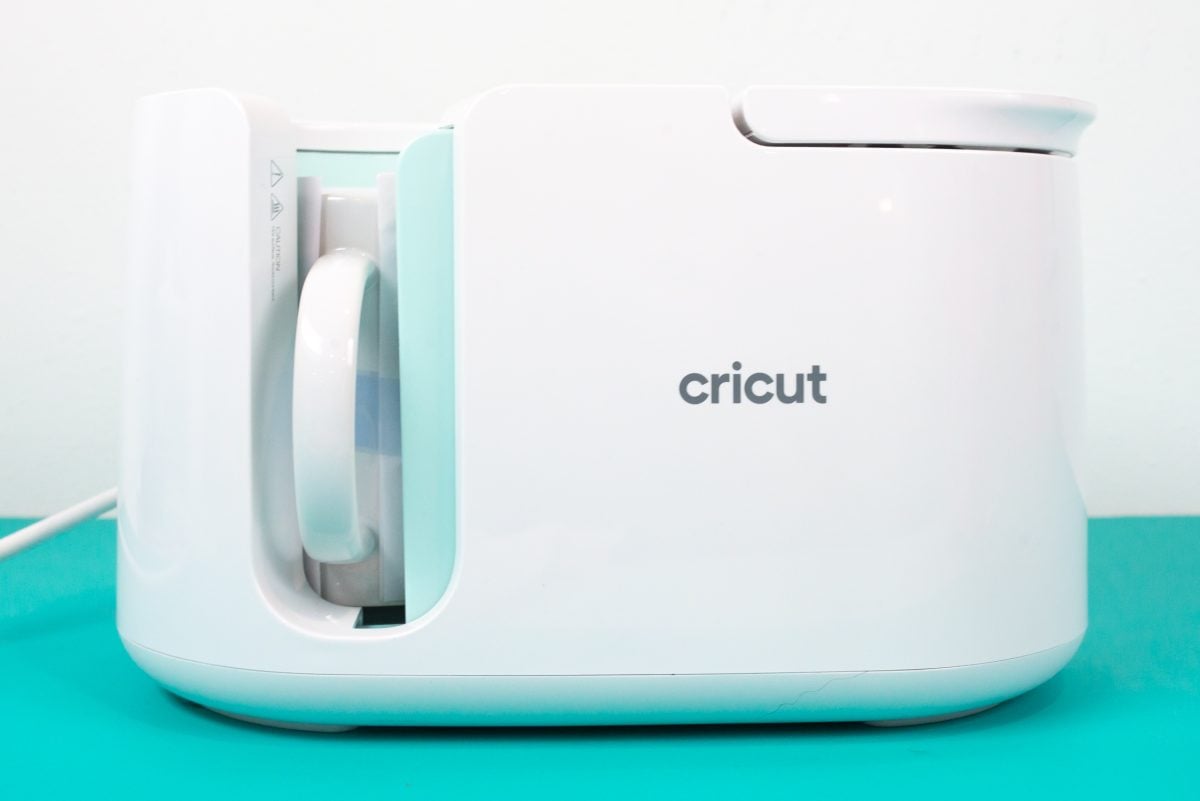
The time will count down automatically. You can see how far along it is in its process by looking at the progress lights on the top of the machine. It’s generally around six minutes.
When it beeps, lift up the handle and remove your mug. The handle should be cool, but the mug itself will be HOT. You may want to wear heat-resistant gloves just to be safe. Set it on a heat-resistant surface to cool. When the mug is cool enough to touch, remove the butcher paper and the transfer!
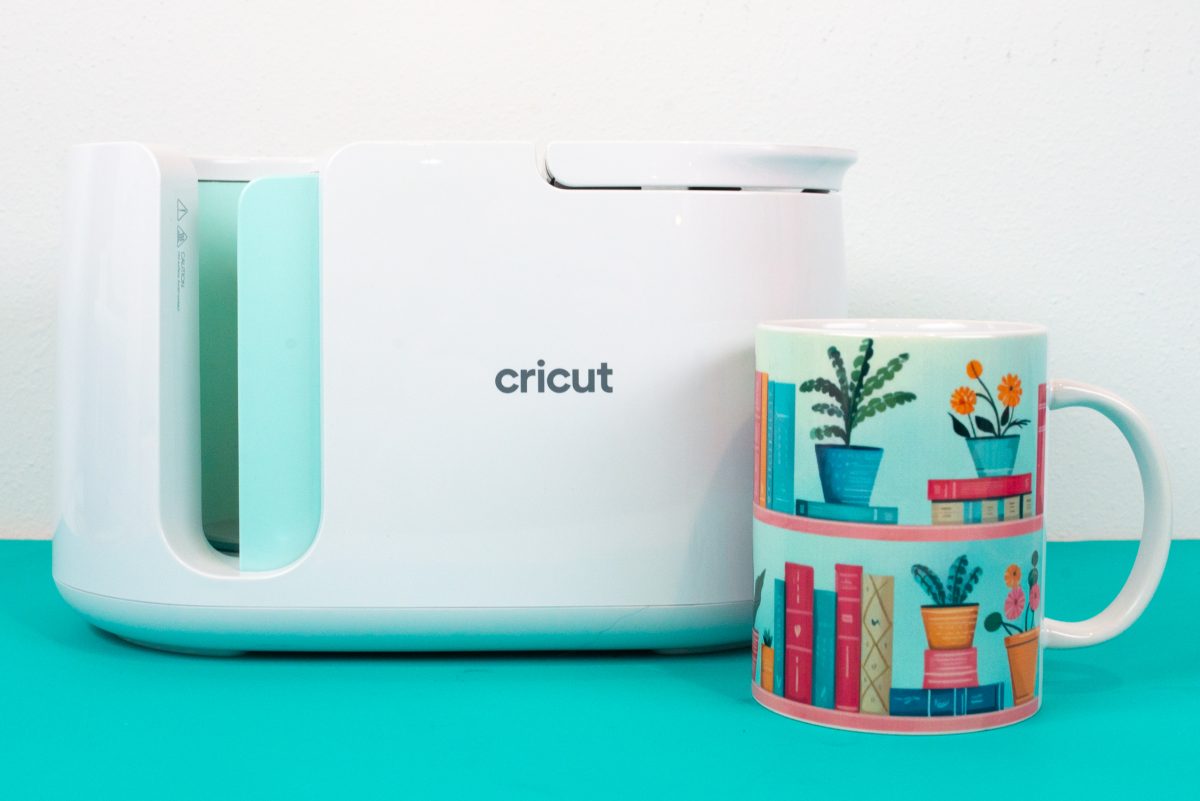
Using the Bargain Mug Press
To start, the bargain mug press comes with a few things that I recommend you put directly into the trash can. The first is some yellow heat-resistant tape that may leave yellow marks on your projects. I find yellow tape to be hit or miss, so I always stick to blue tape. And the second is a set of heat resistant gloves. I tried using these heat resistant gloves and they actually melted onto my mug and left little wax (?) spots all over my mug. So, those went right in the bin. I hate wasting things, but they were truly unusable.
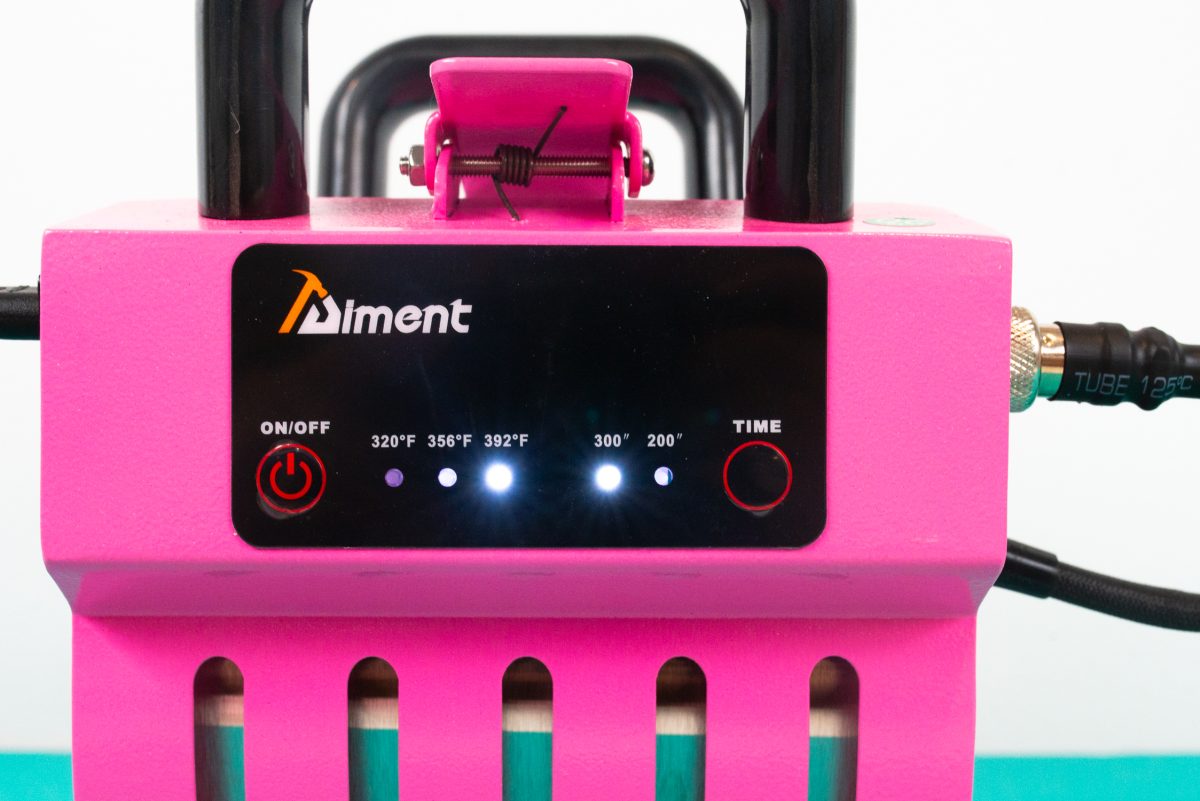
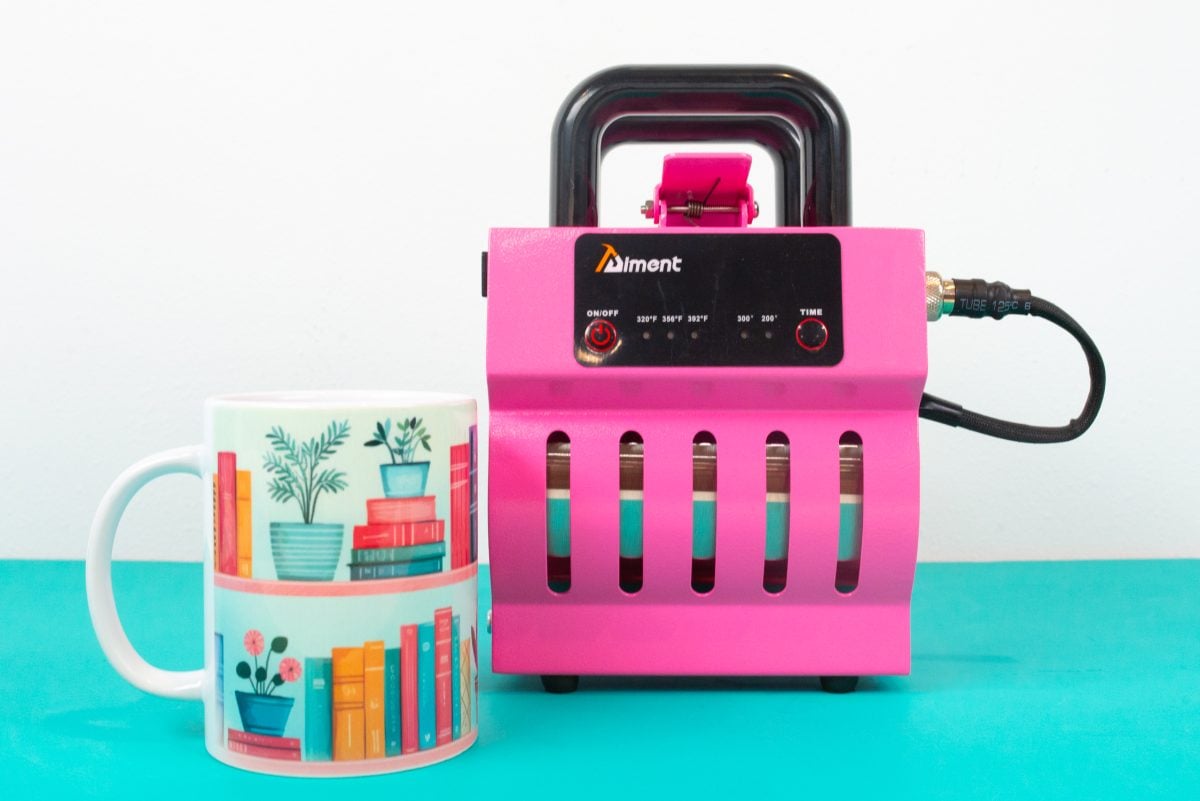
Unlike the Cricut Mug Press, you’ll need to set the time, temperature, and pressure manually with the bargain mug press. There are three options for temperature: 320°F, 356°F, and 392°F. Generally you’ll be using the 392°F for mugs.
There are also two time settings. I am not sure if the mug press is supposed to beep with the time is up, but mine never did, despite setting it to 300 seconds and then timing that length of time on my phone. If you are using this press, you may want to set your own timer!
There’s a locking bar at the top of the press. Squeeze the handles slightly to unhook that bar. You’ll want to set the pressure so that when you close the mug press, the hook on the locking bar goes into the slot and holds the press closed.
You’ll use the clamp on the back to adjust the pressure. Because you can adjust the pressure manually, this means you can make a wider variety of mug sizes than the Cricut Mug Press.
Insert your mug into the mug press. I find it just a bit clunkier to work than the Cricut Mug Press because the locking bar at the top can be in the way of getting the mug in right. Then close the press so the hook on the locking bar catches in the slot.
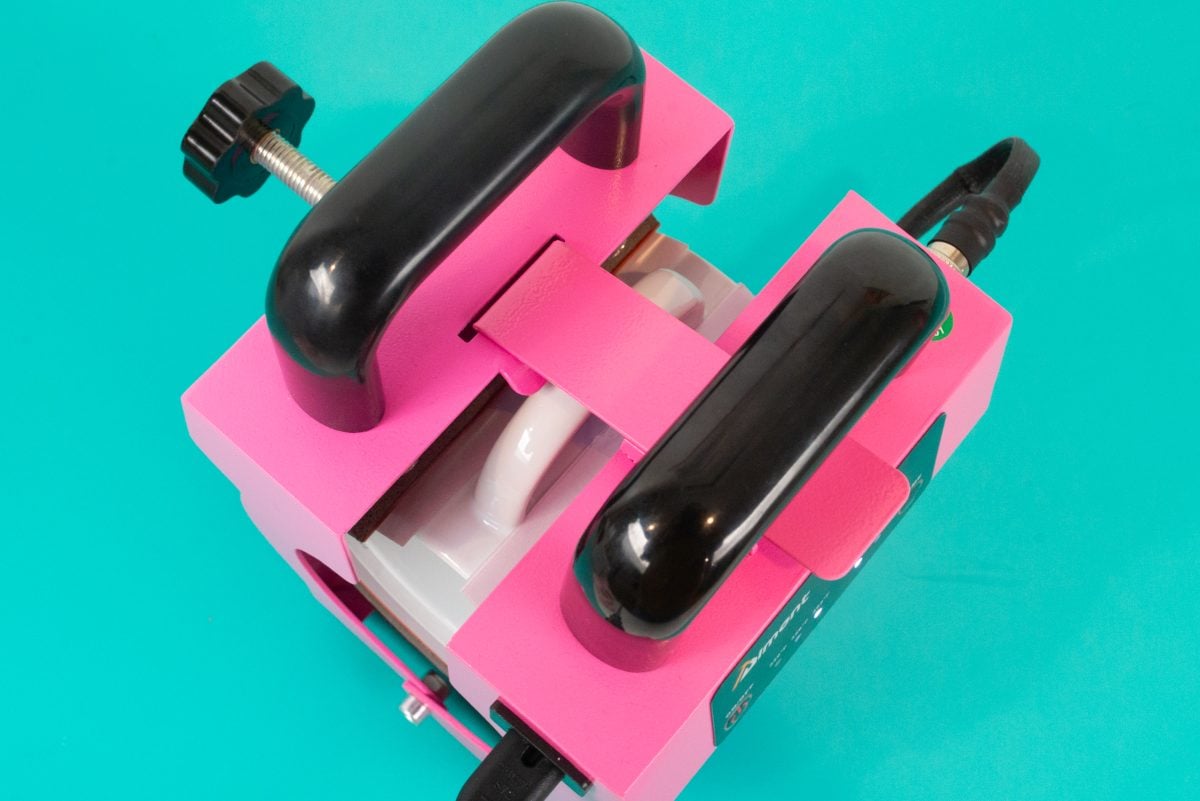
The timer *should* count down your pressing time, though mine never beeped (so set your own timer, just so you don’t forget your mug!). I noticed that the mug handle in this press is much hotter than the Cricut Mug Press, so you’ll probably want those heat-resistant gloves. Set your mug to cool on a heat-resistant surface and remove the transfer when you’re ready!
Mug Press Comparison
Overall, both presses did a good job pressing my mug, except for the bottom corners. You can see here that the bargain mug press (right) didn’t press my bottom corners quite press the corners as well as the Cricut Mug Press (left). You could tape those corners to try and get a better transfer, but there also might be a cool spot the press that doesn’t get hot enough to sublimate the image well.
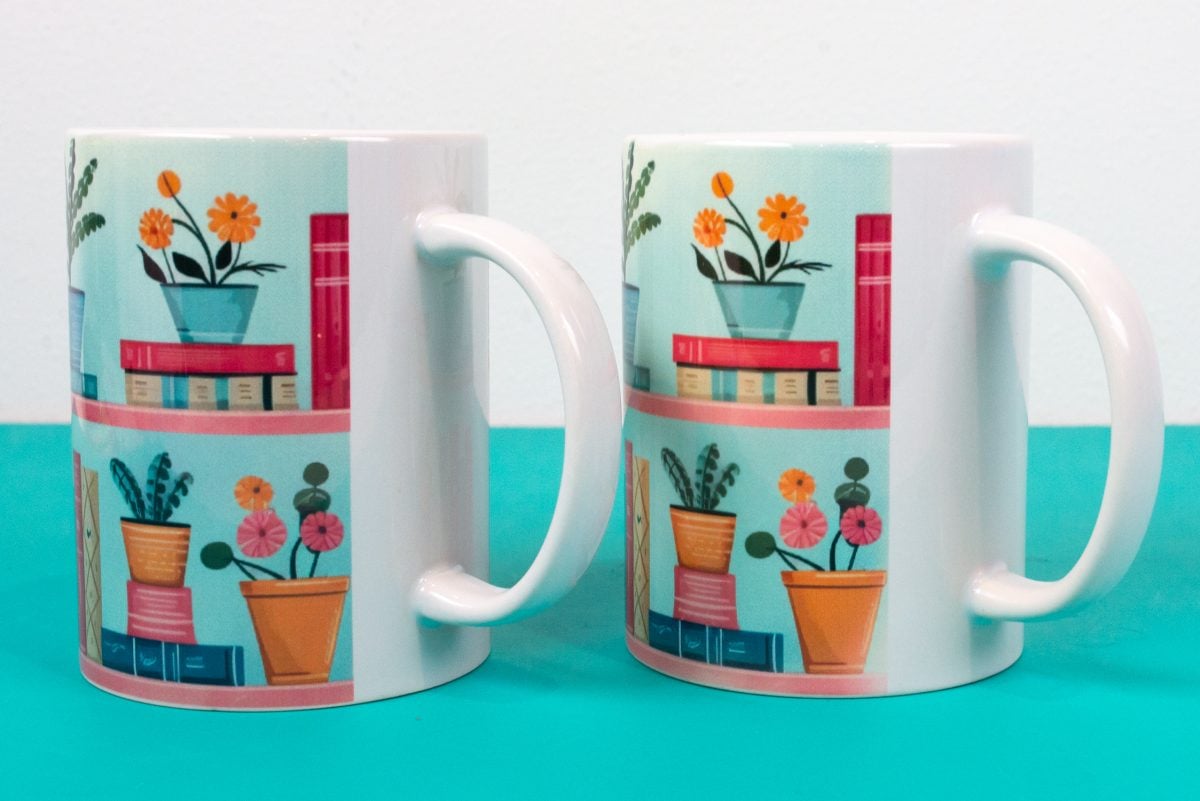
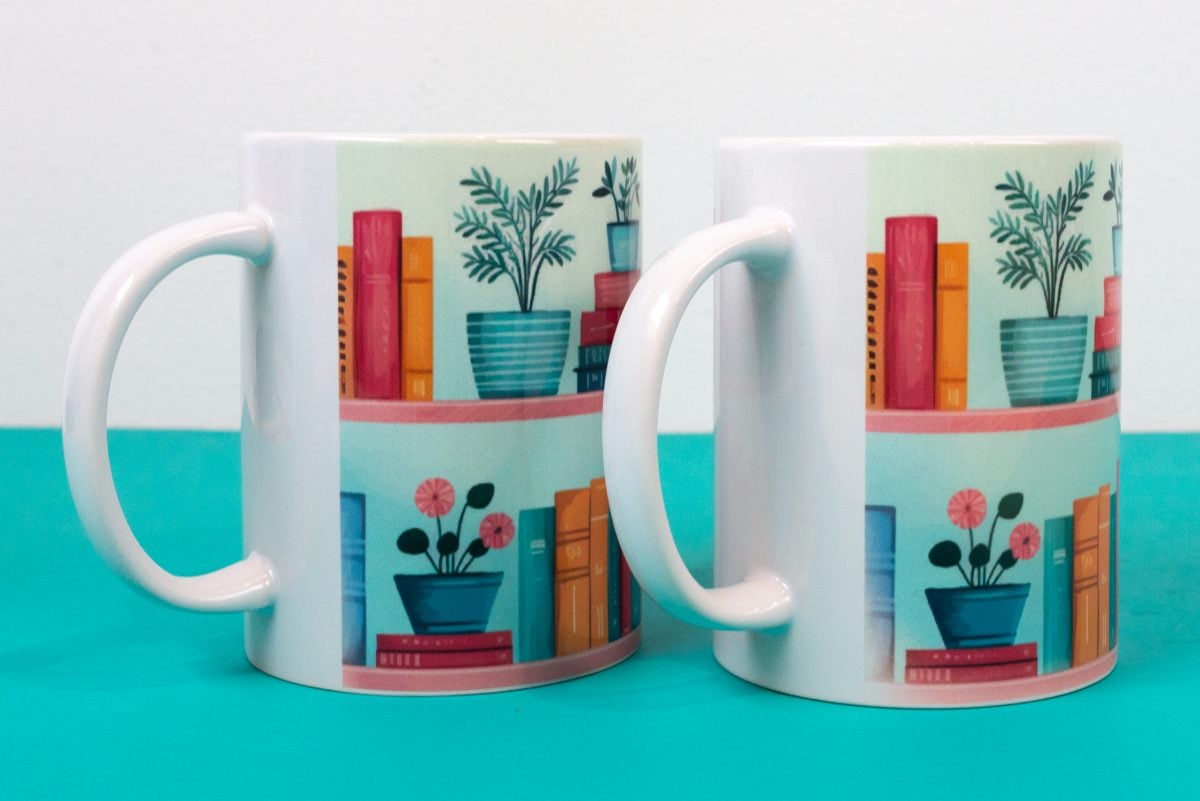
The images were otherwise identical and pressed nicely.
In the end, I found the Cricut Mug Press to be easier to use than the bargain mug press, but with the considerable price difference, it might be worth the extra hassle to pay less.
I will also say that both machines have that fishy “sublimation smell” but the bargain mug press was a lot worse than the Cricut Mug Press. That being said, I’ve had my Cricut Mug Press since it was launched in 2021, so maybe some of that smell has dissipated since then.
Let’s look at my overall pros and cons in this mug press comparison:
Cricut Mug Press Pros
- Easy to use
- No setting the time/temp/pressure (easy)
- Attractive design
Cricut Mug Press Cons
- Expensive
- Larger footprint
- A little smelly
Bargain Mug Press Pros
- Inexpensive
- Smaller footprint
- Adjustable time/temp (flexible)
- Adjustable pressure
Bargain Mug Press Cons
- Didn’t fully sublimate the image in the corners
- More access to hot parts of the press
- A LOT smelly
I hope you found this mug press comparison helpful! I do love my Cricut Mug Press, but I also understand it’s not in everyone’s budget. I wish I could recommend the bargain mug press a bit more, but with those faded corners I definitely have reservations. If you are only doing single images and not entire wraps, however, that might not be an issue at all!
If you have either of these presses, I’d love to know what you think down below!


Comments & Reviews
Pam says
Thank you for doing this comparison. I only craft for fun, so a Cricut Mug Press is too expensive. Would a tumbler fit in the less expensive press? I would love to sublimate some tumblers. Thanks!