Make a glittery Mason Jar Snow Globe for Christmas this year! A great winter craft to make if you aren’t expecting a White Christmas where you are. Can be used as a calm jar, too!
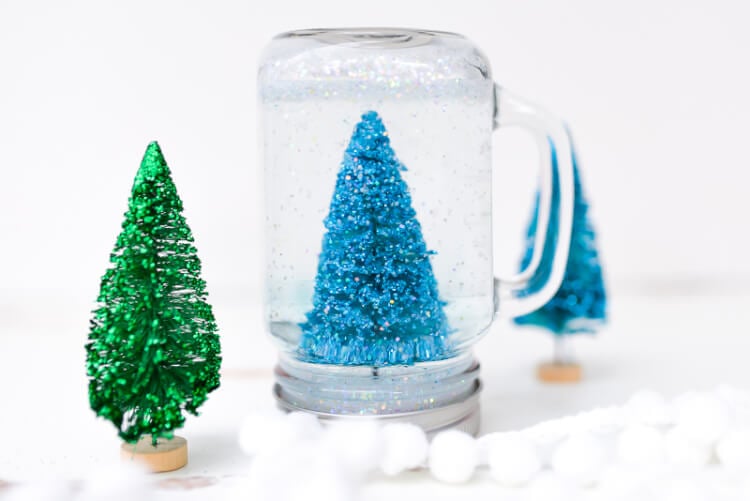
This post is in partnership with Elmer’s. Thanks for supporting the brands that support Hey Let’s Make Stuff!
Living in California, we are never ones to have a white Christmas. Every few years we might get a little flurry in our little town in the foothills, but the real snow doesn’t start until you’re an hour or so closer to the Sierra Nevada mountains. So really, I often feel like singing, “I’m dreaming of a…at-least-not-too-sunny-perhaps-a-bit-dreary Christmas!”
In other words, snow only comes in decoration here. This year I decided to take the idea of a mason jar snow globe and combine it with a “calm jar” — one where the “snow” takes a good long while to settle to the bottom of the globe.
The idea is that if a kid needs to calm down, they watch the globe until the snow is settled, and in the meantime, they settle down as well. My boys are a bit young for one this year, but I’m sure it will make an appearance as they get further into childhood!
Shake it up:
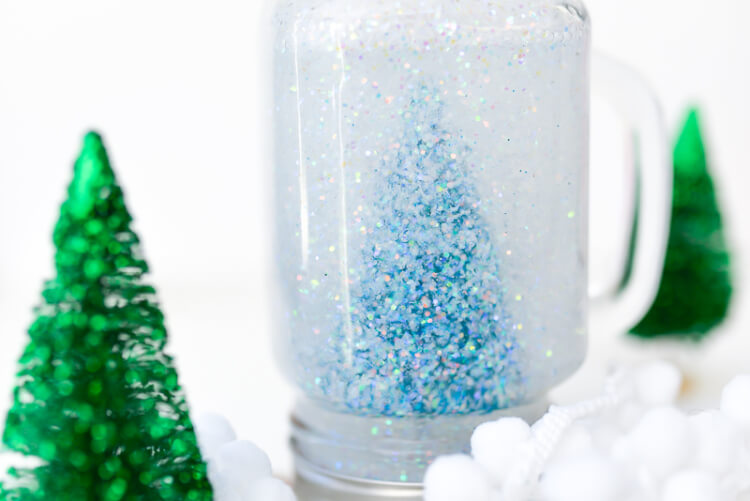
Watch it settle:

The magic element for creating a calm jar snow globe is the addition of clear Elmer’s Glue to the water inside the jar. The viscosity is higher so the glitter takes longer to settle than water alone. Here’s how you make one!
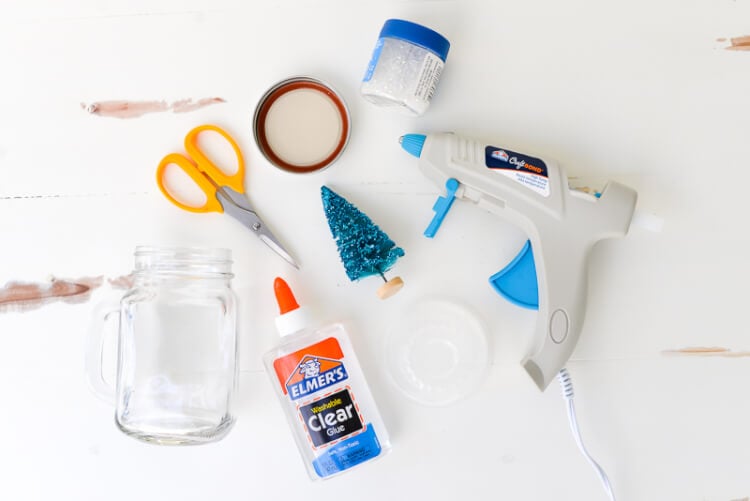
Snow Globe Supplies
- Mason Jar with gasket lid
- Clear Elmer’s Glue
- Snack cup (washed and dry) – optional
- Scissors
- Elmer’s CraftBond Glue Gun + Glue Sticks
- Bottlebrush Christmas Tree or other miniatures
- Glitter
Snow Globe Instructions
Start off by hot gluing the two parts of your mason jar lid (the ring and the insert) together. You want to make sure your insert has a gasket (rubber seal) on it — the one that came with my decorative mason jars did not and when I shook it the first time it leaked all over! I found one with a gasket and it sealed it tightly.
Glitter glue water everywhere is not part of the holiday magic, so make sure yours is sealed!
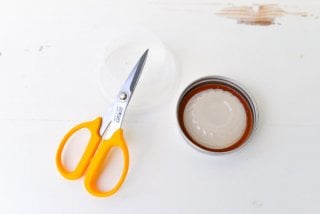
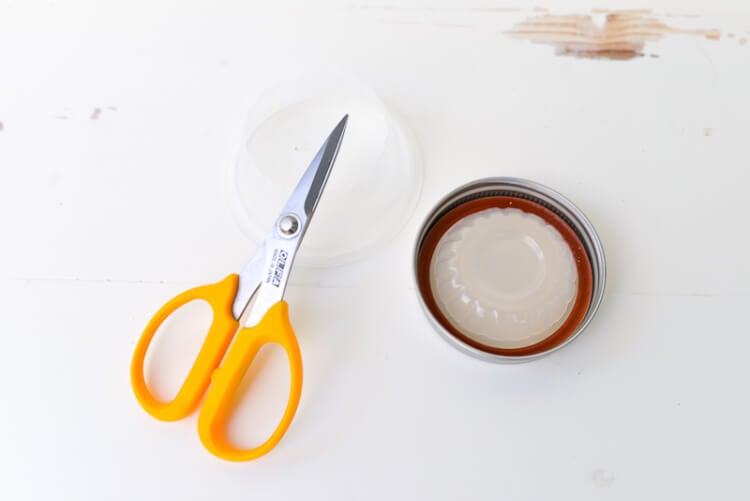
I found that I wanted my tree to sit a little higher than it would if I attached it straight to the inside of the mason jar’s lid. So I devised a way to create a base using the bottom of a fruit cup.
I just cut a 1/2″ or so above the base, flipped it over, and hot glued it to the inside of the lid. This let my tree sit a little higher! I’m sure there are a lot of other solutions to this problem, but this was the one that worked best for me.
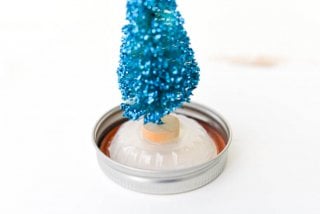
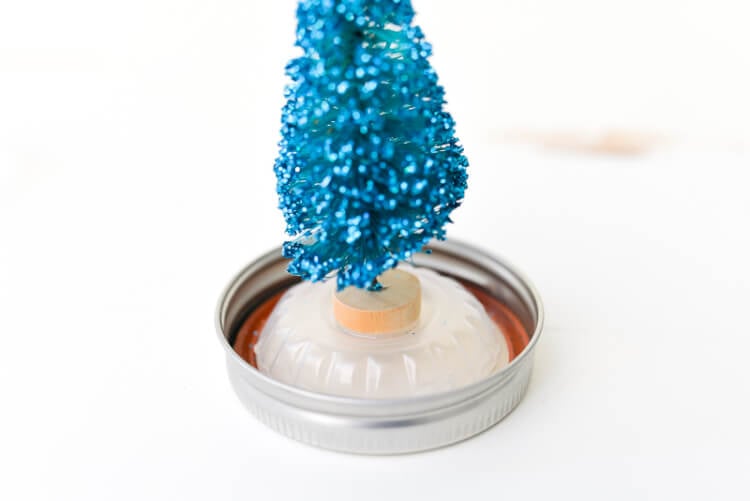
Next, hot glue your tree or other miniatures to the plastic base you’ve created.
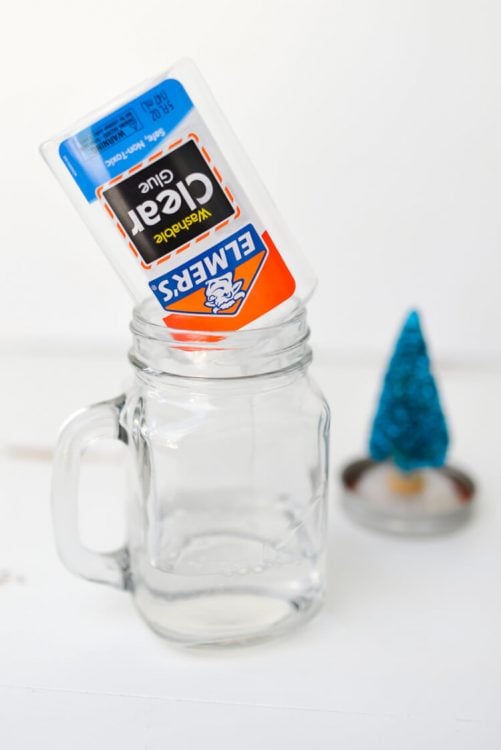
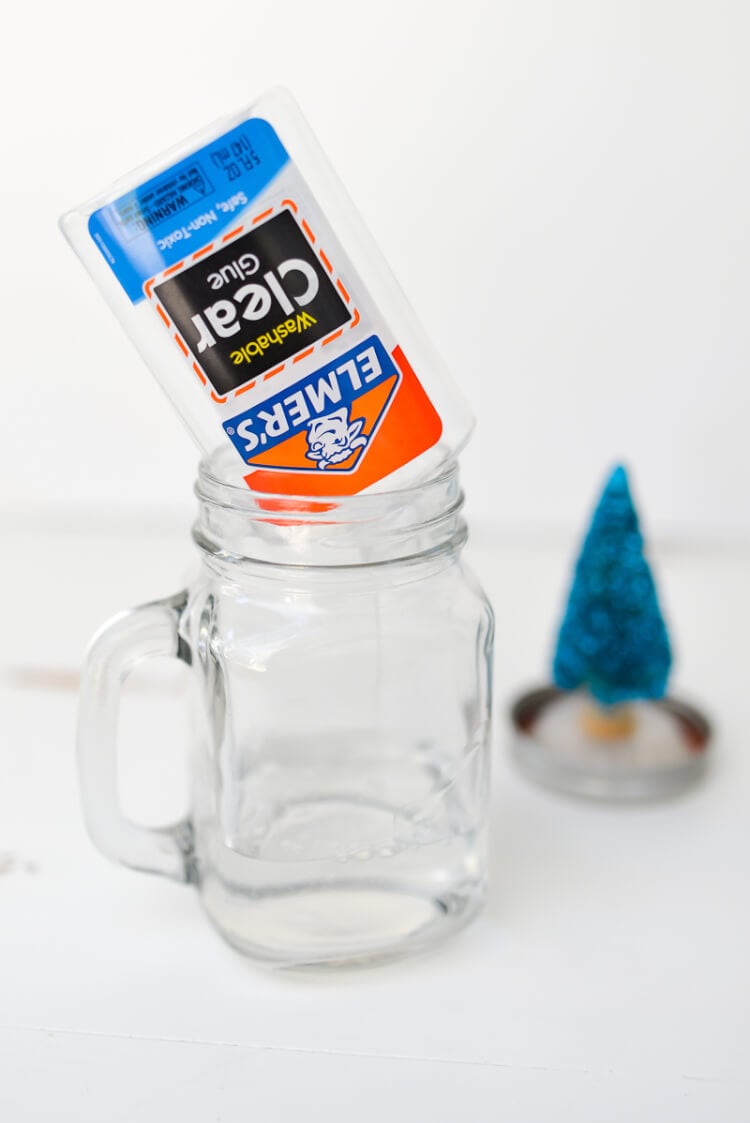
Then, prepare your water/glue mixture. Start by pouring Elmer’s Clear Glue into your jar. I used a whole bottle for my mason jar. You could use more or less, depending on how quickly you’d like your glitter to settle.
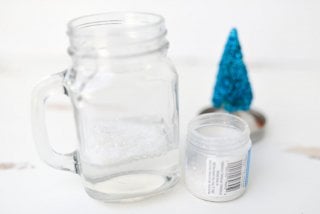
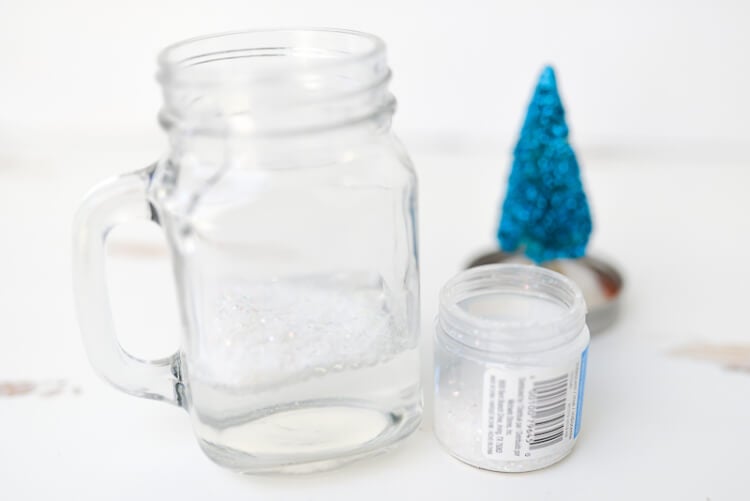
Then add your glitter to the jar — I added maybe 1/5 of my small jar of glitter and that seemed about right.
Then fill the jar the rest of the way with warm water. Flip your tree lid over, slide the tree into the jar, and seal. You can hot glue it closed, if you’d prefer. Then flip over and shake gently to combine the water, glue, and glitter and you have an adorable mason jar snow globe!
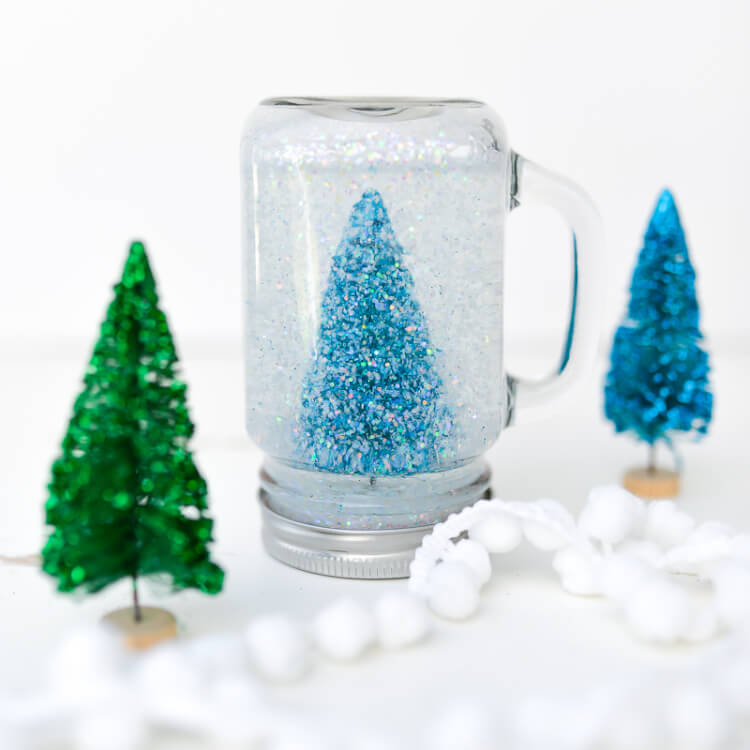
Here’s to a white Christmas, wherever you live!
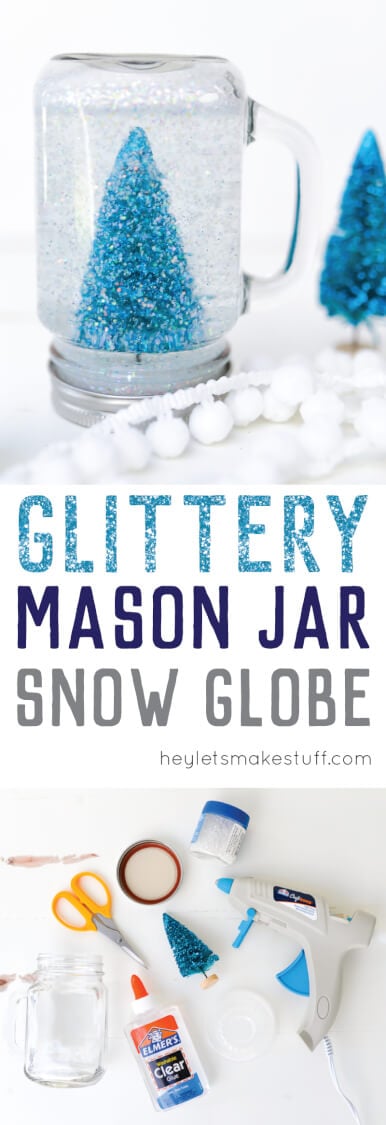
GLITTERY MASON JAR SNOW GLOBE
Equipment
- Elmer's CraftBond Glue Gun + Glue Sticks
Supplies
- Mason Jar with gasket lid
- Clear Elmer's Glue
- Snack cup (washed and dry) optional
- Bottlebrush Christmas Tree or other miniatures
- Glitter
Instructions
- Start off by hot gluing the two parts of your mason jar lid (the ring and the insert) together. You want to make sure your insert has a gasket (rubber seal) on it or it will leak all over!To make the tree sit a little higher than it would if it was attached straight to the inside of the mason jar's lid, create a base using the bottom of a fruit cup.Cut a 1/2" or so above the base, flip it over, and hot glue it to the inside of the lid. This will sit the tree a little higher!

- Next, hot glue your tree or other miniatures to the plastic base you've created.

- Then, prepare your water/glue mixture. Start by pouring Elmer's Clear Glue into your jar. For this project, a whole bottle was used for this mason jar. You could use more or less, depending on how quickly you'd like your glitter to settle.

- Then add your glitter to the jar — For this project maybe 1/5 of the small jar of glitter was added and that seemed about right.

- Then fill the jar the rest of the way with warm water. Flip your tree lid over, slide the tree into the jar, and seal. You can hot glue it closed, if you'd prefer. Then flip over and shake gently to combine the water, glue, and glitter and you have an adorable mason jar snow globe!

