Glass is one of the trendiest materials to sublimate, but it can be a bit tricky. Here’s how to get good results on your glass sublimation tumblers and other glass blanks—and what to avoid!
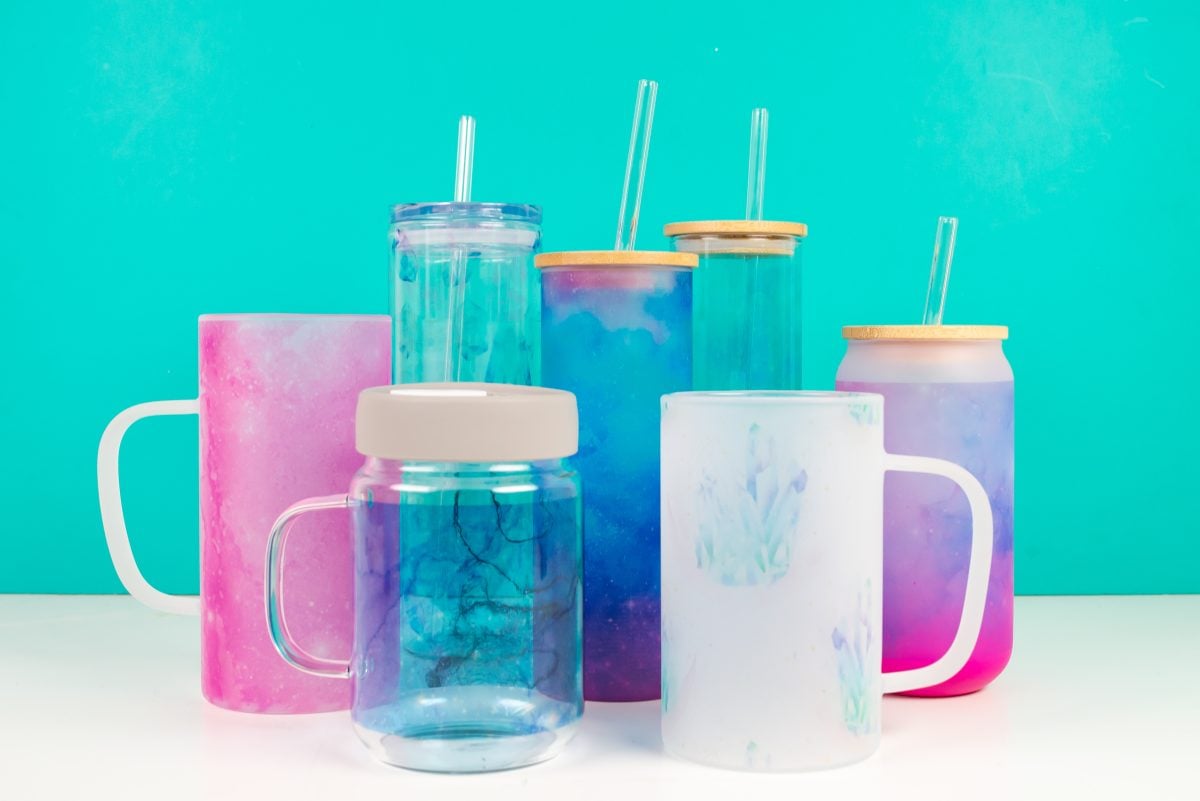
Tumbler press and blanks were provided by PYD Life but as always, all opinions are my own.
Glass blanks are really popular with sublimation crafters and today I wanted to share the results of testing a bunch of glass tumblers and glasses in my PYD Life tumbler press!
I reviewed the PYD Life tumbler press a few weeks ago and I’ve used it a lot since then and I continue to think it’s a great press.
Not sure which heat press is for you? Check out our e-course Heat Press Roadmap! This extensive course is designed to guide you on your journey to deciding on the best heat press for your needs, space, and budget. Check out all the details about Heat Press Roadmap here!
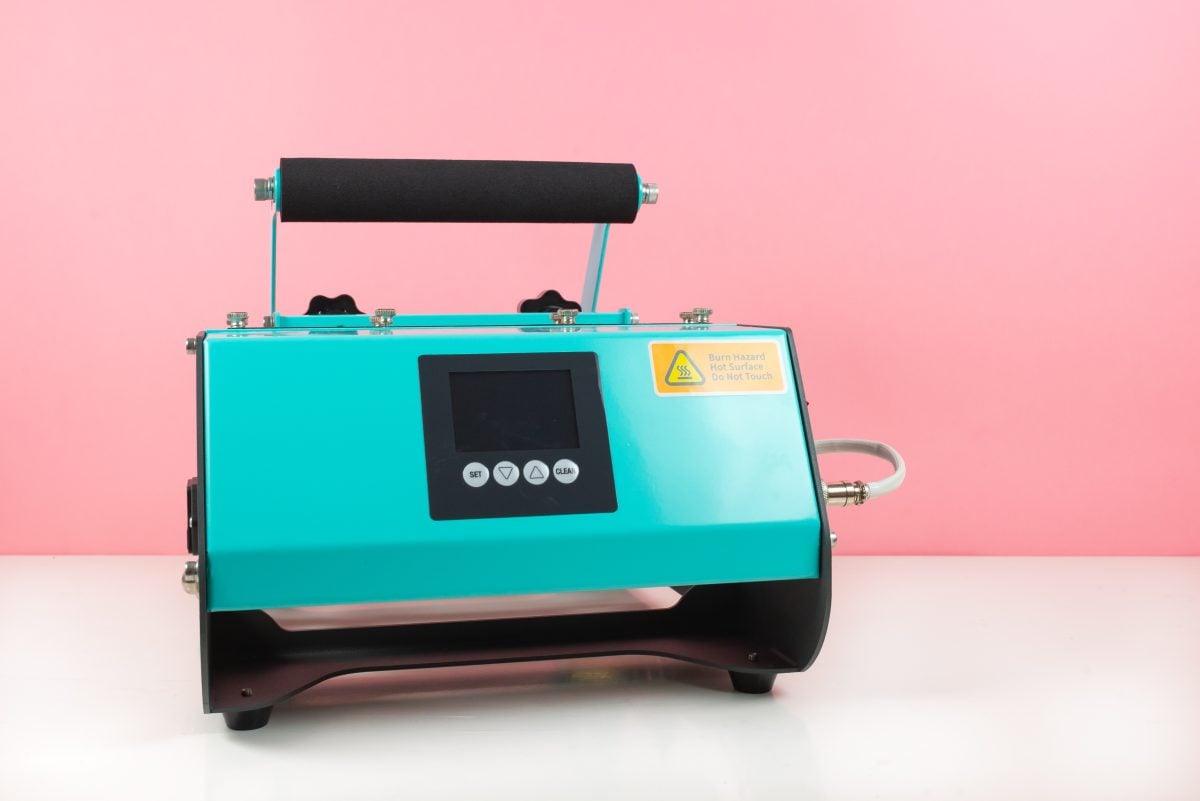
Along with the tumbler press, PYD Life also sent me a huge box of glass blanks, which we’re going to test today!
In This Post
- What you’ll need
- Types of sublimation glass blanks
- Types of images to use
- Image sizing
- Preparing the blank
- Taping the blanks
- Pressing the blanks
- The final reveal
- Final thoughts
What You’ll Need
Get everything you need to make sublimation glass tumblers on my Amazon shopping list!
To make any glass sublimation tumbler or mug, you’ll need:
- Tumbler press (you can also sublimate in a convection oven)
- Glass blanks (see the ones I used below)
- Printed sublimation transfer (see the ones I used below)
- Alcohol and a cotton ball
- Heat-resistant tape
- Butcher paper
- Heat-resistant gloves
- Heat-resistant mat
Types of Sublimation Glass Tumblers and Blanks
Here are the PYD Life glass blanks I’m going to be testing today, with links if you’d like to purchase:
- 25oz glass skinny tumbler with plastic lid
- Short glass skinny tumbler with bamboo lid
- Tall glass skinny tumbler with bamboo lid
- 18oz glass can with bamboo lid
- 13oz glass can with bamboo lid
- Glass mason jar with silicone lid
- Short glass mug
- Tall glass mug
Note that there are several options for most of these, so you can choose clear or frosted, and in some cases you can find ones with color gradients at the bottom. I used the pink color gradient for one so you could get an idea of how that looks with an image.
Types of Images to Use on Sublimation Glass Blanks
After pressing quite a few blanks, I have found a few things you might want to keep in mind. Sublimation ink is transparent and so is the glass, so you aren’t going to get a completely opaque result. You’ll always have that “glass” feel.
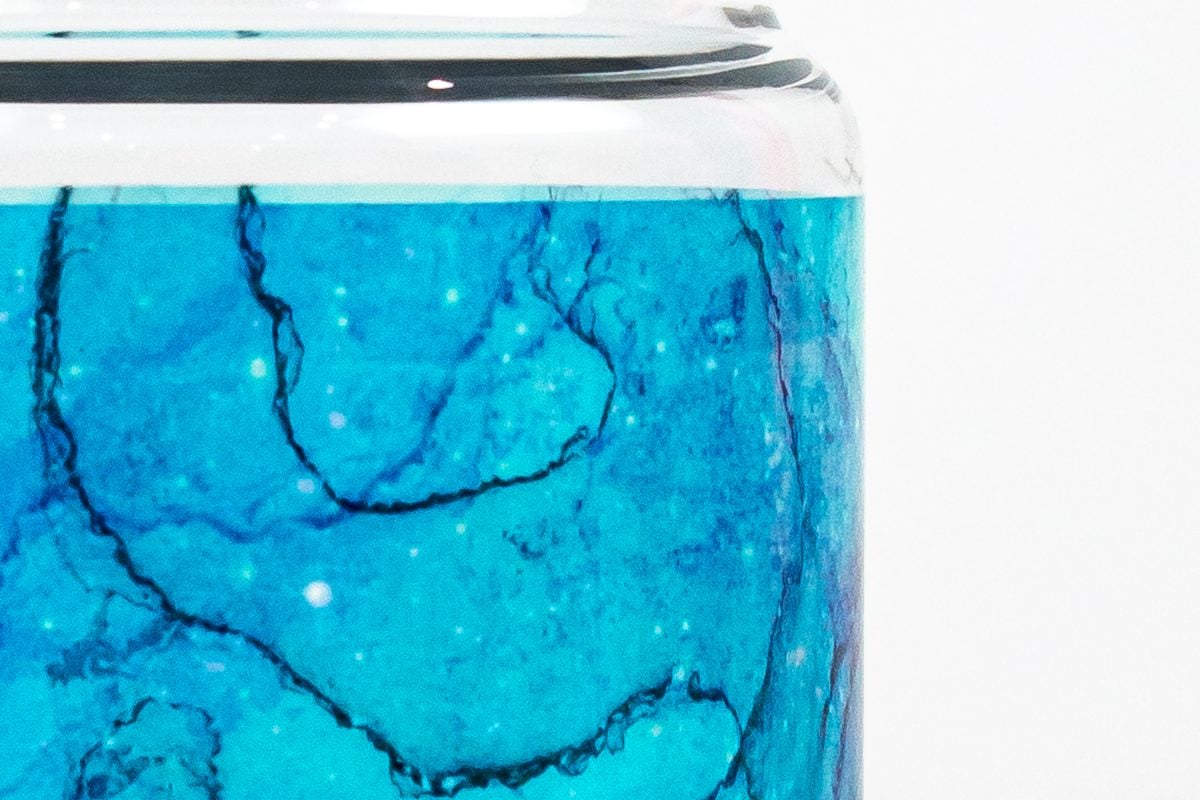
Frosted glass is more opaque, but it still will produce a slightly lighter, more transparent transfer than a completely opaque blank.
After doing some tests, not limited to but including the blanks in this post, I have found that darker and more saturated transfers work better on sublimation glass blanks. As you’ll see, the lighter transfers are sometimes too light and don’t create the best transfer. I also find that transfers with a bit of variation do better than large, solid blocks of a color single.
For this test, I’m using a bunch of galaxy-inspired images from Etsy:
You’ll see later in this post that some designs turned out better than others.
Image Sizing for Sublimation Glass Blanks
These glass blanks come in a wide range of sizes. PYD Life has the template sizing on their Amazon listings, but for your convenience, here are the sizes they recommend…with one caveat.
When I go to print any sublimation image, I change the scale to 105% before printing. This makes the image slightly larger than the blank. I find that I can more accurately trim down a transfer vs. having to trim it perfectly the first time and risk having a gap where the transfer doesn’t meet when you wrap it around your blank.
So if you’d like, increase the sizing on these transfers a bit from the sizing here:
- 20oz glass skinny tumbler: 9.3″w x 7.9″h
- Short glass skinny tumbler: 8.2″w x 7″h
- Tall glass skinny tumbler: 8.2″w x 7.7″h
- 18oz glass can: 9.4″w x 4.5″h
- 13oz glass can: 8.8″w x 3.7″h
- Glass mason jar: 9″w x 3″h
- Short glass mug: 8.2″ x 4.9″
- Tall glass mug: 8.2″w x 7.7″h
Preparing Your Glass Blank for Your Transfer
Normally a lint roller works well for cleaning a blank before pressing a transfer, but for glass I have found that alcohol and a cotton ball work much better. Fingerprints are so apparent on glass and the alcohol does a better job of cleaning those up than a lint roller.
Make sure your blank is completely dry before adding your transfer. I also recommend washing your hands before starting so that you minimize any fingerprints when taping.
Taping Your Blanks
For a more in-depth look at how I do this, check out my post How to Tape a Tumbler to Minimize Seams and Uneven Edges!
Center the design on your tumbler, pull it tightly and tape down the entire seam using piece of heat resistant tape. Add a few pieces of tape down the side.
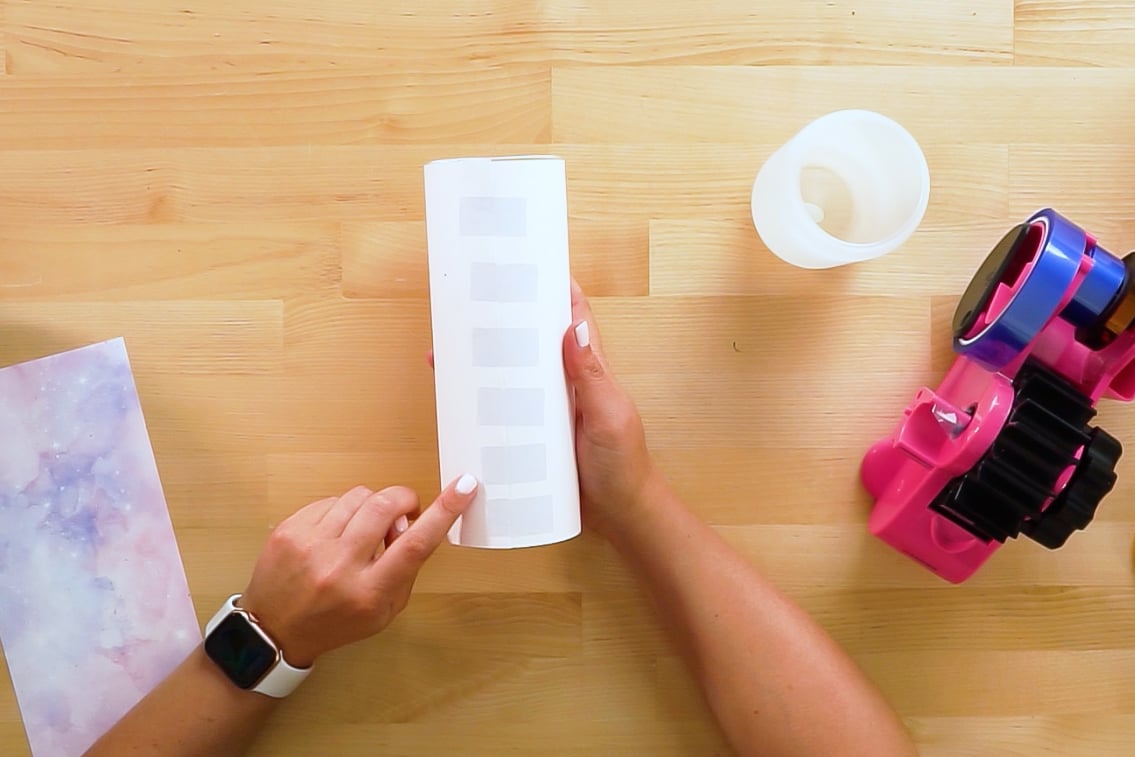
Tape around the top and bottom of the tumbler. Be sure everything is taped as tightly as possible. This will help prevent those ghosted edges that can ruin your design.
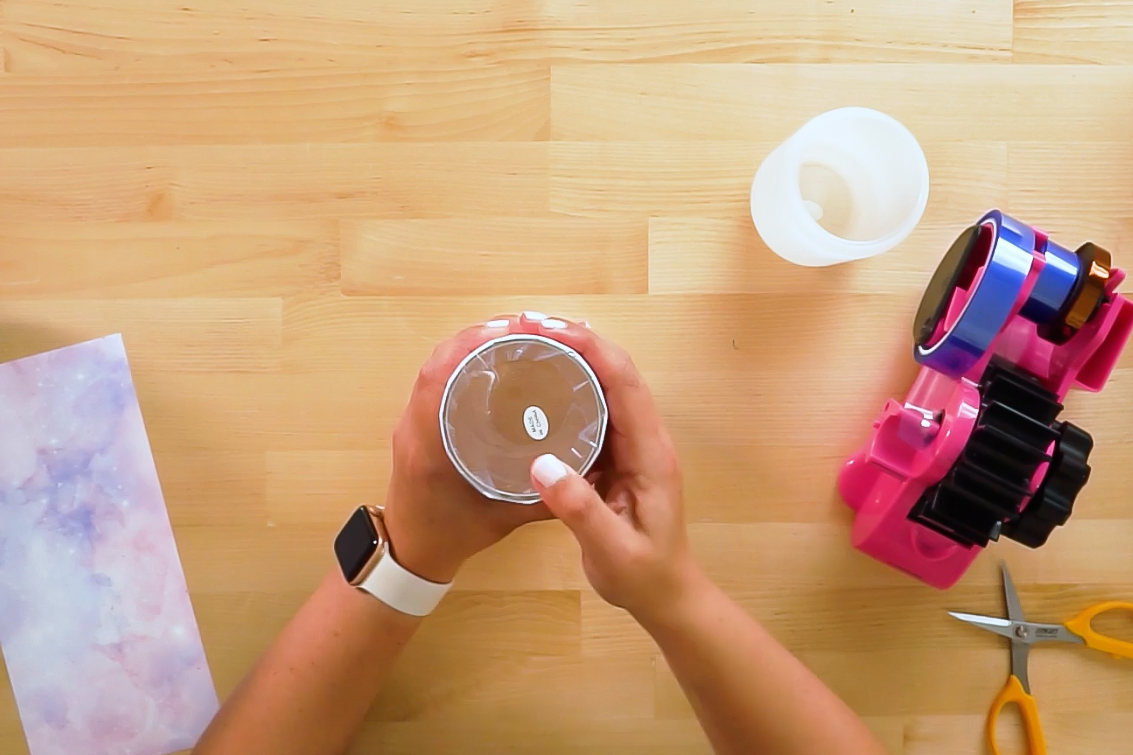
Then add one more long piece of tape down the seam.
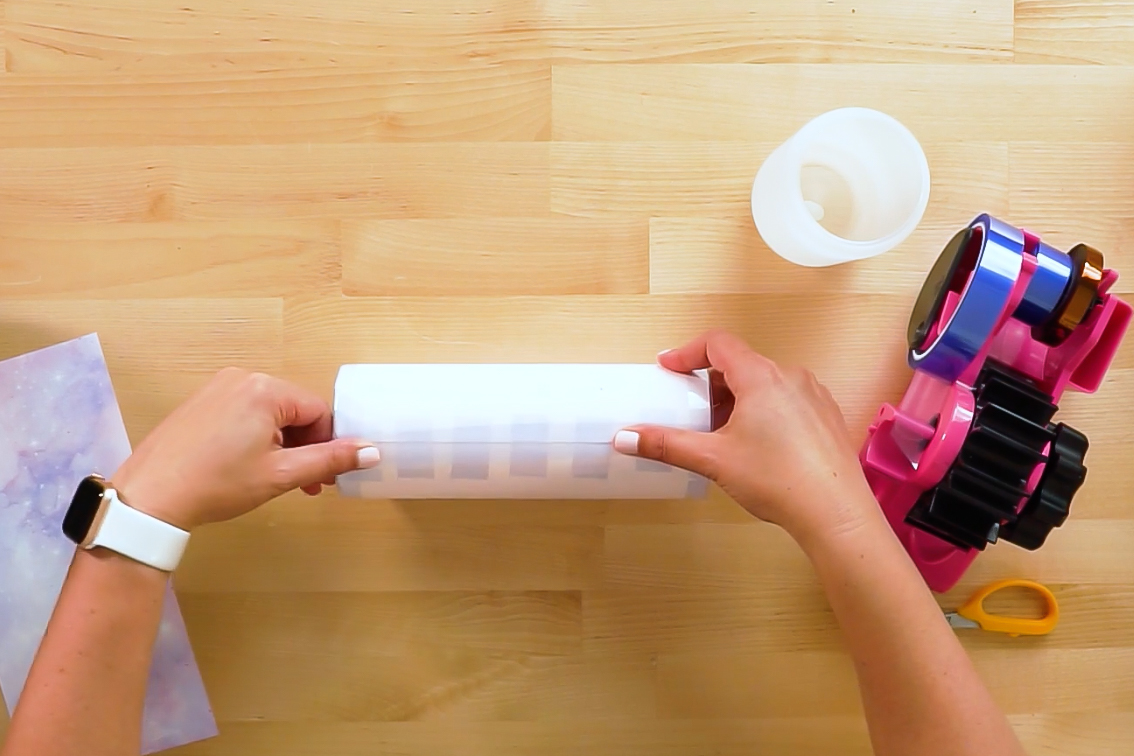
Then roll the edge of the tumbler on the table a bit to really press those edges (see an example of this in the video above). I have found this helps about 90% of the ghosting edge issues I used to have.
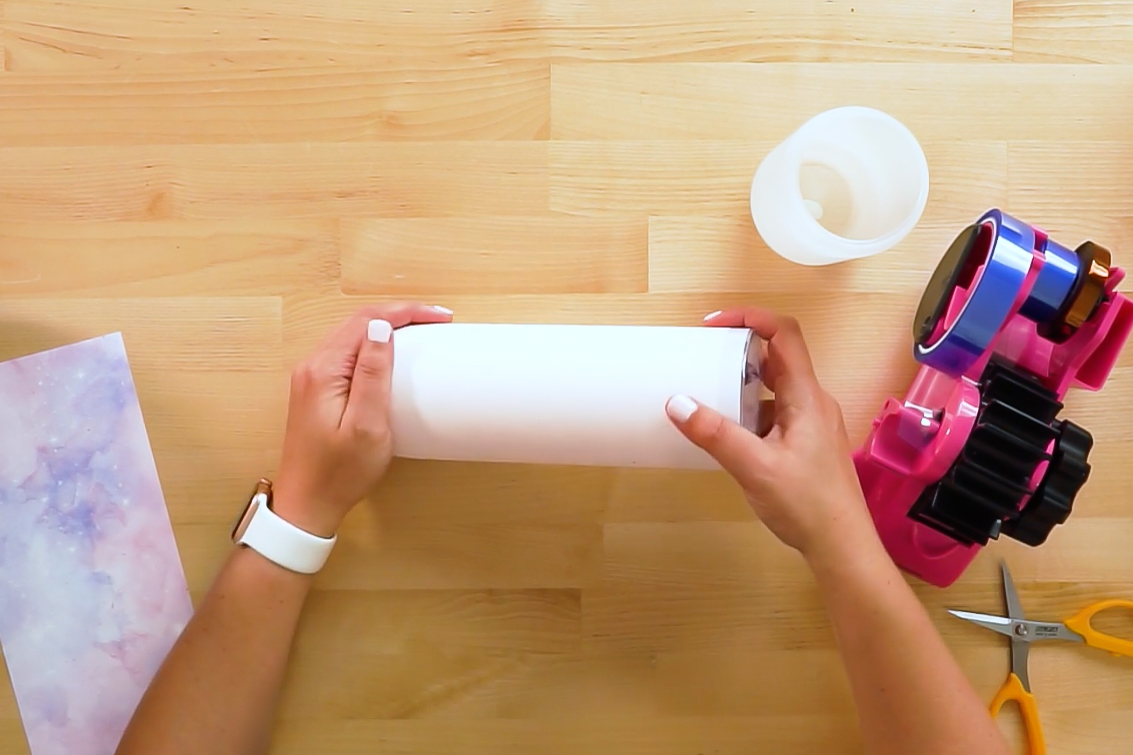
Then wrap the tumbler in a layer of butcher paper. You don’t need to tape it to the tumbler.
Pressing the Sublimation Glass Blanks
Then press your tumbler. All of the glass tumblers and mugs I feature in this post have a press time of 120 seconds at 360°.
Depending on the size of your press, you may need to adjust your pressure or swap out the heating element, both of which you can learn to do in my post How to Use a Tumbler Press for Sublimation.
Place your tumbler in the press. I like to start with the seam of the butcher paper up.
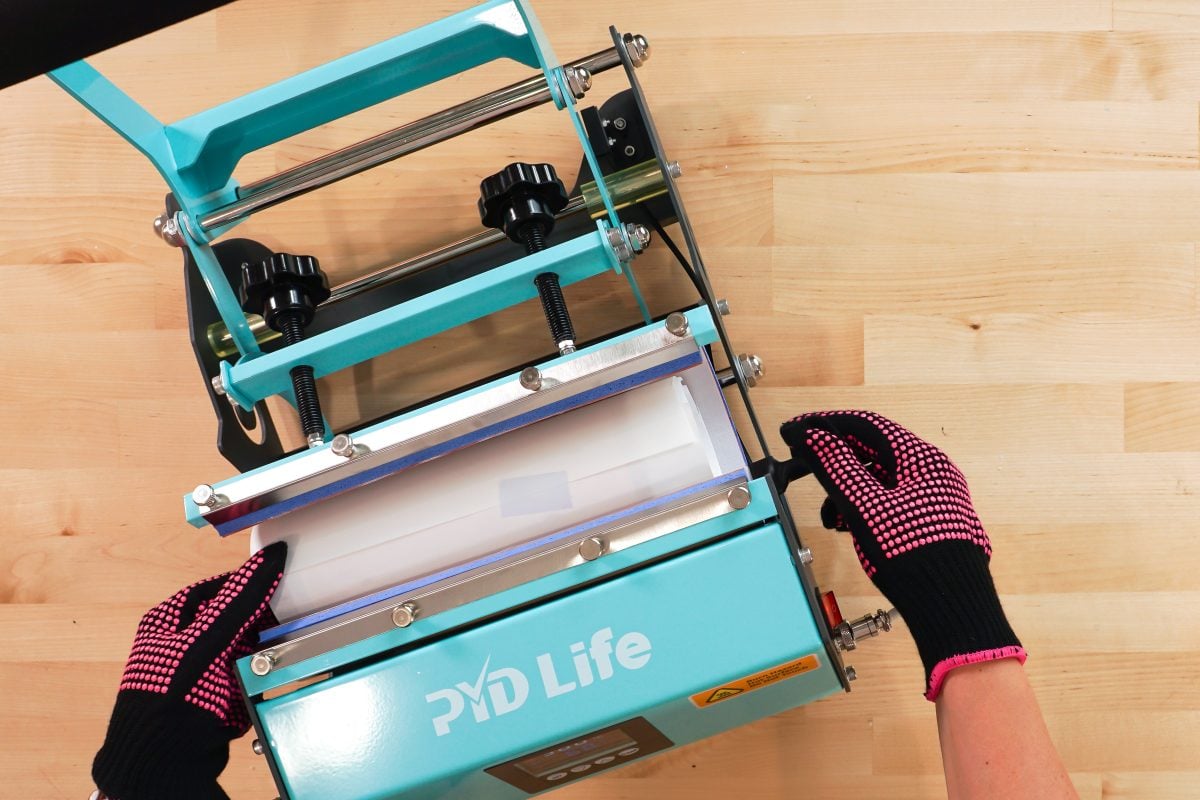
Close the press. The timer will automatically turn on.
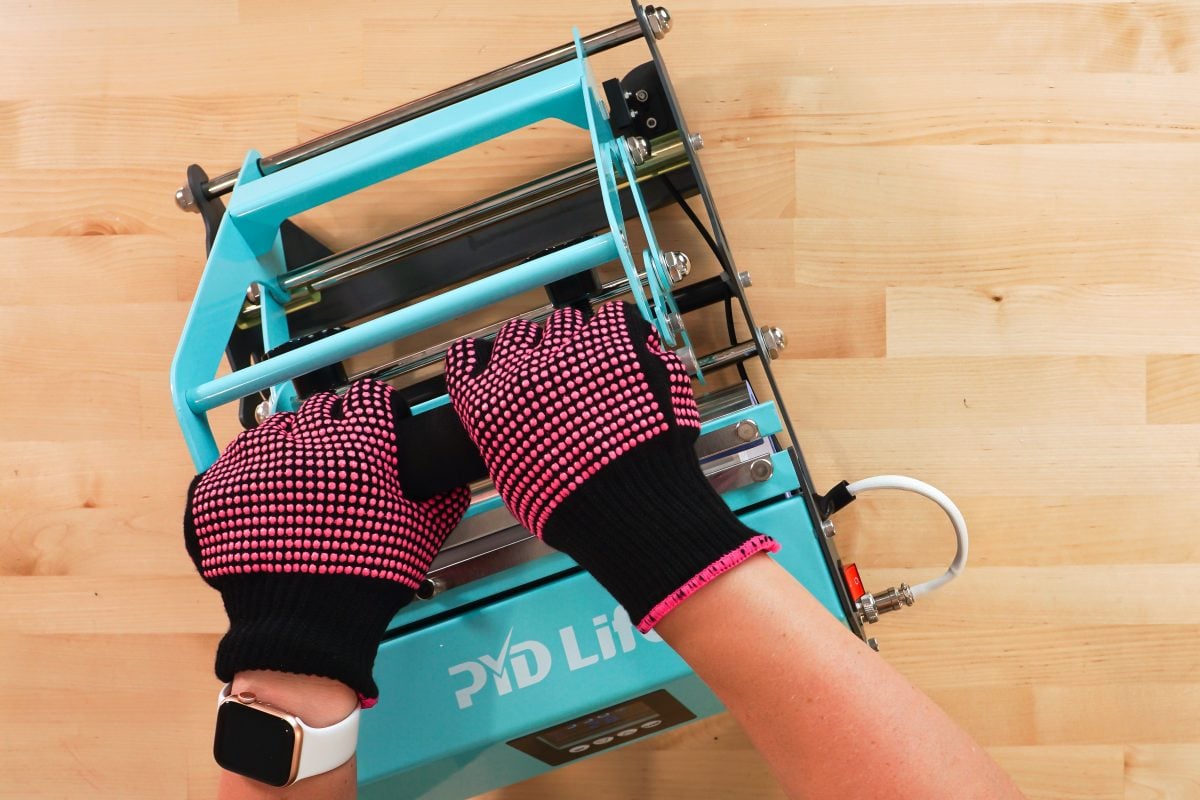
When the timer beeps, rotate the tumbler in the press and press again. You’ll want to wear heat-resistant gloves because the tumbler inside the press is HOT.
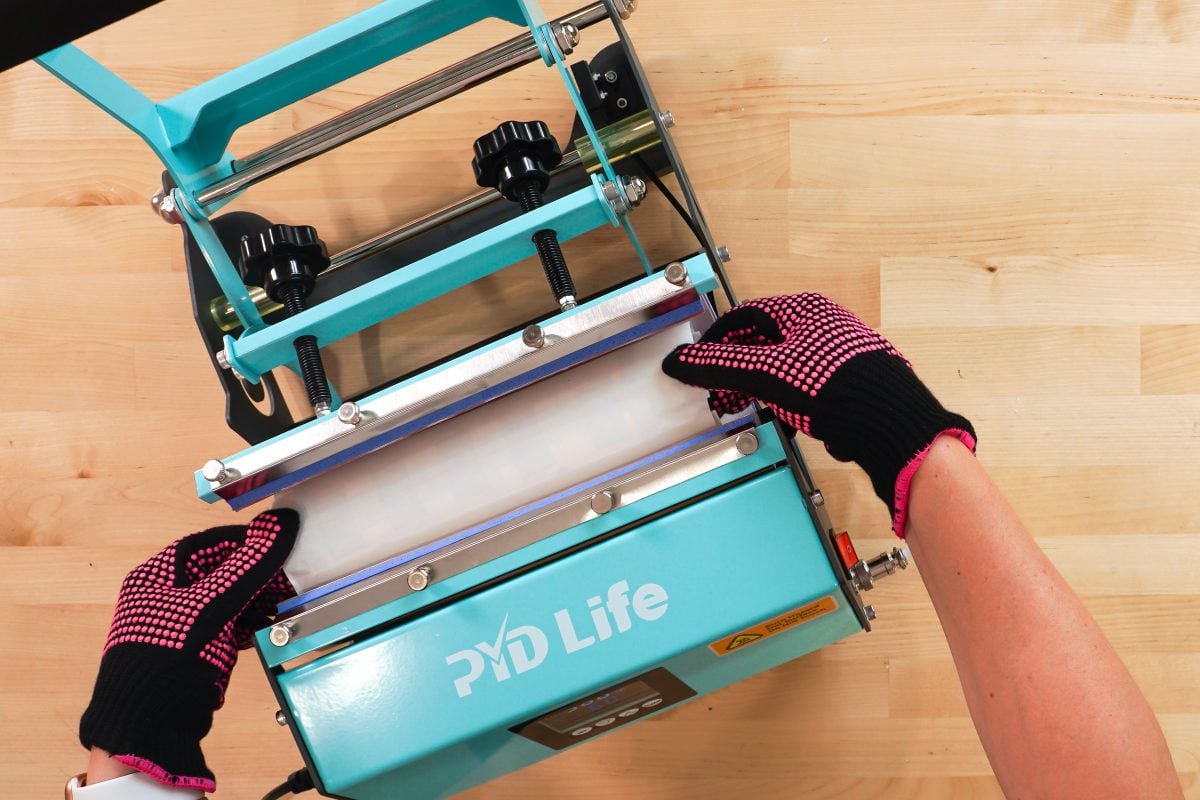
When the time beeps, remove the tumbler and allow to cool.
The Final Reveal
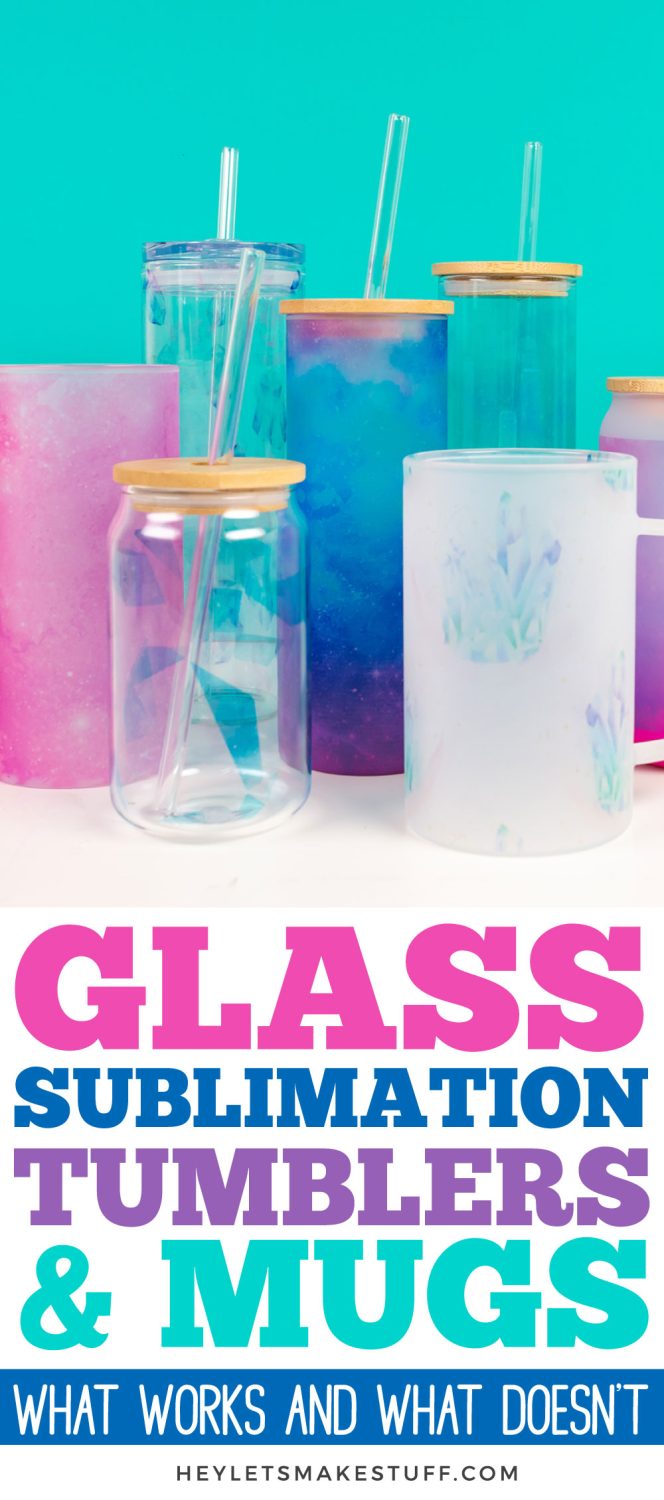
Here is how all eight of my tumblers turned out and what I thought of them. This was such an interesting test and hopefully it helps you figure out what sorts of images you’ll want to try on glass.
25oz Clear Glass Skinny Tumbler
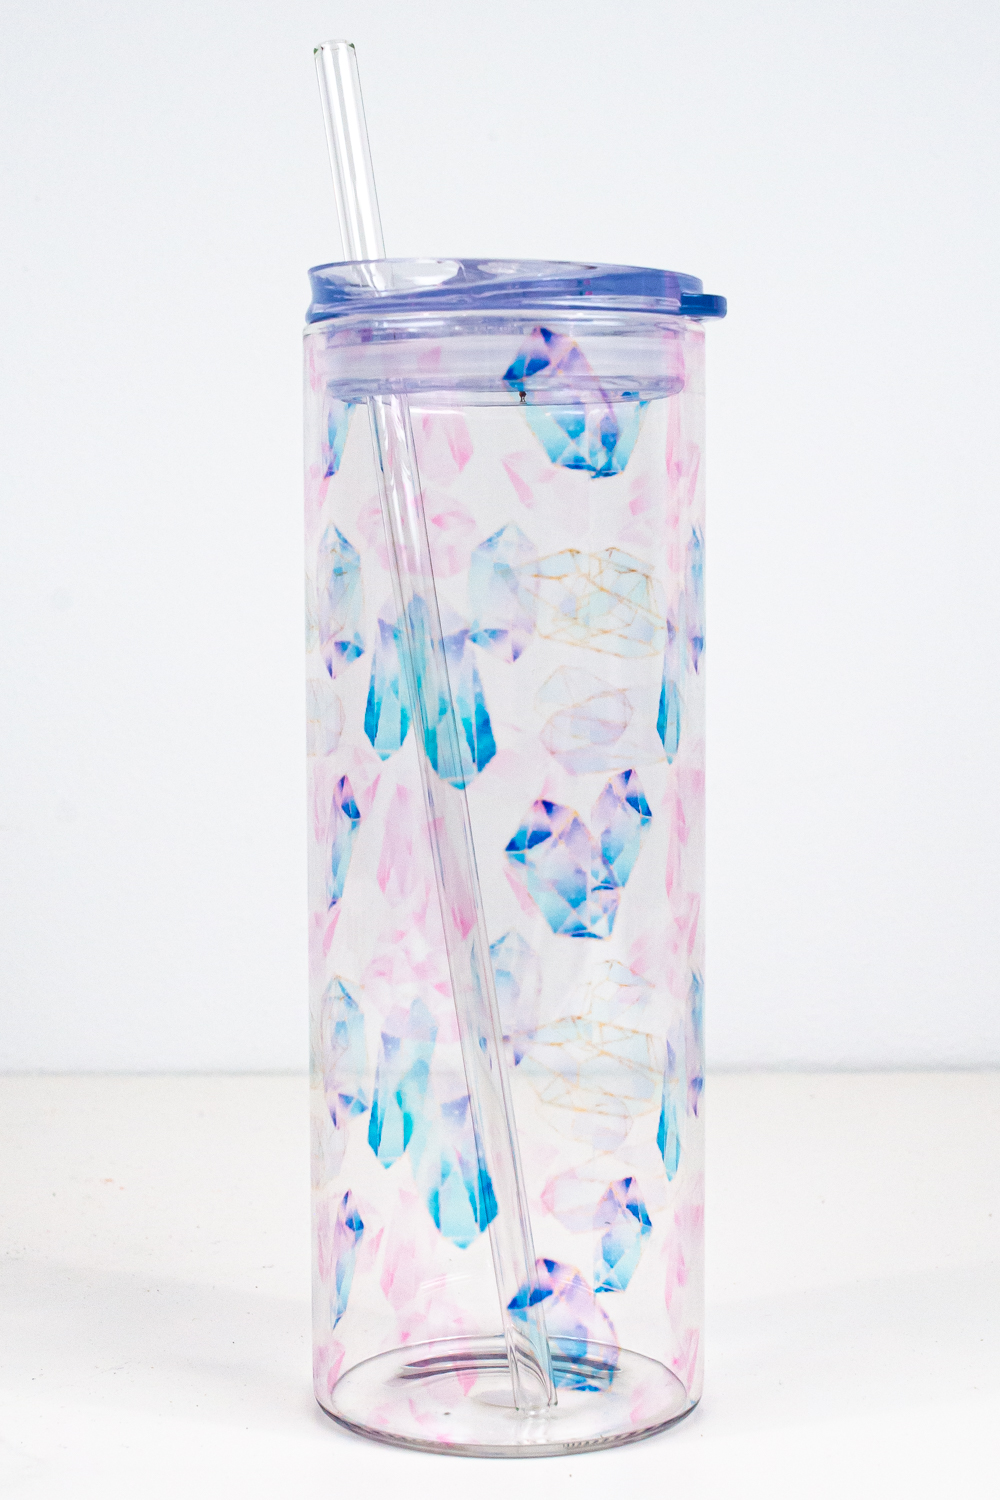
This image was of a bunch of smaller gemstones. Overall, I think it photographs better than it looks in person. The pattern I sublimated was too light and the pinks in particular get lost in the glass and make it look a little muddied. This may have been a bit more successful on the frosted glass version of this tumbler.
Short Frosted Glass Skinny Tumbler
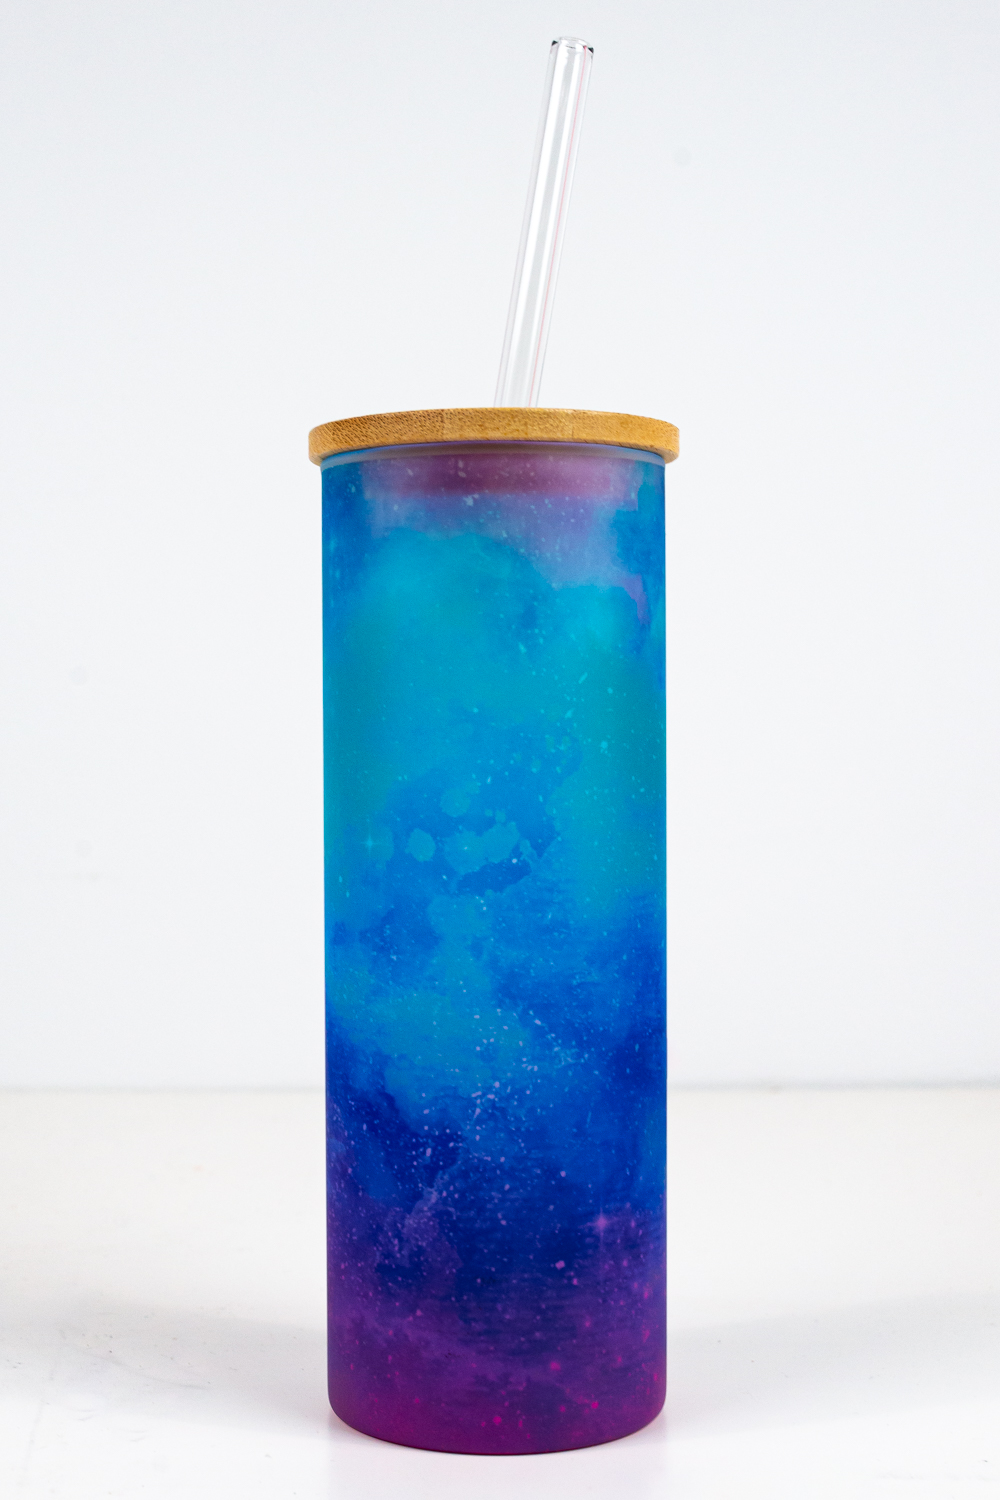
This is my favorite of the bunch. It’s so bright and the color is really rich. This tumbler had a pink gradient at the bottom, and I love how it plays with this darker image.
Tall Clear Glass Skinny Tumbler
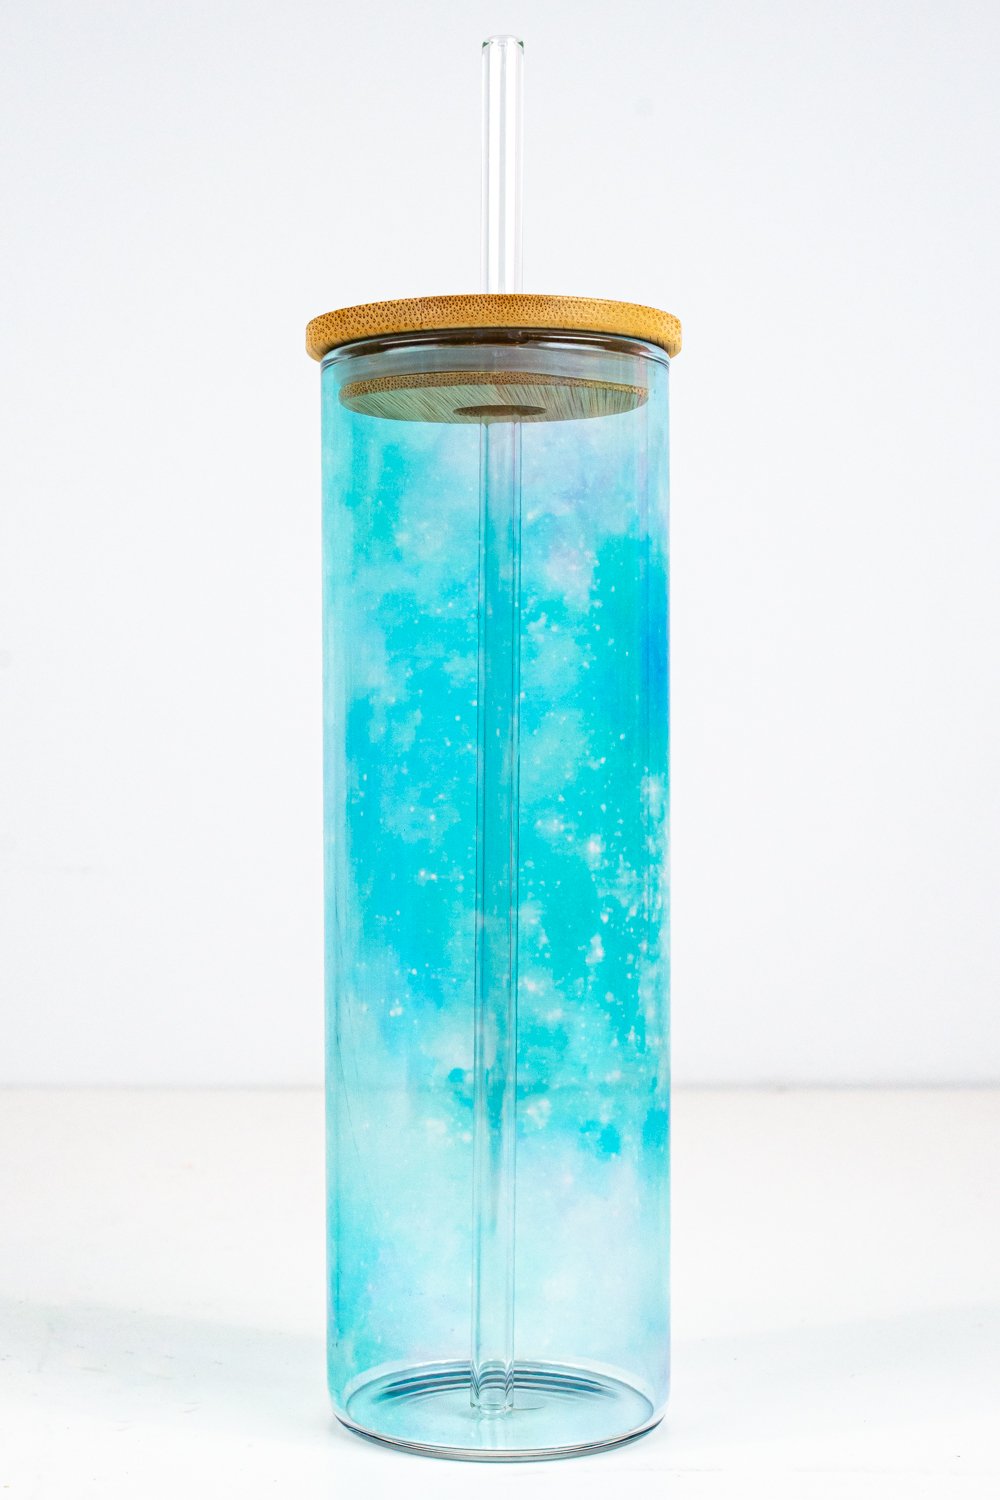
Again, I think this image was too light for the tumbler. It’s hard to tell that it’s sort of a galaxy pattern and more looks like it’s just a blotchy watercolor. I like the size of this tumbler, though, so I think I’ll do some more testing with other designs.
18oz Frosted Glass Can
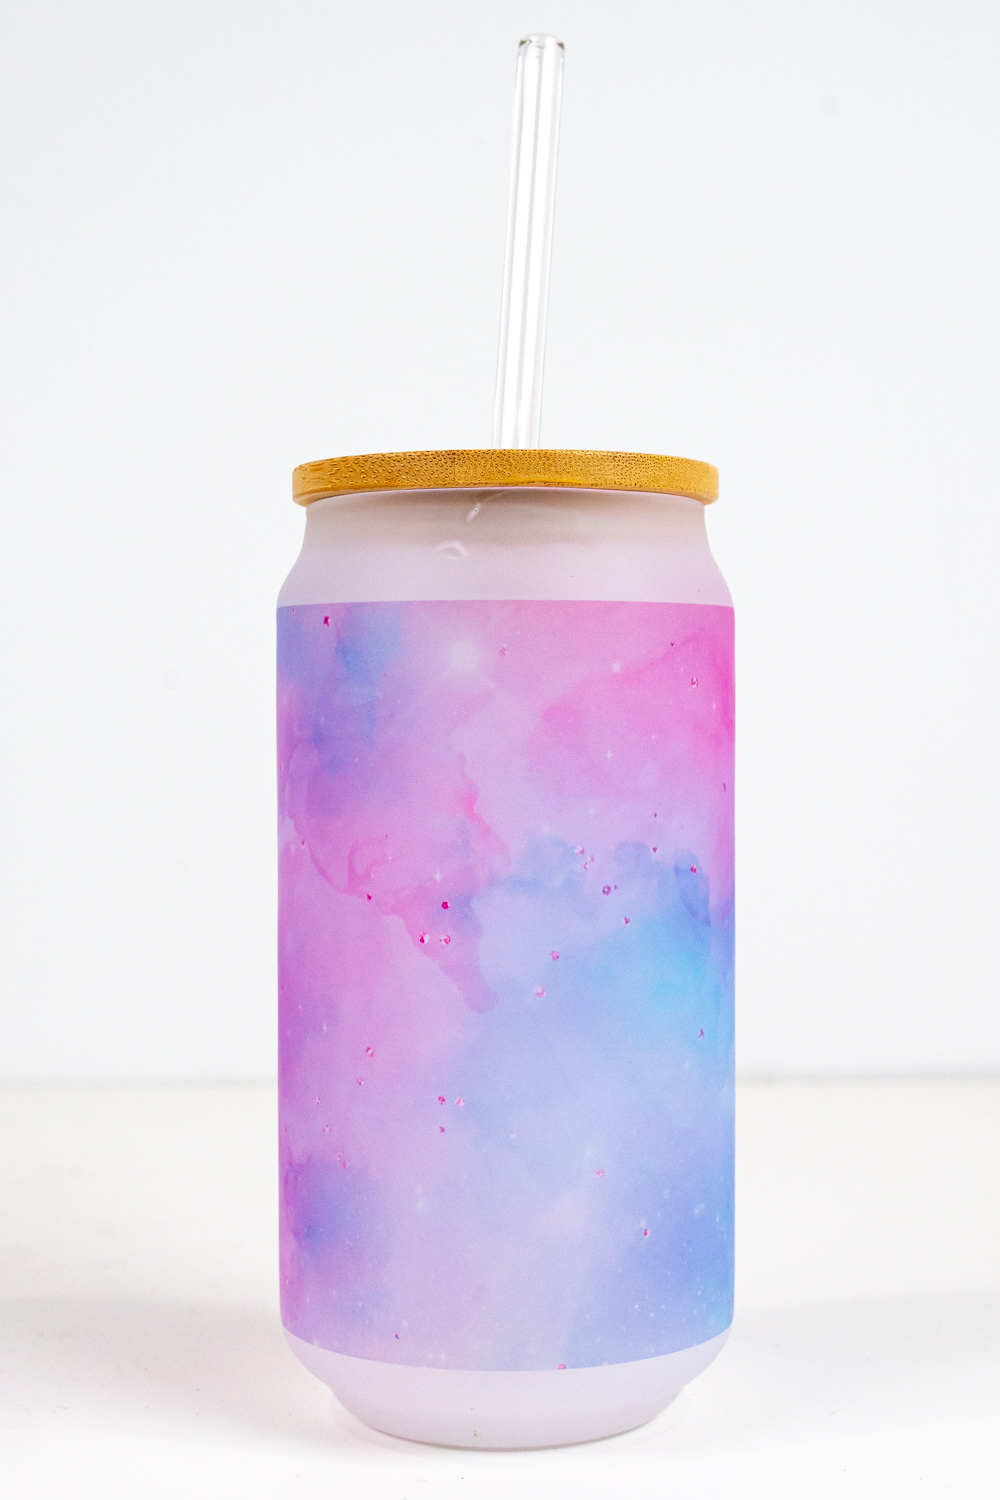
For this one, I like the “sparkles” within the galaxy. I am not 100% sure, however, that I love the un-sublimated white at the top and bottom of the can. If I do more cans, I may try an image that has a less sharp line at the top and bottom. But overall I like the look of this one!
13oz Clear Glass Can
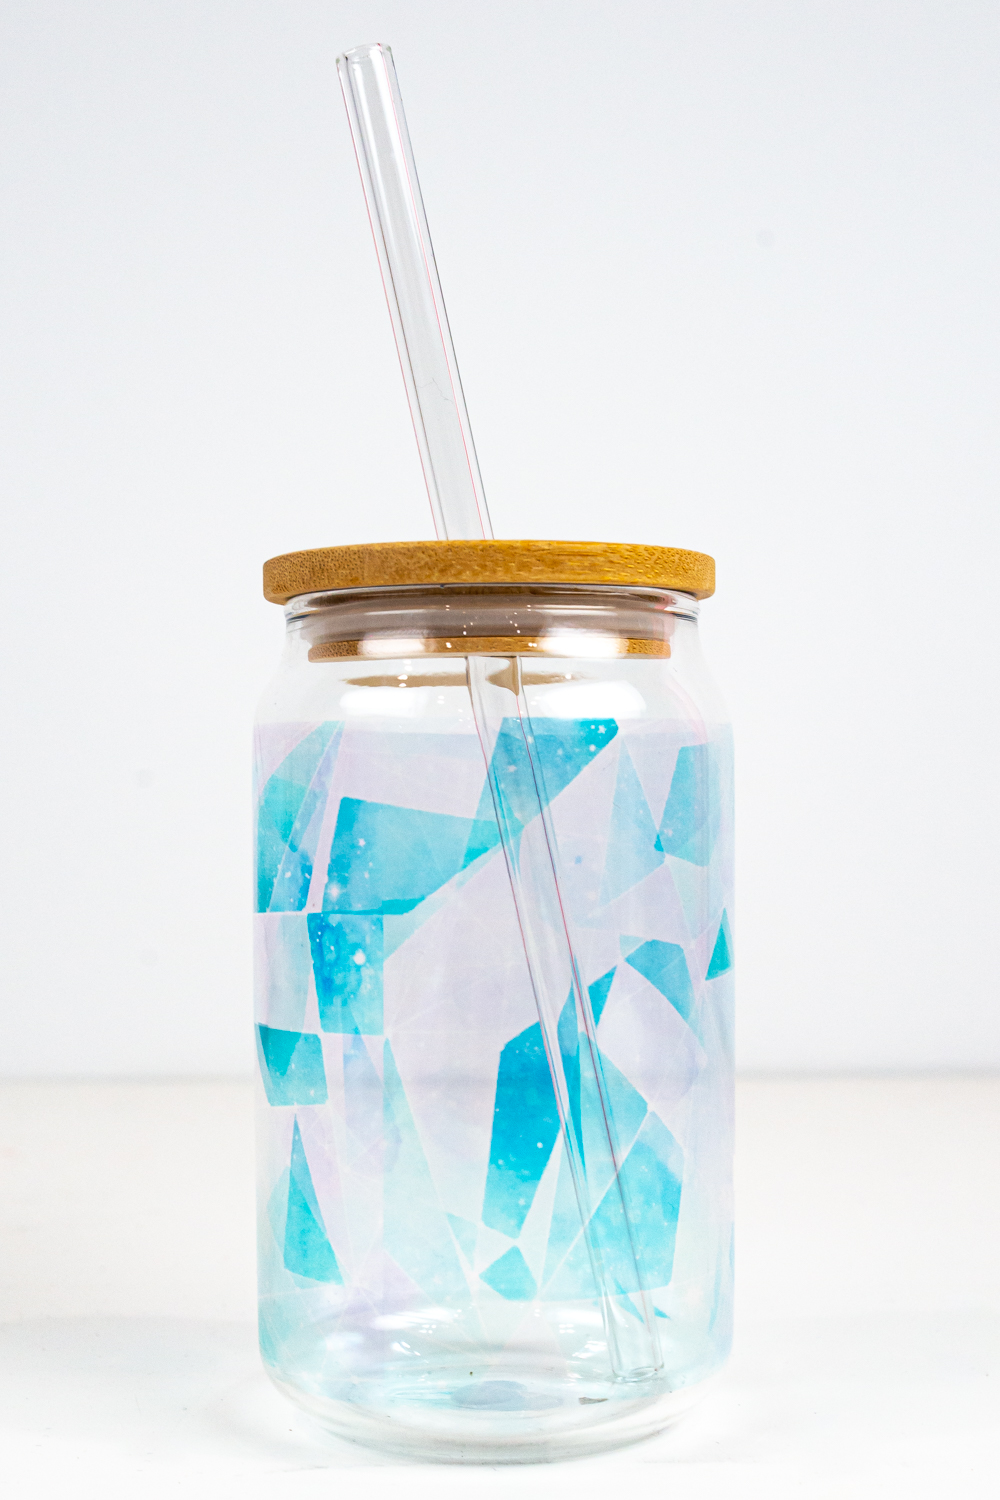
This is my least-favorite of the bunch, and it’s all because of this image. i thought this watercolor geometric pattern would be cool, but the pinks get totally lost and the blue looks patchy. I think I prefer the larger 18oz can above over this smaller 13oz can too—I just like a larger cup in general, no matter what beverage I’m enjoying!
Clear Glass Mason Jar
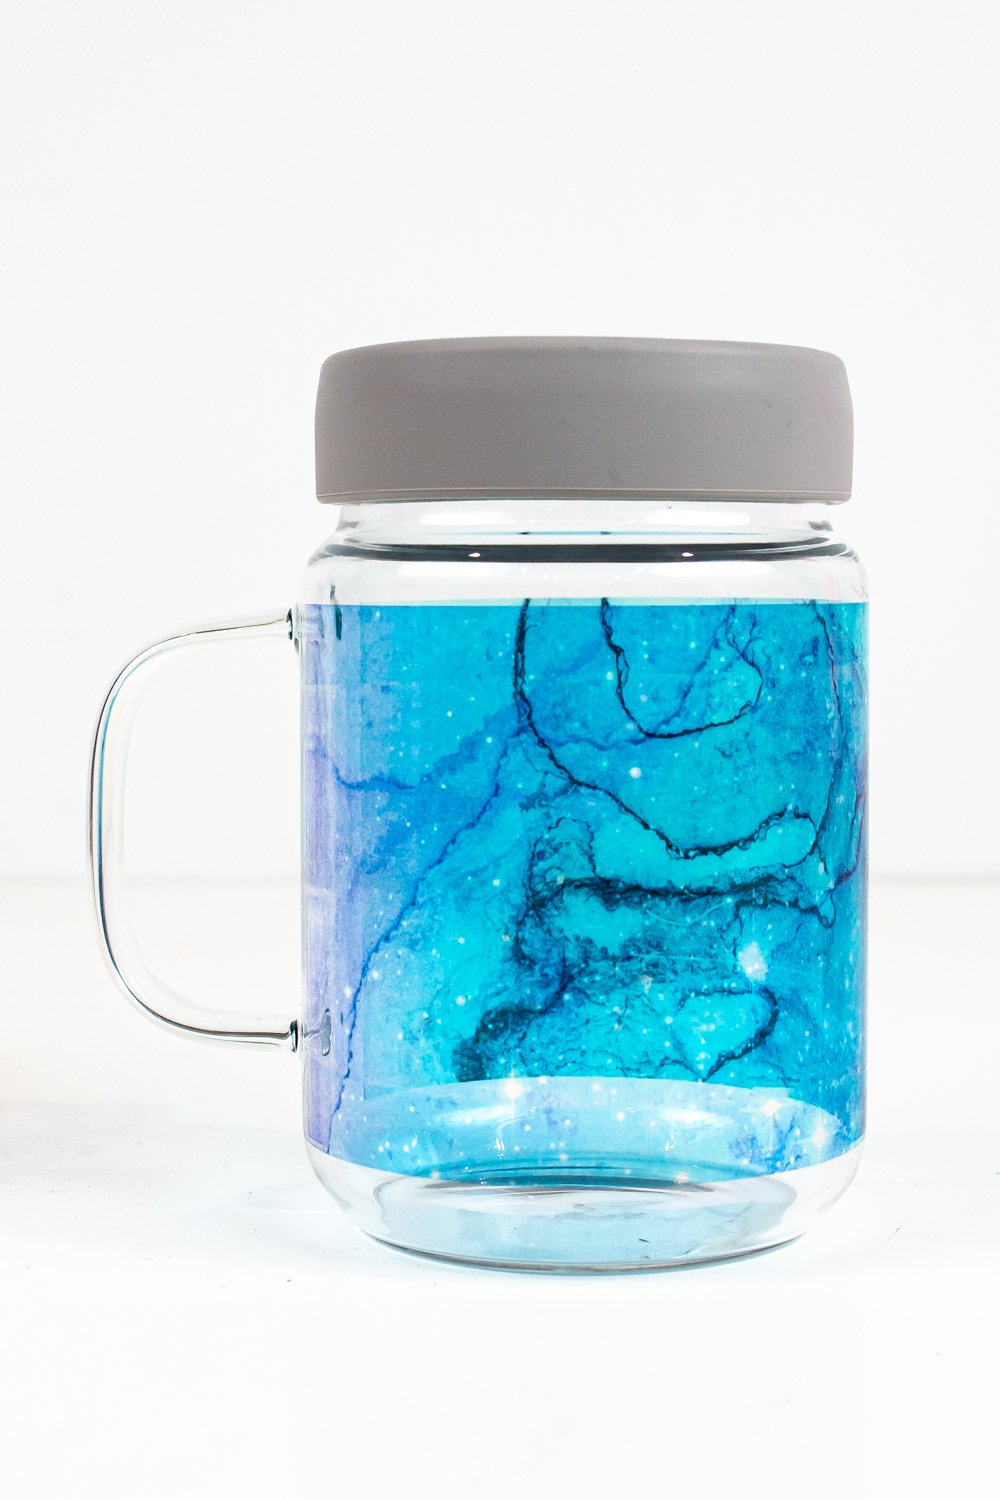
I really love how this one turned out! I think this is a great image and it looks really cool on the clear glass. Again, not sure if I love the clear glass above the sublimated image—this might be better on one of the other tumblers instead. But overall I love this one and I like the glass mason jar style that I think will be perfect for my boys (who are past the “throwing cups” stage of childhood!).
Short Frosted Glass Mug
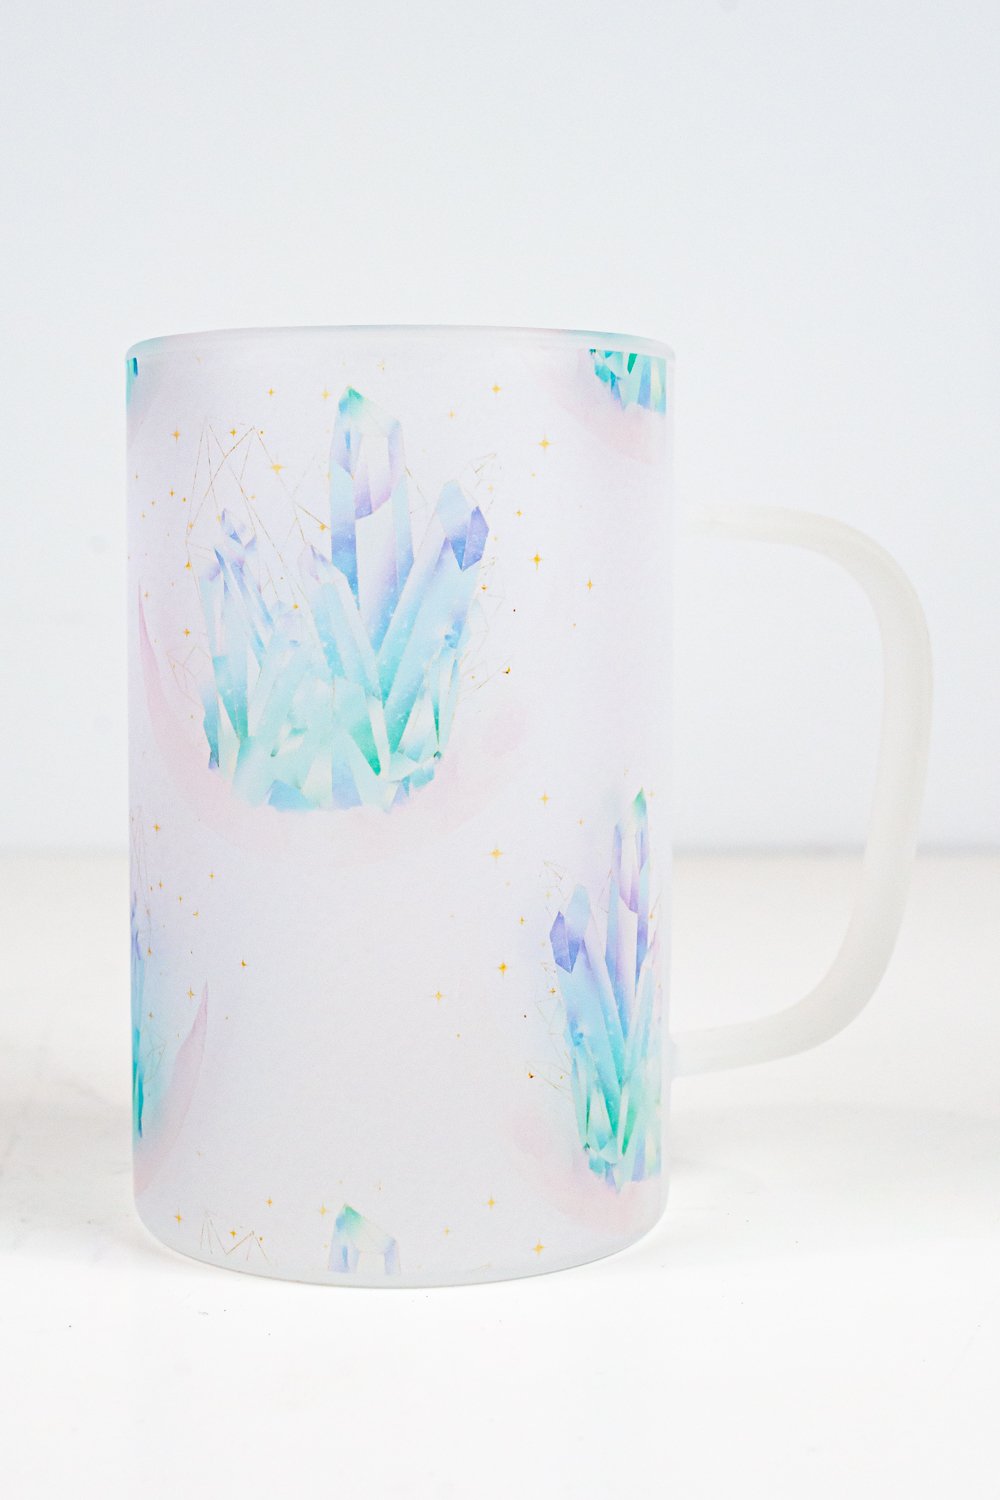
I thought this one might turn out too light, but I really like how it ended up looking! This is a fun crystal image and I think it pops on this frosted mug.
Tall Glass Mug
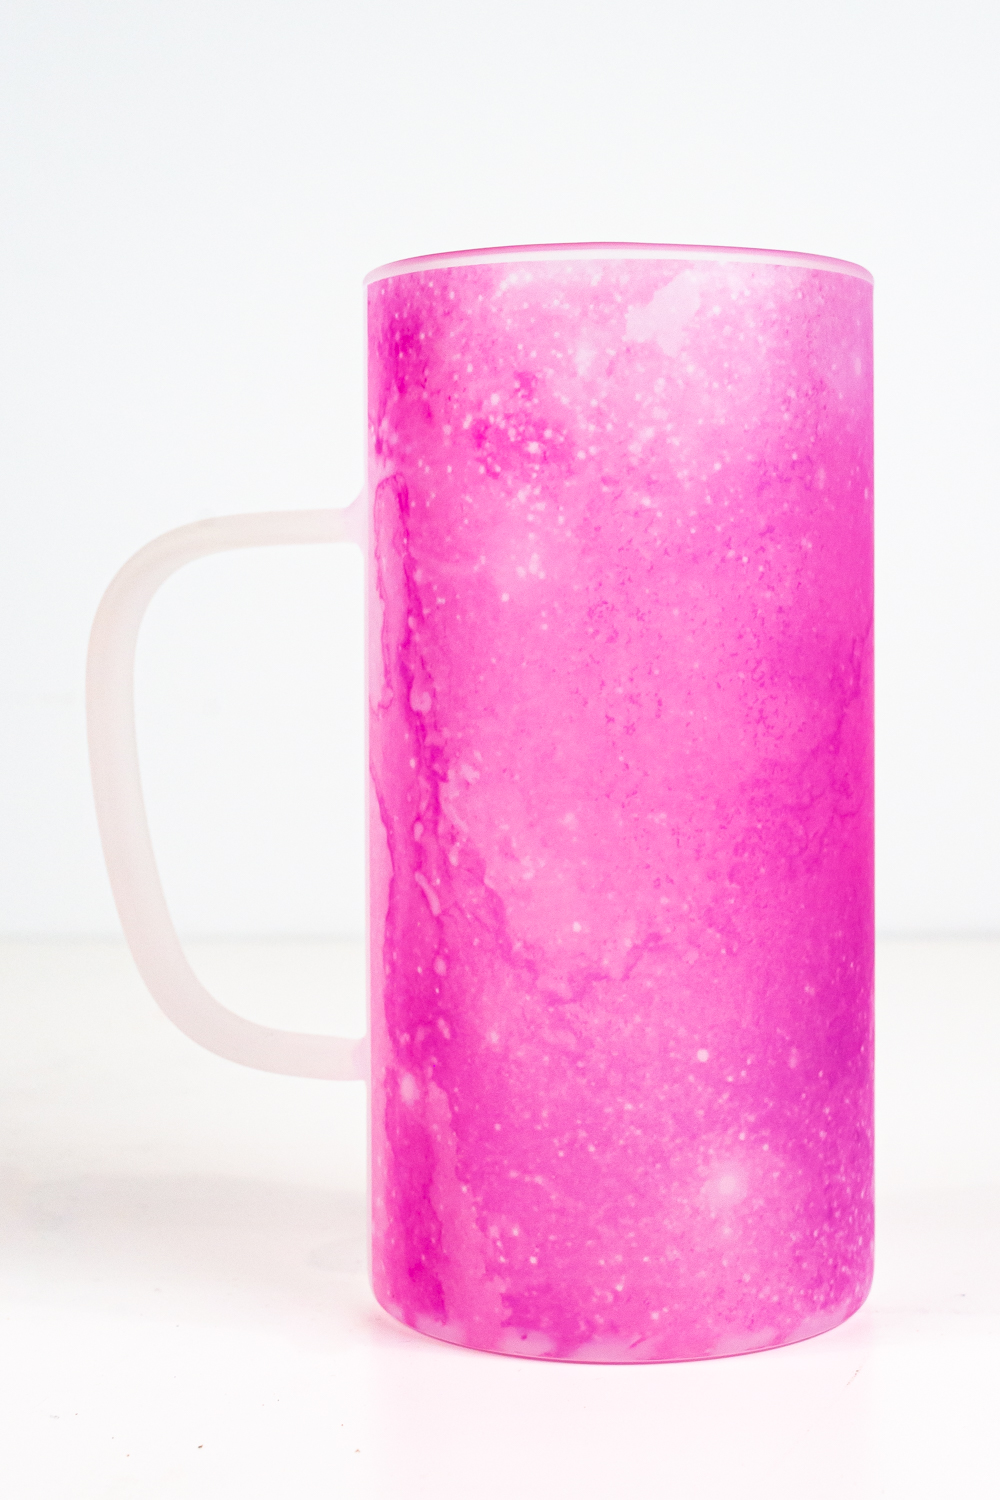
Finally there’s this tall pink galaxy mug. I didn’t do the best taping job on the bottom of this one—you can see the places where I had gaps. Not sure why this one didn’t turn out as well as the others, but thankfully the galaxy pattern makes this less apparent. I love how vibrant this image turned out on the frosted glass.
Final Thoughts on Glass Sublimation Blanks
Glass is such an interesting surface to sublimate compared to other surfaces like fabric, ceramic, or metal. The transparency of the glass plays with the transparent ink to create some very cool effects.
Overall, I thought the more saturated images worked better than the lighter images on glass. And I preferred the frosted glass, though I really did love the mason jar with the image I chose.
I hope these tests help you decide which PYD Life glass blanks are for you and what sort of transfers you may want to use yourself!


Leave A Reply!