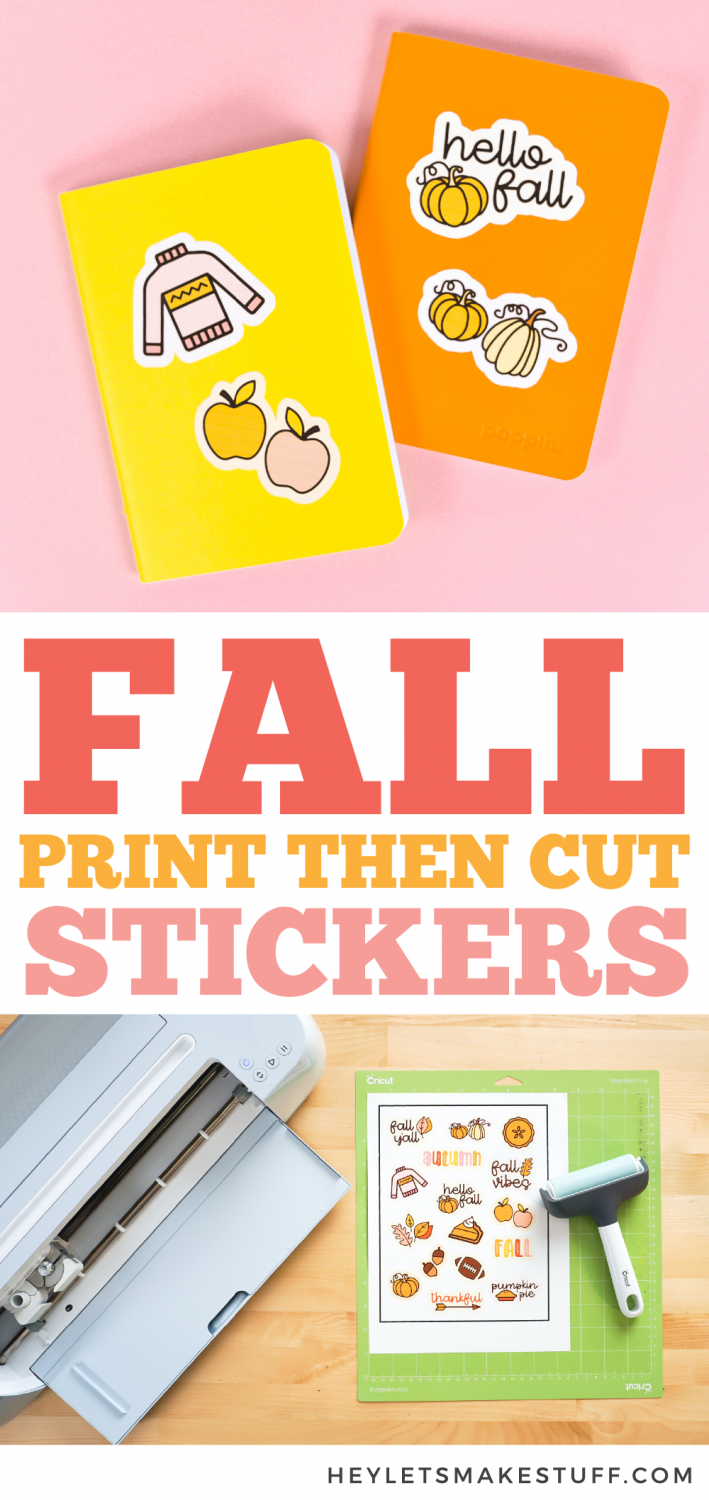
Curious how to create your own stickers at home? Cricut’s Print then Cut feature makes it really simple! Here’s how to make cozy fall stickers for your notebook, laptop, and anywhere else you’d like!
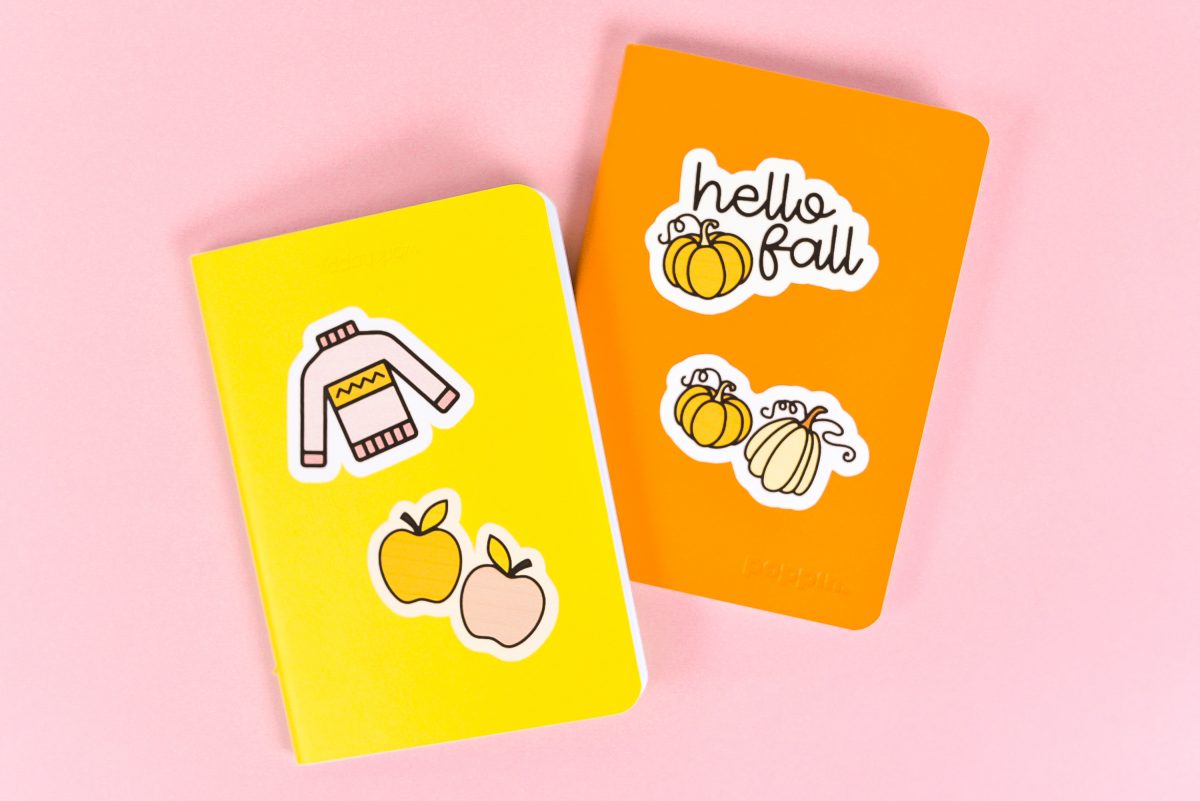
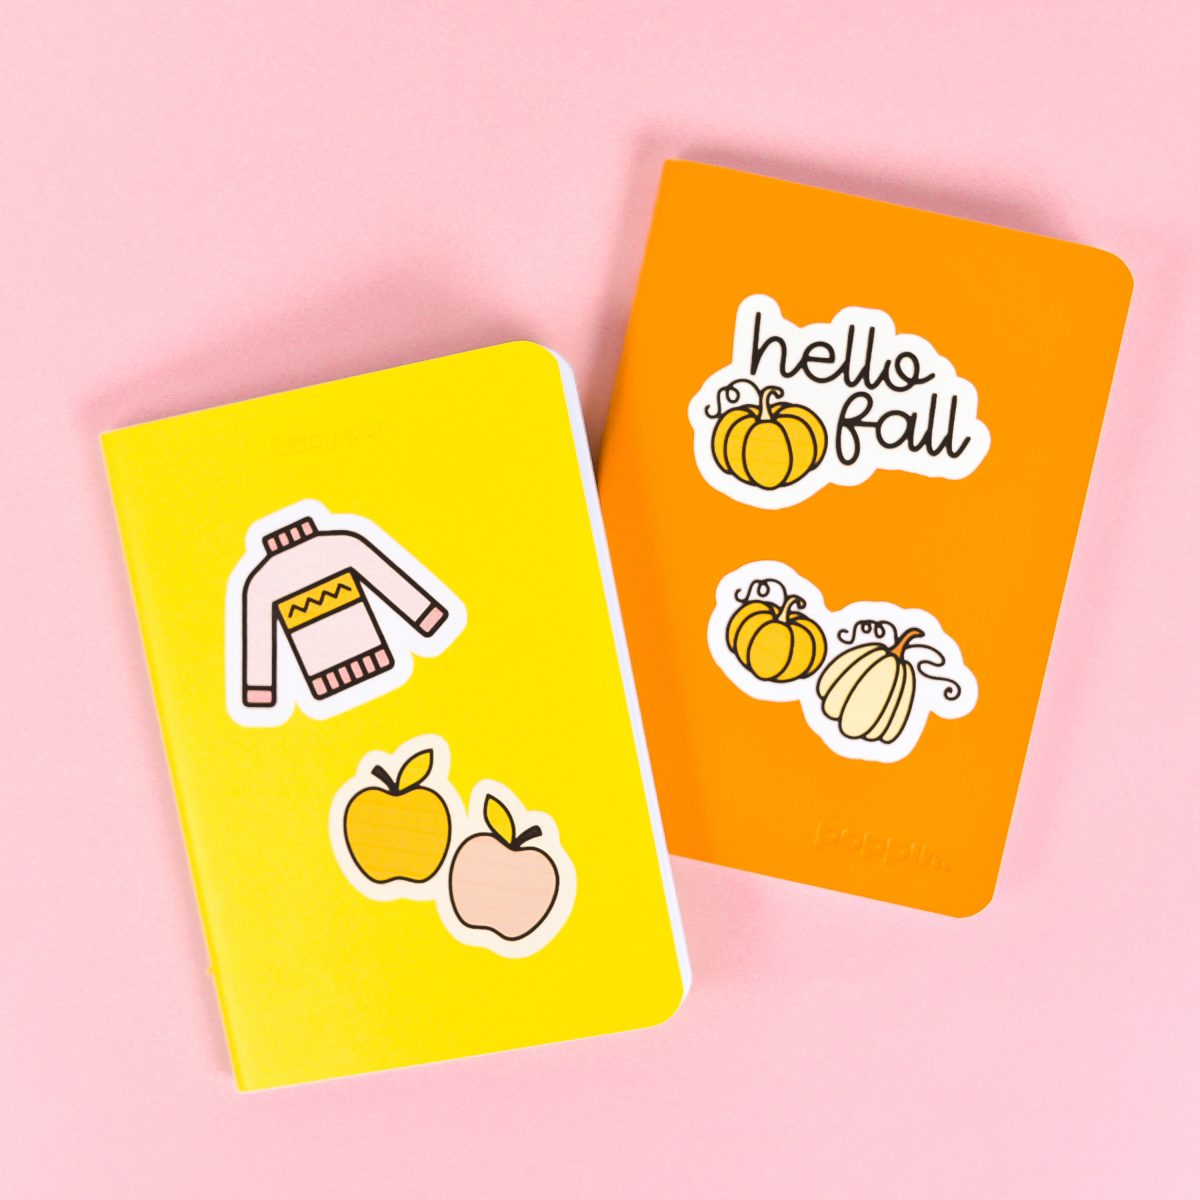
Is it just me or are stickers more popular than ever? These days I see them everywhere—from notebooks to water bottles and more! They’re also great for personalizing planners. You can use your Cricut’s Print then Cut feature to create your own set of vinyl stickers!
Today I’ll walk you through how to create fall stickers to customize your laptop, planner, and anywhere else you’d like to add cozy vibes. Use your home printer to print these fall sticker designs, and then your Cricut will perfectly cut around the edges. Falling leaves, football, cozy sweaters, and more… this sticker set has something for every fall lover.
Print then Cut makes this project super easy! If you’ve been nervous to use Print then Cut, these stickers are a great way to try it out.
I prefer to use Cricut Printable Vinyl rather than sticker paper when creating my own stickers. It’s not waterproof, however, so if you may want to try something like these waterproof labels if you’re using these stickers on something that will be washed. If you’d prefer to use Cricut Printable Vinyl, you can add a clear laminate over top, which will also protect it from water and help it withstand elements, in general.
Note that Print then Cut does not work with Cricut Joy. Joy doesn’t have the sensors that read your image. So you’ll need a Cricut Maker 3, Cricut Explore 3, Cricut Maker, Cricut Explore Air 2, or other Cricut Explore machine. Need help using your Cricut? Check out my Cricut Basics eBook!
Love the font I’ve used in these stickers? It’s called Watermelon Popsicle (I know, not very fall-like, but very cute!)
Fall Stickers Supplies
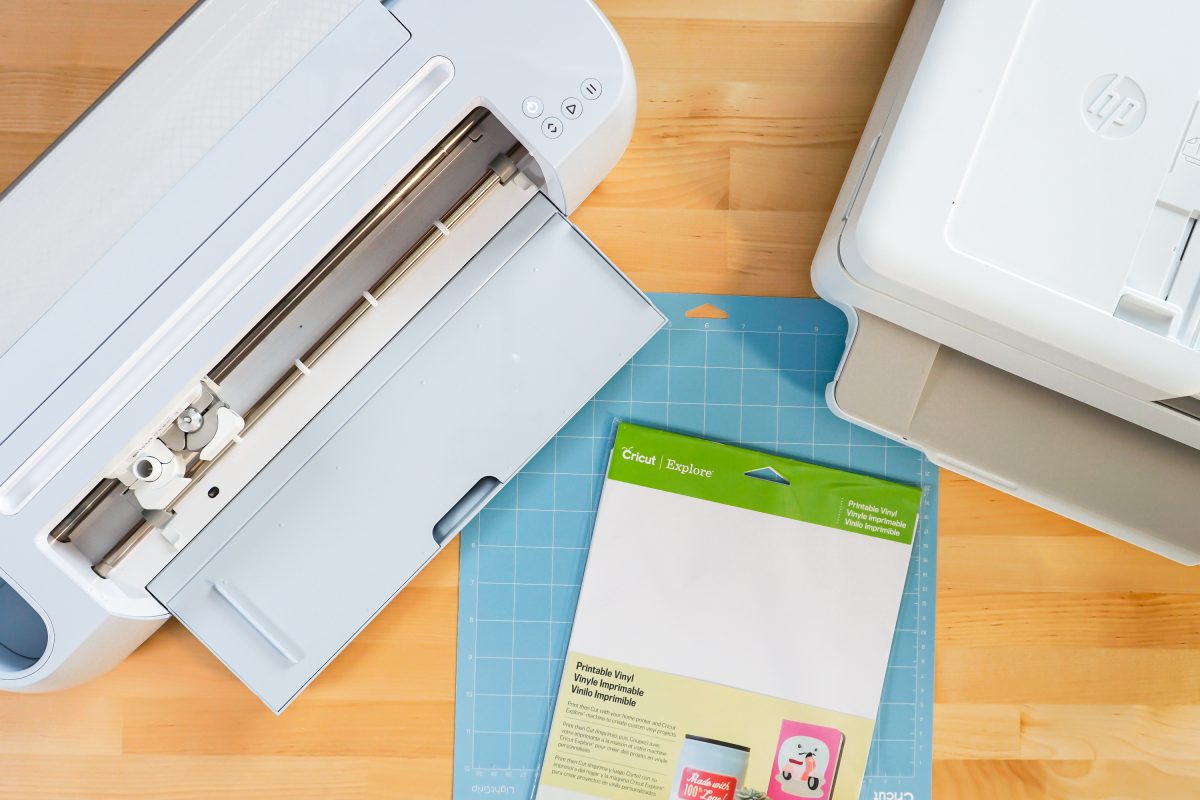
- Cricut Maker or Maker 3 or Cricut Explore or Explore 3
- Home printer
- Cricut Printable Vinyl
- Oracal Clear Lamination Vinyl (if you’d like to make your stickers waterproof)
- Blue LightGrip mat or green StandardGrip mat
- Fine Point Blade
- Fall Stickers PNG File (see below)
Grab the PNG for this Project
Cricut Fall Sticker Instructions
Upload the Fall Sticker PNG to Cricut Design Space
We will start by uploading the PNG file to Cricut Design Space. When you’re using print then cut, a PNG tends to work best.
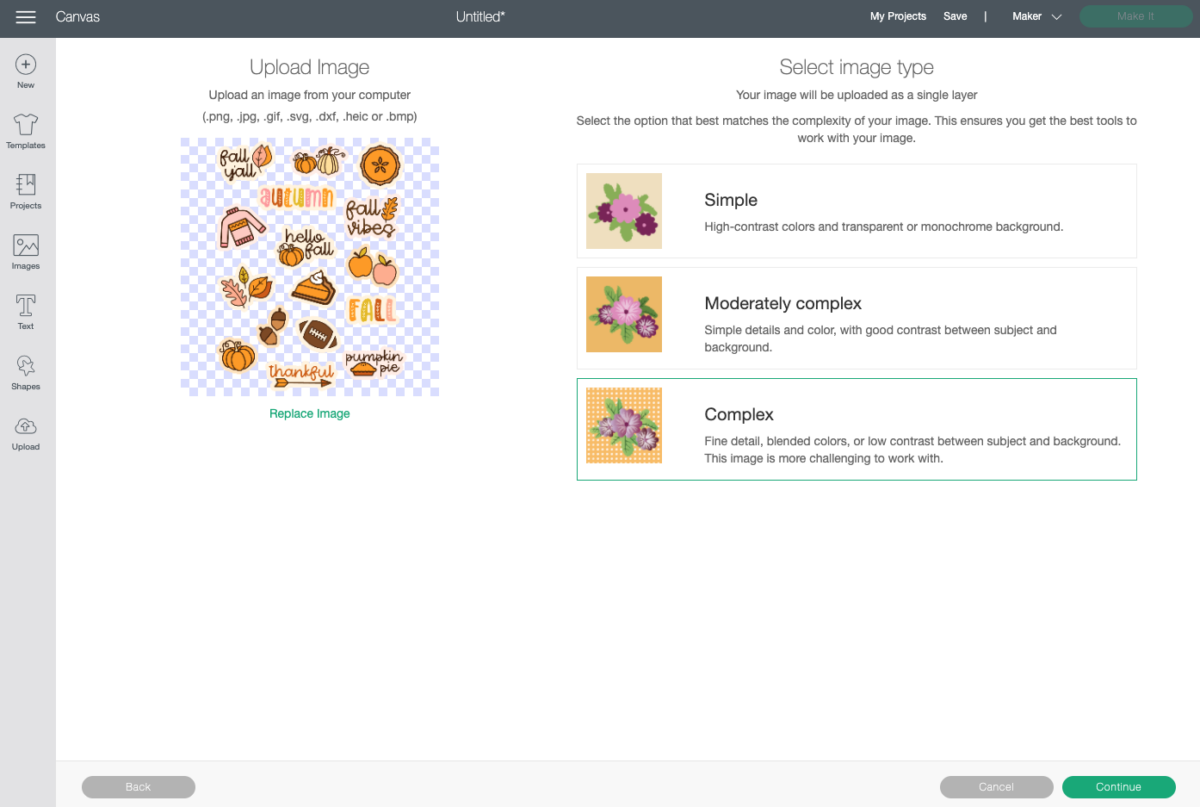
When you upload the PNG, Cricut Design Space will ask you to choose an image type: simple, moderately complex, or complex. For this project, choose complex and click continue.
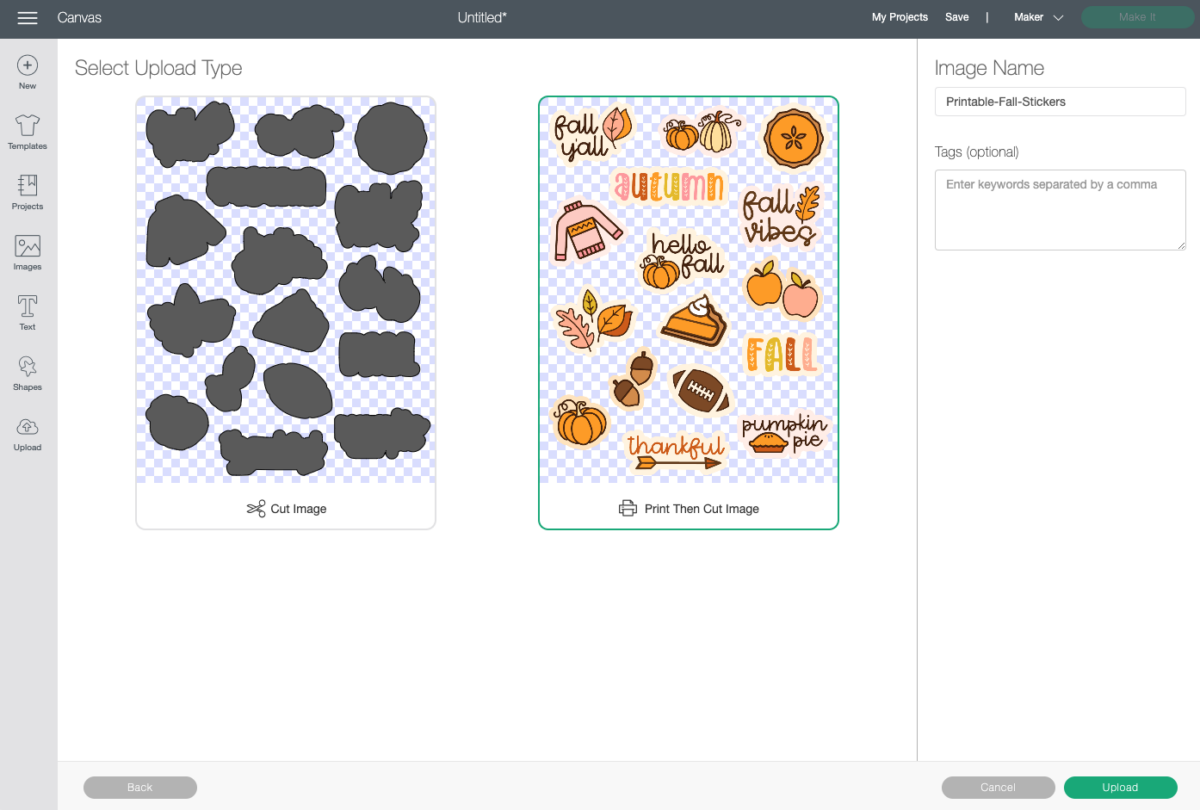
In the next screen, you’ll choose your upload type: Cut image or Print then Cut image. Choose Print then Cut image for this project and click Upload.
Once you have your image on the canvas, take advantage of the maximum cut area of Print then Cut area (6.75″ wide by 9.25″ tall) by changing the width to 6.75″.
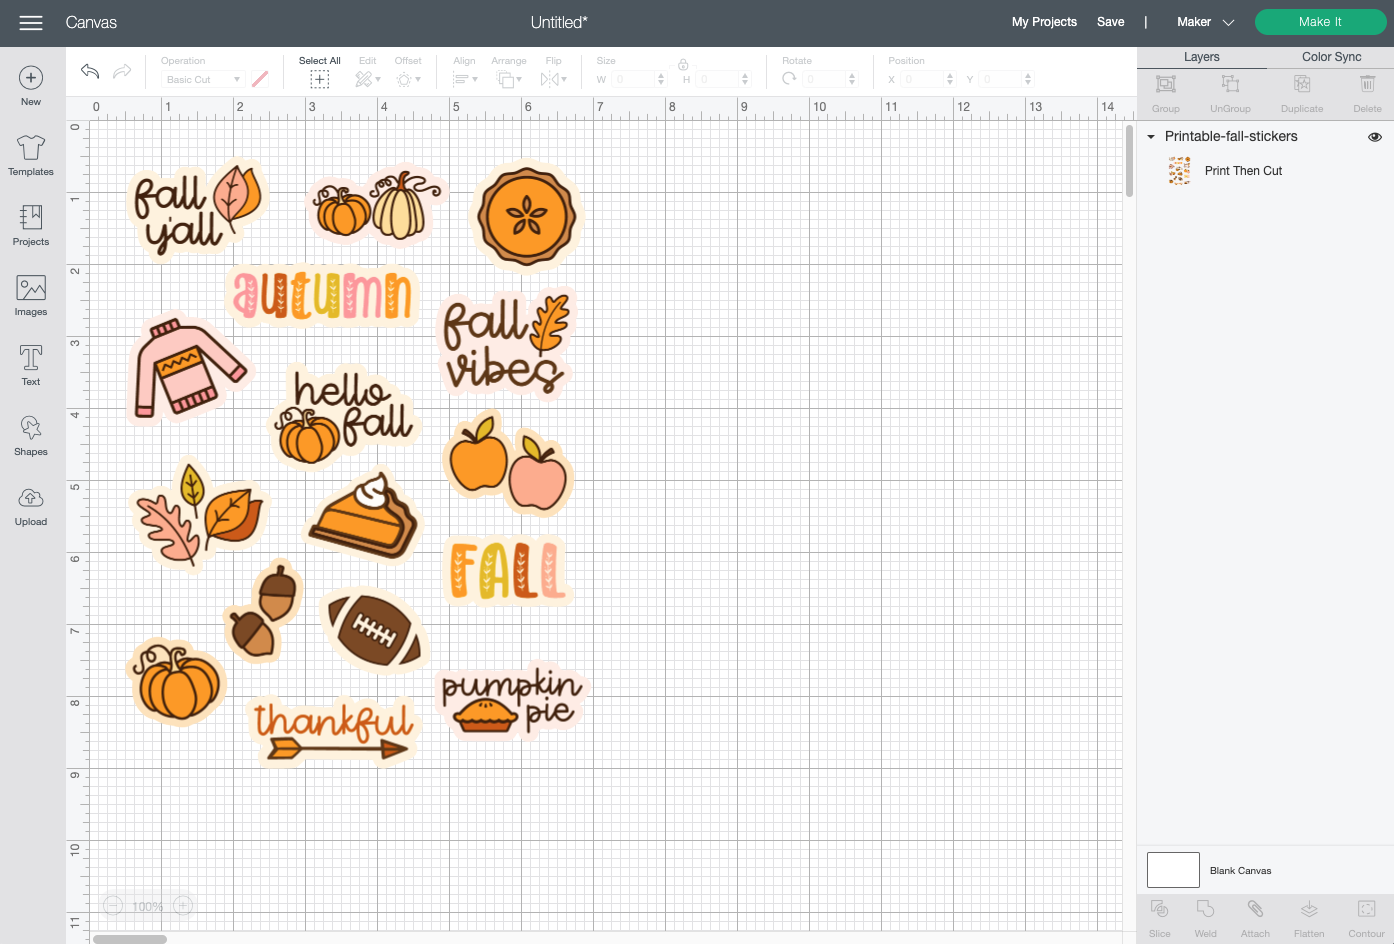
You’re ready to make these stickers! Click Make It in the upper right.
Print Your Cricut Fall Stickers
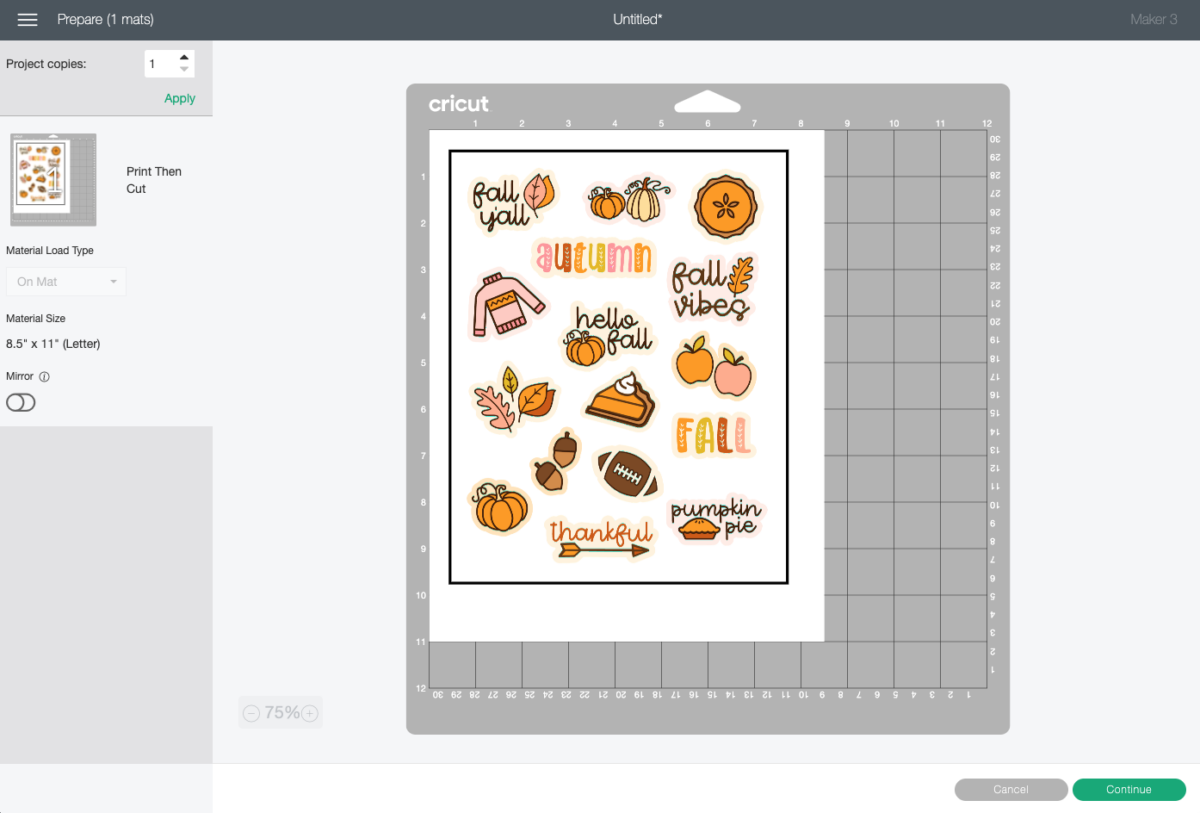
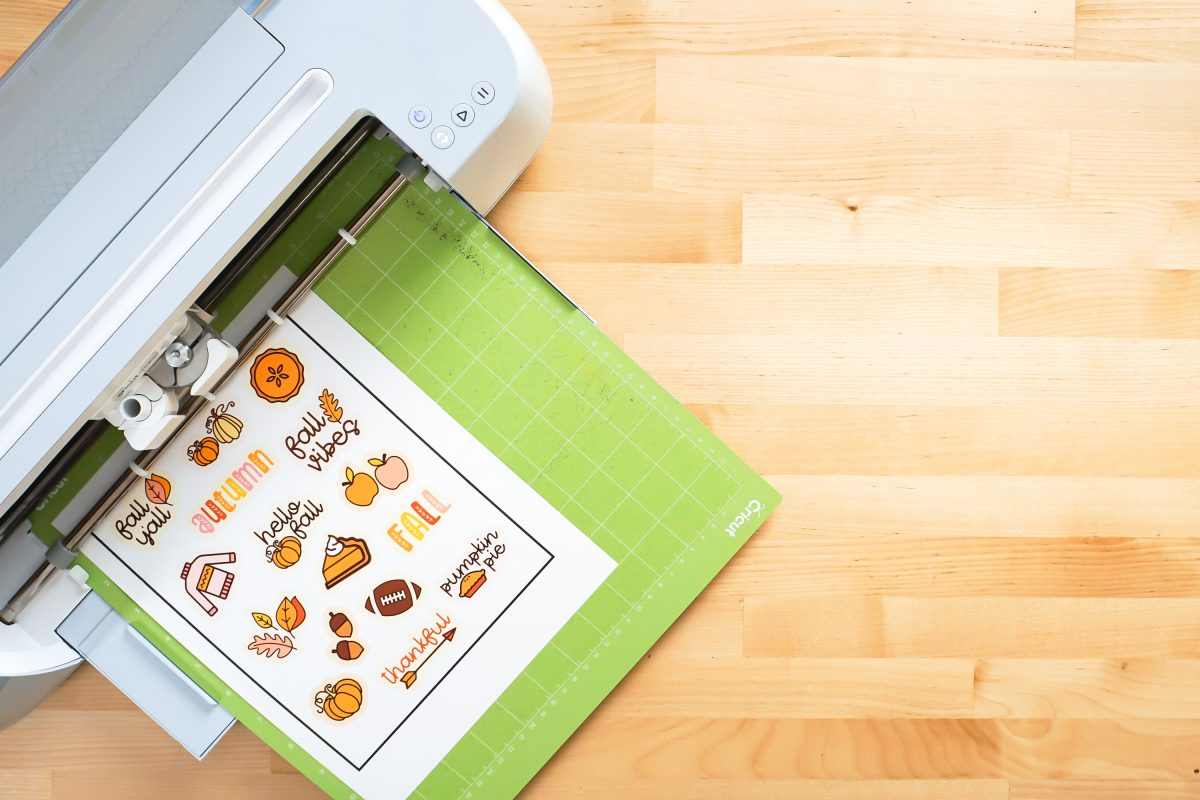
In the Prepare Screen, you’ll see a rendering of the stickers on a piece of printable vinyl on a Cricut mat. Click continue.
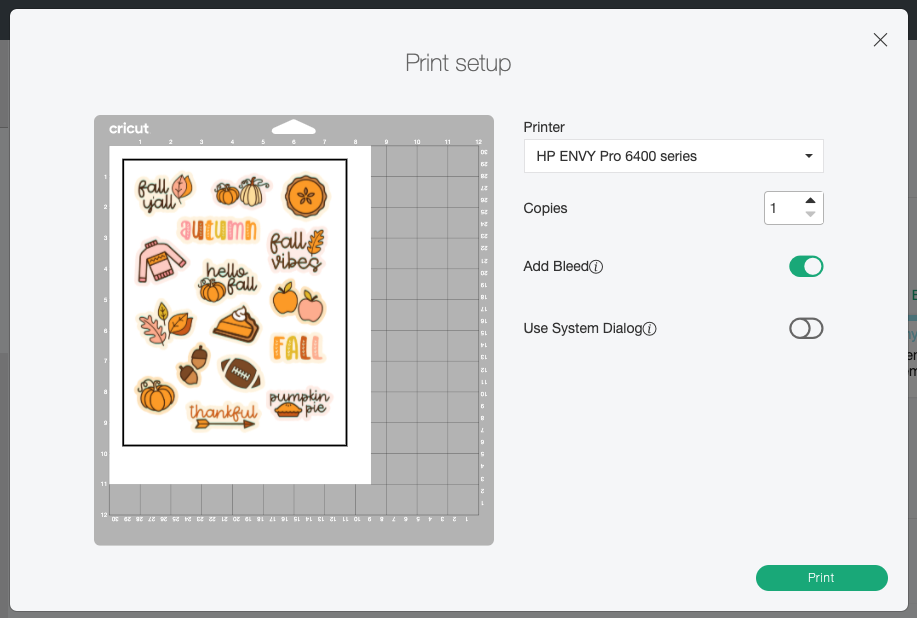
Before we can get to actually cutting the stickers, we need to print them first. Click Send to Printer and your computer will open up the Print setup menu. Select your printer and click Print.
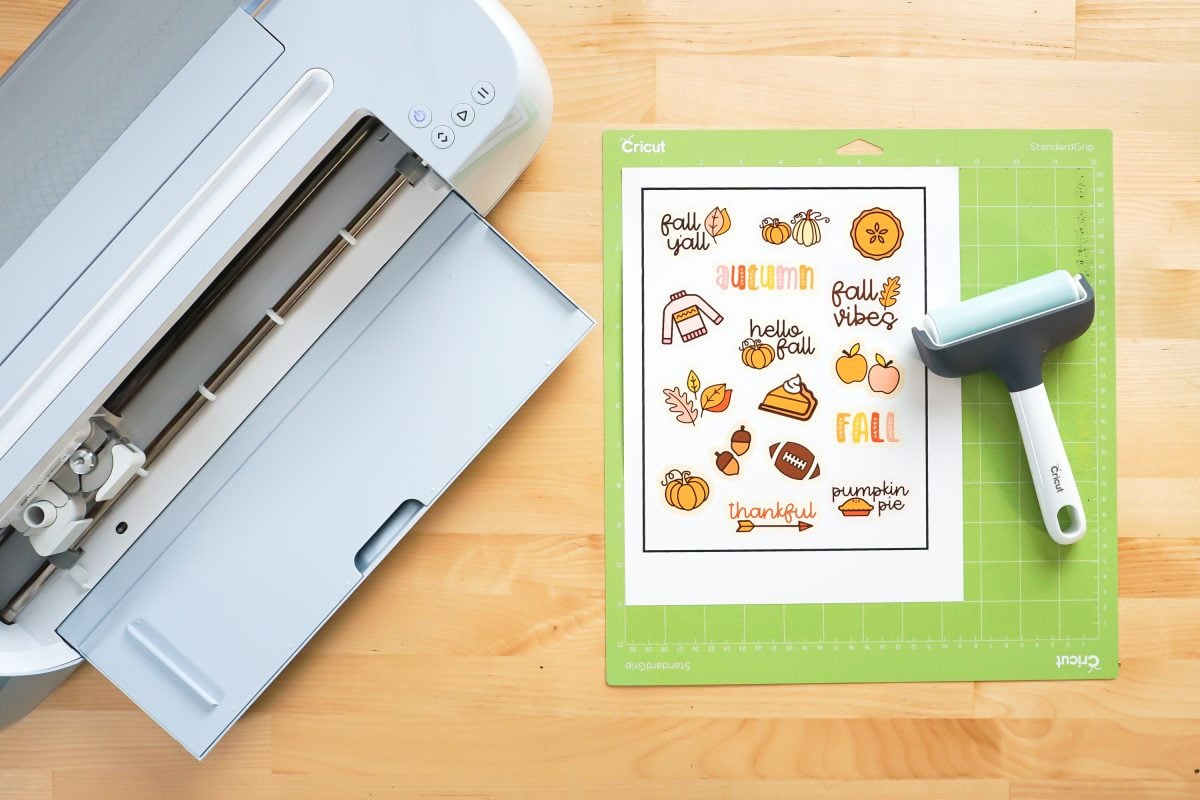
Once you have your printed stickers, place the sheet on your mat’s upper left corner as shown above.
NOTE: If you chose to waterproof your stickers, you’ll want to carefully place the laminate on top of your printout. I like to use my Cricut Brayer to ensure I’ve smoothed out any potential bubbles.
Cut Your Fall Stickers
On the Make Screen, set your material to Cricut Printable Vinyl. Make sure you have your fine point blade in your machine, insert your mat, and your Cricut will cut around the edges of your stickers!
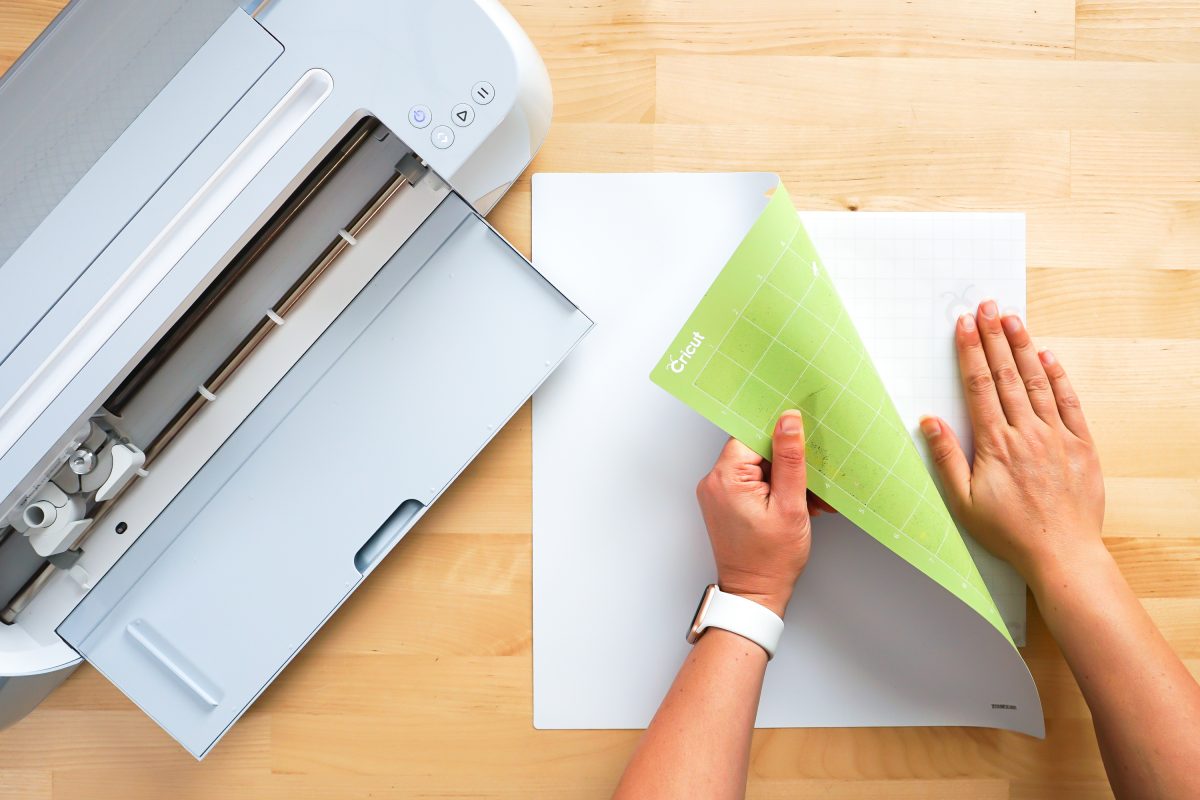
Once it’s done, remove the sticker sheet from the mat by placing it facedown on your table and peeling the mat away from the sticker sheet.
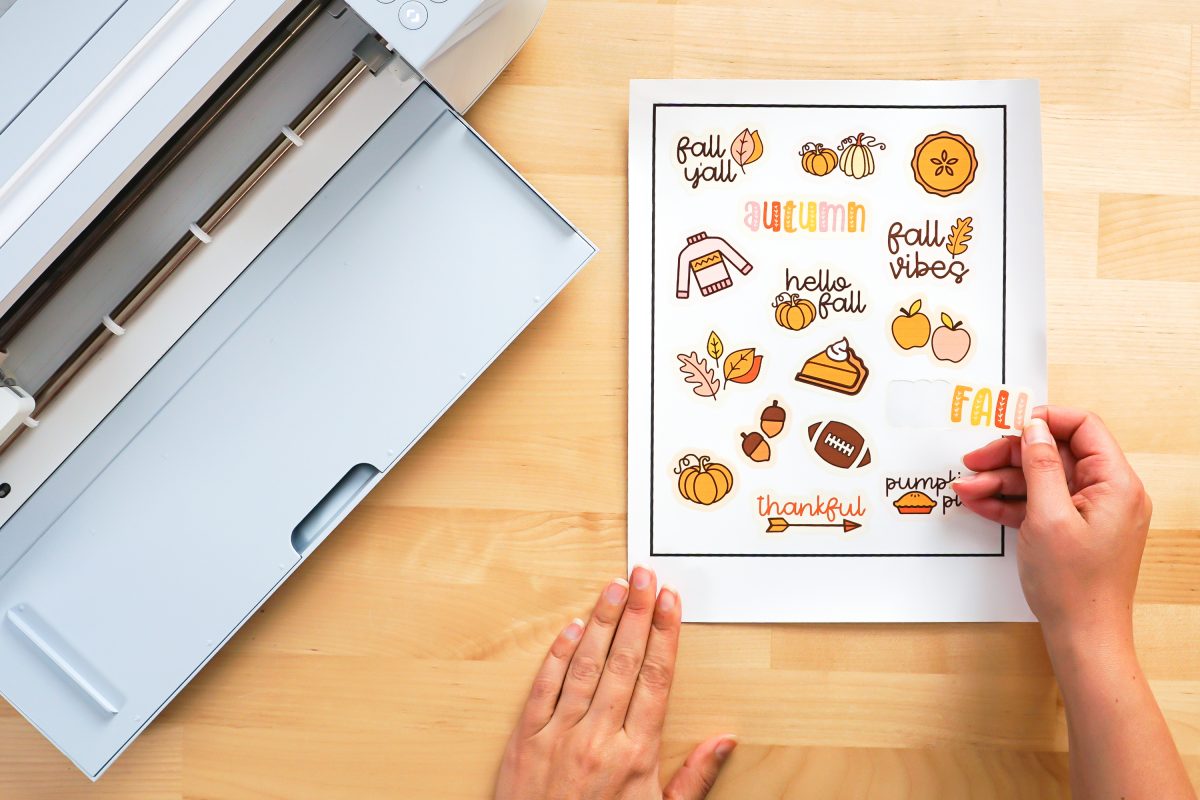
Then you can just peel the Cricut fall stickers off of the backing paper like you would any other sticker!
Get a Cricut
More stickers? Check out my Print then Cut Spring and Easter Stickers!


Comments & Reviews
Heather says
Hello! Thanks for the tutorial. What material is best to use for lamination? Just use normal lamination paper or does Cricut sell one?
Crystal Summers says
Hi Heather,
Oracal makes a good laminate, linked here (affiliate).
Expressions Vinyl also makes a laminate (affiliate link here). While I haven’t used this version before, their products are good and they often have deals!
Happy crafting!
Crystal, HLMS Community Manager