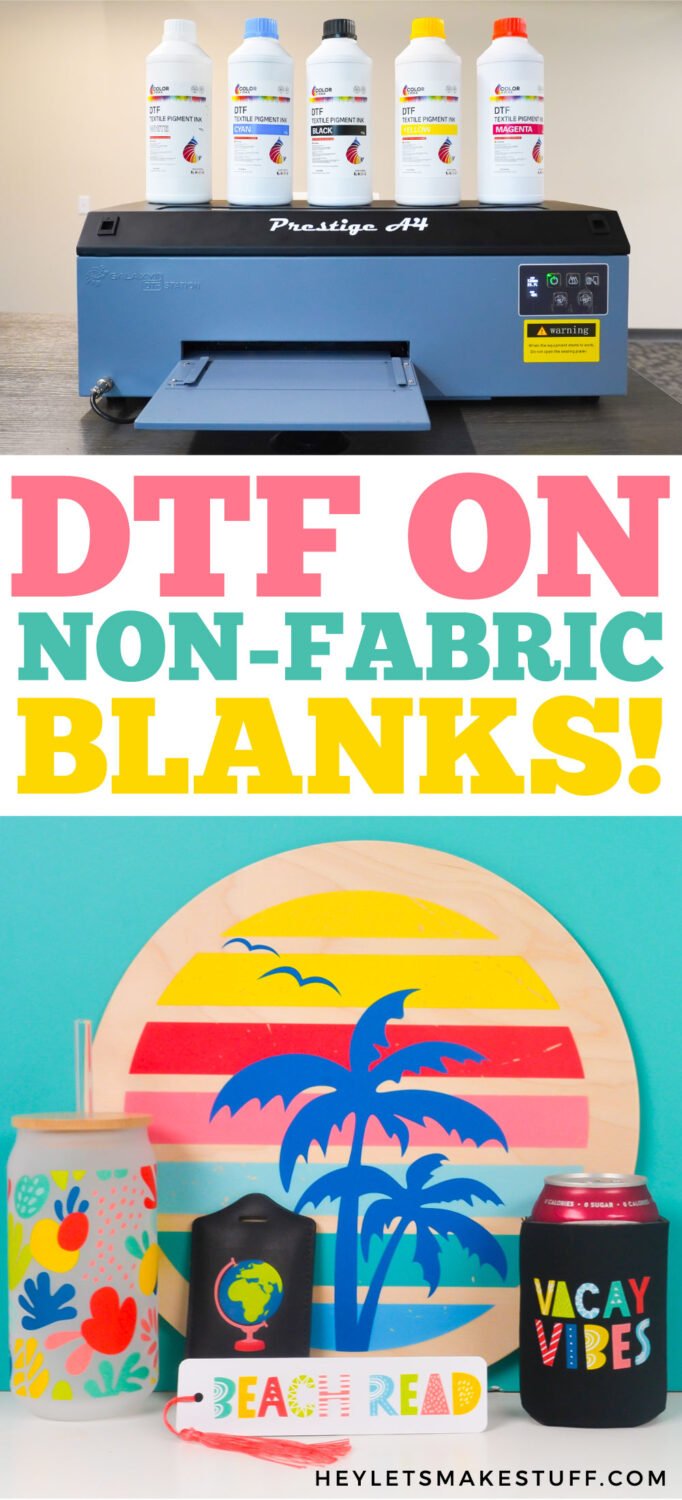
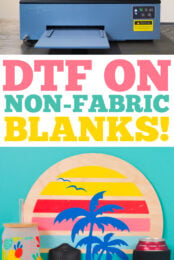
DTF works great on fabric garments and other soft blanks, but does it work on other materials? Check out the results of my DTF materials test on a glass tumbler, metal bookmark, neoprene can koozie, wood sign, and a leather luggage tag.
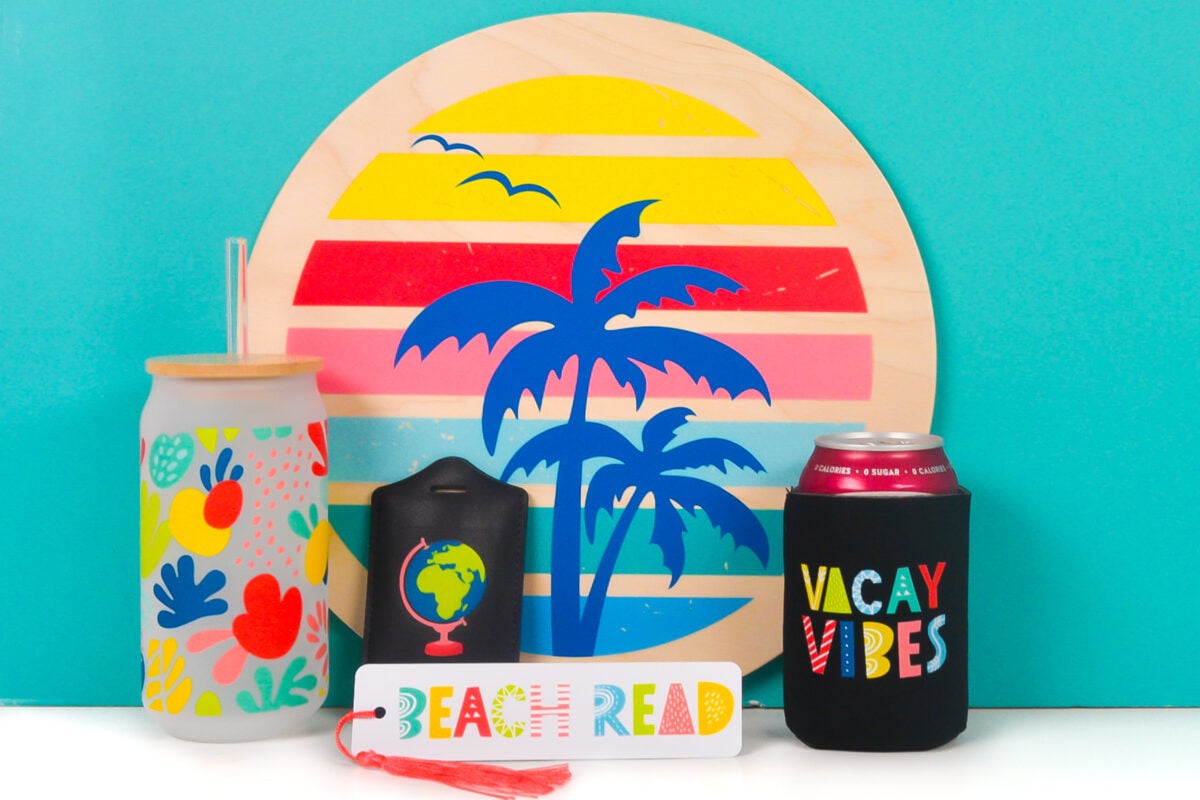
Welcome back to my series on DTF printing! Now that I’ve gone over the basics of DTF printers and how to use DTF transfers on garments, I wanted to try out DTF transfers on non-fabric substrates and blanks. DTF is primarily designed for garments and other soft/fabric blanks, but I’ve had readers ask me if DTF transfers work on other materials. In this post, we’re going to find out!
Today we’re testing five different substrates, including glass, metal, neoprene, wood, and faux leather. I have all of the time and temperature settings below. You can also get a fun bundle of DTF PNG files to use on your own projects. They’ll also work for sublimation!
My friend Angie Holden is also testing five different blanks, including paper, a hat, a ceramic mug, a notebook cover, and acrylic. So if you want to see even more options for your DTF printing, head over to her video!
Watch My Video
Here’s a video of how all five of my blanks fared in the heat press! Click play below, or keep reading for a written tutorial.
Get the Free Files
Want access to this free file? Join my FREE craft library! All you need is the password to get in, which you can get by filling out the form below. The file number is: S28.
DTF Materials: Let’s Test Them!
DTF is really easy to do and you don’t need a ton of supplies. For each of these projects, I just placed the DTF transfer on my blank and pressed according to the settings for each, which I’ve listed below.
Get the supplies and tools you need to make these DTF projects in my Amazon shop!
DTF on Metal
To test DTF on metal, I used a metal sublimation bookmark. I placed the transfer on the bookmark and pressed for 20 seconds at 290° with medium pressure, then waited for the project to cool before peeling back the carrier sheet.
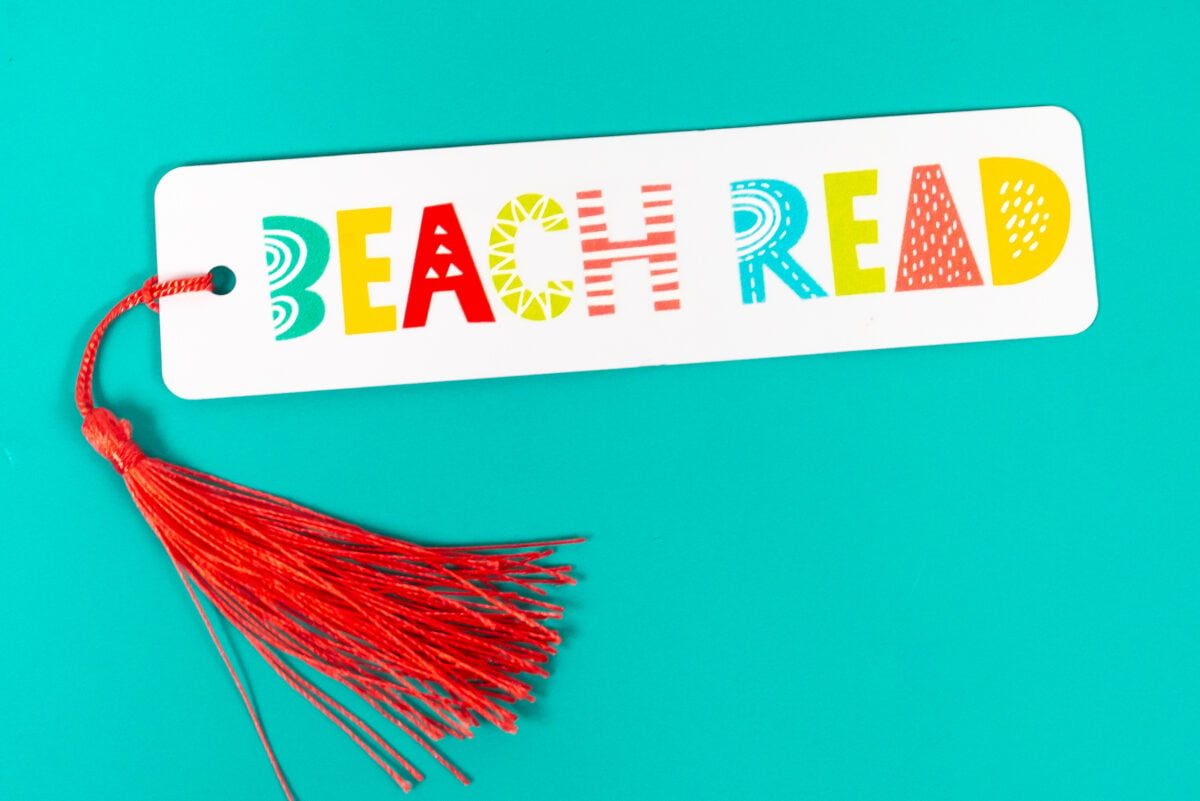
Overall results: Definitely happy with this one, though make sure to wait until the metal is completely cooled before peeling. I’ve been using this one for a while as an actual bookmark and I’ve had no lifting of the image.
DTF on Neoprene
To test DTF on neoprene, I used two types of can koozies—a regular koozie and one designed for sublimation. I placed the transfer on the koozie and pressed for 20 seconds at 290°. I did lighten the pressure a bit so it wouldn’t compress my neoprene too much.
I tried both warm and cool peel and the cool peel worked MUCH better. I found that the DTF print didn’t stick well when I tried the warm peel.
And I found the regular koozie worked way better than the sublimation koozie.

Overall results: I was really happy with this black, non-sublimation version of the koozie. Feels like it adhered well enough for me to not worry about the DTF print lifting any time soon.
DTF on Faux Leather
To test DTF on faux leather, I used a luggage tag. I placed the transfer on the luggage tag and pressed for 20 seconds at 290° at medium pressure, then waited for the project to cool before peeling back the carrier sheet.
I ended up having two problems. The first is that the edge of the carrier sheet imprinted into the faux leather. You can just barely see it in the photo. I would suggest cutting the carrier sheet larger than your final project to ensure you don’t have the same carrier sheet outline. I did test it using light pressure and it made no difference.
And then my second problem was that the two plastic inserts melted together! I solved this in my second try by putting the insert cards that come with the luggage tag in between those two layers. I had to pry them apart a bit (see my video), but it did work. You could also use parchment paper.
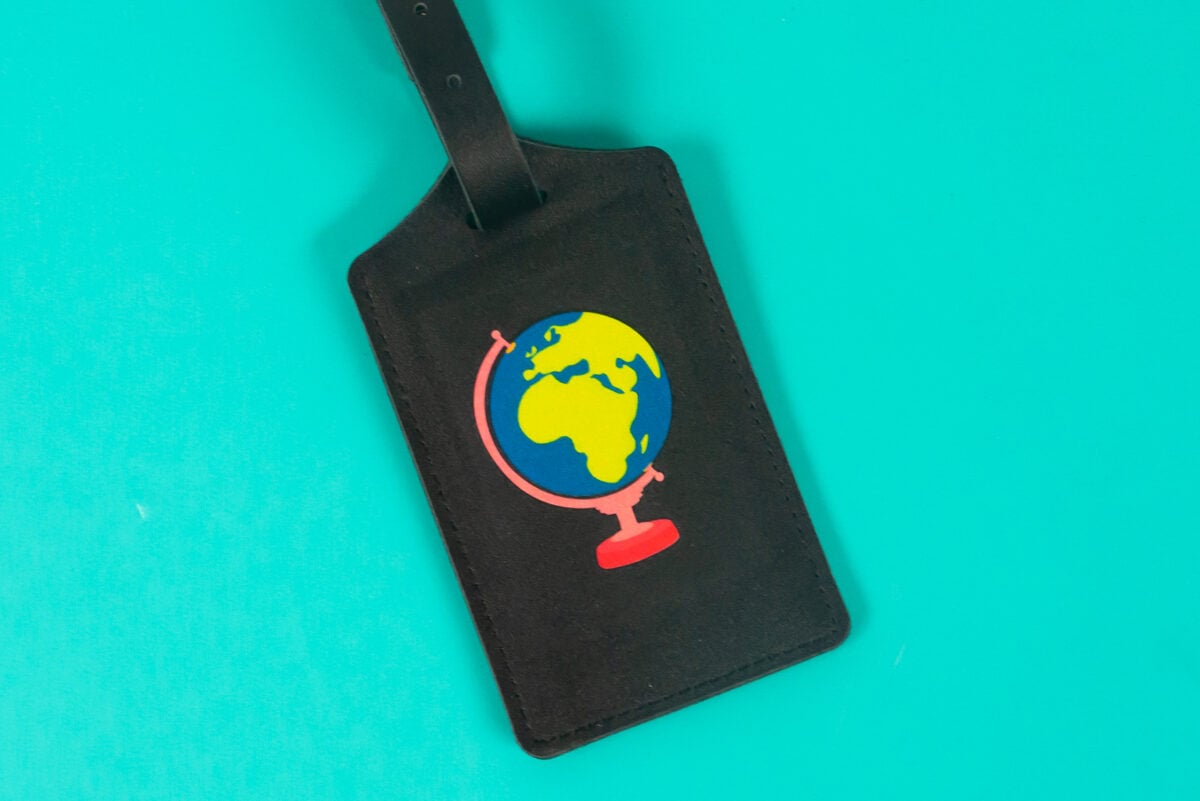
Overall results: This luggage tag was sort of hit and miss for me. I really didn’t like the outline of my carrier sheet on my final project, but I do feel like it could be remedied by making the carrier sheet bigger.
DTF on Wood
To test DTF on wood, I used a round wood sign. I placed the transfer on the wood and pressed for 20 seconds at 290° using medium pressure. When you’re done, put some heavy books or bricks on top of your wood while it cools so it doesn’t warp.
I tried both warm and cool peel and like with the neoprene, the cool peel worked MUCH better on wood. I found that the DTF print didn’t stick well when I tried the warm peel and actually pulled up some of the fibers of the wood.
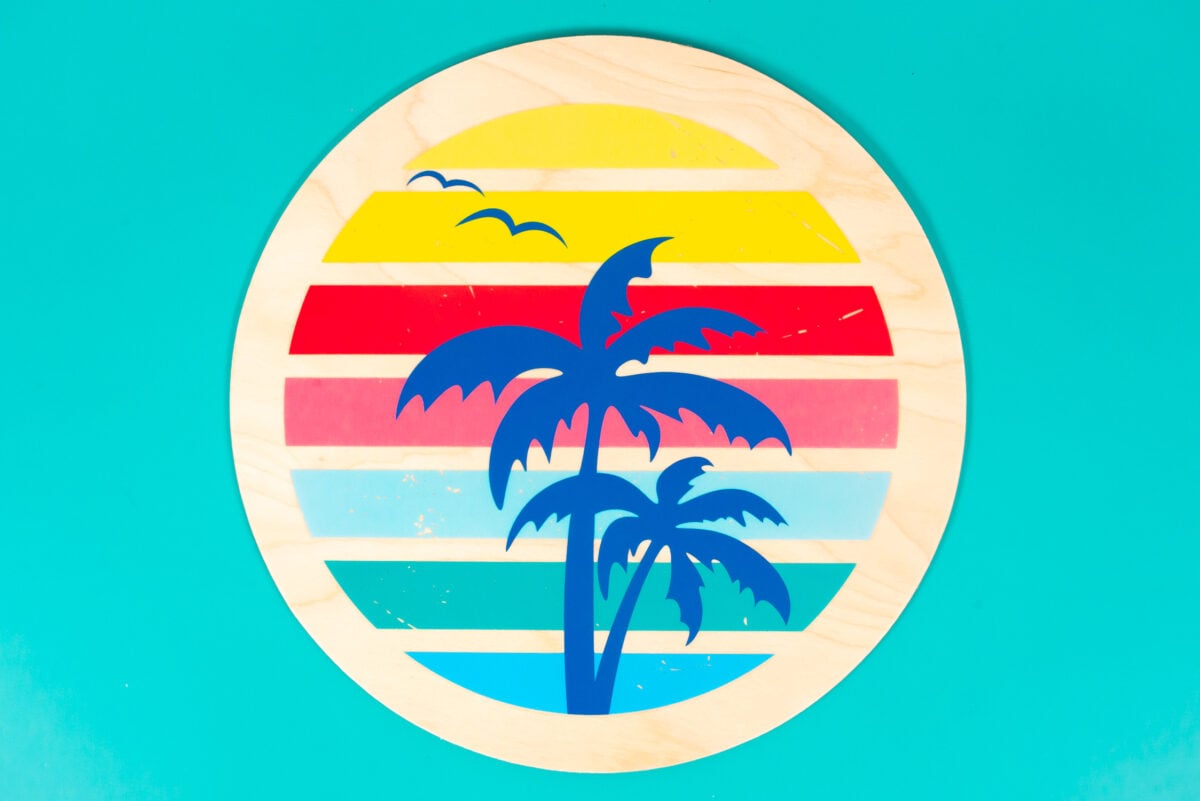
I did notice some “creep” of the adhesive on the wood in particular because it darkened the wood around the image, as you can see below. Basically the powdered adhesive on the back of the transfer melted out as I pressed. I could see it on some of the other projects (like the bookmark) but it was the most noticeable on wood.
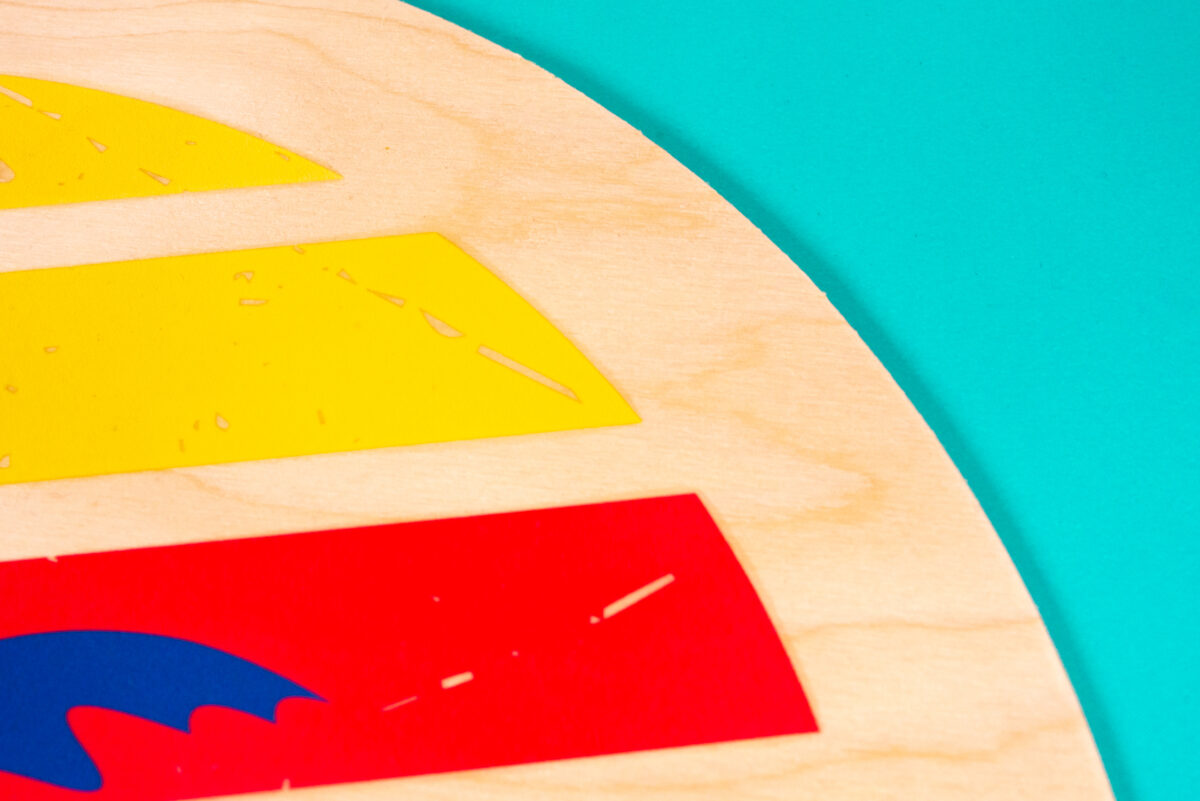
Overall results: Pretty happy with this one! Because a wood sign isn’t something that’s going to be handled a lot, I’d be comfortable hanging this in my house without worrying the print was going to lift. If you wanted to use this outside, you’d probably want to use a polycrylic spray or some other sealant on it.
DTF on Glass
To test DTF on glass, I’m using a glass tumbler. I wrapped my image around my tumbler and secured with heat resistant tape. I then pressed for 15 seconds at 290° and then rotated and pressed for another 15 seconds.
This one was definitely the worst of the bunch. Parts of it worked really well, as you can see below.
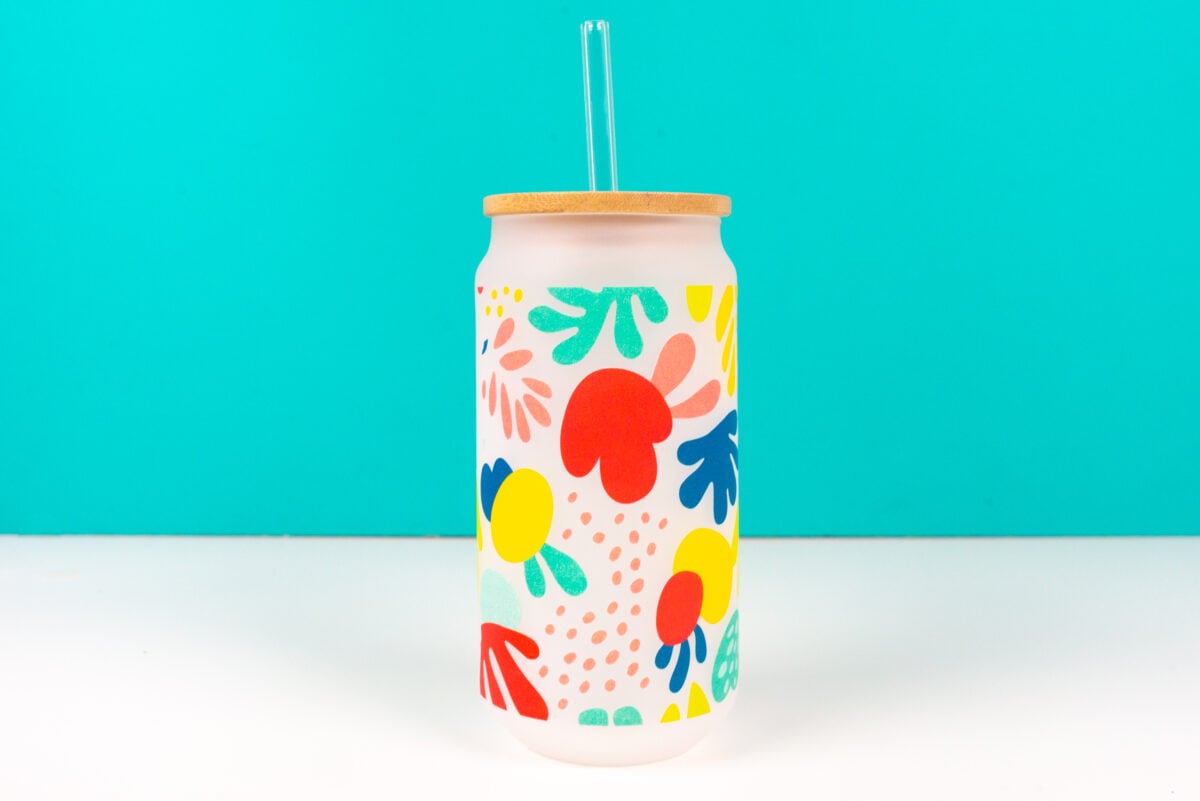
But because I am using a full wrap design, I had to rotate my tumbler to get all the way around. And when I pressed it, the transfer buckled a bit and didn’t stick well to the glass. I peeled my project and it pulled off some of the transfer. Not great.
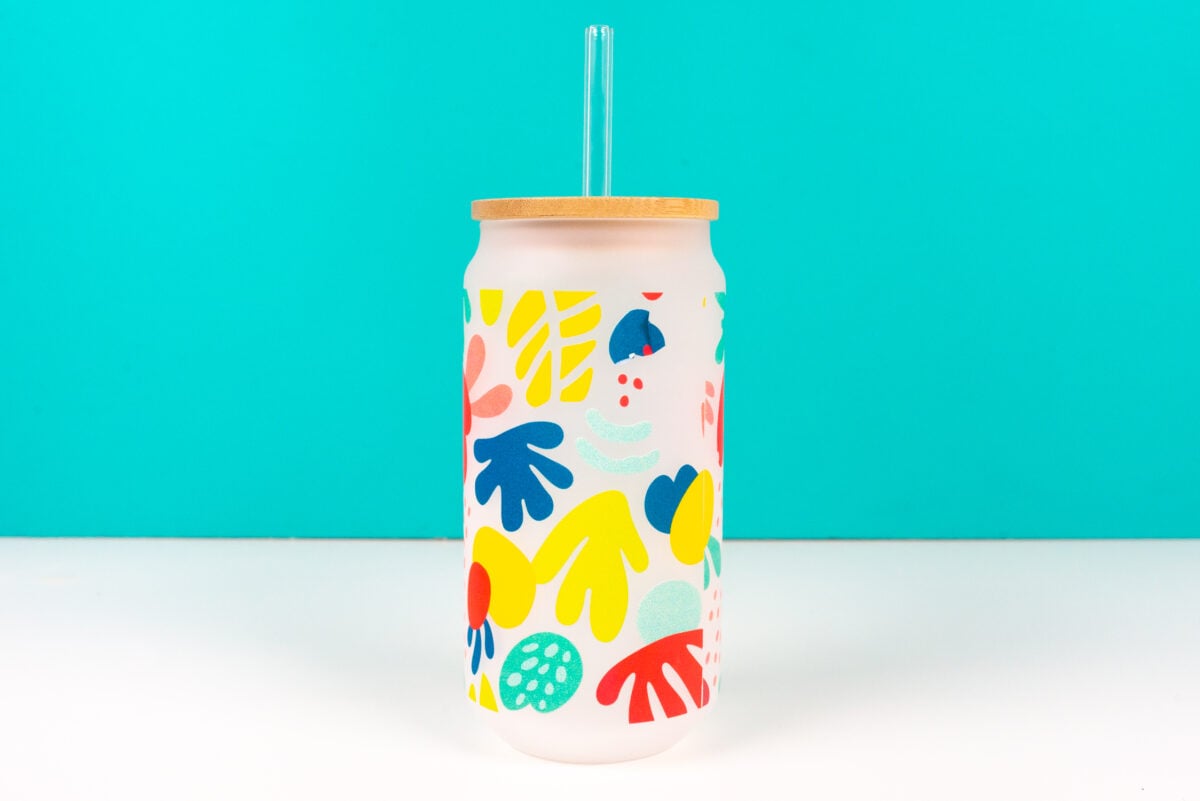
Overall results: I really don’t recommend using DTF on glass, especially as a full wrap. I could not get the transfer to lie flat and the buckling made it impossible to get a good press all the way around. You may have better luck with a smaller single image. But I would still use a clear coat or epoxy over it because I just feel like the transfer isn’t going to last long, even with hand washing.
I hope you found this post on using different DTF materials interesting! If you have questions about any of these projects, I’d be happy to answer them in the comments!


Comments & Reviews
Amy Marie says
Very helpful! Thanks for taking the risks for the rest of us! Im thinking of sewing a purse that Id like to transfer an image onto, and was worried the heat would melt the faux leather, but now I’m emboldened to try it!