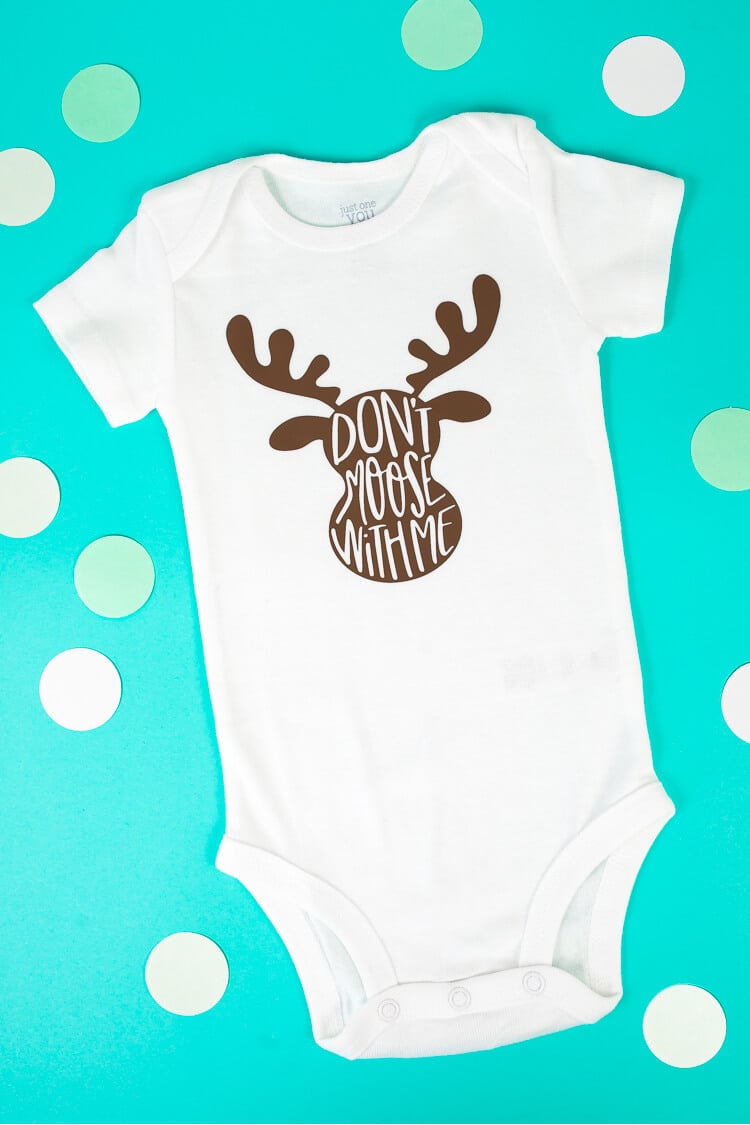
Tell everyone who’s boss with this adorable moose onesie! This cute moose SVG is perfect for an iron on onesie, as well as kids’ t-shirts. Make it using your Cricut machine and get tips for using the Cricut EasyPress as well!
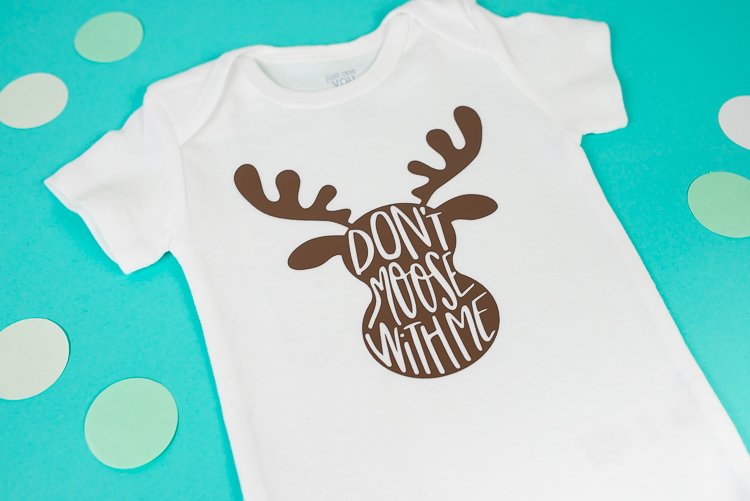
My friends just had a sweet little girl a few days ago, so today I’m making her a cute moose onesie. Her parents are both amazingly strong people so I know that she’ll follow in their footsteps. “Don’t moose with me” is the perfect way to tell people that she’s the tiny boss!
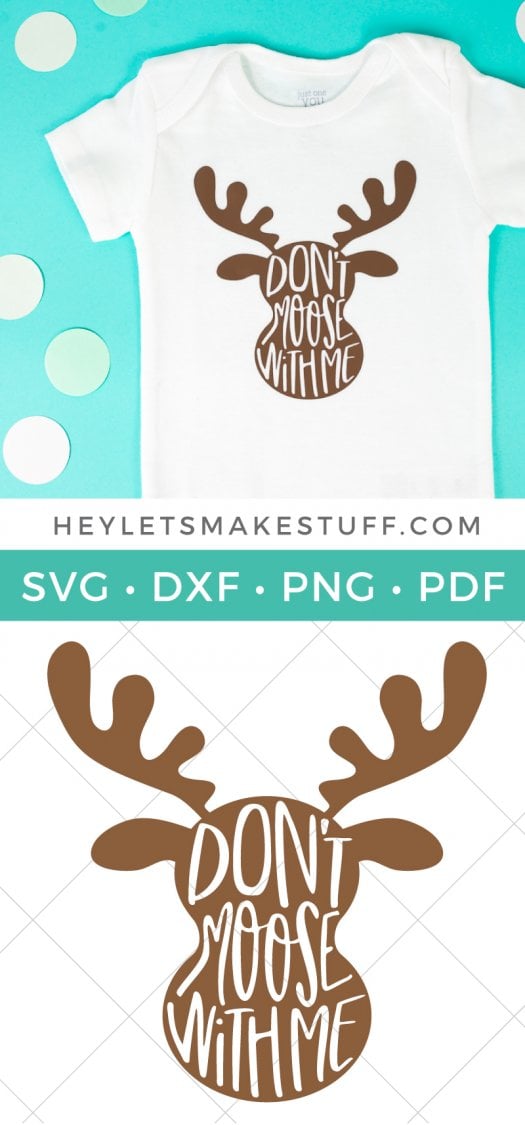
I designed this adorable file for you and you can download it for free using the box below! You’ll get the SVG, DXF, and PDF, as well as JPG and PNG versions if you want to use the file as a printable.

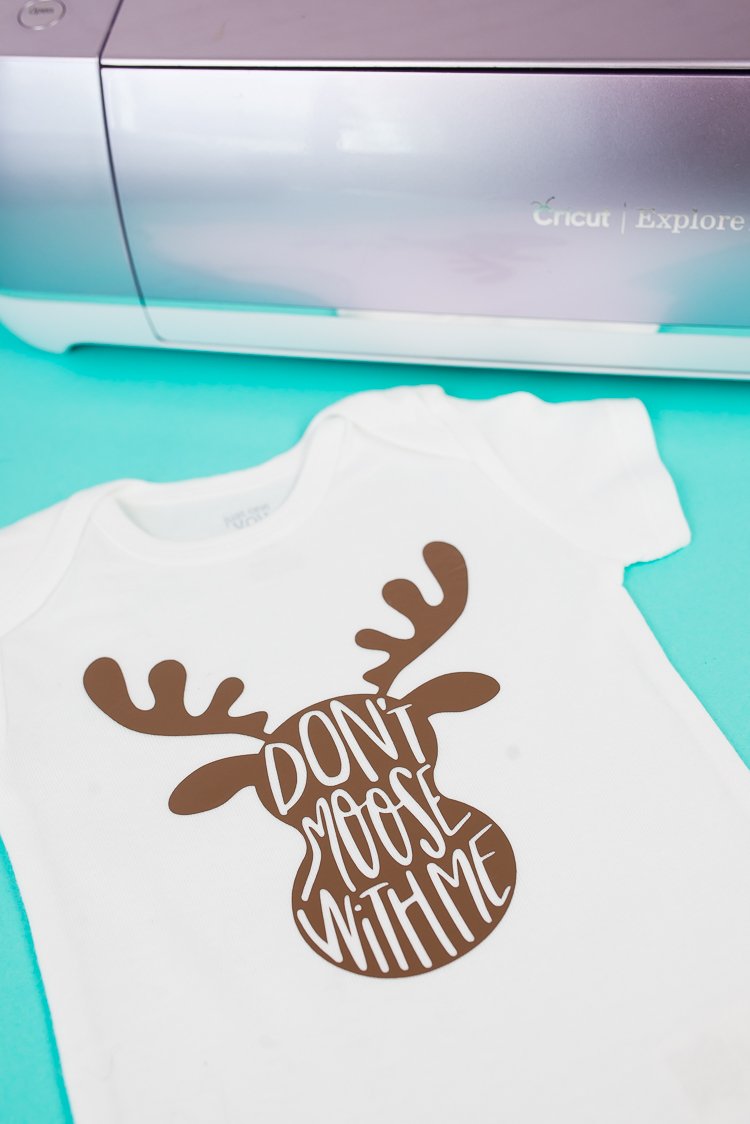
I used my Cricut Explore Air 2 and some cocoa Cricut Iron On Lite that I picked up at my local craft store.
Tips for Using the Cricut EasyPress
If you haven’t gotten yourself a Cricut EasyPress, what are you waiting for? There’s no reason you shouldn’t have this amazing tool in your crafting arsenal! I absolutely love mine—it’s a million times better than my old iron for using heat-transfer vinyl. Here are a few tips for getting the most out of your Cricut EasyPress.
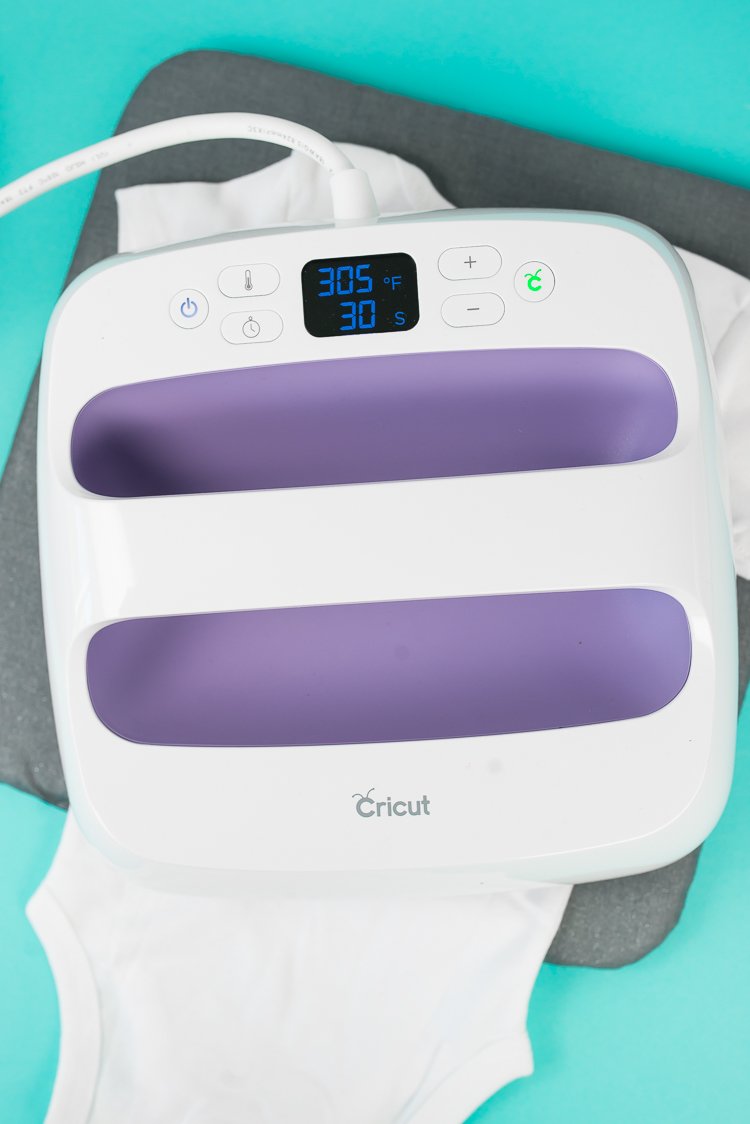
Use the Correct Cricut EasyPress Setting
There are so many different types of iron on vinyl, so make sure you’re using the correct setting for your material. The Cricut EasyPress comes with a card that shows the settings, but I also created a cute printable version here. For Iron-On Lite, use 305° and 30 seconds.

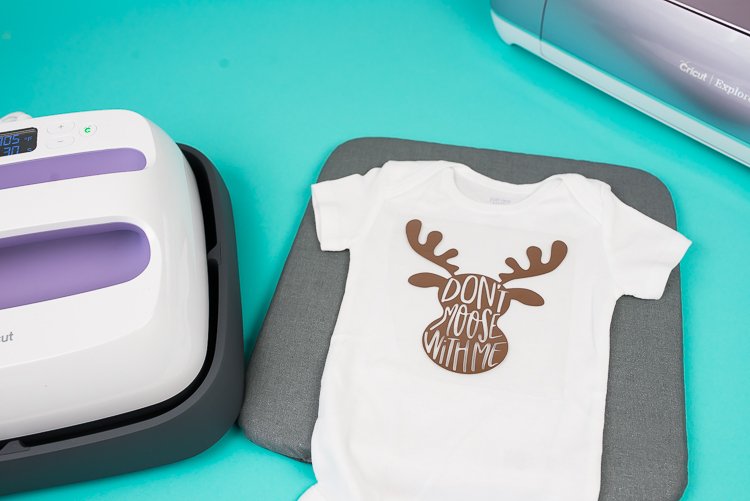
Use a Firm, Flat Surface
You want to make sure you’re using a strong surface to press your project. An ironing board is a bit flimsy — you don’t want a five-pound hot heat press crashing to the floor! I use my craft table and the new Cricut EasyPress Mat. If you don’t have a mat, you can use a folded towel. I like the mat, though—easier to store and I don’t have a random towel just hanging out in my craft room!
Heat Your Material First
Before you lay down your transfer, preheat your onesie by placing your EasyPress down for 15 seconds or so. Preheating allows the adhesive to set a little better, giving you better results.
Press from the Back
After you’ve done your first press on top of your iron on, flip over your project and do a press from the back. This double-press really makes sure the transfer adheres. Peel off the transfer sheet and you’re done! If you find that your vinyl is still not releasing easily, give it another press (though I haven’t literally not had to press anything twice with the EasyPress—it works so well the first time!).
And that’s it! Using the Cricut EasyPress is, well, easy! I can’t wait to give this iron on onesie to my friends’ new daughter!
Also check out more onesies you can make with your Cricut!


Comments & Reviews
Jess says
This is adorable! Thank you for sharing.
Before pressing did you place anything inside the onesie (between the front and back)?