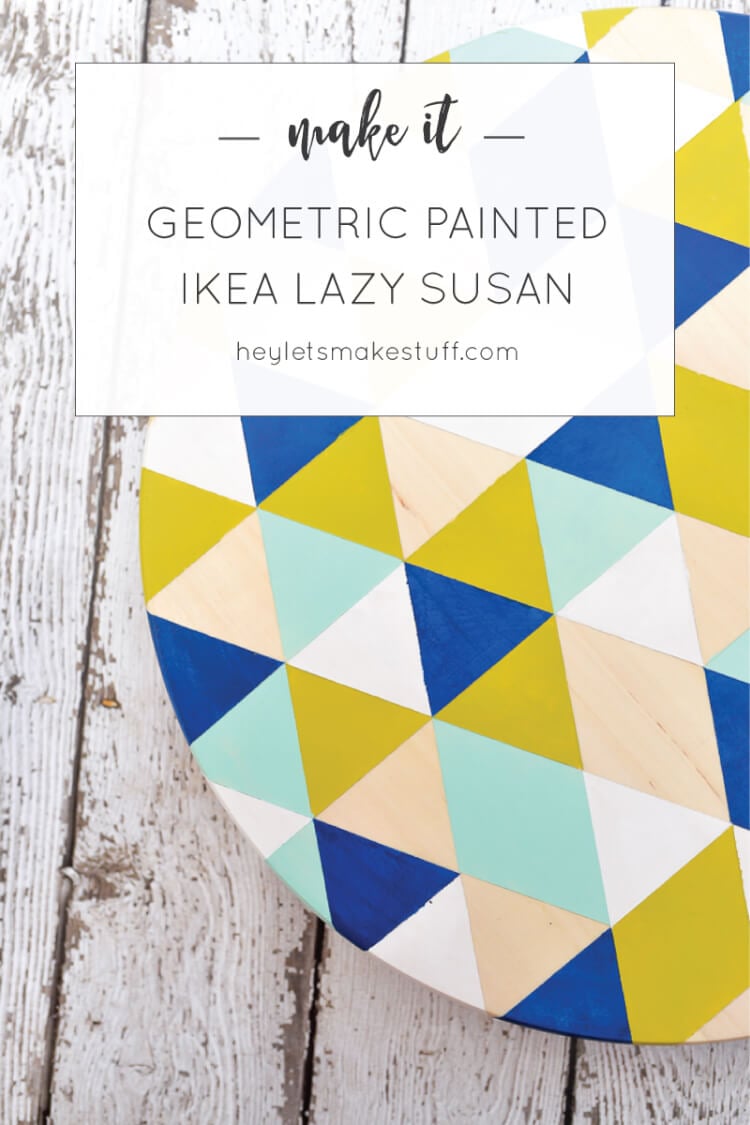
Take a simple IKEA “SNUDDA” Lazy Susan and dress it up using FrogTape and paint!
A fun, geometric DIY Lazy Susan.
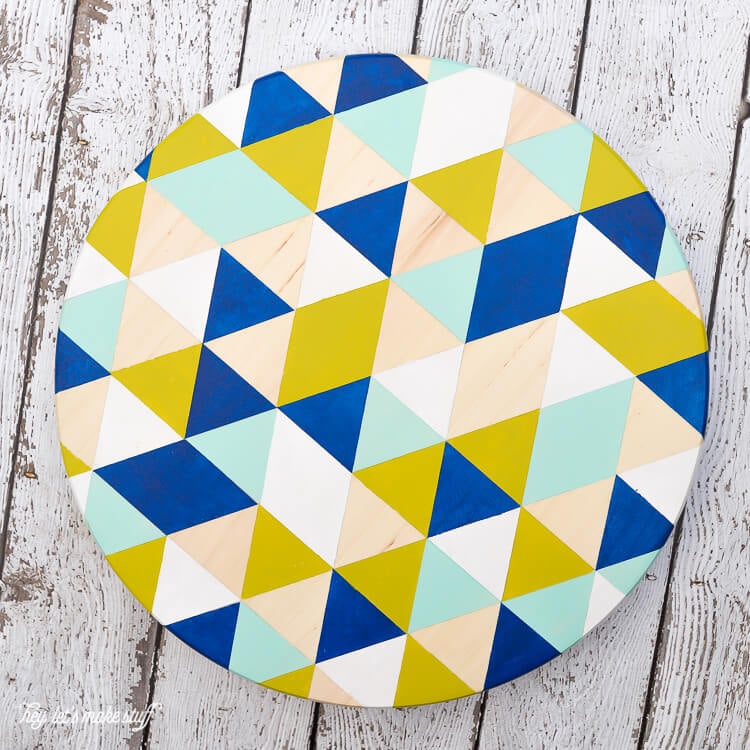
Last October, I made a fun geometric pumpkin. I loved it, but it really only worked to have out during the fall season. I decided to try the same technique on an IKEA SNUDDA Lazy Susan, so I could enjoy it all year round! And because I have a crazy love for FrogTape.
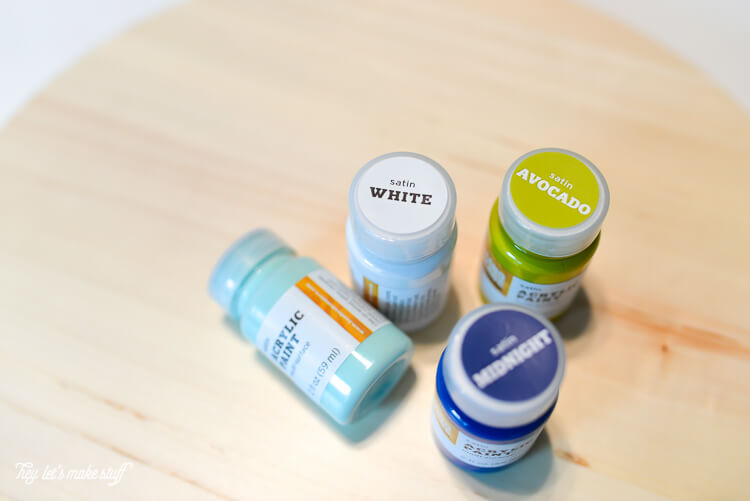
DIY Lazy Susan Supplies
IKEA SNUDDA Lazy Susan
Sandpaper or sander
Four or more craft paint colors
Craft paint brushes
Ruler with a “60 degree line”
Pencil
Frog tape
Protective finish, like Minwax Polycrylic
Sponge brushes
DIY Lazy Susan Instructions
So this is where I share my first attempt at this project, which was a huge craft fail. I failed to take into account the original shiny finish on the Lazy Susan (my pumpkin didn’t have this finish), and when I applied my paint, let it dry, and peeled up my tape, it brought up a ton of paint with it. “Shabby chic” didn’t cover it. “Disaster” did.
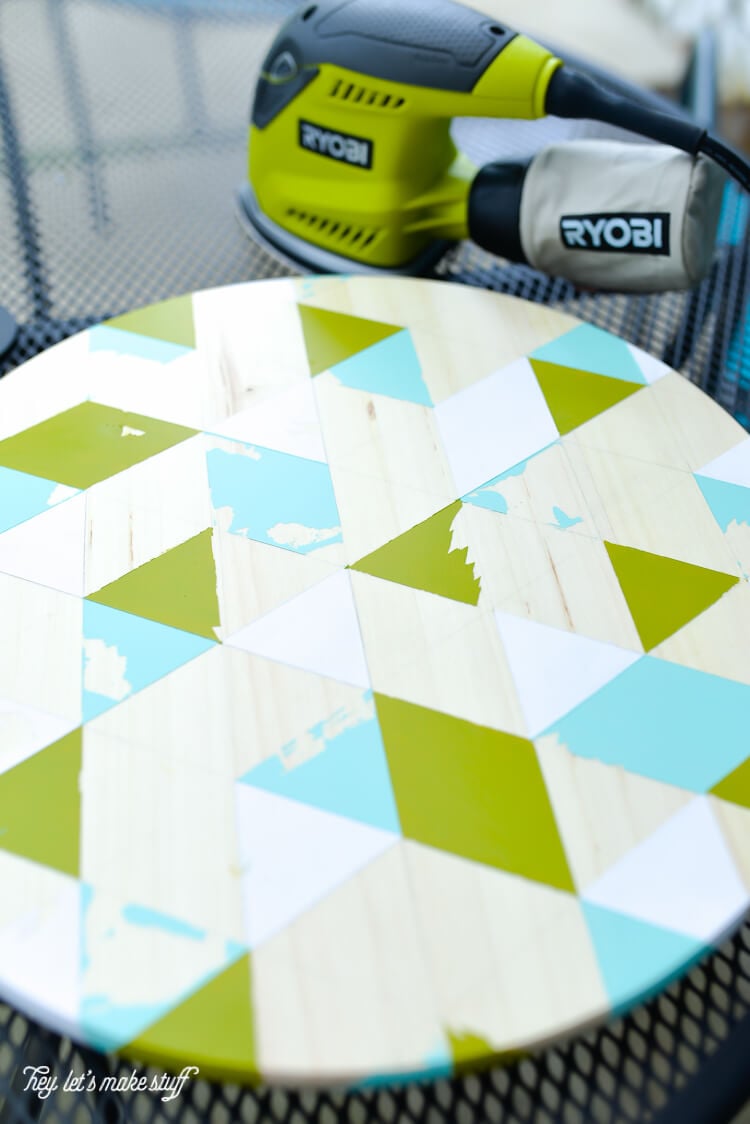
So I used my trusty Ryobi Corner Cat Finish Sander (I freaking love this thing) to take the paint AND the original finish off the Lazy Susan and started from scratch. So Step 1 is SAND THE THING DOWN.
(Side note: I’m actually happy about this craft fail. I decided the green was too green and added some yellow on my next try and I love it so much more!)
Then you can continue on to mapping out your triangles!
Start by drawing a line down the center of your Lazy Susan. Then draw parallel lines two inches away from that line on either side, all the way to the edges.
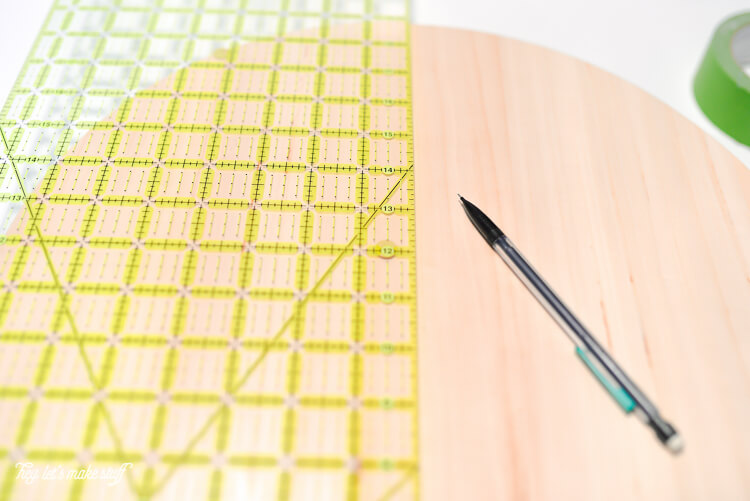
Then line up the 60 degree line on your ruler with the lines you just created. This gives you the second side of your triangle. Draw your first line, and then draw parallel lines every 2 inches apart from that line.
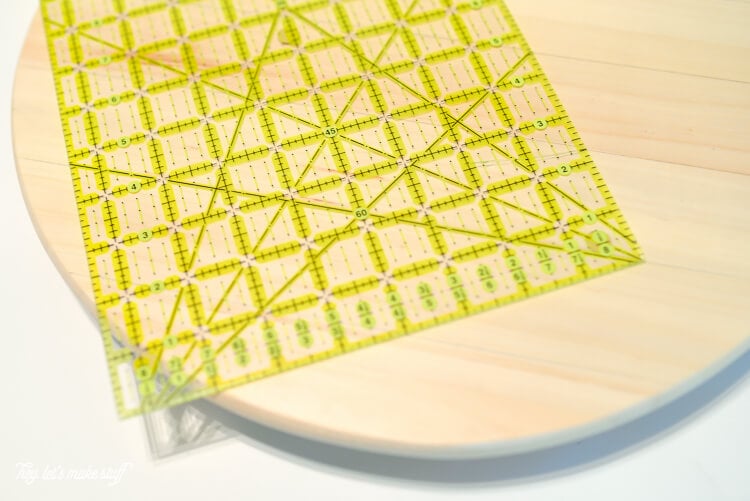
Then line up your ruler with the intersections, and draw the third side of your triangles.
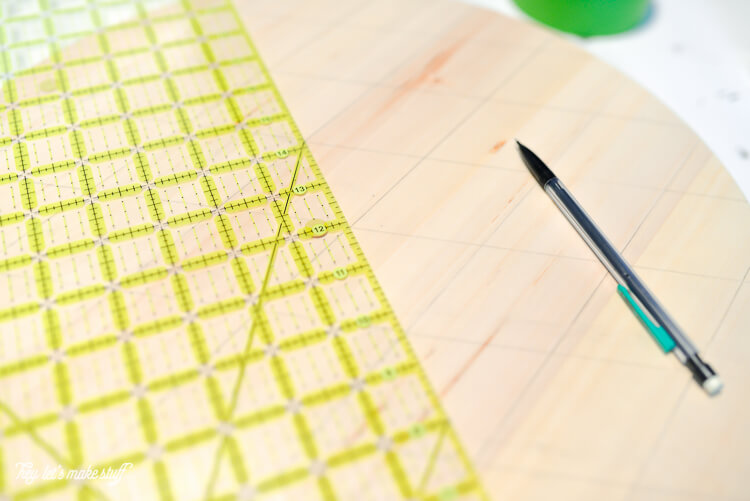
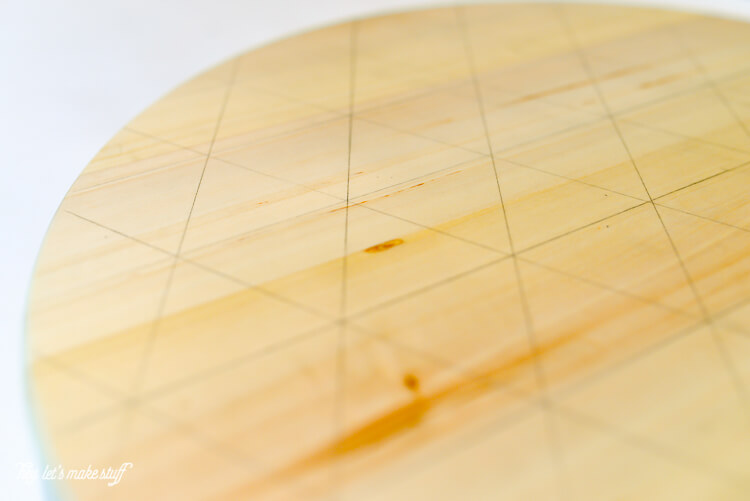
Fun! I love triangles.
Using FrogTape, tape off some of your triangles. I went with a random selection, I also like having a diamond or two to make it feel extra random.
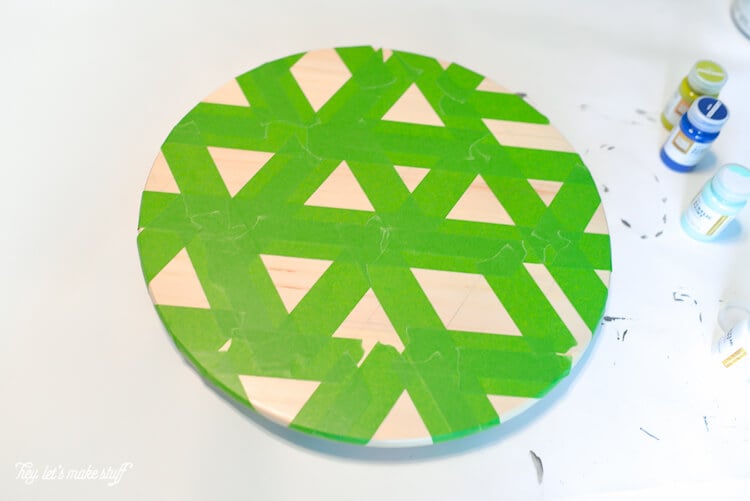
Paint your first color, wait for it to dry, and add a second coat. Once that dries, peel off your tape (yes, this uses a lot of tape, but it’s worth it!).
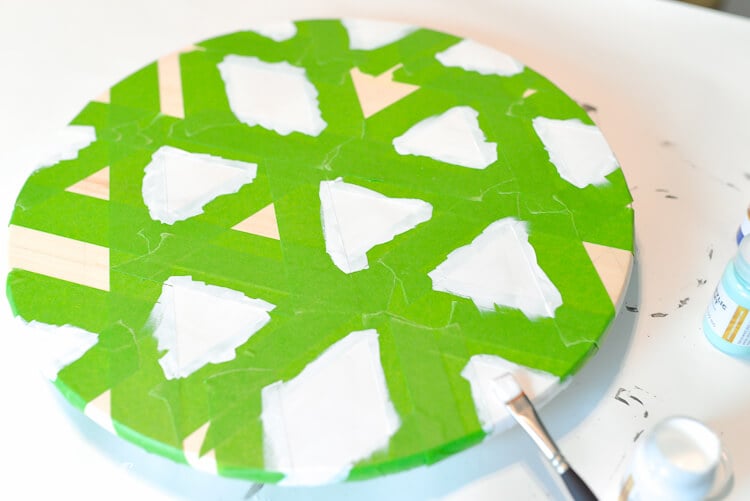
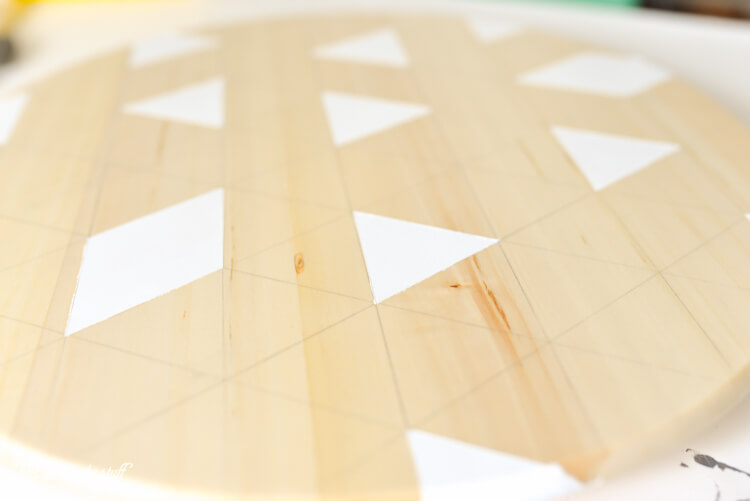
Tape off some more triangles and add two coats of your next color of paint. Wait for it to dry, and peel up the tape.
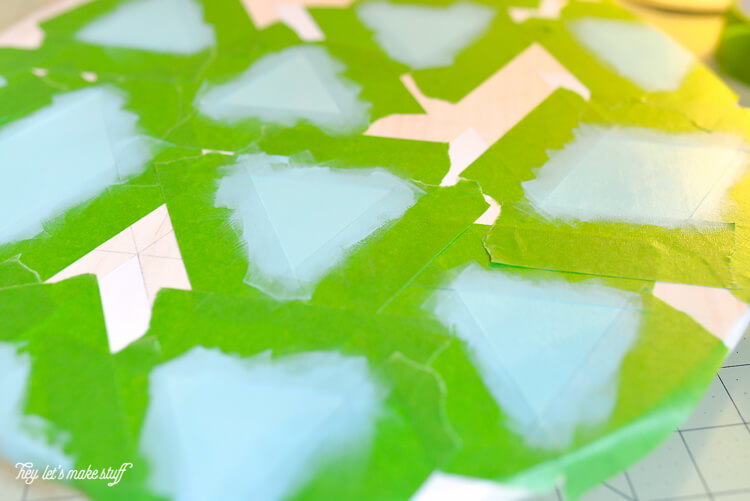
Repeat with your next color. And your next color. Then go back and fill in any empty triangles.
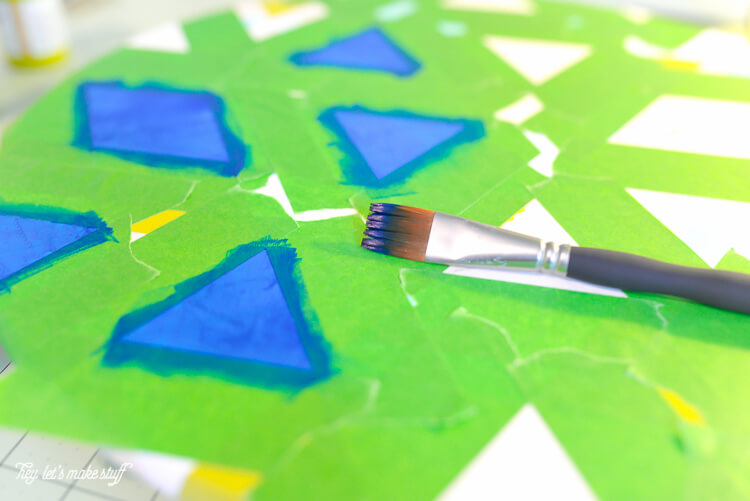
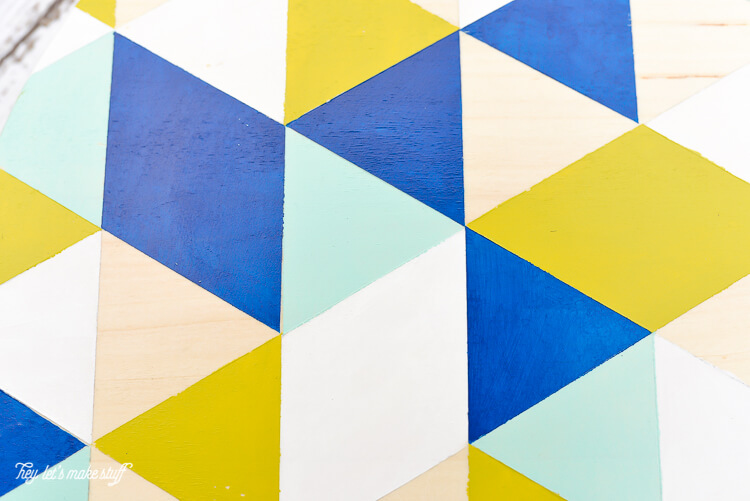
Do this until you have all of the triangles filled in that you want to have filled in. You could do them all or leave some wood, like I did (you can really see the difference in my yellow/green paint here versus my craft fail shot above).
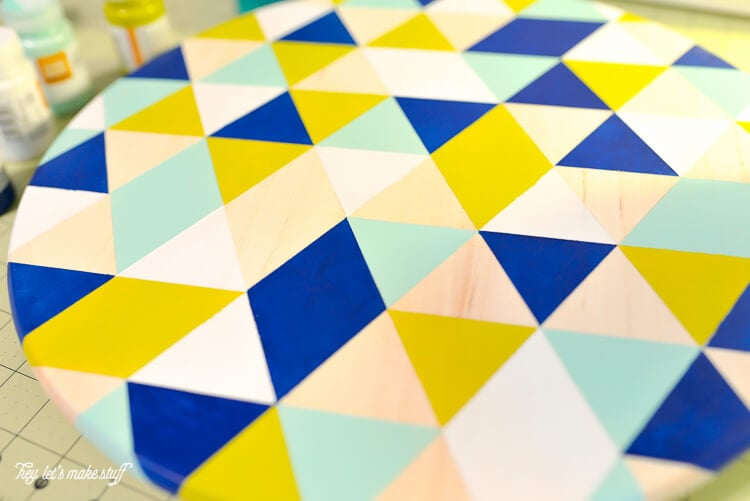
Then, using a foam brush, apply two thin layers of a protective finish, like Minwax Polycrylic. This will protect it and make it easy to clean.
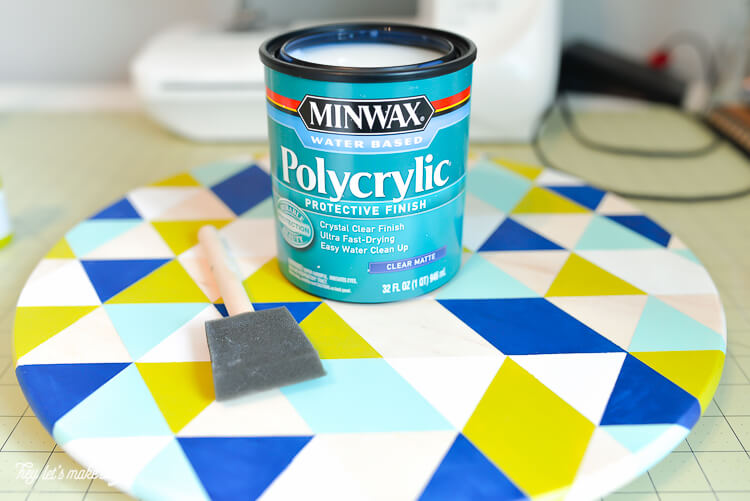
And then you’re done! This is a good nap time project. One color of paint while the baby (or babies, if you’re me) sleeps in the morning, and one color during afternoon nap. I slowly painted my Lazy Susan over the course of two or three days, but that’s the pace I move right now. Hashtag that #twinmom, yo.
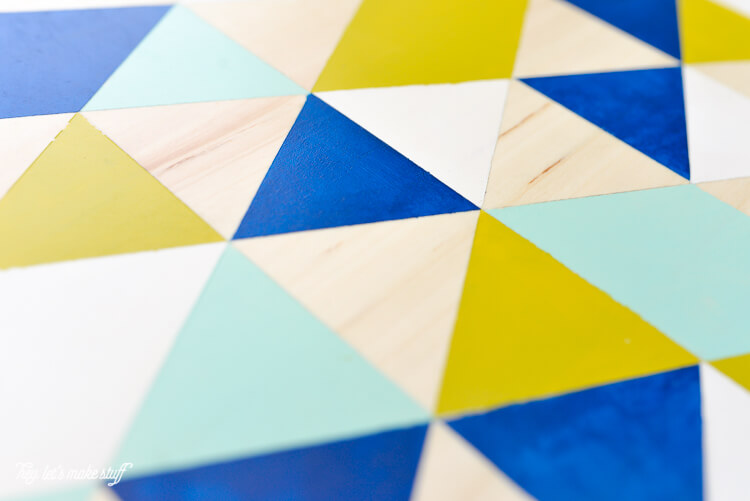
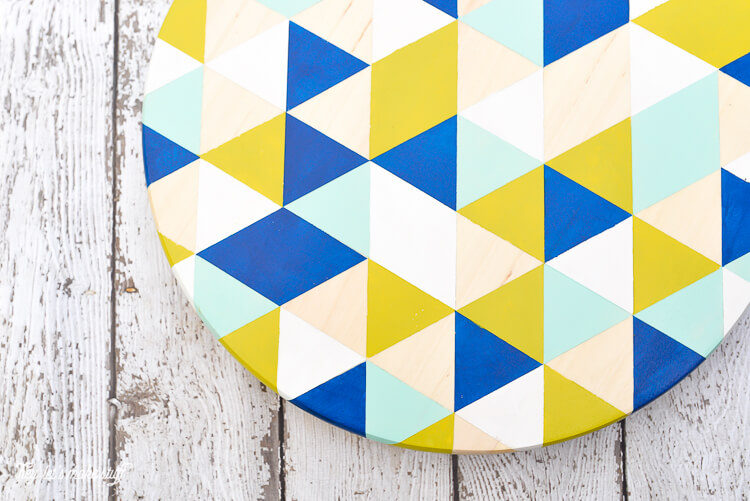
Happy painting, my friends!
More Crafts to Make:
[ess_grid alias=”easy_crafts”]


Comments & Reviews
Laila says
Thank you for this lovely idea. I am going to try this! Love your second group of colors too!