Make the cutest little Scandi-style houses using wood scraps and iron on vinyl! Mix and match doors, windows, and embellishments to create DIY Christmas village with your Cricut!

Scandinavian decor has been trending the last few years and I, for one, am in love! I’ve been going for a “cozy Scandi cabin” feel in our new house up here in Washington. Which means a lot of my neutral, minimalist Christmas decor I’ve collected over the years will go beautifully in this house!
Today I’m sharing a tutorial on how to make this cute DIY Christmas village using your Cricut and iron on vinyl on wood blocks.
Stop pulling your hair out and start creating confidently with your Cricut! Finally understand how to use your Cricut with my Learn Your Cricut eBooks!
I cut scrap wood into house shapes, designed the windows, doors and embellishments in Cricut Design Space, and then cut them in iron on and adhered them to the wood houses with my EasyPress mini. In this post I’ll show you how to do it!
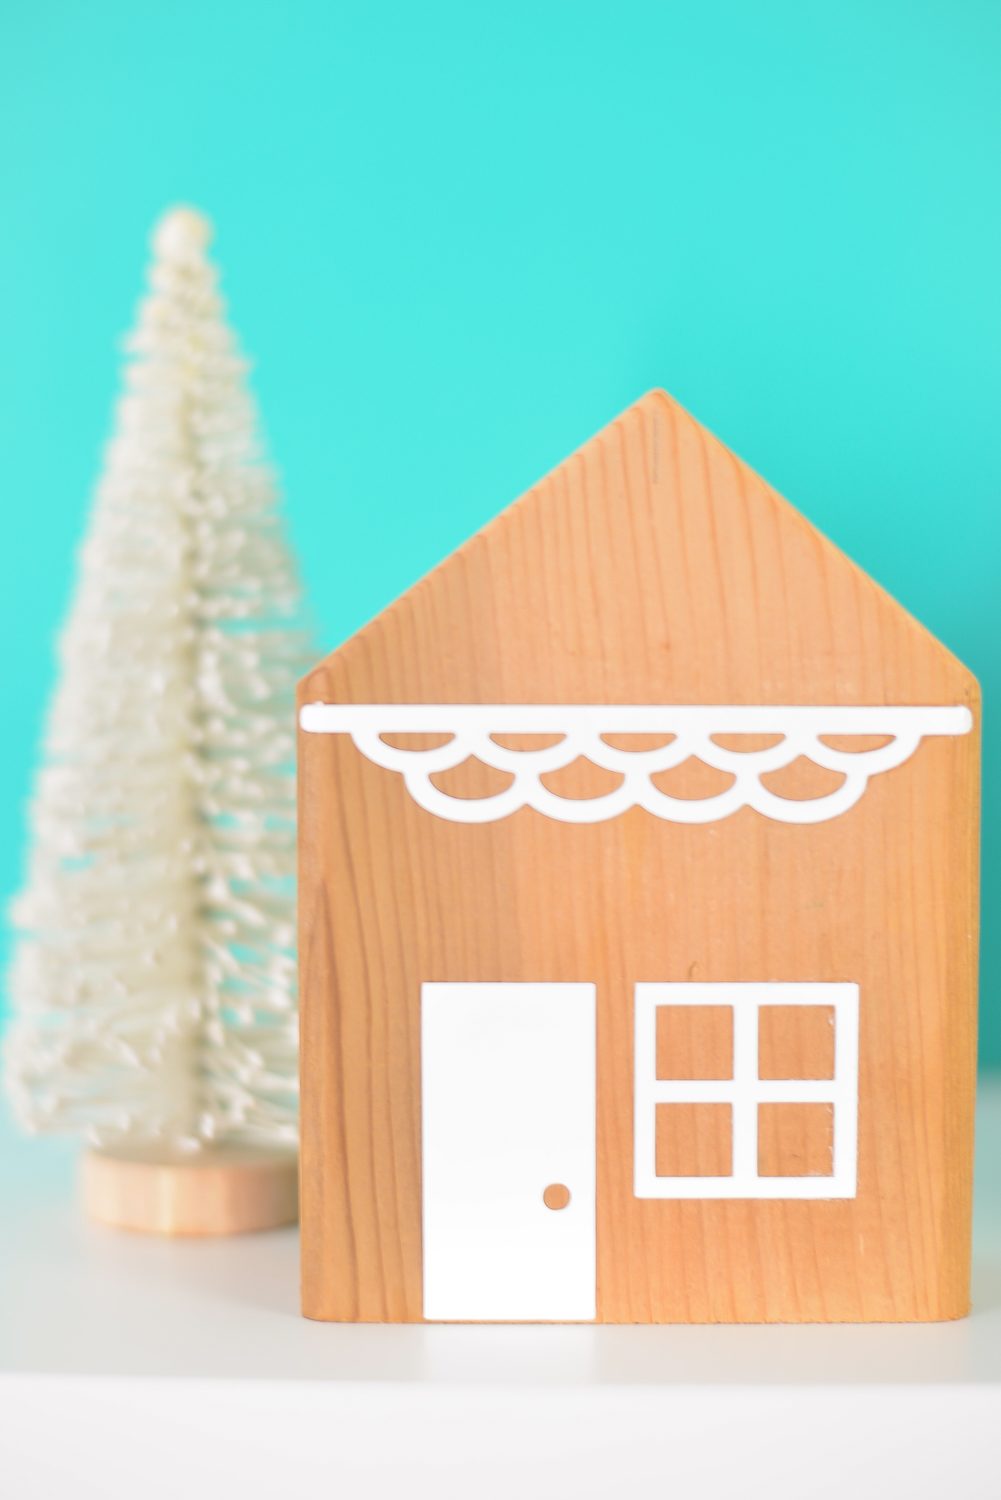
I love crafting with my Cricut for the holidays, particularly when it comes to decor! From signs to banners to ornaments to mantel decor, my Cricut is my number one Christmas crafting tool!
Supplies for the DIY Christmas Village
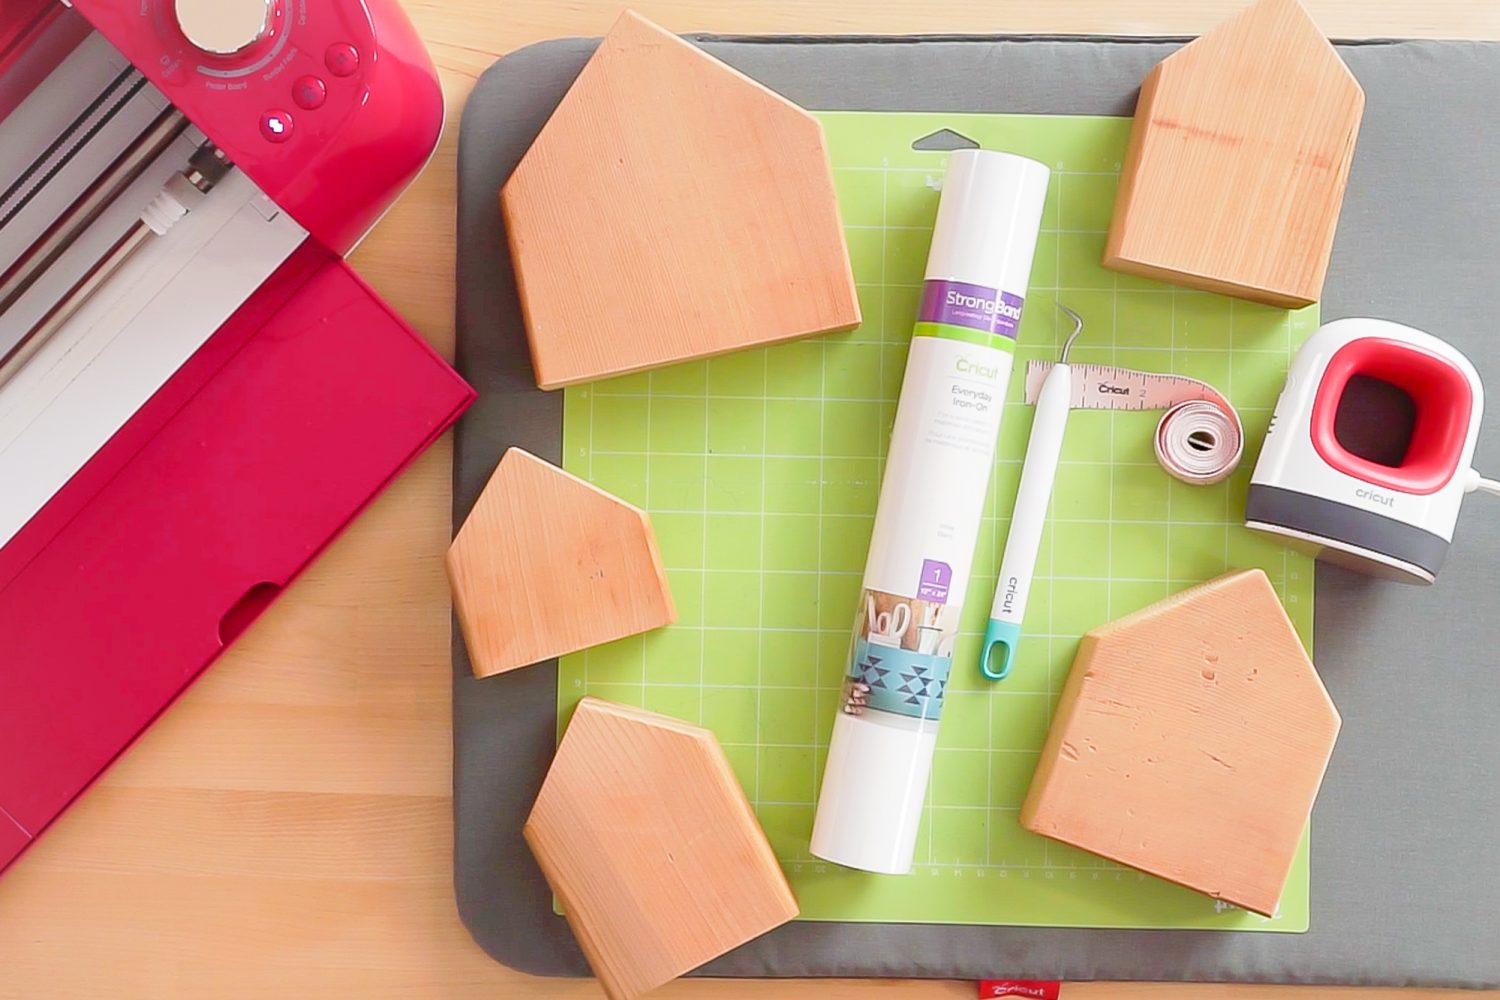
- Cricut Explore, Cricut Joy, or Cricut Maker
- Blue LightGrip or Green StandardGrip mat
- Iron on vinyl
- Weeding tool
- Cricut EasyPress Mini
- EasyPress mat
- Wood house blocks (see tutorial for more options)
- Measuring tape or ruler
- Cricut Design Space File
DIY Christmas Village Instructions
Watch this video to learn how to make this DIY Christmas Village with your Cricut!
Would you rather have step by step instructions to make these cute houses? Read on!
Cut Your Wood Blocks
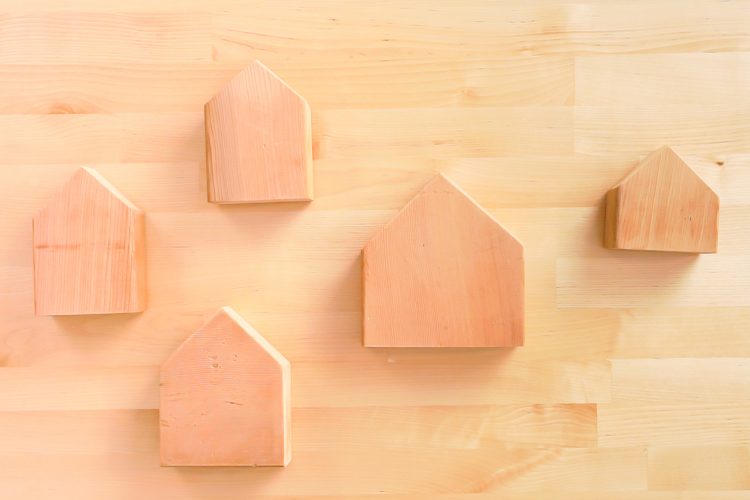
For this project, I used scrap wood and my chop saw. Honestly, there was no fancy measuring involved—just chopped the scraps into house shapes. Then I sanded them down a bit. You can stain or paint them if you’d like, or leave them raw.
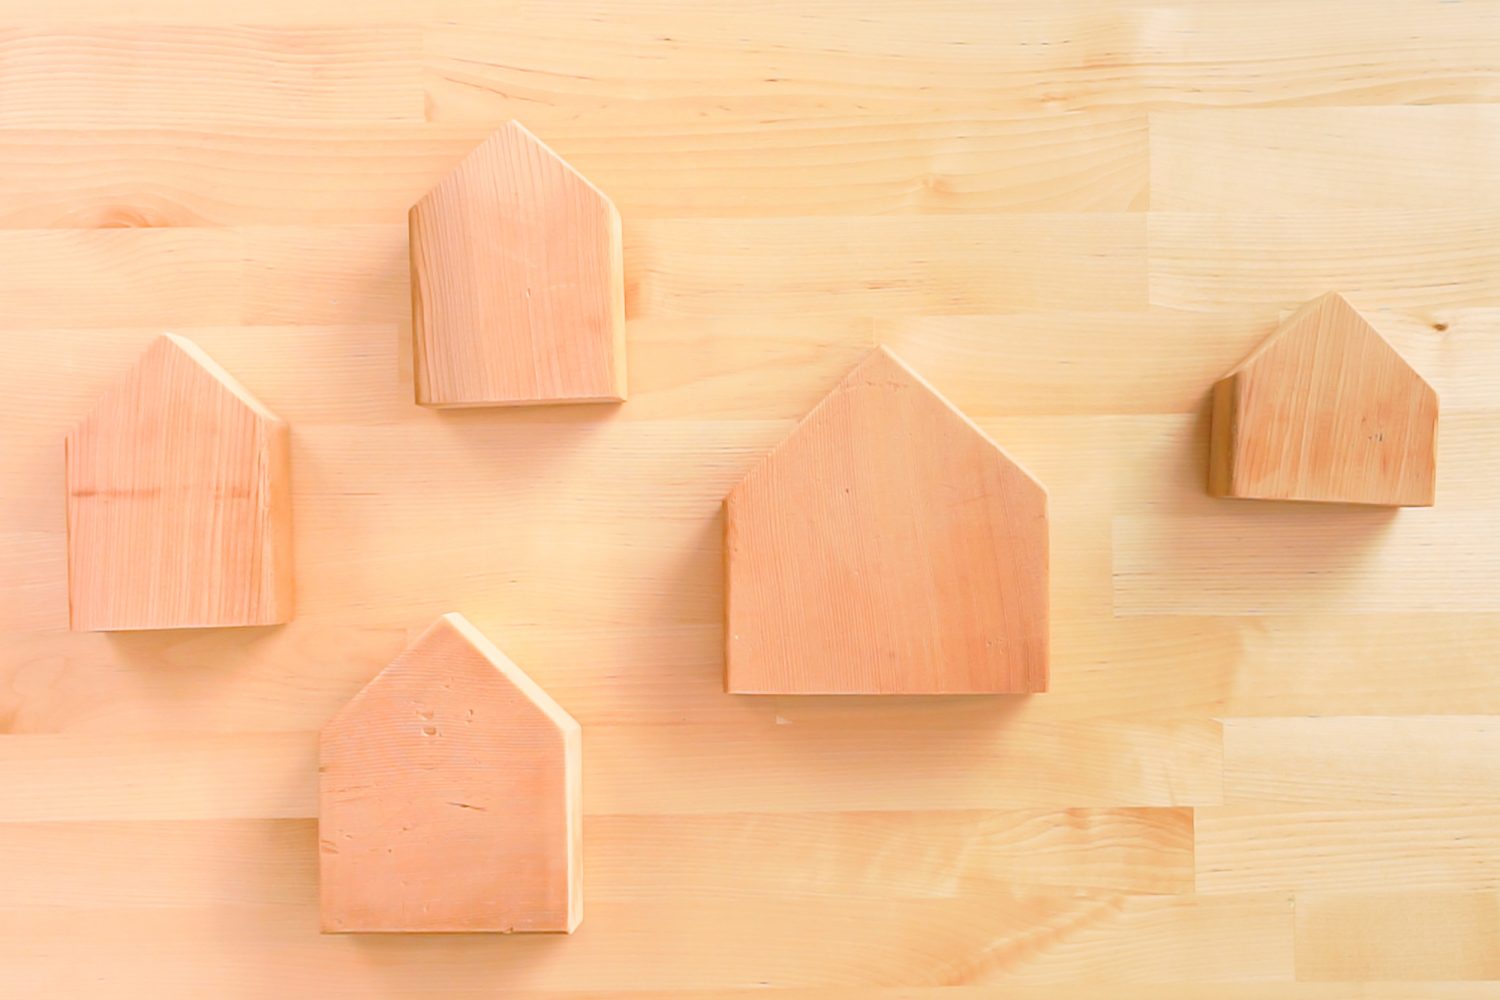
If you do paint your houses, I recommend using adhesive vinyl instead of iron on vinyl. You can learn more on my post about Using Vinyl on Painted Wood.
You can also find wood house blocks on Etsy or other online retailers if you don’t want to cut your own.
Measure Your Wood Blocks
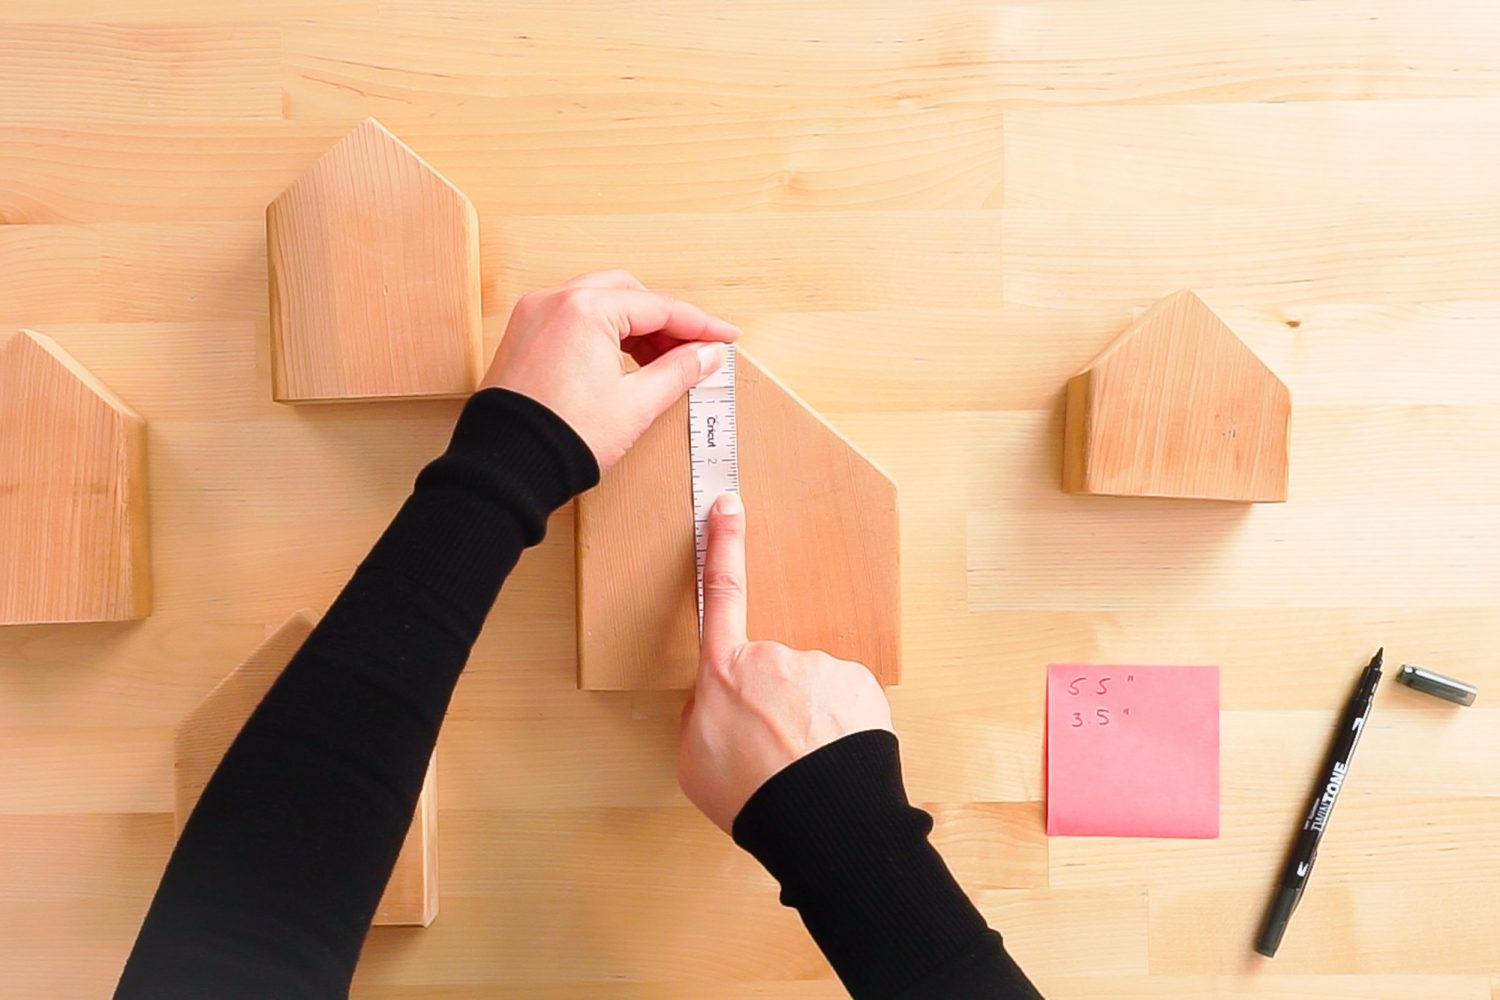
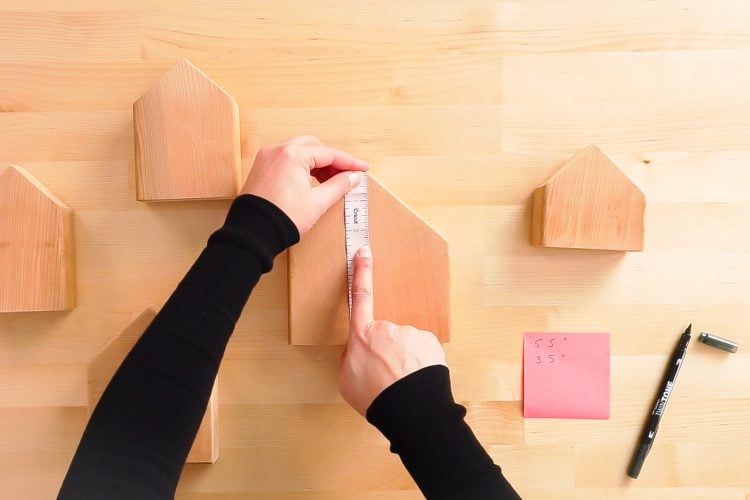
Measure the approximate sizes of your houses. You’ll want to measure the height and width without the roof, as well as the height of just the triangular roof itself.
Create Your Images in Design Space
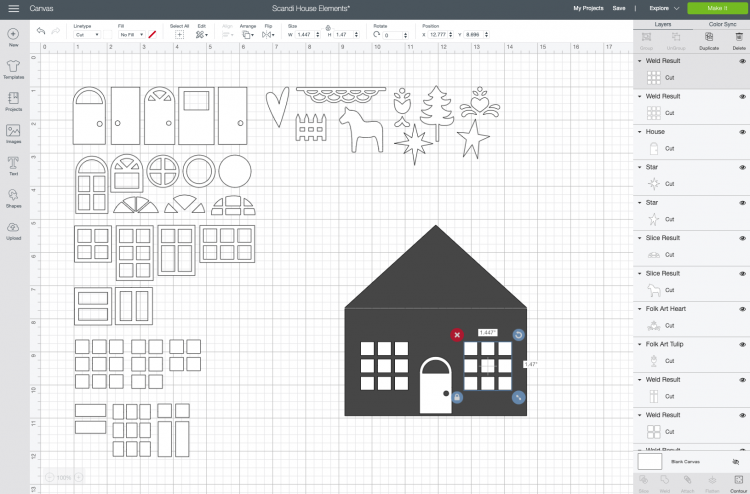
Now it’s time to create our houses. I designed a bunch of doors, windows, and embellishments in Cricut Design Space, which you can find here. It’s sort of a “Choose Your Own Adventure” with these elements—you can pick and choose whichever fit on your house and that you like best!
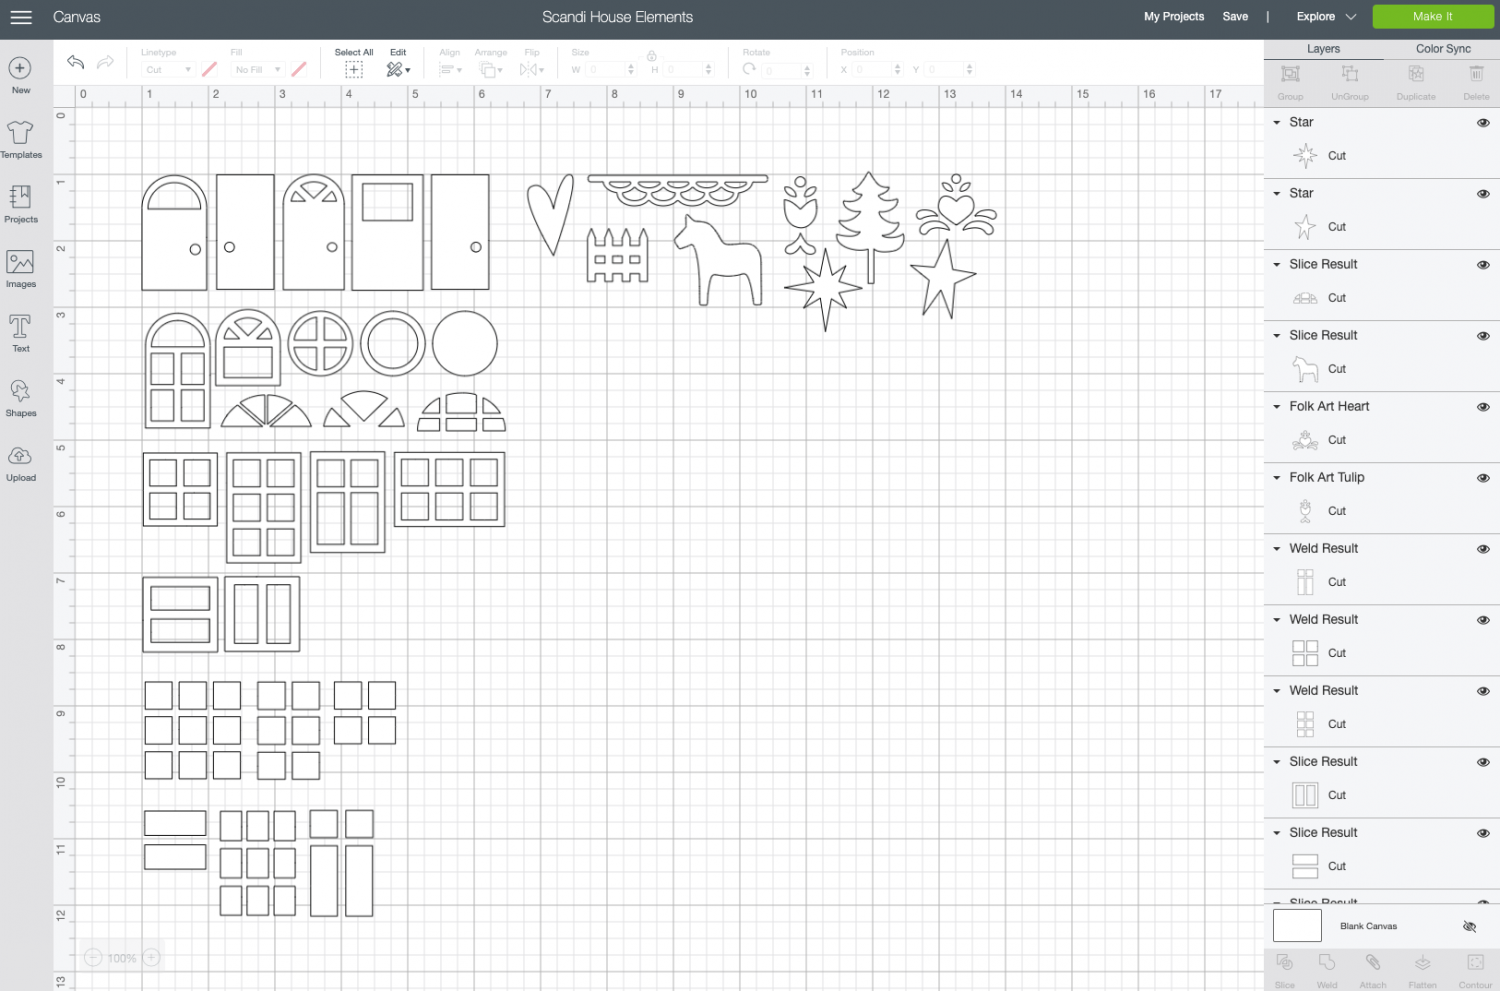
For my first house, the block is 5.5″ wide and 3.25″ tall (without the roof). The triangle roof is 2.5″ tall. Let’s create a template for our house.
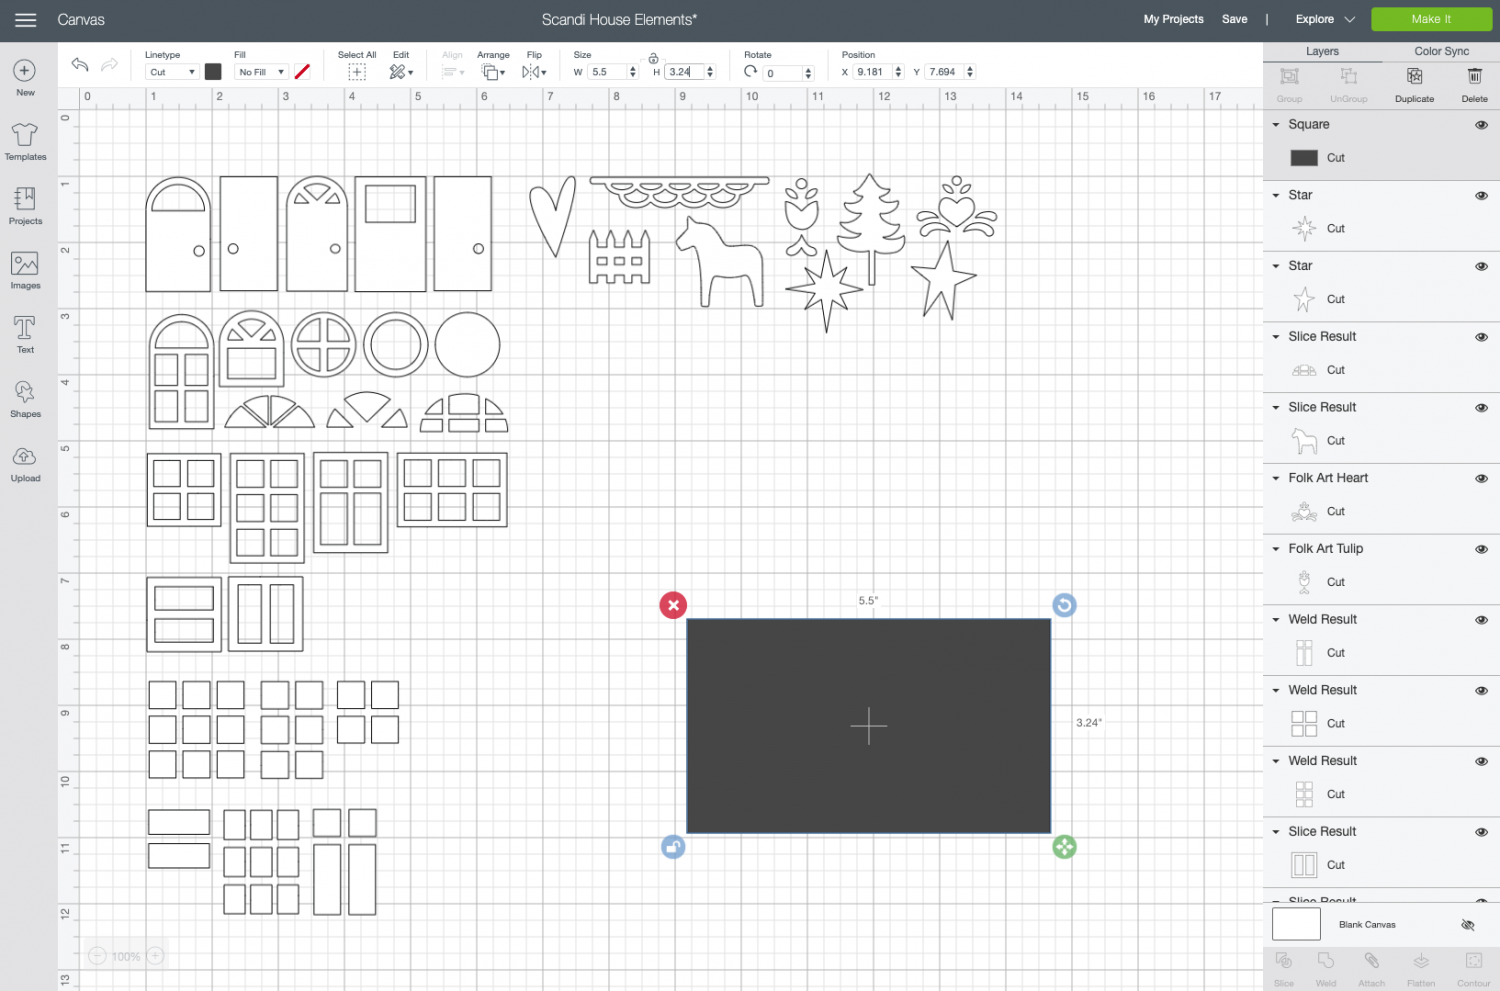
Using the Shapes tool on the left, add a square to your canvas. Then click the little lock in the bottom left of the square so you can size the dimensions individually. Change the square to match your block size (for me, that is 5.5″ wide and 3.25″ tall).
Then add a triangle. Before you unlock the dimension constraints, change the height of your triangle to match the height of your roof (mine is 2.5″ tall).
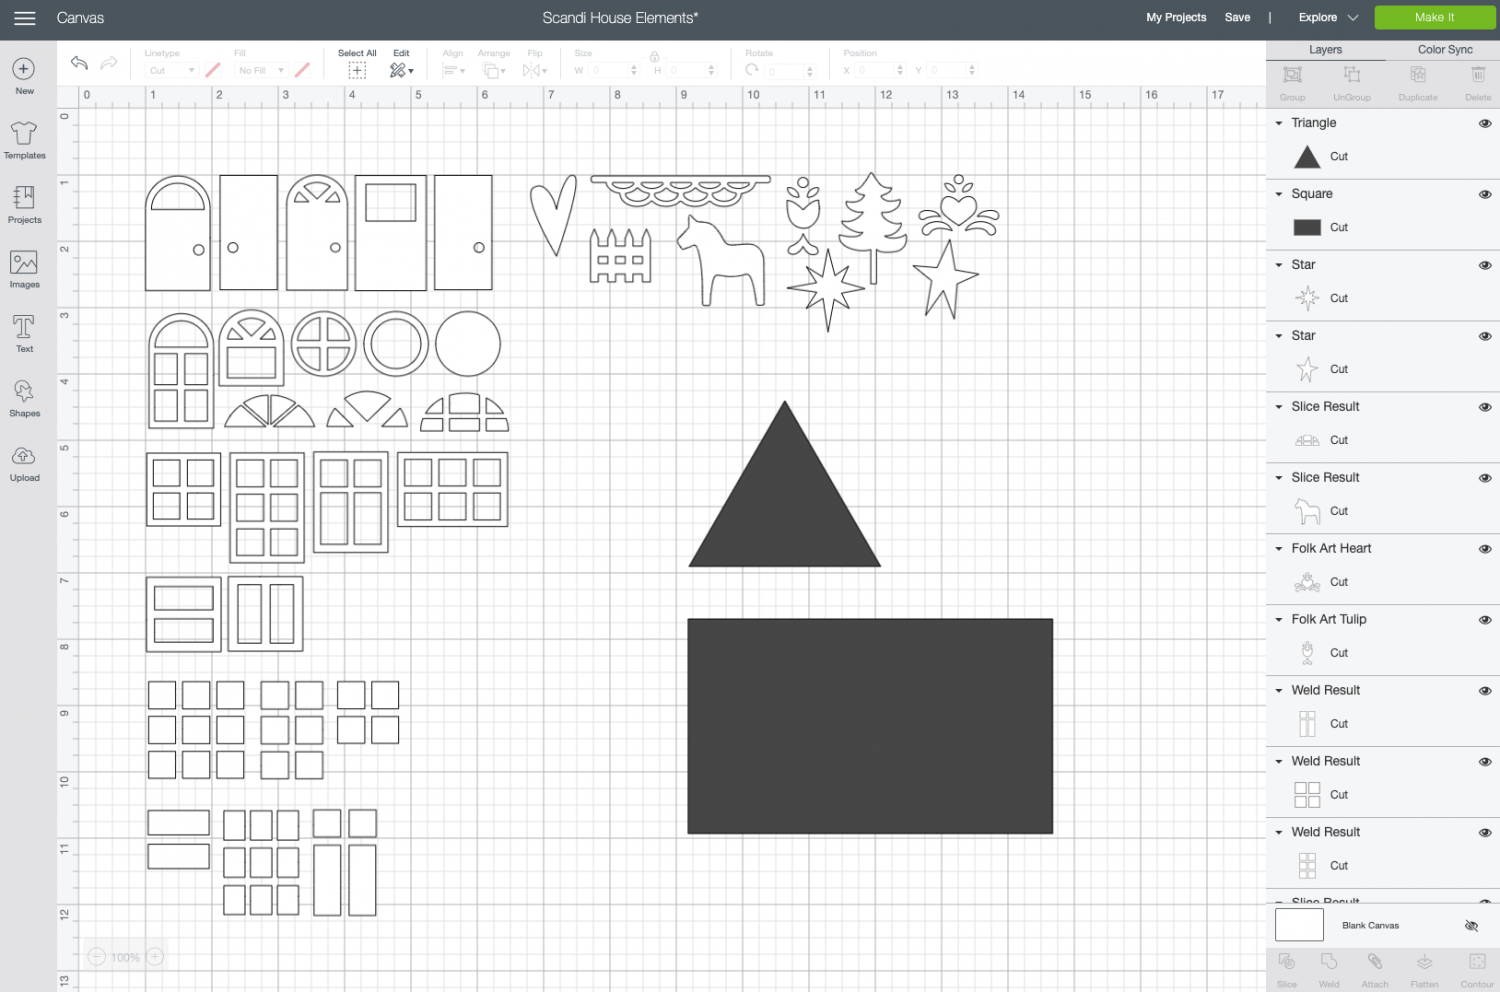
Then unlock the constraints and change the width to match your house bottom (so for mine, that’s 5.5″ wide). Then move the roof to sit on top of your house.
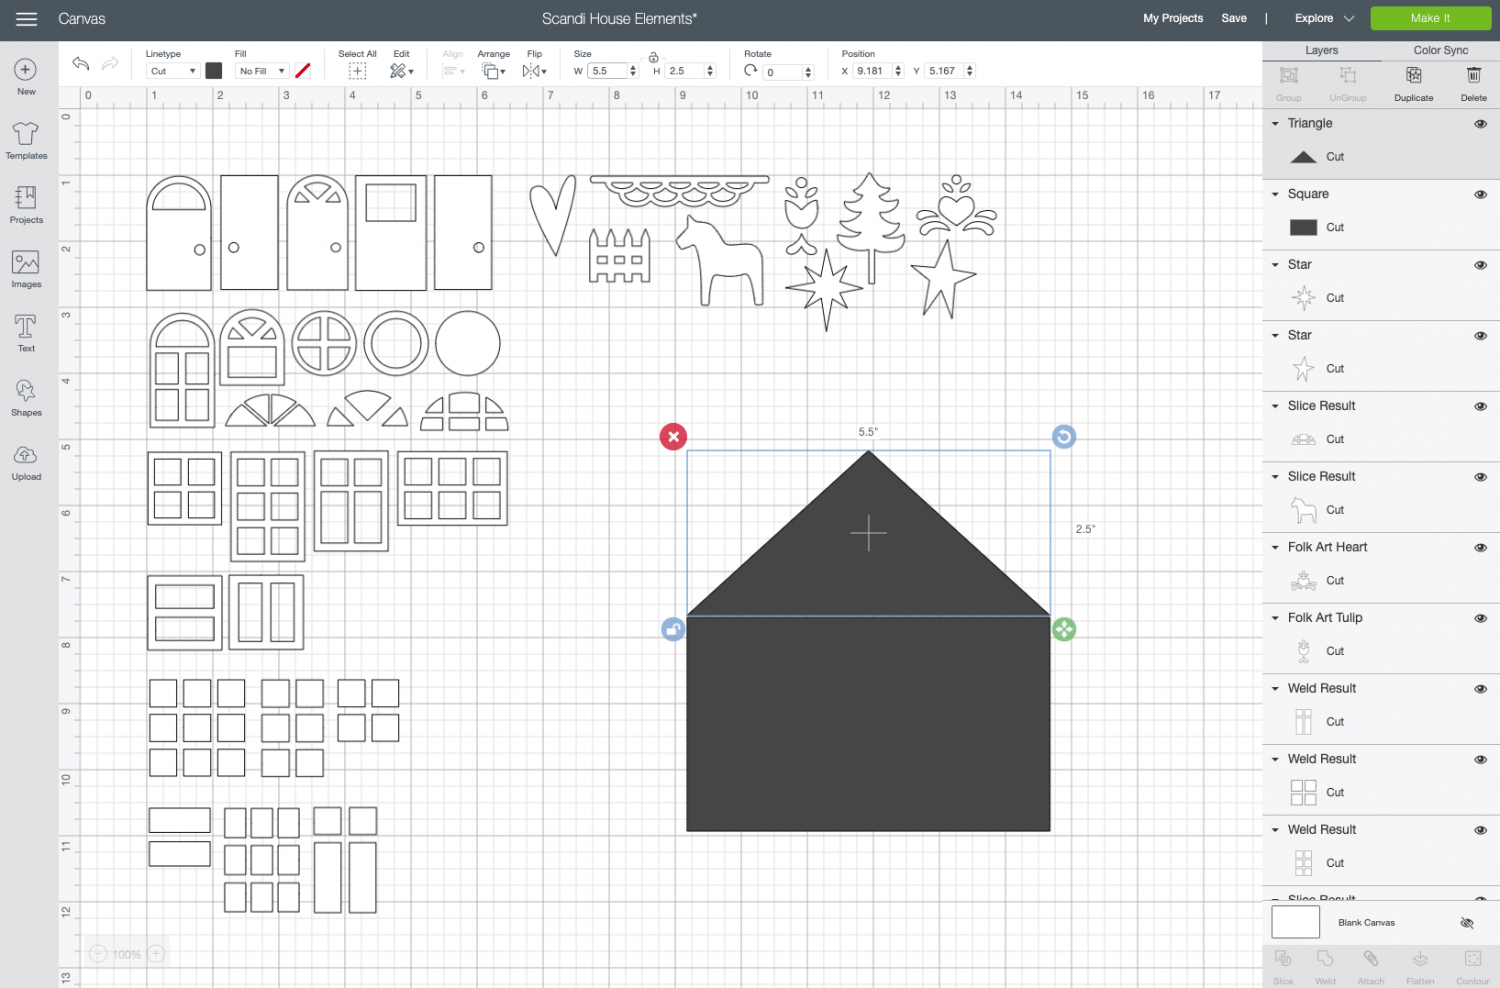
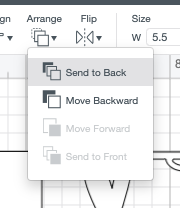
To make it so you can see the window and door elements, you’ll need to send your house “to the back.” Select both the house and the roof and select “send to back” in the dropdown under Arrange at the top.
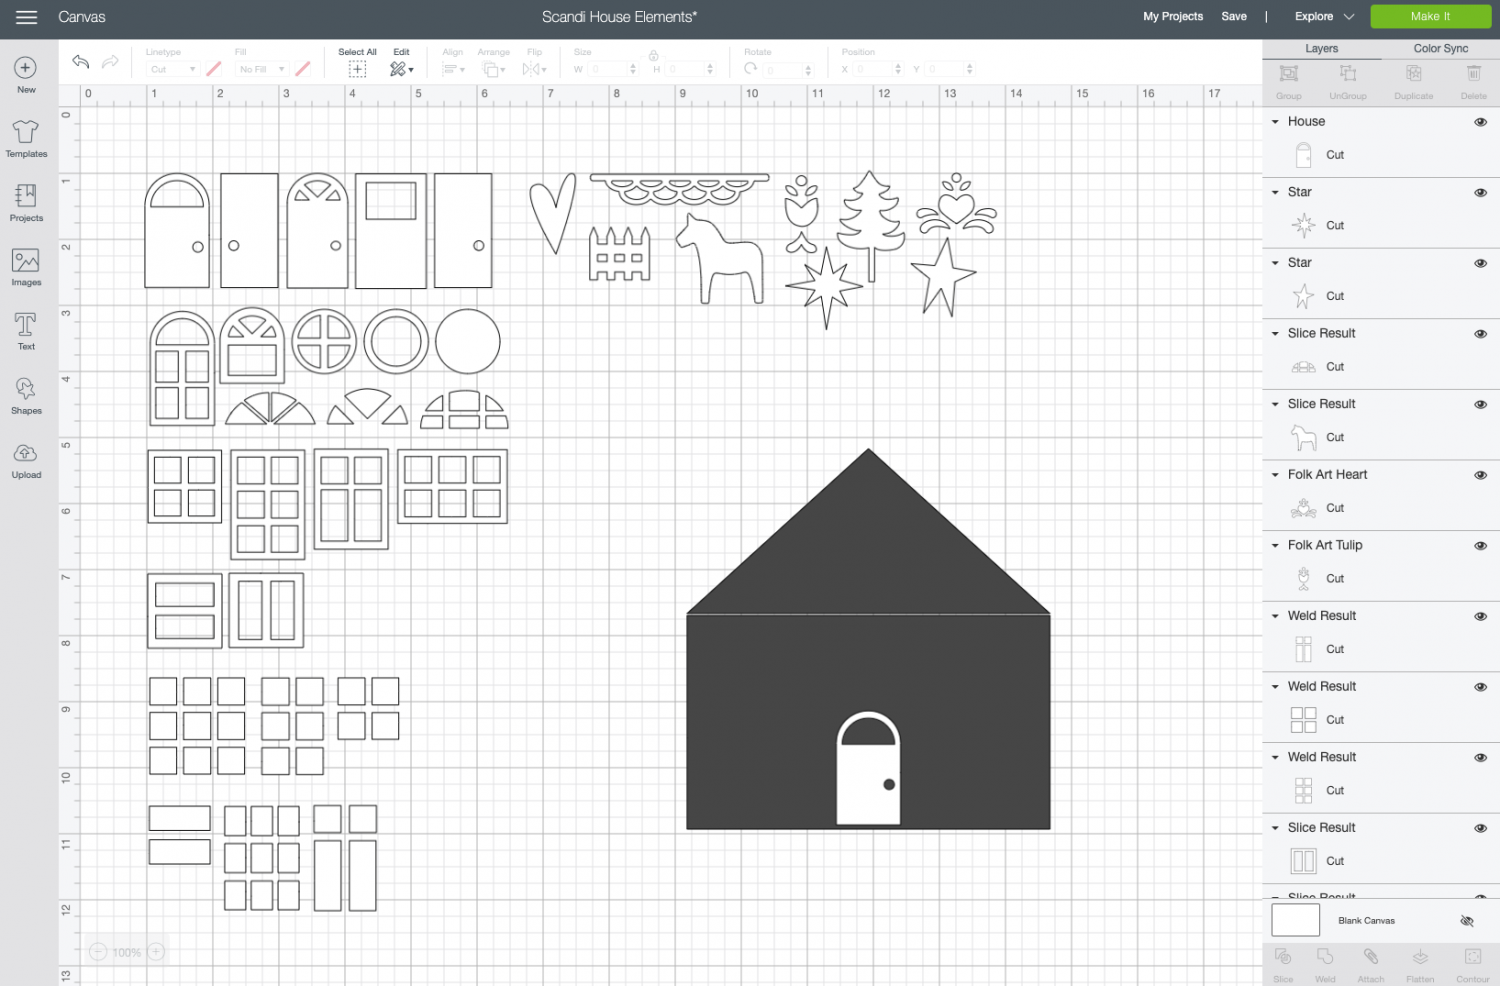
Now comes the fun part! Add as many of the doors, windows, and embellishments that you’d like to your house. I suggest duplicating the elements so that you can use them again on other houses with ease.
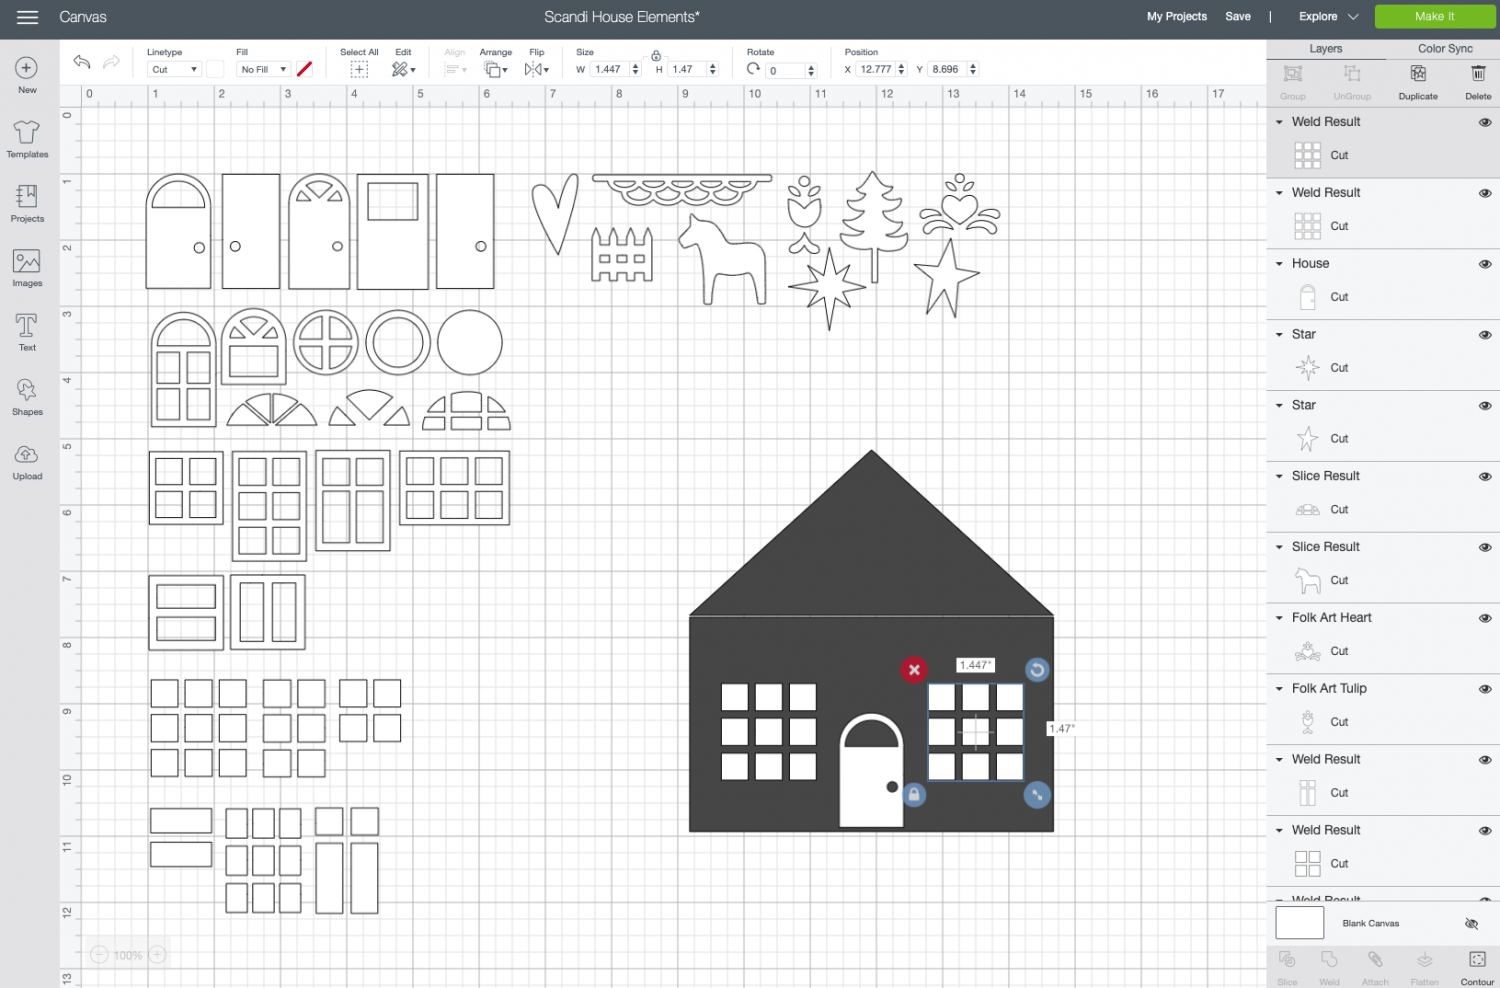
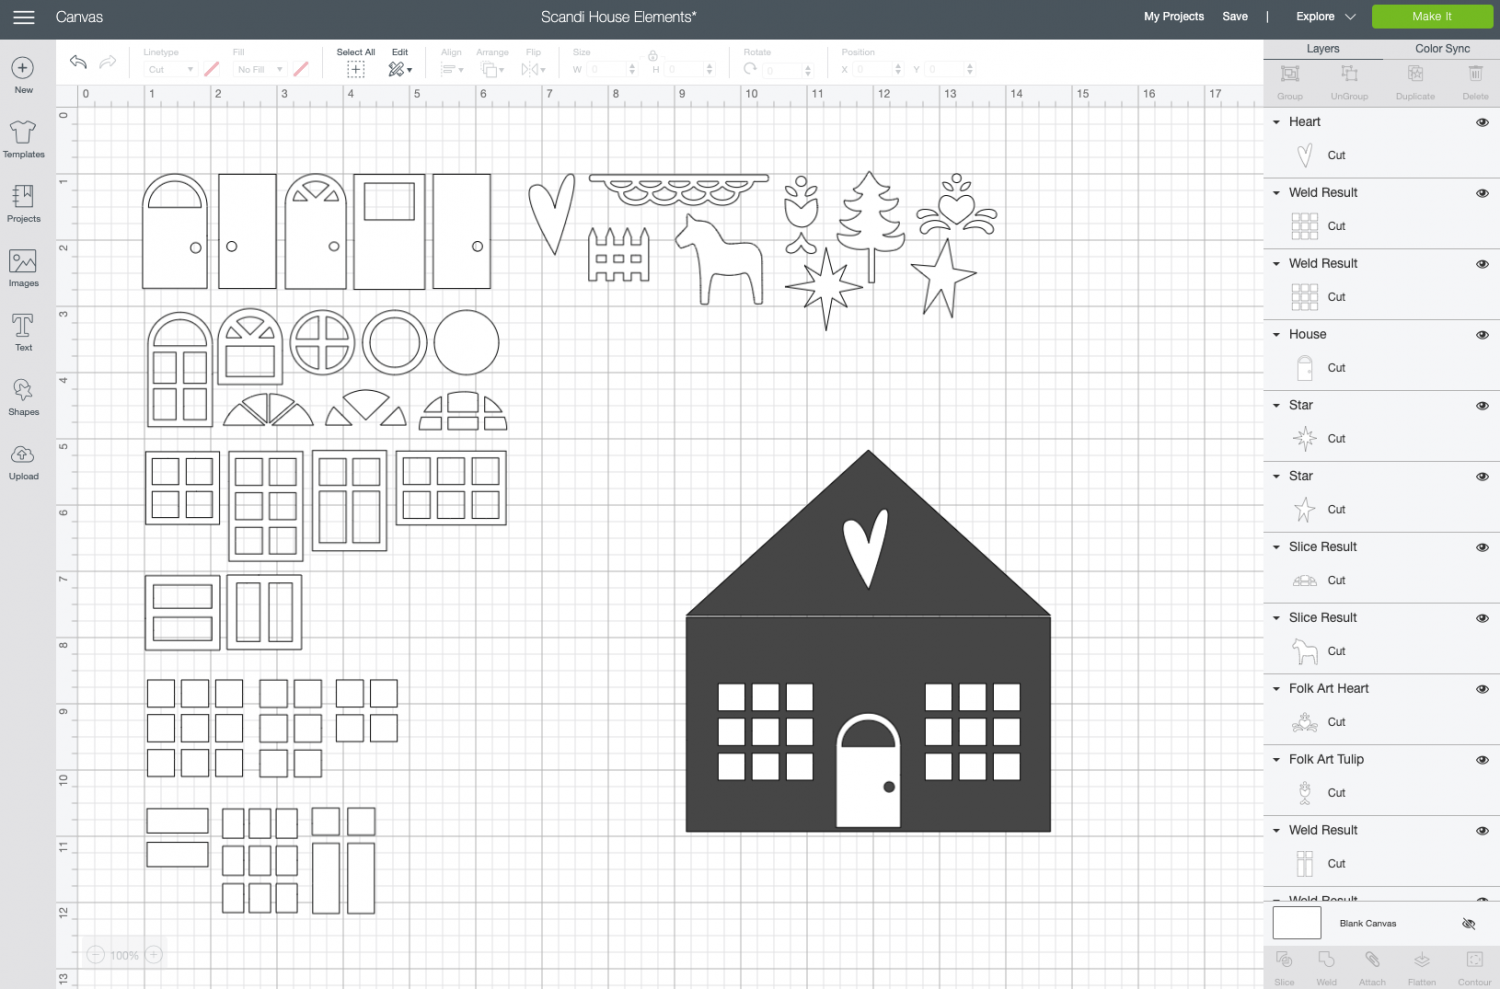
You can use the Align tool to make sure they are centered and straight if you’d like.
Once you have your house looking good, click all of the elements you chose—but not the house or the roof—and click Weld at the bottom of the Layers Panel on the right.
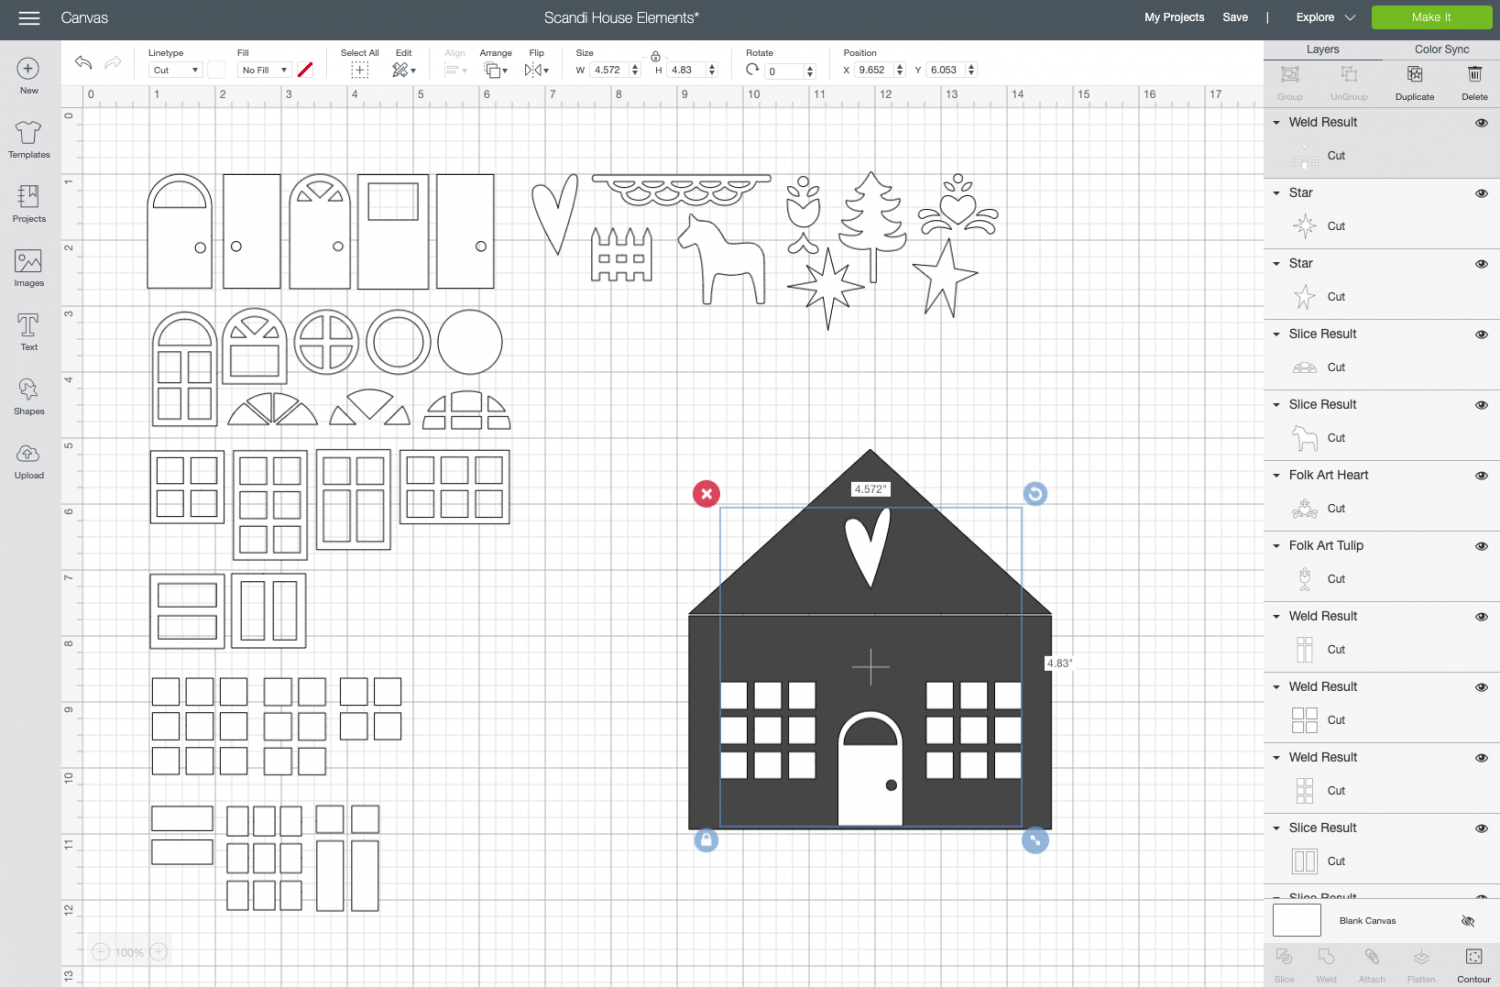
Repeat these steps with the remaining house blocks you have. When you’re done, delete all the house template pieces you made and hide all of the individual elements so just your house pieces are showing. Then click Make It.
In the Prepare Screen, mirror your mat so it will adhere correctly when you iron it on your block.
Cut Your Iron On for the DIY Christmas Village
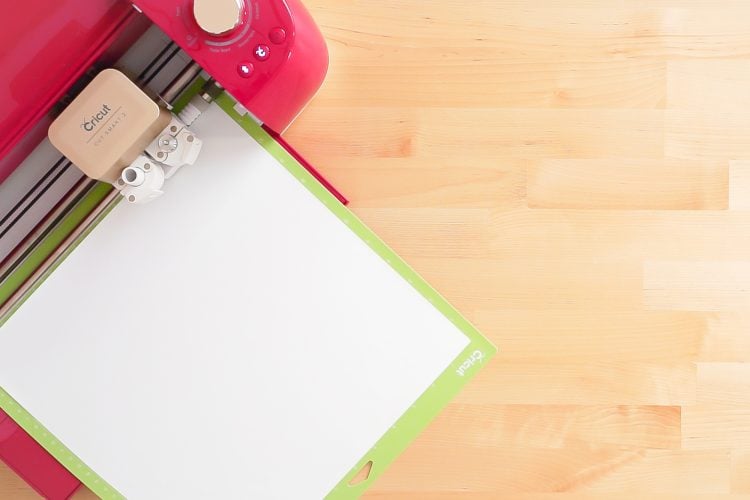
On the Make Screen, you’ll set your material to Iron On. Make sure you have your fine point blade in your machine, insert your mat, and your Cricut will cut your project!
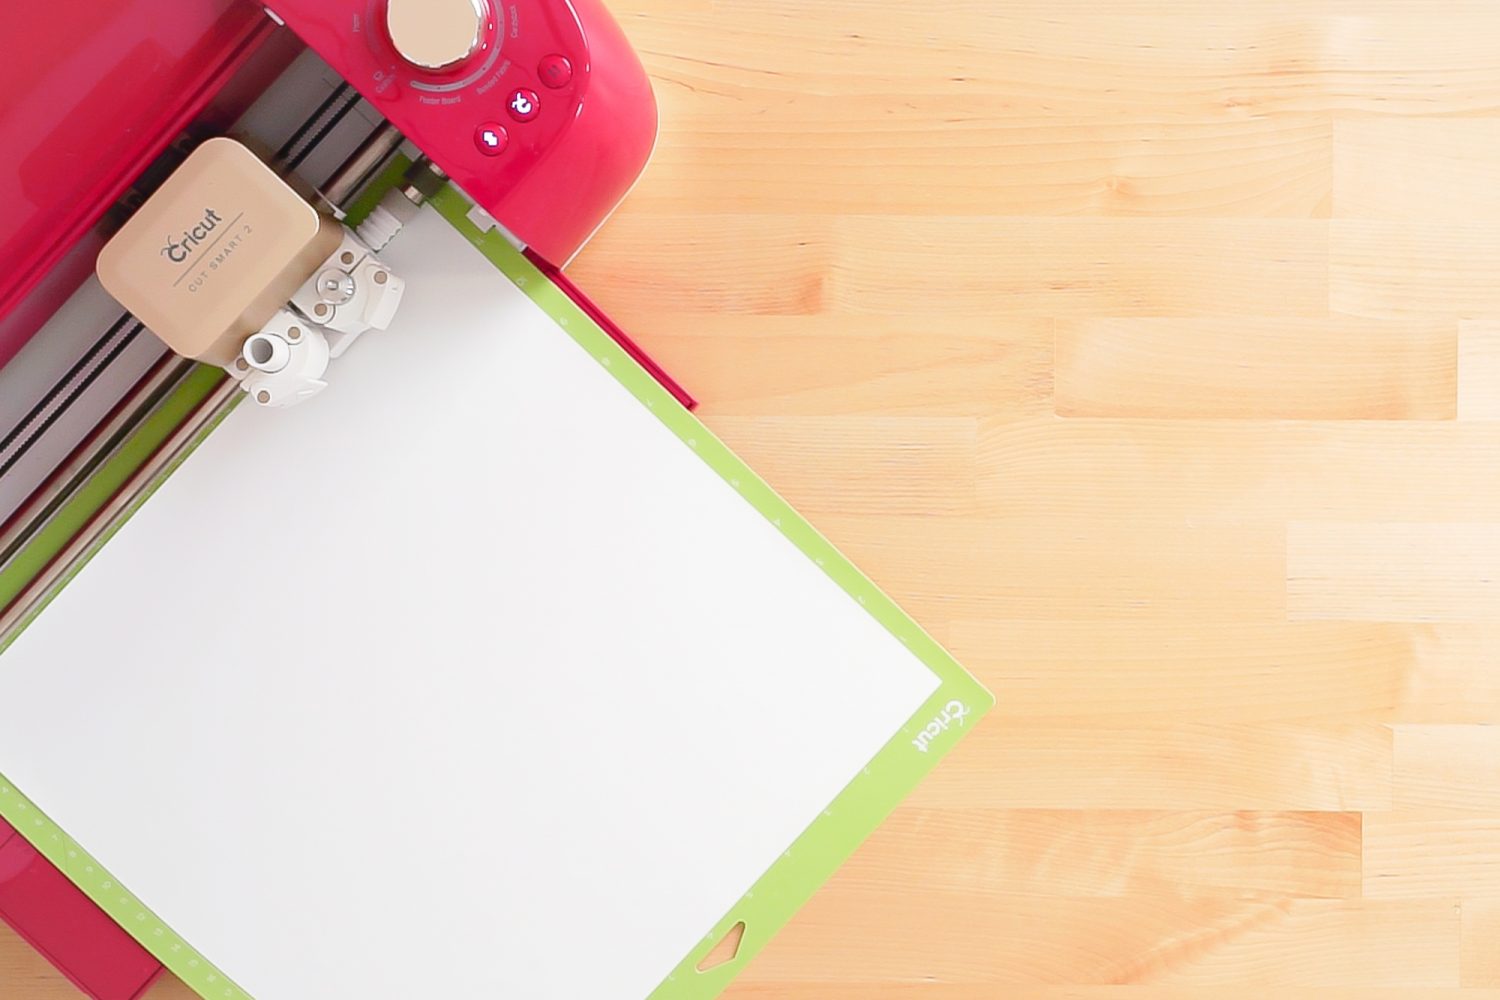
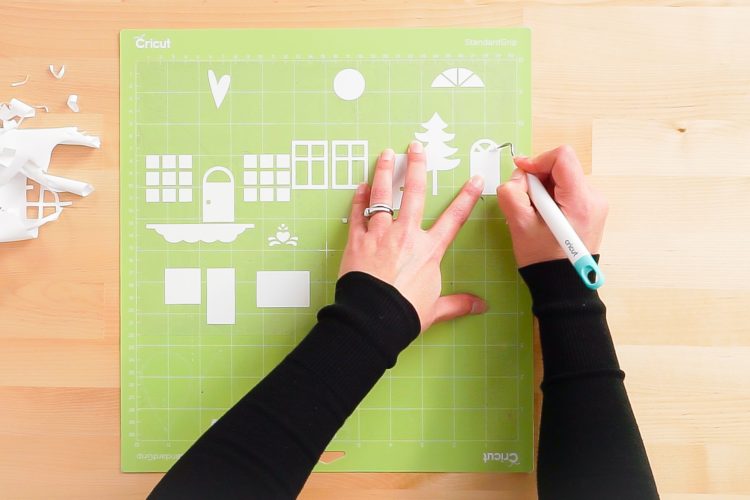
Weed Your Iron On Vinyl
Next we’re going to “weed” the negative space from around our image. I have an extensive post about Weeding Iron On Vinyl, which you’ll want to read—tons of tips and tricks to making it easier.
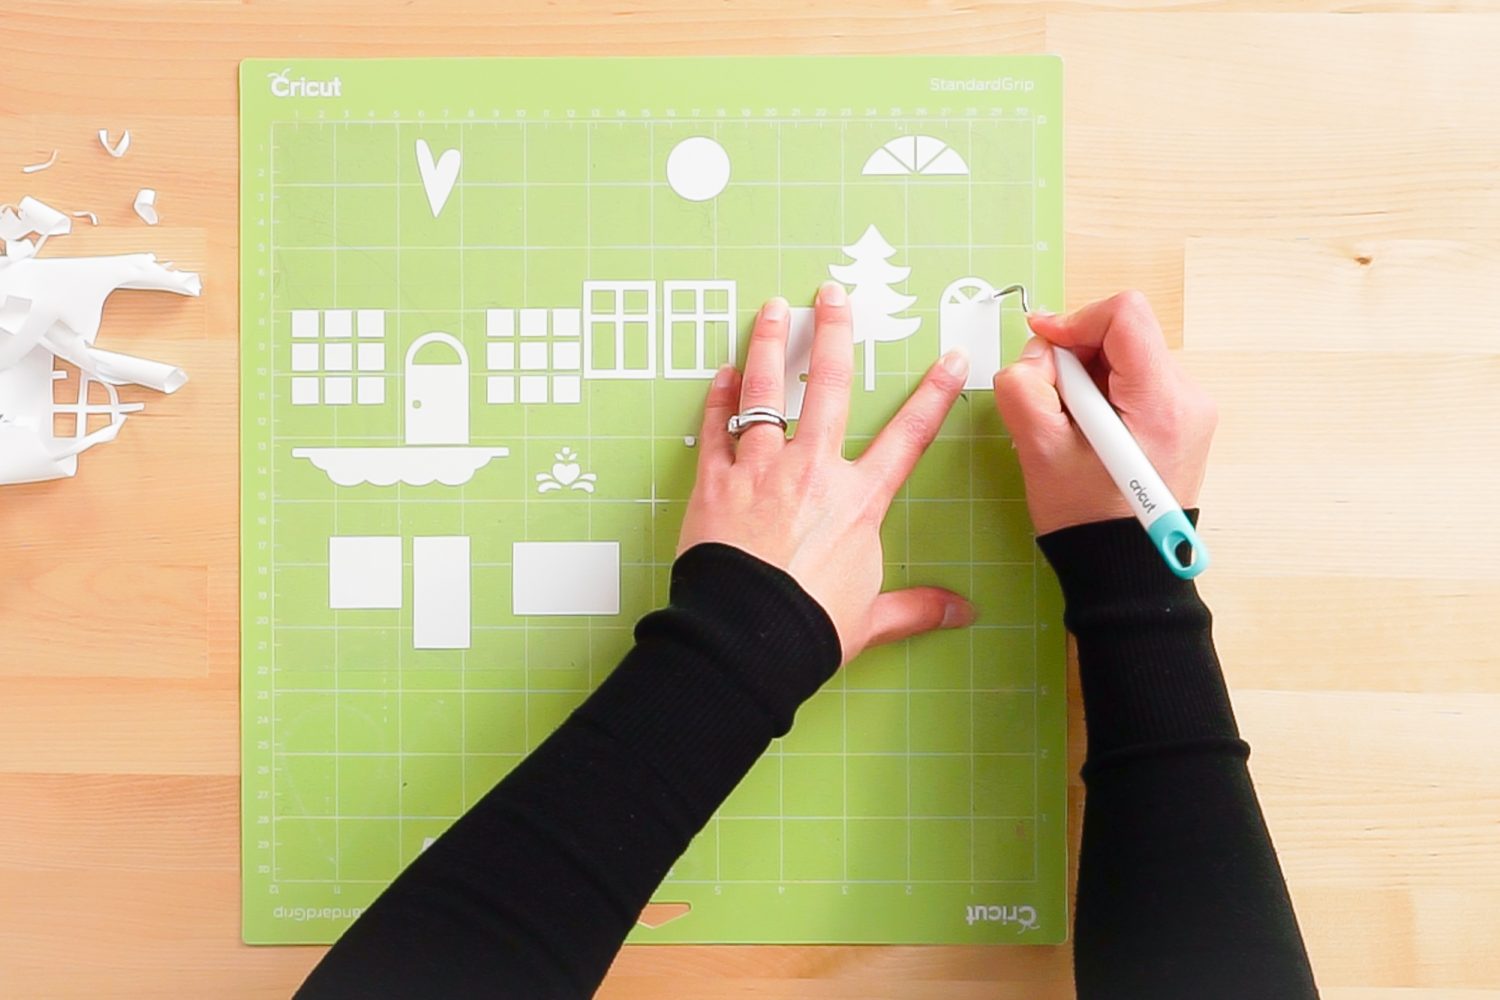
Adhere Your Iron On Vinyl
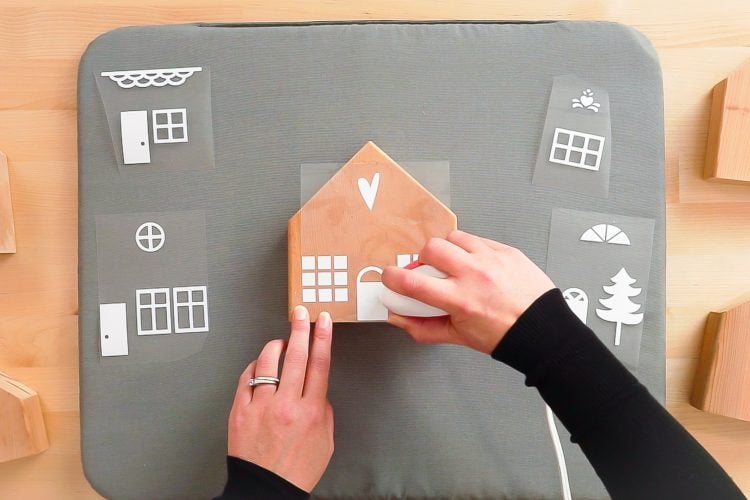
Now we are going to adhere our iron on vinyl to the wood blocks. Place your decal on the wood block.
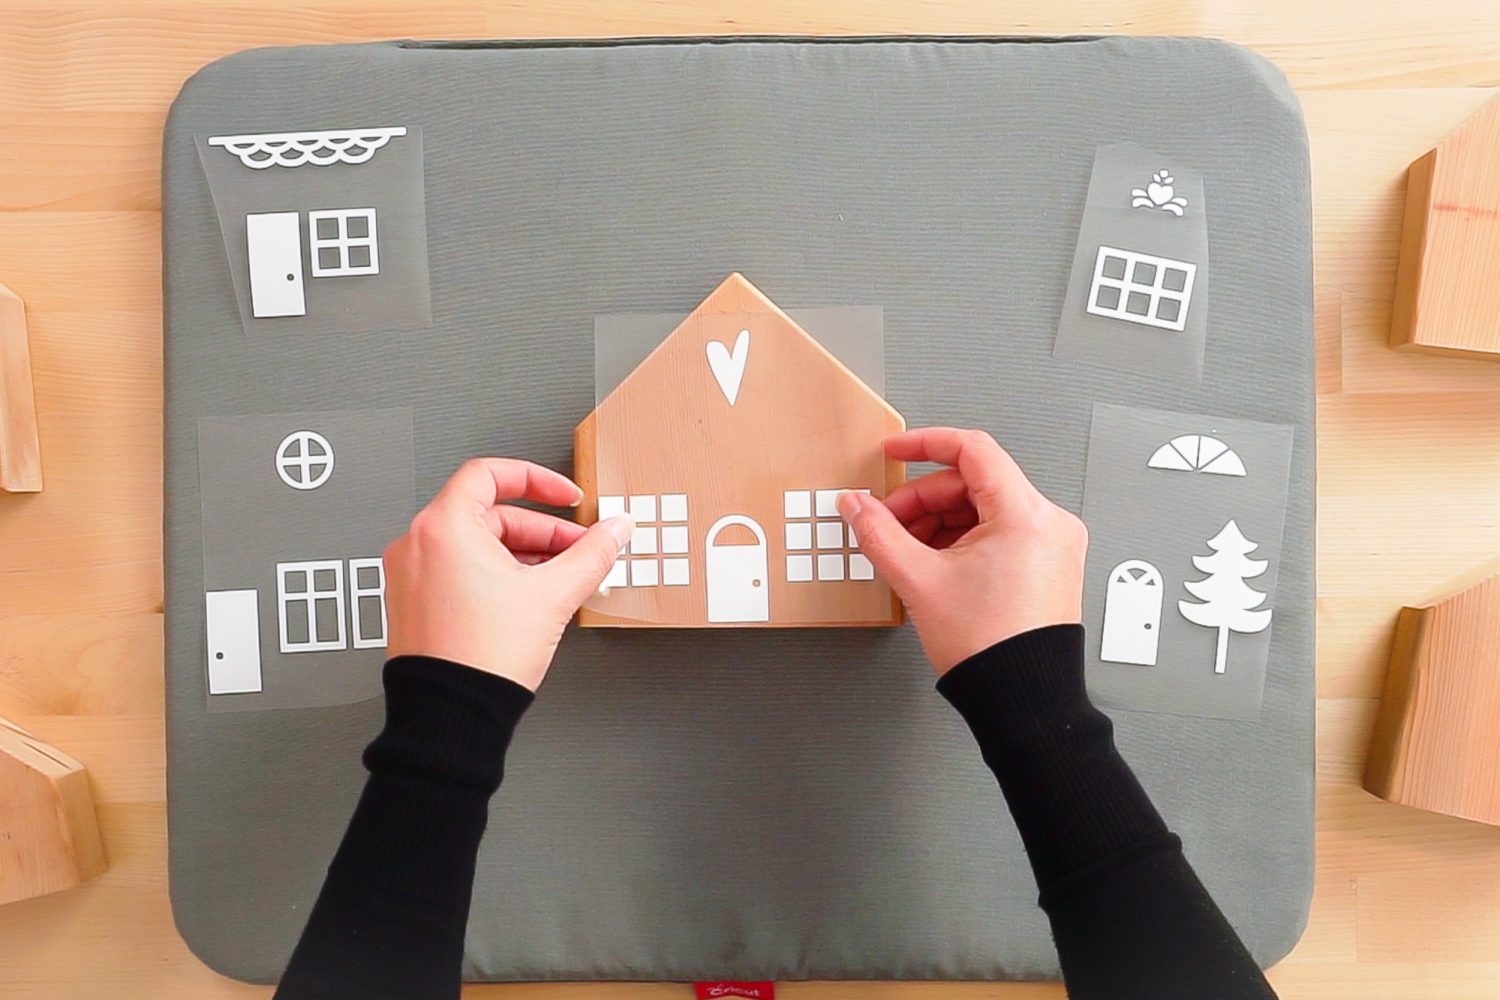
Use the EasyPress mini to adhere the iron on vinyl to the block.
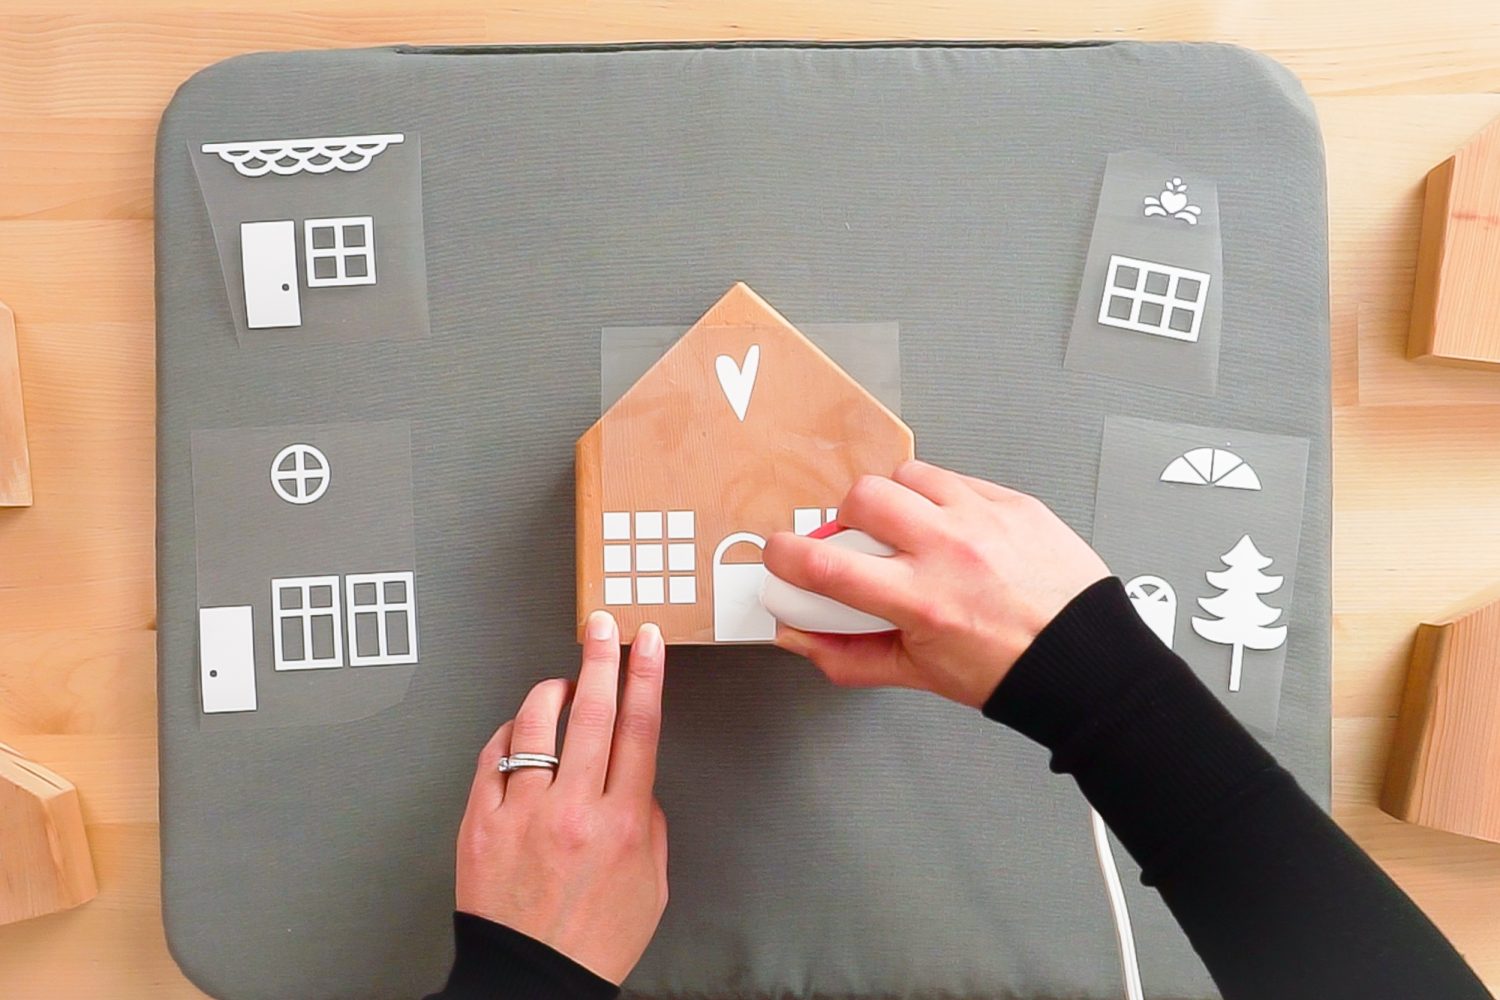
Carefully peel back the carrier sheet. If you are having trouble getting the iron on to adhere (particularly if your wood is uneven), while the iron on is still hot, cover your fingers in a towel and press down on the carrier sheet—pressing the iron on vinyl onto the wood. This is one of my go-to tricks when using iron on on wood.
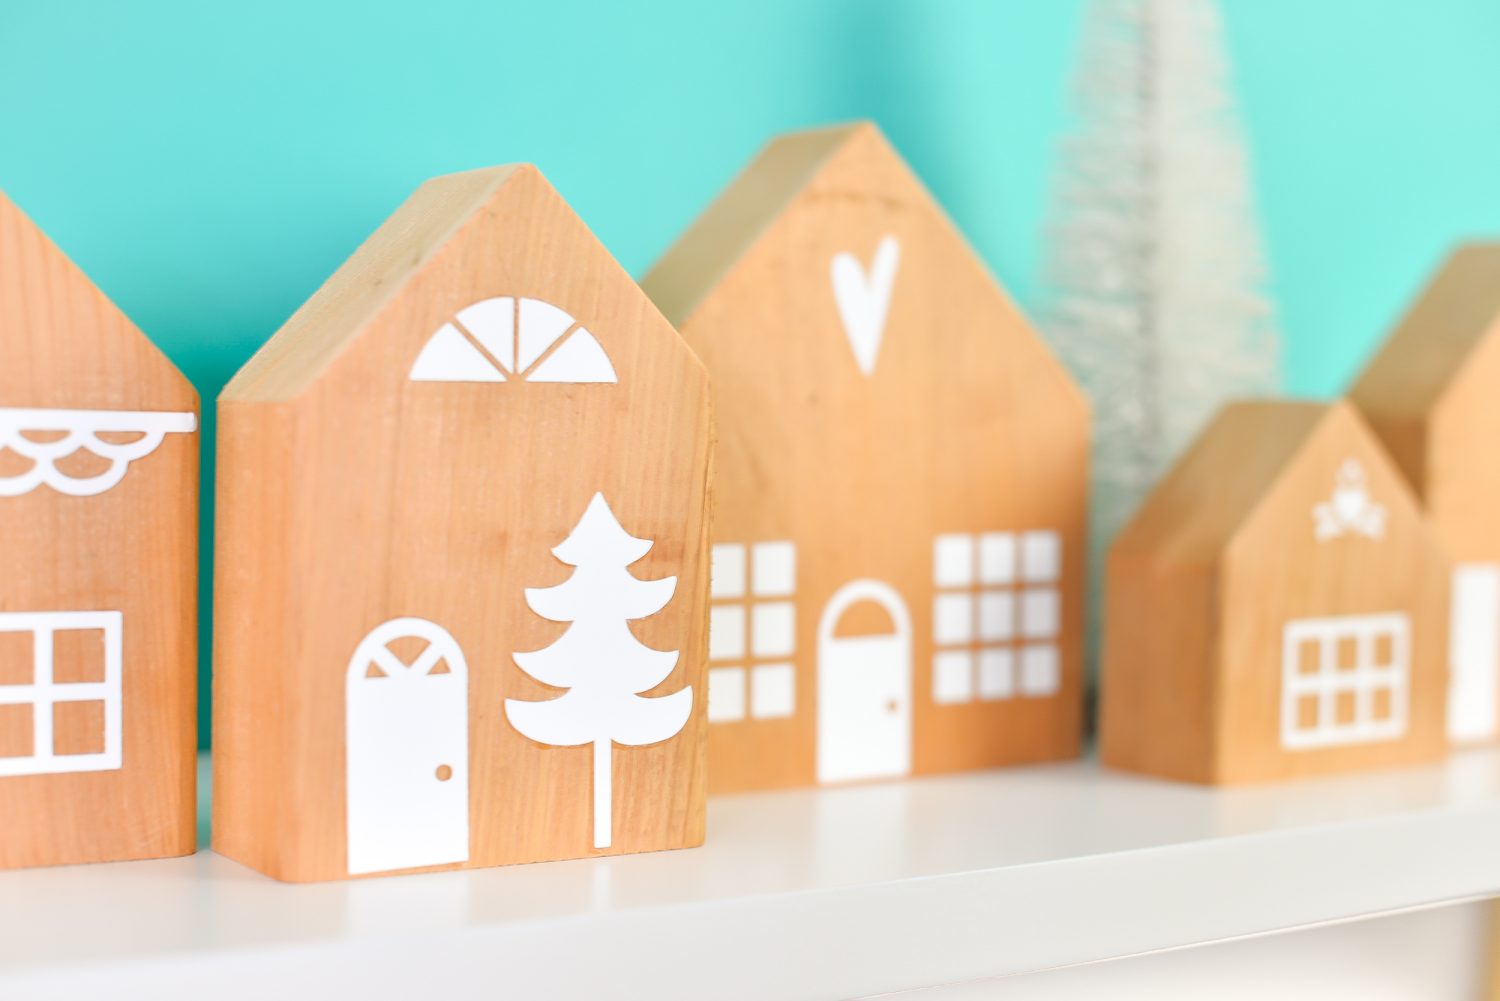
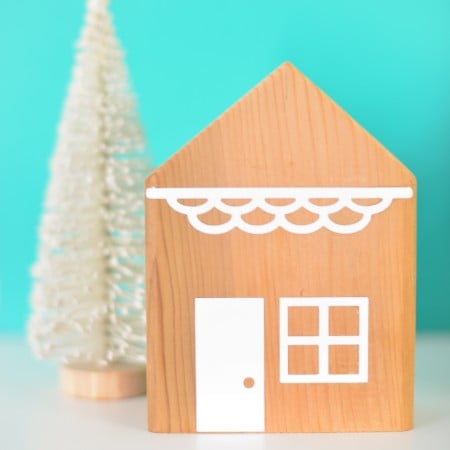
DIY CHRISTMAS VILLAGE
Supplies
- Wood Houses scrap wood or purchased
- Iron-On Vinyl
- Measuring Tape
Instructions
- Cut your houses out of wood scraps.

- Measure the houses.

- Create your house designs in Cricut Design Space.

- Cut your iron on vinyl.

- Weed your iron on vinyl.

- Adhere your iron on to the houses using the EasyPress.

- Display for the holidays or year-round!







Leave A Reply!