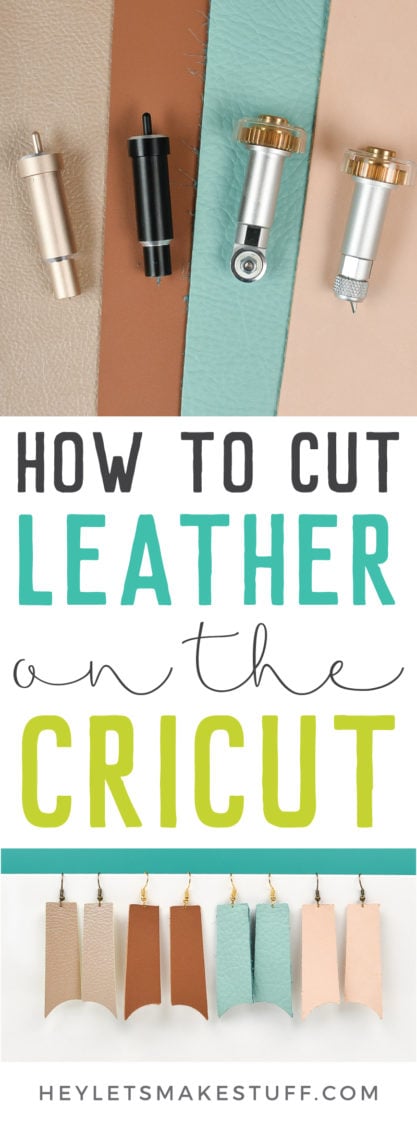
DIY leather crafts, decor, and fashion are super trendy. I’ll show you how to cut leather with the Cricut Explore and Maker to make working with this tough material a little easier!
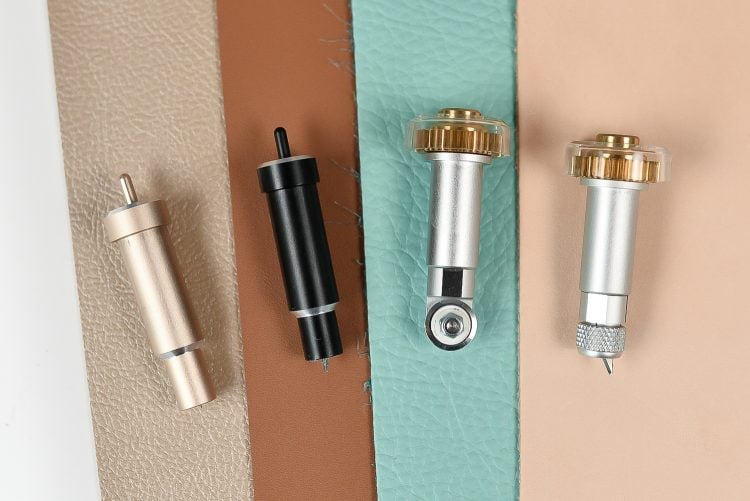
I’ve covered cutting so many different materials on the Cricut, but have avoided leather since it can be such a…feisty material. But no longer! Today we’re tackling how to cut leather on the Cricut Explore AND the Cricut Maker!
How to Cut Leather on the Cricut
We’re going to be cutting four kinds of leather using the Cricut today:
- Cricut Faux Leather
- Cricut Genuine Leather
- Realeather Soft Leather
- Tooling Leather
We’ll be making these cute leather earrings.
Get the Free File
Want access to this free file? Join my FREE craft library! All you need is the password to get in, which you can get by filling out the form below. The file number is: C186.
Cutting Faux Leather with the Cricut
Let’s start with the easiest leather to cut using your Cricut—Cricut’s faux leather. It gives you the benefits of leather without the extra cost, and it’s great for vegan projects. I have found it cuts absolutely beautifully, provided you use a StrongGrip mat and your design isn’t too intricate.
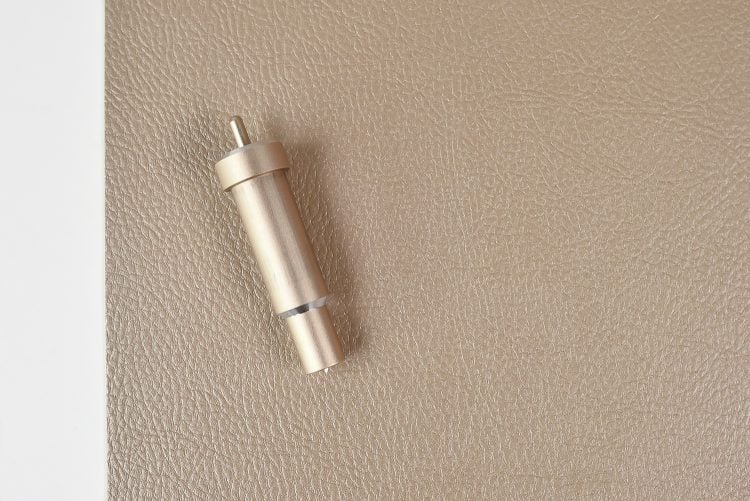
Cricut faux leather can be cut using the Cricut Explore or the Cricut Maker, using the Fine Point Blade which comes with the machine.
Supplies
- Cricut Explore or Cricut Maker
- Fine Point Blade (comes with the machine)
- Purple StrongGrip Mat
- Cricut Faux Leather
Instructions
Cutting Cricut faux leather is easy on your Explore or Maker. Select “Faux Leather (Paper Thin)” as your material.

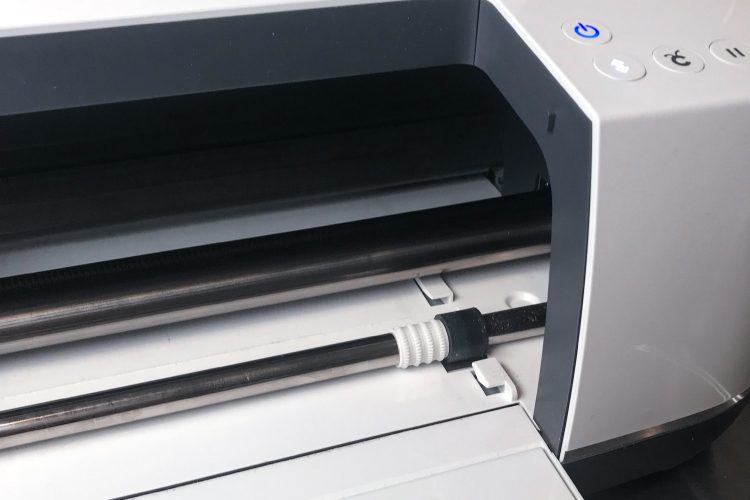
Place your faux leather face down (this will keep the white star wheels from imprinting on the nice side of your faux leather) on a purple StrongGrip mat. If you’re using an older mat, use a brayer or your hands to really adhere your leather to the mat. Insert your mat into the machine and push the blinking “C” to cut.
Your material should cut nicely. If not, you can try a new mat or blade, or flip your faux leather over so the nice side is facing up. If you do flip your faux leather, make sure to slide the white star wheels on your machine over to the right so they don’t imprint your leather.
Cutting Genuine Leather with the Cricut
Cricut also offers sheets of genuine leather that are thin enough to be cut on an Explore or Maker with a Deep Cut blade. I hadn’t used their genuine leather until recently, and I was pleasantly surprised with how well it cut with that Deep Cut blade. It’s now my go-to leather.
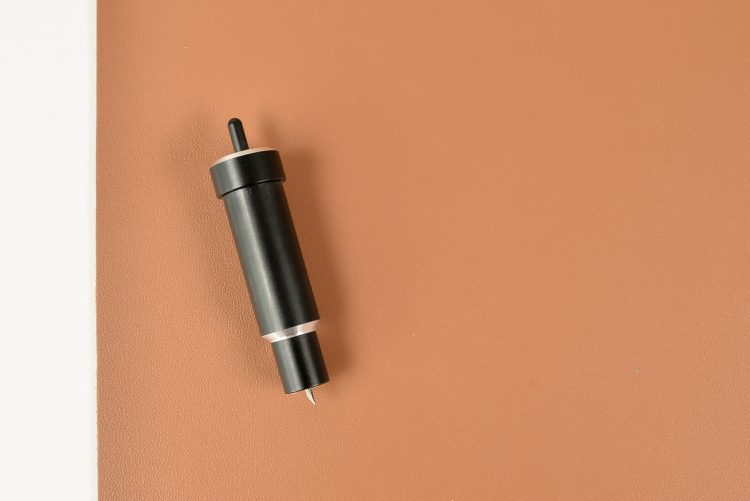
Cricut genuine leather can be cut using the Cricut Explore or the Cricut Maker, using the Deep Cut Blade, which is sold separately.
Supplies
- Cricut Explore or Maker
- Deep Cut Blade (sold separately)
- Purple StrongGrip Mat
- Cricut Genuine Leather
- Brayer (optional)
Instructions
Cutting Cricut genuine leather should also be pretty easy on both your Explore or Maker. You might have more trouble, though, if you have a more intricate cut.
Select “Genuine Leather” as your material. Make sure your Deep Cut blade is inserted into your Cricut. The Deep Cut blade is sold separately and comes in a black housing.

Place your genuine leather face down on a purple StrongGrip mat. If you’re using an older mat, use a brayer or your hands to really adhere your leather to the mat. Genuine leather is more pliable than faux leather, so you really want good adhesion on your mat so it doesn’t shift around.
Insert your mat into the machine and push the blinking “C” to cut. Your leather should cut nicely. If not, try a new mat or blade. I haven’t found that flipping this leather over works—it really cuts more nicely face down.
Cutting Soft Leather with the Cricut
Realeather has several different types of leather you might try cutting with your Cricut. I’m using as soft leather, mostly because it came in this gorgeous turquoise color, and you know this girl can’t say no to turquoise!
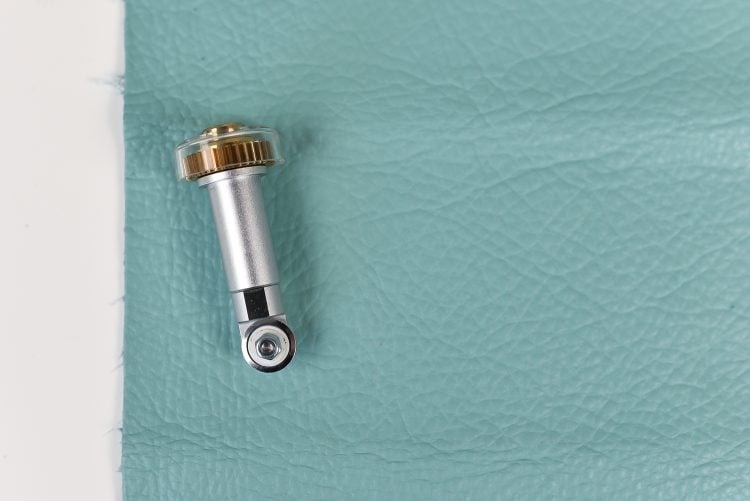
Realeather soft leather is softer than Cricut’s genuine leather. Some might refer to it more as a garment leather. Realeather soft leather can best be cut using the Cricut Maker, using the Rotary Blade, which comes with the Maker.
Supplies
Instructions
I’ve tried cutting soft leather several ways. The most successful I’ve been is using my Rotary Blade on my Cricut Maker. I was able to do it using my Deep Cut blade, but I found that because of the pliable nature of the leather, it dragged more than I would have hoped and the cut wasn’t as crisp. The Rotary Blade comes with the Cricut Maker, and the Deep Cut blade is sold separately.
There is no leather you can select that will allow you to cut with your Rotary Blade. Instead, select Heavy Fabrics (Like Denim) as your material. This will prompt you to use your Rotary Blade.
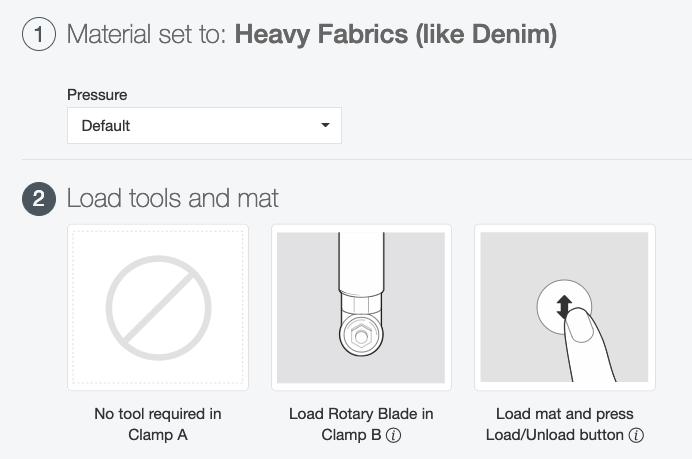
Place your leather face down on a purple StrongGrip mat. If you’re using an older mat, use a brayer or your hands to really adhere your leather to the mat. Using the leather face up didn’t work at all for me—the back of this leather didn’t adhere to the mat very well at all.
Insert your mat into the machine and push the blinking “C” to cut. Then, before ejecting your mat, press the blinking “C” to cut a second time. Then check your cut—if it didn’t cut all the way, through, press the “C” a third time. I find that twice is enough for straight cuts, but a third pass is often needed for curves.
Cutting Tooling Leather with the Cricut
Tooling leather is a stiff leather that is often used for things like wallets, luggage tags, and belts. Because it is so thick, you will need to use the Cricut Maker with the Knife Blade. You can learn more about cutting materials with the Knife Blade. I highly recommend reading that post. There’s a lot you need to know before using your Knife Blade. I go into some of it below, but it’s a tricky blade that can damage your materials, blade, and machine if not used properly.
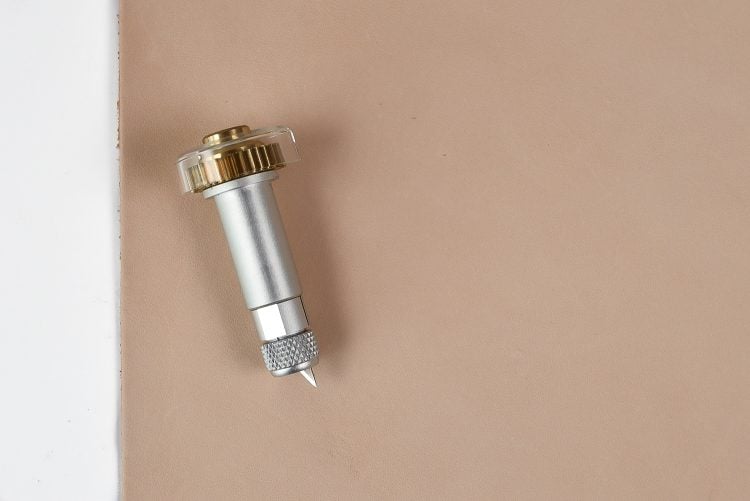
Again, make sure you read my Knife Blade post before you start.
Supplies
- Cricut Maker
- Knife Blade (sold separately)
- Purple StrongGrip Mat
- Masking Tape
- Tooling Leather
Instructions
Start by using a brayer or your hands to press the nice side of your leather into a purple StrongGrip mat (note that the maximum width for Knife Blade materials is 11″—cut down your leather if necessary). Then secure on all four sides with masking tape. This will help keep your leather from shifting while cutting.
Then move the white star wheels over to the right—the material is too thick to have the star wheels running across it.
Select Tooling Leather in the Materials selection. If you have a leather gauge, you can use it to see how many “ounces” your leather is for your material setting. You can select 2-3 oz., 4-5 oz., or 6-7oz. If you are unsure, 4-5 oz. is a good place to start.

Then insert your mat into the machine and push the blinking “C” to cut. The Knife Blade will make several passes to cut your earrings—note that the cut times with the Knife Blade are much longer than the Fine Point and Deep Cut blades.
Once your project is cut, use a weeding tool or tweezers to double check that your earrings are cut all the way through. If not, you can do more passes to ensure it cuts all the way through. I’ve been known to do up to five additional passes on leather—it really does depend on the individual piece of leather and the shape you are trying to cut.
Assembling Your Earrings
To assemble your earrings, you’ll need the following supplies (these apply to all four types of leather):
Start by using the piercing tool (or strong needle) to poke a hole in the top center of each earring. Use the pliers to open the ring at the bottom of the earring finding and slip the earring onto the hook. Use the pliers to close the ring and you’re done!
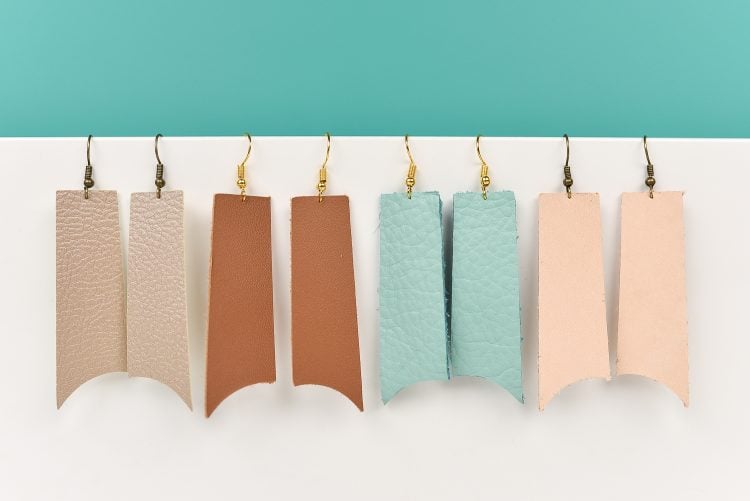
From start to finish, I can make a pair of earrings in less than 10 minutes! Also check out my round up of DIY Leather Projects: Crafts, Home Decor, Fashion.


Comments & Reviews
Cheyenne Asbury says
How do i get the cricut to not double cut the faux leather? it always snags and rips the earing?
Crystal Summers says
Hi Cheyenne,
The machine will do a few passes to cut leather. You may want to double check that your blade isn’t dull, which could be why it’s snagging.
Hope this helps,
Crystal, HLMS Community Manager
Bobbi says
That’s brilliant as I do an awful lot of leather work.
Jeanne L Fujita says
Thank you for this information. I love anything turquoise too. Looks like trip to Joanne is in my fjture.
Paul says
Thank you for your time and effort! I am an absolute novice with a brand new Maker. I plan to use it to cut pieces of tooling leather to be assembled into a final product. I’ve successfully imported and sized the pieces into Design Space and have positioned them in their individual Project files so that I should be able to cut all pieces from a single sheet of tooling leather by running each Project File in succession. My questions concern: maximum width of leather? using transfer tape between the material and cutting mat, can blue painter’s tape be utilized instead? knife selection Knife Blade or the Deep Cut Blade? There are no intricate details to cut only broad strokes. I have tried various search terms but cannot seem to find specifics. Apologies for the newbie questions and the long comment.
Amy Motroni says
Hi Paul,
You can go up to 11″ wide for tooling leather using the knife blade. And, yes you can use blue painters tape!
Happy Crafting!
Amy, HLMS Support
Sheryl Skaggs Miller says
ECori,
Hello,
I love your site so much information for a beginner like myself. I purchased a Cricut Explorer 2 and I’m wanting to make some leather earrings, bows, etc.
My question is, the thickness of leather I should use for the Explorer? I’m just staring out so I didn’t want to purchase the Maker until I see if I’m like/going to use the Explorer.
I appreciate your help and all the great information on your web site, it has been very helpful for me to learn a procedure.
Thank you,
Sheryl
Cori George says
I recommend using Cricut’s faux leather with the regular blade or Cricut’s genuine leather with the deep point blade. I hope that helps! :)
Bobbi H says
Thank you ever so much for this. It’s ideal as I’m moving towards working with leather. I’d love to find proper handbag patterns that could be used but sadly it’s all papercraft bags I can find or the occasional small purse.
If you know of any svg files for proper sized handbags could you point me in that direction. I love my Cricut maker but I’m struggling to use it to its full potential.