Use the Cricut Design Space Color Sync feature to re-color, match, or consolidate material colors. This new feature saves you time and wasted materials!
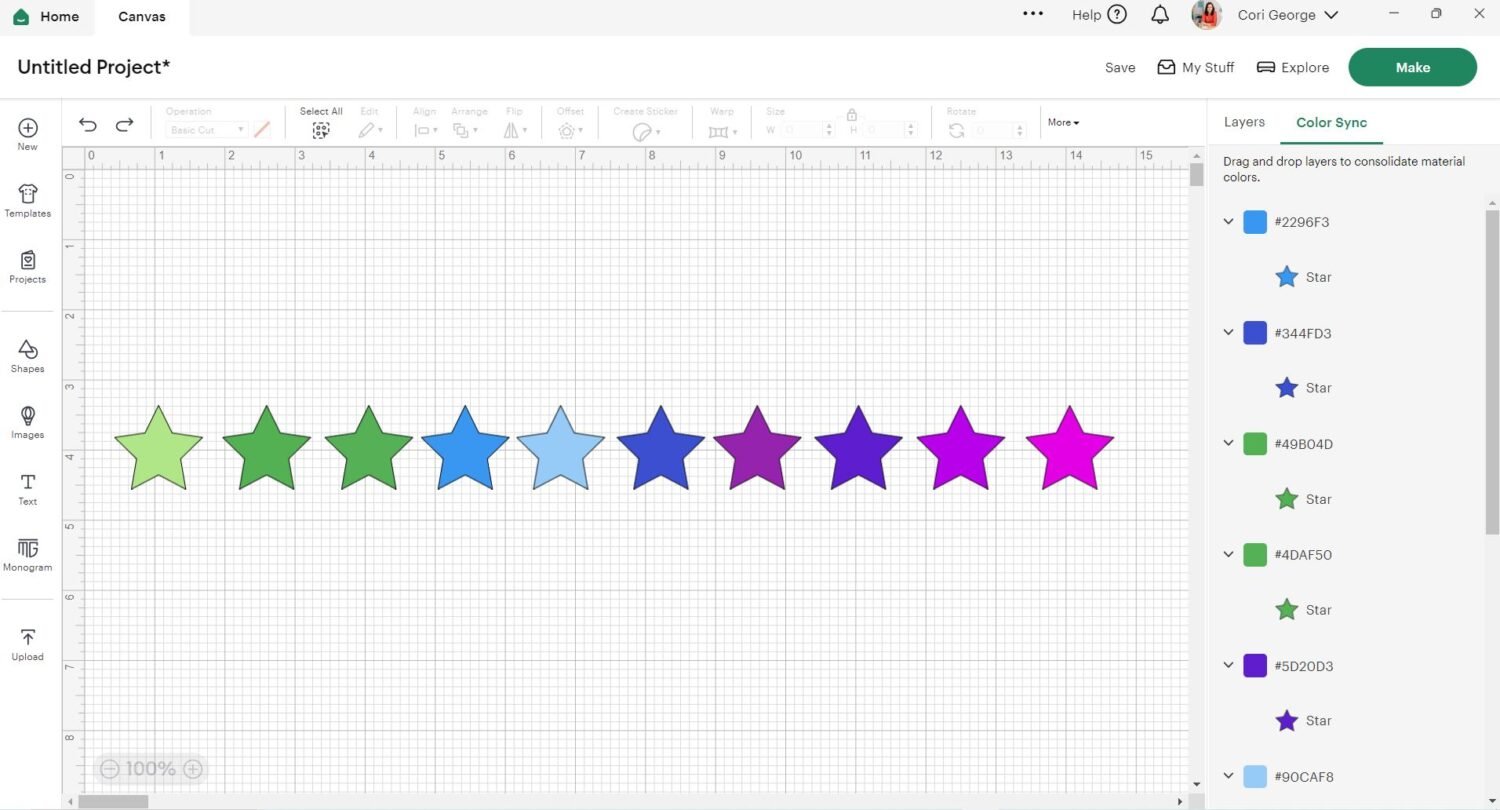
One of my favorite features in the new Cricut Design Space v3 is Color Sync. It’s one of those little things that makes life a little easier and a little faster — both of which I love as a mom with limited crafting time!
Color Sync is basically a way to easily change and match colors in your Cricut Design Space projects. Let’s take a look at how it works.
Before Cricut Color Sync
Say you upload an image or choose an image from Cricut Access that is built with ten different colors. But instead of 10 different colors, you want to cut it all in the same color.
In the old Cricut Design Space, if you wanted to change the colors of each shape you’d have to do so individually by clicking on each layer in the sidebar and selecting a new color. Not difficult, but definitely time-consuming if you’re doing more than a few.
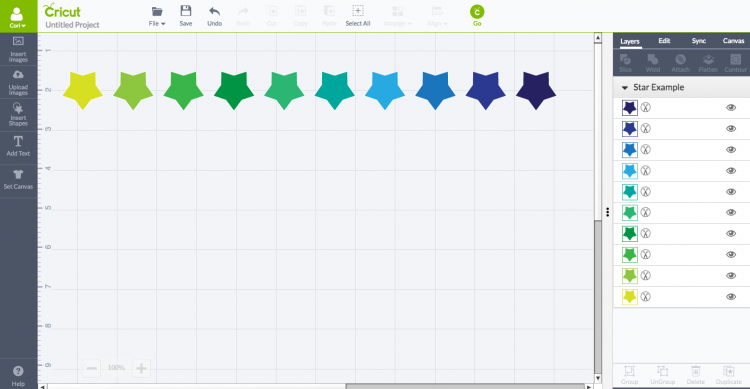
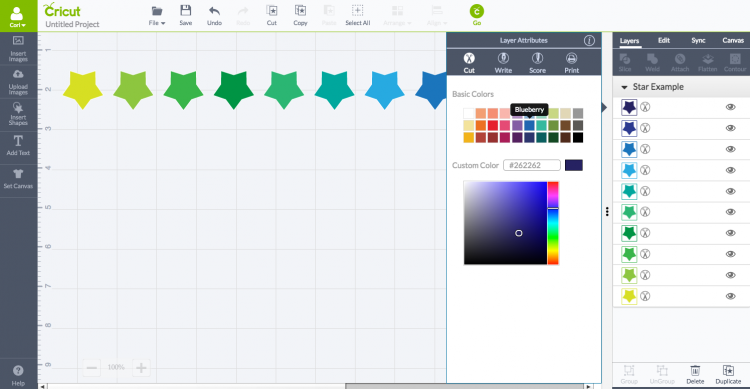
Often I would think I had the same color selected for two layers but would realize when I went to cut everything out that they were two ever-so-slightly different colors. So I’d either have to go back and switch them or cut twice using the same material. Again, not the end of the world, but clunky and annoying.
After Cricut Color Sync
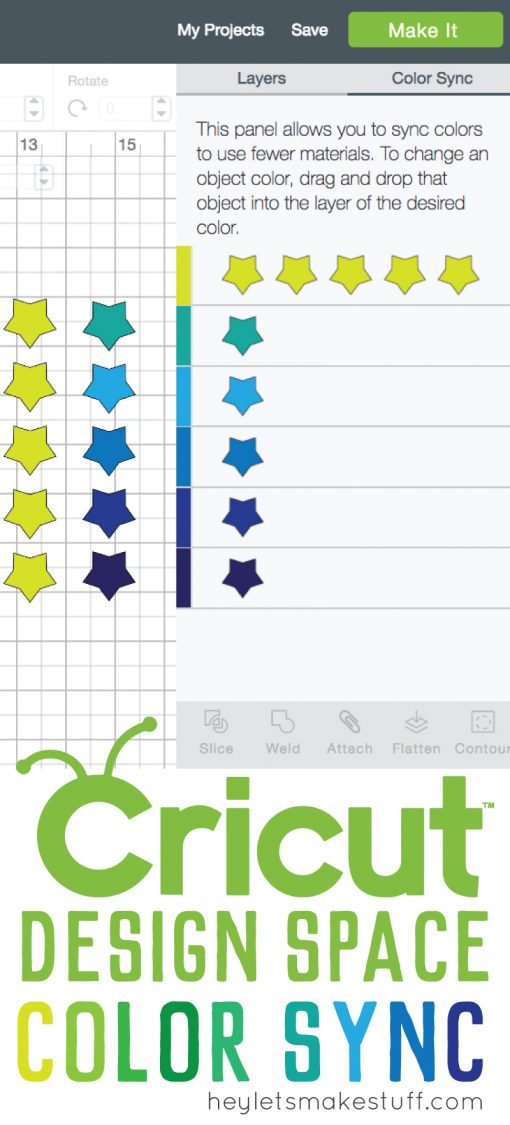
In the new Cricut Design Space, they’ve added Color Sync. This makes it SO much easier to sync up the colors in your project so you know they will all be cut on the same material. You just have to open the Color Sync panel in the right-hand window, and drag and drop each shape into the layer you want to sync to. So if I want to cut out all these stars in the medium blue color, I just drag all the other stars to that layer in the Color Sync panel.

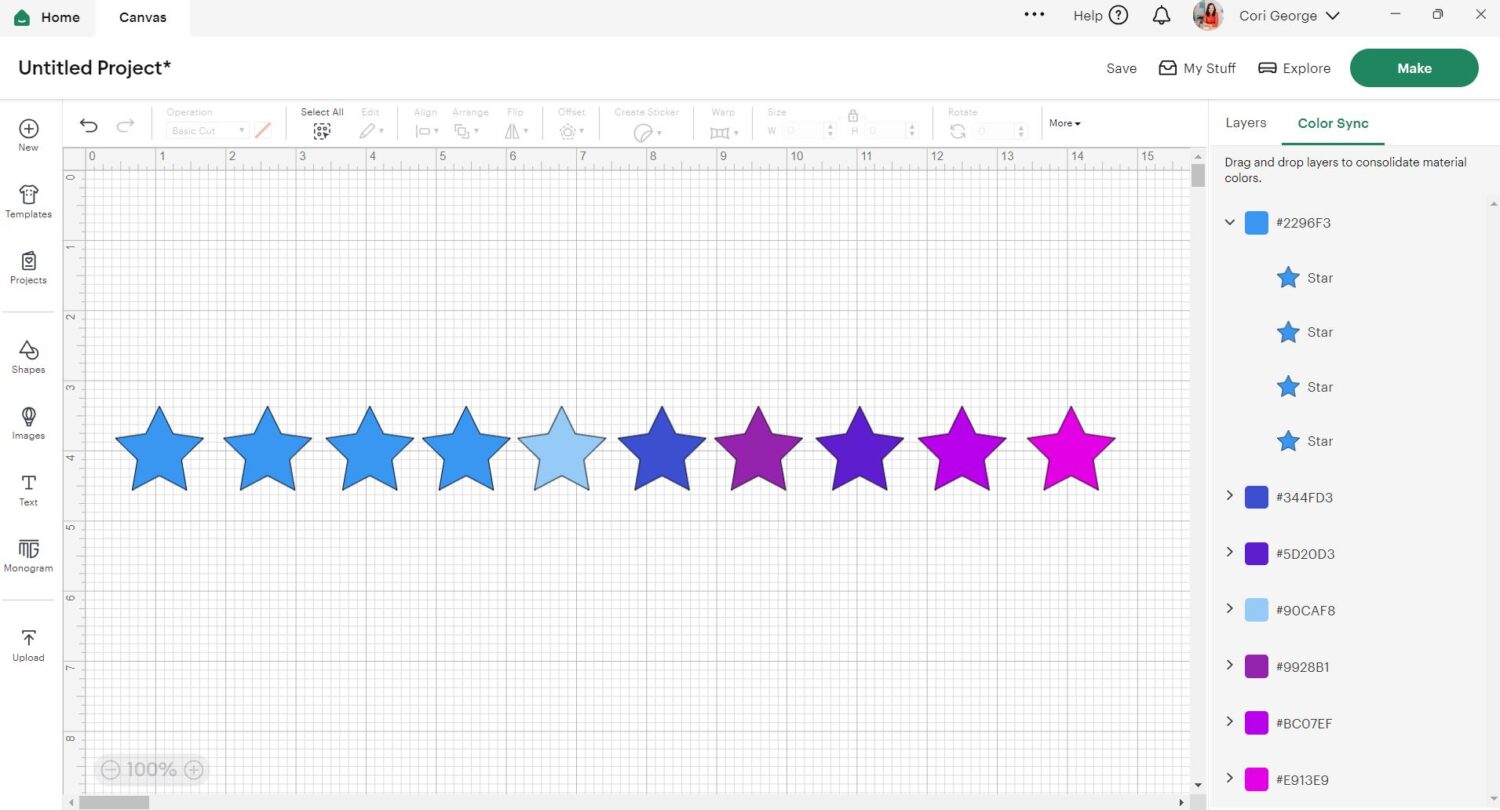
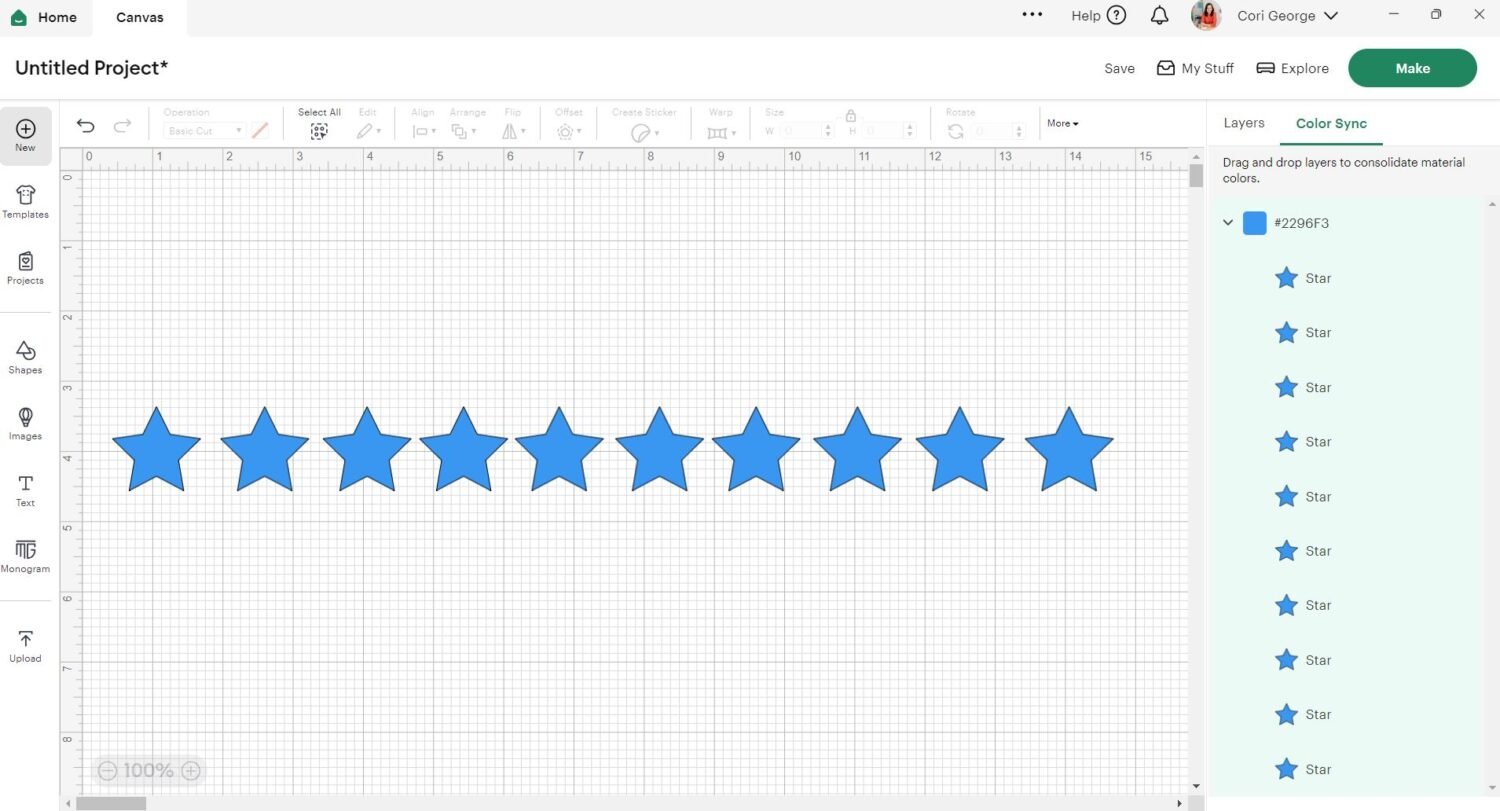
So much easier and you’re guaranteed that they’re all the same exact color! Have you used Color Sync? Tell me what you love about it in the comments!


Comments & Reviews
Linda says
I am having the same issue with the sync colors. Only thing different is my sync button is grayed out as well as my slice button. What am I doing wrong? Thank you for your help.
Crystal Summers says
Hi Linda,
What kind of image(s) are you trying to cut? Are they perhaps welded into one layer or all the same color already? Please let us know if you are still having issues and feel free to send an email to hello@heyletsmakestuff.com if you are still having trouble!
Happy crafting!
Crystal, HLMS Community Manager
Amy Motroni says
Hi Judy,
If it’s in the app, ColorSync is just called Sync and I believe it’s in the Layers screen at the bottom.
Hope that helps!
Amy, HLMS Reader Support
Barbara says
Hello, I have a cricut explore air 2 (I’m new to this). My problem is that I clicked on images, inserted the image. Now I want to change the color. I clicked on color sync but the only color that shows up is the color of the card I am trying to put it on. I did research and that research showed a color palette. I don’t have one, is there something I am doing wrong? Please any suggestions would be highly appreciated. Thank you!
Liz, HLMS Reader Support says
Hi Barbara – Cricut has updated Design Space and moved the material color picker to the top of the screen to the Edit toolbar. The Color Sync tab on the Layers toolbar will only show the colors of the images on the canvas so that if you have more than 1 image that you would like to match colors, this is where you do it. If you want to change the color, you have to do it on the Edit toolbar.
Let me know if you need anything else.
Liz, HLMS Reader Support
Judi Brayman says
I have the same issue with the color sync. I have hit the Edit at the top but it only has ‘cut’ ‘copy’. What am I doing wrong?
Megan says
Great tutorial illustrating one of my favorite features of Design Space! Off to share with my followers!
Cori George says
Thanks Megan!