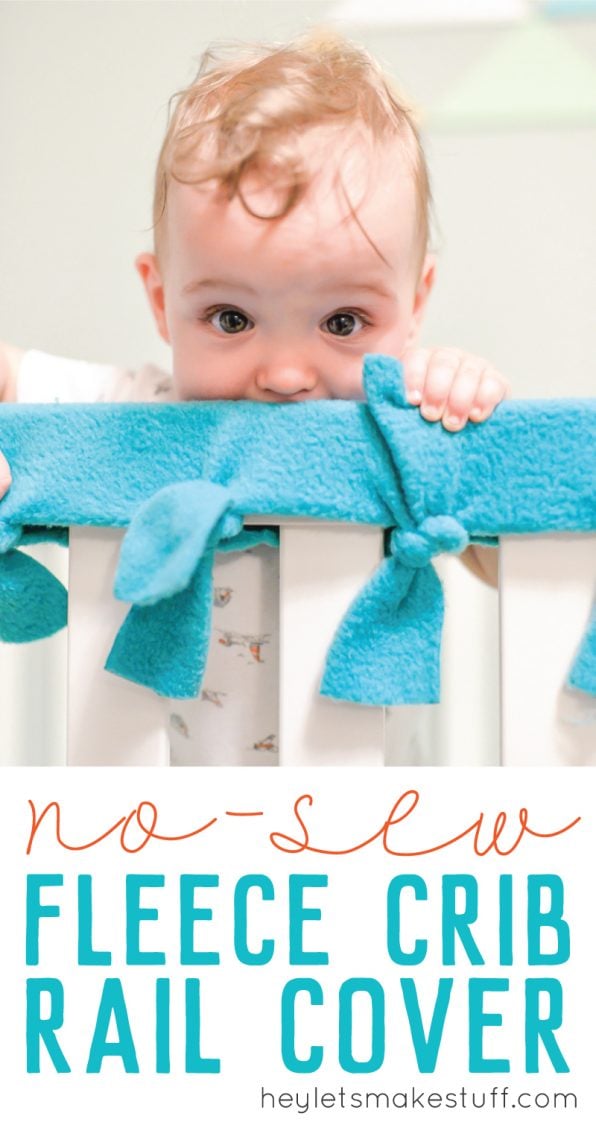
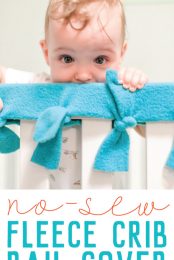
Baby chewing on the rails of his or her crib? Make these easy, no-sew fleece crib rail covers to protect the crib and your baby’s teeth!

Turns out, I have a mouse.
His name is Callum, he’s one, and he chews on anything and everything. Recently, I noticed that he was chewing the rails on his crib. I know a lot of babies do this, but I was bummed to find little teeth marks lining the rails of their pretty cribs.
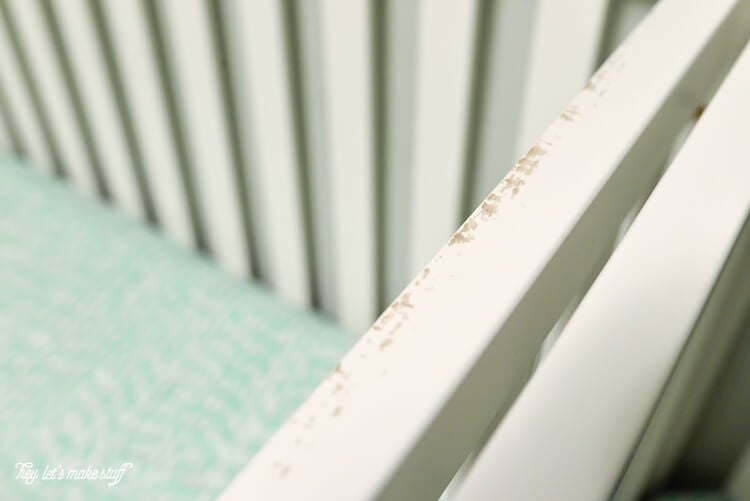
I started to plan out sewing some crib rail covers, but I realized that my little mouse was going to chew faster than I could sew and I needed covers, like, now.
Then I saw a knotted fleece blanket that my cousin made for the boys and I knew that I could do the same thing to make a super fast rail cover.
The fleece is nice because the edges don’t fray like most other fabric does, so it doesn’t require sewing to finish. I am making covers for all the rails Cal chews on, and probably for Seb’s crib too, since he’s often not far behind his twin.
Supplies
- Strip of fleece for each rail (the width of the bolt of fabric should be wide enough for any crib). See measurements below.
- Scissors
- Ruler
- Tape measure
- Disappearing ink marker
- Optional: rotary cutter, quilting ruler, and cutting mat
Instructions
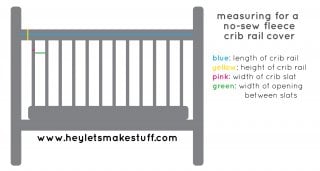
First, you’re going to need to take the following measurements for each rail:
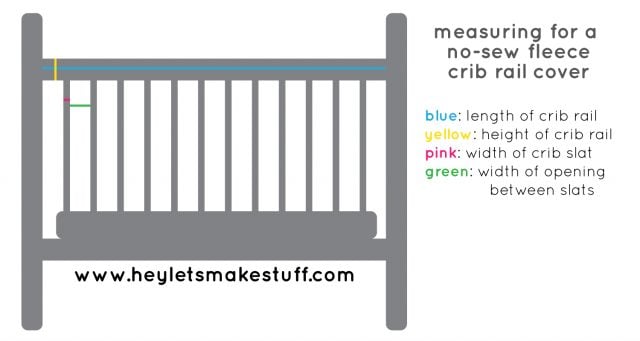
You’ll also want to know if your crib side starts on a slat or an opening. The front of my crib starts on an opening (like the diagram above), but the sides actually have a slat at the beginning.
To find the height of your strip of fleece, take the height of the crib rail (yellow) and double it. Then add 11″. My crib rail was 2.5″ tall So: 2.5″ x 2 + 11 = 16″. This left me 5″ of fleece for each tie, which was plenty for double knotting.
Next, take your strip of fabric and cut it to the length of the crib rail (blue). Mine is 51″ long.
My slat openings (green) are 2″ while the slats themselves (pink) are 1.75″. Starting at one end of your strip of fleece, measure in the width of your slat opening (green) and draw a dot 5″ from the top and 5″ from the bottom. For me, that was 2″ but it will be different depending on your own crib.
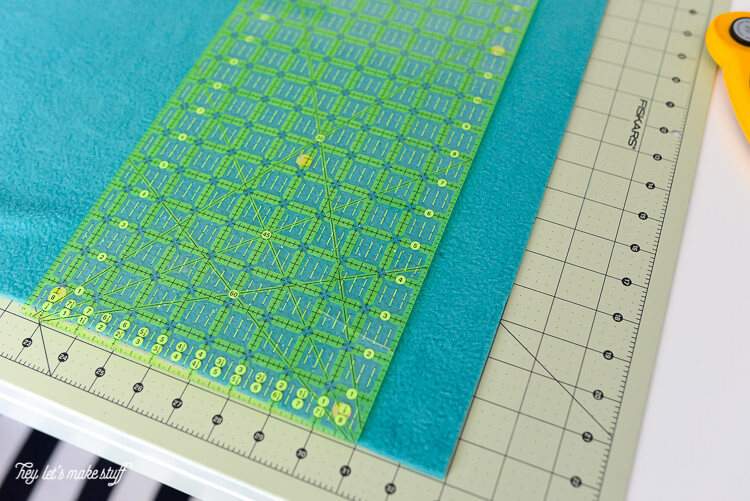
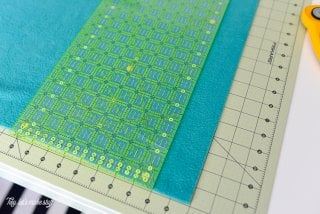
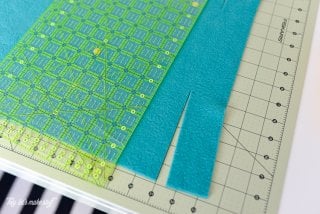
Using your scissors or your cutter and ruler, cut from the bottom edge to the dot, and then do the same from the top.
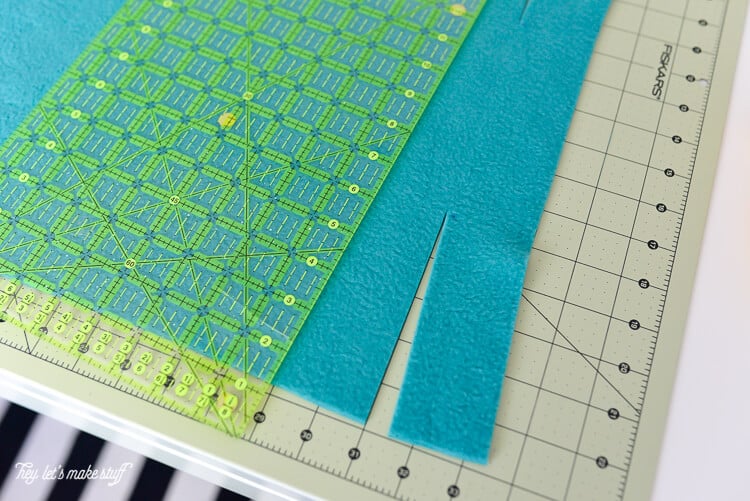
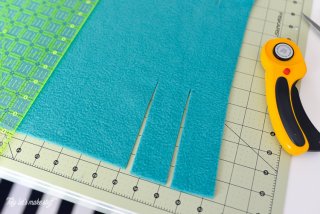
Then measure in from the cut, the width of your slat (pink) (1.75″ for me). Make two more dots, 5″ from the top and 5″ from the bottom and cut.
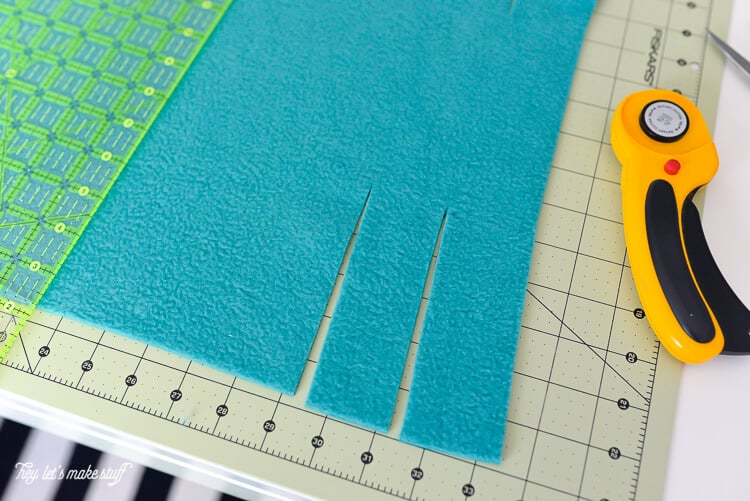
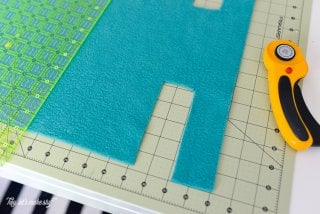
Then cut that “flap” out of the middle of the two cuts.
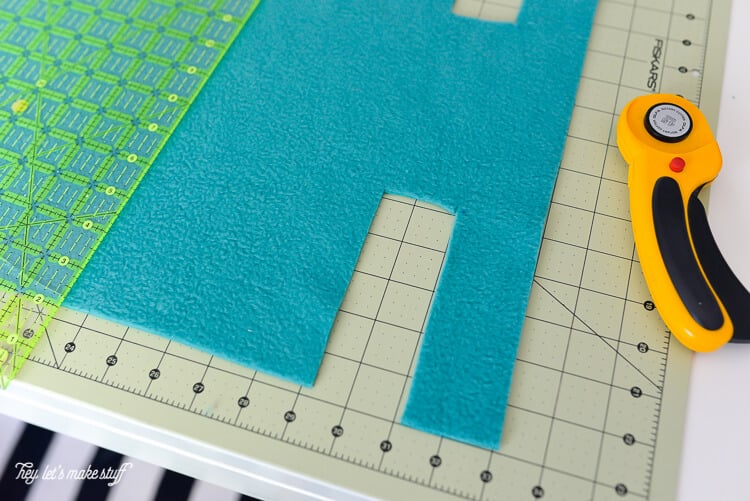
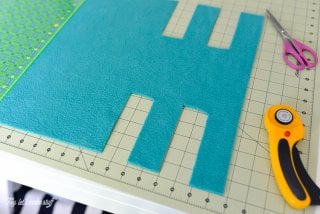
Then continue that pattern down the length of your strip of fleece. Slat opening width (green), slat width (pink). Slat opening width, slat width.
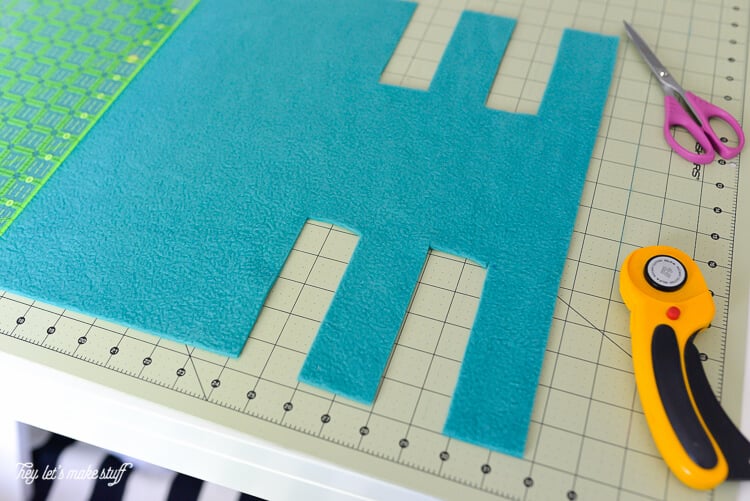
Once you’ve worked your way down to the end of your fleece, you’re done! Drape the fleece over the rail and knot each set of flaps under the rail. You can double knot each of the ties to keep them from coming undone.
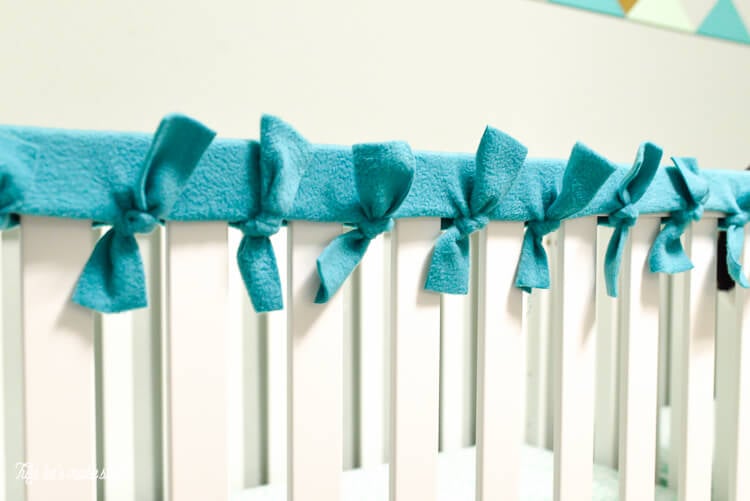
Such an easy way to keep your little mouse from destroying his house!

EASY NO-SEW FLEECE CRIB RAIL COVERS
Equipment
- Rotary cutter optional
- Quilting ruler optional
- Cutting mat optional
Supplies
- fleece Strip for each rail (the width of the bolt of fabric should be wide enough for any crib). See measurements below.
Instructions
- First, you're going to need to take the following measurements for each rail:

- You'll also want to know if your crib side starts on a slat or an opening. The front of this crib starts on an opening (like the diagram above), but the sides actually have a slat at the beginning.To find the height of your strip of fleece, take the height of the crib rail (yellow) and double it. Then add 11". This crib rail was 2.5" tall So: 2.5" x 2 + 11 = 16". This left 5" of fleece for each tie, which was plenty for double knotting.Next, take your strip of fabric and cut it to the length of the crib rail (blue). This one is 51" long.The slat openings (green) are 2" while the slats themselves (pink) are 1.75". Starting at one end of your strip of fleece, measure in the width of your slat opening (green) and draw a dot 5" from the top and 5" from the bottom. For this project, that was 2" but it will be different depending on your own crib.

- Using your scissors or your cutter and ruler, cut from the bottom edge to the dot, and then do the same from the top.

- Then measure in from the cut, the width of your slat (pink) (1.75" for this project). Make two more dots, 5" from the top and 5" from the bottom and cut.

- Then cut that "flap" out of the middle of the two cuts.

- Then continue that pattern down the length of your strip of fleece. Slat opening width (green), slat width (pink). Slat opening width, slat width.

- Once you've worked your way down to the end of your fleece, you're done! Drape the fleece over the rail and knot each set of flaps under the rail. You can double knot each of the ties to keep them from coming undone.



Comments & Reviews
Liz says
Genius idea! I was looking online for a teething guard for my daughter’s crib since she bites it. Come to find out they are so expensive! I found this diy idea, went to Joann Fabrics and got 1.5 yards of fleece for $14. It looks great! Would recommend this idea!
Aditi says
This is a great idea and I’m planning to get started on the cuts today! I had a question: I washed the fleece after I bought it. And the edges are fraying on all sides (since I’d cut them to the size of the rails). Did you hem the edges at all?
Cori George says
The edges are fraying? Generally fleece shouldn’t fray — it’s not a woven material. Are you sure you’re using fleece?
Aditi says
I bought it at JoAnn fabrics – and the rack said fleece. It’s possible that I’ve got the wrong material. :( Since I’ve already cut it up, I’m just going to give it a go with this anyway. Thanks, Cori!