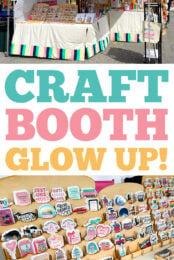
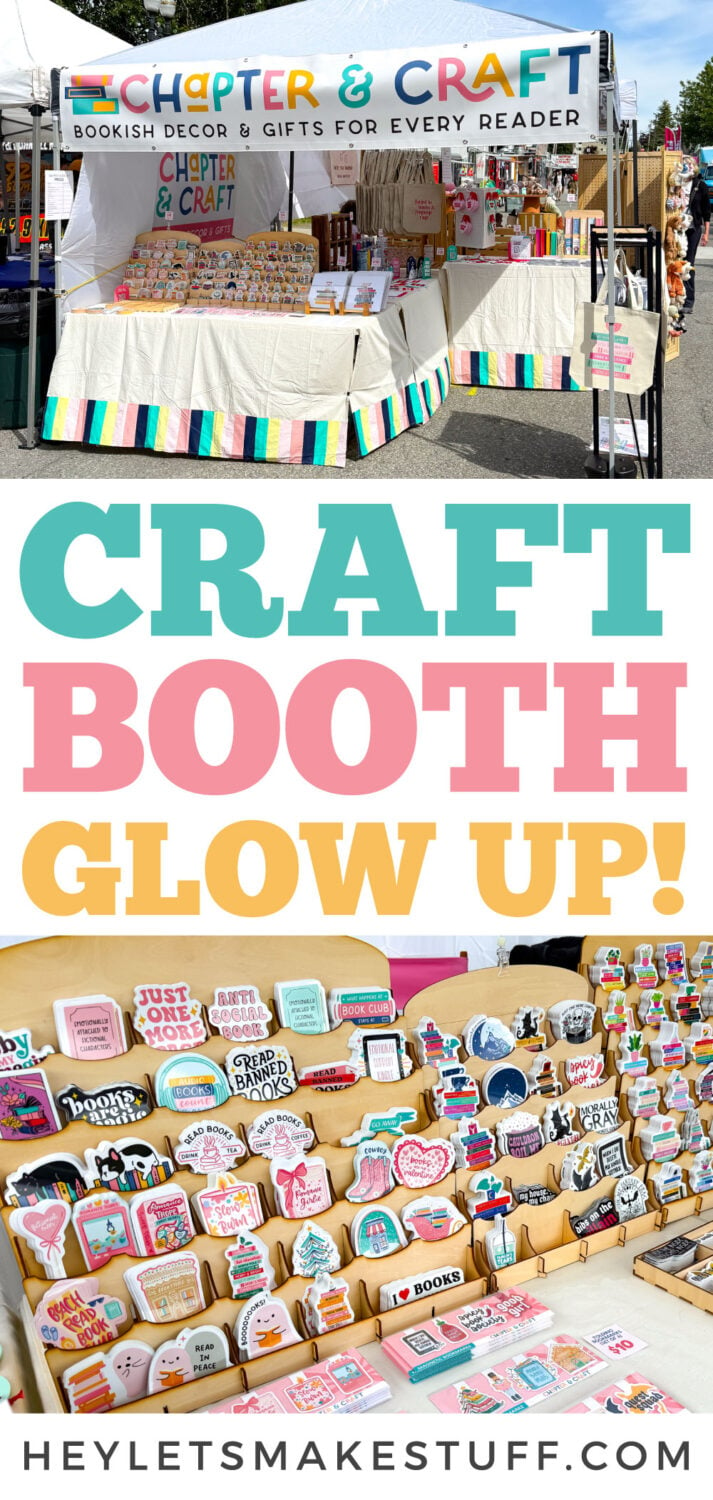
Discover 12 budget-friendly craft booth updates that instantly make your craft fair booth look more polished, cohesive, and inviting!
If you’ve ever walked through a craft fair and noticed that some booths feel polished and shop-like while others feel cluttered or unfinished, the difference usually isn’t the products themselves—it’s the presentation!
Many shoppers subconsciously judge the quality of your work by how your booth looks. The good news is that giving your booth a glow-up does not have to mean spending thousands of dollars on fancy displays or custom fixtures. Some of the best improvements are actually the simplest ones!
Today I’m sharing 12 practical, low-cost ways to give your craft booth a glow up and create a more intentional, retail-style setup that helps your products shine!
1. Choose a Clear Visual Theme
Before you buy one more display, basket, sign, or tablecloth, I want you to think about your visual brand. A cohesive booth starts with clear visual direction. When everything in your space looks like it belongs together, customers instantly perceive your brand as more professional.
Choose a simple color palette, like 2–4 colors, and a general vibe, modern, cozy, rustic, minimalist, or whimsical. This helps guide decisions about table coverings, signage, packaging, and displays. Even inexpensive items or displays look more elevated when they’re coordinated.

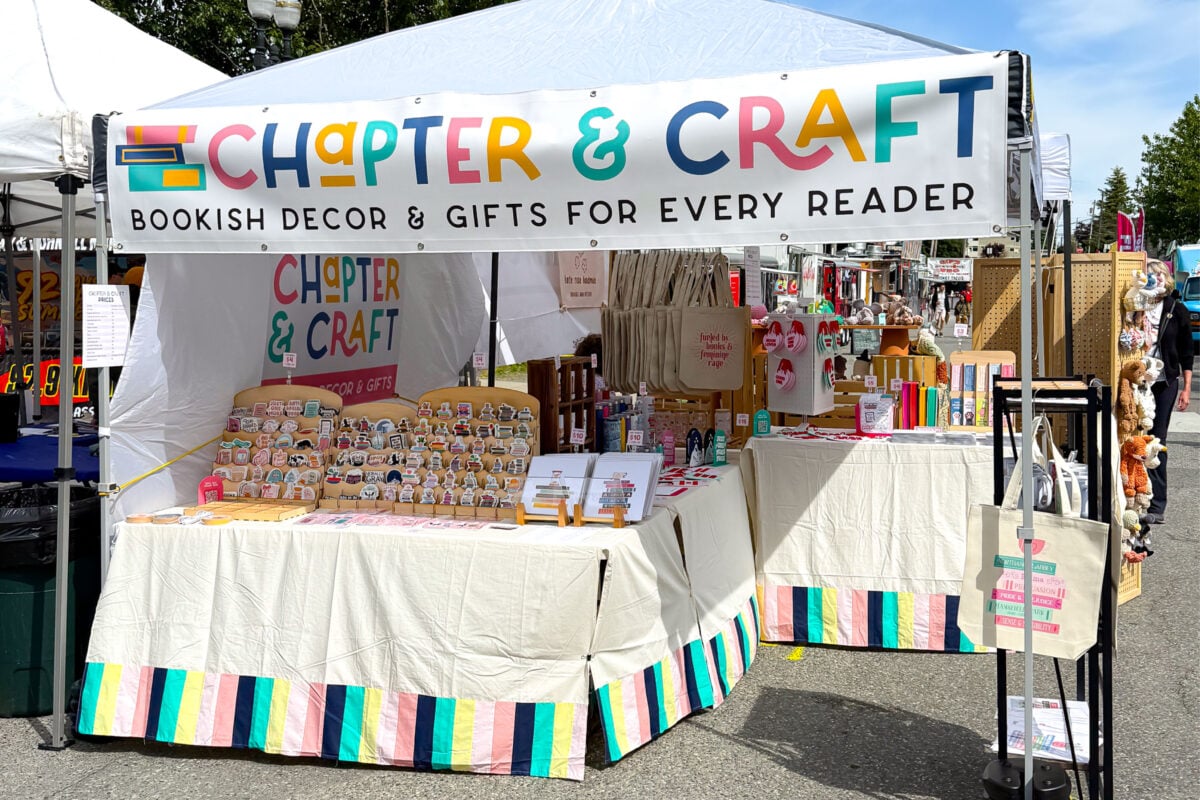
For my own booth, I work primarily with pink, with teal and bright yellow as accents. Sure, there are other colors mixed in because products are products, but I always come back to that same palette. It keeps everything feeling cohesive and intentional.
As you add things to your booth, ask yourself, “Does this fit my colors? Does this fit my vibe?” If the answer is no, it probably does not belong!
2. Rethink Your Tablecloths
Tablecloths are one of those things that a lot of people do not think about very much, but they can completely change the feel of your booth!
I see black tablecloths at a lot of craft fairs, and sometimes they work beautifully. If you sell jewelry, for example, black can make your pieces really pop. But for a lot of products, black can feel really heavy. It can pull attention away from your actual products instead of helping them shine.
Think about using a tablecloth that works with your brand colors instead. A softer color, a brighter color, or even a neutral that supports your overall vibe can make a huge difference.
Personally, I prefer traditional boxy tablecloths instead of the stretchy fitted ones. The fitted ones are practical, and if you have them, absolutely use them! But I feel like the boxier tablecloths feel a little warmer, a little more handmade, and a little less trade show.
And if you sew, making your own tablecloths can be such a fun and inexpensive option! That’s what I did because I love creating more stress for myself right before a big show, ha!
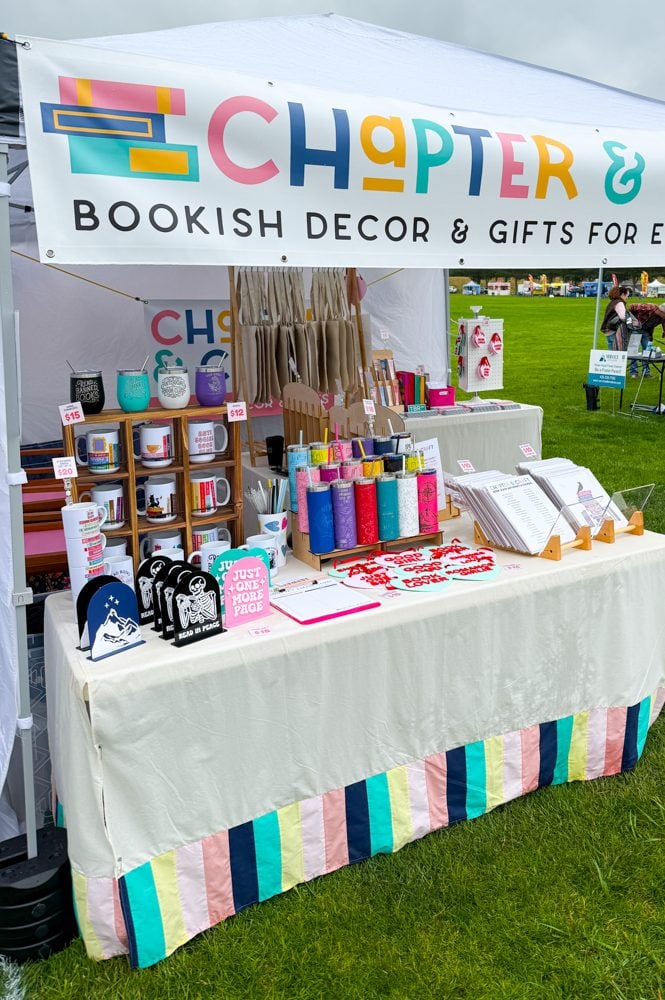
3. Add Height and Visual Levels
If everything in your booth is sitting flat on the table, your setup can start to feel a little too much like a garage sale. Height creates visual interest. Height draws the eye. Height helps people notice more of what you have to offer!
Look around your house. Look at thrift stores. Look at your garage. Baskets, crates, shelves, overturned bins, and risers can all work beautifully. I made a bunch of inexpensive displays using my laser.
And if you are on a super tight budget, cardboard boxes covered with fabric can work amazingly well! Seriously!
Varying heights makes your booth feel intentional and professionally merchandised vs. having everything flat on a table like a garage sale.
4. Upgrade Your Signage
Your booth signage should do more than just display your business name. When people walk by your booth, they should immediately know who you are and what you sell. They should not have to step inside and start asking questions to figure it out.
This is one area where I would spend a bit—get a nice vinyl sign from somewhere like Vista Print that can be used over and over again. Make sure your fonts are big and easy to read so that people can see them from far away.
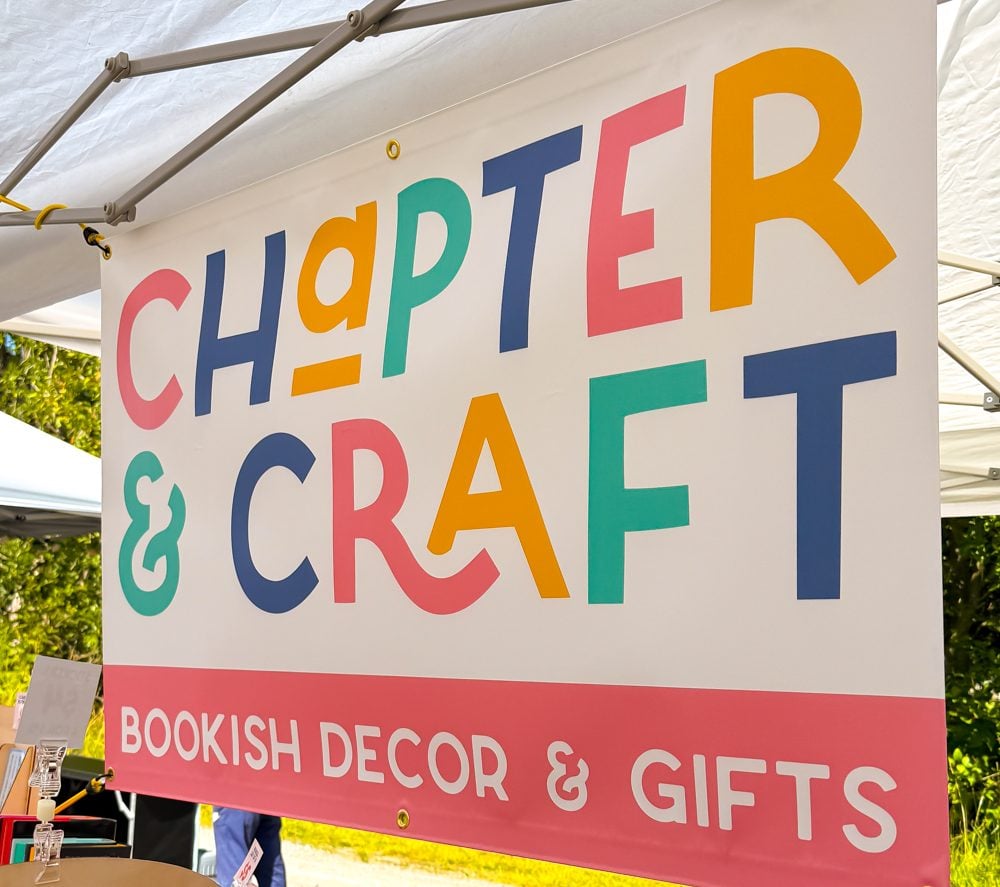
For my own booth, my sign says Chapter & Craft, and underneath it says bookish gifts and decor. That little description makes such a difference and definitely draws people into my booth.
It helps the right people come in, and it helps people who are not my ideal customers keep walking. That might sound harsh, but it actually creates a much better shopping experience for everyone!
5. Use Lighting to Your Advantage
Lighting is not necessary for every booth, but for the right products, it can be a total game changer!
If you sell jewelry, glass, detailed artwork, or anything with sparkle, texture, or intricate details, lighting can help your products stand out in a huge way.
Small LED lights, strip lights, and clip-on spotlights are all pretty affordable these days, and they can create beautiful focal points throughout your booth.
Sometimes a little light is all it takes to make a product feel extra special! It also adds a special touch during the holidays—everyone loves a twinkle light!
6. Display Less, Not More
I know. This one is hard!
When you make beautiful things, you want people to see all of them. Every cute mug. Every hand-turned wood bowl. Every shirt. Every design.
But when customers see too much at once, they can actually become overwhelmed. Instead of feeling excited, they feel unsure where to start.
I have had to work on this myself and I know I’m still not there, but it’s a work in progress. Over time, I’ve come to learn what my best sellers are and what takes a lot longer to sell and probably isn’t worth the table space.
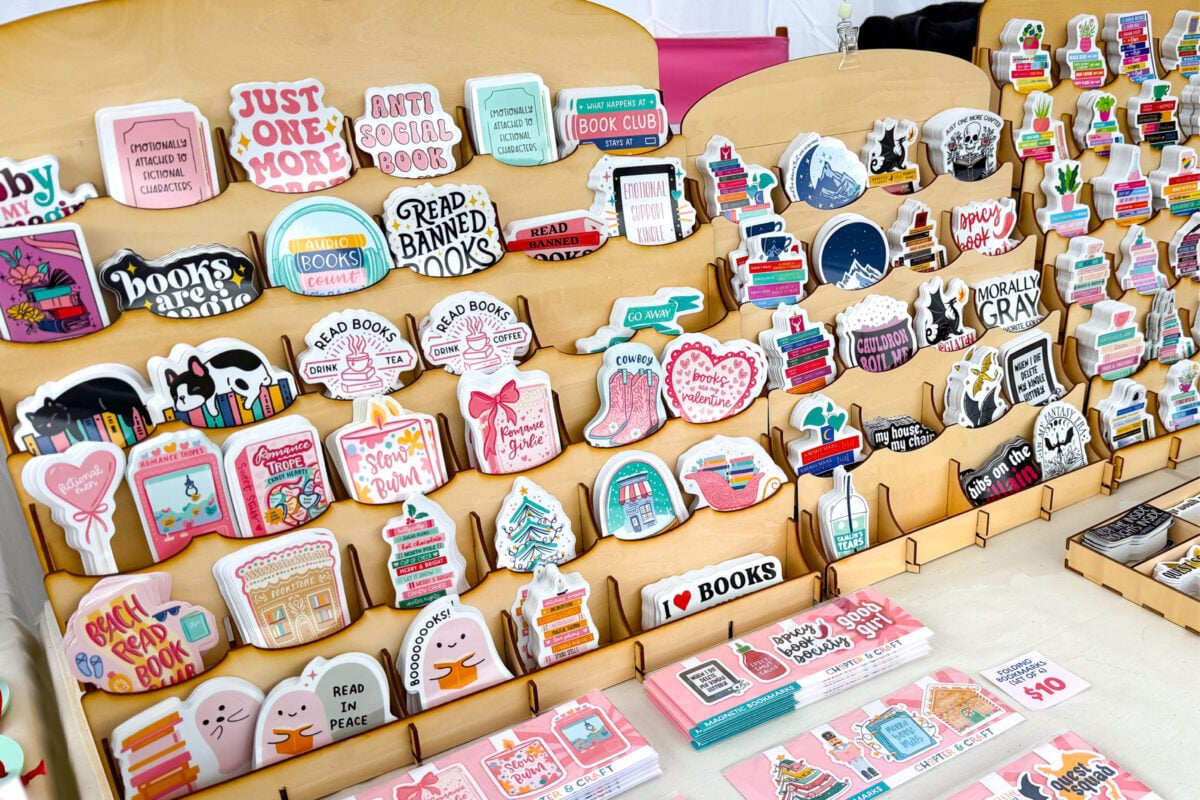
For example, I know my stickers look overwhelming BUT that huge display bring people into my shop and stickers sell really well. At a recent fair, I sold more than 800 stickers that weekend, and at $4 a pop, that’s definitely worth the table space, even if it’s a bit much to look at at first.
But for some reason, engraved tumblers never took off, so those only come out if I end up selling out of a product during a long weekend and I need shelf filler.
7. Create a Focal Point
Piggybacking off the last point, every great craft booth needs something that catches people’s attention from across the room!
Think of your focal point as the thing that makes someone walking by stop and say, “Ooh, what is that?!”
For me, that’s all those stickers! People will be walking by, just glancing into booths, and they’ll see all those stickers and make an immediate turn right into my booth. Some people will see that they are bookish and turn around, but more often than not, folks will take a long while to browse, whether it’s for them or the stickers get them thinking about gifts for their bookish friends.
For you, maybe it is a beautifully styled shelf filled with your bestselling products. Maybe it’s an expensive larger version of what you sell—a giant crocheted piece or a huge piece of art. Maybe it is a statement display, a seasonal setup, or one product collection that instantly tells shoppers what your business is all about.
8. Add a Sale Shelf
This has been one of my favorite additions to my booth!
Earlier this year, I added a small clearance section filled with discontinued items, products with tiny imperfections, and pieces I no longer wanted to sell at full price. I put up a simple sign that says SALE, and wow, people notice it!
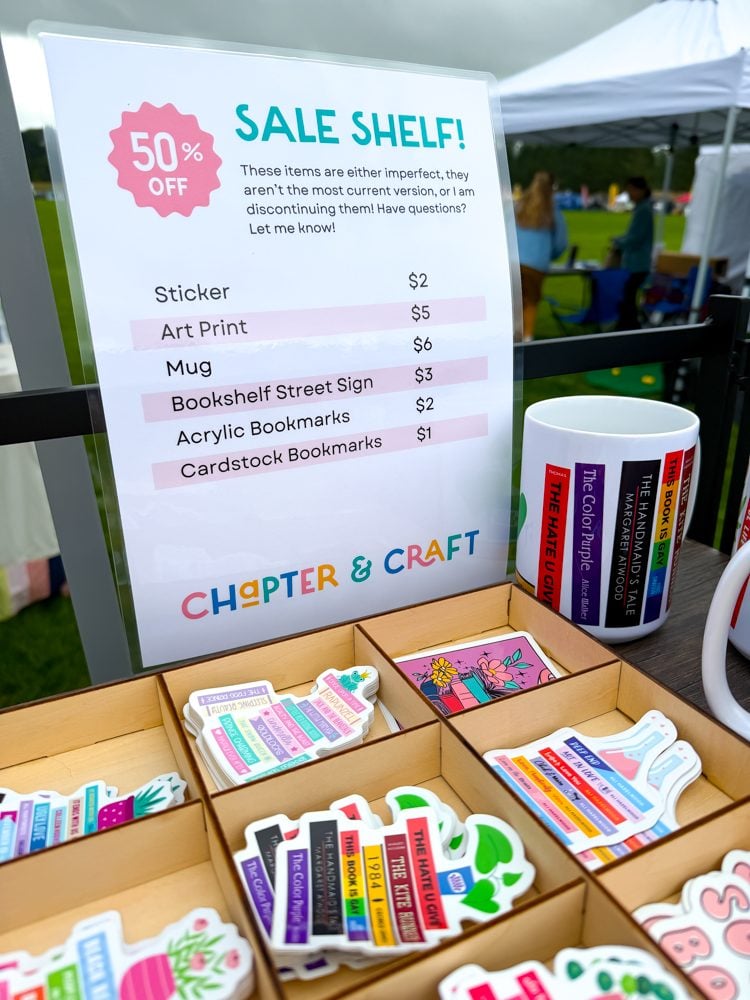
People love a good deal. They come in to check out the sale section, and while they are there, they start browsing everything else. It costs almost nothing to set up, and it can help move inventory that might otherwise sit around forever.
That is a win all around!
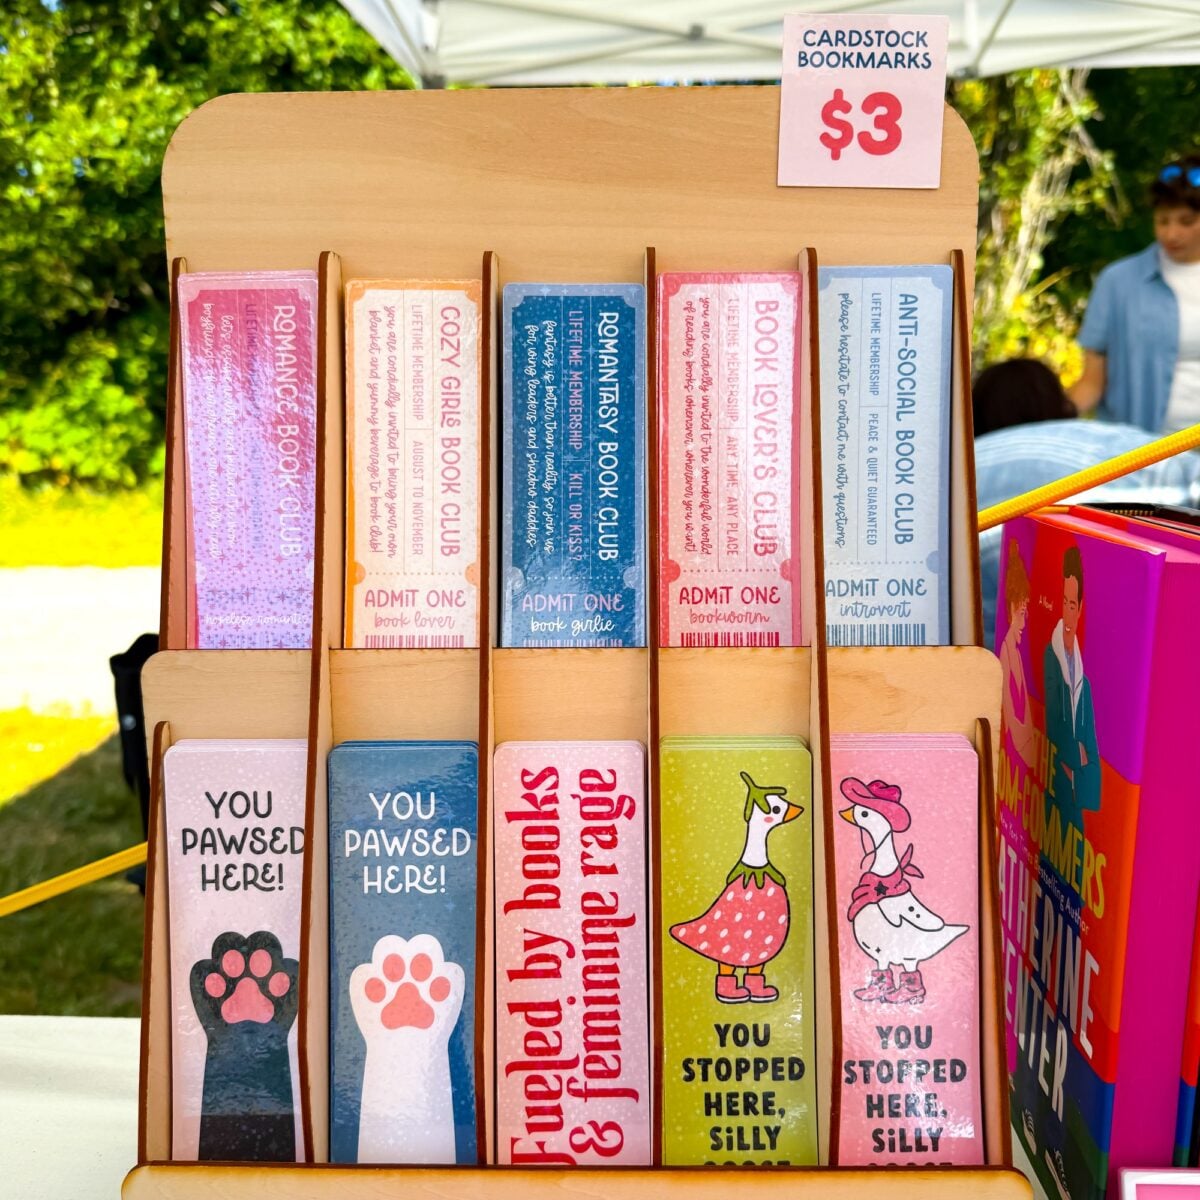
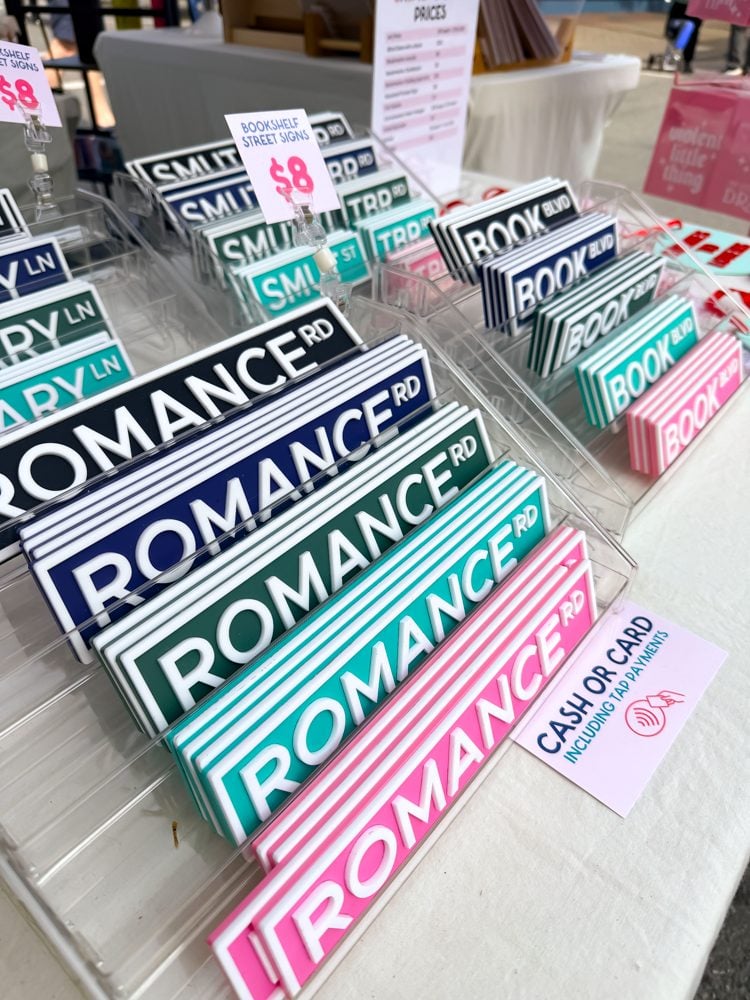
9. Make Pricing Easy to Find
Pricing should never feel like a scavenger hunt! If customers have to search for prices, or worse, ask you about every single product, you are creating friction in the buying process.
I like using small matching price signs throughout my booth so customers always know exactly what they are looking for.
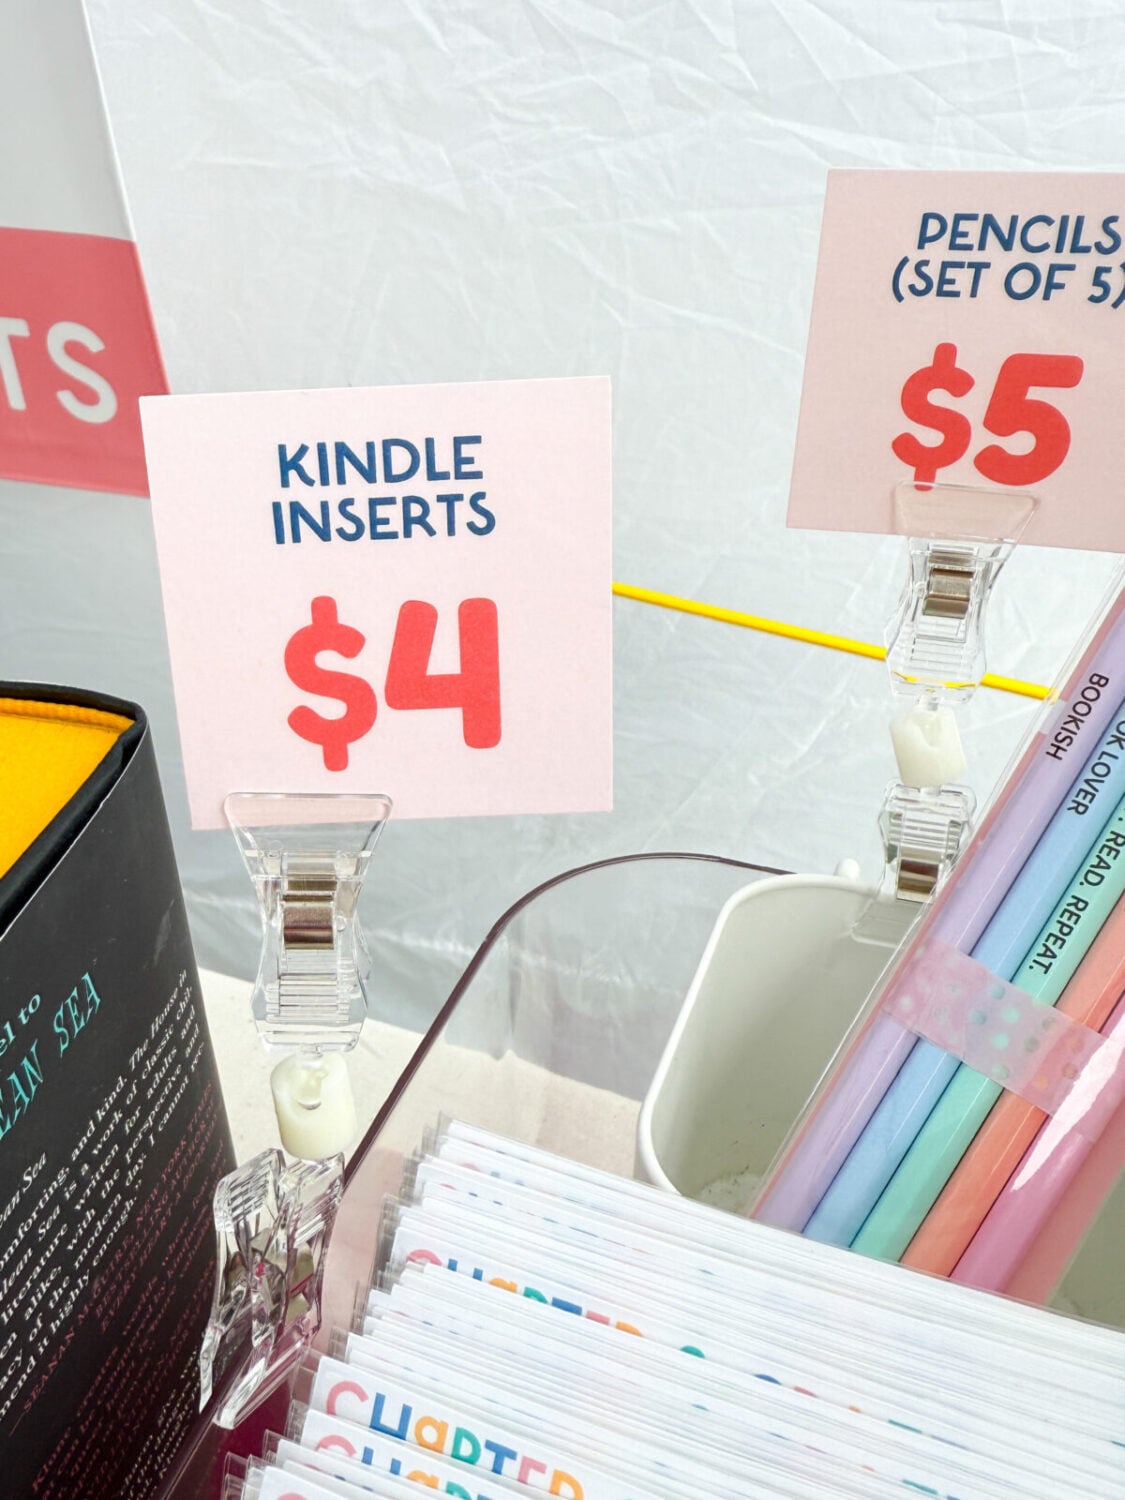
I also laminate mine so I can reuse them show after show. It saves time, saves money, and keeps everything looking consistent.
When pricing is clear, customers feel more comfortable shopping. And comfortable shoppers buy things!
10. Create a Customer-Friendly Layout
Not every customer shops the same way. Some people want to come into your booth, chat with you, and hear the story behind your products. Those people are so fun!
Other people want to quietly browse without feeling like they have to talk to anyone.
Your booth should make both types of shoppers feel welcome!
I personally love a Z-style setup because it gives people options. Shoppers walking by can see products from the outside, and people who want to explore more can step inside and browse.
If a Z layout does not work for your space, an L shape or U shape can work beautifully too.
The big thing is to face at least some of your products outward toward the walkway. Let people see what you sell before they ever step inside.
Final Thoughts: Small Changes, Big Impact
Giving your craft booth a glow-up does not have to mean spending a ton of money. In fact, some of the most effective improvements are the small, thoughtful changes that make your booth feel more cohesive, more inviting, and more you!
Start with your colors. Think about your vibe. Create displays with height. Make your pricing clear. Give your products room to shine!
Little by little, those changes add up in a big way!
And before you know it, you will have a booth that not only looks amazing, but actually gets people to stop, step in, and shop!


Leave A Reply!