It’s important to know how to clean your Cricut pink mat. Learn how to take care of this mat, clean it properly, and help keep it sticky for a long time to come.

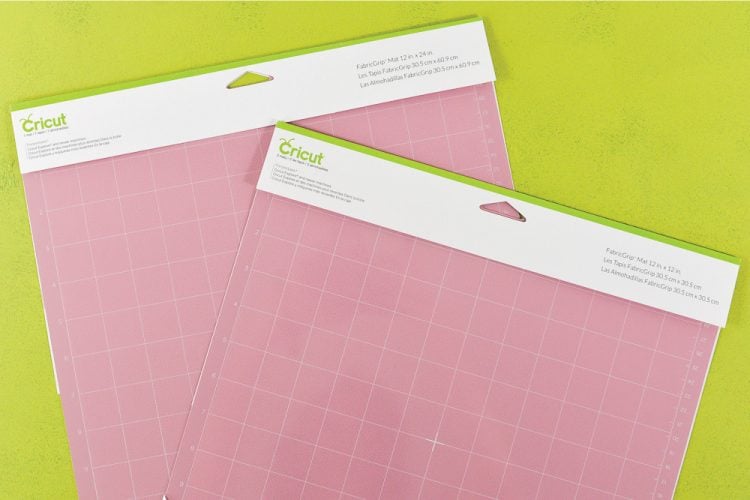
With the release of the Cricut Maker, Cricut also gave us a new cutting mat — the pink FabricGrip mat. The Cricut Maker is purpose-built for cutting fabric (among hundreds of other materials) and the fabric mat is essential for getting perfect fabric cuts.
But how do you keep your mat clean? People are already finding it harder to keep their pink mats clean, so I wanted to write a post about everything I’ve learned about my mat. First, I want you to throw out everything you know about cleaning Cricut mats. This mat is different. After using my pink mats and chatting with my friends who are using them as well, we’ve realized they’re definitely more finicky than the other three mats.
Don’t Use Your Scraper
First and foremost, put down the scraper! The adhesive on the pink mat is different than the other three mats and you can scrape it right off the mat. Read ahead for what you should do instead.
Keep Your Hands Off
The adhesive on the Cricut pink mat is more delicate than on the other mats. The oils in your fingers quickly break down the adhesive in the mat, causing it to lose its stick. Just be cautious with your mat and try to avoid touching the adhesive if possible. You can use a brayer to help adhere your fabric to your mat if that helps (don’t press hard, just enough to adhere the fabric to the mat). Use tweezers to pick up your pieces off the mat so that you keep your fingers away from the adhesive. Don’t try and pick loose threads off the mat either — if you really must pick, use the tweezers.
Threads Don’t Matter
Speaking of threads, if you’re cutting fabric you’ll notice that you end up with a lot of threads on your mat. Leave them. We’re conditioned to having super clean mats because any little bump when cutting paper or vinyl can be detrimental to a project. The rotary blade, however, is its own beast. It cuts right through loose threads if you put the fabric over it — they won’t ruin your cuts at all.
Transfer Tape
If the threads are really bugging you or are noticing they are affecting your cuts, then you can use a piece of transfer tape to pull up the loose threads and other debris. Just put it sticky side down and peel it up. People have found this to be hit or miss, so use this tip with caution and as a last resort.
Tips for Felt
If you’re cutting felt on your Cricut Maker (which you definitely want to do — it cuts it beautifully), you have a couple options that will help keep you from destroying your pink mat with fuzz.
First, you don’t actually have to use your pink mat. I have been using older green mats that still have some stick to cut felt and that works just fine. Yes, the fibers stick but I’d rather gunk up my old mats than gunk up my pink mat. I’m saving that for fabric.
You can also back your felt in transfer tape and stick that to the mat. I haven’t done this myself, but people have been having good luck with this. Just peel it off after the cut! The downside to this is that you’re using transfer tape for every cut — could get expensive depending on what you’re cutting!
Pushing the Mat Past its Limits
The Cricut pink mat has limits. If you are trying to do a lot of intricate cutting with the rotary blade, you may notice that the mat actually starts peeling. The rotary blade isn’t really meant to cut a circle smaller than 3/4″. If you cut smaller circles than that, I believe you’re putting even more pressure on the blade and mat and it’s not designed to handle that kind of pressure and you’ll start to see your mat peel.
Do NOT Re-stick Your Mat
There are a ton of tutorials out there to re-stick your Cricut mats. These tutorials involve water, baby wipes, GooGone, spray adhesive, painter’s tape, prayers, tears of unicorns, and any other number of things. Like I said above, the pink mat’s adhesive is totally different than the adhesive on the other mats and you will ruin your mat. The adhesive on the pink mat is designed to hold the fabric but release it easily. If I ever discover a way to re-stick this mat, I’ll definitely come back here and update this post! It’s better to take care of your mat using the above tips rather than try and restore a totally destroyed mat.
If you’ve been frustrated trying to keep your pink mat clean, I hope these tips have helped. If you have anything to add, please let me know in the comments and I can update this post!


Comments & Reviews
Fanny says
I wonder if pattern adhesive spray (like the spray and bond) would work to restick the mat? When I get to the point of needing to do that, I’ll give it a go.
Heather says
Are the pink mats only for the Maker? I have an Explore Air 2 and have had not-so-great luck with the pink mats and felt. I’m a preschool teacher, and I love making felt board story pieces on my Cricut. I have had some varied luck with the Explore and I cannot afford (remember, I’m a teacher) a Maker.
I’d love thoughts!
Crystal Summers says
Hi Heather,
The pink mat is typically used with the rotary blade, which is exclusive to the Maker. However, you can still cut felt with the Explore machines! Here’s a link to a post on how to cut felt with the Explore or Maker – as well as the various types of felt.
https://heyletsmakestuff.com/cut-felt-with-a-cricut/
Hope this helps!
Crystal, HLMS Community Manager
Kim Needham says
Hello everyone, some GREAT advice here. I just bought my Maker Everything Bundle 1/1/21 and of course a full set of additional blades because I want to see how far I can go and what I can create before a deeper dive into another machine I need to own before I’m dead. It is me or are there ZERO instructions or a manual for my Maker?!I have plans but lots of projects that should be simple if I had the right advice. What am I missing?
LuJayne says
VERY FRUSTRATED!! Tried making appliques for a quilt with explore 1. It ripped the bonded fabric (with pink blade and pink mat) after reading that it really wasn’t built for fabric I went out at 9 pm and 400 dollars later bought the maker with rotary blade. It cut beautifully! BUT brand new mat (pink) has the heat and bond interfacing stuck all over and pulled away from the fabric where I need it. I can’t get it off my new mat? HELP!!
Crystal Summers says
Hi LuJayne,
I’m sorry you had such a tough time cutting fabric on your mat. As you know now, the pink mat is best used with the Cricut Maker, which is specifically designed to cut fabric. Did you place the heat and bond directly on your pink mat? In the future, you want to be sure to stick the fabric face down so the heat and bond is on top (and mirror your image when cutting). That way you are peeling the mat from the fabric and not the heat and bond. Since it’s now stuck on there, I would suggest trying to use your spatula and/or scraping tool(s). The spatula will help you get under any really stuck on pieces. It may be tedious, but eventually, your heat and bond should come off the mat (as long as it was not ironed on. That’s a whole different issue!). Please let me know if this helps.
Good luck!
Crystal, HLMS Community Manager
Tamara says
I was so frustrated with my fabric mat that I figured whatever I did was not going to make it any less sticky, so I put it in the sink, ran some water over it and then lightly rubbed over it with a magic eraser. I rinsed it, gently dried it with a lint free towel, and it was as sticky as it was brand new. Not sure why it worked, but it did!
Brandi says
I started using my pink mats yesterday and they are getting damaged very fast. The pink is being cut and comes off. It is the same with the 12×12 and the 12×24. I even changed the pressure but it still happens. They are still sticky but my 12×12 has a spot that can’t be used now because it is so cut up. Any thoughys?