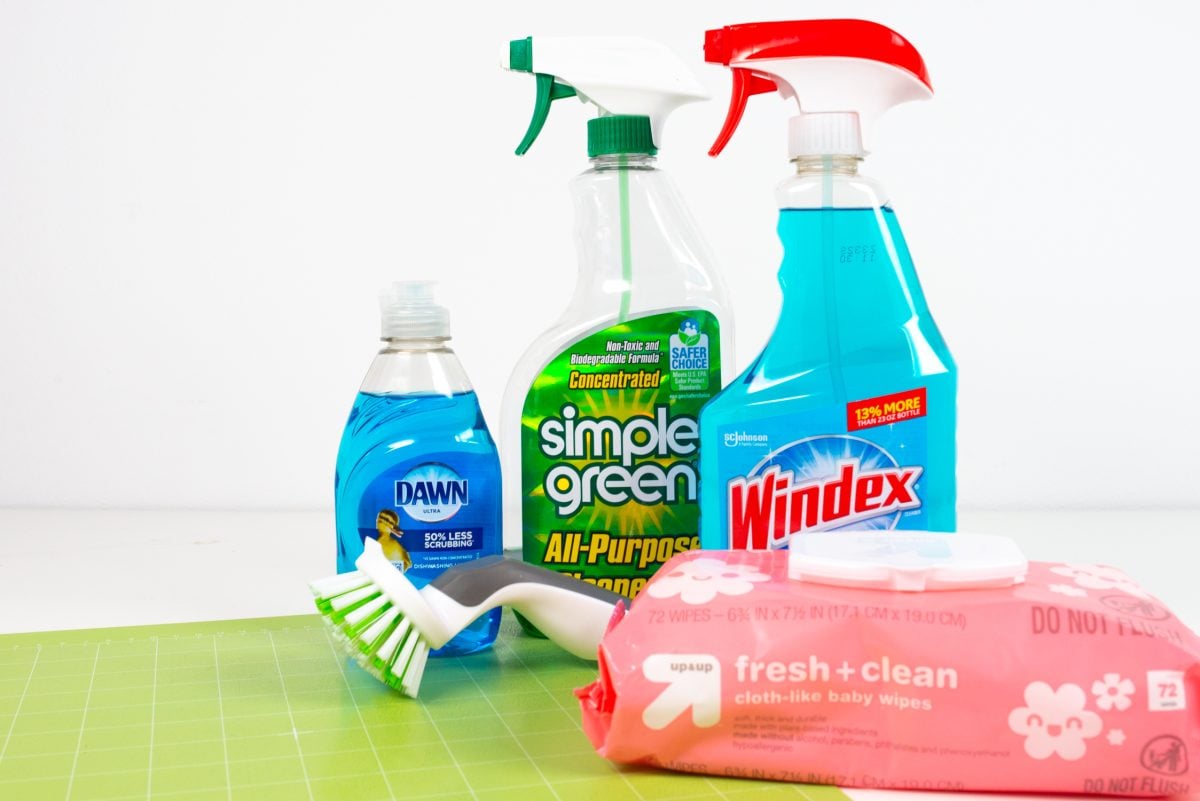
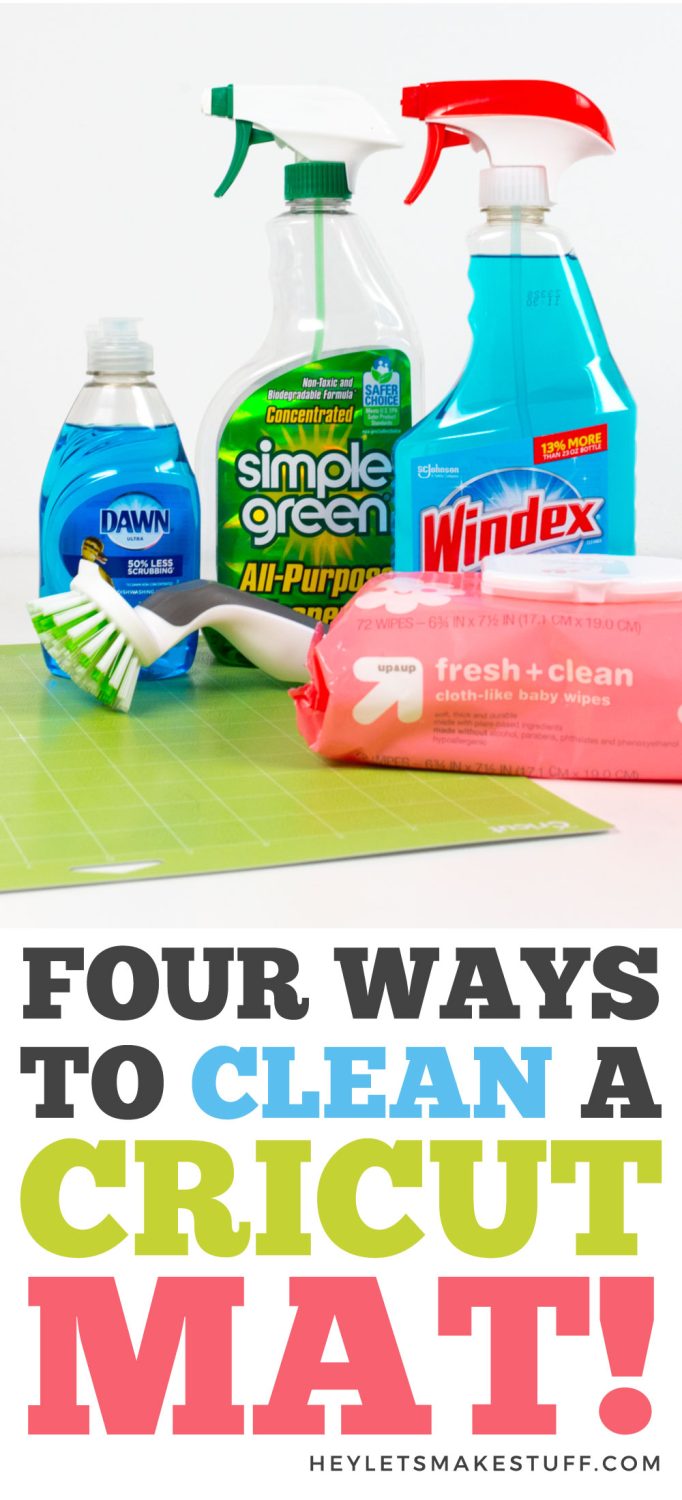
Get more life out of your Cricut cutting mats by cleaning and restoring their stickiness! Here are four ways to clean a Cricut mat, including baby wipes, Windex, dish detergent, and Simple Green cleaner.
Have you started a Cricut crafting project only to realize your material won’t stick to the mat? We’ve all been there!
My own Cricut mats are covered in leftover pieces of my crafting projects, lint, dust, Bernese mountain dog hair, my own hair, finger oils, and more! I’m sure yours are not much better.
For years, I’ve used Cricut mats and thrown them away once they became unusable. I’m lucky and privileged enough that because of this business, I can afford to replace my mats regularly.
But I know there are crafters out there cleaning their Cricut machine mats to extend their life to save money and waste less. So I thought I’d do an experiment by testing four different methods: baby wipes, Windex, dish detergent, and Simple Green cleaner. For me, wasting less is my biggest motivator—I am tired of throwing things away, especially unnecessarily!

I had questions as I embarked on this experiment. Would any of these methods be too harsh and remove some of the adhesive? Would this not just get my cutting machine mats clean, but also sticky again? Would any of these cleaners leave a residue on the mat that would transfer to my materials? Read on to see the results of each of my tests!
Note that all four of these cleaning methods should work on the blue LightGrip mat, the green StandardGrip mat, and the purple StrongGrip mat to extend the life of your mats. Scroll down for my tips for the pink FabricGrip mat.
Grab everything you need to clean your Cricut mats on my Amazon shopping list!
How to Clean Your Cricut Mat Video
To watch a video of all four of the methods that I go through in this post, click the play button below. If you want a written tutorial, read on!
How Often Should You Clean Your Cricut Mat?
It really depends on the type of material you are cutting. If you are using a messier material, like felt, or if you’re making a lot of intricate cuts on cardstock with a lot of tiny pieces, you may want to clean it after you cut your project.

if you’re cutting something like iron on that only ever has the plastic carrier sheet touching the mat, you can do many more projects before you should clean your mat.
You should also consider cleaning your mat if you can see that it’s collected a lot of dust, pet hair, or other debris that would get in the way of a quality cut.
How to Clean a Cricut Mat
Initial Cleaning
Regardless of the cleaning method you chose below, you’ll want to clean any big chunky debris off your mat—stuff like cardstock cutouts and bits of vinyl. To do this, I use the Cricut scraper tool, carefully pushing any debris off of the mat. Make sure you don’t push too hard—you don’t want to scrape off the adhesive.
If you have glitter on your mat, a lint roller works really well to pick up tiny glitter pieces.
Cleaning a Cricut Mat with Baby Wipes
My first experiment was alcohol-free baby wipes. I used the Fresh & Clean wipes from Target. I would think that you do need baby wipes with some sort of cleaner in them—I don’t think the water-only wipes will do, though of course it doesn’t hurt to try them if you have a pack!
Grab a baby wipe and wipe in circular motions over the mat surface. It does take a bit of elbow grease and pressure to get the mat clean.
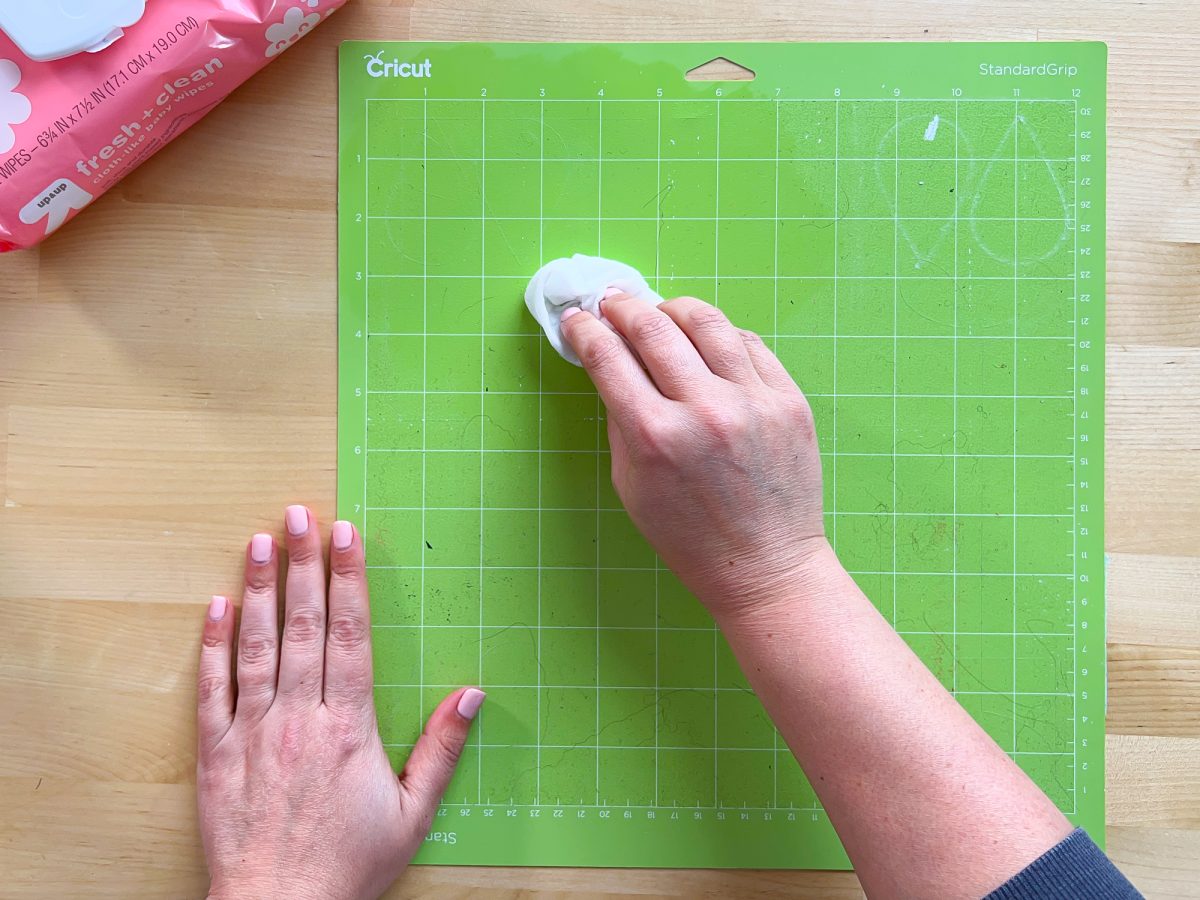
When you’re happy with the results, let your mat air dry. This method worked great—the mat was very clean after using the baby wipes! And, even more importantly, the mat’s stickiness returned.
I will say that that using the baby wipes require quite a bit of effort to use. I’ve mentioned here before that I have a chronic pain condition that affects my joints, and my hand was tired and achy after cleaning a whole mat. Therefore, while this method did work well, it will probably not be a method I’ll use in the future.
Cleaning a Cricut Mat with Windex
For the next three methods, I would generally clean my mats near a sink because all three need to be rinsed.
To clean a mat with Windex, first spray the entire surface of the mat. Then let it sit for about five minutes to let the Windex break down the dirt and debris on your mat.
Then I found a medium-bristled brush worked the best for scrubbing the mat. (I had a hard-bristled brush but thought it felt like it was taking up the adhesive so I gave that one a quick “no.”) I worked the brush in a circular motion, back and forth across the mat. Because the Windex doesn’t foam very much, it was easy to see where I missed parts of the mat.
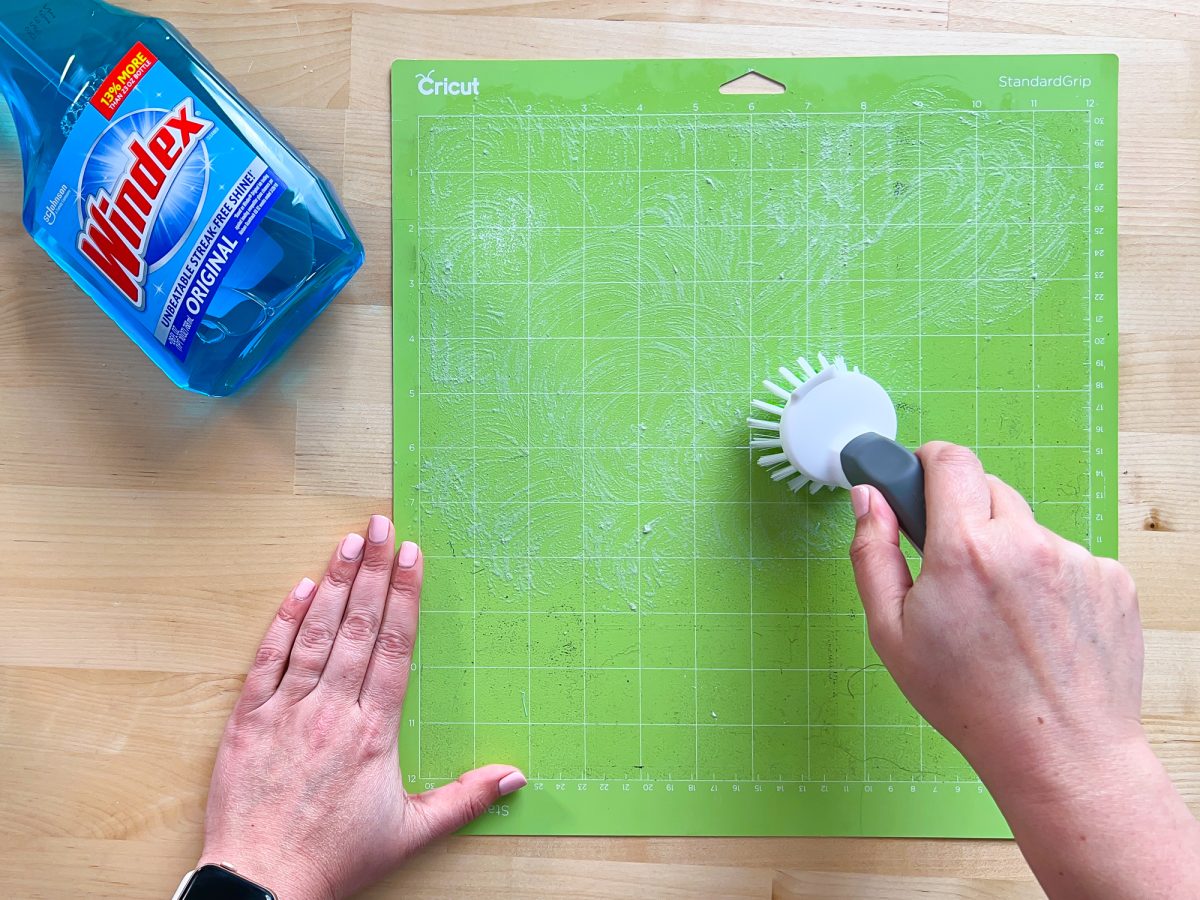
I did not find a plastic scraper or old credit card worked well—it got up some of the debris, but it failed on the pet hair in particular. I also didn’t try a sponge, because I think sponges are icky. The brush was a much better choice for me and it worked really well.
Then I took the mat to my sink and rinsed it with lukewarm water to remove the Windex. I let my mat air dry. Other folks pat dry with a paper towel or microfiber cloth, but I had the time and didn’t want to risk getting lint back onto my newly clean Cricut mats, so I went with the air-drying method.
Once it was dry, I found Windex cleaned well and made my Cricut mat sticky again! Of all four methods, this was actually my favorite because the Windex didn’t foam (see my notes below) and because I didn’t need to dilute it with water, making it a simple one-step cleaning method.
Cleaning a Cricut Mat with Dawn Dish Soap
Next up in my experiment was Dawn dish soap. I think you could probably use any dish soap, but I like Dawn and I know it’s gentle (they use it to clean animals after oil spills!).
I added a few very small dots of Dawn to my mat, and then used a spray bottle to add some water. You could probably just add a bit from the faucet if you’re working directly in or next to a sink. I let it sit for five minutes so the Dawn could start to break down all the gunk on the mat.
Then use that same bristled brush, working in circular motions to clean the mat. I found that while the Dawn worked well to get the mat clean, it did foam quite a bit, making it a bit tough to see where I still needed to clean. You can do a rinse and repeat if necessary.
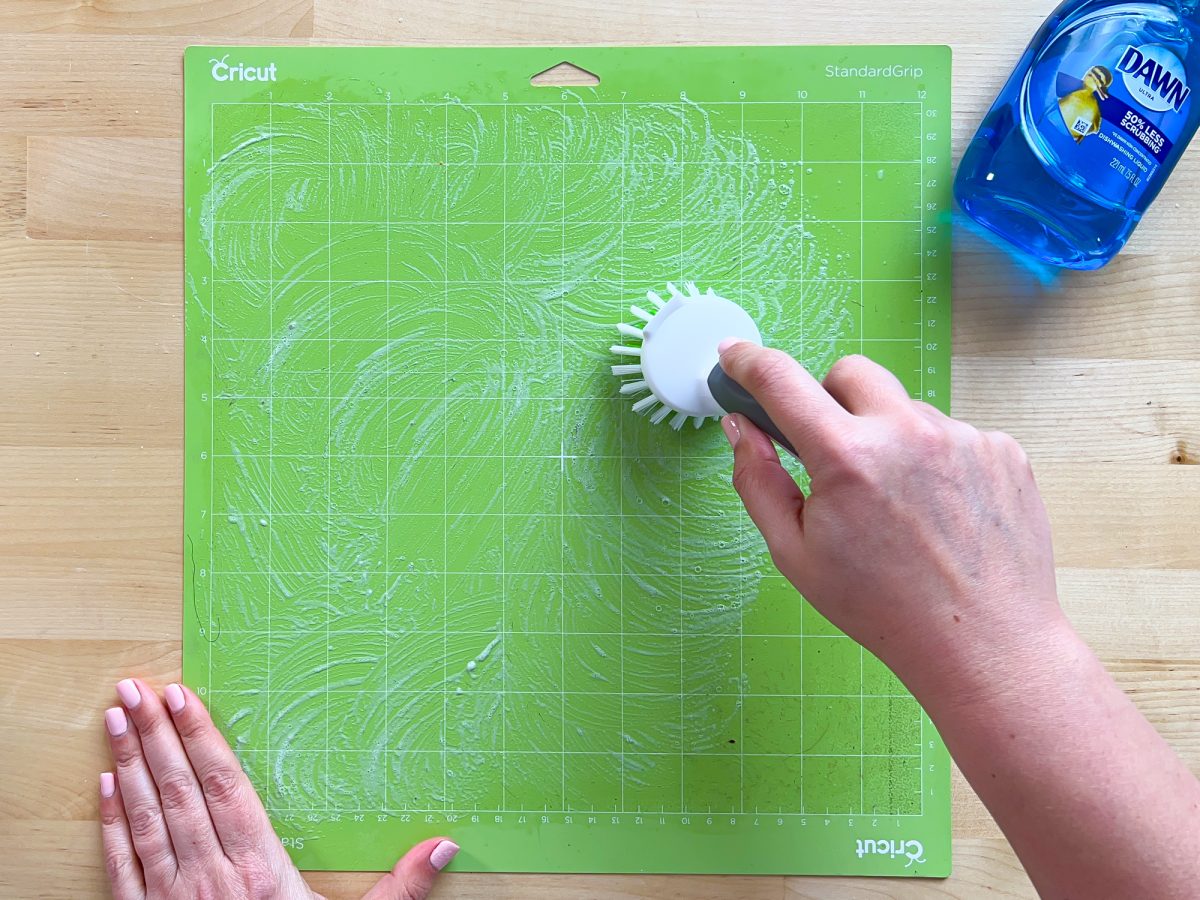
Once you’re done, rinse with warm water and allow it to air dry. I also found that Dawn dish soap cleaned my mat nicely and it was sticky once again!
Cleaning a Cricut Mat with Simple Green
For the final experiment, I wanted to use the LA Awesome Cleaner from the Dollar Tree that people are always talking about. Unfortunately my Dollar Tree was closed due to repairs so I wasn’t able to get some Awesome spray to test. So I decided to test Simple Green instead. Simple Green is one of my favorite household cleaners but I did think it might be too strong and potentially break down the adhesives in the mat.
I added a few small sprays of Simple Green to my mat, along with a bunch of water from my spray bottle to water it down since it is concentrated. I left it to sit for five minutes so the Simple Green could work on breaking down all the debris on the mat.
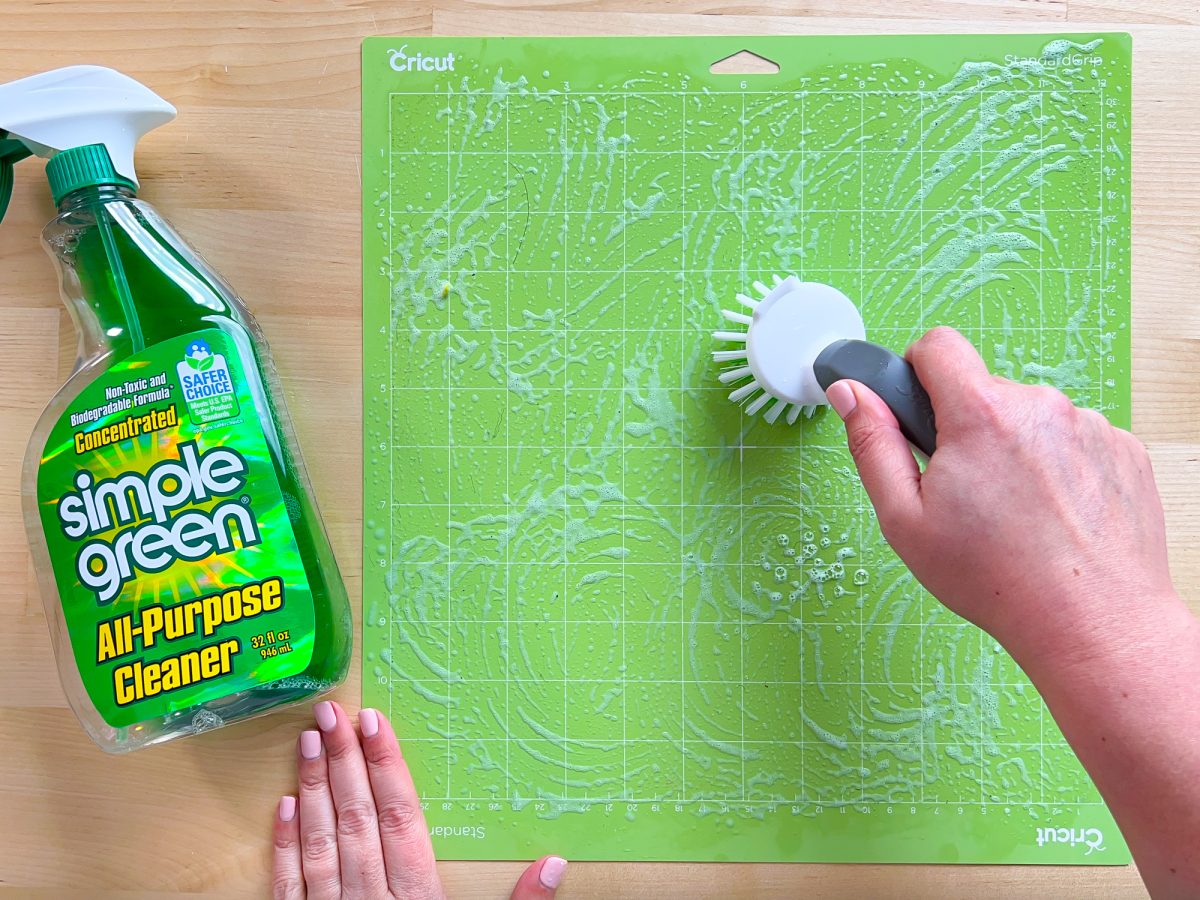
Then I followed the same method of using that bristled brush in a circular motion. It foamed a bit—not as much as the Dawn, but more than the Windex. Then rinse with warm water and allow to air dry.
Like the other four methods, the Simple Green cleaned my mat and restored the stickiness! It didn’t break down the adhesive at all, which I found surprising.
Cleaning the Pink FabricGrip Mat
Inevitably people will ask about cleaning the pink Cricut mat, which is specifically designed for cutting fabric on a Cricut Maker. Cricut has stated that the adhesive is different on this mat and you can’t clean it in the same way. I would’ve tested it myself, but I actually had only new pink mats in my studio! So no old junky mats for me to test on.
I have seen folks using the Dawn method on the pink fabric mat with good results. Because I had good results with all four of the methods here, I’d think that all of them would probably yield decent cleaning results on that pink mat. If you try any one of these methods, let me know how it turned out in the comments!
Resticking Your Cricut Mats
There is also the option of re-sticking your mats. I didn’t test that in this post since all of my grimy mats were basically made new in my experiment.
People will often use masking tape or painter’s tape around the non-sticky part of the mat and then use some sort of adhesive spray (like spray glue or quilt basting spray) to create a new tacky layer of adhesive. I don’t love this method because that adhesive spray can really gum up the rollers on your machine if you’re not careful—and Cricut has explicitly said this will void your warranty. Don’t want that!
Also, those adhesives often have a very strong odor that can give sensitive people headaches or breathing issues.
Personally, I think cleaning your mats is great but I’d probably stay away from trying to restick them.
When to Buy a New Mat
After a while, all the cleaning in the world won’t restore your mat. Mats are a “consumable” product, meaning they don’t last forever and they will need to be replaced at some point. A few signs you need to replace your mat include:
- Your material won’t stick when you put it onto the mat.
- Your material comes loose from the mat and shifts while in the machine.
- Your cuts, particularly with cardstock, aren’t clean.
Protecting Your Mats in the Future
Remove Materials Right Away
Leaving materials on your mat can make them adhere even harder. Use a scraper tool to scrape any unwanted material straight into the trash can. Really make sure you’re getting your mats clean—little bits of paper in particular make it hard for a mat to maintain its stickiness
Store with the Plastic Protector Sheet
When you store your mats (I hang mine on a pegboard in my craft room), make sure to use a protective sheet each and every time. This will help keep them from collecting dust, lint, and pet dander that’s present in the air. There are two sides to the protector sheet—one side barely sticks to the mat and the other side sticks really well. Make sure you’re using the “sticks really well” side so your mats are fully protected. You can put a sticker on the correct side so it’s easy to tell which is which.
Don’t Touch the Mats
Try not to touch the adhesive on your mat with your fingers. The oils on your fingers can break down the adhesive. Use the tools to remove your projects, and do your best to keep your hands away from the adhesive.
I hope you found this post helpful when it comes to cleaning your mats! Extending the life of your Cricut mat will save you money and help you waste less overall. If you have any questions about cleaning your Cricut mats, let me know in the comments!


Comments & Reviews
beatriceal says
My cricut mat was gunky grow a garden before I saw this post. I worked like a charm. Thanks for sharing your methods.
Debbie Baker says
I used Dawn dishwashing soap. Works great everytime:)
Lucy says
Love your video on cleaning the mats
D says
Thank you so much! The windex method worked perfectly on my blue Cricut mat that wasn’t sticking anymore. I used an old toothbrush to get off the gunk that the glass cleaner loosened up, rinsed it off and air dried. Once dry, my mat was sticky again!
Avril says
I’m from Melbourne Australia and this weekend and Monday (Labour Day) are extremely hot days and I’m not leaving my cold home. I know I have to replace my blue cricut mat. Baby wipes are not doing the trick anymore. I used Earth Choice Dish Liquid Soap and followed your instructions. So excited I did 3 pages of print and cut and the results are superb. I may even delay its replacement. Need to give it a real go to see its actual performance. But hey I’m happy. Gets me out of jail.
Cheryl Casey says
Thanks for the info. I’ve tried different methods with varying results. I’m going to try the windex.
Diane Neri says
Cori thanks for doing the hard work for us testing various ways to clean our mats! I’m going to give your Windex method a try. I usually buy my mats in bulk at Cricut’s 50% off sale at the end of the year (each year I stock up on a different color). With my Access membership it makes the mats very affordable.
Carol says
I have used baby wipes on the pink fabric mats and personally found that to be the best method. The fibers that get left behind after using the mat come up easily with a circular motion using the baby wipe. I agree it takes a bit of elbow grease, but I also feel the wipes do not take off any of the adhesive. I am curious to try the Windex method.