Want to learn more about creating SVGs in Adobe Illustrator? In this post in my Adobe Illustrator series, we’re looking at 10 quick Illustrator tips that will make your SVGs even better!
Welcome back to my series on Adobe Illustrator for SVG designers and crafters! We’re coming toward the end of the series, and in today’s post I wanted to share just a bunch of quick Adobe Illustrator tips and shortcuts that can help you make more unique SVG designs, even faster. These are ten tips and tricks I haven’t covered in other tutorials.
This is the last scheduled tutorial in my Adobe Illustrator series! If you haven’t read the other posts, I highly recommend doing that before you go through this post. There are things here that I won’t go into detail about because I’ve explained them more thoroughly in other lessons.
- Workspace Overview (video)
- Paths, Anchor Points, and Handles (video)
- Make an SVG from a Font (video)
- Tips for Using Fonts in SVGs (video)
- Color Basics (video)
- Using Shapes and Lines to Make Illustrations (video)
- Using the Pen Tool (video)
- Creating Fun Text Effects (video)
- Image Trace (video)
- 10 Quick Tricks for SVG Design (video)
As always, I recommend using keyboard shortcuts! We’ll be using them in this lesson and you can download a free printable reference guide below.
While this is the last video in my scheduled series, there may be more in the future as Adobe comes out with more tools!
Watch the Video
Want to watch these quick tips in action? Check out my video for this post! Or read on for a written tutorial.
Get the Free Illustrator Shortcuts File
Want access to this free file? Join my FREE craft library! All you need is the password to get in, which you can get by filling out the form below. The file number is: P121.
Adobe Illustrator Tips and Tricks
The first two tips I have for you involve changing the settings to make working in Adobe Illustrator easier.
1. Turn Tool Tips On and Off
After a while, you may start to get annoyed with the tool tips in Adobe Illustrator. There are two types of tool tips in Illustrator. Regular tool tips are a small pop up that tells you what the tool does.

And then rich tool tips give you an example of the tool.
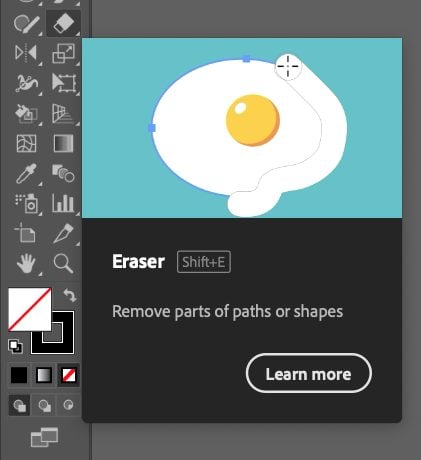
I find the rich tool tips to be a bit much, so I turn them off. You can turn just the rich tool tips off, you can turn them both off, or you can leave them both on.
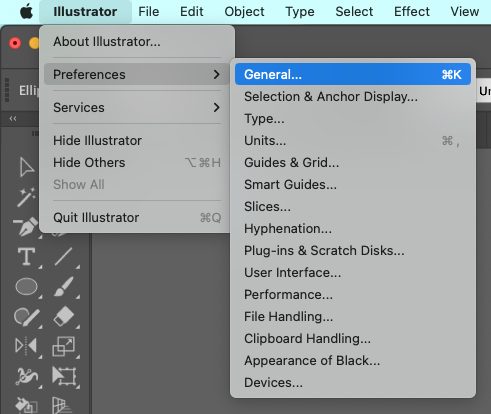
Go to the Menu bar at the top. Illustrator > Preferences > General.
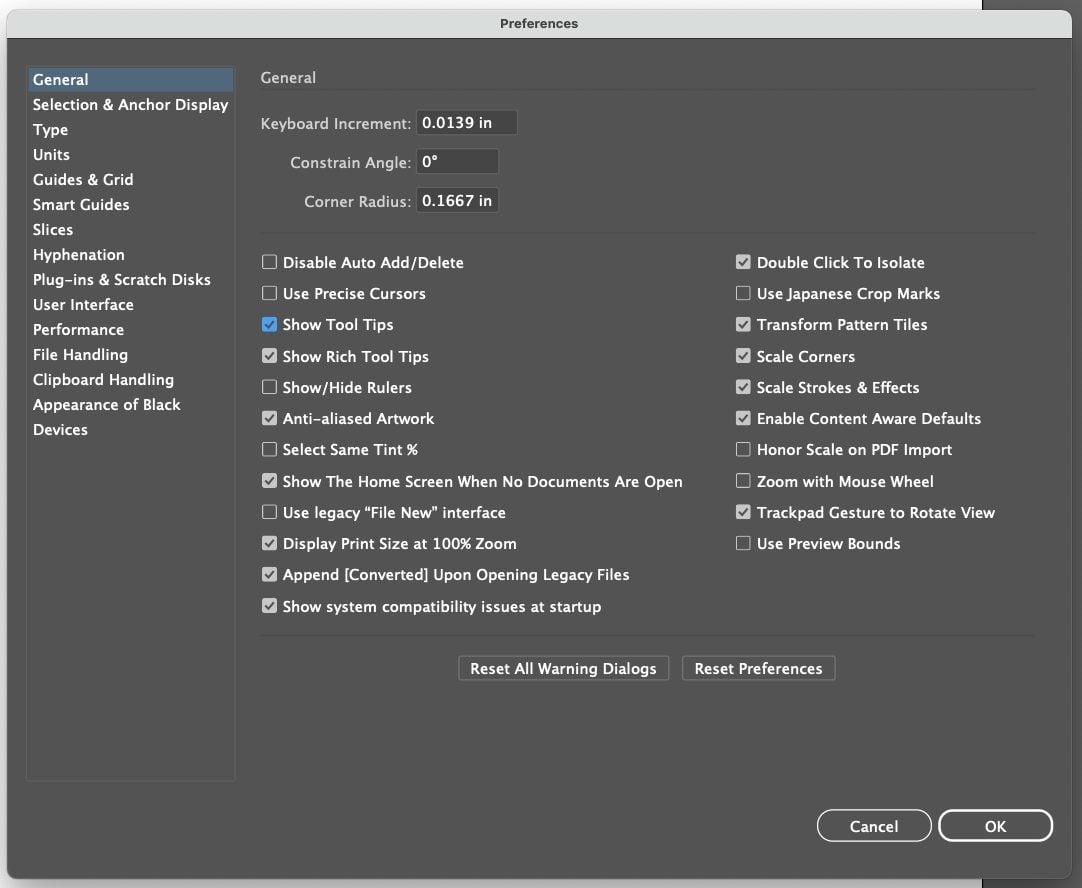
Here, you can turn of both regular and rich tool tips, according to your preference.
2. Change Size of Anchor Points
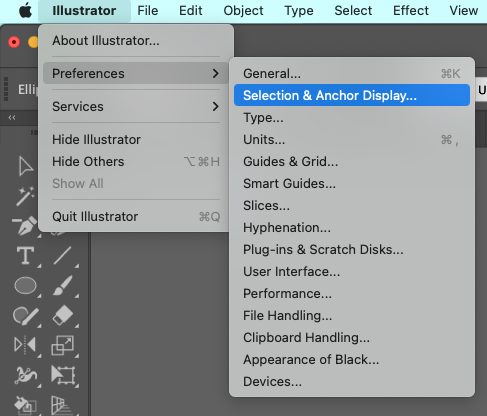
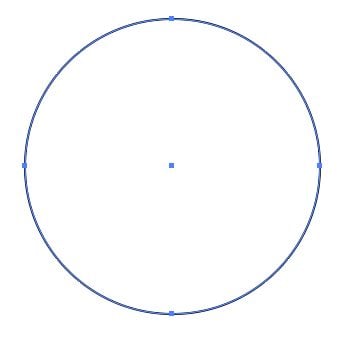
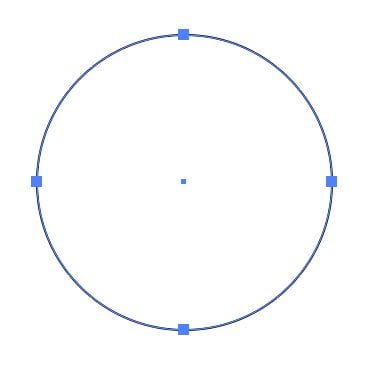
Having trouble seeing or selecting your anchor points? You can also change the size of your anchor points in the Preferences menu!
Go to the Menu bar at the top. Illustrator > Preferences > Selection & Anchor Display.
Here, in the middle of the window, you can increase the size of your anchor points, handles, and bounding box display.
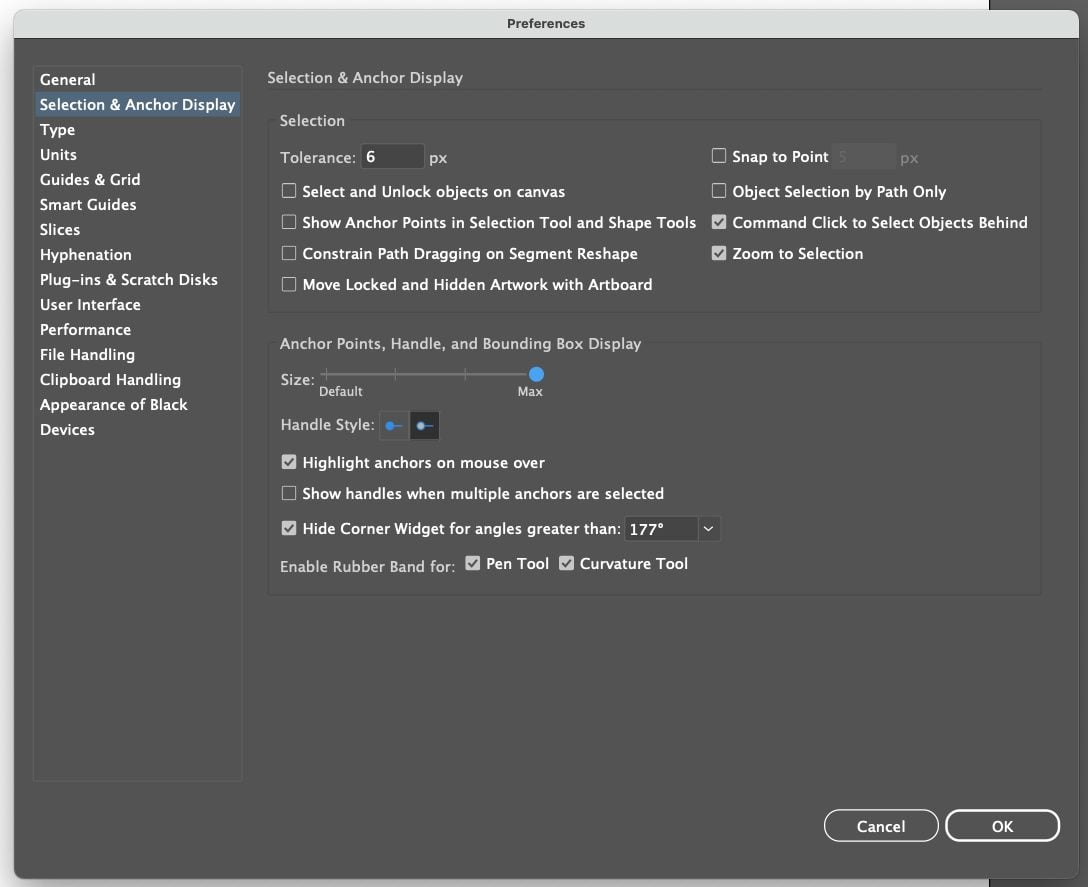
Click OK to set your preferences. So much better, right?
3. If Your Tools Disappear
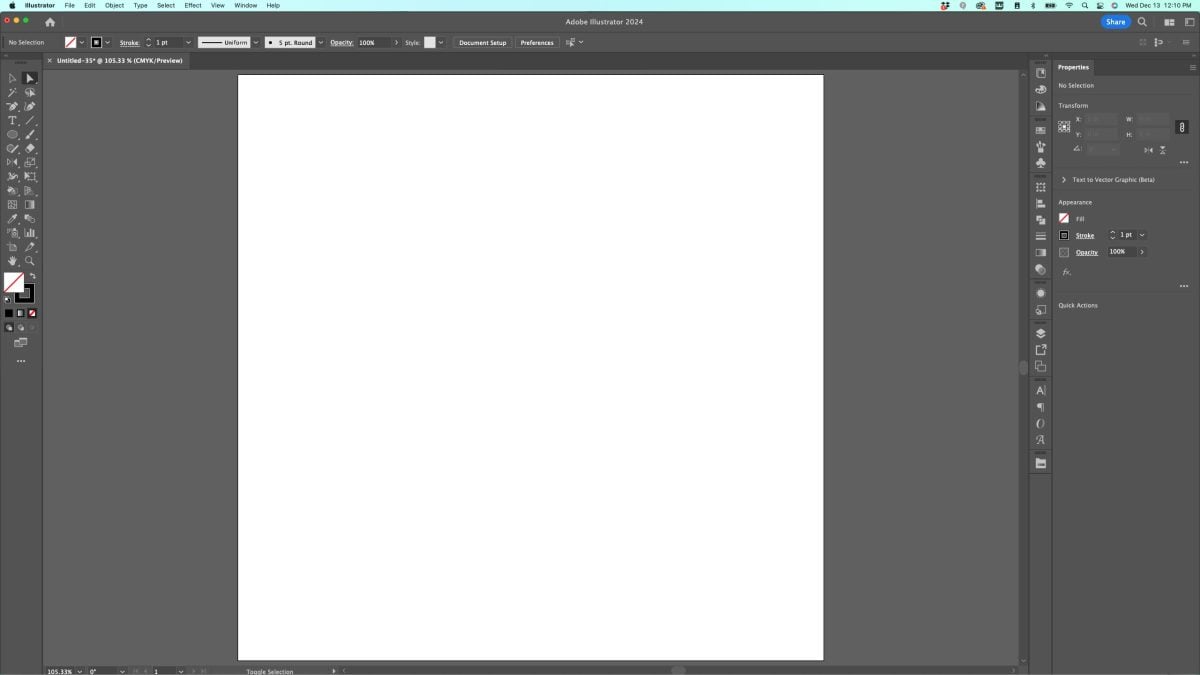
If you’re using keyboard shortcuts (and you should be!), you may occasionally hit a key that does something unexpected. A big one is the Tab key. If you hit the Tab key, all of your tools go away! You’re left with just your art board. This can definitely make newer designers panic!
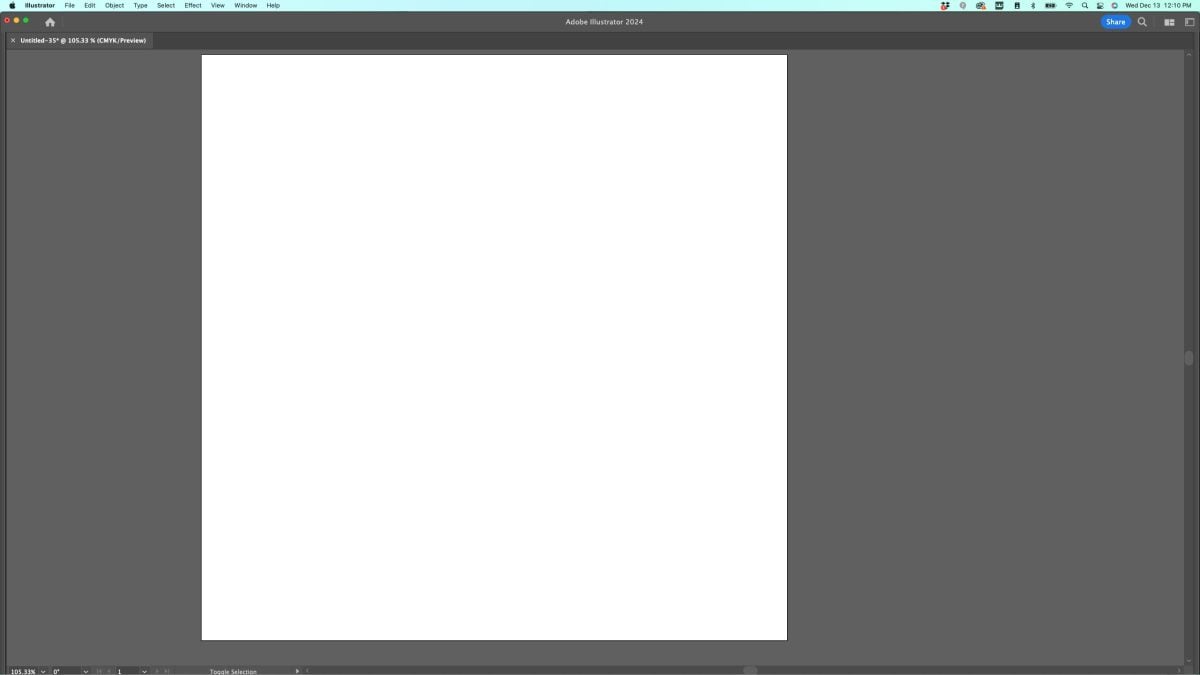
Instead of panicking, just hit the Tab key again and you’ll see all of your tools and panels once again.
4. Turn Off the Perspective Grid
Another very (VERY) annoying thing that might happen if you hit a keyboard shortcut incorrectly is that you’ll turn on the Perspective Grid.
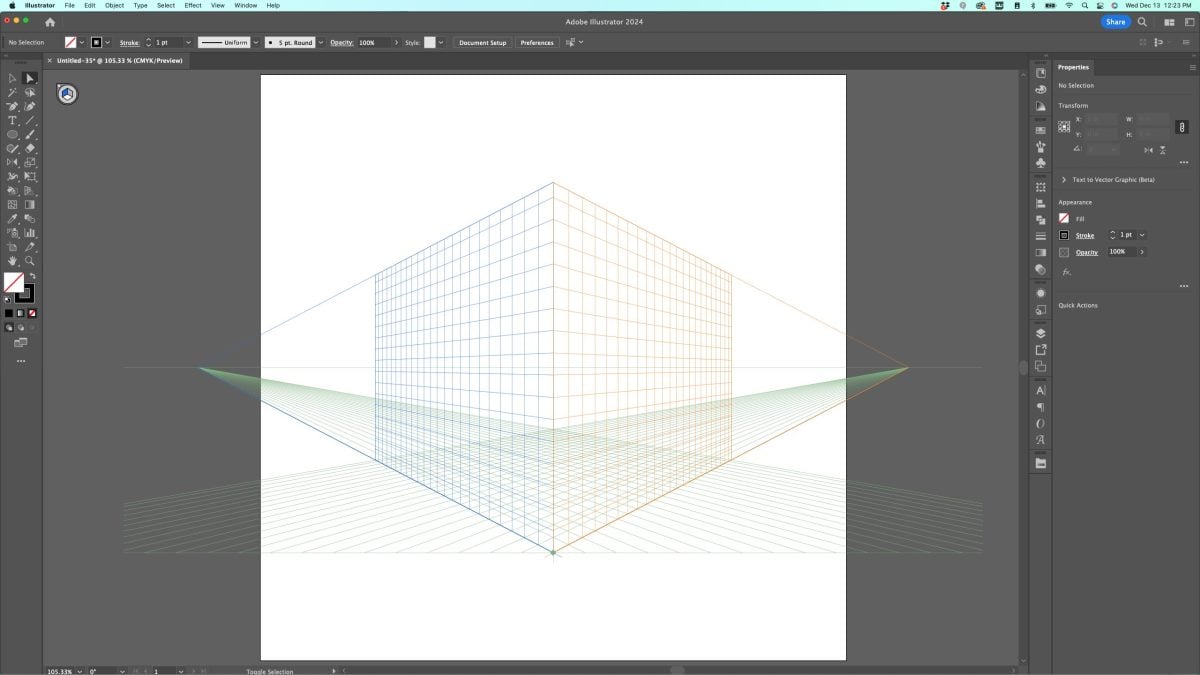
Now if you are normal, you’d try and hit Escape or click the little X on that icon in the upper left. But neither of those things makes that darn Perspective Grid go away.
So instead, you can go to the Menu at the top and go to View > Perspective Grid > Hide Grid.
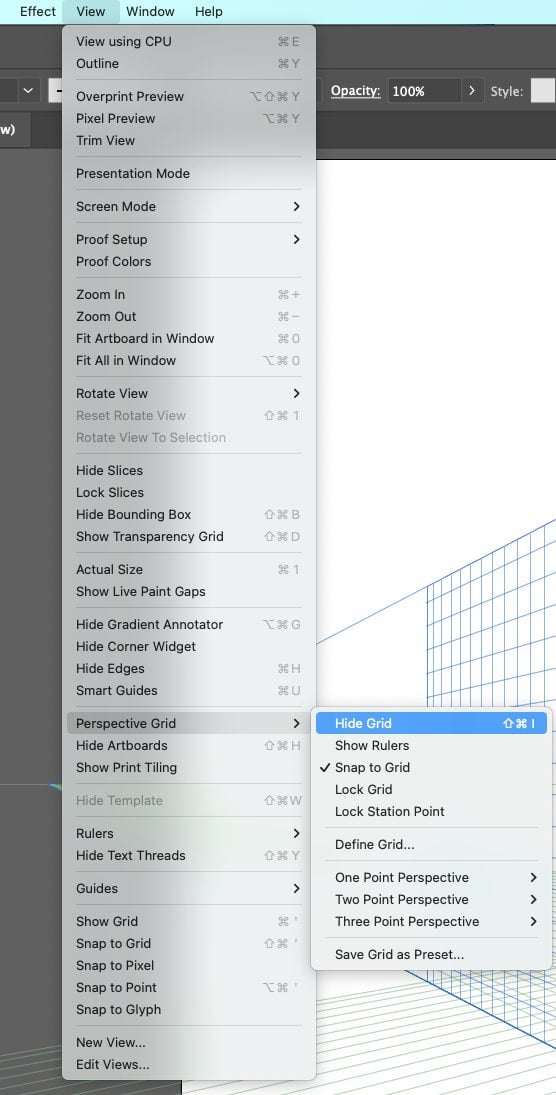
You can also use the keyboard shortcut Shift+Command+I (Mac) / Shift+Control+I (PC), which is what you accidentally hit to turn it on in the first place.
5. Smart Guides
I believe Smart Guides are turned on by default in Adobe Illustrator. Smart Guides help you align objects on your art board. It will try to both align your images to your art board itself, as well as to other objects on your art board.
As you move your image around, you’ll see pink lines that show how Illustrator is trying to align your object. This can be incredibly helpful and I almost always have it turned on.
But every once in a while, I find that I can’t seem to get an object exactly where I need it to go because of the Smart Guides trying to align my object to something. So you can easily turn the Smart Guides off using the keyboard shortcut Commmand+U (Mac) / Control+U (PC). This makes it so much easier to get exact placement for your objects.
If you are still struggling, you can also go to View > Snap to… There are several different options here. Turning of any of these “Snap to” options can also help you get good placement for your objects.
6. Select Same
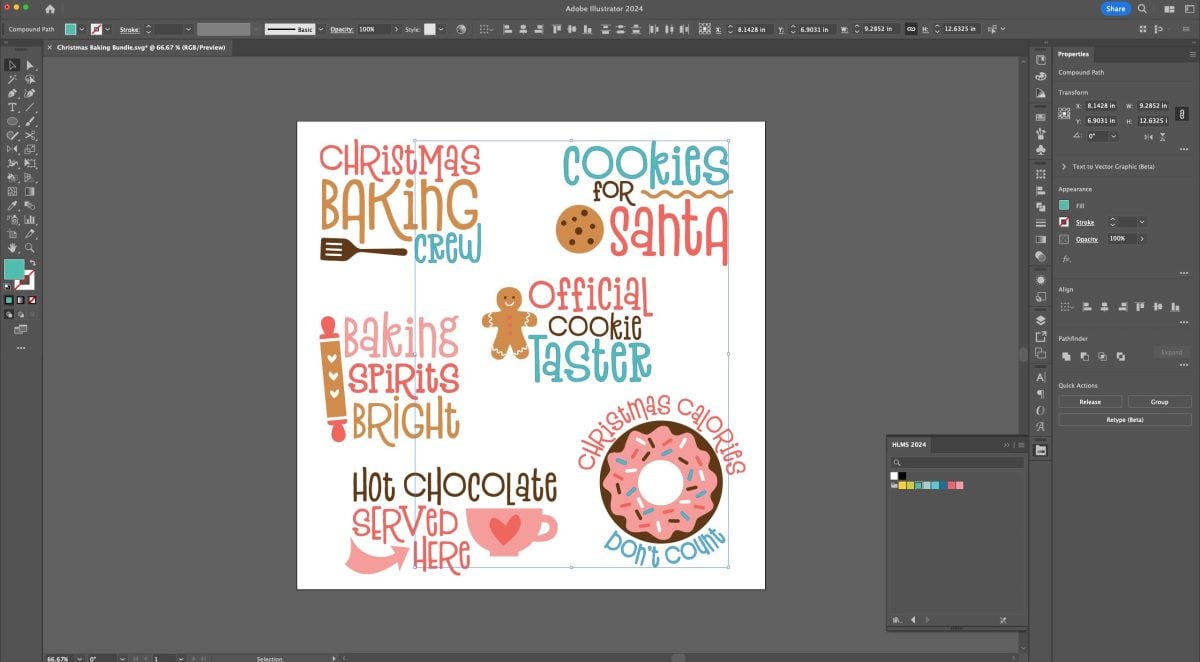
Another Menu tool I use a lot in my SVG design is the Select Same tool. Let’s say you’ve created a bundle of SVGs but that green is just not doing it for you. The SVGs have already been turned into compound paths and grouped and you’d have to double click into each group to select and change the color of each green piece.
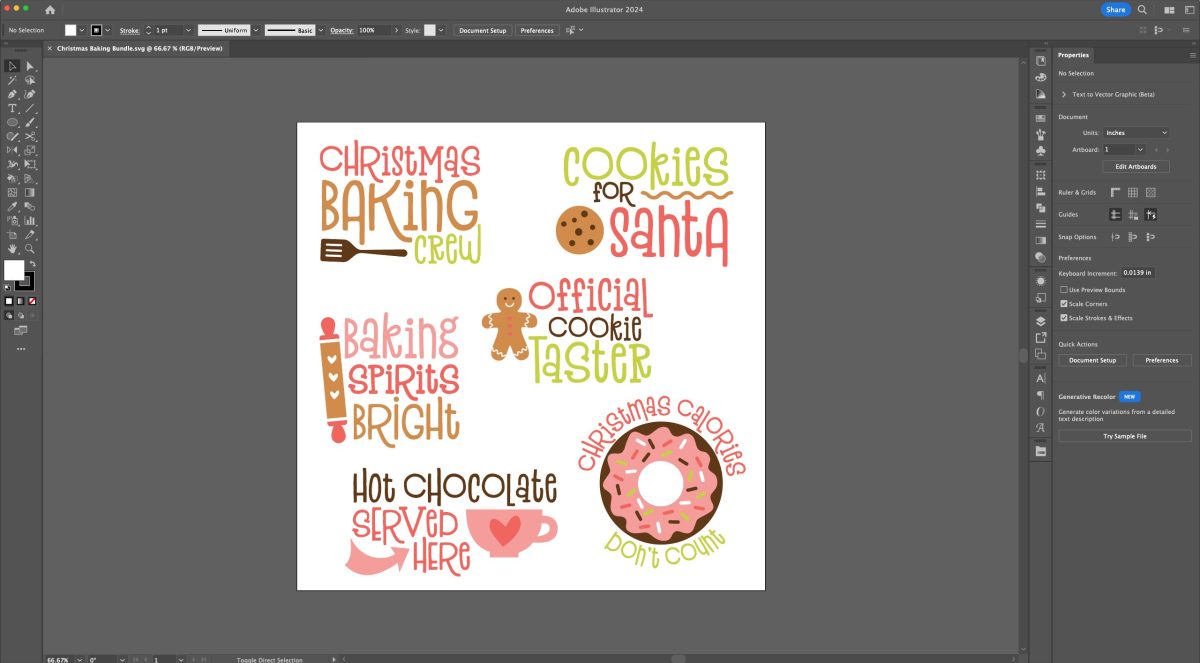
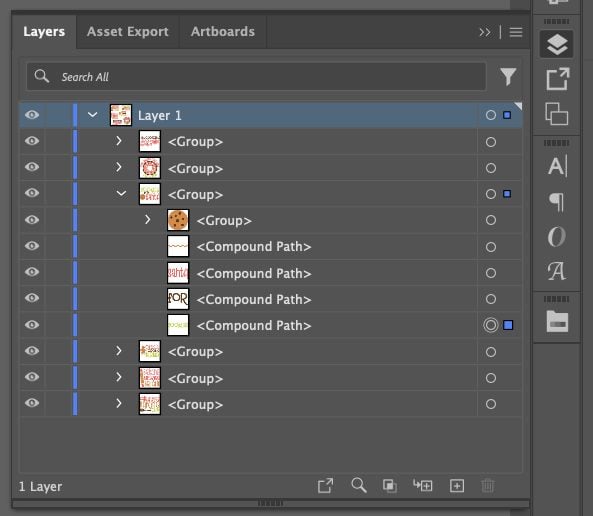
Instead, open up that Layers panel and select a single layer that is the green you wan to to change. In this case, I selected the word Cookies from the “Cookies for Santa” SVG above.
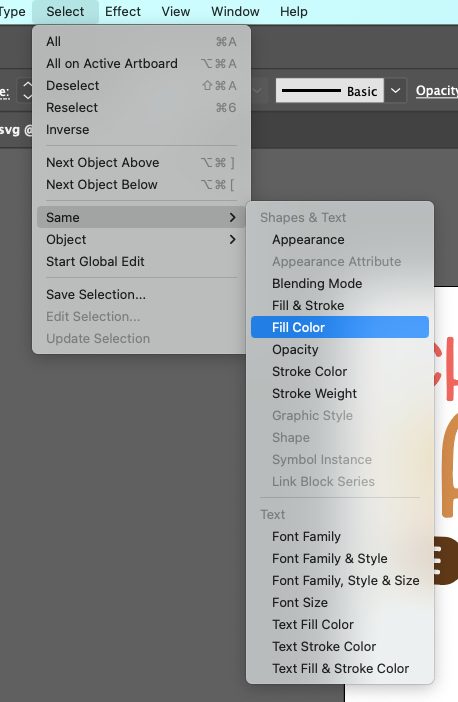
Then with that single image selected, go to Select > Same > Fill Color (there are some other options here, but I most often chose Fill Color when working with SVG files).
This will select ALL of the green artwork on your art board and nothing else.
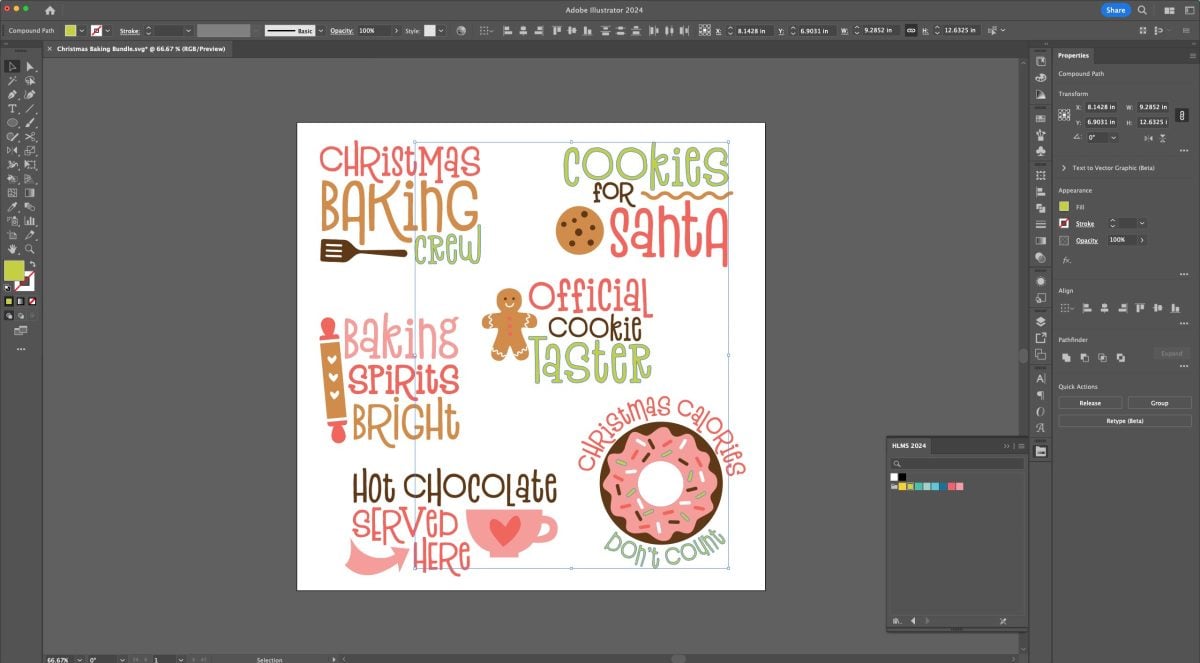
Now with all of the green selected, you can easily change just that color in your artwork by selecting a different color.
7. Copy using Option / Alt
Let’s say you want to make a copy of something on your artboard (a single object or a group of objects).
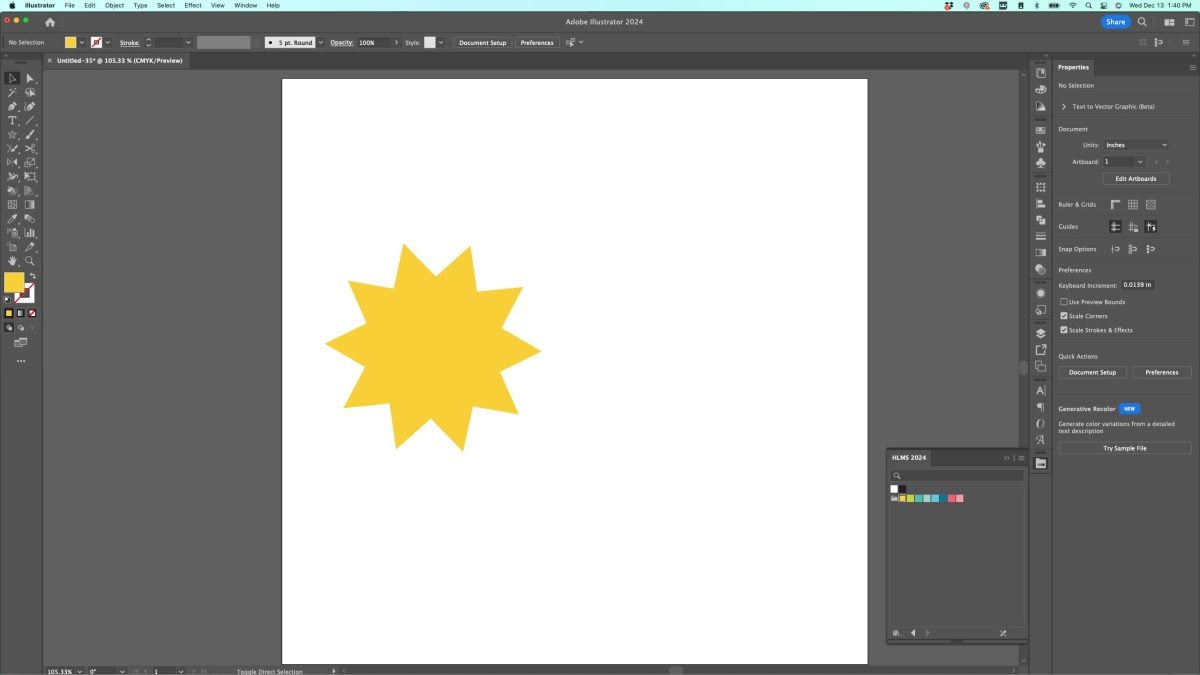
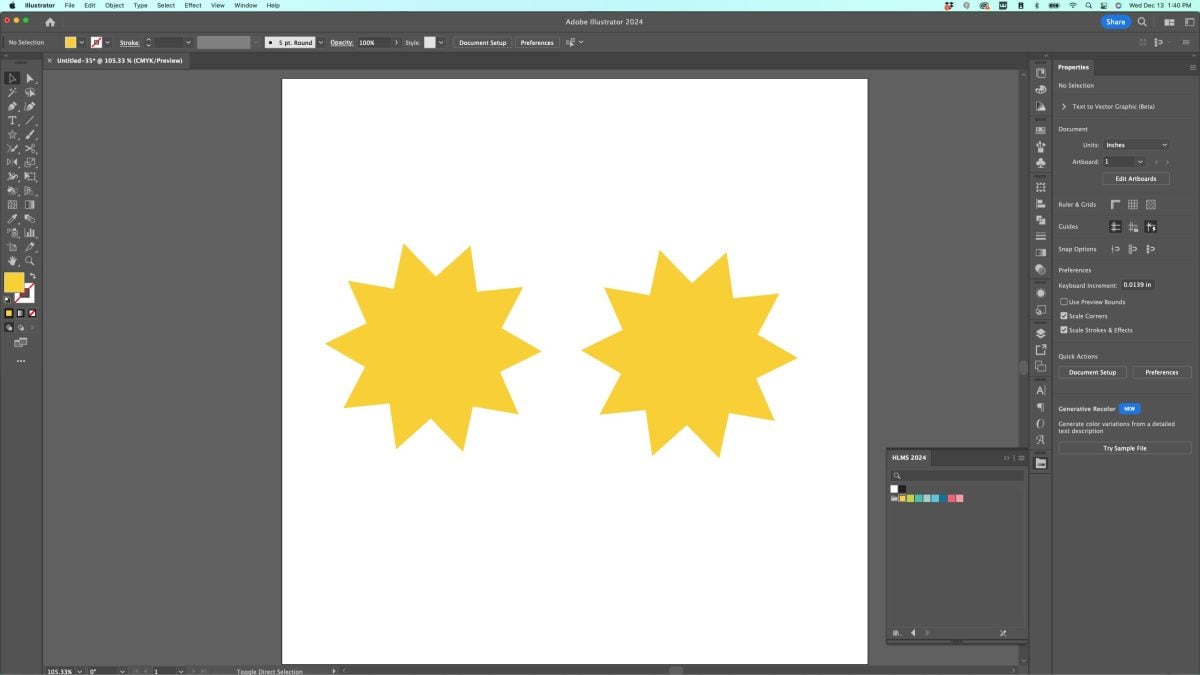
You could use the copy and paste commands, but if you hold down the Option (Mac) / Alt (PC) key, you can click and drag a copy of the artwork to make a duplicate.
8. Join Tool
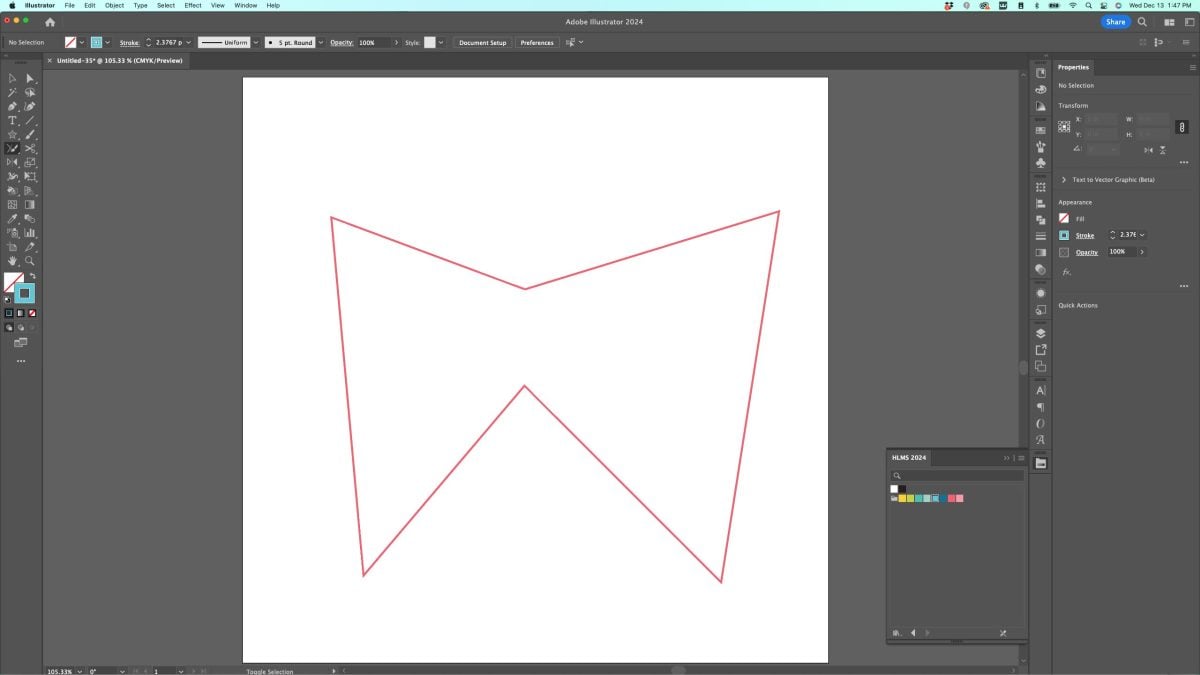
Sometimes if you’re using the pen tool or the pencil or brush tools, you may end up with ends that overlap instead of connect.
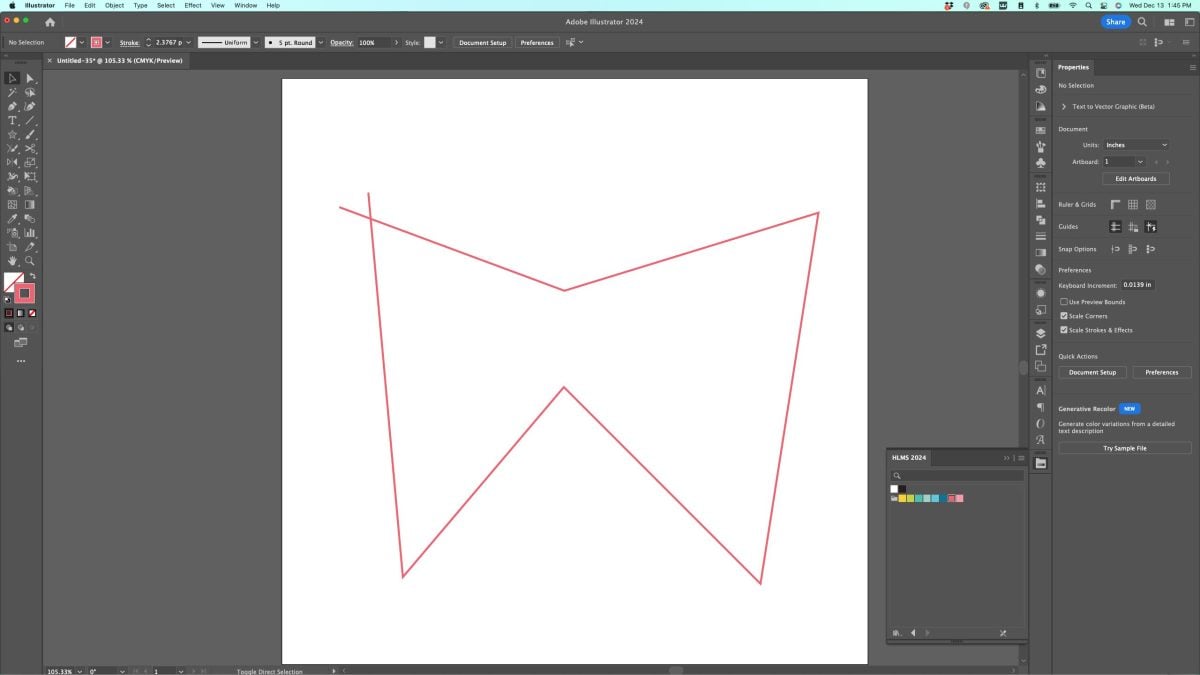
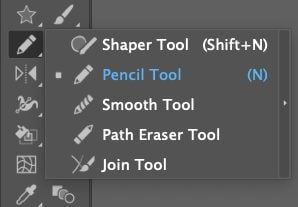
Choose the Join tool. This is found under the Pencil tool in the left-hand toolbar. Click and hold on the little arrow in the bottom right of the Pencil tool to see the other tools, and select the Join tool.
Now scribble over where the two paths intersect.

Then when you let go of the click, you will have a joined path instead of an overlapping path!
9. Changing Polygons on the Fly
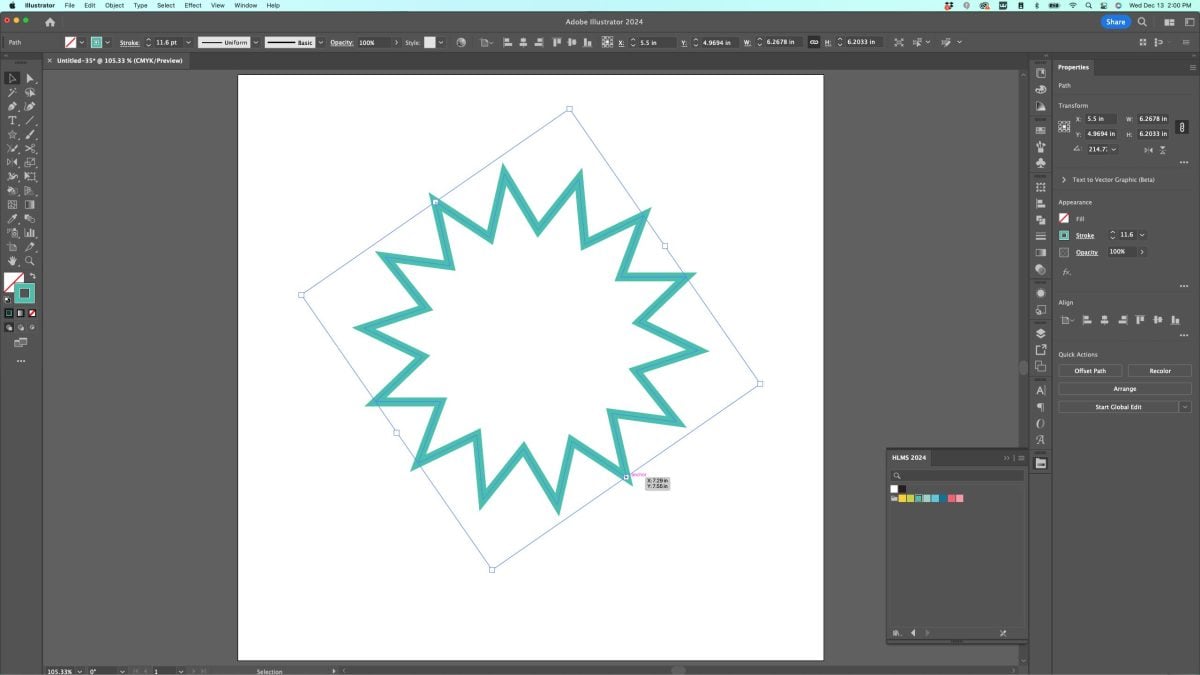
If you want to make a polygon or a star, you can use the up and down arrows to increase the number of points in your shape!
Start with the Star or Polygon tool. While you are dragging to make your star, click the up and down arrows and it will add or subtract more points to your shape!
10. The Width Tool
This final tool is one I use often but didn’t show you in any of the other tutorials. You can use the Width Tool (Shift+W) when you draw lines (\) or use the Pen Tool (P).
Let’s draw a line on our art board.
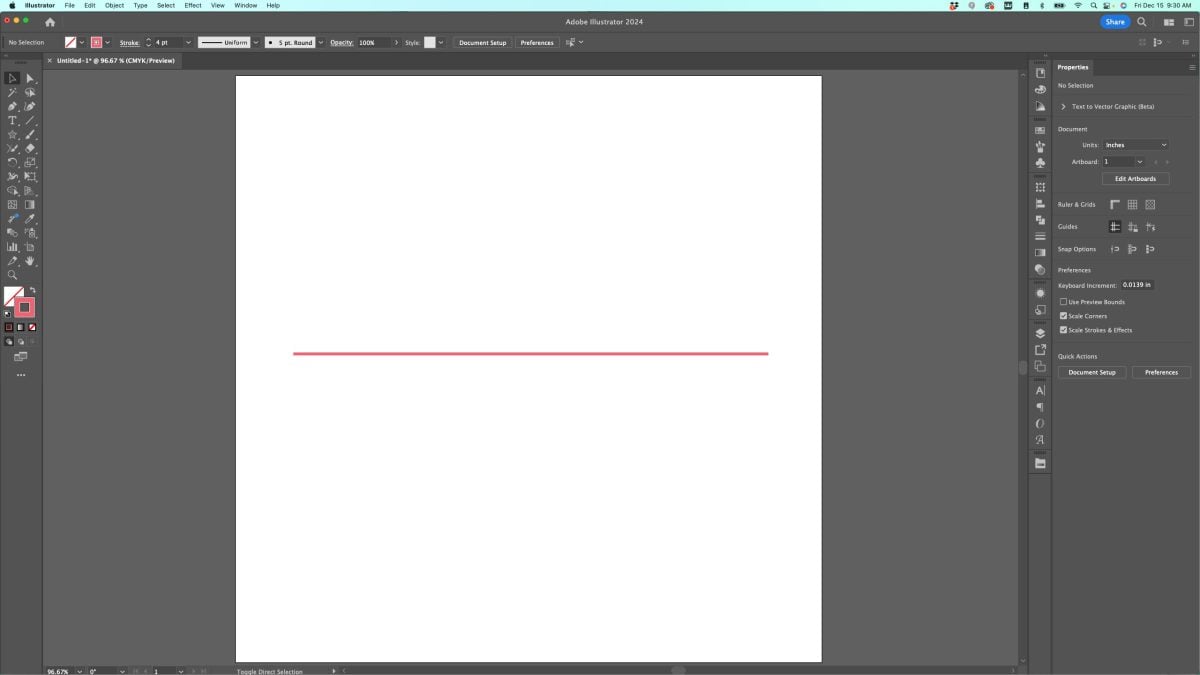
Then choose the Width Tool (Shift+W) and click and drag anywhere on the line. It will increase the width wherever you click.
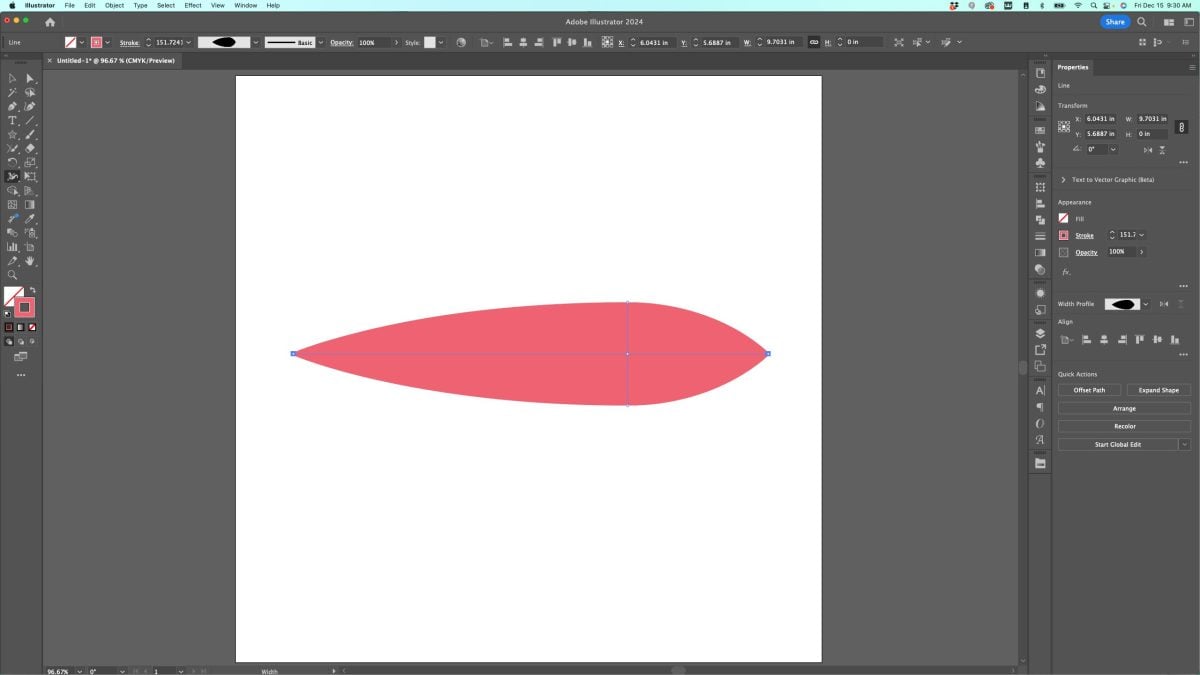
You can also use it on shapes and lines you make with the Pen tool, though I don’t use it as often with the Pen tool as I do with the line tool.
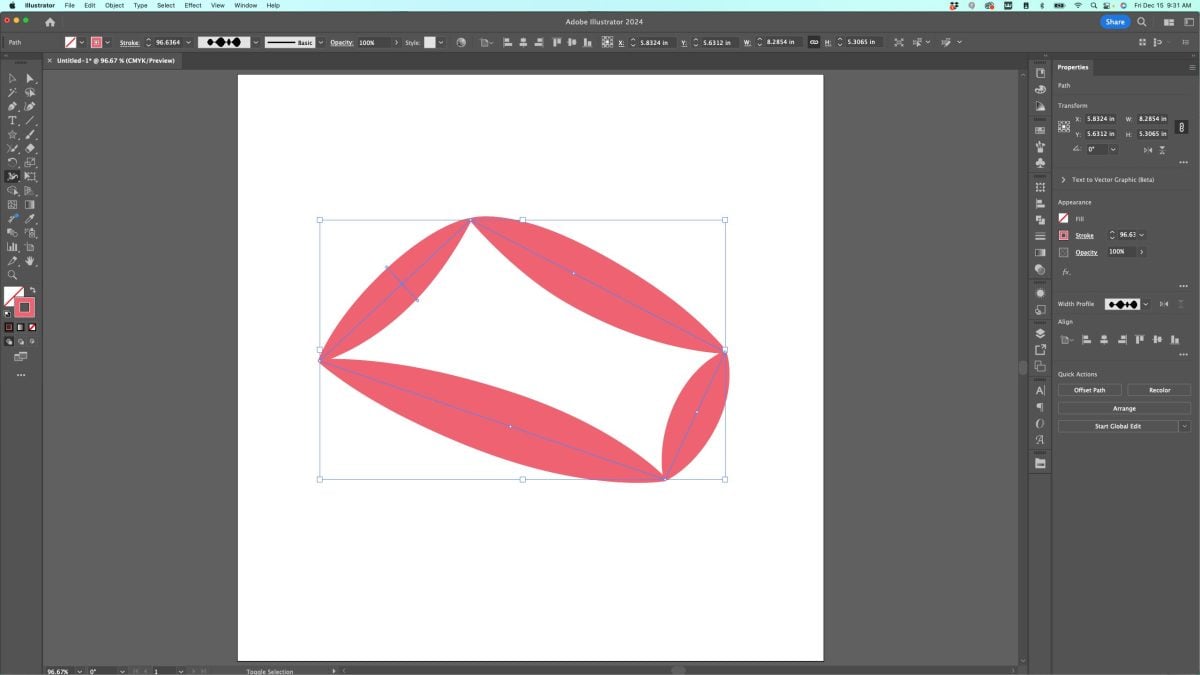
Once you have your line’s width as you’d like, you’ll need to go to Object > Expand Appearance to expand the shape. This will allow you to upload it to your cutting machine software properly.
And we’ve come to the end of this Adobe Illustrator series! I really hope you have enjoyed everything you’ve learned in the last 10 weeks. As always, if you have any questions I’d be happy to answer them!


Leave A Reply!