Did you know you can increase the paper sizes you can use in your Sawgrass SG500 or Sawgrass SG1000 by adjusting the paper tray? Here’s how to do it!
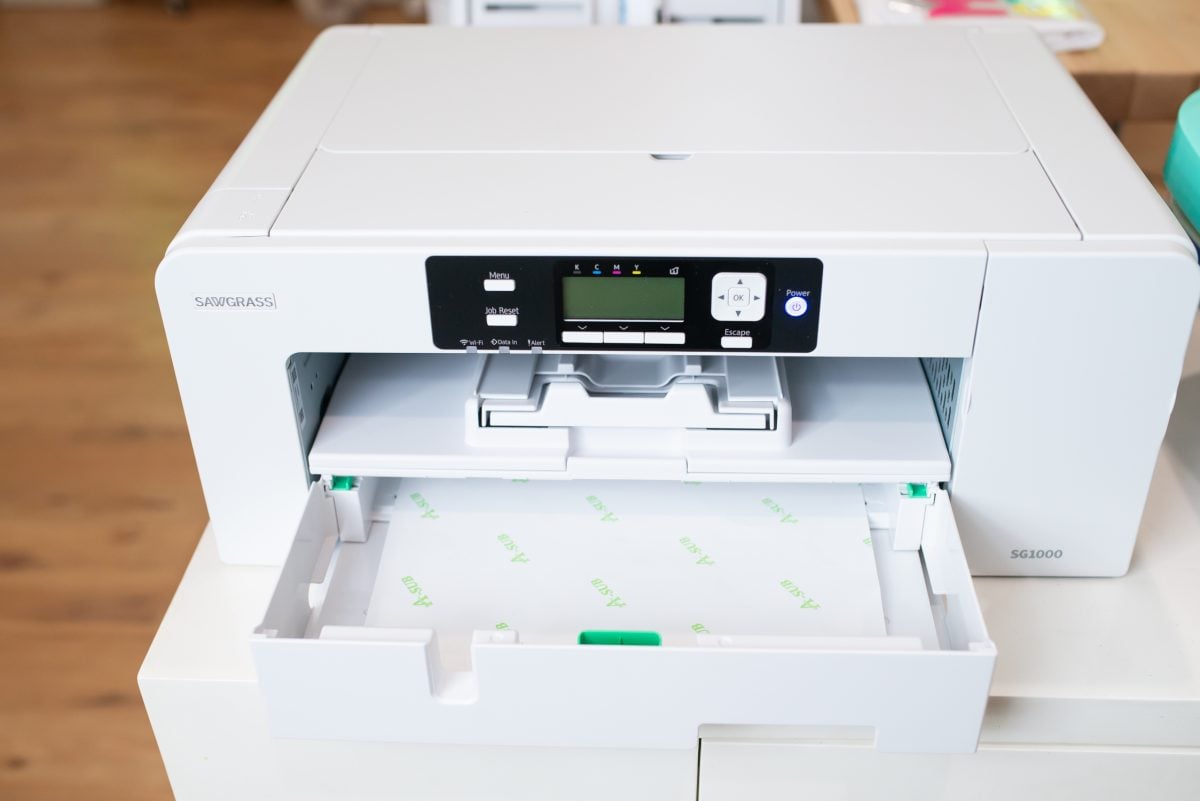
Do you ever build up a task in your head to be a lot harder than it actually turns out to be? That’s how it was for me when thinking about using 11″ x 17″ paper in my Sawgrass SG1000. But recently I couldn’t put it off any longer—I needed that bigger paper size for a project.
Adjusting the paper tray was actually so much easier than I expected. Takes like 30 seconds, I swear. In this post I’m going to show you how to do it!
Visit my Amazon shopping list to find everything you need to get started with your Sawgrass printer!
What’s the Largest Paper I Can Use in a Sawgrass?
- In a Sawgrass SG1000/SG800, you can change the paper size up to 11″ x 17″
- In a Sawgrass SG500/SG400, you can change the paper size up to 8.5″ x 14“
- You can also use smaller paper, like sublimation mug paper.
- For each printer, you can also get the bypass feed, which allows you to print sheets and rolls (!) up to 51″!
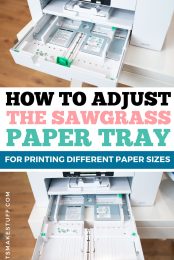
How to Adjust the Sawgrass Paper Tray
Setting the Paper Tray for Standard 8.5″ x 11″ Paper
Your printer will probably come with the guides not set to anything in particular—they can get jostled a bit in shipping. So let’s start by making sure the guides are adjusted to the correct size for standard 8.5″ x 11″ paper (or whatever size you have in your country if you’re not in the US).
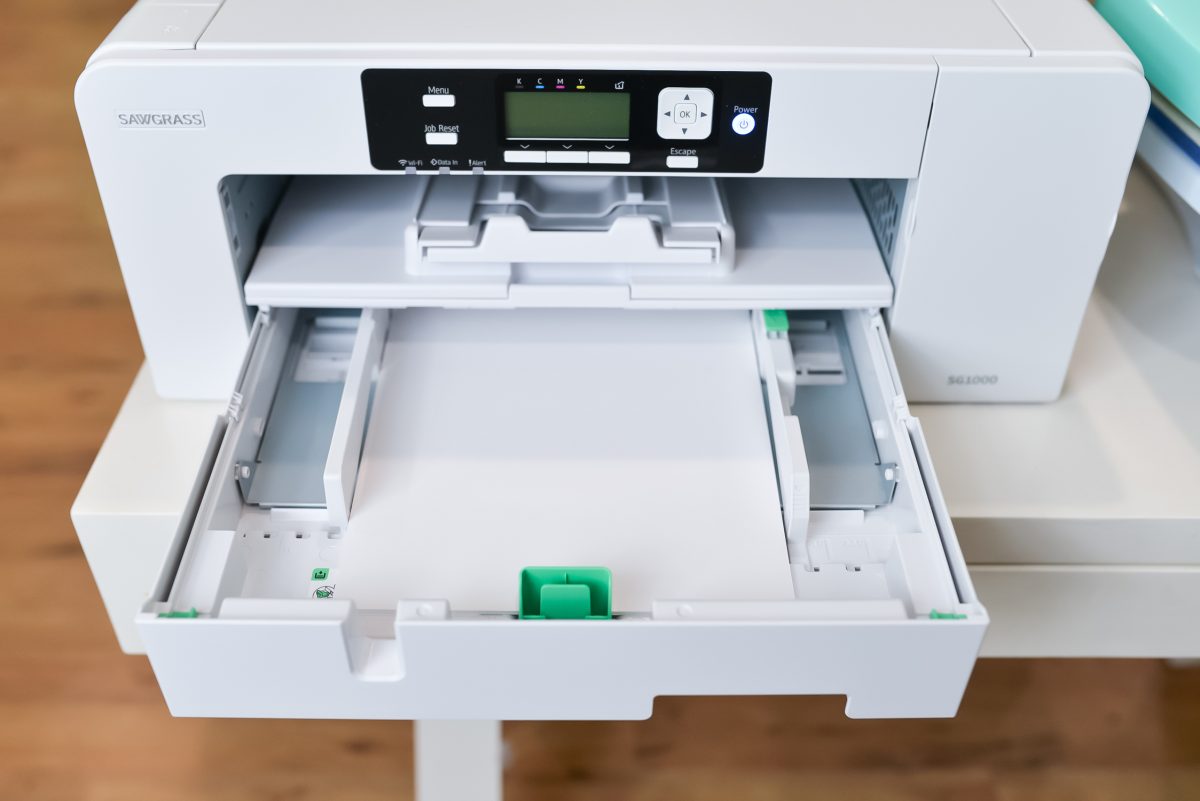
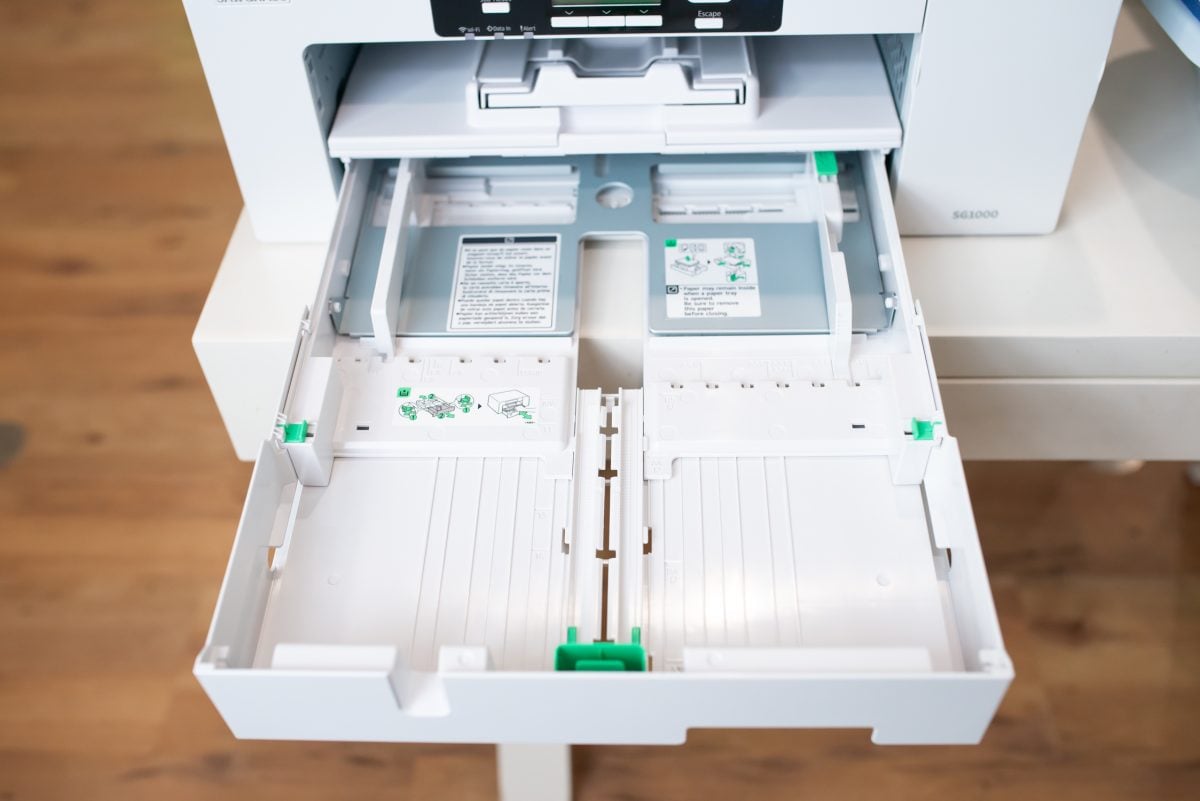
Pull out the bottom drawer and you will see a few green tabs. There is one on the side that you press down and move the left and right guides at the same time, and one at the front of the paper tray that can be pinched and moved backward and forward. There are two other green tabs on the drawer itself, which we’ll talk about in a minute.
Start by moving all of the tabs toward the outside of the paper tray. Push the green tab on the side to move the side guides outward.
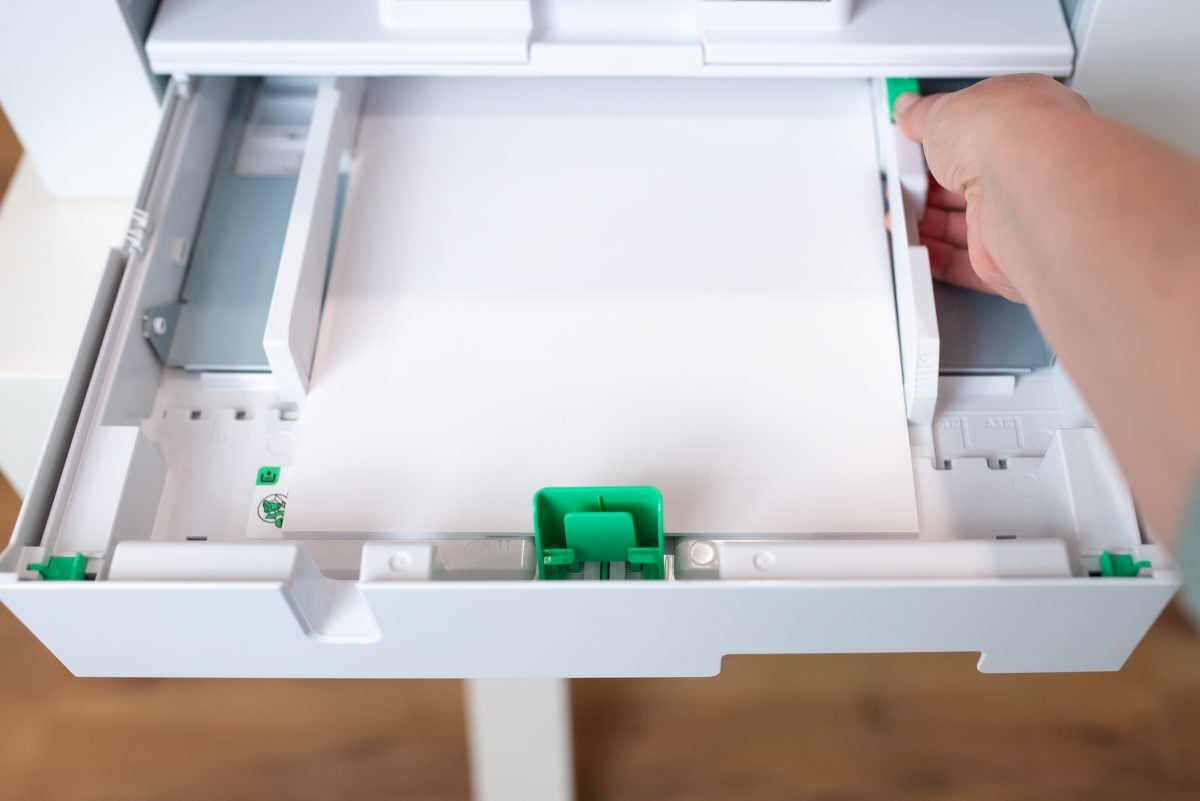
Then pinch the green guide at the front of the tray and pull it toward you.
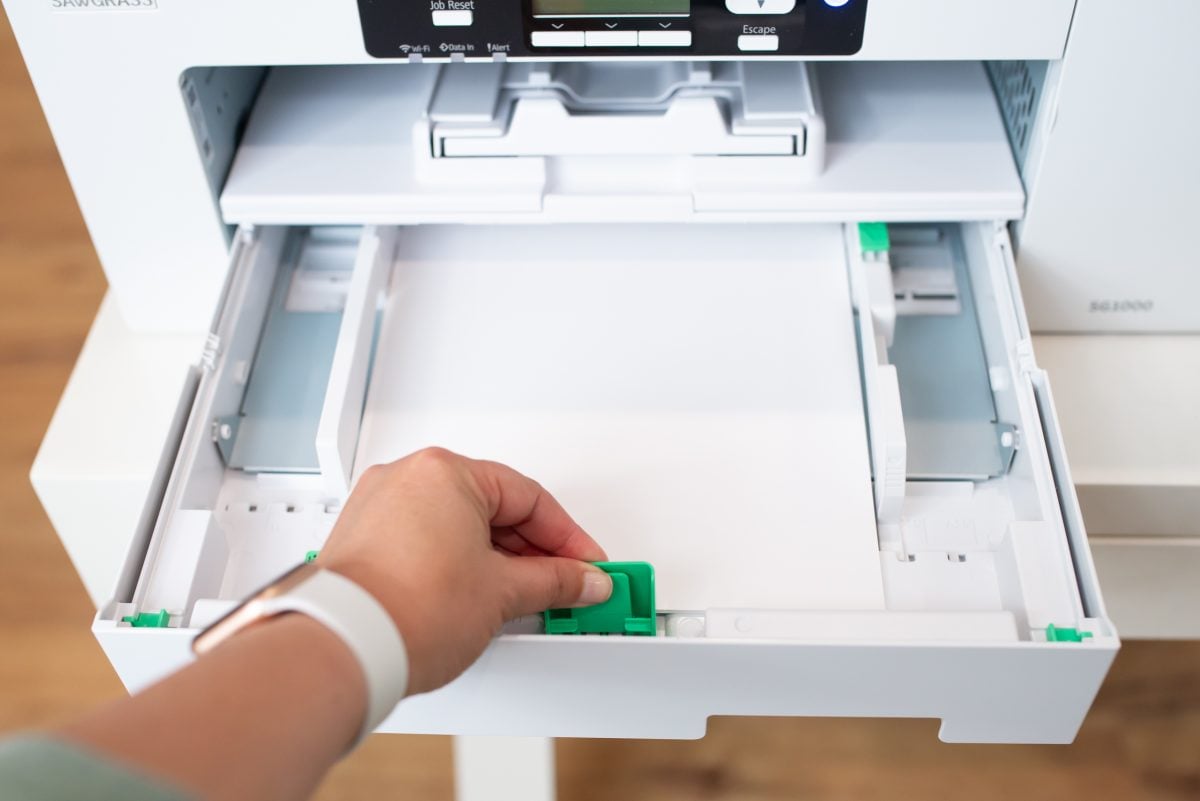
This gives you a large area to put your paper.
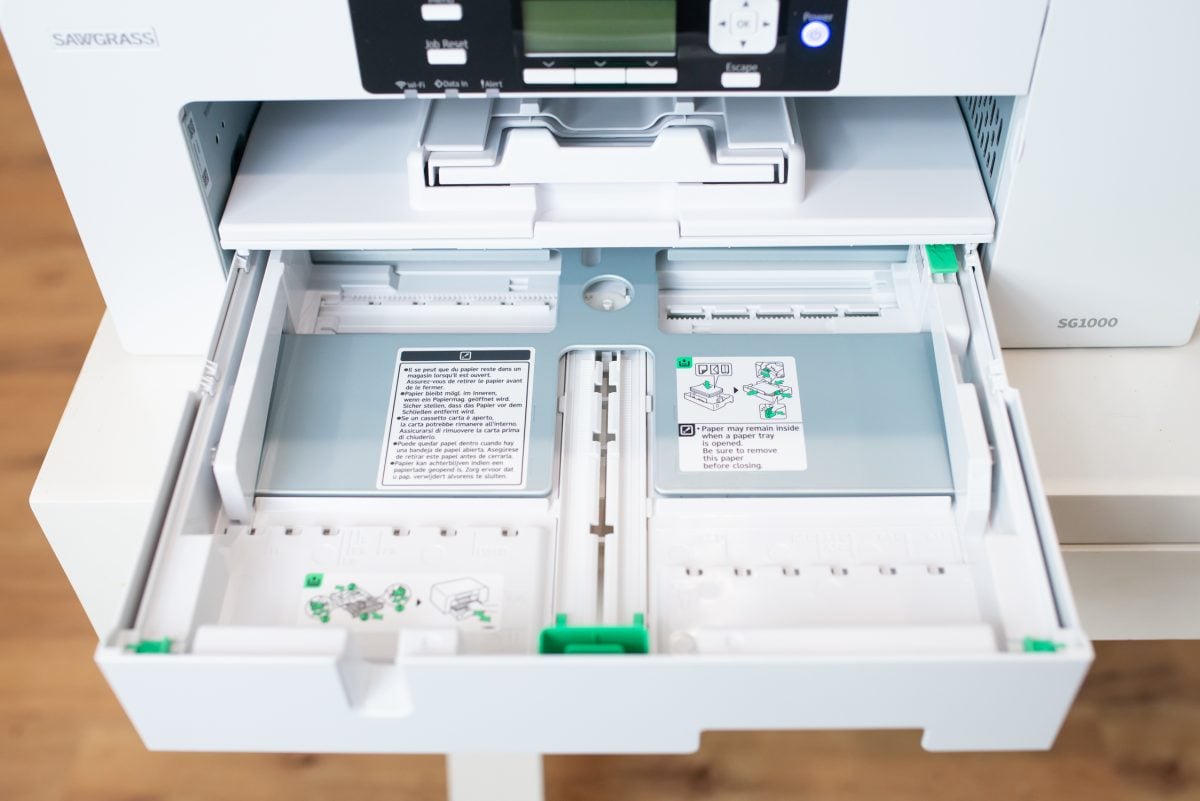
Add your paper into the printer and use those same two tabs to push the guides so they rest right at the edge of the paper. You do NOT want the paper to bend or wrinkle.
Setting the Paper Tray for Mug Paper and Other Small Paper
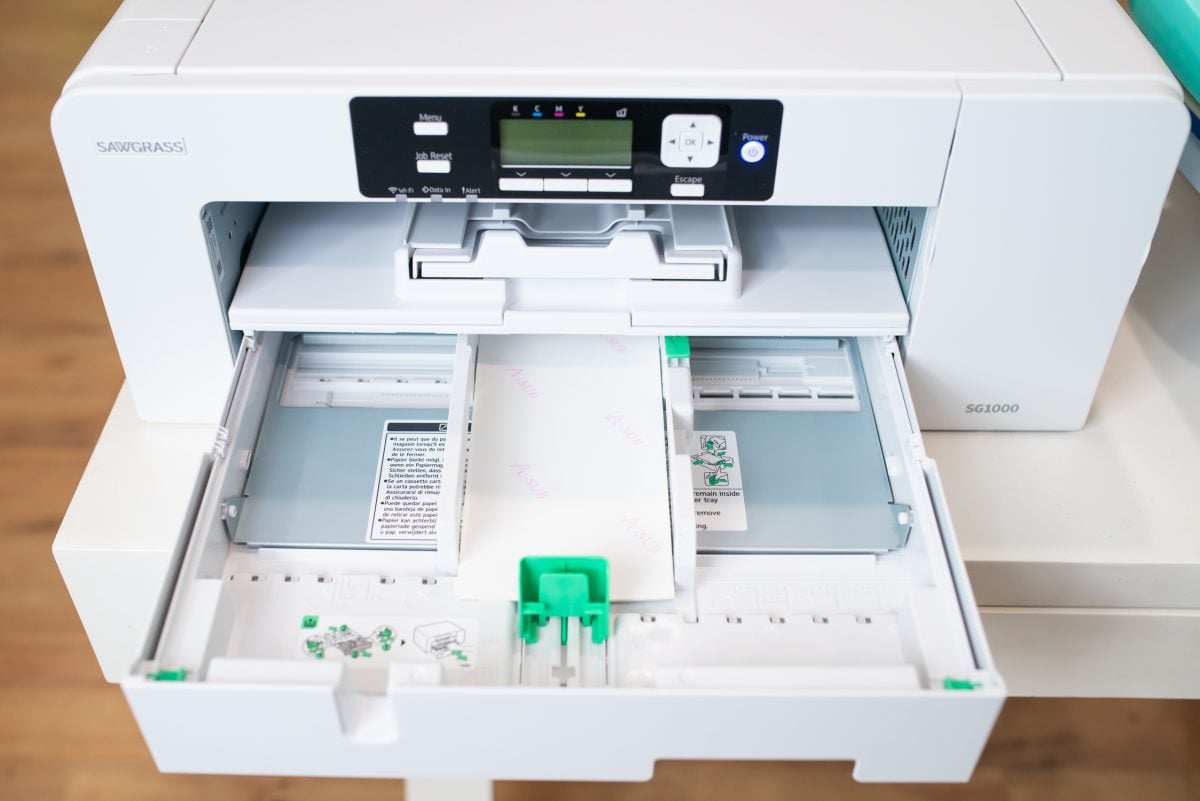
Did you know that sublimation paper comes in all sorts of sizes beyond the “standard” sizes? One of my favorites is mug paper! So much less waste an easy to print in your Sawgrass.
To adjust for a smaller paper, use those same guides on the right and front of the paper drawer to fit the size of the mug paper.
Easy peasy!
Expanding the Paper Tray for Large Paper
Now you may be wondering how we’re going to get 11″ x 17″ paper in a drawer that is clearly too small. This is when those other green tabs on the front corners of the paper tray come into play.
You’ll notice that you can slide them in and out of the little notches. Slide them out of the notch to release the expansion part of the tray.
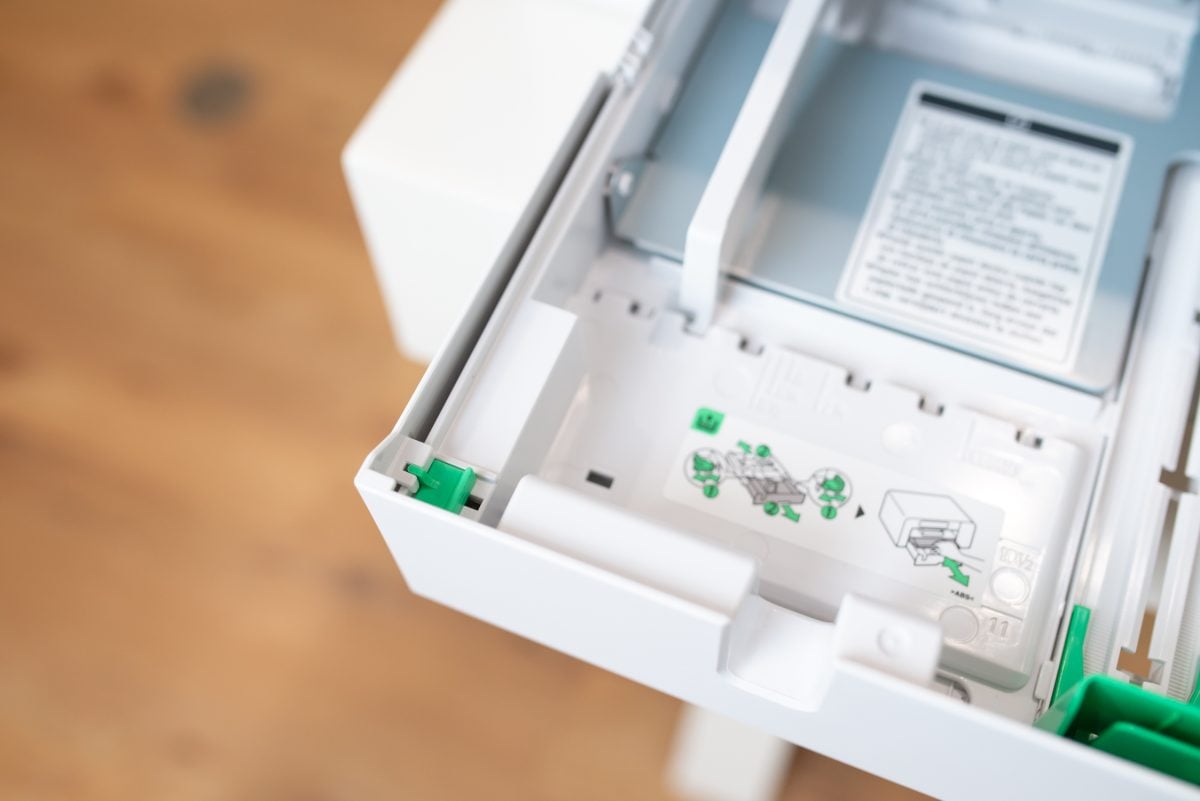
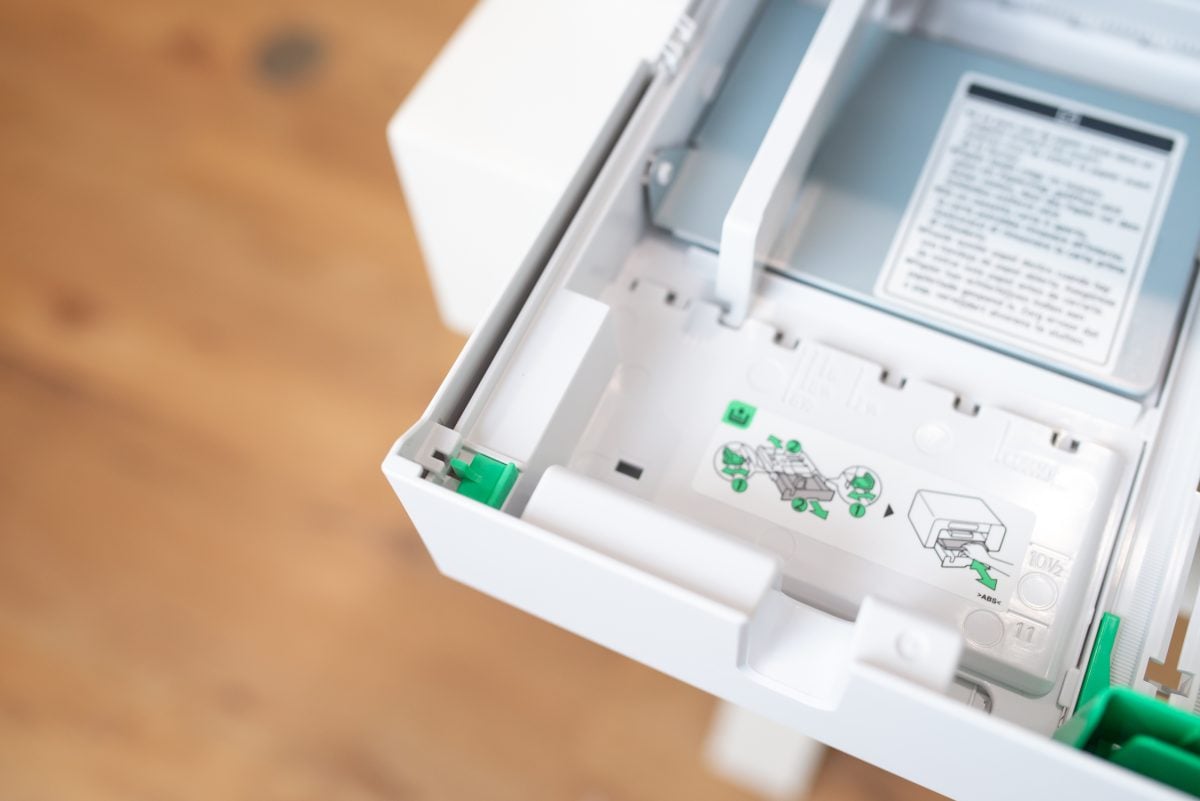
Now you can carefully extend the tray by pulling on the front end. It will extend another few inches to give you the room you need for the larger paper! Once extended, push the tabs back into the notches to lock it in place.
Then you’ll insert your paper and move your guides like we did for the other paper sizes to fit the 11″ x 17″ paper.
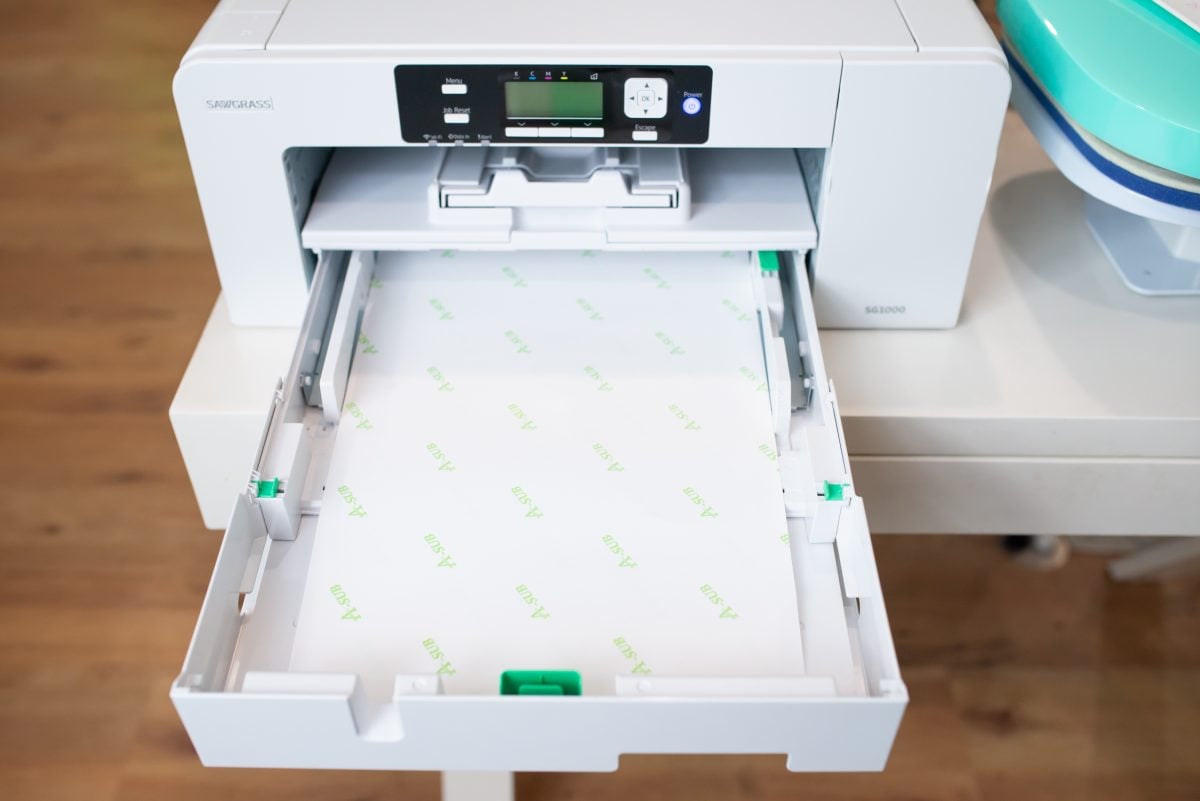
Then push the entire paper tray back into the machine until it clicks. The drawer will not completely close—the extended piece of the paper tray will extend out of the printer. But it will still print!

Make sure to extend the paper catch so that your prints don’t end up inside the paper tray.
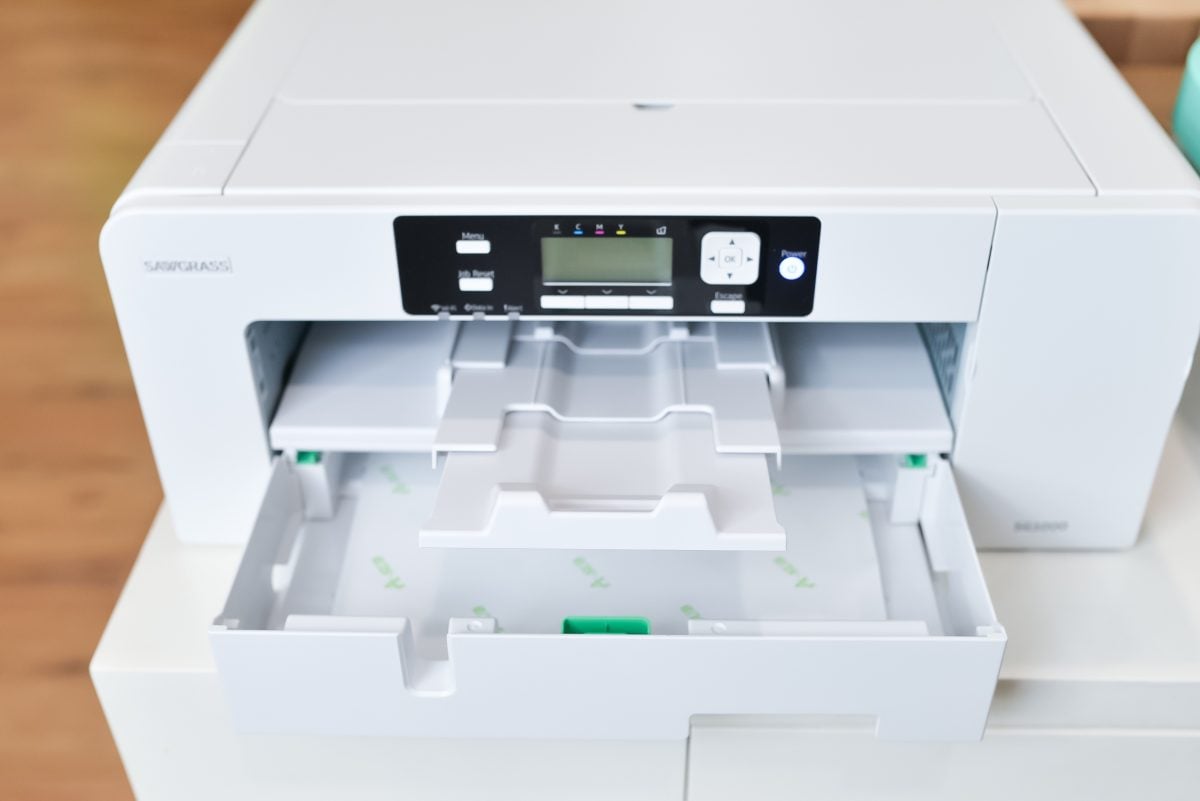
To return the printer back to its normal size, just reverse the process. Pull out the drawer, remove the paper, unlatch the tabs from the notches, push the paper tray back to its normal size, latch the notches, and you’re back to a smaller printer once again.
I hope you found this tutorial helpful! I’ve made so many projects using larger paper now that I know how easy it is to switch out the paper size in the Sawgrass paper tray. Being able to print in much larger sizes really expands the number of projects you can make without having to piece together smaller prints. I am so happy I have the bigger SG1000 as my sublimation printer!


Leave A Reply!